Home>Garden Essentials>How To Grow Dates From Seeds

Garden Essentials
How To Grow Dates From Seeds
Modified: March 15, 2024
Learn how to grow dates from seeds in your garden with our step-by-step guide. Start your own date plantation and enjoy fresh, homegrown dates!
(Many of the links in this article redirect to a specific reviewed product. Your purchase of these products through affiliate links helps to generate commission for Storables.com, at no extra cost. Learn more)
Introduction
Growing dates from seeds is a rewarding and fascinating experience for gardeners. Dates are not only delicious and nutritious fruits, but they are also a symbol of abundance and prosperity in many cultures. By starting your own date palm tree from seed, you can enjoy the process of nurturing a plant from its very beginning and eventually harvest your own homegrown dates.
In this article, we will guide you through the steps of growing dates from seeds and provide you with the essential information you need to succeed in this endeavor. From preparing the seeds to caring for the seedlings and harvesting the fruit, we will cover every aspect of the process and give you tips to ensure the best results.
Before we dive into the details, it’s important to note that growing dates from seeds requires patience and time. It can take several years for a date palm tree to reach maturity and start producing fruit. However, the satisfaction of growing your own dates and the beauty of having a thriving date palm tree in your garden are well worth the wait.
So, if you’re ready to embark on the journey of growing dates from seeds, let’s get started with the first step: preparing the seeds.
Key Takeaways:
- Growing dates from seeds is a patient and rewarding journey, from preparing and soaking the seeds to caring for the seedlings. With dedication, you can enjoy the sweet fruits of your labor for years to come.
- Harvesting dates requires understanding the ripening process and careful inspection. Enjoy the delicious and nutritious fruits while experimenting with different varieties and ripeness levels.
Read more: How To Grow A Date Palm From Seed
Step 1: Preparing the Seeds
The first step in growing dates from seeds is to prepare the seeds for planting. Here are the key instructions to follow:
- Selecting the seeds: Start by obtaining fresh and ripe date seeds. You can collect seeds from store-bought dates or obtain them from a reputable nursery or online supplier. Look for plump and undamaged seeds with a brownish color.
- Cleaning the seeds: Before planting, it’s crucial to clean the seeds to remove any remaining fruit flesh. Rinse the seeds under running water and gently scrub them with a brush to ensure they are free from any residue. Be careful not to damage the protective seed coat.
- Stratification: Date seeds have a natural dormancy period, and stratification helps break this dormancy. To stratify the seeds, place them in a damp paper towel or sphagnum moss and seal them in a plastic bag. Store the bag in the refrigerator for around 8 weeks.
By stratifying the seeds, you are mimicking the natural conditions they would experience in the wild during the winter season. This process helps prepare the seeds for germination.
Once the stratification period is complete, you can move on to the next step: soaking the seeds.
Step 2: Soaking the Seeds
After the seeds have undergone the stratification process, it’s time to soak them. Soaking the seeds helps to further soften the seed coat and promote germination. Follow these steps to properly soak the seeds:
- Fill a bowl or container with warm water.
- Place the stratified seeds in the water, ensuring they are fully submerged.
- Allow the seeds to soak for 24 to 48 hours. This will soften the seed coat and help speed up germination.
- During this soaking period, you may notice the water becoming discolored. This is normal and indicates that the seeds are releasing some of their natural compounds.
After the soaking period is complete, you can move on to planting the seeds.
Note: Some gardeners also recommend scratching the seed coat gently with sandpaper or a file before soaking to further enhance germination. However, this step is optional and not necessary for every seed.
Step 3: Planting the Seeds
Now that you have prepared and soaked your date seeds, it’s time to plant them. Follow these steps to ensure successful planting:
- Select a suitable planting container: Choose a deep container with drainage holes at the bottom. This will allow excess water to drain and prevent waterlogging.
- Prepare the potting mix: Use a well-draining potting mix that consists of a blend of peat moss, perlite, and sand. This mixture provides the right balance of moisture retention and drainage required for date seed germination.
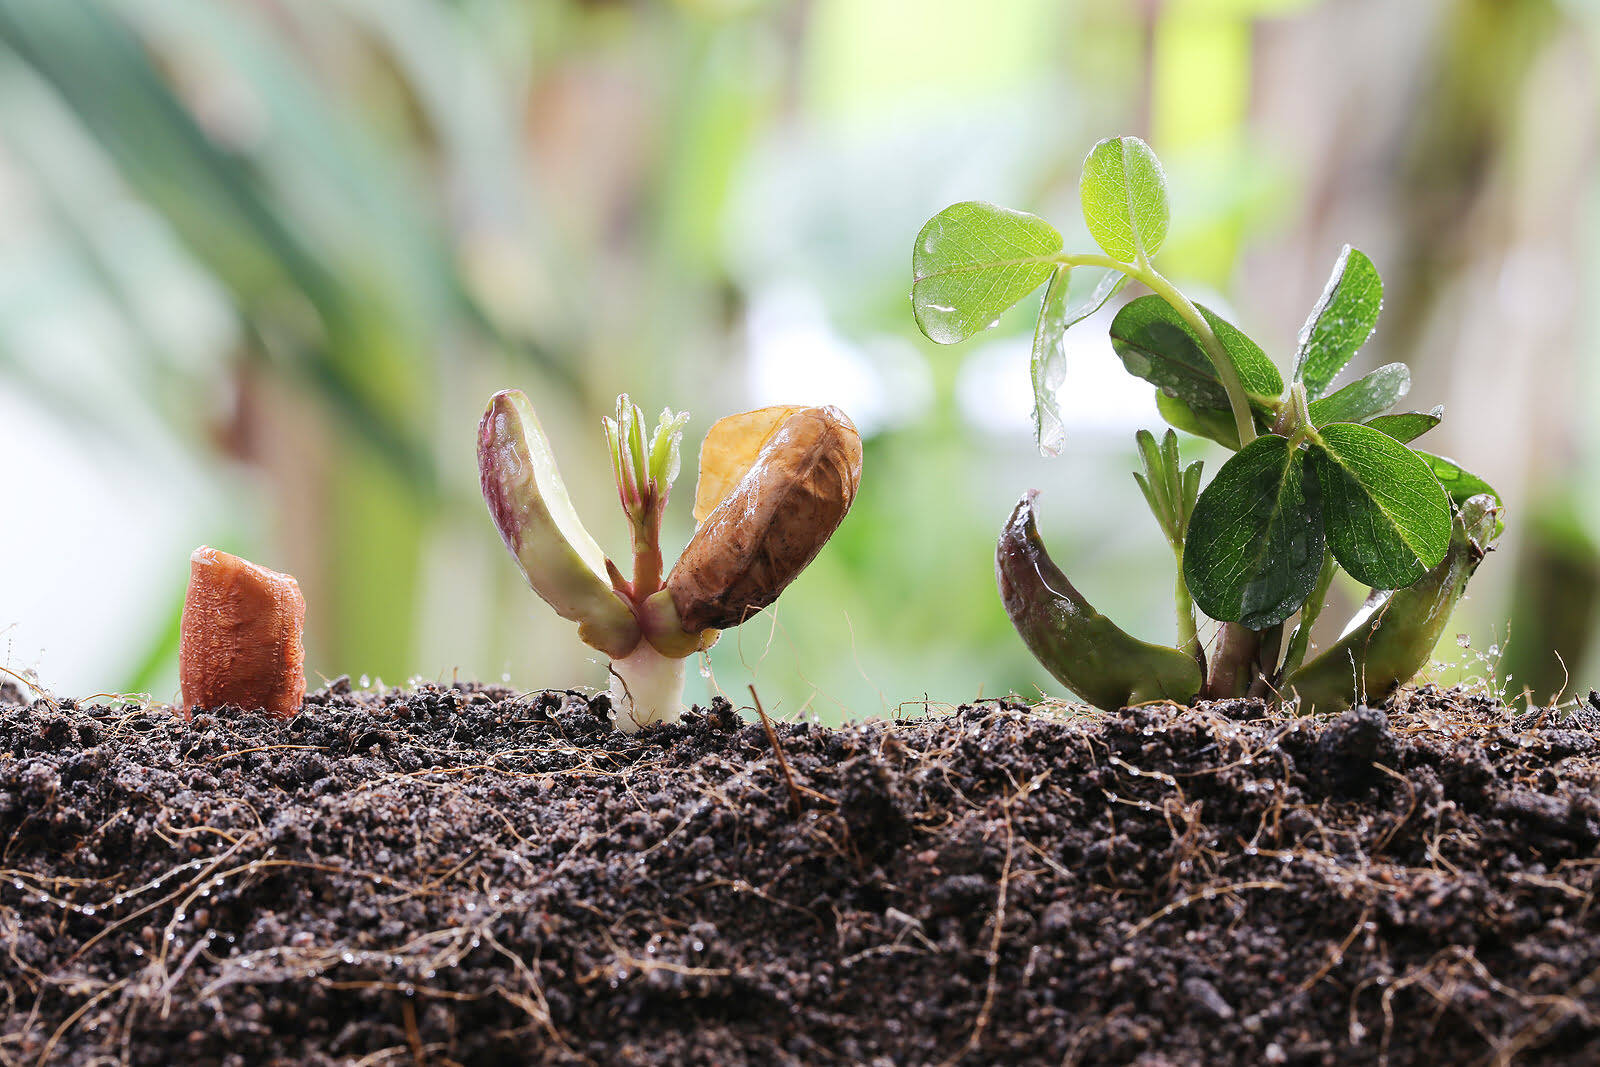
- Planting the seeds: Fill the planting container with the potting mix, leaving about an inch of space from the top. Make a small hole in the center of the soil with your finger or a pencil. Place the date seed in the hole with the pointed end facing down, and cover it with about half an inch of soil.
- Watering: Gently water the soil until it is evenly moist. Avoid overwatering, as excessive moisture can lead to root rot. Water the soil whenever it starts to feel dry, maintaining consistent moisture without causing waterlogged conditions.
Place the planting container in a warm location with indirect sunlight. Date seeds require warm temperatures to germinate, so maintaining a temperature between 75°F (24°C) and 85°F (29°C) is ideal.
Now that you have successfully planted the seeds, it’s time to move on to the next step: providing proper care for the seedlings.
When growing dates from seeds, make sure to soak the seeds in water for 48 hours before planting them in well-draining soil. Keep the soil consistently moist and place the pot in a warm, sunny location to encourage germination.
Step 4: Providing Proper Care
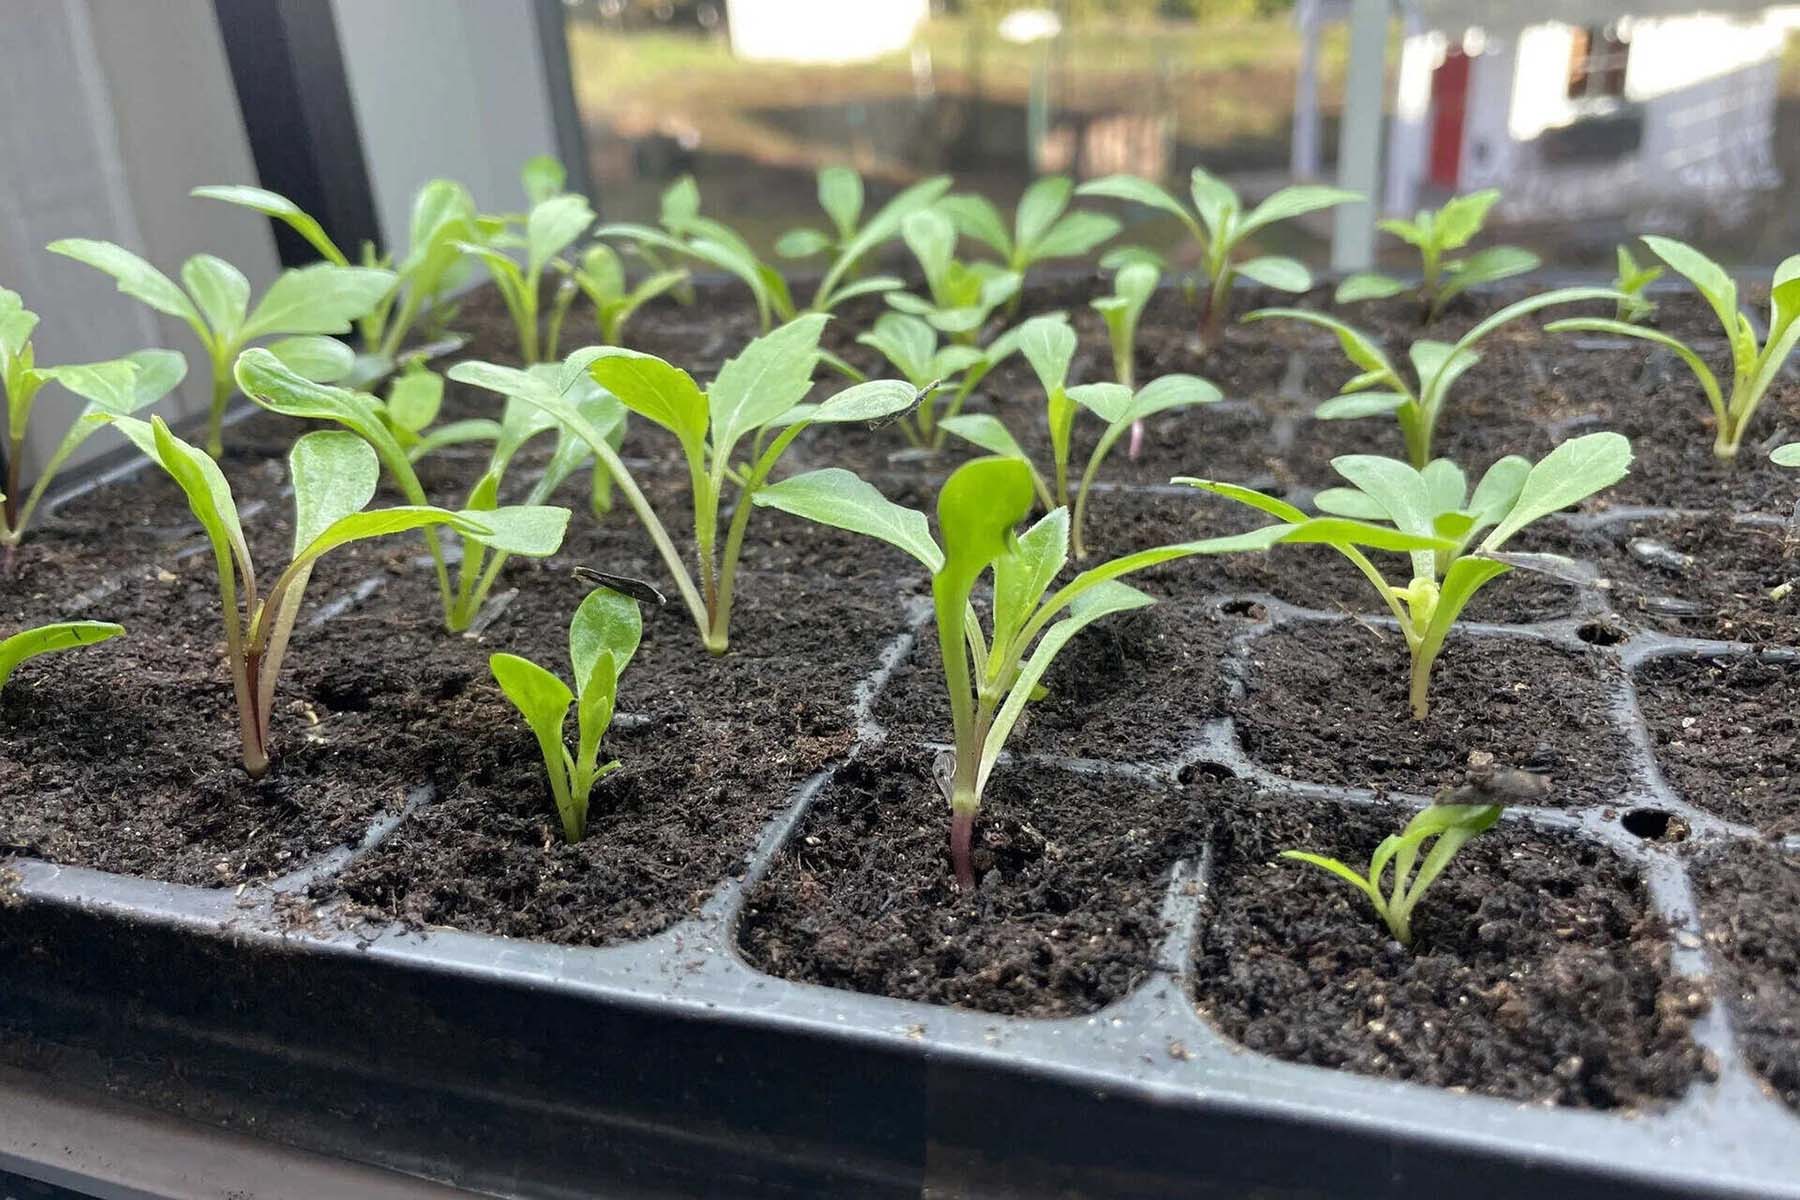
Once the date seeds have been planted and are starting to germinate, they require proper care to ensure healthy growth. Here are some essential care instructions for your date seedlings:
- Light and temperature: Place the seedlings in an area where they can receive bright, indirect sunlight. Date palms thrive in warm climates, so maintaining a temperature between 70°F (21°C) and 95°F (35°C) is ideal for their growth.
- Watering: Keep the soil consistently moist but not waterlogged. Avoid both underwatering and overwatering, as extreme moisture levels can hinder the growth of the seedlings. Water the soil when the top inch feels dry, ensuring thorough watering to reach the roots.
- Fertilization: As the seedlings grow, you can start fertilizing them with a balanced, slow-release fertilizer. Follow the instructions on the fertilizer package for dosage and application frequency. Fertilize the seedlings during the growing season, usually spring and summer.
- Pruning: As your date seedlings develop multiple leaves, you can prune any yellow or damaged leaves to encourage healthy growth. Trim away any suckers or side shoots that emerge from the base of the seedlings to maintain a single trunk.
- Pest and disease control: Date palms are generally resistant to pests and diseases. However, keep an eye out for common garden pests such as aphids or spider mites, and promptly address any infestations using organic pest control methods or insecticidal soaps if necessary.
- Transplanting (Optional): If your date seedlings outgrow their initial container, you may consider transplanting them into larger pots or directly into the ground. Make sure the new container or planting location has well-draining soil.
By providing the proper care and attention to your date seedlings, you will help them grow into healthy and robust date palm trees. The next step is optional but may be necessary depending on the growth of your seedlings: transplanting them.
Read more: How To Grow Date Seeds
Step 5: Transplanting Seedlings (Optional)
Transplanting your date seedlings is an optional step but may be necessary if they outgrow their current container or if you plan to plant them directly in the ground. Here are the steps to follow for successful transplanting:
- Selecting the new planting location: Choose a sunny spot in your garden with well-draining soil. Date palms thrive in full sun, so ensure the location receives at least 6 to 8 hours of direct sunlight daily.
- Preparing the new planting hole: Dig a hole that is wider and deeper than the root ball of the seedling. The hole should be large enough to accommodate the roots comfortably.
- Gently removing the seedling from its current container: Carefully tap the sides of the container to loosen the soil and roots. Gently lift the seedling from the container, supporting the root ball to avoid damaging the delicate roots.
- Placing the seedling in the new hole: Lower the seedling into the new planting hole, ensuring the top of the root ball is level with or slightly above the surrounding soil. Backfill the hole with soil, gently firming it around the roots to eliminate any air pockets.
- Watering and mulching: After transplanting, water the seedling thoroughly to settle the soil around the roots. Apply a layer of organic mulch around the base of the seedling to help retain moisture and suppress weed growth.
- Regular watering and care: Following the transplant, continue to provide regular water to the seedling, ensuring the soil remains moist but not soggy. Monitor the plant for any signs of stress or nutrient deficiencies and address them accordingly.
Transplanting your date seedlings allows them to establish a stronger root system and have more space to grow. However, it’s important to note that date palms have extensive root systems, so ensure sufficient space is available in the new planting location.
The final step, when your date palm tree matures, is the much-awaited harvest of the dates. Let’s explore that in the next step.
Step 6: Harvesting the Dates
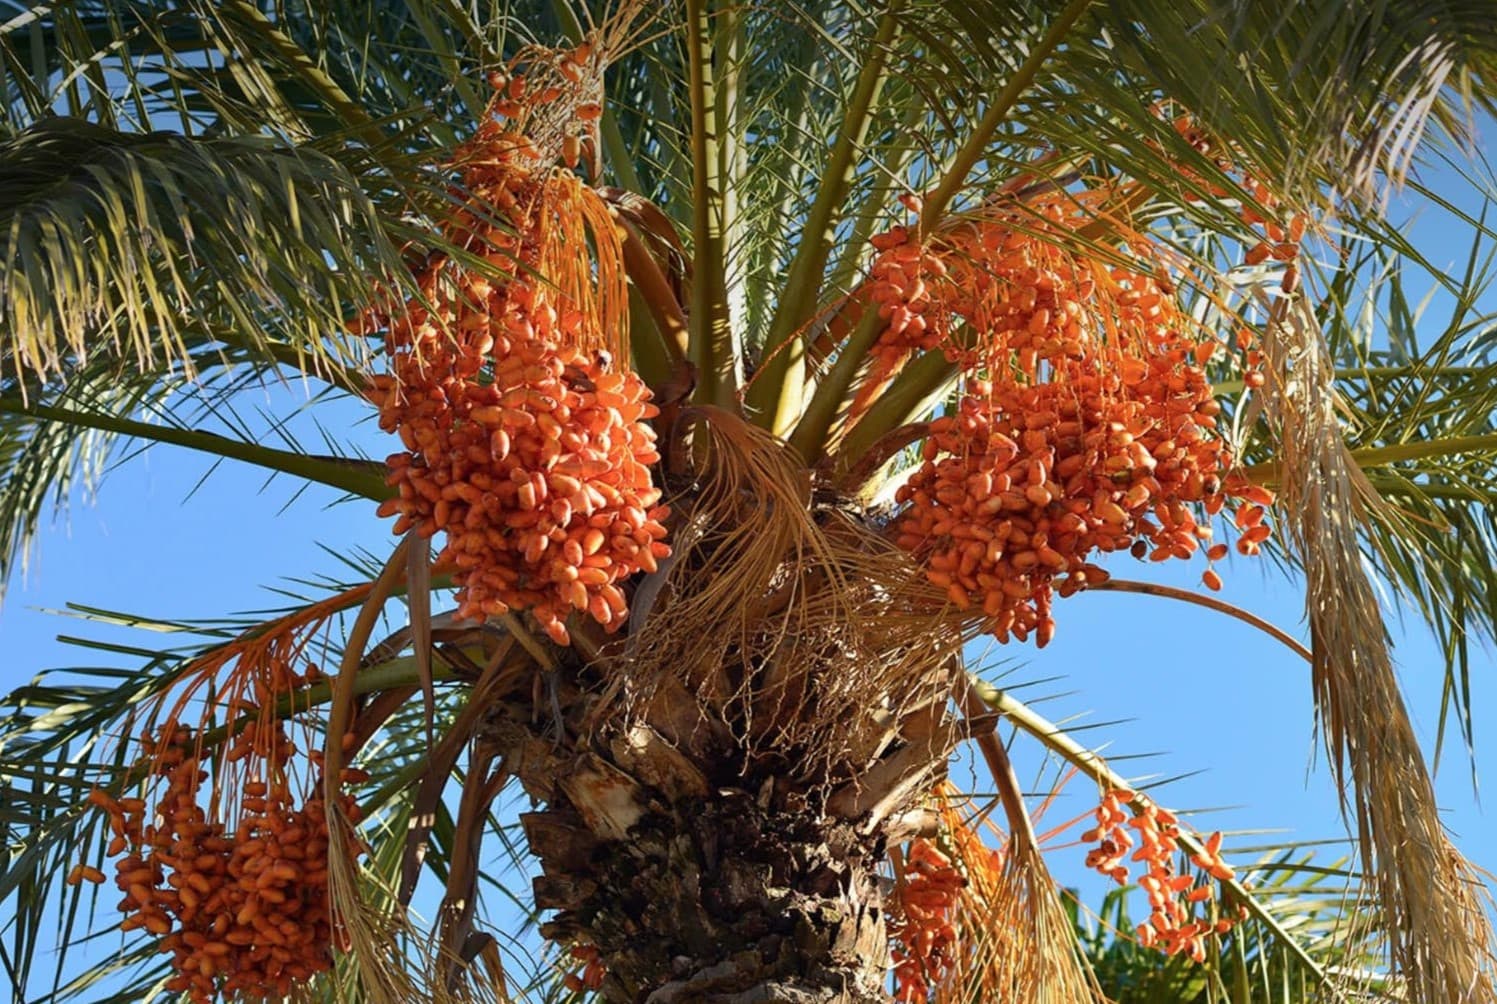
After several years of care and patience, your date palm tree will eventually reach maturity and start producing delicious dates. Here’s what you need to know about harvesting dates:
- Understanding the ripening process: Dates go through various stages of ripening, starting from the Khalal stage when they are still crisp and yellow-green in color. The dates then progress to the Rutab stage, where they become soft and have a more amber color. Finally, they reach the Tamar stage, where they are fully ripe, soft, and have a deep brown color.
- Determining the harvest time: The harvest time will vary depending on the date variety and local climate conditions. The dates are typically harvested when they have reached the Rutab or Tamar stage, depending on the desired level of sweetness and texture. Refer to the specific variety information or consult local experts to determine the best time for harvesting in your area.
- Inspecting the dates: Before harvesting, inspect the dates to ensure they are free from any signs of decay or damage. Remove any unhealthy or spoiled fruit to prevent the spread of diseases.
- Harvesting the dates: Carefully cut the ripe bunches of dates from the palm tree using a sharp knife. Be cautious not to damage the clusters or the neighboring fruit. Handle the dates gently to avoid bruising or crushing them.
- Storing and enjoying the dates: Once harvested, you can store the dates in a cool, dry place or refrigerate them to extend their shelf life. Enjoy the fresh dates as a delicious and nutritious snack, or explore various culinary possibilities by incorporating them into recipes.
Remember, the flavor and sweetness of dates vary based on the variety and ripeness level. Experiment with different harvesting times to find your preferred taste.
Congratulations on successfully growing and harvesting your own dates! It’s a remarkable accomplishment and a testament to your dedication as a gardener.
Conclusion
Growing dates from seeds is a fulfilling and rewarding journey that allows you to witness the miracle of plant life, from a tiny seed to a majestic date palm tree. While it requires patience, care, and dedication, the process of nurturing your date seedlings and eventually harvesting your own dates is truly worth the effort.
By following the steps outlined in this guide, you can successfully grow dates from seeds. From preparing and soaking the seeds to planting, providing proper care, and even transplanting, each step is crucial for the seedlings’ growth and development. Through consistent watering, adequate sunlight, and periodic fertilization, you can ensure healthy and thriving date palm trees.
Once your date palm tree reaches maturity, the ultimate reward is the harvest of delicious dates. Understanding the stages of ripening and carefully harvesting the fruit will ensure the most flavorful and enjoyable eating experience.
Whether you plant your date palm tree in a container or in your garden, it will become a symbol of abundance and beauty. The sight of its luscious green fronds swaying in the breeze and the sweet taste of your homegrown dates will bring immense joy and pride.
So why not embark on this wonderful gardening adventure and grow your own dates from seeds? With the right knowledge, care, and patience, you can create your very own date oasis and enjoy the fruits of your labor for years to come.
Happy growing and may your date palms flourish!
Frequently Asked Questions about How To Grow Dates From Seeds
Was this page helpful?
At Storables.com, we guarantee accurate and reliable information. Our content, validated by Expert Board Contributors, is crafted following stringent Editorial Policies. We're committed to providing you with well-researched, expert-backed insights for all your informational needs.

0 thoughts on “How To Grow Dates From Seeds”