Home>Garden Essentials>How To Grow Date Seeds
Garden Essentials
How To Grow Date Seeds
Modified: September 1, 2024
Learn how to grow date seeds and create a beautiful garden with our comprehensive guide. Discover the techniques and tips for successful date seed cultivation.
(Many of the links in this article redirect to a specific reviewed product. Your purchase of these products through affiliate links helps to generate commission for Storables.com, at no extra cost. Learn more)
Introduction
Welcome to the world of gardening! Whether you are an experienced gardener or just starting out, growing plants from seeds can be a rewarding and fulfilling endeavor. In this article, we will delve into the fascinating world of growing date seeds and guide you through the process step by step.
Known for their sweet and delicious fruit, date palms (Phoenix dactylifera) have been cultivated for thousands of years, primarily in arid regions. While it may seem daunting to grow date palms from seeds, with the right knowledge and care, you can successfully nurture these beautiful trees right in your own garden.
Before we dive into the details, it’s important to note that date palms are dioecious, which means there are male and female trees. Only the female trees bear fruit, so if your intention is to eventually enjoy sweet dates, you will need both male and female trees. However, even if you don’t have room for both, growing date palms purely for ornamental purposes can still be a rewarding experience.
Now, without further ado, let’s get started with step one: collecting date seeds.
Key Takeaways:
- Growing date palms from seeds is a rewarding journey that requires patience and attention to detail. From collecting fresh seeds to providing proper care, each step plays a crucial role in the success of cultivating these remarkable trees.
- Nurturing date palm seedlings involves providing adequate water, sunlight, and care. Pruning and maintaining the trees, along with proper transplanting techniques, are essential for their health and productivity.
Read more: How To Grow A Date Palm From Seed
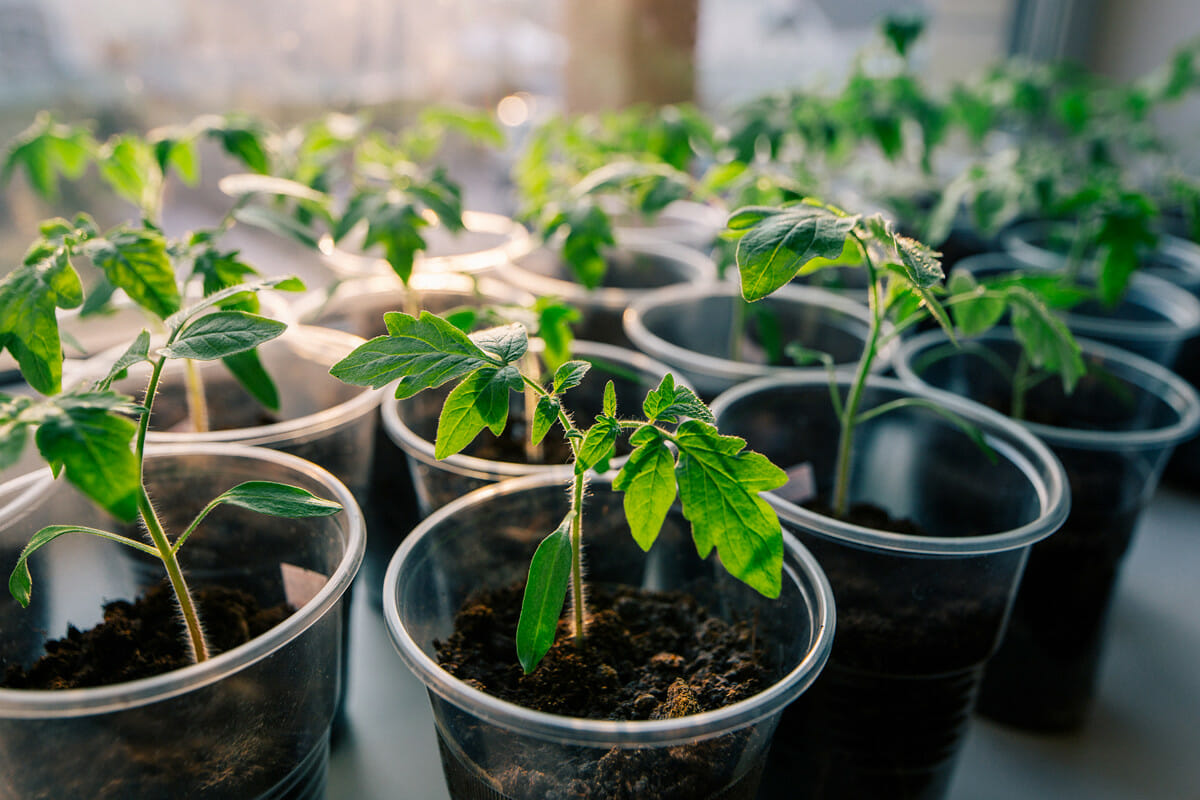
Step 1: Collecting Date Seeds
The first step in growing date palms from seeds is to collect the seeds themselves. This can be done by either purchasing fresh dates from a grocery store or farmer’s market or by harvesting the fruits directly from a date palm tree if you have access to one.
If you choose to buy dates, make sure they are fresh and have not been treated or processed in any way that may hinder germination. Look for dates that are plump, glossy, and have a firm texture. Avoid dates that appear wrinkled or have mold spots.
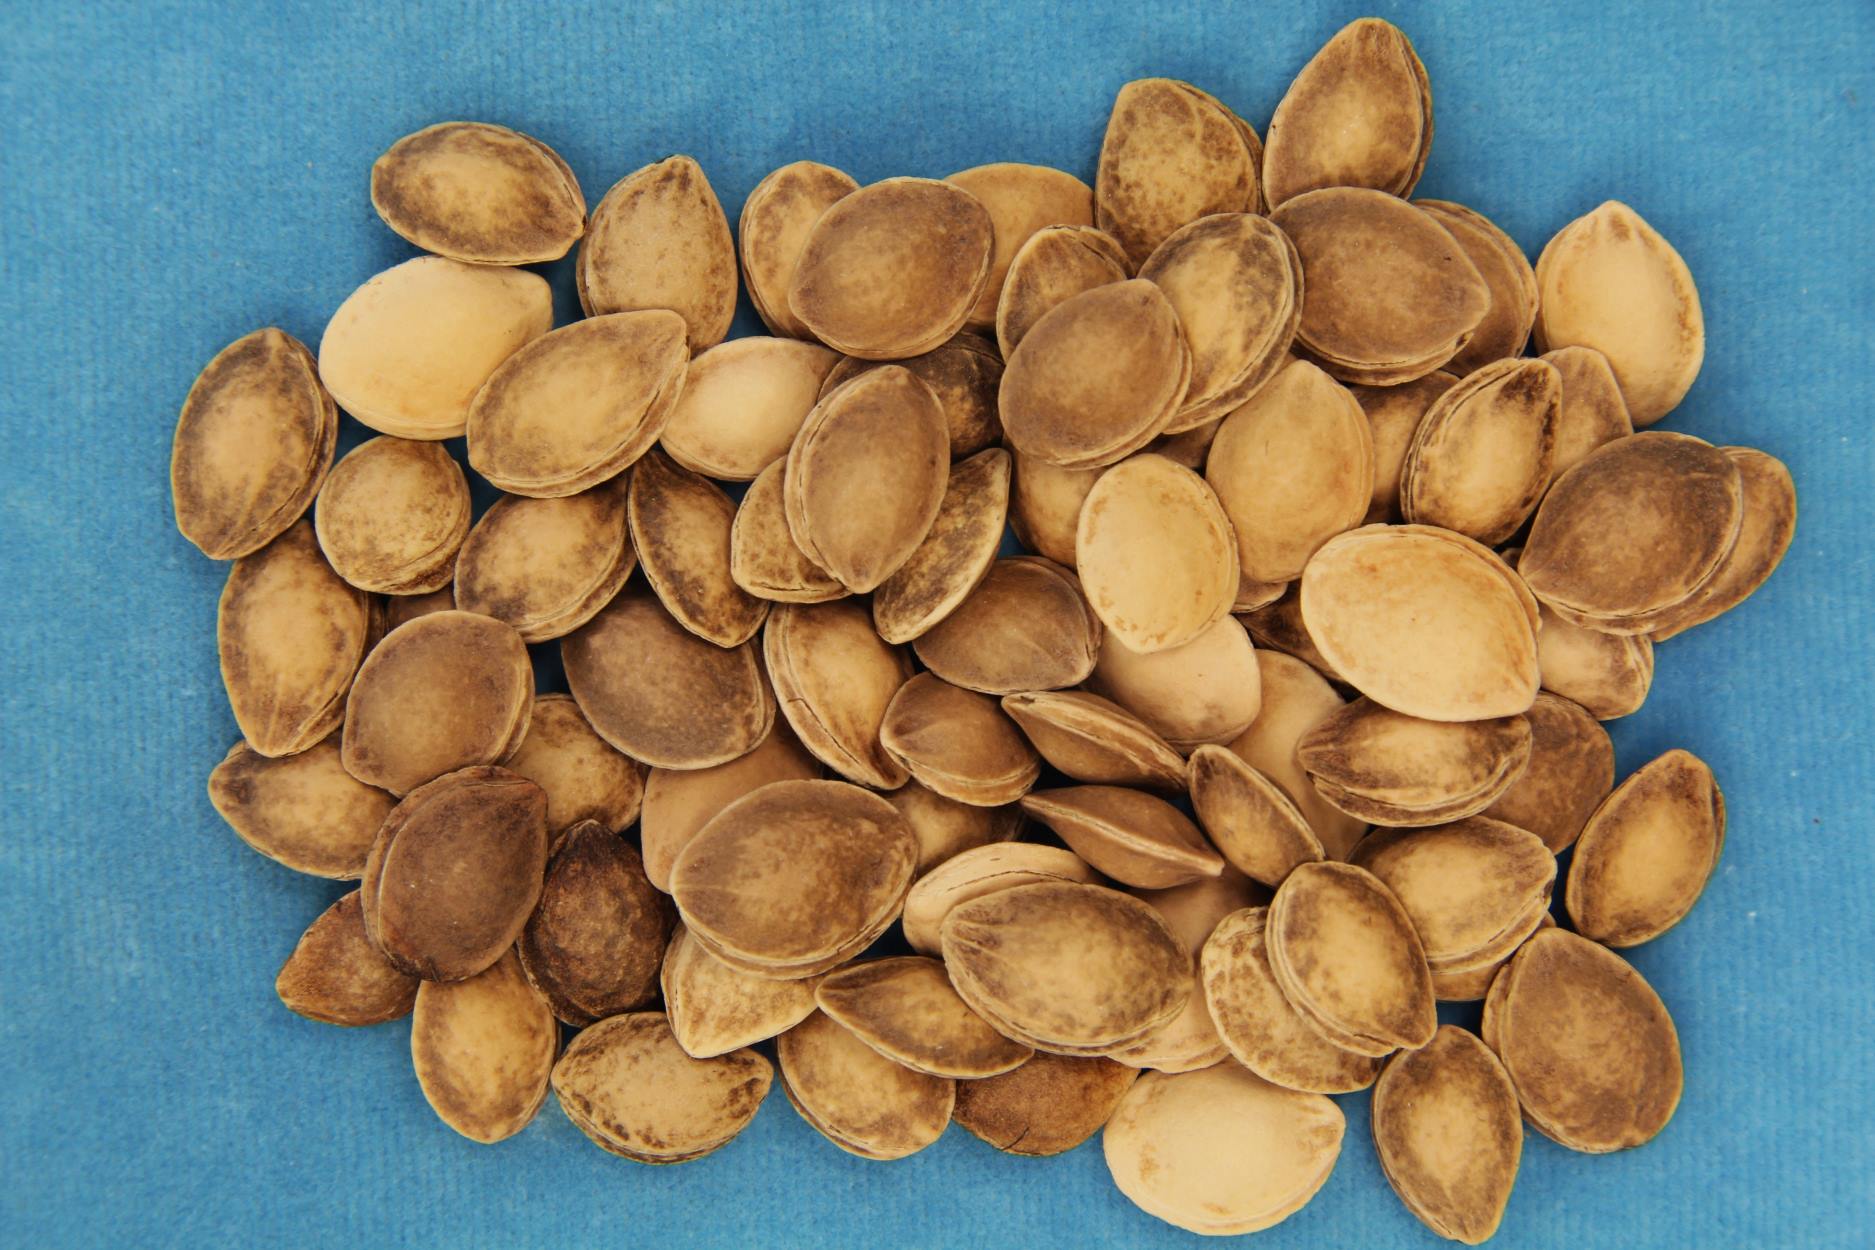
To extract the seeds, simply cut open the dates and carefully remove the seeds. Date seeds are usually referred to as pits or stones and are about the size of a small bean. Depending on the variety of date, you may find one or more seeds inside each fruit.
If you have access to a date palm tree, you can harvest the fruits directly. Simply climb the tree or use a ladder to reach the clusters of dates and gently pluck them from the tree. Once you have collected the fruits, you can extract the seeds by following the same process as mentioned earlier.
It’s worth noting that date seeds have a hard outer shell that can be quite tough. To improve the chances of successful germination, you may want to scarify the seeds. This involves carefully scratching or nicking the outer shell to allow water to penetrate and facilitate germination. Be careful not to damage the embryo inside while doing this.
Once you have collected and prepared your date seeds, you are ready to move on to the next step: preparing the seeds for planting.
Step 2: Preparing the Seeds for Planting
Now that you have collected your date seeds, it’s time to prepare them for planting. Proper preparation will optimize the germination process and give your seeds the best chance of growing into healthy date palm seedlings.
Begin by soaking the date seeds in water for 24 to 48 hours. This helps to soften the outer shell and break the seed’s dormancy. Fill a bowl or container with room temperature water and place the seeds in it. Ensure that the seeds are fully submerged.
After the soaking period, carefully remove the seeds from the water and give them a gentle rinse to remove any residue. It’s important not to damage the embryo inside the seed while washing.
Next, check the seeds for any signs of damage or rotting. Discard any seeds that have mold or appear shriveled, as they are unlikely to germinate successfully.
Once you have selected the viable seeds, you can enhance their chances of germination by performing a process called stratification. Stratification mimics the natural winter conditions that the seeds would experience in their native environment, breaking their dormancy and stimulating germination.
To stratify the seeds, place them in a sealable plastic bag with a slightly moistened paper towel. Make sure the towel is not dripping wet, as excess moisture can lead to mold. Seal the bag and place it in the refrigerator for approximately 4 to 6 weeks. This cold stratification period helps to break down the seed’s dormancy and prepares it for sprouting.
After the stratification period, remove the seeds from the refrigerator and allow them to reach room temperature before planting. Now that your date seeds are prepared, it’s time to move on to the next step: choosing the right soil.
Step 3: Choosing the Right Soil
Choosing the right soil is crucial for the successful growth of your date palm seedlings. Date palms thrive in well-draining sandy or loamy soil that is rich in organic matter.
Start by selecting a planting container or pot that has drainage holes at the bottom to prevent waterlogging. This allows excess water to drain away and prevents the roots from sitting in soggy soil, which can lead to root rot.
An ideal soil mix for date palm seedlings is a combination of sandy soil, perlite, and compost. The sandy soil provides good drainage, while perlite increases aeration and prevents compaction. The compost enriches the soil with nutrients that are vital for the seedling’s growth.
You can either purchase a pre-made potting mix suitable for palms or create your own by mixing equal parts sandy soil, perlite, and compost. Fill the container or pot with the soil mix, leaving some space at the top for watering.
Before planting the seeds, moisten the soil, but make sure it is not waterlogged. This will create a favorable environment for the germination process.
Now that you have chosen the right soil, you are ready for the next step: planting the date seeds.
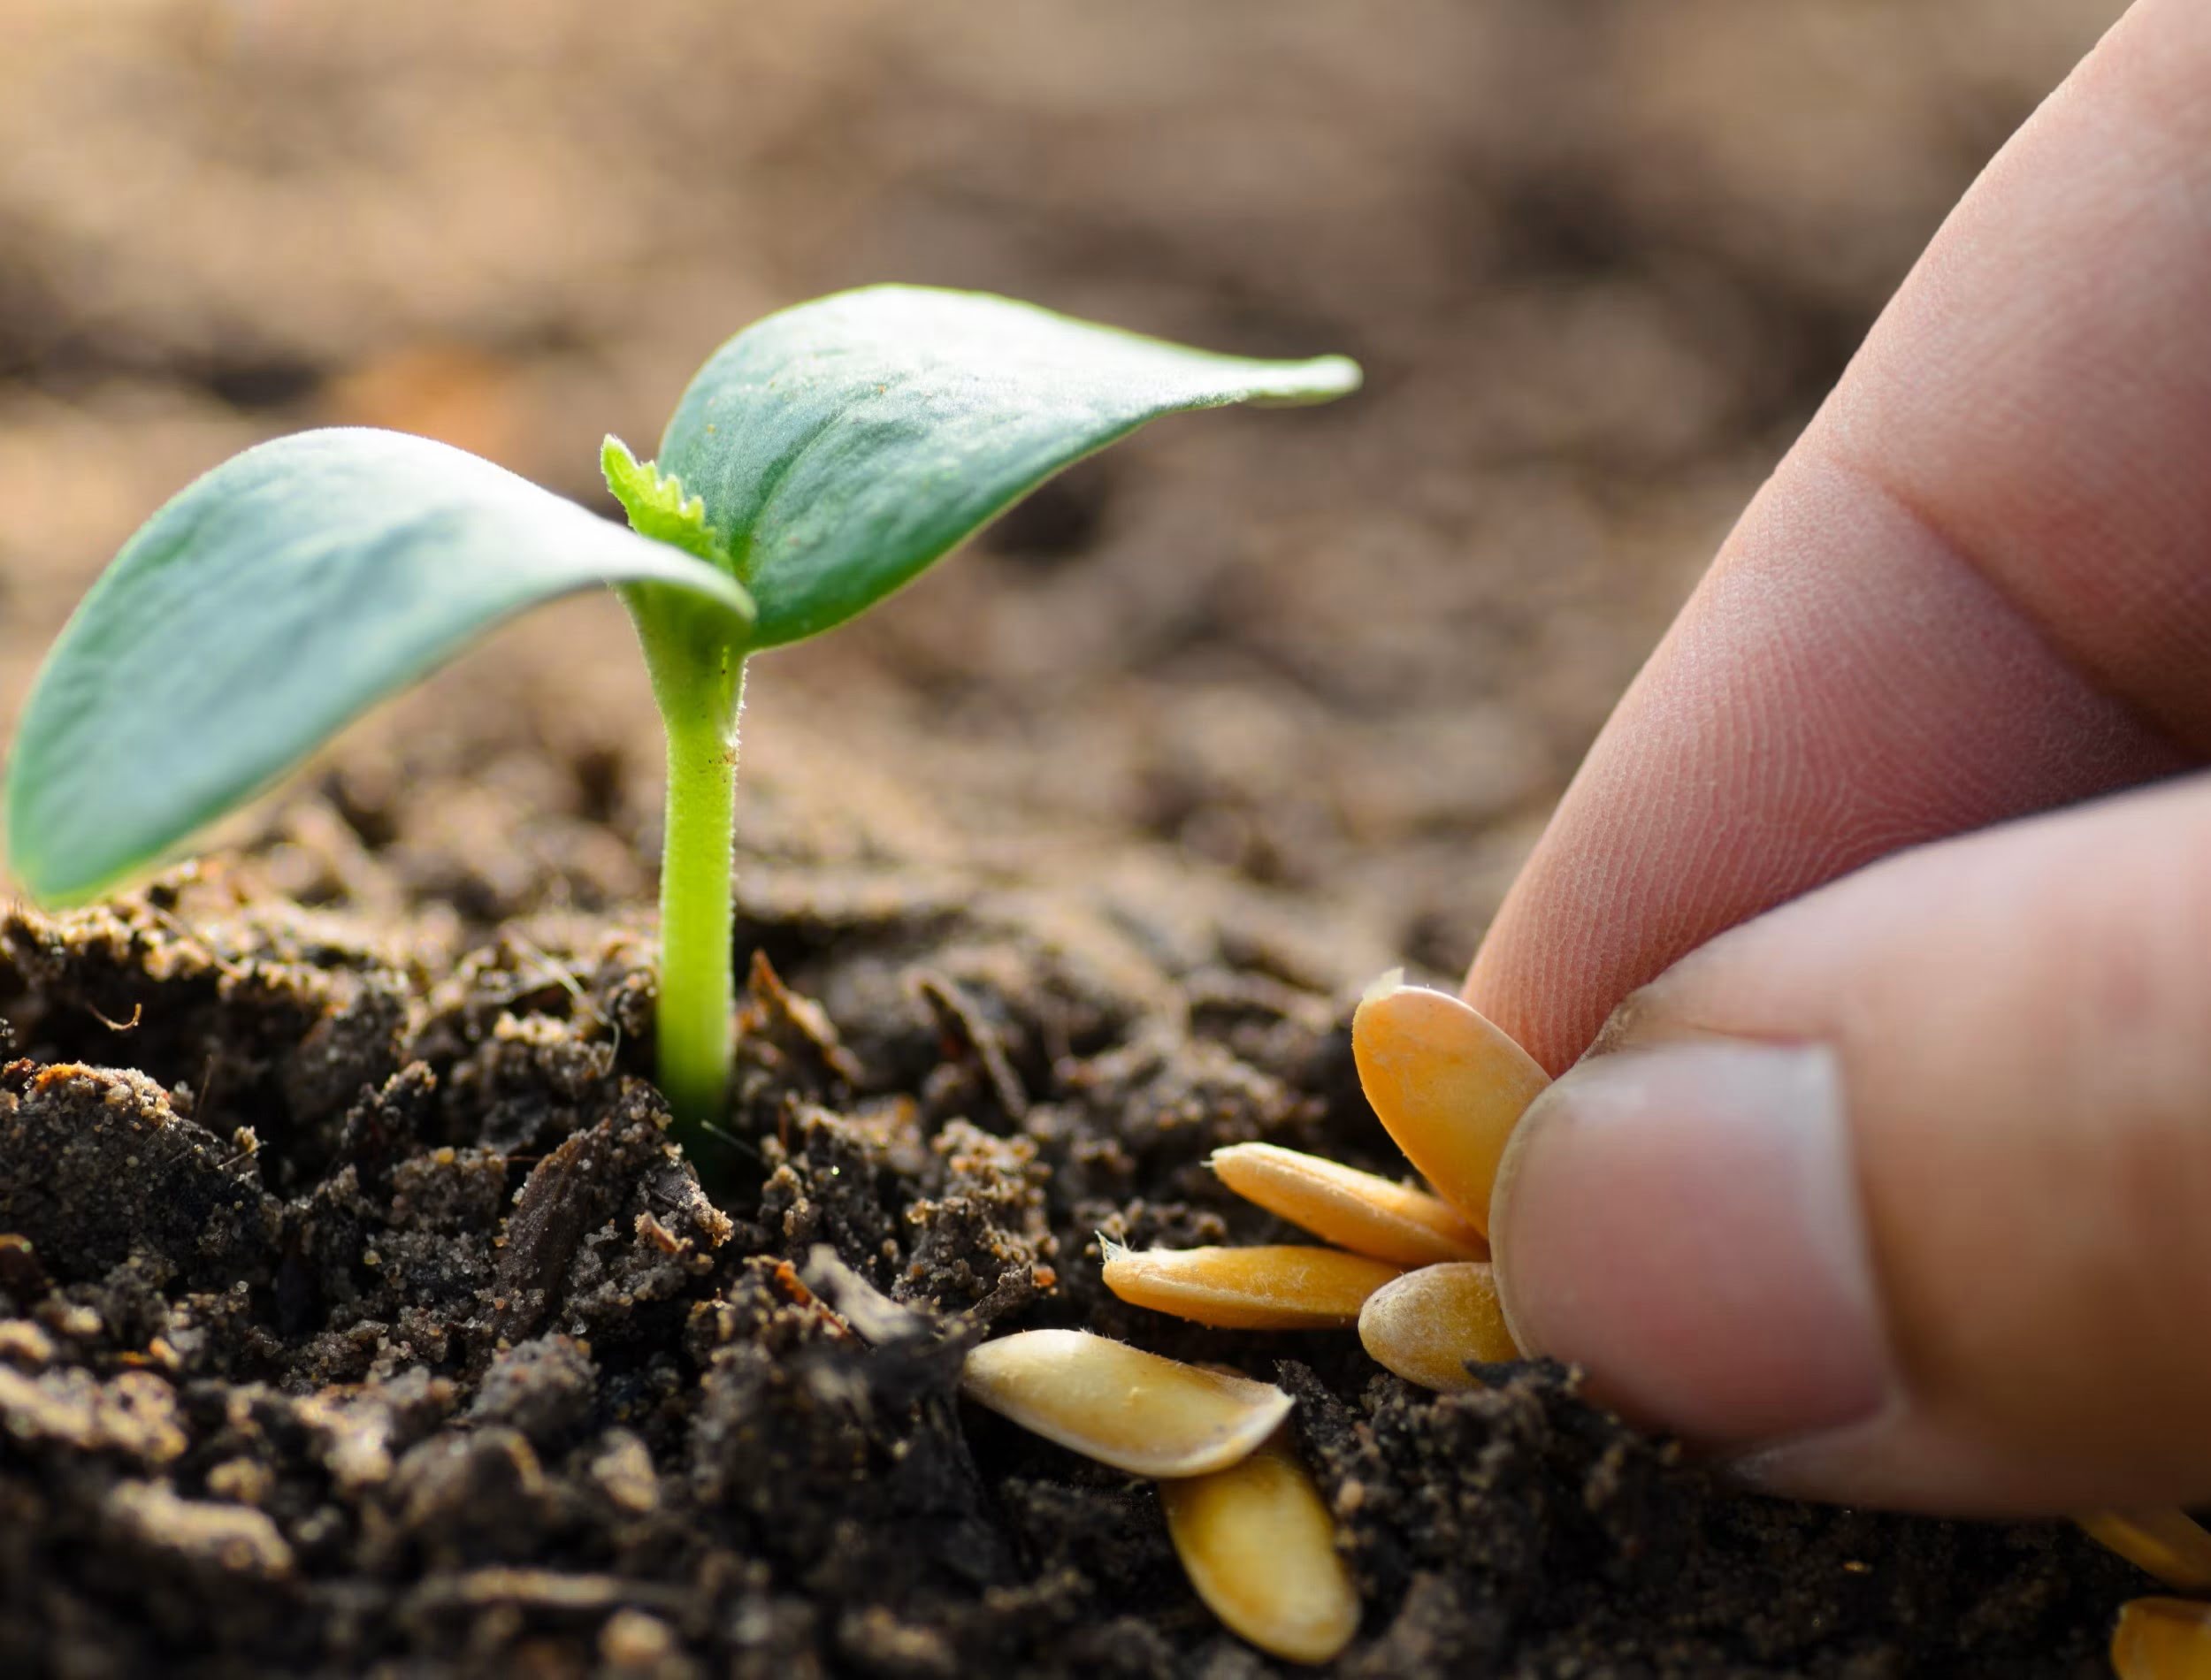
Step 4: Planting the Date Seeds
Now that you have prepared the soil, it’s time to plant the date seeds and give them a cozy and nurturing environment to start their journey towards becoming mature date palm trees.
Take the pre-soaked and stratified date seeds and gently push them into the soil, about 1 to 2 inches deep. Space the seeds apart to allow room for growth and expansion of the roots.
It’s important to note that date seeds have a natural orientation, with a pointed end and a rounded end. Plant the seeds with the pointed end facing downwards and the rounded end facing upwards. This ensures that the seed sprouts in the correct direction.
Cover the seeds with a thin layer of soil, ensuring that they are well anchored and firmly in place. Lightly press down on the soil to secure the seeds, but be careful not to compact the soil too much as it can hinder the emergence of the seedlings.
After planting the seeds, give them a gentle watering to settle the soil and provide hydration. Use a spray bottle or a watering can with a fine nozzle to avoid dislodging the seeds or creating waterlogged conditions.
Place the planted seeds in a warm and well-lit location. Date palms thrive in full sunlight, so choose a spot that receives at least 6 to 8 hours of direct sunlight per day. If you are growing date palm seedlings indoors, consider using fluorescent grow lights to provide the necessary light intensity.
Now that you have planted the date seeds, it’s time to move on to the next step: providing adequate water and sunlight.
Read more: How To Germinate A Date Seed
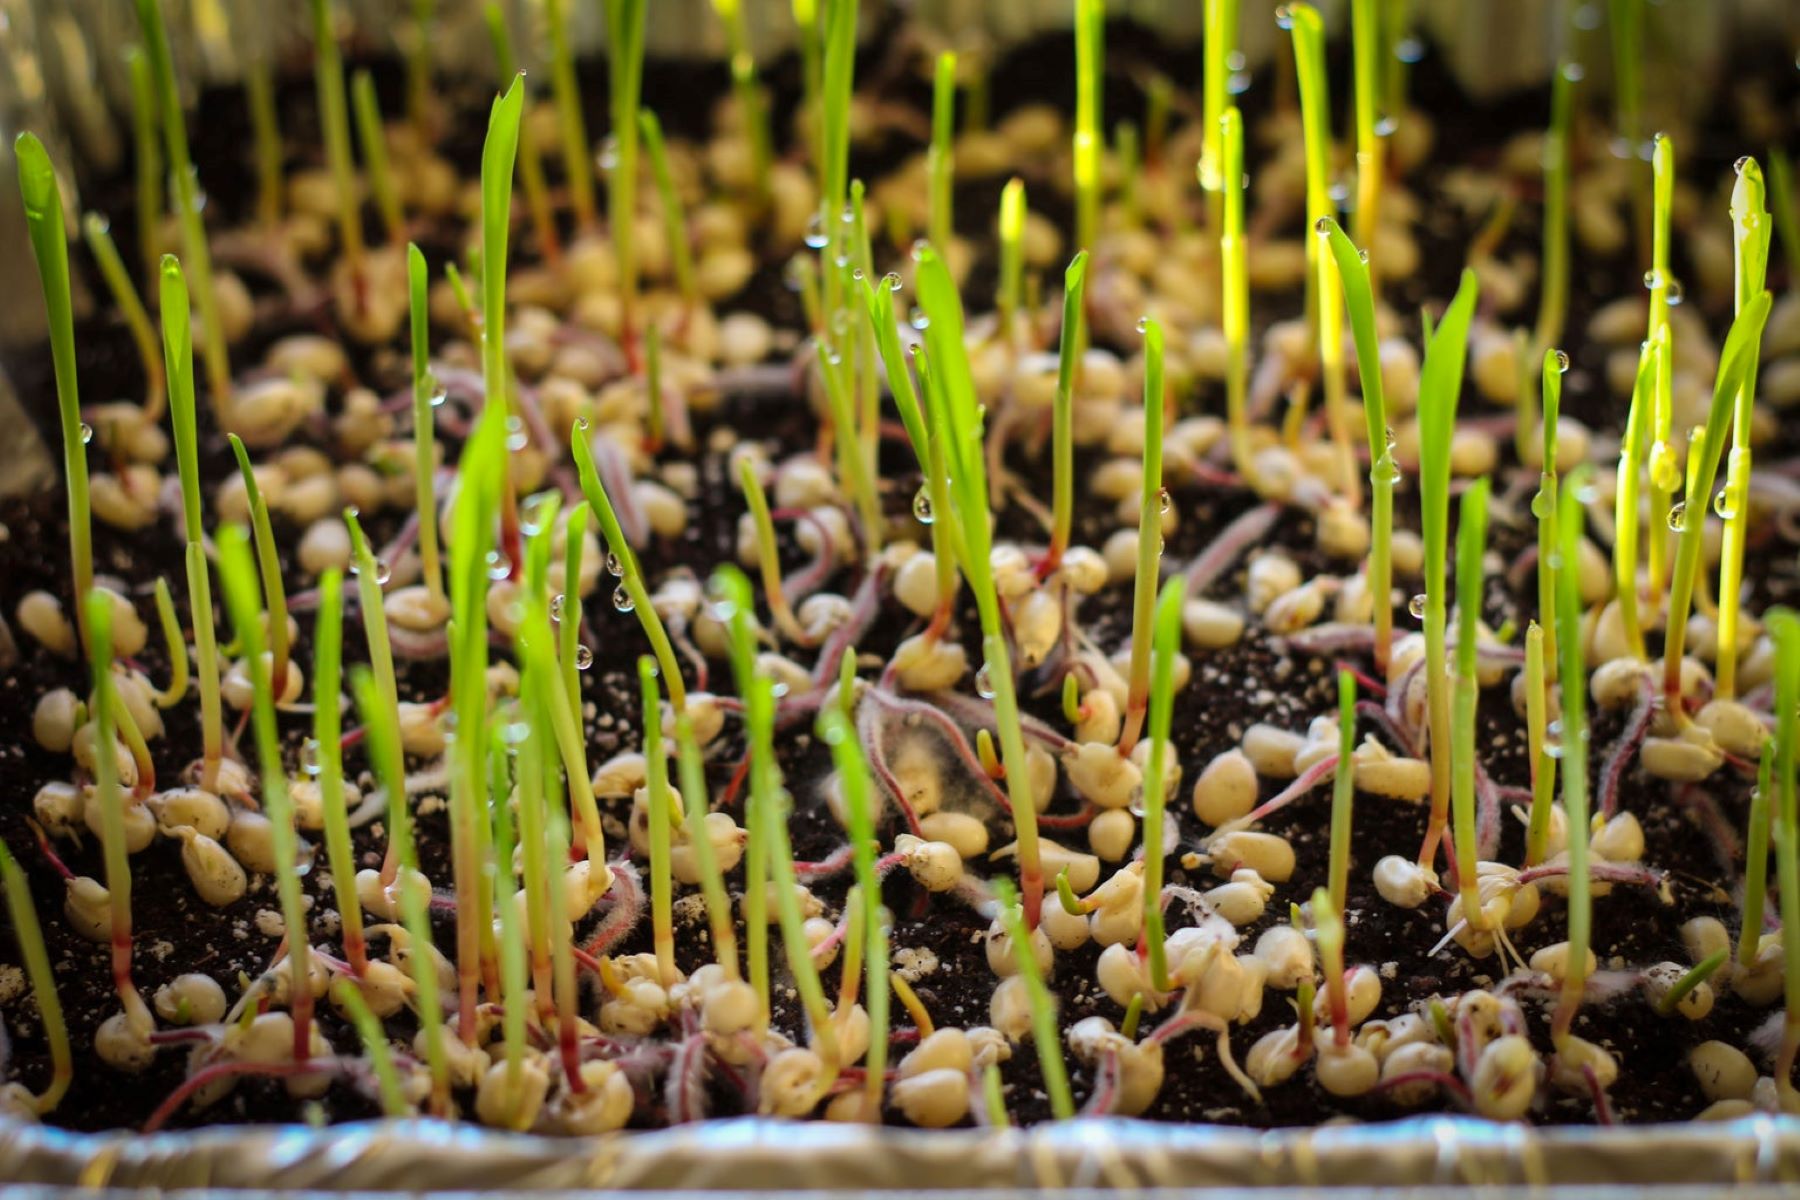
Step 5: Providing Adequate Water and Sunlight
Water and sunlight are essential for the healthy growth of date palm seedlings. Properly maintaining these two factors will ensure the development of strong and robust plants.
When it comes to watering, it’s important to strike a balance. Overwatering can lead to root rot, while underwatering can cause the seedlings to dry out and wither. Aim to keep the soil consistently moist, but not waterlogged.
Check the moisture level of the soil regularly by inserting your finger about an inch deep into the soil. If it feels dry, it’s time to water. Use a gentle stream of water to moisten the soil thoroughly, allowing the water to penetrate deep into the roots.
During the early stages of growth, water the seedlings regularly, approximately two to three times a week. As they mature, you can reduce the frequency of watering to once a week, but make sure to adjust the watering schedule based on the specific needs of your date palm seedlings and the surrounding climate.
In addition to watering, providing adequate sunlight is crucial for the proper development of date palms. As mentioned earlier, date palms thrive in full sunlight, so it’s important to ensure they receive at least 6 to 8 hours of direct sunlight per day.
If you are growing date palm seedlings indoors, place them near a south-facing window or use fluorescent grow lights to supplement sunlight. Adjust the height and intensity of the grow lights to mimic natural sunlight as closely as possible.
Keep an eye on the seedlings to ensure that they are receiving optimal sunlight. If you notice them leaning or stretching towards the light, rotate the pots regularly to promote even growth and prevent the seedlings from becoming lopsided.
By providing adequate water and sunlight, you are creating the ideal conditions for your date palm seedlings to flourish. In the next step, we will discuss how to take care of the seedlings as they continue to grow.
To grow date seeds, soak them in water for 48 hours, then plant them in a well-draining soil mix. Keep the soil consistently moist and place the pot in a warm, sunny location. Be patient, as date seeds can take several weeks to germinate.
Step 6: Taking Care of Seedlings
As your date palm seedlings continue to grow, it’s important to provide them with proper care to ensure their health and vitality. Here are some essential tips to help you take care of your seedlings:
1. Fertilization: Date palm seedlings benefit from regular fertilization to support their growth. Use a slow-release fertilizer formulated for palm trees or a balanced organic fertilizer. Follow the instructions on the fertilizer packaging for the correct dosage and frequency of application.
2. Mulching: Apply a layer of mulch around the base of your seedlings to help retain moisture, suppress weed growth, and regulate soil temperature. Use organic mulch, such as wood chips or straw, and spread it in a 2 to 3-inch layer, taking care to keep it a few inches away from the trunk to prevent rot.
3. Pest and Disease Control: Monitor your seedlings for any signs of pests or diseases, such as aphids, scale insects, or fungal infections. If you notice any issues, treat them promptly with organic insecticides or fungicides, following the instructions on the product label. Regularly inspect the leaves and stems for any abnormalities.
4. Pruning: As your seedlings grow, prune off any dead or yellowing leaves to keep the plants looking tidy and to encourage healthy growth. Use clean and sterilized pruning shears to avoid transmitting any diseases.
5. Support: If your seedlings start to lean or become top-heavy, provide support by gently tying them to stakes or using plant ties. This will help them grow upright and prevent damage or breakage from strong winds or heavy rains.
6. Regular Care: Keep an eye on the moisture level of the soil and adjust your watering frequency as needed. Additionally, monitor the growth of the roots and consider repotting the seedlings into larger containers when they outgrow their current pots.
Remember that each date palm seedling may have different needs and growth rates, so observe your plants closely and make adjustments accordingly. With proper care and attention, your seedlings will continue to thrive and prepare for the next step in their journey: transplanting.
Step 7: Transplanting the Seedlings
As your date palm seedlings grow, they will eventually outgrow their original containers and require transplanting into larger pots or directly into the ground. Transplanting allows the seedlings to have more space for root development and encourages further growth. Here’s how to transplant date palm seedlings:
1. Choosing the Right Time: Transplant your seedlings during the spring or early summer when the weather is mild. This will give them the best chance of adjusting to their new environment and minimizing stress.
2. Selecting a Suitable Location: Whether you choose to transplant your seedlings into larger pots or into the ground, ensure that the location provides adequate sunlight, well-draining soil, and enough space for the date palm to grow to its full size. Consider the mature size of the date palm and plant it at least 10 feet away from any structures or other plants.
3. Preparing the Transplant Site: If you are planting the date palm seedlings in the ground, dig a hole that is twice as wide and deep as the seedling’s root ball. Loosen the soil around the hole to encourage root expansion and growth. If transplanting into a larger pot, choose a container that is at least 2-3 times larger than the current one, ensuring it has drainage holes.
4. Removing the Seedlings: Gently remove the seedlings from their current pots by carefully loosening the soil around the roots. Handle the seedlings with care to avoid damaging the delicate roots. If the roots are tightly packed, you can lightly tease them to encourage outward growth.
5. Placing the Seedlings: Position the seedlings in the new planting hole or pot, ensuring that they are at the same depth as they were in their original containers. The base of the trunk should be level with or slightly above the soil surface to avoid rot.
6. Filling in with Soil: Backfill the hole or pot with a mixture of well-draining soil, compost, and organic matter. Gently firm the soil around the roots, being careful not to compact it too tightly.
7. Watering: Give the newly transplanted seedlings a thorough watering to settle the soil and establish good root-to-soil contact. Continue to water regularly during the first few weeks to help the seedlings recover from transplant shock and encourage root establishment.
8. Care and Maintenance: After transplanting, continue caring for your date palm seedlings as outlined in Step 6. Monitor their progress and make adjustments to watering, fertilization, and pruning as needed.
Transplanting can be stressful for seedlings, so it’s important to provide them with extra care and attention during this time. With proper transplanting techniques and ongoing care, your date palm seedlings will continue to thrive and prepare for their future as majestic trees that bear delicious fruits.
Step 8: Pruning and Maintaining the Date Trees
Pruning is an essential aspect of maintaining the health, shape, and productivity of date palm trees. Regular pruning helps maintain an open canopy, removes dead or diseased fronds, and promotes optimal air circulation and light penetration. Here’s a step-by-step guide on pruning and maintaining date trees:
1. Timing: Prune your date palm trees during the dormant season, typically in late winter or early spring, before new growth appears. This ensures minimal stress to the tree and allows for faster healing and recovery.
2. Assess the Tree: Begin by assessing the overall health and structure of the tree. Look for dead or yellowing fronds, which should be pruned to maintain the aesthetic appeal and prevent potential hazards.
3. Removing Dead or Damaged Fronds: Using a sharp pruning tool, carefully remove any dead, damaged, or yellowing fronds. Cut as close to the base of the frond or the trunk as possible without damaging the trunk itself.
4. Prune Suckers and Water Sprouts: Date palms occasionally produce suckers or water sprouts, which are shoots that emerge from the base or trunk of the tree. Remove these suckers as they compete for resources and can weaken the overall structure of the tree.
5. Prune Fruit Clusters: If you are growing date palms for fruit production, thinning the fruit clusters can improve the quality of the dates. Remove excess fruits, spacing them out to ensure proper airflow and prevent over-crowding.
6. Maintain a Clean Canopy: Regularly remove any debris, dead fronds, or spent flower spikes that may accumulate in the canopy of the tree. This helps prevent pest infestation and maintains a visually appealing appearance.
7. Sterilize Tools: Before and after pruning, sterilize your pruning tools with rubbing alcohol or a solution of one part bleach to nine parts water. This helps prevent the spread of diseases from one tree to another.
8. Observing Safety: When pruning date palm trees, ensure your safety by wearing gloves, long sleeves, and eye protection. Be cautious of any overhead power lines or obstacles while working aloft.
9. Maintaining Regular Maintenance: Beyond pruning, it’s important to maintain regular maintenance practices. This includes providing adequate watering, fertilizing, and inspecting for any signs of pests or diseases. Consistent care will help keep your date trees healthy and productive.
By following these pruning and maintenance practices, your date palm trees will remain robust, visually appealing, and ready to yield bountiful harvests of sweet and delicious dates for years to come.
Read more: What Is The Sell Date On A Seed Packet For?
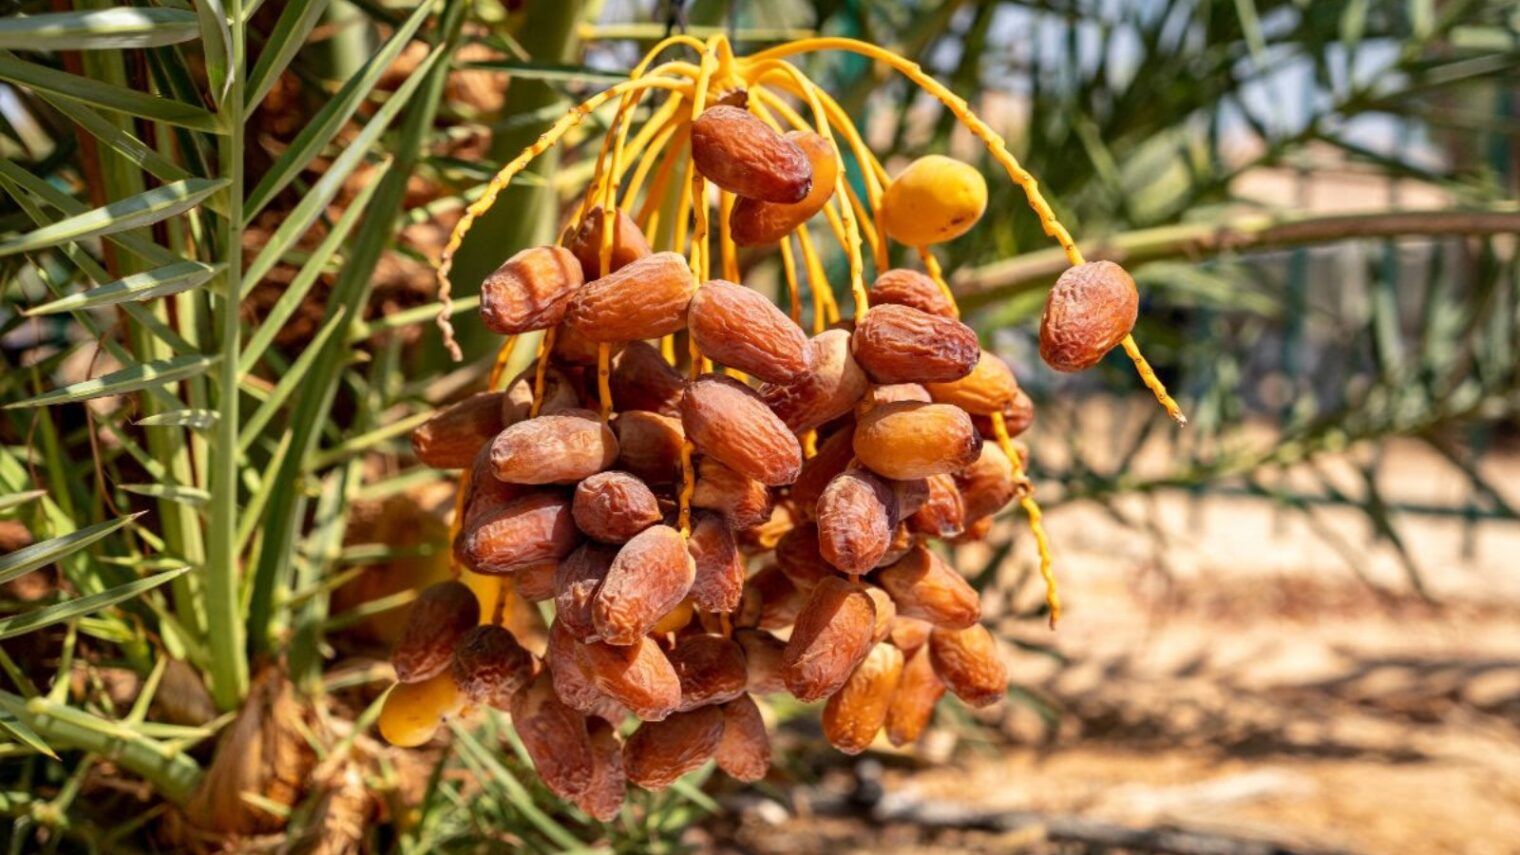
Step 9: Harvesting the Dates
After patiently nurturing your date palm trees, the time will come when the sweet rewards of your labor are ready for harvest. Harvesting dates requires careful observation and timing to ensure optimal ripeness. Here’s how to harvest your dates:
1. Observing Ripeness: Date clusters go through various stages of ripeness, starting from a green or yellow color and progressing to a rich, golden brown hue. Observe the color change and look for a plump, wrinkled texture in the dates. Ripe dates should feel soft and have a slightly sticky or syrupy texture.
2. Testing for Ripeness: Select a few dates from different parts of the tree and gently taste-test them for sweetness. If the dates have reached their desired sweetness level, it’s time to proceed with the harvest.
3. Preparing for Harvest: Before harvesting, ensure you have the necessary supplies, such as a ladder or long pole, pruning shears, a harvesting container, and protective gloves. Clear away any debris or obstructions around the base of the tree to create a clean working area.
4. Harvesting Clusters: Approach the tree and carefully climb the ladder or use a long pole with pruning shears to reach the date clusters. Cut the stem of each cluster near the base, taking care not to damage the surrounding fruits or the tree itself. Gently place the harvested clusters into your harvesting container.
5. Handling the Dates: Handle the harvested dates with care to avoid bruising or damaging them. Dates can be quite delicate, so be gentle when handling and transferring them to storage containers.
6. Post-Harvest Processing: Once harvested, remove any loose fronds or debris from the harvested clusters. Avoid washing the dates as this can affect their texture and flavor. Instead, gently brush off any loose dirt or dust using a soft brush or cloth.
7. Storing the Dates: After harvesting, store your dates in a cool, dry place with proper ventilation. Dates can be stored at room temperature for several weeks or in the refrigerator for a longer shelf life. If storing for an extended period, consider freezing them to maintain freshness and quality.
8. Enjoying the Fruits of Your Labor: Now comes the best part – enjoying the delicious fruits of your labor! Dates can be eaten fresh, incorporated into various recipes, or dried for longer-term storage. Savor the sweetness and indulgence that your own homegrown dates bring.
Harvesting dates from your very own palm trees is a truly rewarding experience. As you continue the cycle of nurturing, harvesting, and enjoying the fruits of your labor, your date palms will continue to thrive and provide you with delightful harvests year after year.
Conclusion
Growing date palms from seeds is a fascinating journey that allows you to witness the beauty and productivity of these remarkable trees right in your own garden. While it may require patience and attention to detail, the rewards are well worth the effort.
Throughout this guide, we have covered the step-by-step process of growing date seeds, from collecting the seeds to harvesting the sweet and delicious dates. Each step plays a crucial role in the success of your date palm cultivation, from preparing the seeds for planting to providing adequate water, sunlight, and care.
Remember to choose fresh and viable seeds, prepare them properly, and provide the right growing conditions. Water and sunlight are vital for the growth of your seedlings, so ensure they receive the appropriate amounts. As the seedlings grow, be diligent in pruning and maintaining the date trees to promote health, productivity, and aesthetic appeal.
Finally, the time will come to harvest your dates. Observe their ripeness, delicately harvest the clusters, and store the fruits properly to enjoy the fruits of your labor for weeks or months to come.
Gardening, in any form, provides not only a connection to nature but also a sense of accomplishment and satisfaction. Growing date palms from seeds allows you to experience the growth and development of these trees firsthand, witnessing their transformation from tiny seeds to majestic trees bearing abundant fruits.
So, why not embark on this rewarding gardening adventure and add the beauty and delight of date palms to your landscape? It’s a journey that will not only enhance the aesthetics of your garden but also provide you with the joy of nurturing and enjoying the bounties of nature.
Start collecting your date seeds, prepare the soil, and embark on this fulfilling journey of growing date palms from seeds. Happy gardening!
Frequently Asked Questions about How To Grow Date Seeds
Was this page helpful?
At Storables.com, we guarantee accurate and reliable information. Our content, validated by Expert Board Contributors, is crafted following stringent Editorial Policies. We're committed to providing you with well-researched, expert-backed insights for all your informational needs.

0 thoughts on “How To Grow Date Seeds”