Home>Garden Essentials>How Long To Grow Herbs From Seed
Garden Essentials
How Long To Grow Herbs From Seed
Modified: October 28, 2024
Learn how long it takes to grow herbs from seed in your garden and start enjoying the rewards of your own homegrown herbs.
(Many of the links in this article redirect to a specific reviewed product. Your purchase of these products through affiliate links helps to generate commission for Storables.com, at no extra cost. Learn more)
Introduction
Gardening is a fulfilling and rewarding hobby that allows you to connect with nature and grow your own fresh ingredients. One aspect of gardening that many people find particularly enjoyable is growing herbs from seed. Not only does this provide a sense of accomplishment, but it also allows you to have a bountiful supply of aromatic and flavorful herbs at your fingertips.
When it comes to growing herbs from seed, it’s important to have a good understanding of the process and the time it takes for them to mature. This knowledge will help you plan your gardening schedule more effectively and ensure you have a successful crop. In this article, we will explore how long it typically takes for herbs to grow from seed and provide tips on how to optimize their growth.
Key Takeaways:
- Growing herbs from seed is a rewarding journey that requires choosing the right seeds, preparing the soil, and providing proper care. It’s a fulfilling experience that brings nature’s flavors to your fingertips.
- To grow herbs from seed, you need to choose the right seeds, prepare the soil, provide proper care, and harvest at the right time. It’s a hands-on, aromatic adventure that brings nature’s bounty to your home.
Read more: How To Grow Herbs From Seeds Indoors
Choosing the Right Seeds
Choosing the right seeds is a crucial first step in growing herbs from scratch. With numerous varieties and options available, it’s important to select seeds that are suitable for your specific needs and growing conditions. Here are some factors to consider when choosing herb seeds:
- Herbs you’ll use frequently: Think about the herbs you tend to use in your cooking or for medicinal purposes. Select seeds of the herbs you’ll use most often to ensure you get the most value out of your garden.
- Climate compatibility: Different herbs thrive in different climates. Consider the climate in your region and select seeds that are known to thrive in those conditions. This will increase the chances of success and ensure optimal growth.
- Growing method: Determine whether you’ll be growing your herbs indoors, in containers, or in an outdoor garden. Some herbs are better suited to specific growing methods, so choose seeds accordingly.
- Seed quality: It’s important to choose high-quality seeds from reputable suppliers or seed banks. Look for seeds that are fresh, viable, and free from disease or genetic alterations. This will significantly impact the success of your herb-growing venture.
Once you’ve identified the herbs you want to grow and have selected the appropriate seeds, you’re ready to move on to the next steps in the gardening process.
Preparing the Soil
Preparing the soil is a crucial step in creating a favorable environment for your herb seeds to germinate and thrive. Here are some key points to keep in mind when preparing the soil:
- Choose the right location: Select a spot in your garden that receives adequate sunlight and has well-draining soil. Most herbs prefer full sun, so aim for at least 6-8 hours of direct sunlight per day.
- Clear the area: Remove any weeds, rocks, or debris from the soil surface. This will provide a clean and unobstructed space for your herb seeds to grow.
- Loosen the soil: Use a garden fork or a tiller to loosen the soil to a depth of 6-8 inches. This will improve soil aeration and drainage, allowing the herb roots to penetrate easily.
- Add organic matter: Enrich the soil with organic matter such as compost or well-rotted manure. This will improve the soil structure, enhance water retention, and increase nutrient availability for the herbs.
- Balance the pH: Most herbs prefer a slightly acidic to neutral soil pH level. Test the pH of your soil using a soil testing kit and make adjustments with agricultural lime or sulfur if necessary.
By taking the time to properly prepare the soil, you’re creating an ideal foundation for your herbs to establish strong root systems and grow vigorously.
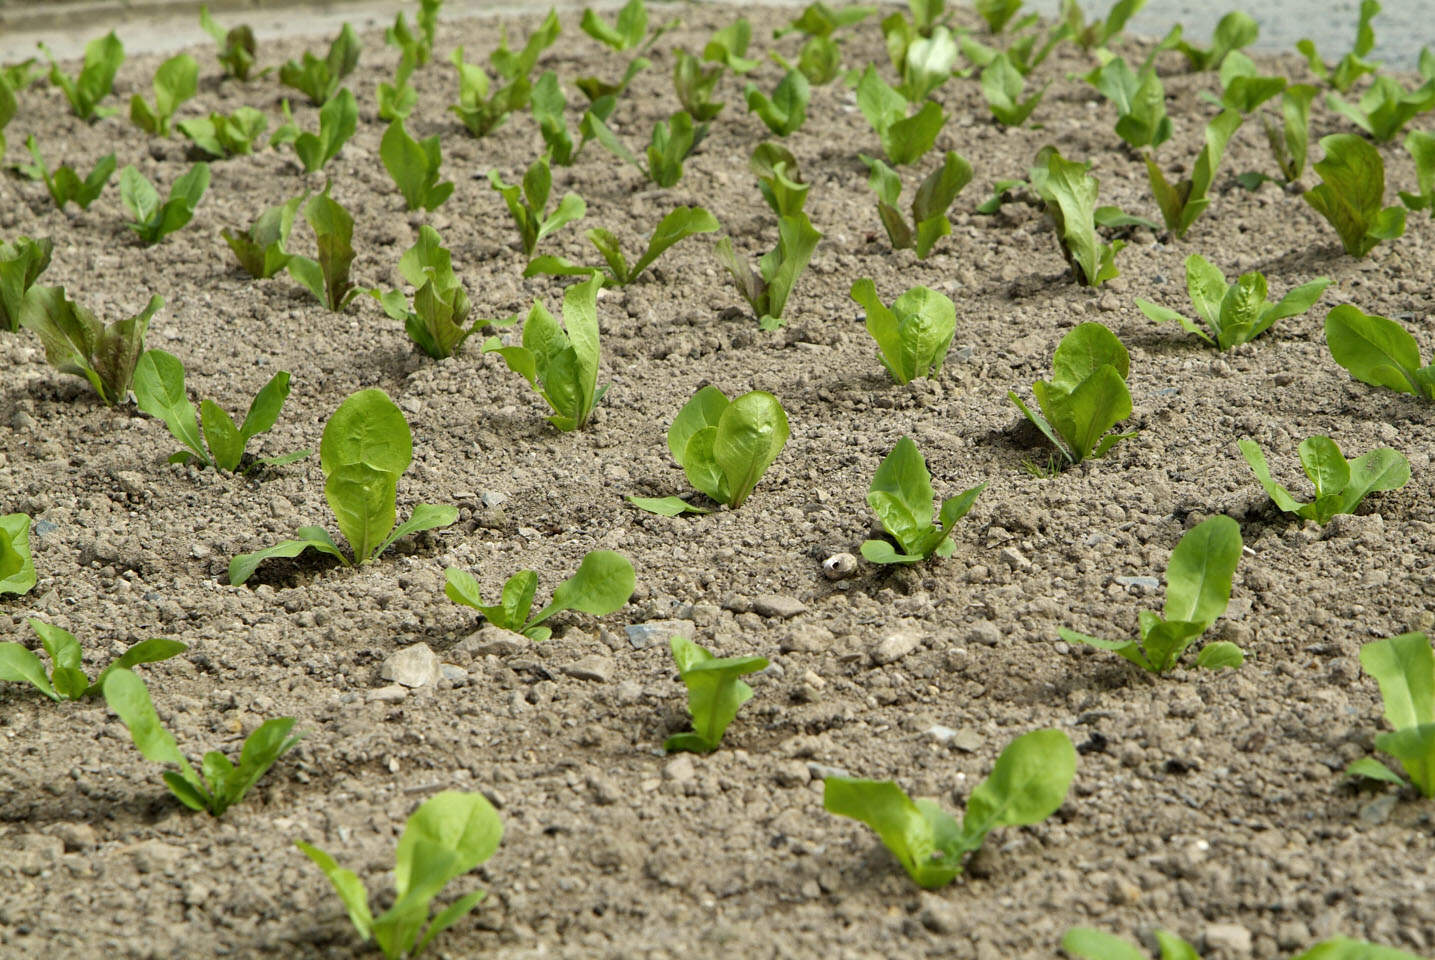
Planting the Seeds
After preparing the soil, it’s time to sow your herb seeds. Follow these steps to ensure successful planting:
- Read the seed packet instructions: Each herb may have specific requirements for planting depth, spacing, and timing. Refer to the seed packet or the guidelines provided by the supplier to get accurate information.
- Prepare the planting holes: Use your finger or a small trowel to create shallow planting holes according to the recommended depth. Space the holes appropriately based on the herb’s growth habit and anticipated size.
- Place the seeds: Drop one or two seeds into each hole. If the seeds are very small, mix them with a bit of sand or vermiculite to help with even distribution.
- Cover the seeds: Gently cover the seeds with a thin layer of soil or vermiculite. Be cautious not to bury them too deep, as this may hinder germination.
- Water thoroughly: Give the newly planted seeds a good watering to ensure the soil is evenly moist. Avoid overwatering as this may lead to fungal diseases.
Remember to label your herb plantings to keep track of what you’ve planted. Place plant markers or use a garden journal to document the varieties and planting dates.
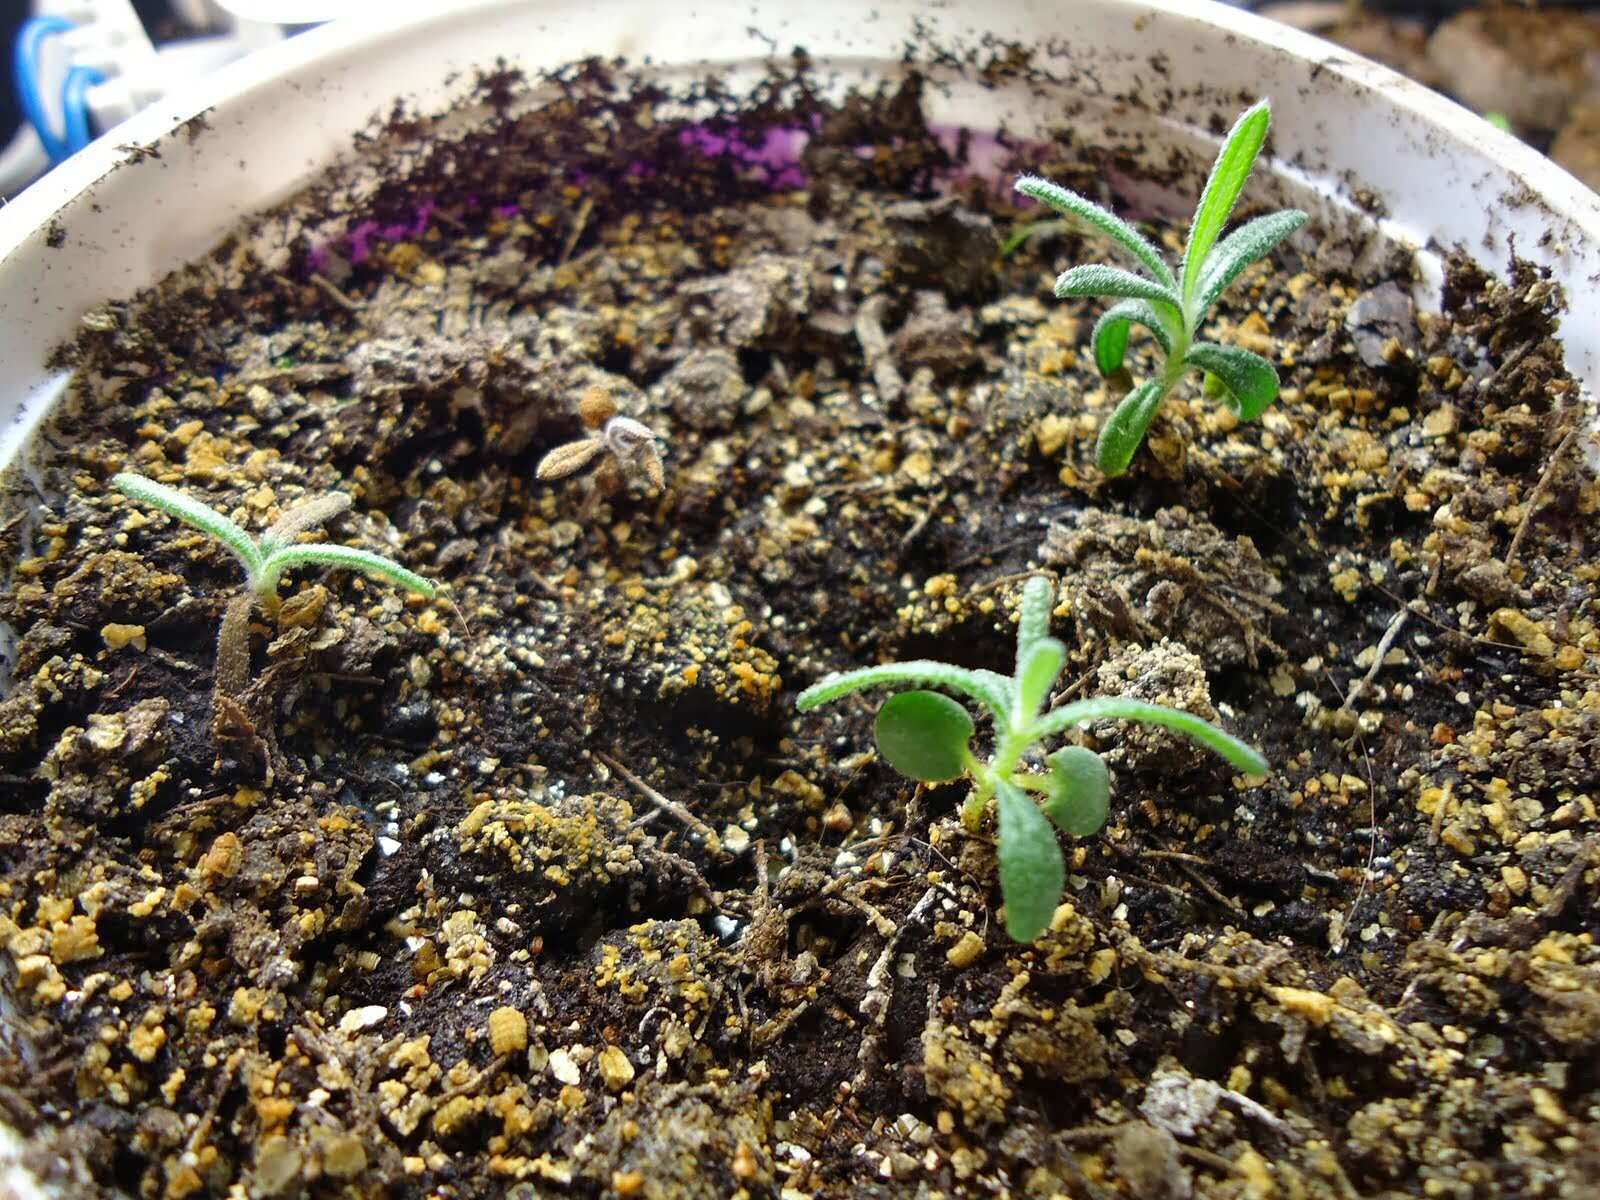
Depending on the herb, germination can typically take anywhere from a few days to a couple of weeks. Be patient and keep the soil consistently moist until the seeds sprout.
Now that your herb seeds are successfully planted, it’s crucial to provide proper care to facilitate their growth and development.
Watering and Fertilizing
Proper watering and fertilizing are essential for the healthy growth of your herb plants. Here are some guidelines to ensure your herbs receive adequate moisture and nutrients:
- Watering:
- Fertilizing:
Herbs generally prefer moderate watering rather than being constantly soggy or bone dry. Check the moisture level of the soil regularly by sticking your finger into the top inch. If it feels dry, it’s time to water. Avoid overwatering, as this can lead to root rot.
When watering, aim to moisten the entire root zone of the plant. Water deeply at the base of the plants rather than sprinkling leaves. Mulching around the herbs can help retain moisture in the soil and reduce evaporation.
Most herbs do well with minimal fertilizer, as they prefer soil that is not overly rich. However, a light application of organic fertilizer once or twice during the growing season can help provide necessary nutrients.
Choose a balanced organic fertilizer, or use compost or well-rotted manure as a natural alternative. Follow the package instructions for proper application rates, or use a dilute solution of liquid fertilizer for potted herbs.
Always avoid over-fertilizing, as this can lead to excessive foliage growth at the expense of flavor and aromatic qualities.
It’s important to note that watering and fertilizing needs may vary depending on the specific herb variety, the growing conditions, and the climate. Observe the needs of your herbs and adjust your watering and fertilizing routine accordingly.
Providing adequate water and nutrients will help promote healthy herb growth, lush foliage, and maximize their flavor and aroma potential.
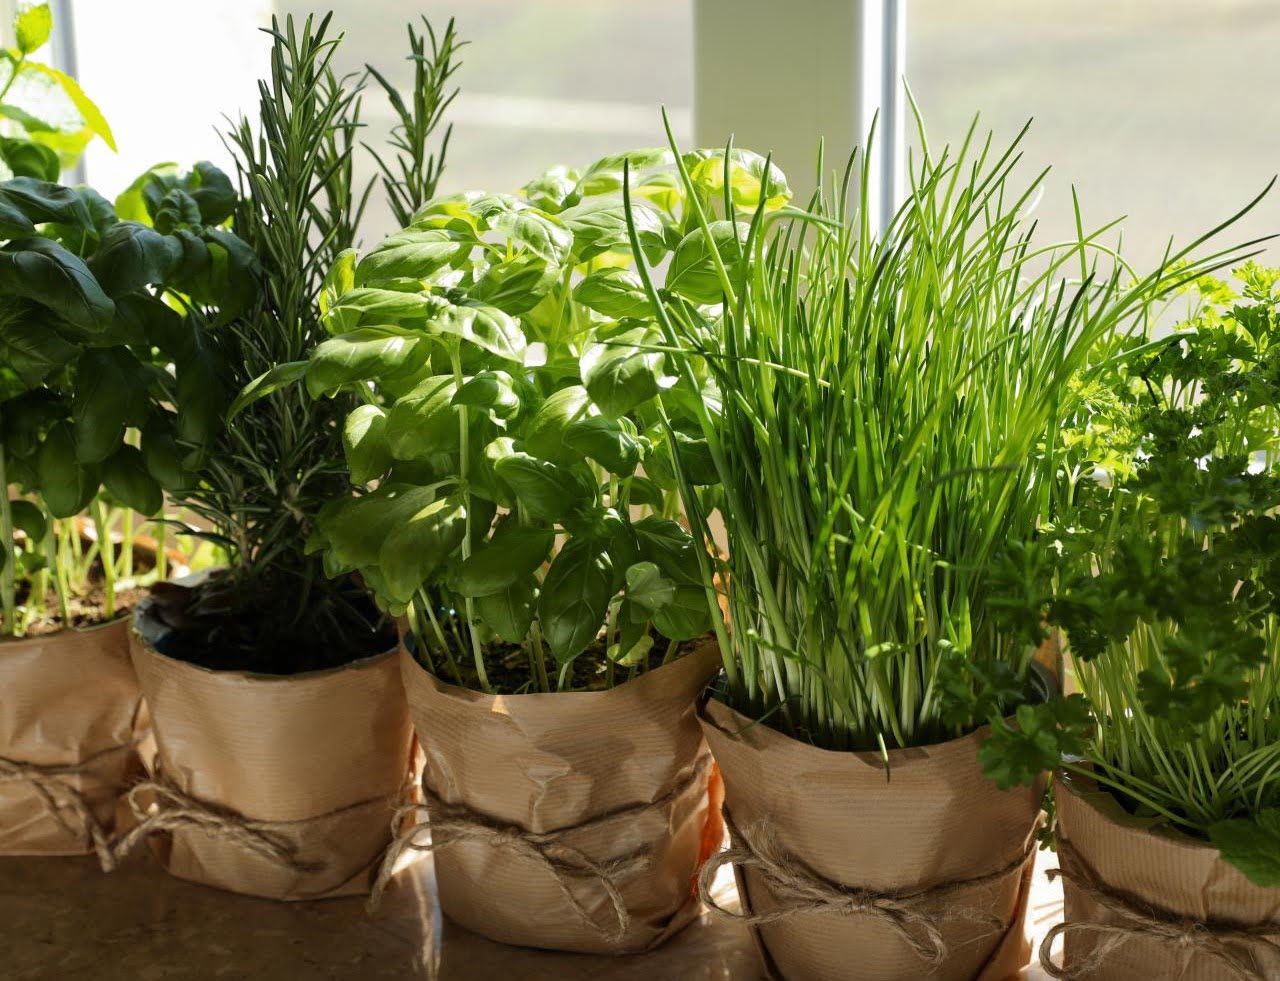
Most herbs take 1-3 weeks to germinate and 2-3 months to grow to a harvestable size. Keep the soil moist and provide plenty of sunlight for best results.
Read more: How To Grow Herbs From Seeds In Pots
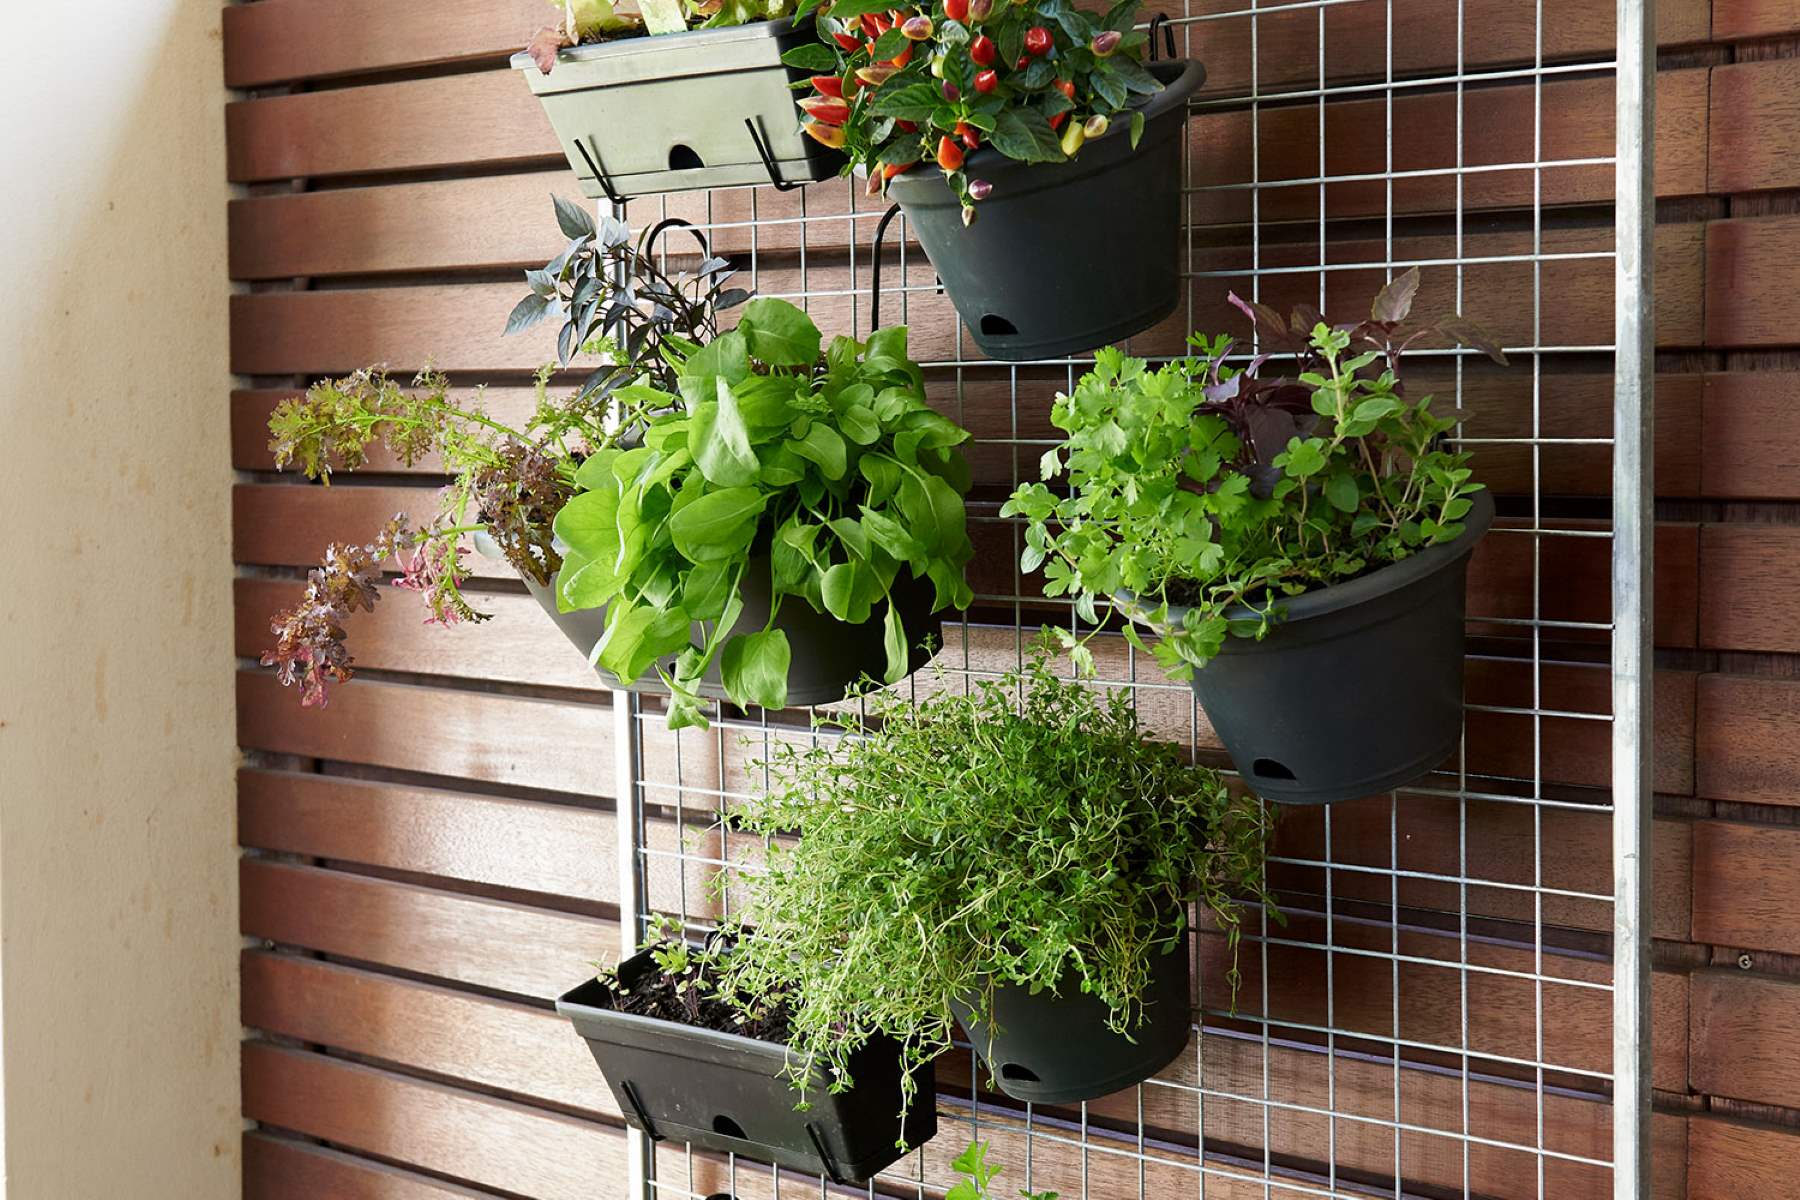
Providing Adequate Light
Light is an essential element for the growth and development of herbs. Adequate sunlight or artificial light is crucial for healthy herb plants. Here are some tips for providing the right amount of light:
- Outdoor growing:
- Indoor growing:
- Rotate the herbs:
If you’re growing herbs outdoors, choose a location that receives at least 6-8 hours of direct sunlight every day. Most herbs thrive in full sun, which is defined as 6 or more hours of direct sunlight.
Keep in mind that some herbs, such as mint or parsley, can tolerate partial shade, but they will still require a minimum of 4-6 hours of sunlight.
If you’re growing herbs indoors, ensure they receive sufficient light by placing them near a bright window that faces south or southwest. This will provide the best quality and duration of light exposure.
If natural light is limited, consider using supplemental artificial lighting such as fluorescent or LED grow lights. Position the lights close to the herbs and keep them on for about 12-16 hours a day.
To ensure even light distribution and prevent leggy growth, rotate your herbs every few days if they’re growing in a window sill. This will ensure all sides of the plant receive equal light exposure.
It’s important to monitor your herbs for signs of inadequate light. If you notice elongated stems, pale or yellowing leaves, or weak growth, it could be a sign that your herbs are not receiving enough light. Make adjustments to provide more direct sunlight or increase the duration and intensity of artificial lighting.
By providing optimal light conditions, your herbs will thrive and produce robust foliage, enhancing their flavor and aroma.
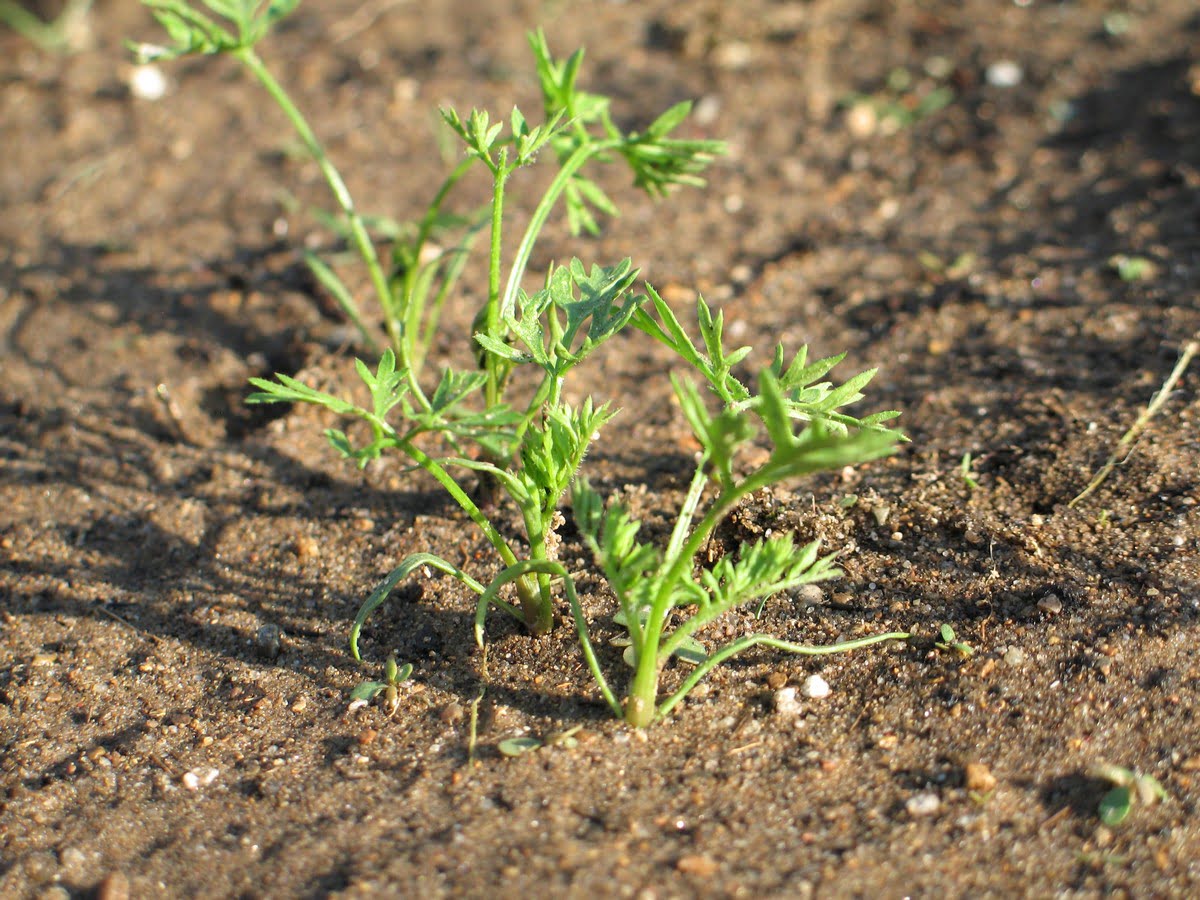
Monitoring Growth Progress
As you nurture your herb plants, it’s important to regularly monitor their growth progress. This allows you to identify any potential issues and make adjustments to ensure the health and vitality of your herbs. Here are some key aspects to monitor:
- Height and bushiness:
- Foliage color:
- Pest and disease presence:
- Watering and soil moisture:
- Growth rate:
Observe the overall height and bushiness of your herb plants. Ideally, herbs should have a compact and bushy growth habit. If they’re becoming tall and leggy, it may indicate insufficient light or overcrowding. Consider pruning or providing more light to promote a more compact growth.
Check the color of the herb foliage regularly. Vibrant, green leaves are a sign of healthy growth. Pale, yellow, or brown leaves may be an indication of nutrient deficiencies, overwatering, or pests. Take appropriate actions to address any issues and maintain the foliage’s healthy appearance.
Regularly inspect your herb plants for signs of pests or diseases. Common pests that can affect herbs include aphids, whiteflies, and caterpillars. Look for chewed leaves, distorted growth, or sticky residue as early indicators of pest presence. If necessary, use organic pest control methods to keep the infestation in check.
Monitor the soil moisture regularly to ensure your herbs are receiving adequate water. Stick your finger into the soil to check the moisture level. If it feels dry, water your herbs thoroughly. Overwatering can lead to root rot and other problems, so maintain a balance to prevent waterlogged conditions.
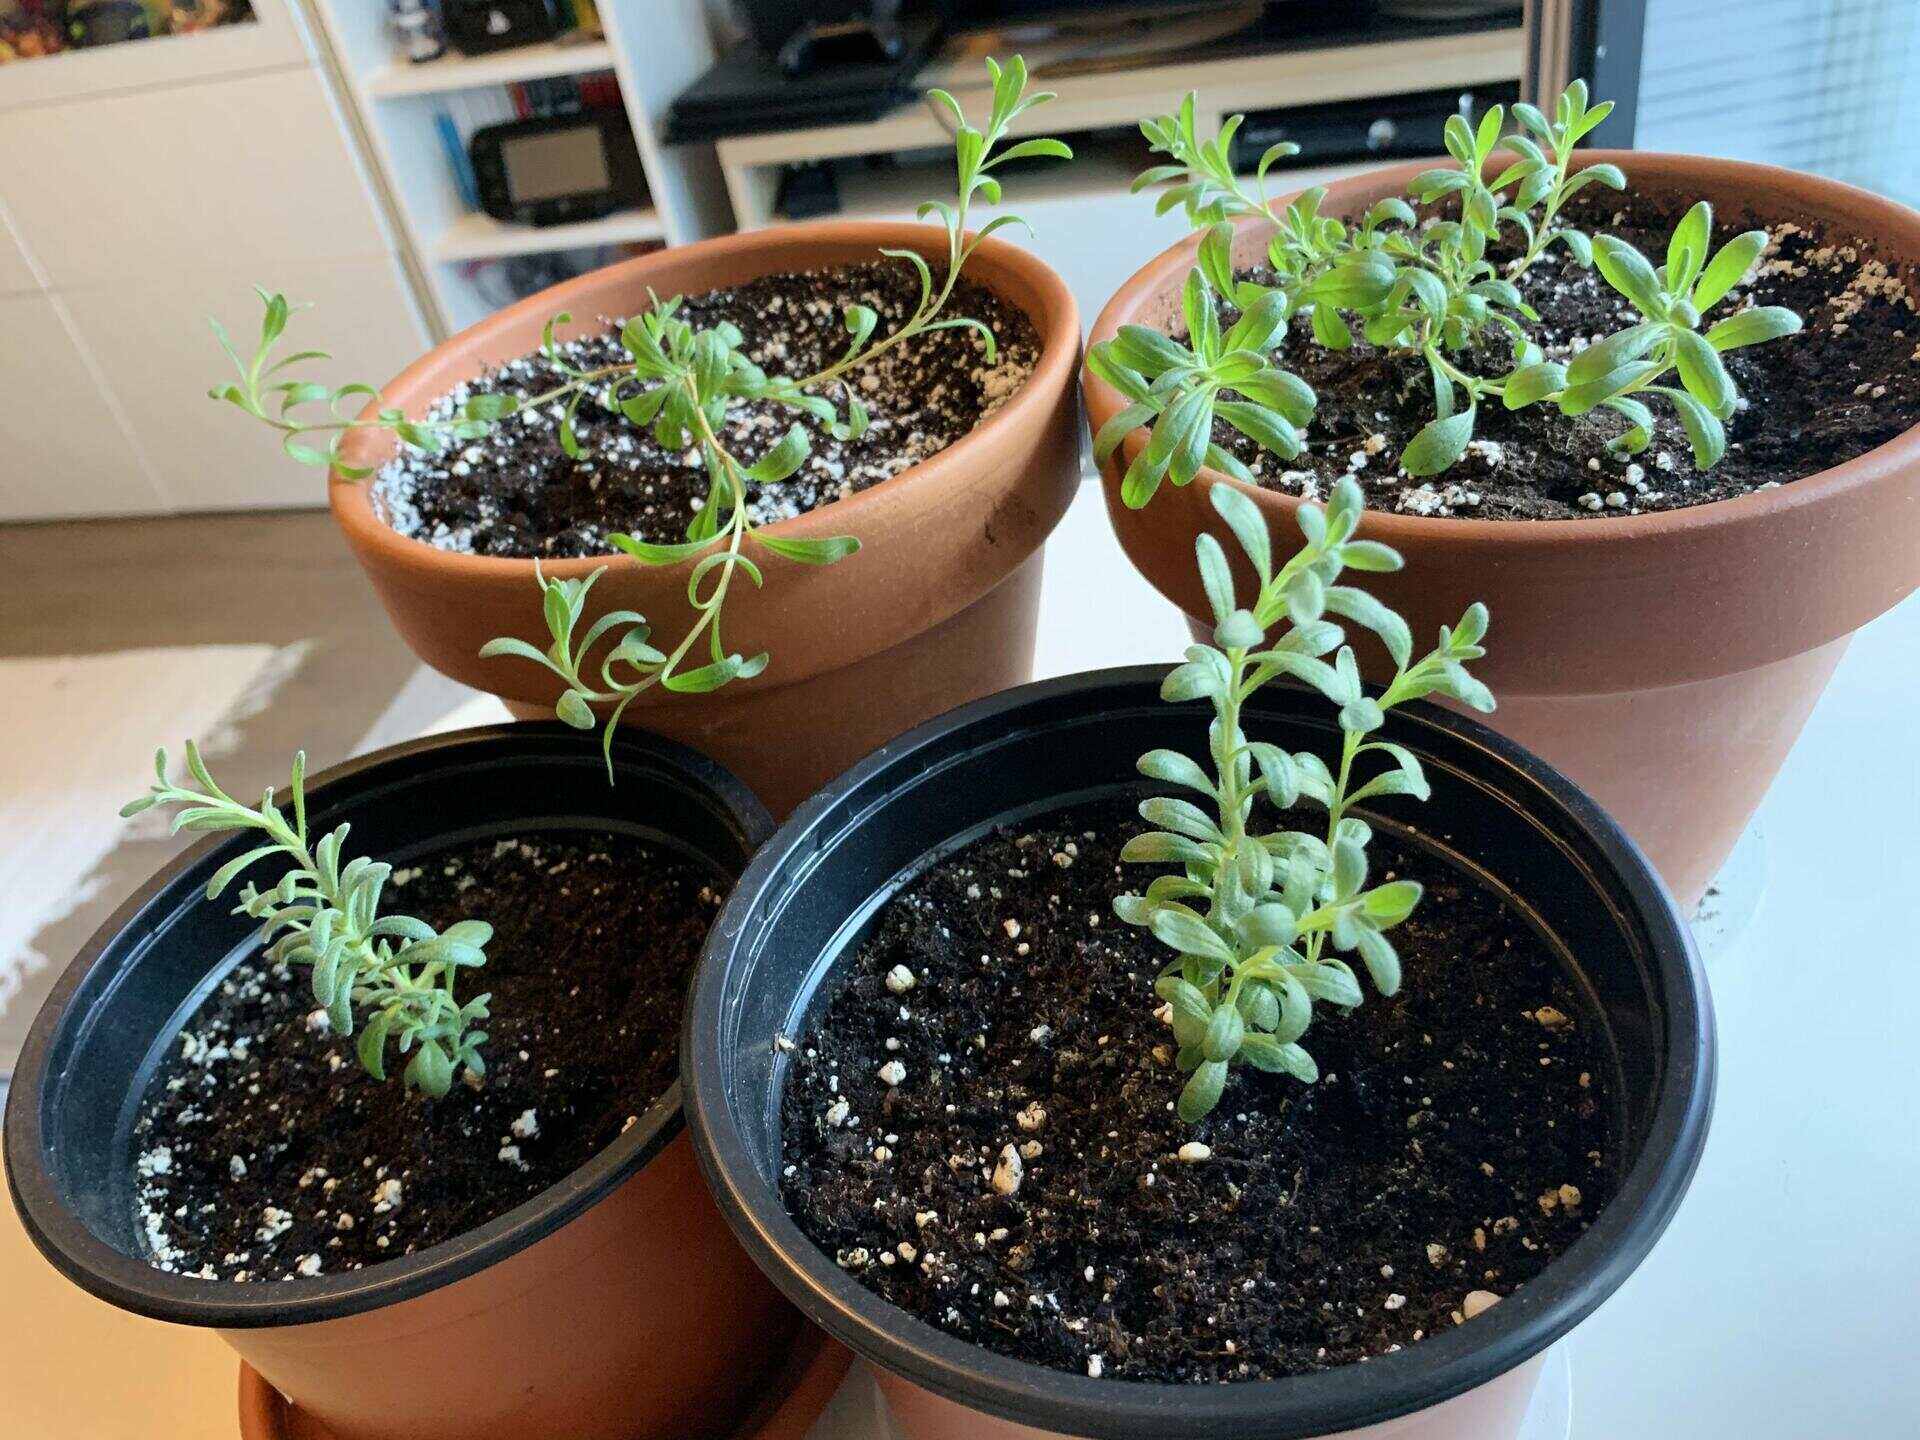
Observe the overall growth rate of your herbs. Different herbs have different growth rates, so it’s important to know what to expect. Slow growth may necessitate adjustments in light, water, or nutrient levels, while fast growth may require more frequent pruning or harvesting.
By regularly monitoring these aspects of your herb plants, you can detect and address any issues promptly, ensuring optimal growth and a bountiful harvest of flavorful herbs.
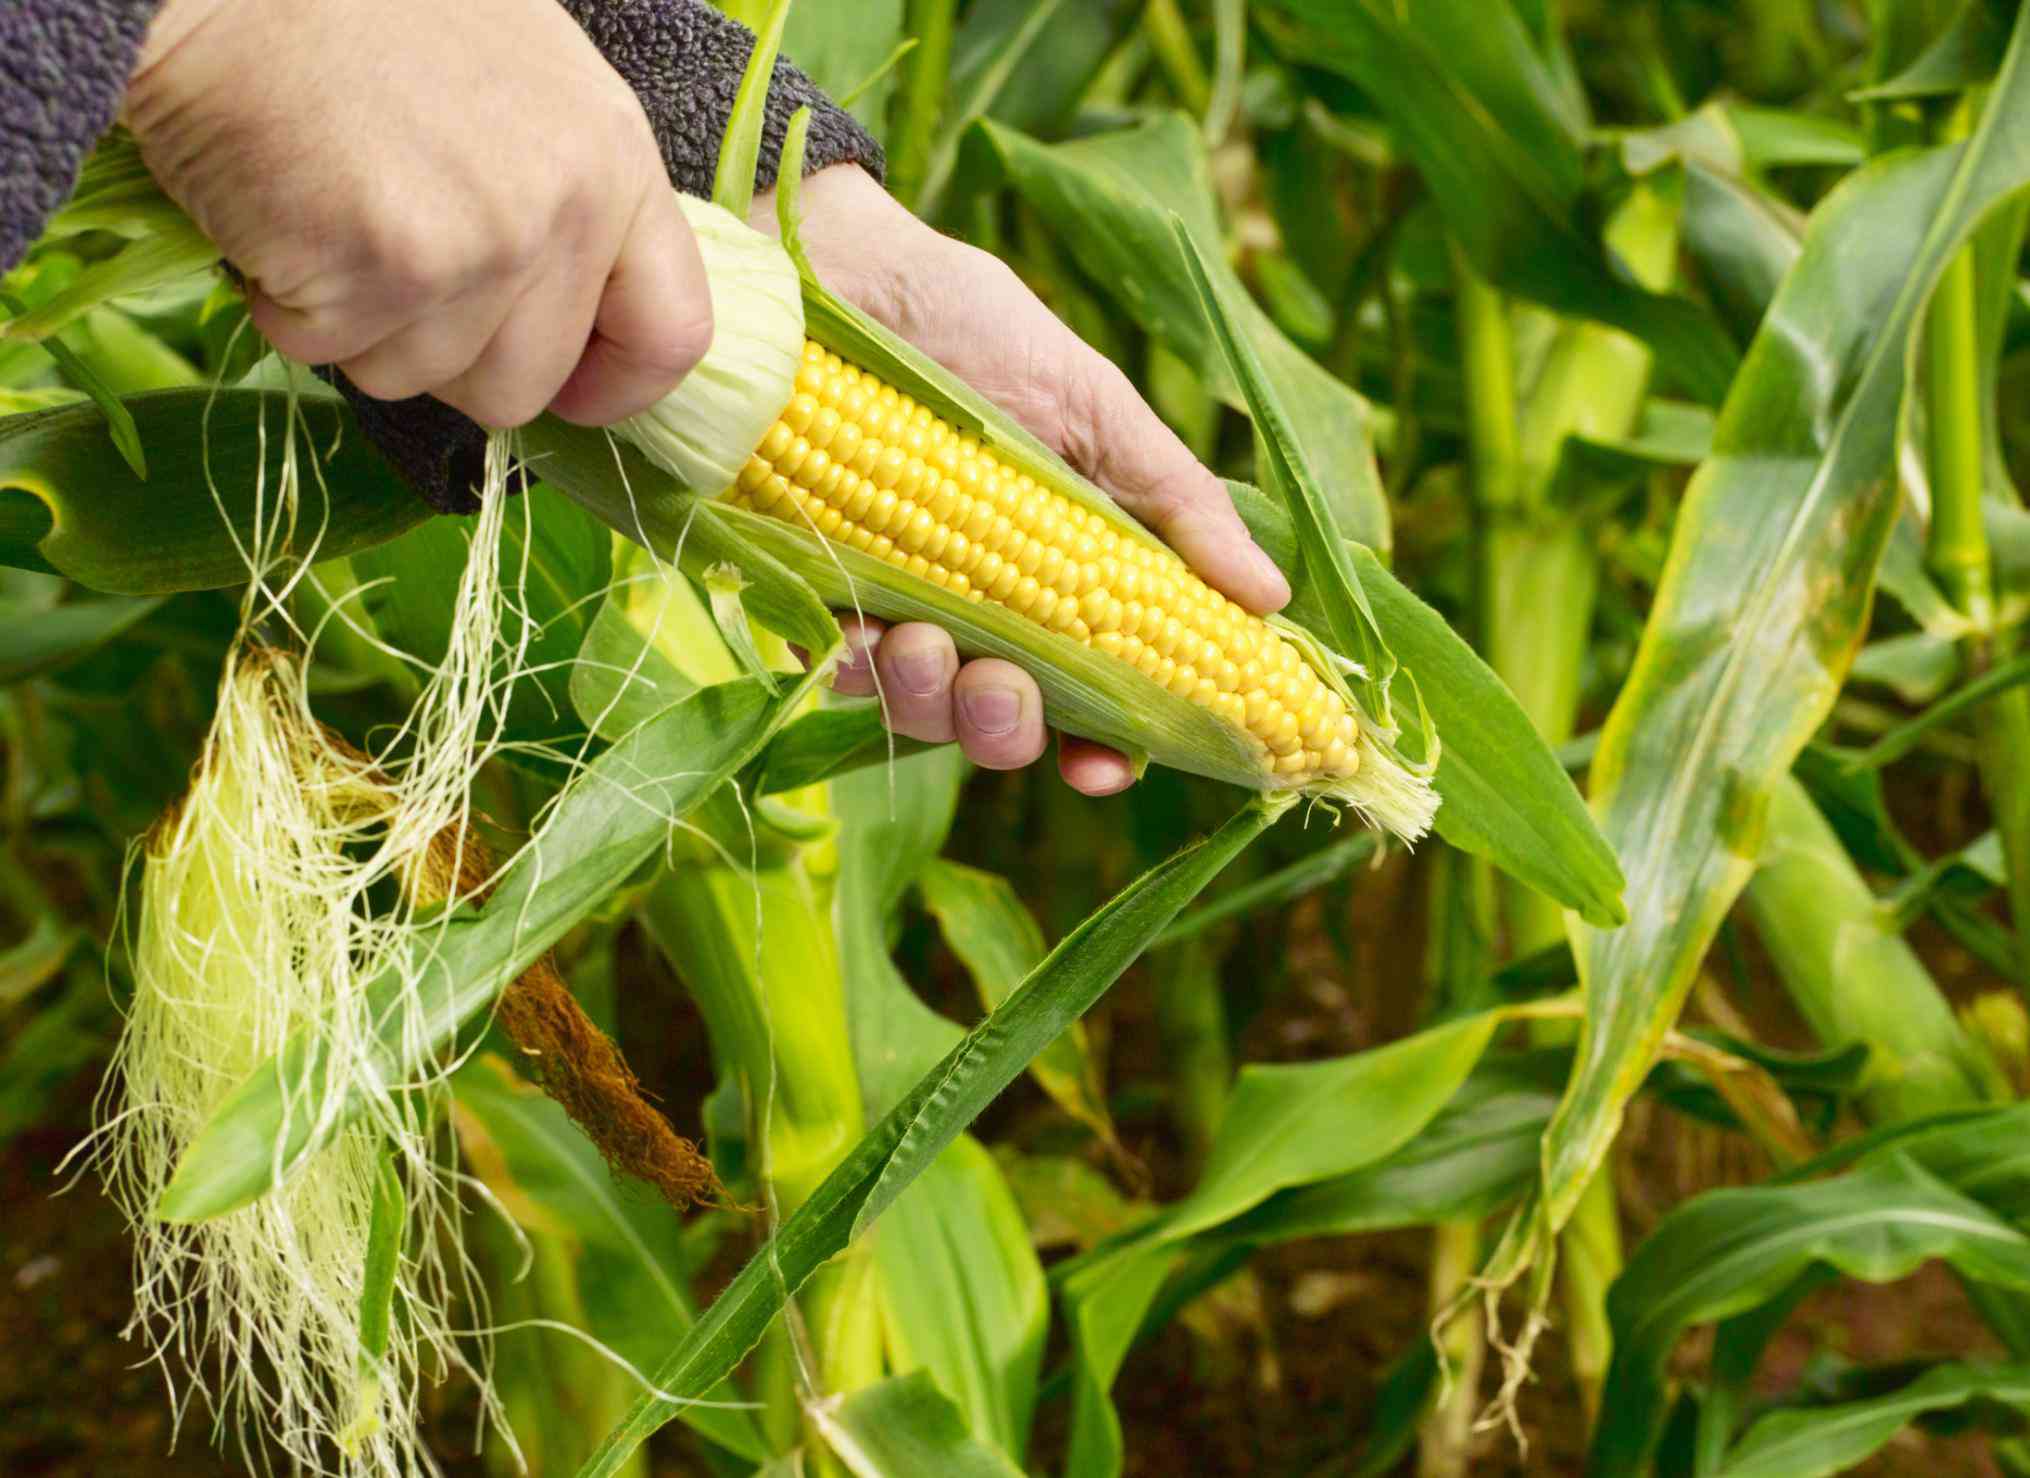
Harvesting Herbs
Harvesting your herbs at the right time is crucial to enjoy their flavors and aromas to the fullest. Here are some guidelines to help you harvest your herbs effectively:
- Timing:
- Prune rather than pluck:
- Leave enough foliage for regrowth:
- Harvest in the morning:
- Storage and preservation:
Herbs should be harvested when they have reached their prime growing stage. Typically, this is before they flower, when the foliage is at its most flavorful and aromatic. Keep in mind that different herbs have different optimal harvesting times, so it’s important to research the specific herb you’re growing.
Instead of plucking leaves one by one, use sharp scissors or pruning shears to prune your herbs. This method helps promote bushier growth and prevents damage to the plant. Start by harvesting the outer leaves or branches, leaving the inner parts to continue growing.
When harvesting, be mindful not to remove more than one-third of the plant’s foliage at a time. Leaving enough leaves or branches ensures that the herb can continue growing and regenerating for future harvests.
For the best flavor and aroma, harvest your herbs in the morning after the dew has evaporated but before the sun is at its peak. At this time, the essential oils responsible for the herbs’ taste and fragrance are at their highest concentration.
After harvesting, immediately rinse the herbs gently under cold water to remove any dirt or debris. Pat them dry with a paper towel or use a salad spinner. Store herbs by drying, freezing, or using them fresh. Each herb may have specific recommendations for storage, so research the best method for your particular herbs.
Remember, the more regularly you harvest your herbs, the more they will continue to grow and produce. Enjoy the pleasure of cultivating your own herbs and savor the exceptional flavors they bring to your culinary creations.
Conclusion
Growing herbs from seed is a fulfilling and rewarding experience that allows you to cultivate your own fresh and aromatic ingredients. By following the right steps and providing proper care, you can enjoy a bountiful supply of flavorful herbs. Here’s a quick recap of the key points discussed:
Choosing the right seeds is crucial. Consider the herbs you frequently use, your climate, and growing method to make the best selections. Preparing the soil by clearing debris, loosening it, adding organic matter, and balancing the pH sets the foundation for successful growth. Planting the seeds at the right depth, providing adequate water, and labeling the plantings ensures healthy germination and growth.
Watering and fertilizing your herbs appropriately, providing adequate light, and rotating them to promote even growth are essential for their health and vitality. Regularly monitoring their growth progress, including height, foliage color, pest and disease presence, and moisture levels, helps you address any issues promptly.
Finally, harvesting your herbs at the right time and using proper techniques, such as pruning rather than plucking, ensures optimal flavor and encourages more growth. Storing and preserving the herbs properly allows you to enjoy their freshness even after the growing season ends.
Remember, the journey of growing herbs from seed is not just about the end result but also the joy and satisfaction of nurturing a plant from its beginnings. Get your hands dirty, experiment with different varieties, and savor the flavors and aromas that only freshly grown herbs can provide.
So, whether you have a spacious garden or a small windowsill, take the plunge and start growing your herbs from seed. With a little patience, care, and attention, you can create a thriving herb garden that will enhance your culinary creations and bring a touch of nature to your home.
Happy herb gardening!
Frequently Asked Questions about How Long To Grow Herbs From Seed
Was this page helpful?
At Storables.com, we guarantee accurate and reliable information. Our content, validated by Expert Board Contributors, is crafted following stringent Editorial Policies. We're committed to providing you with well-researched, expert-backed insights for all your informational needs.


0 thoughts on “How Long To Grow Herbs From Seed”