Home>Garden Essentials>How To Grow Hydrangeas From Seeds


Garden Essentials
How To Grow Hydrangeas From Seeds
Modified: March 15, 2024
Learn how to grow beautiful hydrangeas from seeds in your garden with our expert tips and techniques. Create a stunning floral display with our step-by-step guide.
(Many of the links in this article redirect to a specific reviewed product. Your purchase of these products through affiliate links helps to generate commission for Storables.com, at no extra cost. Learn more)
Introduction
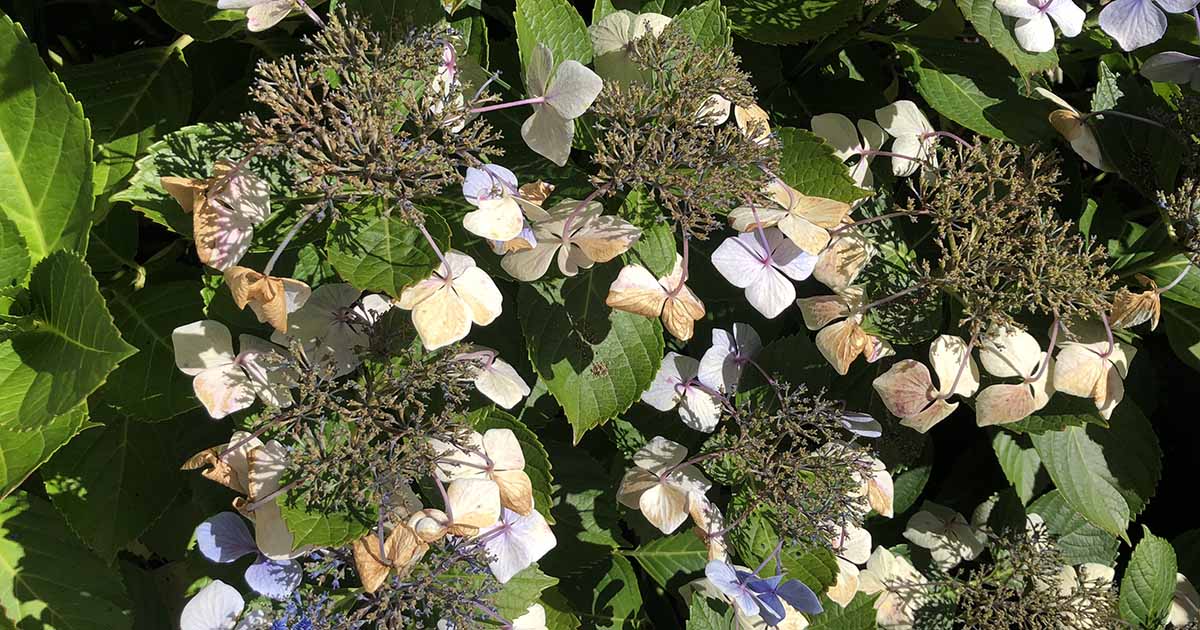
Hydrangeas are beautiful flowering plants that can add a pop of color and elegance to any garden. While they are typically propagated through cuttings or purchased as established plants, growing hydrangeas from seeds can be a rewarding and cost-effective way to expand your garden. Plus, it gives you the opportunity to witness the entire lifecycle of these stunning blooms.
Growing hydrangeas from seeds may require a bit more time and patience compared to other methods, but the end result is well worth it. Not only will you have a sense of accomplishment watching your seeds sprout and grow into healthy plants, but you’ll also have a unique variety of hydrangeas that you nurtured from the very beginning.
In this article, we will guide you through the process of growing hydrangeas from seeds. Each step will provide you with valuable tips and techniques to ensure successful germination and growth. So, roll up your sleeves and let’s dive into the world of growing hydrangeas from seeds!
Key Takeaways:
- Growing hydrangeas from seeds requires patience and attention to detail, from preparing the seeds to caring for the young plants. With the right steps and care, you can witness the beautiful blooms in your garden.
- Providing ongoing care and maintenance, such as regular watering, fertilization, and protection from pests, ensures that your hydrangeas thrive and bloom year after year. Embrace the joy of growing your own vibrant hydrangeas!
Read more: How Long To Grow Hydrangeas From Seed
Step 1: Gathering the Necessary Materials
Before you embark on your journey of growing hydrangeas from seeds, it’s important to gather all the necessary materials. Here’s a list of what you’ll need:
- Hydrangea seeds: You can either collect seeds from existing hydrangea plants or purchase them from a reputable seed supplier. Make sure to choose a variety that suits your preferences and growing conditions.
- Potting mix: Opt for a quality potting mix that is well-draining and rich in organic matter. Avoid using garden soil, as it can be too heavy and may lead to poor seed germination.
- Seed trays or pots: Use small seed trays or pots with drainage holes to sow the hydrangea seeds. These containers should be sterilized to prevent any potential diseases or pathogens from affecting the seeds.
- Plastic wrap or a glass cover: To create a mini greenhouse effect, cover the seed trays or pots with plastic wrap or use a glass cover. This helps retain moisture and create a warm environment for germination.
- Grow lights or a sunny location: Hydrangea seeds require consistent light to germinate and grow. If you don’t have access to a sunny spot, consider using grow lights to provide the necessary amount of light.
- A spray bottle or mister: Regular misting is crucial to keep the soil moist without saturating it. Use a spray bottle or mister to water the seeds gently.
- Labels: It’s important to label the seed trays or pots with the date and variety of hydrangea seeds you are planting. This helps you keep track of the progress and specific cultivars you’ve sown.
- A warm and protected location: Find a warm and protected spot to place the seed trays or pots, away from direct sunlight and extreme temperature fluctuations.
Once you have gathered all the necessary materials, you’re ready to move on to the next step: preparing the seeds.
Step 2: Preparing the Seeds
Properly preparing the hydrangea seeds is essential for successful germination. Follow these steps to ensure your seeds have the best chance of sprouting:
- Seed stratification: Most hydrangea seeds require a period of cold stratification, which mimics the natural winter dormancy. This can be achieved by placing the seeds in a damp paper towel or in a plastic bag with damp vermiculite. Seal the container and refrigerate it for 4-6 weeks. This process helps break the seed’s dormancy and promotes germination.
- Scarification (optional): Some hydrangea seeds have tough outer shells that can inhibit germination. To overcome this, you can scarify the seeds by gently rubbing them with sandpaper or nicking them with a small knife. This will create small openings that allow moisture to penetrate the seed coat.
- Soaking the seeds: Before sowing the seeds, it’s beneficial to soak them in room temperature water for 24 hours. This helps hydrate the seeds and jump-start the germination process.
- Choosing the right time: Hydrangea seeds are best sown in late winter or early spring when the soil temperature begins to warm up. This allows for optimal conditions for seed germination and establishment.
- Preparing the planting containers: Fill your seed trays or pots with a moistened potting mix, leaving about half an inch of space at the top. Gently pat down the soil to eliminate any air pockets.
- Sowing the seeds: Sprinkle the pre-soaked hydrangea seeds evenly over the potting mix. Avoid overcrowding the seeds, as this can lead to competition for nutrients and space. Lightly press the seeds into the soil to ensure good seed-to-soil contact.
- Covering the seeds: Once the seeds are sown, cover the seed trays or pots with plastic wrap or a glass cover to create a humid environment. This helps retain moisture and encourages germination. Alternatively, you can use a humidity dome if you’re using a seed tray.
With the seeds properly prepared and sown, it’s time to move on to the next step: germinating the seeds.
Step 3: Germinating the Seeds
Now that you have prepared and sown your hydrangea seeds, it’s time to focus on germination. Follow these steps to provide the optimal environment for your seeds to sprout:
- Temperature control: Maintaining a consistent temperature is crucial for seed germination. Keep the seed trays or pots in a warm area with temperatures between 65-75°F (18-24°C). Avoid exposing the seeds to extreme temperature fluctuations.
- Light requirements: Hydrangea seeds require light to germinate. Place the seed trays or pots in a location where they will receive bright, indirect sunlight. If natural light is inadequate, use fluorescent grow lights to provide the necessary light spectrum for germination.
- Misting: Hydrangea seeds require consistent moisture for germination. Use a spray bottle or mister to mist the soil surface whenever it starts to feel dry. Avoid overwatering, as excessive moisture can lead to seed rot or fungus.
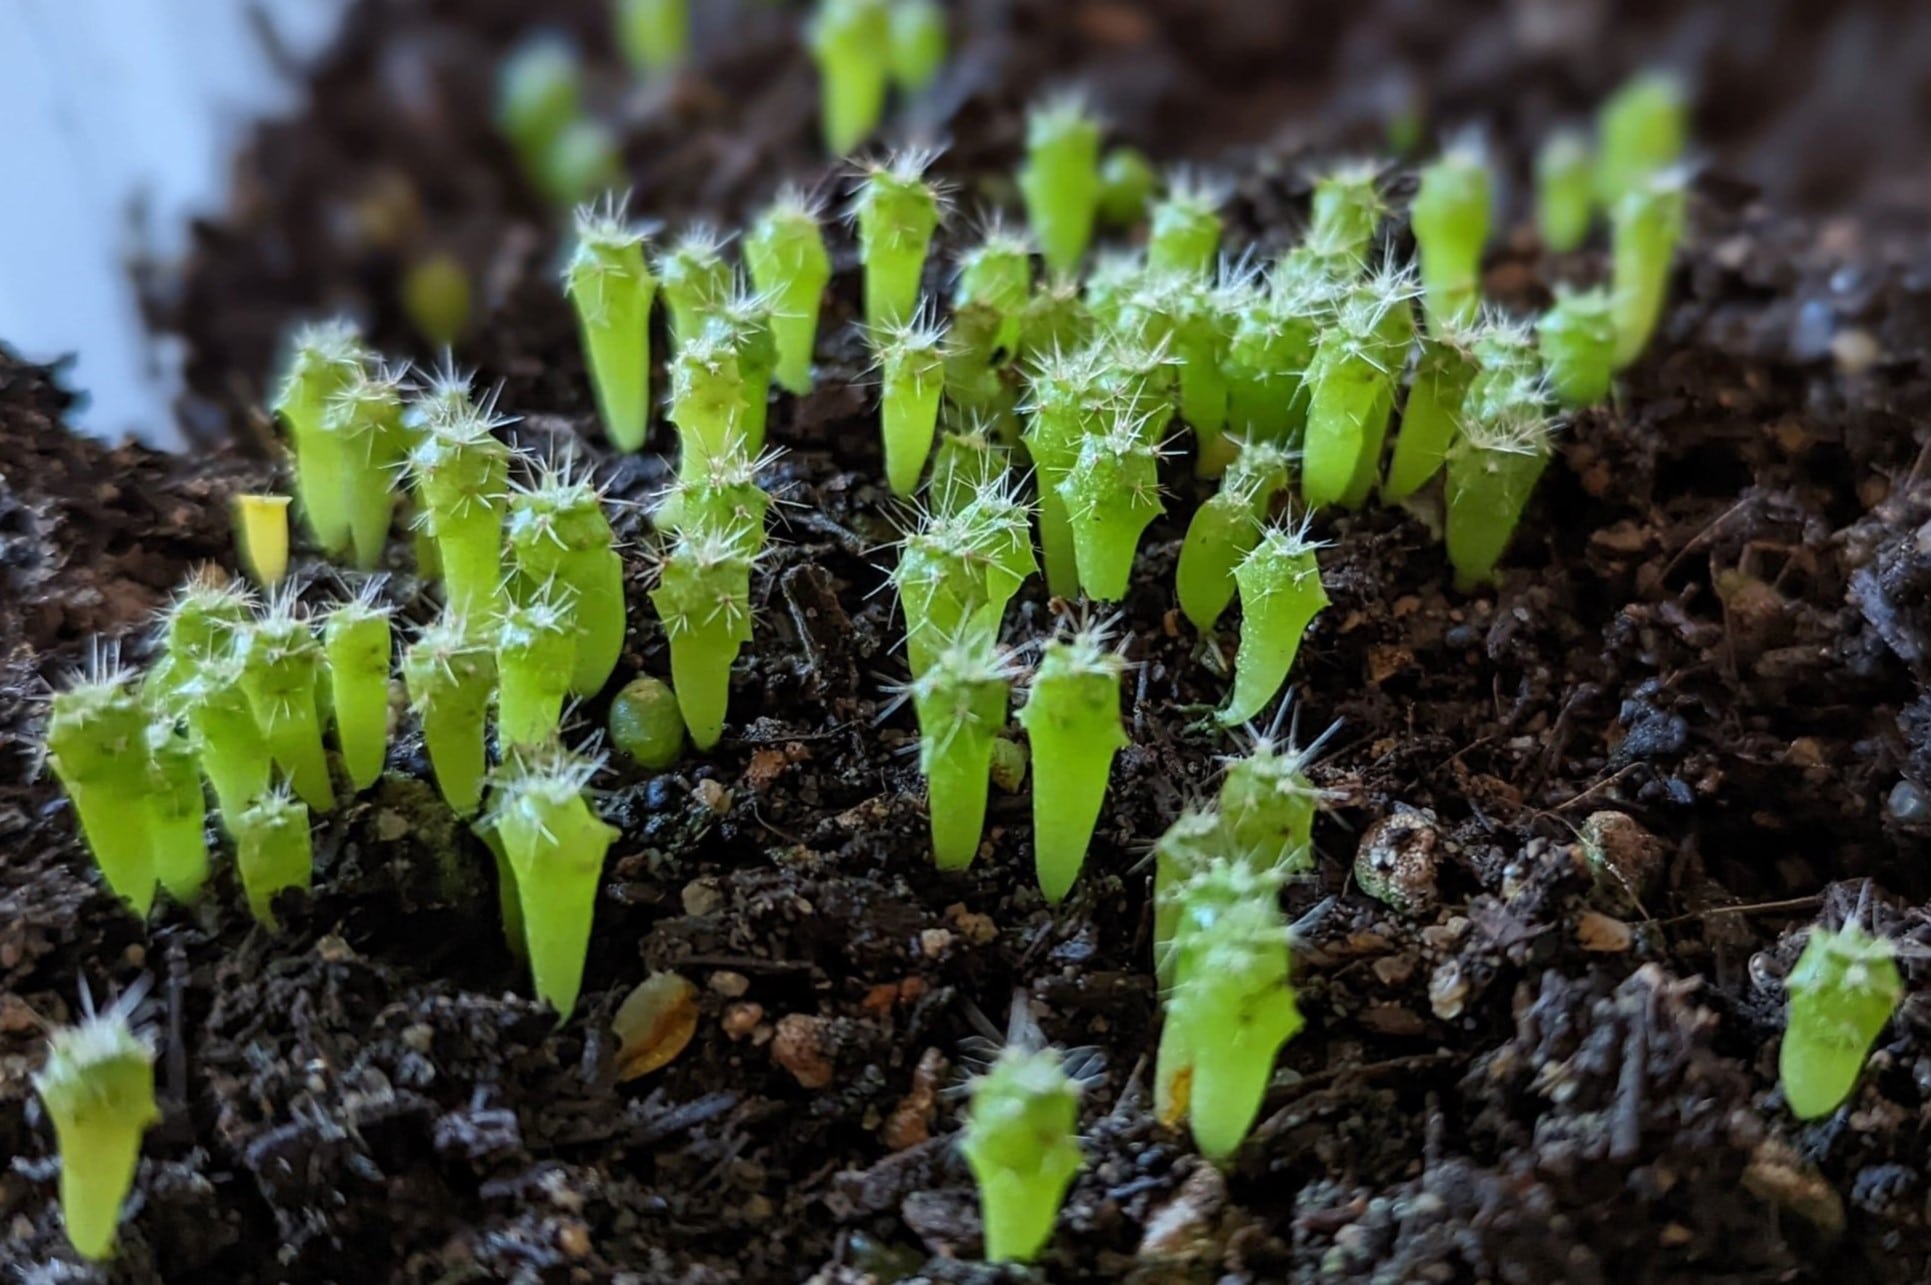
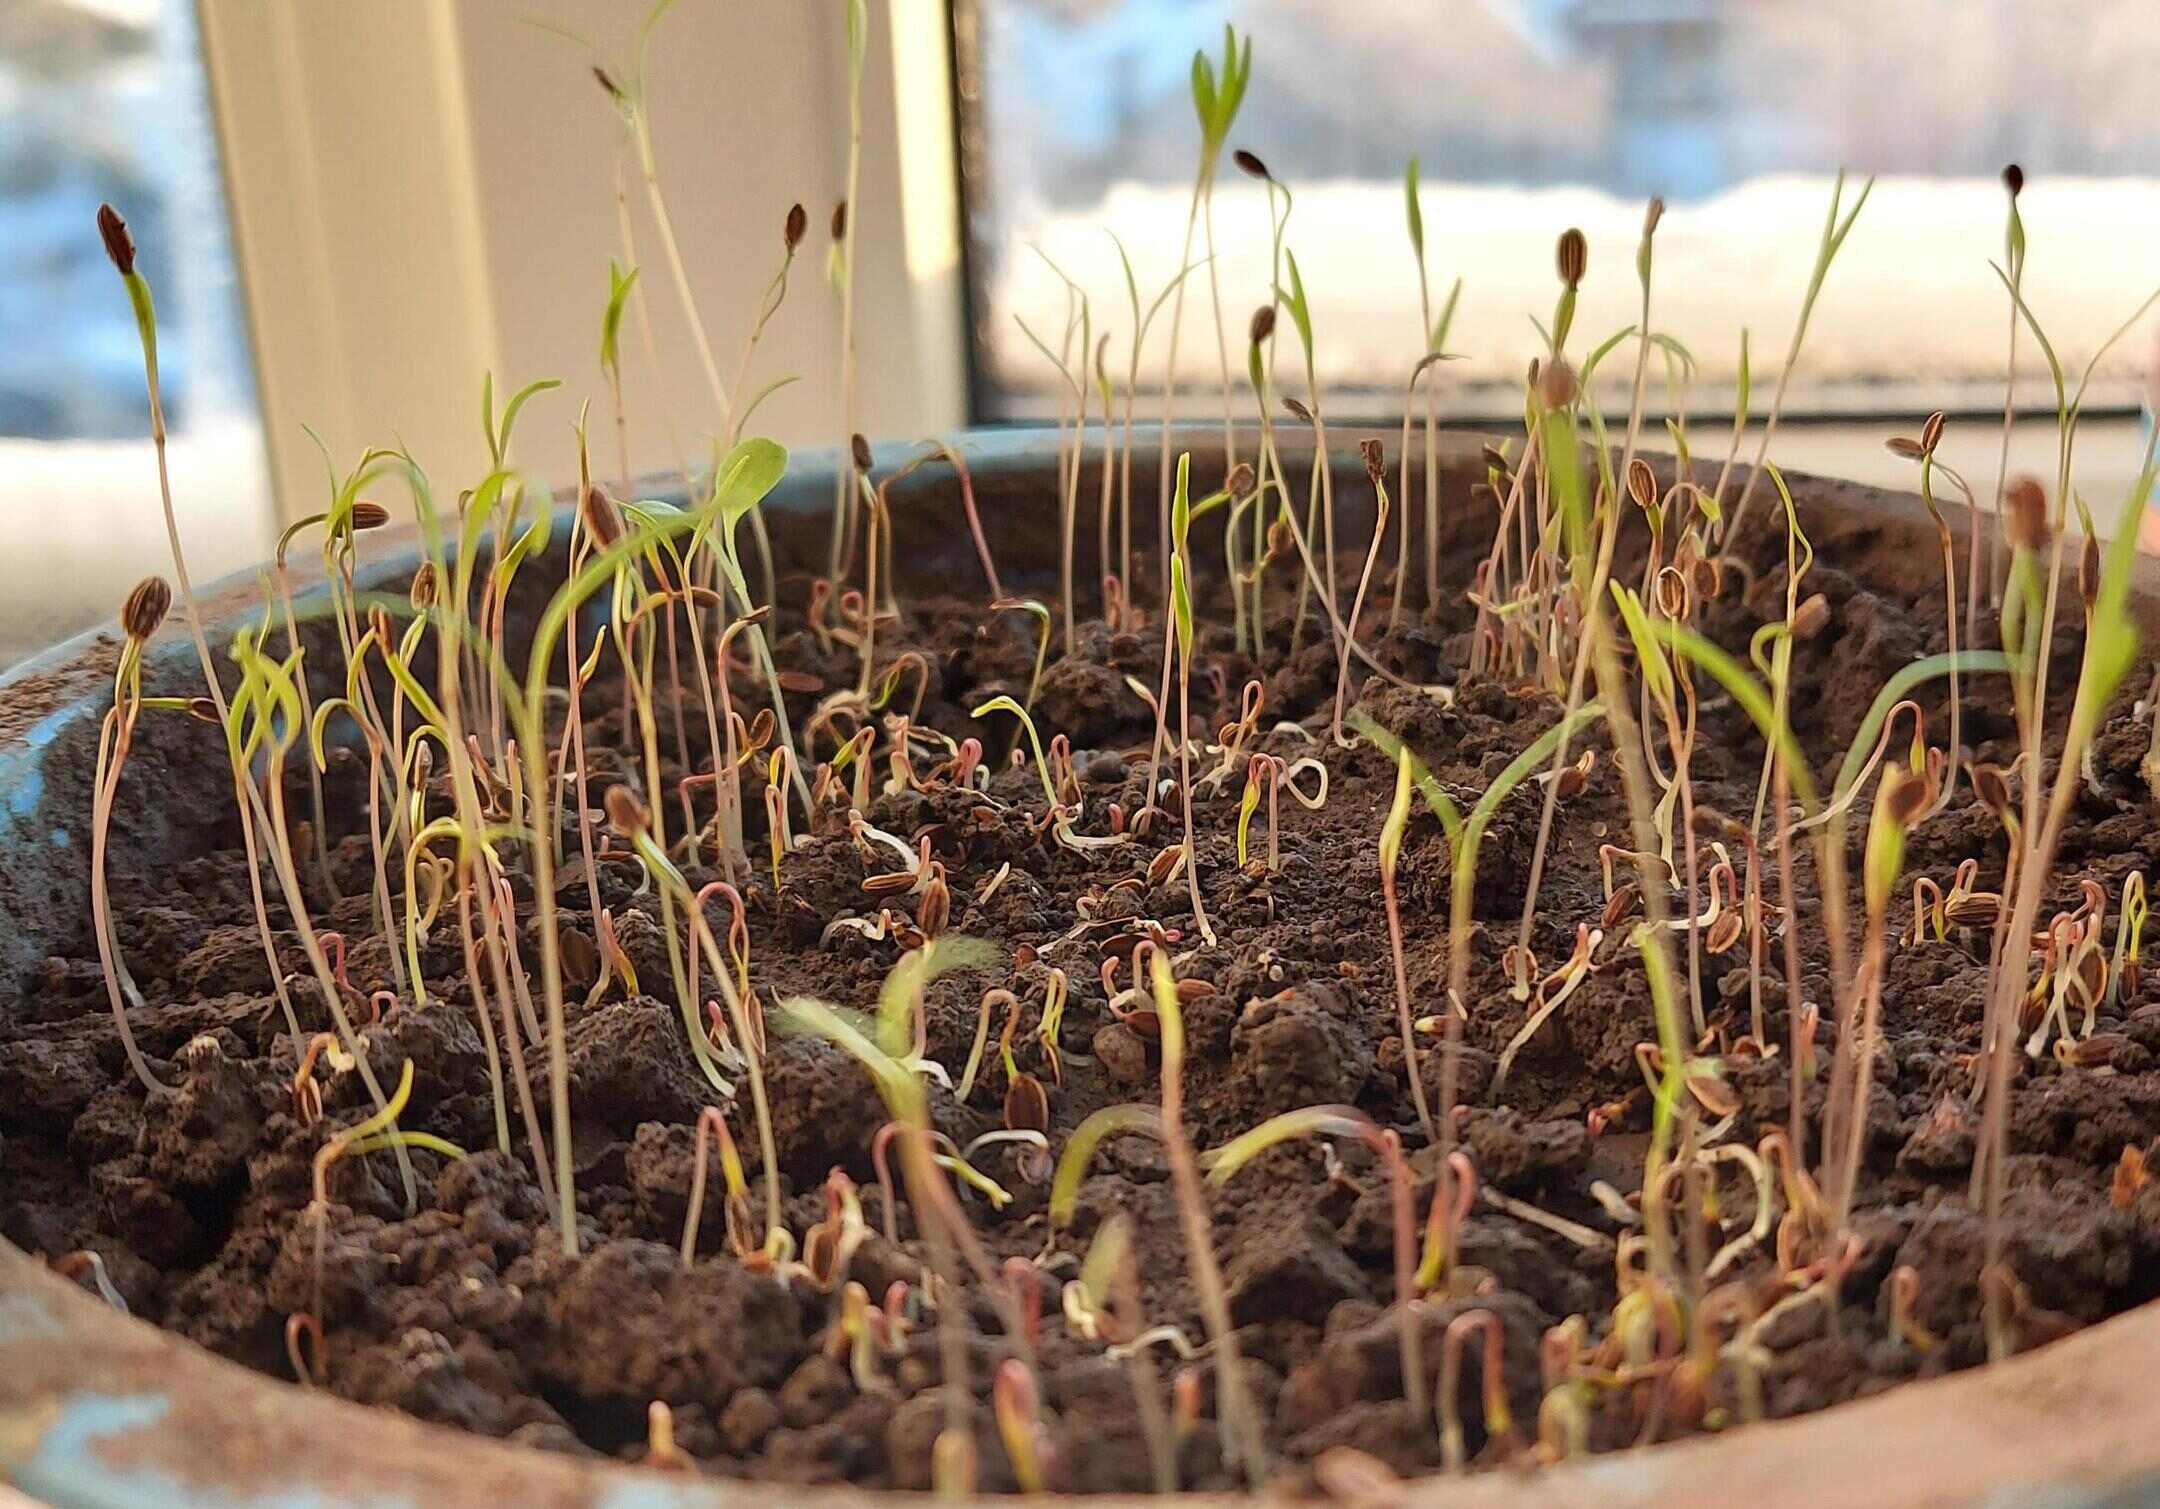
- Germination time: Hydrangea seeds typically take 2-3 weeks to germinate, although some varieties may take longer. Be patient and provide the seeds with the optimal conditions for germination.
- Removing the cover: Once the seeds start to germinate and seedlings emerge, remove the plastic wrap or glass cover. This allows for better airflow and helps prevent damping off, a fungal disease that affects seedlings.
- Thinning seedlings: If you have multiple seedlings growing in the same container, thin them out to prevent overcrowding. Choose the healthiest and strongest seedlings and gently remove the weaker ones, leaving only one or two per container.
By providing the right temperature, light, and moisture, you will greatly increase the chances of successful seed germination. As the seedlings continue to grow, it’s time to move on to the next step: transplanting the seedlings.
Step 4: Transplanting the Seedlings
As your hydrangea seedlings grow stronger and develop their first set of true leaves, it’s time to transplant them into individual pots. Follow these steps to ensure a smooth transition for your young plants:
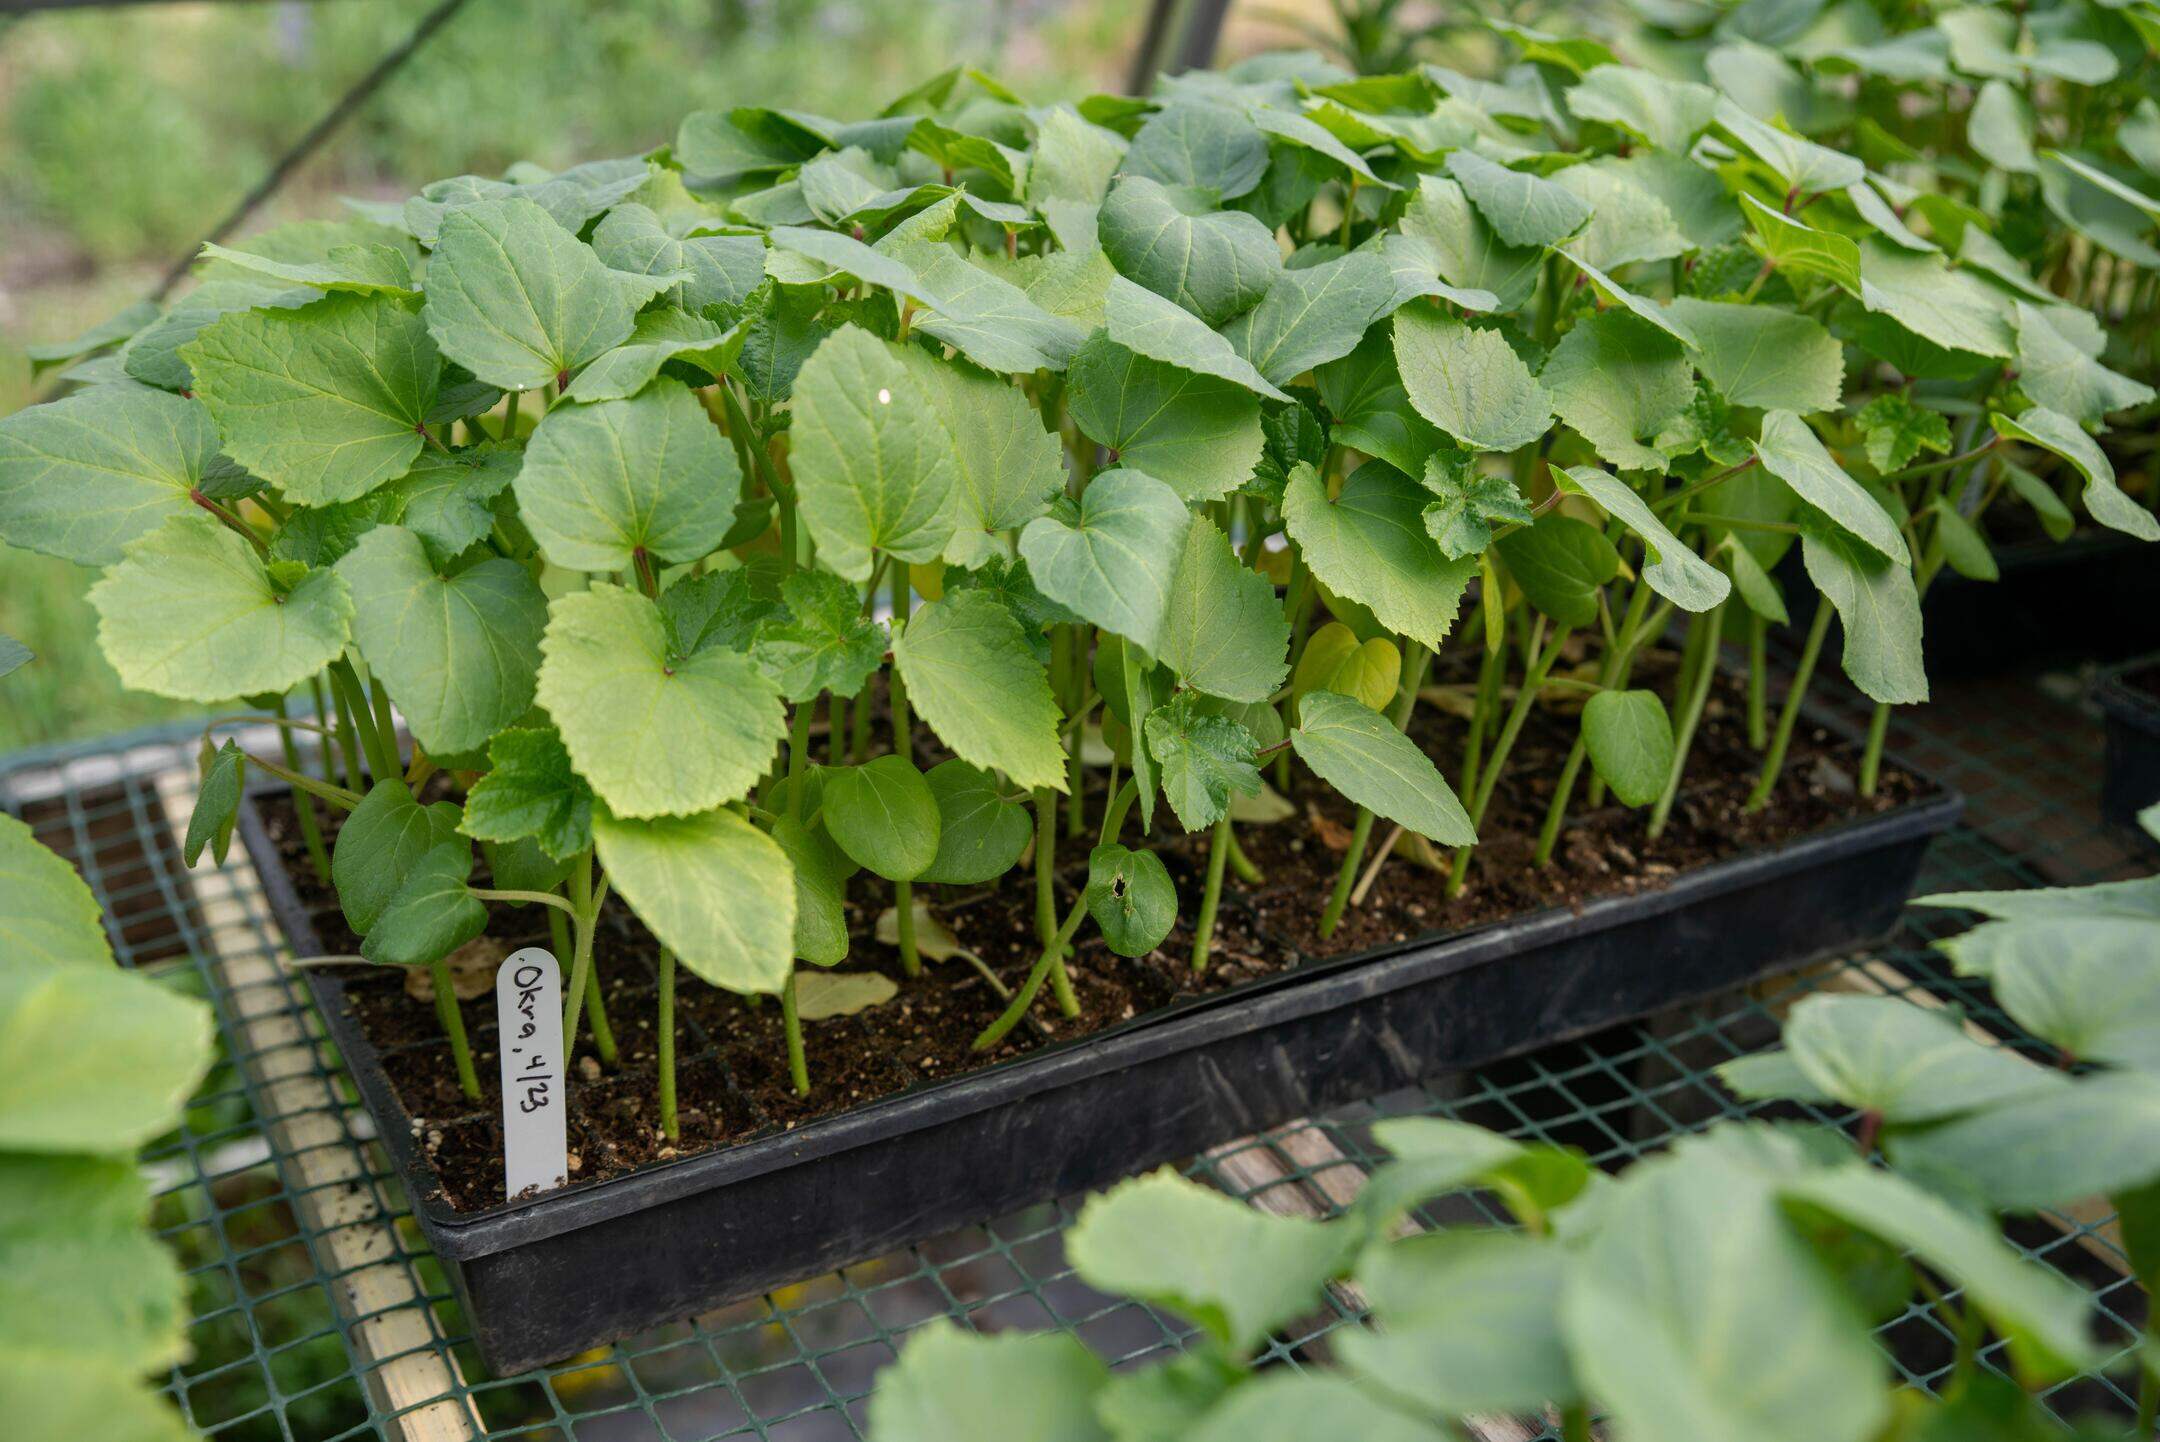
- Prepare individual pots: Choose pot sizes that provide ample space for the developing root system of your hydrangea seedlings. Fill the pots with a well-draining potting mix, leaving about an inch of space below the rim.
- Gently remove the seedlings: Carefully loosen the soil around the seedlings to avoid damaging the delicate roots. Use a small gardening tool or your fingers to lift the seedlings from the seed tray or pot.
- Transplanting process: Create a small hole in the center of each individual pot and place the seedling in the hole. Gently press the soil around the base of the seedling to secure it in place. Ensure that the seedling is at the same depth as it was in the seed tray.
- Watering after transplanting: Give the newly transplanted seedlings a thorough watering to settle the soil and provide moisture for their root development. Avoid overwatering, as it can lead to root rot. Ensure that excess water can drain out of the pots.
- Provide appropriate care: Place the newly transplanted seedlings in a bright, indirect light location. Continue to mist the seedlings to maintain moisture levels. Avoid exposing them to harsh sunlight or extreme temperature conditions.
- Monitor growth: Keep a close eye on your transplanted seedlings and monitor their growth. Ensure they are receiving adequate light and water as they continue to develop.
Transplanting the hydrangea seedlings into separate pots will allow them to establish a stronger root system and grow into sturdy young plants. With your seedlings now in their individual pots, it’s time to move on to the next step: caring for the young plants.
To grow hydrangeas from seeds, collect mature seeds in the fall, plant them in a seed tray with well-draining soil, keep the soil consistently moist, and provide plenty of indirect sunlight. Transplant seedlings outdoors after the last frost.
Read more: How To Get Seeds From Hydrangea
Step 5: Caring for the Young Plants
Now that your hydrangea seedlings have been successfully transplanted into individual pots, it’s important to provide them with the right care to ensure their healthy growth. Follow these steps to care for your young plants:
- Watering: Hydrangea seedlings should be watered regularly to keep the soil consistently moist. However, avoid overwatering, as it can lead to root rot. Check the moisture level of the soil regularly and adjust your watering schedule accordingly.
- Light requirements: Place the young plants in a location that receives bright, indirect sunlight. Hydrangeas thrive in partial shade, so avoid exposing them to direct sunlight for extended periods, as it can scorch their delicate leaves.
- Fertilization: Once the seedlings have established and are actively growing, you can start fertilizing them. Use a balanced, water-soluble fertilizer specifically formulated for young plants. Follow the instructions on the packaging for proper dosage and application frequency.
- Temperature and humidity: Hydrangeas prefer moderate temperatures and humidity levels. Keep the young plants in a location where the temperature remains between 60-75°F (15-24°C) during the day and doesn’t drop below 55°F (13°C) at night. Additionally, ensure there is adequate airflow to prevent any fungal diseases.
- Pinching: To encourage bushier growth, consider pinching or pruning the growing tips of the young plants. This will promote the development of lateral branches and lead to fuller, more compact plants. Wait until the seedlings have grown a few sets of leaves before starting this process.
- Monitoring for pests and diseases: Regularly inspect your young plants for any signs of pests such as aphids, spider mites, or snails. Take immediate action if you notice any infestations, using organic pest control methods if possible. Additionally, keep an eye out for common hydrangea diseases like powdery mildew and leaf spot, and treat them promptly to prevent their spread.
By providing the right amount of water, light, nutrients, and monitoring for potential problems, your hydrangea seedlings will grow into healthy and robust plants. As your young plants continue to thrive, it’s time to prepare for their eventual transfer to the garden. This leads us to the next step: transferring the plants to the garden.
Step 6: Transferring the Plants to the Garden
After nurturing your hydrangea seedlings to a healthy and robust stage, it’s time to transplant them into your garden. Follow these steps to ensure a successful transfer:
- Choosing the planting location: Select a suitable location in your garden that provides the right amount of sunlight and shade for your specific hydrangea variety. Check the soil conditions as well, as hydrangeas prefer well-draining soil that retains some moisture.
- Preparing the soil: Prior to transplanting, amend the soil with organic matter, such as compost or well-rotted manure, to improve its fertility and drainage. Hydrangeas prefer slightly acidic soil, so you may need to adjust the pH level if necessary.
- Digging the planting hole: Dig a generous planting hole that is slightly larger than the root ball of your hydrangea seedling. Ensure the planting hole is deep enough to accommodate the roots without crowding or bending them.
- Transplanting process: Gently remove the hydrangea seedling from its pot, being careful not to disturb the roots too much. Place the root ball into the prepared hole, ensuring that the top of the root ball is level with the surrounding soil. Backfill the hole with soil and gently firm it around the base of the plant.
- Watering and mulching: Give the newly transplanted hydrangea a thorough watering to settle the soil around the roots and hydrate the plant. Apply a layer of organic mulch, such as wood chips or straw, around the base of the plant to help retain moisture and suppress weed growth.
- Ongoing care: Continue to water your transplanted hydrangeas regularly, especially during dry periods. Monitor the soil moisture and adjust your watering schedule accordingly. Additionally, provide shade or supplemental watering during periods of extreme heat to prevent stress on the plants.
- Stake or support if needed: Depending on the variety, some hydrangeas may benefit from staking or providing support to prevent them from leaning or flopping over. Insert the stakes or supports into the ground near the plant and gently tie the stems as needed.
Transferring your hydrangea seedlings to the garden is an exciting step towards seeing your plants thrive and bloom in their natural environment. With proper care and attention, your hydrangeas will establish themselves and become stunning additions to your landscape. Finally, it’s time to move on to the last step: continued care and maintenance.
Step 7: Continued Care and Maintenance
Once your hydrangeas are transferred to the garden, it’s important to provide them with ongoing care and maintenance to ensure their health and vitality. Follow these steps to keep your hydrangeas thriving:
- Watering: Hydrangeas prefer consistently moist soil, so water them regularly, especially during dry spells. Water deeply at the base of the plant, avoiding overhead watering that can promote disease. Aim to keep the soil evenly moist, but not waterlogged.
- Fertilization: Feed your hydrangeas with a balanced, slow-release fertilizer in early spring or as directed on the packaging. Avoid fertilizing too late in the growing season as it can stimulate tender growth that is susceptible to damage in winter.
- Pruning: Prune your hydrangeas at the appropriate time to maintain their shape, promote flowering, and remove any dead or diseased wood. The best time for pruning is determined by the specific hydrangea variety, so be sure to research and follow the recommended guidelines for your particular type.
- Protection from harsh conditions: Protect your hydrangeas from extreme weather conditions, such as strong winds, heavy rain, or frost. Consider using windbreaks or covering the plants during severe weather events to prevent damage.
- Pest and disease control: Regularly inspect your hydrangeas for pests such as aphids, snails, or powdery mildew. Deal with any infestations promptly using appropriate organic methods. Remove any fallen leaves or debris from around the plants to reduce the risk of disease development.
- Deadheading spent blooms: Remove faded blooms by deadheading the plant. This will not only improve the appearance of your hydrangeas but also encourage further blooming. Cut the stem just above a set of healthy leaves or new buds.
- Winter protection: In colder climates, provide winter protection for your hydrangeas. Apply a layer of mulch around the base of the plant to insulate the roots and protect them from freezing temperatures. You can also consider using burlap or a protective cover to shield the plant from harsh winter conditions.
By following these ongoing care and maintenance practices, you can ensure that your hydrangea plants continue to thrive and provide you with beautiful blooms season after season. Enjoy the beauty and rewards of your hard work and dedication!
With this final step, you have completed the comprehensive guide on how to grow hydrangeas from seeds. Congratulations on your journey as a successful hydrangea gardener!
Conclusion
Growing hydrangeas from seeds is a rewarding and fulfilling experience that allows you to witness the complete life cycle of these stunning flowering plants. Through the steps of gathering materials, preparing the seeds, germinating them, transplanting the seedlings, caring for the young plants, transferring them to the garden, and providing ongoing care and maintenance, you can cultivate vibrant and healthy hydrangeas in your own backyard.
Starting with quality hydrangea seeds and providing them with the optimal conditions for germination, such as stratification and scarification if necessary, sets the foundation for successful growth. Transplanting the seedlings into individual pots and caring for them by maintaining the right watering, light, nutrient levels, and protection from pests and diseases allows the plants to develop strong roots and robust foliage.
When the time comes, transferring the seedlings to the garden is an exciting step, and proper soil preparation and watering techniques ensure their successful establishment. Ongoing care and maintenance, including regular watering, fertilization, pruning, and protection from harsh weather conditions, will contribute to the long-term health and blooming potential of your hydrangeas.
Remember to embrace the uniqueness and individuality of each hydrangea variety you grow. Appreciate the beauty of their blooms, which can range in colors from soft pastels to vibrant blues or pinks, depending on the variety and soil pH. By deadheading spent blooms and providing winter protection when needed, you can help your hydrangeas thrive year after year.
So, whether you’re a seasoned gardener or just starting your green-thumb journey, growing hydrangeas from seeds is a wonderful way to expand your garden and immerse yourself in the beauty of nature. With patience, care, and the knowledge you’ve gained from this guide, you can enjoy the enchanting presence of these magnificent flowers for years to come.
Now, go out there and embrace the joy of growing your own hydrangeas from seeds. Happy gardening!
Frequently Asked Questions about How To Grow Hydrangeas From Seeds
Was this page helpful?
At Storables.com, we guarantee accurate and reliable information. Our content, validated by Expert Board Contributors, is crafted following stringent Editorial Policies. We're committed to providing you with well-researched, expert-backed insights for all your informational needs.


0 thoughts on “How To Grow Hydrangeas From Seeds”