Home>Garden Essentials>How Long To Grow Hydrangeas From Seed

Garden Essentials
How Long To Grow Hydrangeas From Seed
Modified: August 30, 2024
Learn how long it takes to grow hydrangeas from seed in your garden. Discover essential tips and techniques for successful hydrangea cultivation.
(Many of the links in this article redirect to a specific reviewed product. Your purchase of these products through affiliate links helps to generate commission for Storables.com, at no extra cost. Learn more)
Introduction: Overview of growing hydrangeas from seed
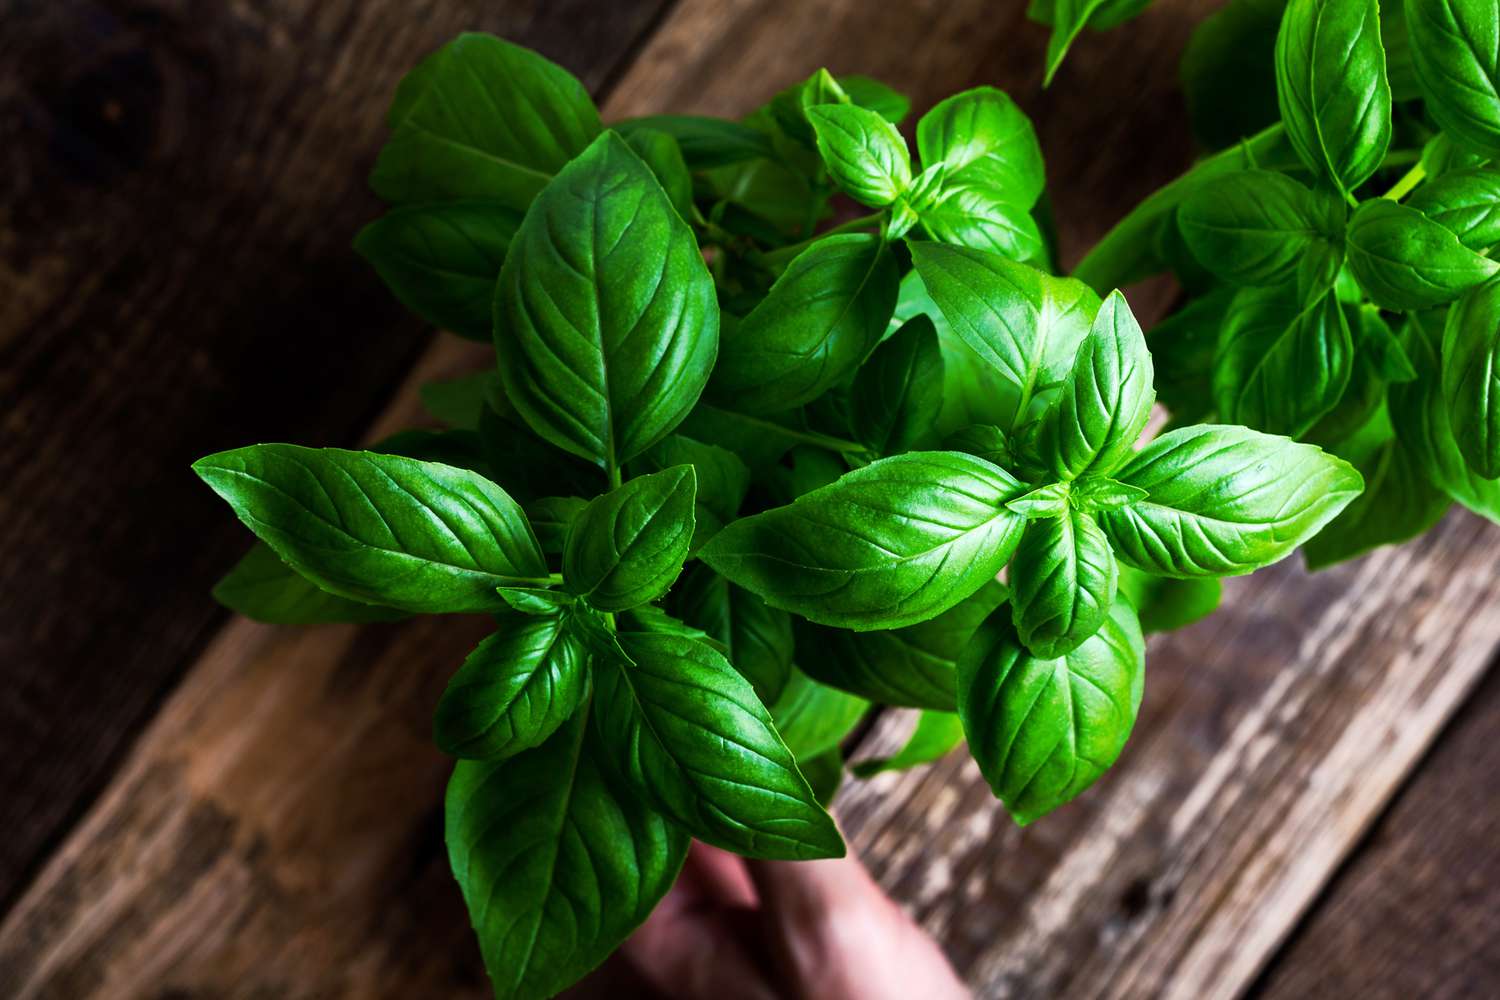
Hydrangeas are renowned for their stunning blooms and are a beloved addition to any garden. While many gardeners opt to purchase fully-grown hydrangea plants from nurseries, growing hydrangeas from seed can be a rewarding and cost-effective alternative. With patience and care, you can witness the entire life cycle of a hydrangea, from a tiny seed to a beautiful flowering plant.
Selecting the right hydrangea seeds is crucial to ensure successful growth. There are various hydrangea species and cultivars to choose from, each offering unique colors, sizes, and growth habits. When selecting hydrangea seeds, consider factors such as the desired flower color, plant size, and the climate conditions in your area. It’s essential to choose seeds that are adaptable to your region to increase the chances of successful growth.
There are several sources for purchasing hydrangea seeds. Local nurseries and garden centers often carry a variety of hydrangea seeds, so it’s worth checking with them first. Alternatively, online seed retailers offer a broader selection, allowing you to explore different hydrangea varieties from the comfort of your home.
Preparing the soil is a crucial step to ensure the optimal growth of hydrangea seeds. Hydrangeas prefer well-draining soil with plenty of organic matter. Before planting the seeds, loosen the soil using a garden fork or tiller to promote root development. Additionally, testing the soil’s pH level is essential for hydrangeas, as it can affect flower color. Most hydrangeas thrive in slightly acidic soil with a pH range of 5.5 to 6.5.
Germinating hydrangea seeds can be done using different methods, depending on your preference and available resources. One popular method is starting the seeds indoors in seed trays or small pots. Fill the containers with a seed-starting mix, plant the seeds at the recommended depth, and keep them in a warm and well-lit area. Another method is direct sowing, where the seeds are planted directly into the ground once the soil has warmed up in spring.
Regardless of the germination method chosen, providing the right conditions is crucial for successful seed germination. Keep the soil consistently moist but not overly saturated, as excessive moisture can lead to rotting. Ensure the germination area has adequate airflow and maintain a temperature of around 70-75 degrees Fahrenheit. With proper care and attention, the hydrangea seeds should begin to sprout within a few weeks.
Key Takeaways:
- Growing hydrangeas from seed is a patient and rewarding journey, allowing you to witness the entire growth cycle from tiny seeds to beautiful plants. Enjoy the process and embrace the uniqueness of each plant.
- Selecting the right hydrangea seeds, preparing the soil, and providing optimal growing conditions are crucial for successful growth. Be patient with the flowering process and continue learning about hydrangeas to enhance your gardening skills.
Read more: How To Grow Hydrangeas From Seeds
Selecting Hydrangea Seeds: Factors to consider when selecting hydrangea seeds
Selecting the right hydrangea seeds is an important step towards successful growth and flourishing blooms. Here are some factors to consider when choosing hydrangea seeds:
- Desired Flower Color: Hydrangeas come in a wide range of colors, including pink, blue, purple, white, and even multi-colored varieties. Consider the color scheme of your garden or the specific color you wish to incorporate when selecting hydrangea seeds.
- Plant Size: Hydrangeas can vary in size, with some varieties growing compactly and others reaching towering heights. Take into account the available space in your garden and the desired height of your hydrangea plants when choosing seeds.
- Cultivar Characteristics: Different hydrangea cultivars have unique characteristics, such as the shape and size of the flower heads, foliage texture, and growth habits. Research the cultivars available and select those that best align with your preferences and garden style.
- Climate Adaptability: It is crucial to choose hydrangea seeds that are adaptable to your specific climate conditions. Some hydrangea species thrive in cooler climates, while others tolerate heat and humidity better. Make sure to select seeds that are suited to your region, as this will increase the chances of successful growth.
- Soil and Light Requirements: Different hydrangea varieties have varying soil and light preferences. Some prefer acidic soil, while others can tolerate a wider pH range. Consider the conditions in your garden, such as soil type and sunlight availability, and choose hydrangea seeds that will thrive in those conditions.
When it comes to purchasing hydrangea seeds, you have several options:
- Local Nurseries and Garden Centers: Visit your local nurseries or garden centers to check if they carry a variety of hydrangea seeds. It’s beneficial to inquire about the specific hydrangea cultivars they have available and ask for recommendations based on your preferences and needs.
- Online Seed Retailers: The internet provides a vast selection of hydrangea seeds from various seed retailers. Browse through online seed catalogs and websites to explore different hydrangea varieties and read reviews from other gardeners.
- Gardening Exchanges and Seed Swaps: Engaging in gardening communities or joining local gardening exchange programs can offer an opportunity to share, trade, or receive hydrangea seeds from fellow gardeners. This not only allows you to acquire unique varieties but also fosters a sense of community and connection.
When purchasing hydrangea seeds, ensure that you are buying from reputable sources to guarantee the quality and authenticity of the seeds. It is also helpful to read instructions and descriptions provided by the seed supplier regarding germination requirements and any specific care instructions for the selected hydrangea seeds.
Preparing the Soil: Tips for preparing the ideal soil for hydrangea seed growth
Creating the right growing environment for hydrangea seeds is essential for their successful germination and subsequent growth. Here are some tips for preparing the ideal soil for hydrangea seed growth:
- Well-Draining Soil: Hydrangeas thrive in soil that is well-draining to prevent waterlogged conditions. Ensure that the soil you use is loose, friable, and has good drainage. If your soil tends to retain water, consider amending it with organic matter such as compost or peat moss to improve drainage.
- Rich in Organic Matter: Hydrangeas benefit from nutrient-rich soil. Prior to planting the seeds, incorporate organic matter, such as compost or well-rotted manure, into the soil. This will provide essential nutrients and improve the soil’s texture and fertility.
- pH Levels: The pH level of the soil can impact hydrangea flower color. Most hydrangeas prefer slightly acidic soil with a pH range of 5.5 to 6.5, as it allows for the uptake of aluminum, which influences flower color. However, there are exceptions, such as pink hydrangeas that prefer more alkaline soil. Testing soil pH levels will help determine if any adjustments are needed.
- Soil Testing: Conduct a soil test to determine the pH level and nutrient content of your soil. Soil testing kits are readily available at nurseries or through agricultural extension services. Follow the instructions provided with the kit to take a soil sample and send it to a reputable soil testing lab for analysis. The results will indicate the current pH level of your soil and provide recommendations for any necessary amendments.
Testing soil pH levels
Testing the pH level of your soil is crucial for hydrangea seed growth, as it can influence flower color and overall plant health. Here’s how to test the pH level of your soil:
- Collect Soil Samples: Select several locations in your garden where you plan to grow hydrangeas. Use a trowel or soil auger to collect soil samples from these areas. Take samples at a depth of around 6-8 inches to obtain a representative sample of your soil.
- Prepare the Soil Sample: Remove any debris such as rocks, roots, or plant material from the soil sample. Combine the samples from different areas in a clean, plastic container. Mix them thoroughly to create a composite sample for testing.
- Obtain a Soil Testing Kit: Purchase a soil testing kit from a reputable source, such as a nursery or an agricultural extension service. These kits typically include a vial or test tubes, testing solutions, and a color chart for interpreting the results.
- Test the Soil: Follow the instructions provided with the soil testing kit. Usually, you’ll need to add soil to the vial or test tube and add the testing solution. Shake the mixture well to ensure thorough mixing. Allow the solution to settle for the recommended time, and then compare the color of the solution to the color chart provided with the kit to determine your soil’s pH level.
- Interpret the Results: The color chart will indicate the pH level of your soil. If the pH level falls within the ideal range for hydrangeas (5.5 to 6.5), no adjustments are necessary. However, if the pH level is outside this range, you may need to make amendments to bring it into the desired range. For example, if the soil is too alkaline (high pH), adding elemental sulfur can help lower the pH, while adding lime can raise the pH if the soil is too acidic.
- Make Necessary Amendments: Based on the soil test results, follow the recommendations provided to make any necessary amendments to adjust the pH level of the soil. Adding organic matter, such as compost or well-rotted manure, can also help improve the soil structure and fertility.
By preparing the soil properly and adjusting the pH level if needed, you provide the best foundation for the growth and development of your hydrangea seeds. This sets the stage for healthy plants and vibrant blooms in the future.
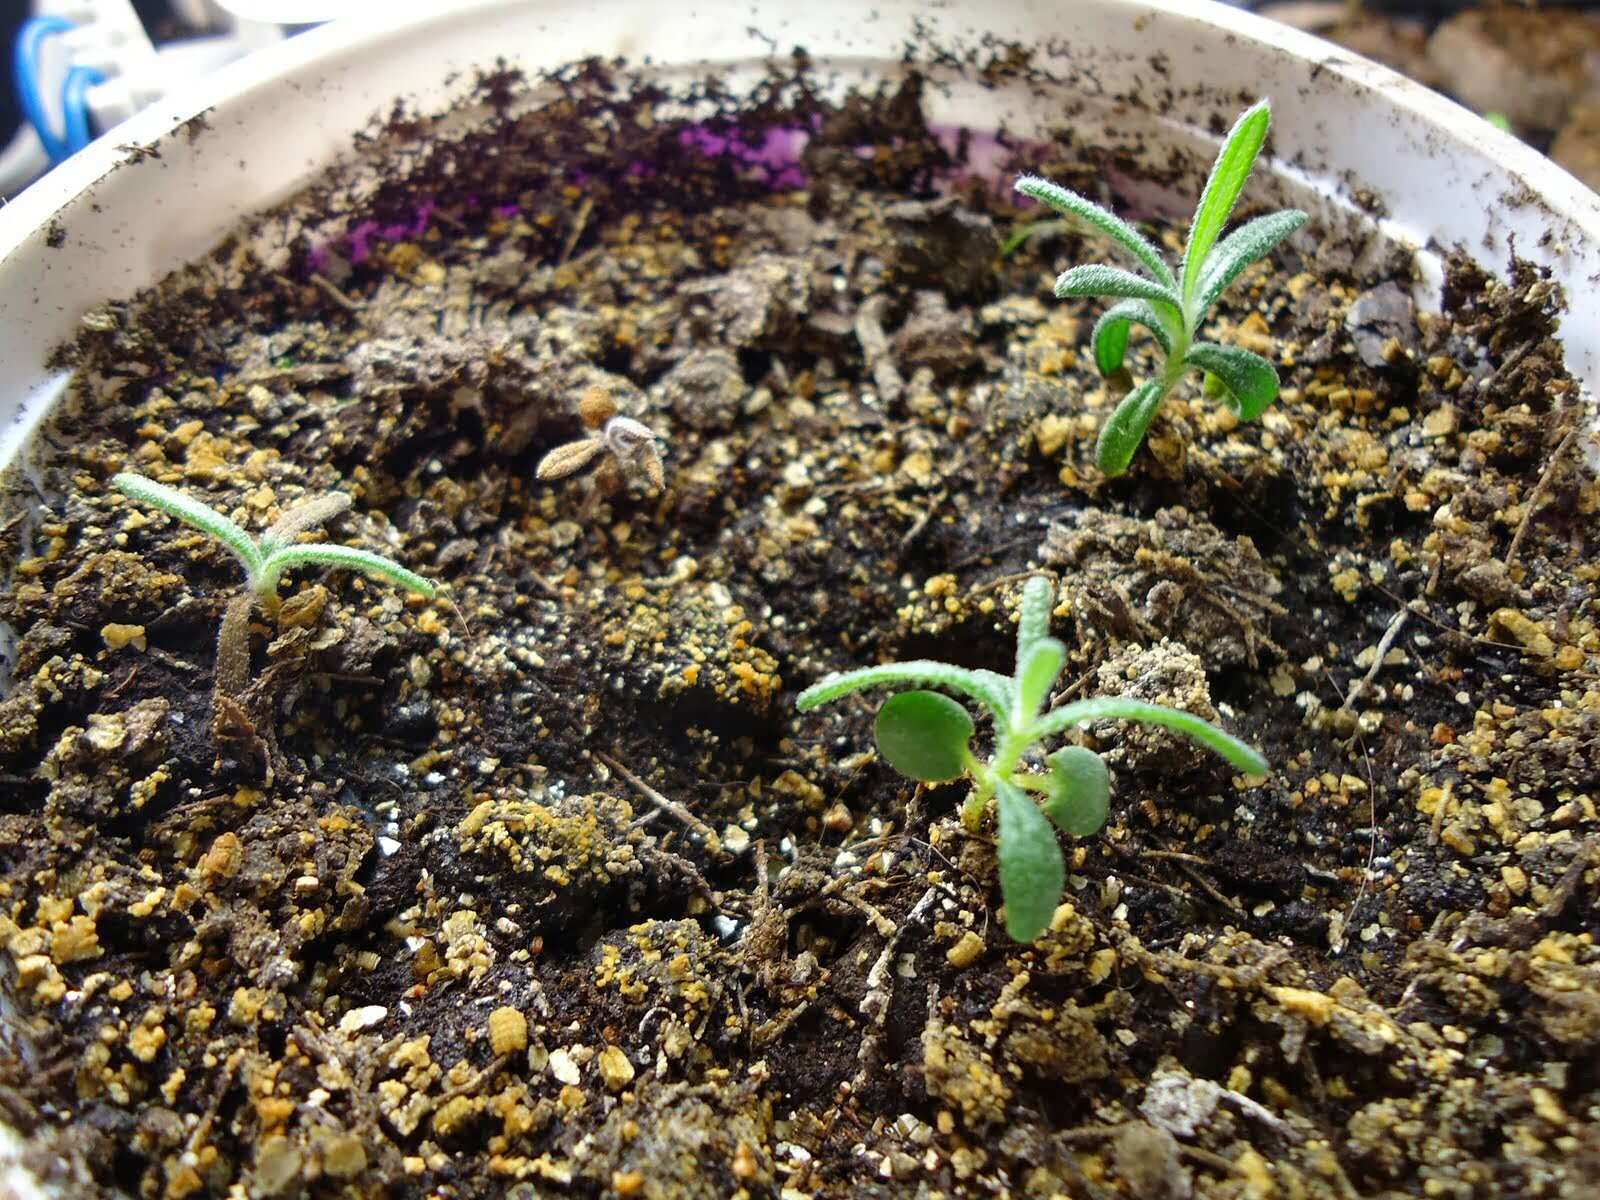
Germinating Hydrangea Seeds: Different methods for germinating hydrangea seeds
Germinating hydrangea seeds is an exciting stage of the growing process as you watch tiny seeds transform into seedlings. There are different methods you can use to germinate hydrangea seeds. Here are a few popular options:
- Starting Indoors: One common method is to start hydrangea seeds indoors. Fill seed trays or small pots with a sterile seed-starting mix that provides good drainage. Plant the seeds at the recommended depth, typically around ¼ to ½ inch deep, and lightly cover them with the soil mix. Place the trays or pots in a warm location, such as near a sunny window or under grow lights.
- Direct Sowing: Another option is to directly sow hydrangea seeds into the intended outdoor location. Wait until the soil has warmed up in spring before sowing the seeds. Prepare the soil by loosening it with a garden fork or tiller and removing any weeds or debris. Plant the seeds at the recommended depth, ensuring they are adequately spaced apart. Cover with a light layer of soil and gently firm it down.
- Stratification: Some hydrangea seeds require a period of cold stratification to break dormancy and improve germination rates. Stratification stimulates the natural seasonal cycle that hydrangea seeds would experience in nature. To stratify the seeds, place them in a sealed plastic bag with a moistened, sterile medium like vermiculite or peat moss. Store the bag in the refrigerator for several weeks, ensuring it remains consistently moist. After the stratification period, transfer the seeds to the desired germination method.
- Pre-soaking: This method involves soaking the hydrangea seeds in water for a specific period before planting. Fill a bowl or container with room temperature water and place the seeds in it. Allow the seeds to soak for 24 to 48 hours, periodically changing the water to prevent stagnation. After soaking, plant the seeds according to the chosen germination method.
Read more: How To Get Seeds From Hydrangea
Providing the right conditions for successful germination
Regardless of the germination method you choose, it’s crucial to provide the right conditions to ensure successful germination. Here are some key factors to consider:
- Temperature: Hydrangea seeds typically germinate best in temperatures between 70-75 degrees Fahrenheit (21-24 degrees Celsius). Ensure that the germination area maintains a consistent temperature within this range. Consider using a seedling heat mat to provide bottom heat if necessary.
- Light: While hydrangea seeds don’t require light to germinate, providing some light after germination can help seedlings develop properly. Place seed trays or pots in a location with bright, indirect light, or use fluorescent grow lights if starting indoors.
- Moisture: Hydrangea seeds require consistently moist but not waterlogged conditions for germination. Water the soil gently as needed to ensure it stays moist, but avoid overwatering, as excessive moisture can lead to rotting of the seeds.
- Airflow: Good airflow is essential to prevent the growth of mold or fungal diseases. Ensure that the germination area has adequate ventilation by opening windows or using a small fan on a low setting. This will help prevent stagnant air around the seedlings.
- Patience: Germination times can vary depending on the hydrangea species and conditions. Some seeds may sprout within a few weeks, while others may take several months. Be patient and provide consistent care and attention to the seedlings during this time.
By selecting the appropriate germination method and providing the optimal conditions, you increase the likelihood of successful germination and the development of healthy hydrangea seedlings. Soon, you’ll be rewarded with the joy of seeing your hydrangea seeds sprout and embark on their journey towards becoming beautiful, mature plants.
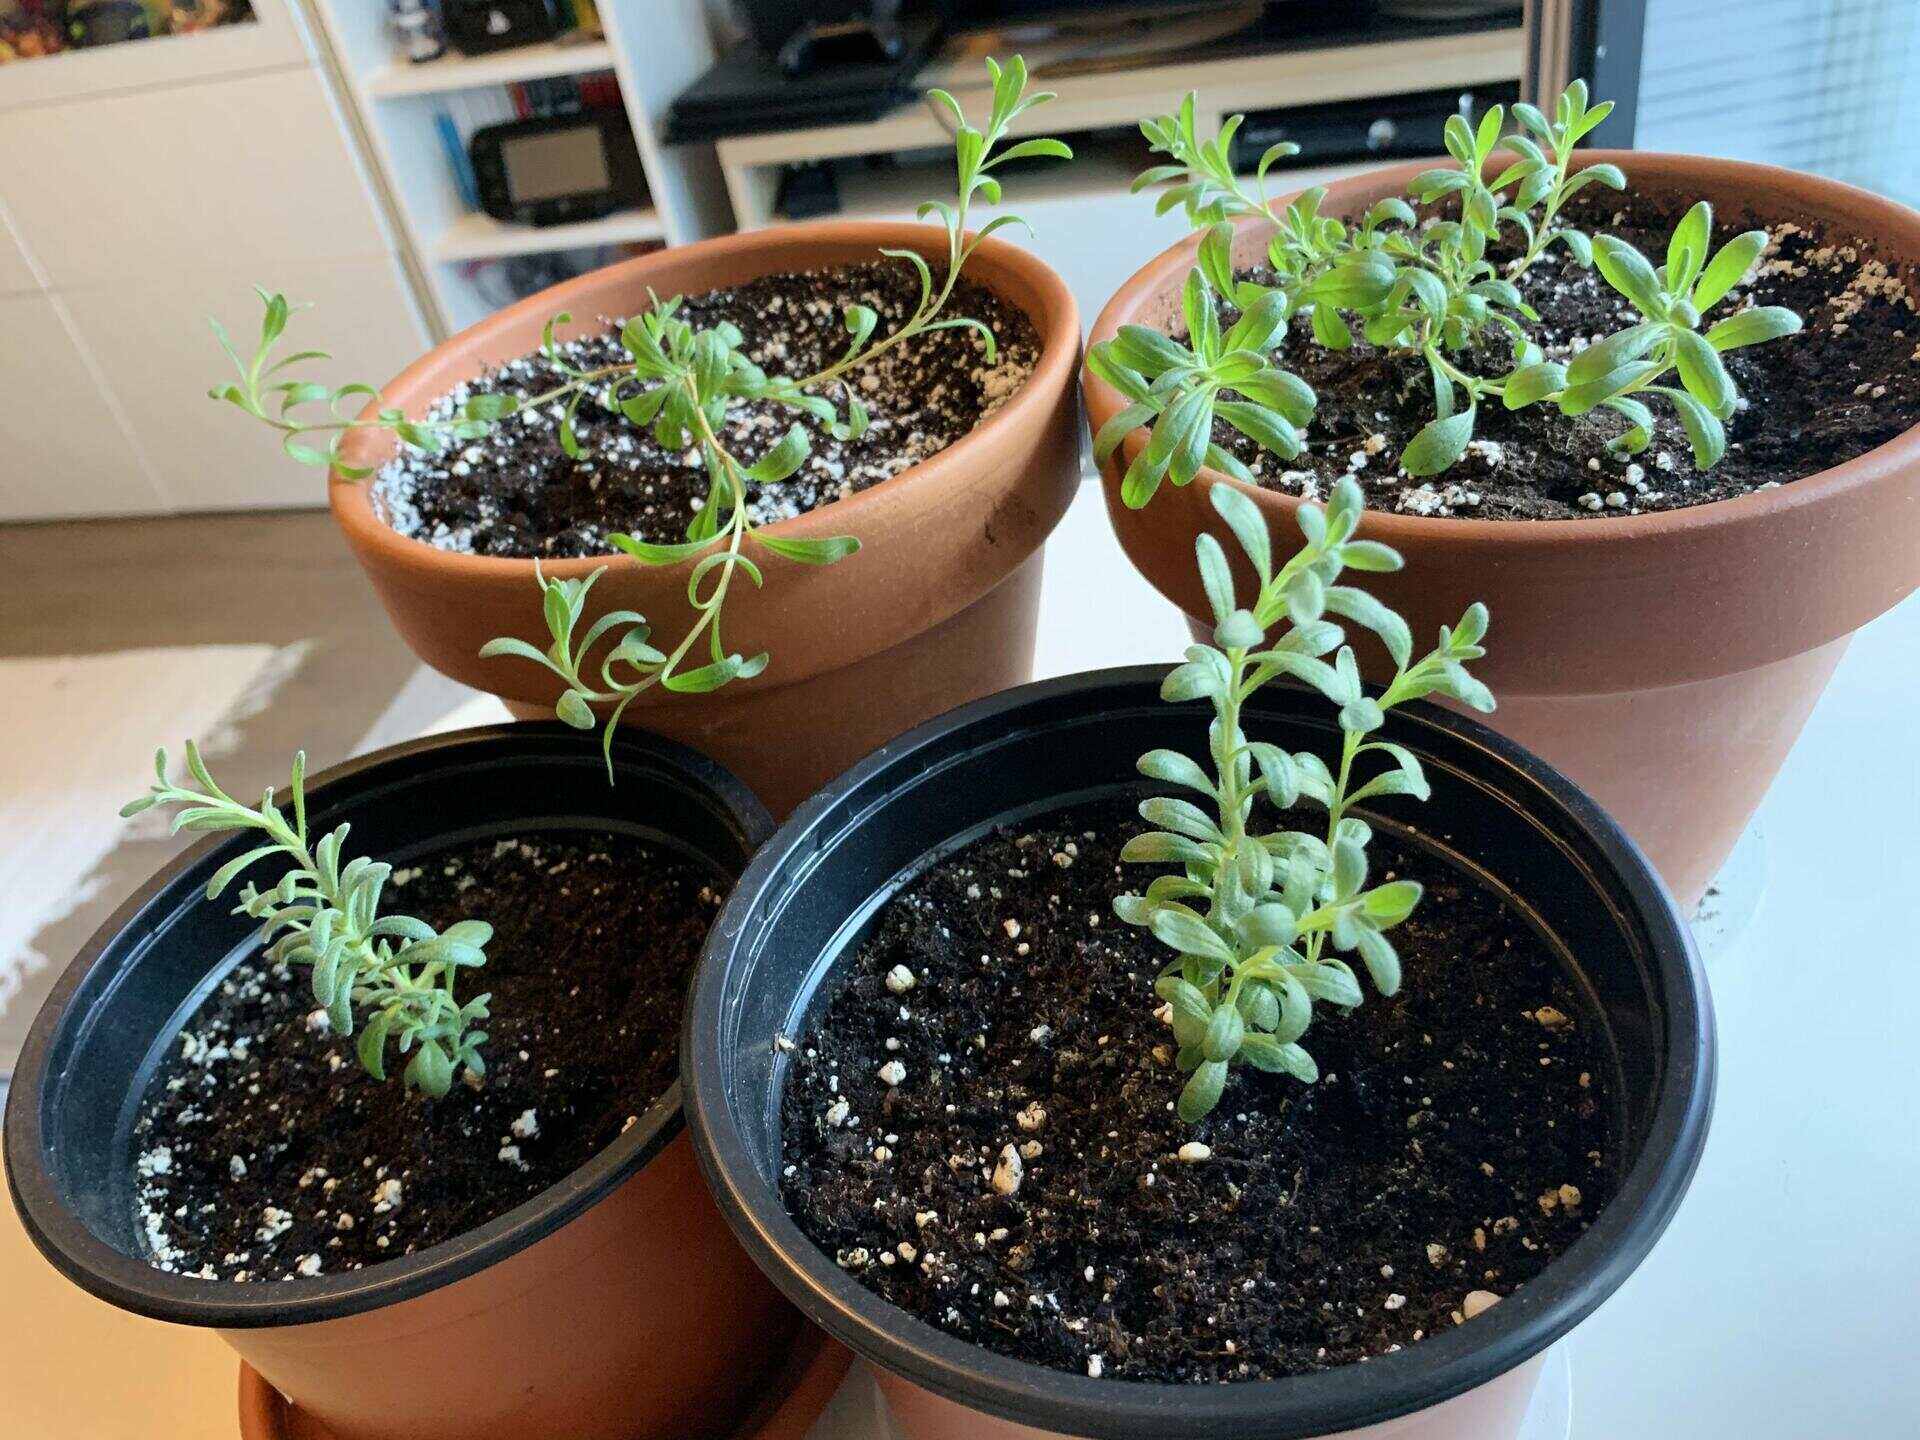
Transplanting Hydrangea Seedlings: When and how to transplant hydrangea seedlings
As your hydrangea seedlings grow and develop, there will come a time when they need to be transplanted into their permanent location. Transplanting hydrangea seedlings at the right time and using proper techniques is crucial for their successful establishment. Here’s what you need to know:
When to transplant: Hydrangea seedlings should be transplanted when they have developed a strong root system and are at least 4-6 inches tall. This usually occurs a few months after germination. Transplanting them too early can lead to stress and hamper their growth, while transplanting them too late can make it more challenging for the seedlings to adapt to their new environment.
Choosing the right location: Select a location in your garden that provides the appropriate growing conditions for the specific hydrangea species you are growing. Consider factors such as sunlight exposure, soil fertility, drainage, and the mature size of the hydrangea plant. Hydrangeas generally prefer a location with morning sun and filtered shade in the afternoon, although some varieties can tolerate more sunlight.
Preparing the planting hole: Dig a hole in the new location that is slightly larger and wider than the root ball of the hydrangea seedling. Loosen the soil in the hole with a garden fork or shovel to promote better root penetration and establishment. Amend the soil as necessary to improve drainage or adjust pH levels according to your specific hydrangea variety’s requirements.
Transplanting technique: Gently remove the hydrangea seedling from its current container or location, taking care not to disturb the delicate roots. Hold the plant by the leaves or the root ball and avoid pulling on the stem. Place the seedling in the prepared hole, ensuring that the top of the root ball is level with or just slightly above the soil surface.
Backfilling and firming the soil: Fill the hole around the hydrangea seedling with the soil mix, gently tamping it down to eliminate any air pockets. Avoid compacting the soil too tightly, as this can inhibit root growth. Water the newly transplanted seedling thoroughly to settle the soil around the roots.
Proper techniques for minimizing transplant shock
Transplanting can be stressful for seedlings, potentially causing transplant shock. However, you can minimize this shock and increase the chances of successful transplantation with these techniques:
- Water thoroughly: Ensure the hydrangea seedling receives a thorough watering immediately after transplanting. This helps settle the soil and eliminates air pockets around the roots. Provide regular watering in the following weeks to keep the soil consistently moist without overwatering.
- Protect from extreme conditions: Shield the newly transplanted seedlings from extreme weather conditions, such as strong winds, heavy rainfall, or intense sunlight. Temporary shading with cloth or placing a physical barrier can help protect the seedlings until they adjust to their new environment.
- Apply mulch: Apply a layer of organic mulch, such as wood chips or shredded bark, around the base of the hydrangea seedling. Mulch helps to conserve moisture, regulate soil temperature, suppress weed growth, and prevent soil erosion. Leave a small gap around the stem to prevent moisture buildup that can lead to rotting.
- Monitor and adjust watering: Regularly monitor the moisture levels of the soil surrounding the newly transplanted seedlings. Avoid overwatering, which can drown the roots, and ensure the soil stays evenly moist without becoming waterlogged. Adjust watering frequency based on the weather and specific needs of your hydrangea variety.
- Provide shade or protection: If the weather is particularly hot or dry, consider providing temporary shade or protection for the newly transplanted seedlings. Use shade cloth, row covers, or umbrellas to shield the plants from excessive heat or sun exposure until they become established.
By following proper transplanting techniques and minimizing transplant shock, you give your hydrangea seedlings the best chance to establish themselves successfully in their new location. With proper care and attention, they will continue to grow and develop, eventually delighting you with their beautiful blooms.
Hydrangeas can take 2-3 years to grow from seed to a size suitable for planting in the garden. It’s best to start them indoors in a controlled environment to ensure successful germination and growth.
Caring for Hydrangea Seedlings: Watering, fertilizing, and providing adequate sunlight
Caring for hydrangea seedlings is essential to ensure healthy growth and vigor. Here are some key aspects to consider when caring for your hydrangea seedlings:
Watering: Hydrangea seedlings have shallow root systems, so it is important to water them consistently and adequately. Water deeply and thoroughly, ensuring that the soil is evenly moist but not waterlogged. Allow the top inch of soil to dry out slightly before watering again. Avoid overwatering, as this can lead to root rot and other moisture-related issues.
Fertilizing: Young hydrangea seedlings benefit from regular fertilization to support their growth. Apply a balanced, slow-release fertilizer according to the package instructions. It is best to fertilize in early spring and again in early summer to provide a continuous supply of nutrients. Avoid over-fertilizing, as this can lead to excessive foliage growth at the expense of flower production.
Adequate sunlight: Most hydrangeas thrive in partial shade or filtered sunlight. Ensure that your hydrangea seedlings receive adequate sunlight for healthy growth and flowering. However, be cautious of intense sunlight, especially during the hottest part of the day, as it can scorch the leaves. If your location experiences very hot summers, consider providing some shade during the hottest hours or strategically planting the seedlings in locations where they receive morning sun and afternoon shade.
Read more: How Long To Grow A Pumpkin From Seed
Protection against pests and diseases
Hydrangea seedlings, like any other plant, can be susceptible to pests and diseases. Here are some steps you can take to protect your hydrangea seedlings:
- Pest prevention: Inspect your seedlings regularly for signs of pests, such as aphids, caterpillars, or spider mites. Remove any visible pests by hand or use a gentle spray of water to dislodge them. Consider using organic insecticidal soaps or neem oil if necessary, following the product instructions carefully.
- Disease prevention: Maintain good hygiene practices to prevent the development and spread of diseases. Avoid overhead watering, as wet foliage can lead to fungal diseases. Water at the base of the plant to keep the leaves dry. Remove and dispose of any infected or diseased leaves or plant material to prevent the spread of diseases. If necessary, use fungicides labeled for hydrangeas to treat fungal infections, following the instructions on the product carefully.
- Air circulation: Good air circulation around your hydrangea seedlings can help reduce the risk of fungal diseases. Avoid planting them too closely together or near other plants that can restrict airflow. Trim nearby foliage or branches if needed to ensure adequate air circulation.
- Mulching: Apply a layer of organic mulch around the base of your hydrangea seedlings. Mulch helps suppress weeds, retain moisture in the soil, and regulate soil temperature. However, be mindful not to directly pile mulch against the stem, as it can create a favorable environment for pests and diseases.
By providing proper care, watering, and fertilizing your hydrangea seedlings, as well as taking preventive measures against pests and diseases, you can ensure their health and vitality. With consistent attention, your seedlings will grow into robust plants, ready to showcase their stunning blooms.
Monitoring Growth and Development: Tracking the progress of hydrangea seedlings
Monitoring the growth and development of your hydrangea seedlings is crucial to ensure their health and prosperity. By keeping a close eye on their progress, you can identify any potential issues early on and take appropriate measures. Here are some tips for monitoring the growth and development of your hydrangea seedlings:
- Observe leaf growth: Check for new leaf growth regularly. Healthy hydrangea seedlings should exhibit consistent leaf development, with new leaves emerging from the stem or branches. If the seedlings appear stagnant or show signs of stunted growth, it may indicate a problem that needs attention.
- Monitor stem growth: Take note of the growth and thickness of the stems. Hydrangea seedlings should have strong and sturdy stems that can support their foliage and flowers as they mature. Weak or thin stems may indicate nutrient deficiencies or other underlying issues.
- Inspect leaf color: Pay attention to the color of the leaves. Healthy hydrangea seedlings typically have vibrant and uniform green leaves. Yellowing or discolored leaves can be a sign of nutrient deficiencies, disease, or improper growing conditions.
- Check for signs of flowering: Depending on the hydrangea species and variety, you may expect to see signs of blooming within the first year or at least within a few years of growth. Monitor the seedlings for the presence of flower buds or changes in the foliage that may indicate the onset of flowering.
- Measure height and width: Regularly measure the height and width of your hydrangea seedlings. This will help you track their growth progress and ensure they are developing within the expected range for their particular cultivar. It can also help you plan for adequate spacing and future transplanting if needed.
Recognizing signs of stress or potential issues
While monitoring the growth and development of your hydrangea seedlings, it is equally important to be vigilant for any signs of stress or potential issues. Here are some common signs to watch out for:
- Wilting or drooping: If your hydrangea seedlings appear wilted or droopy, it may indicate under or overwatering. Adjust your watering practices accordingly, making sure to provide adequate moisture while avoiding waterlogged conditions.
- Leaf discoloration or yellowing: Discolored or yellowing leaves may indicate nutrient deficiencies, improper pH levels, or even pest infestation. Test the soil pH and consider adjusting fertilization practices if necessary. Monitor for signs of pests, such as aphids or spider mites, and take appropriate measures to address the issue.
- Poor growth or stunted development: If your hydrangea seedlings show signs of slow or stunted growth or fail to progress at all, it may indicate issues with soil quality, inadequate lighting, or nutrient deficiencies. Consider amending the soil, adjusting lighting conditions, and providing appropriate fertilization to promote healthy growth.
- Wilting or brown spots on leaves: Browning or wilting of the leaves can be a sign of inadequate watering, disease, or pest infestation. Check the moisture level of the soil and adjust watering practices as needed. Inspect the leaves for signs of fungal infections or pests and treat them accordingly.
- Stunted or distorted flowers: If your hydrangea seedlings do produce blooms, monitor their appearance closely. Stunted or distorted flowers may indicate fungal or viral infections. Remove and dispose of affected blooms to prevent further spread, and consider using fungicides or appropriate remedies if necessary.
By monitoring the growth and development of your hydrangea seedlings and recognizing signs of stress or potential issues, you can intervene early and provide the necessary care to ensure their continued health and successful growth. Regular observation and attention will contribute to the long-term success of your hydrangea plants.
Timeframe for Hydrangea Seed Growth: Estimating the expected time it takes to grow hydrangeas from seed
Growing hydrangeas from seed is a rewarding but patience-testing endeavor. Understanding the estimated timeframe for hydrangea seed growth can help manage expectations and plan accordingly. Although specific growth timelines can vary based on factors such as hydrangea species and growing conditions, here are some general guidelines:
Germination: Hydrangea seeds typically germinate within 2 to 8 weeks, although some varieties may take longer. Factors such as temperature, moisture, and stratification can influence germination time. Be patient during this phase and maintain consistent care to provide the ideal conditions.
Seedling stage: After germination, the seedlings will continue to grow and develop into young plants. This stage can last anywhere from a few weeks to several months, depending on factors such as cultivar characteristics and growing conditions. During this time, focus on providing proper care, including watering, fertilizing, and protecting them from pests and diseases.
Establishment: Hydrangea seedlings typically require about 1 to 2 years to establish themselves in their new location and develop a strong root system. This phase is crucial for their long-term growth and flower production. Monitor their progress, ensuring they receive adequate sunlight, water, and nutrients to support healthy growth.
Flower production: The timeframe for hydrangea seedlings to produce their first blooms can vary significantly. Some hydrangea varieties may start flowering within the first year, while others may take 2 to 3 years or longer. Factors such as genetics, growing conditions, and overall plant health influence when hydrangeas will produce their iconic blooms. Be patient and provide consistent care to encourage flowering.
Read more: How Long To Grow Cantaloupe From Seed
Factors that may influence growth rate
Several factors can influence the growth rate of hydrangea seedlings. Understanding these factors can help you optimize growing conditions and promote healthy growth. Here are some key factors to consider:
- Hydrangea species and cultivar: Different hydrangea species and cultivars have varying growth rates. Some varieties are known to grow faster and reach maturity quicker than others. Research the specific characteristics and growth habits of your chosen hydrangea variety to get a better idea of its growth rate.
- Growing conditions: The conditions in which you grow your hydrangea seedlings can significantly impact their growth rate. Factors such as sunlight exposure, soil quality, temperature, humidity, and moisture levels all play a role. Providing optimal growing conditions, such as well-drained soil, adequate sunlight, and appropriate fertilization, can enhance growth and development.
- Season and climate: The time it takes for hydrangea seeds to grow can also be influenced by the season and local climate. Hydrangeas generally thrive in temperate climates, and growth may be slower in extreme climates or during certain seasons. Adjust care and stay mindful of weather conditions to support healthy growth.
- Seed quality and viability: The quality and viability of the hydrangea seeds you start with can impact their germination and subsequent growth. Ensure you obtain high-quality seeds from reputable sources. Fresh seeds tend to have higher germination rates and better growth potential.
- Pruning and shaping: Proper pruning and shaping techniques can promote healthy growth and encourage branching in hydrangea seedlings. Regularly monitor the seedlings’ shape and trim back any leggy or weak branches to promote a more compact and sturdy plant structure.
Remember, each hydrangea seedling is unique, and growth rates may vary. By providing optimal growing conditions, monitoring their progress, and practicing patience, you can enjoy watching your hydrangea seedlings develop into beautiful, mature plants with time.
Conclusion: Final thoughts on growing hydrangeas from seed
Growing hydrangeas from seed can be a fascinating and rewarding experience. While it requires patience and attention, the journey from a tiny seed to a flourishing plant is truly remarkable. Here are some final thoughts and tips to ensure a successful and gratifying experience:
1. Enjoy the process: Growing hydrangeas from seeds is a journey that allows you to witness the entire growth cycle. Embrace the process and enjoy every stage, from planting the seeds to nurturing the seedlings.
2. Select appropriate hydrangea seeds: Choose hydrangea seeds that align with your preferences, garden conditions, and climate. Consider factors such as desired flower color, plant size, and growth habits to ensure a harmonious and thriving garden.
3. Prepare the soil correctly: Proper soil preparation is essential for your hydrangea seedlings’ growth and development. Ensure well-draining soil with adequate nutrients and maintain the appropriate pH levels for your specific hydrangea variety.
4. Provide optimal growing conditions: Hydrangeas thrive in partial shade and well-hydrated conditions. Ensure your seedlings receive enough sunlight, water, and proper drainage to support healthy growth and prevent common issues like overwatering or sunscald.
5. Monitor and adjust care: Regularly monitor the growth and health of your hydrangea seedlings. Make adjustments to watering, fertilizing, and pest control practices as needed to provide the best care and support their growth.
6. Be patient with the flowering process: While the timeframe for hydrangeas to produce their first blooms may vary, remember that patience pays off. Continue to provide care and watch as your seedlings gradually transform into beautiful flowering plants.
7. Share your knowledge and experiences: As you embark on this journey, share your experiences, successes, and challenges with fellow gardeners. Engage in gardening communities, online platforms, or local gardening clubs to learn from others and exchange valuable insights.
8. Embrace the uniqueness of each plant: Each hydrangea seedling is unique, and their growth may vary. Embrace and appreciate the individual characteristics, flower colors, and growth habits that make your hydrangea plants distinct and special.
9. Continue learning about hydrangeas: Growing hydrangeas from seed is just the beginning of your journey as a hydrangea enthusiast. Keep learning about different species, varieties, and cultivation techniques to expand your knowledge and enhance your gardening skills.
Growing hydrangeas from seed is a delightful and fulfilling process that allows you to witness the beauty of nature unfold before your eyes. With careful care, attention to detail, and a dash of patience, your hydrangea seedlings will grow into magnificent plants, adorning your garden with their vibrant blooms for years to come.
Now that you're well-versed in nurturing hydrangeas from seed, why not enhance your gardening skills further? For those inspired to add a bit more charm and function to their gardens, our next read offers creative inspiration that's just a click away. Discover a multitude of unique garden fence ideas that can transform your outdoor space into a delightful sanctuary or a practical haven for your plants and privacy needs. Whether for aesthetic appeal or practical use, these fencing solutions cater to all tastes and garden sizes.
Frequently Asked Questions about How Long To Grow Hydrangeas From Seed
Was this page helpful?
At Storables.com, we guarantee accurate and reliable information. Our content, validated by Expert Board Contributors, is crafted following stringent Editorial Policies. We're committed to providing you with well-researched, expert-backed insights for all your informational needs.

0 thoughts on “How Long To Grow Hydrangeas From Seed”