Home>Garden Essentials>How To Grow Lemons From Lemon Seeds
Garden Essentials
How To Grow Lemons From Lemon Seeds
Modified: March 16, 2024
Learn how to grow lemons from lemon seeds and create your own garden oasis. Discover expert tips and tricks for successful garden cultivation.
(Many of the links in this article redirect to a specific reviewed product. Your purchase of these products through affiliate links helps to generate commission for Storables.com, at no extra cost. Learn more)
Introduction
Welcome to the world of gardening, where you can experience the joy of growing your own fruits and vegetables right in your backyard. If you have ever wondered how to grow lemons from lemon seeds, you have come to the right place. Growing lemons from seeds can be a rewarding and fulfilling experience, allowing you to witness the entire lifecycle of a lemon tree – from tiny seeds to beautiful, citrus-filled branches.
While growing lemons from seeds may not guarantee the same quality and characteristics as the parent tree, it is still a fun and educational project that can be enjoyed by garden enthusiasts of all ages. In this article, we will guide you through the step-by-step process of collecting lemon seeds, preparing them for planting, nurturing the seedlings, and ultimately harvesting your very own lemons.
Before diving into the details, it’s important to note that growing lemon trees from seeds requires time, patience, and the right conditions. Lemon trees are subtropical plants, thriving in warm climates with plenty of sunlight and well-draining soil. If you live in a region with harsh winters or limited sunlight, you may need to create an indoor growing environment or consider alternative citrus varieties that are better suited to your climate.
Now that we’ve set the stage, let’s get started on this exciting journey of growing lemons from lemon seeds!
Key Takeaways:
- Growing lemons from seeds is a fun and educational project, but it requires time, patience, and the right conditions. Enjoy the journey of nurturing a tiny seed into a thriving lemon tree!
- Provide your lemon tree with ample sunlight, well-draining soil, and regular care to enjoy the beauty and bounty of homegrown lemons. Embrace the learning process and enjoy the fruits of your labor!
Read more: How To Grow Lemon Seeds
Step 1: Collecting Lemon Seeds
The first step in growing lemons from seeds is to collect mature lemon seeds. You can obtain these seeds from lemons that are fully ripe and preferably organic. Here is a simple guide on how to collect lemon seeds:
- Select a ripe lemon: Look for lemons that are bright yellow and feel firm when gently squeezed. Avoid using lemons that are overly soft or have blemishes.
- Cut the lemon: Using a sharp knife, carefully cut the lemon in half. Take care not to damage the seeds inside.
- Remove the seeds: Extract the seeds from the pulp using your fingers or a spoon. Place them in a bowl or a damp paper towel to prevent them from drying out.
- Clean the seeds: Rinse the seeds with water to remove any remaining pulp or juice. Pat them dry with a paper towel.
It’s important to note that lemon seeds may not always be viable, meaning they may not sprout or grow into healthy trees. To increase your chances of success, you can collect more seeds than you need and select the strongest-looking ones for planting.
Once you have collected the lemon seeds, it’s time to move on to the next step: preparing the seeds for planting.
Step 2: Preparing the Seeds for Planting
Now that you have collected the lemon seeds, it’s crucial to prepare them properly before planting. This step helps to enhance germination and gives your seeds the best chance of growing into healthy seedlings. Follow these steps to prepare your lemon seeds:
- Soak the seeds: Fill a glass or container with water and place the lemon seeds inside. Let them soak for 24 hours. This soaking process helps to soften the seed coat and encourages germination.
- Stratify the seeds (optional): If you live in an area with a mild climate or are starting the seeds in the warmer seasons, stratifying the seeds will mimic the natural cold period that lemon seeds undergo before sprouting. To stratify, place the soaked seeds in a damp paper towel or in a ziplock bag with moist peat moss. Seal the bag and refrigerate it for 4-6 weeks. This cold stratification process can improve germination rates.
- Inspect the seeds: After soaking or stratification, examine the seeds for any signs of damage or mold. Discard any seeds that look abnormal or unhealthy.
- Air dry the seeds: Once the seeds are cleaned and inspected, spread them out on a paper towel and let them air dry for a day or two. Make sure the seeds are completely dry before proceeding to the next step.
By soaking, stratifying (optional), and air drying the lemon seeds, you are creating optimal conditions for germination. This preparation process increases the chances of successful seedling development. Now, you are ready to move on to the exciting step of planting the lemon seeds!
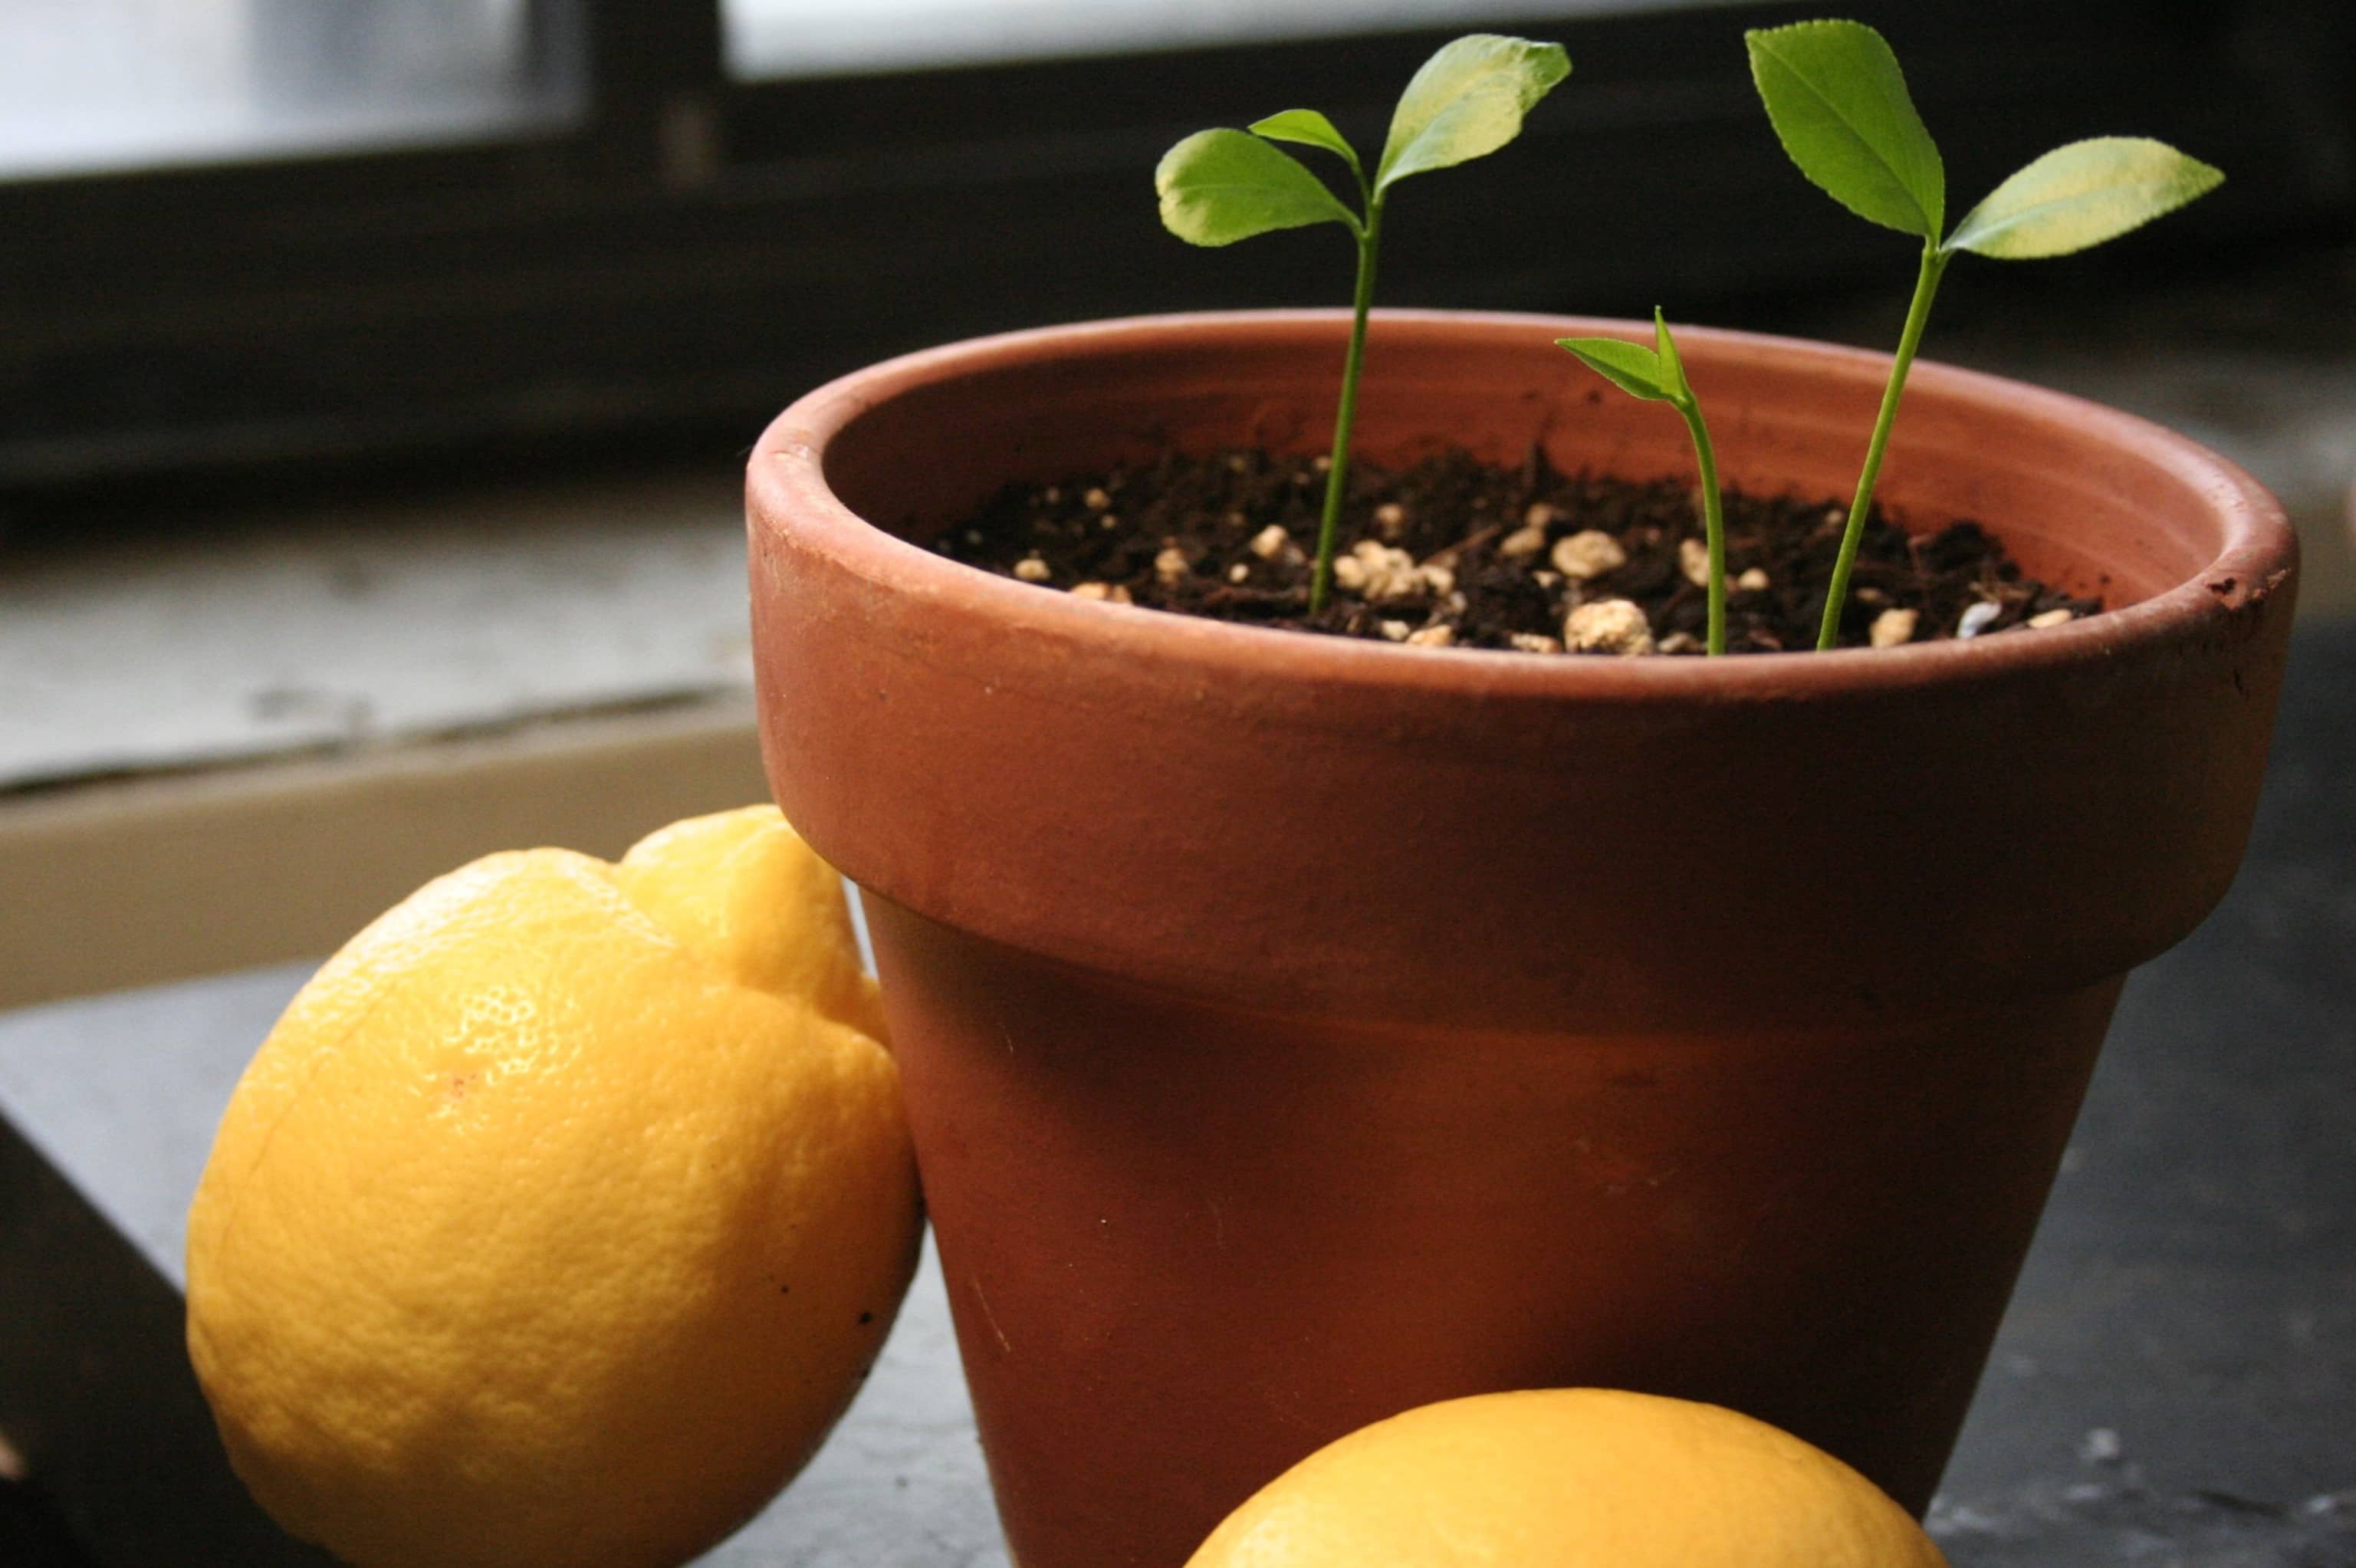
Step 3: Planting the Lemon Seeds
Now that you have prepared the lemon seeds, it’s time to plant them and watch them sprout into seedlings! Follow these steps to plant your lemon seeds:
- Choose the right container: Select a seed tray or small pots with drainage holes to plant your lemon seeds. Ensure that the container is filled with well-draining potting soil specifically designed for citrus plants.
- Moisten the soil: Before planting, moisten the soil in the container with water. Avoid overwatering to prevent waterlogging.
- Plant the seeds: Make a small hole in the soil, approximately 1 inch deep. Place a lemon seed in each hole and cover it gently with soil. If you are using a seed tray, space the seeds a few inches apart to allow room for growth.
- Label and water: Label the container with the date and lemon variety if you have multiple types. Water the seeds gently after planting, ensuring that the soil is moist but not saturated.
- Provide warmth and sunlight: Place the container in a warm location with plenty of sunlight. Lemon seeds require temperatures between 70-85°F (21-29°C) for optimal germination. Consider using a heat mat under the container to maintain consistent warmth.
- Monitor and water: Check the soil moisture regularly and water as needed to keep it consistently moist. Be careful not to overwater, as this can lead to rotting or fungal issues.
- Be patient: Lemon seeds can take anywhere from 2-6 weeks to germinate, depending on the variety and growing conditions. Be patient and continue to provide the seeds with the right environment.
As your lemon seeds begin to sprout and grow into seedlings, you can witness the magic of life unfolding right before your eyes. In the next step, we will discuss how to care for your lemon seedlings to ensure their healthy development.
When growing lemon seeds, make sure to keep the soil consistently moist but not waterlogged. Also, provide plenty of sunlight and warmth for the seeds to germinate and grow into healthy lemon plants.
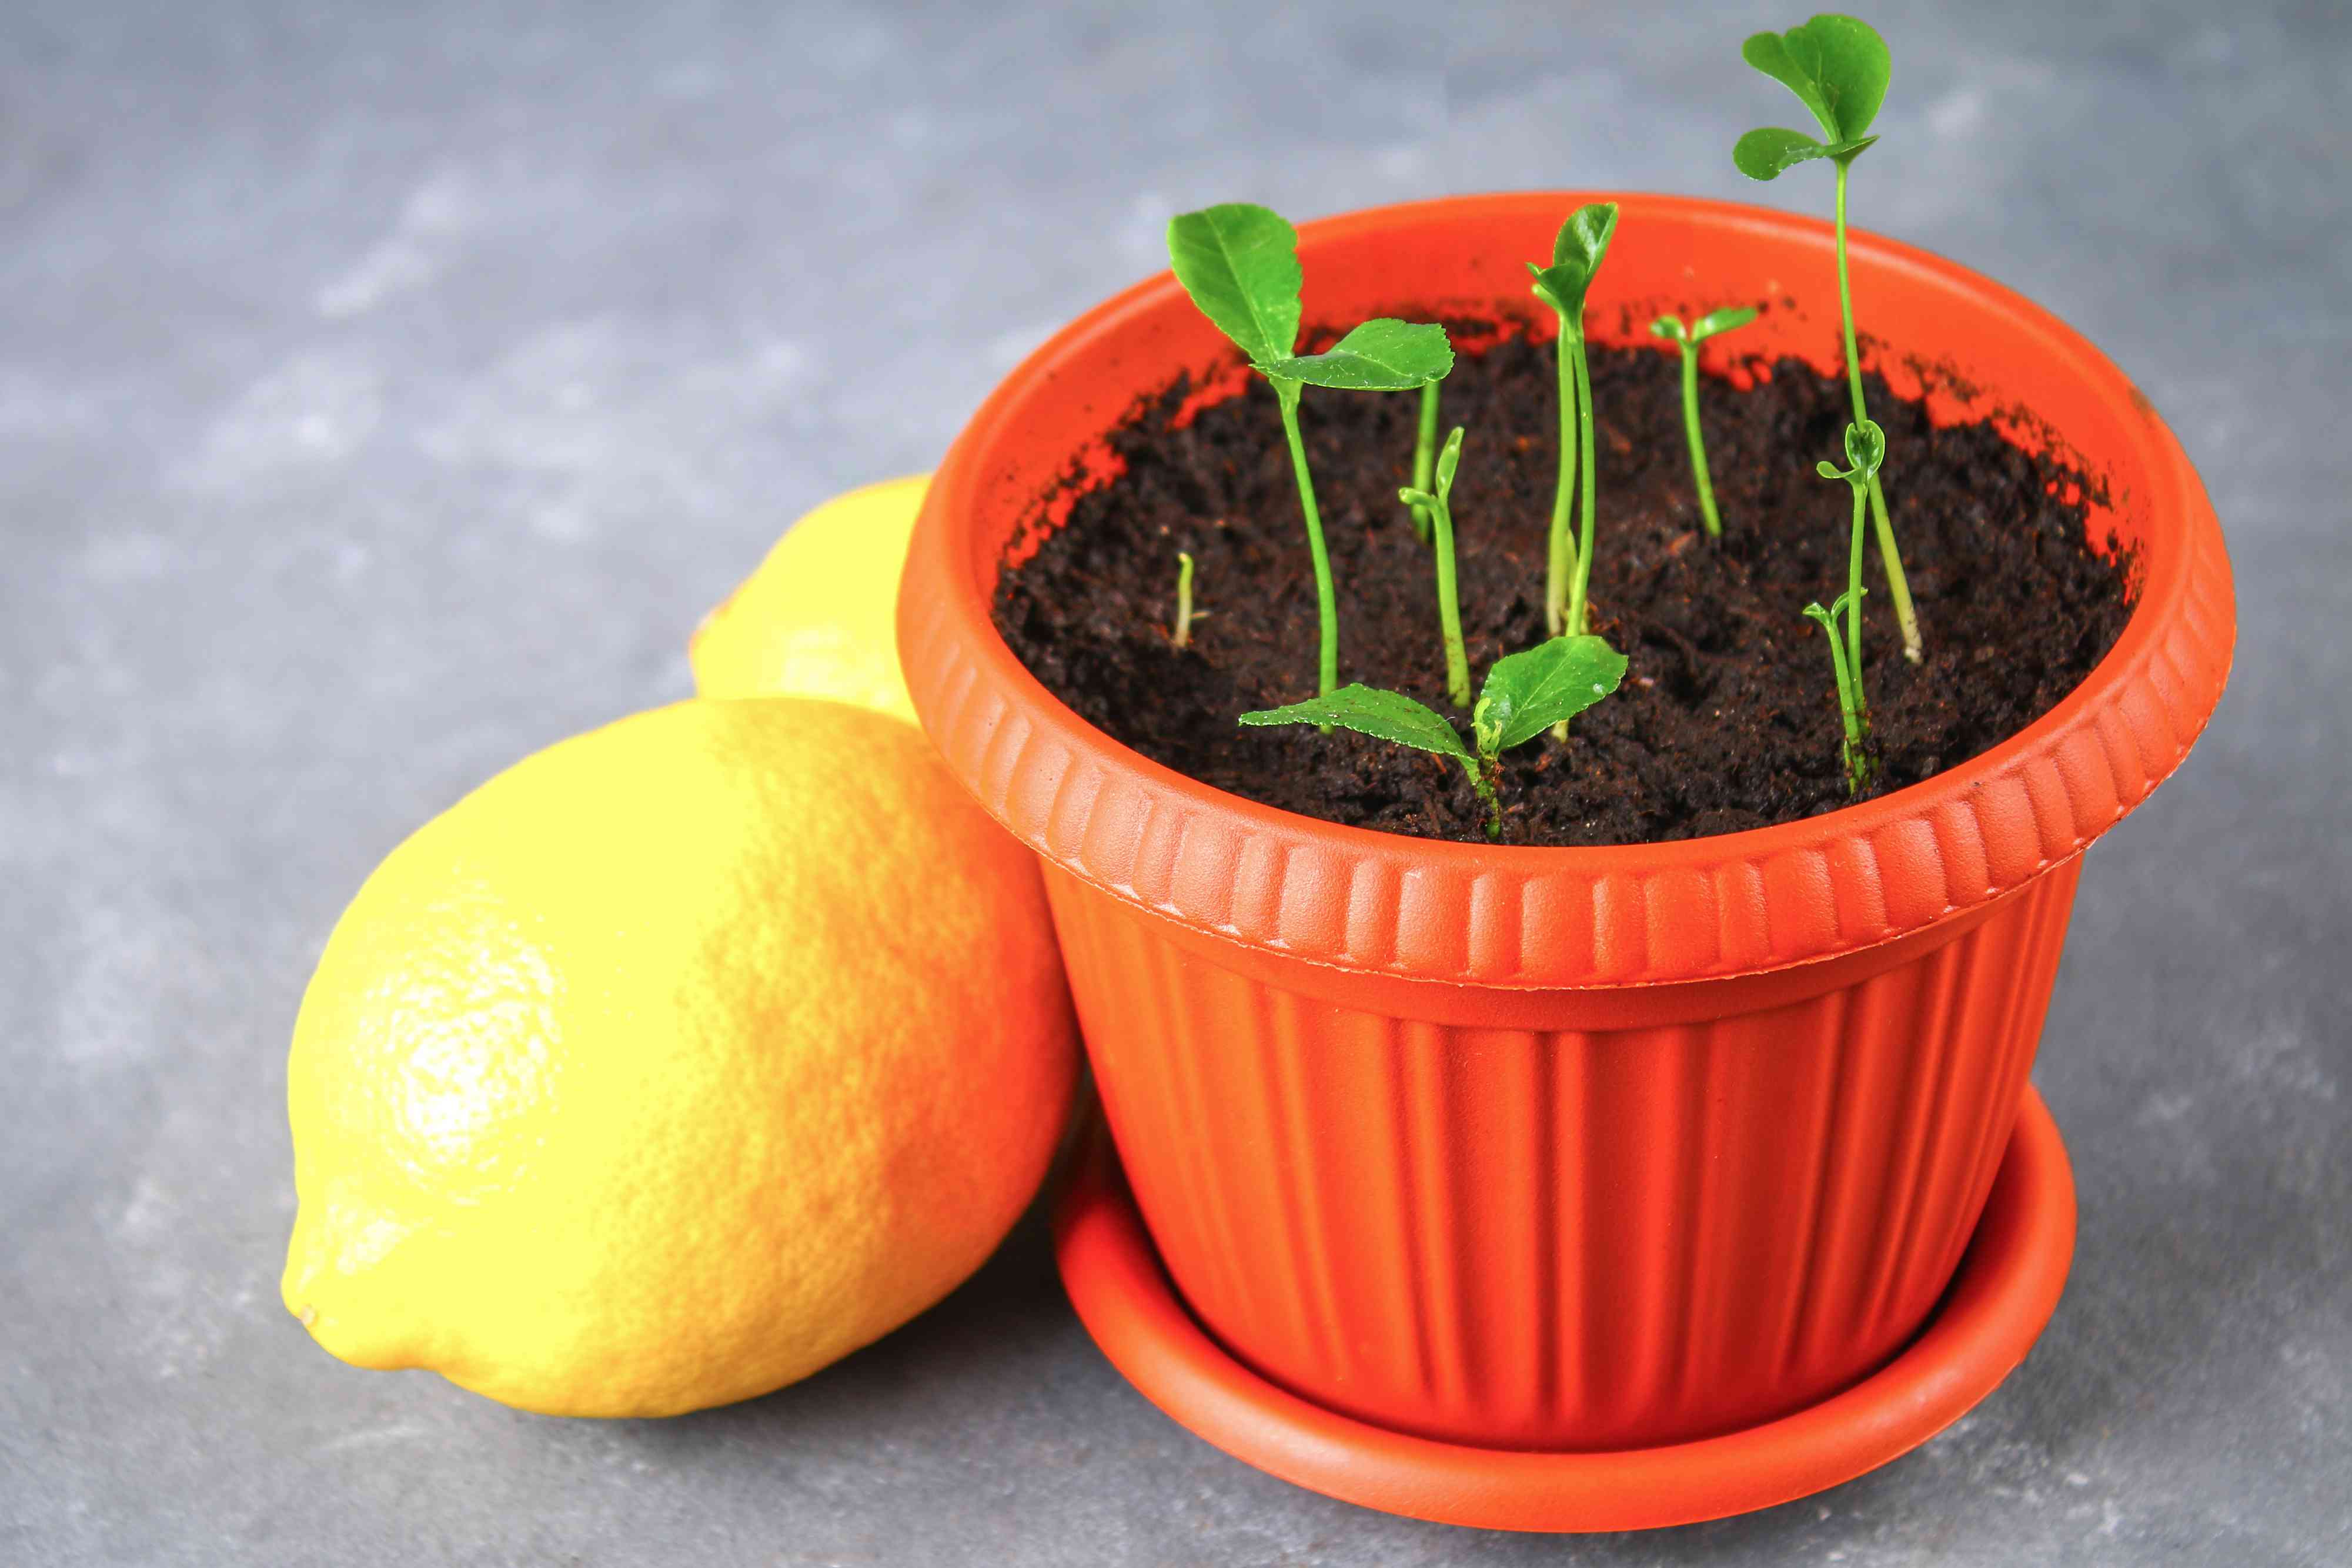
Step 4: Caring for Lemon Seedlings
Once your lemon seeds have germinated and started growing into seedlings, it’s important to provide them with proper care to ensure their healthy development. Here are some essential care tips for lemon seedlings:
- Provide adequate sunlight: Lemon seedlings thrive in full sunlight for at least 8-10 hours a day. Place them near a sunny window or use supplemental grow lights to ensure they receive sufficient light.
- Water appropriately: Water the seedlings regularly, keeping the soil consistently moist but not soggy. Avoid overwatering, as it can lead to root rot. Carefully monitor the moisture levels and adjust watering accordingly.
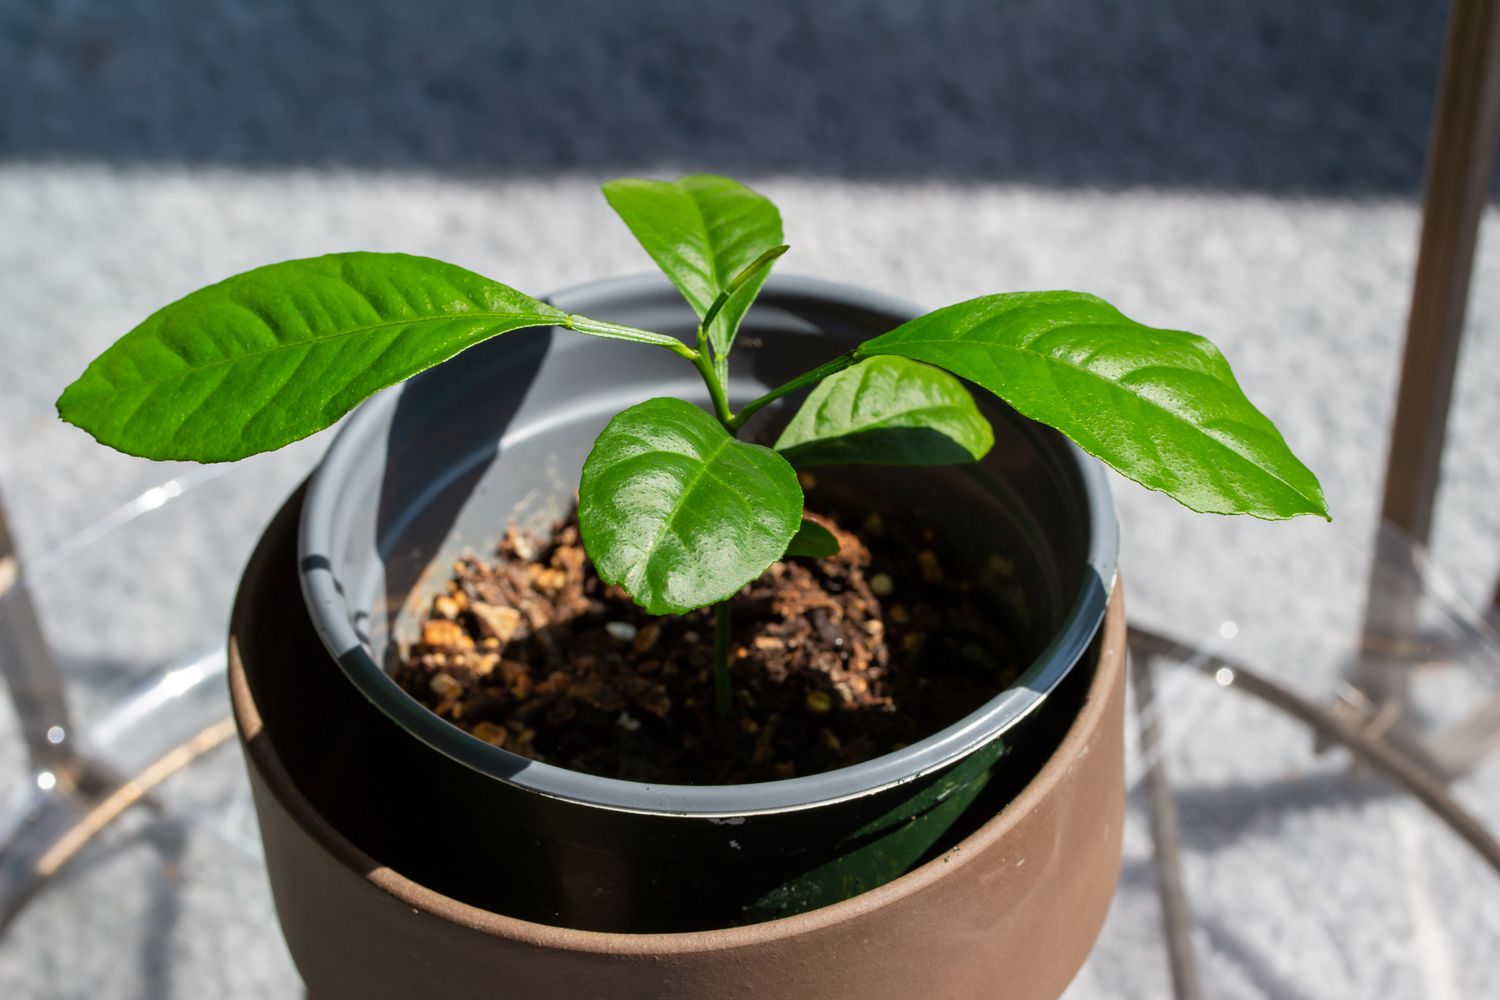
- Fertilize lightly: After the seedlings have developed their first set of true leaves, you can start feeding them with a balanced fertilizer specifically formulated for citrus plants. Follow the manufacturer’s instructions for application rates and frequency.
- Prune if necessary: As the seedlings grow, you may need to prune them to maintain a desired shape and encourage branching. Trim off any leggy or weak stems to promote a sturdy and well-formed plant.
- Protect from extreme temperatures: Lemon seedlings are sensitive to extreme temperatures. Protect them from cold drafts during the winter and provide sufficient ventilation during hot summer days.
- Monitor pests and diseases: Keep a close eye on your lemon seedlings for any signs of pests or diseases. Common pests include aphids, mites, and scale insects. If issues arise, use organic methods or consult with a local garden center for appropriate remedies.
- Transplanting: As the seedlings grow and develop a strong root system, they will eventually outgrow their small pots. When this happens, carefully transplant them into larger containers or outdoor garden beds, ensuring proper spacing.
By providing the right care and attention, your lemon seedlings will continue to thrive and grow into healthy lemon trees. In the next step, we will discuss transferring the lemon tree to an outdoor location.
Read more: How To Grow A Lemon Tree From Seed In Water
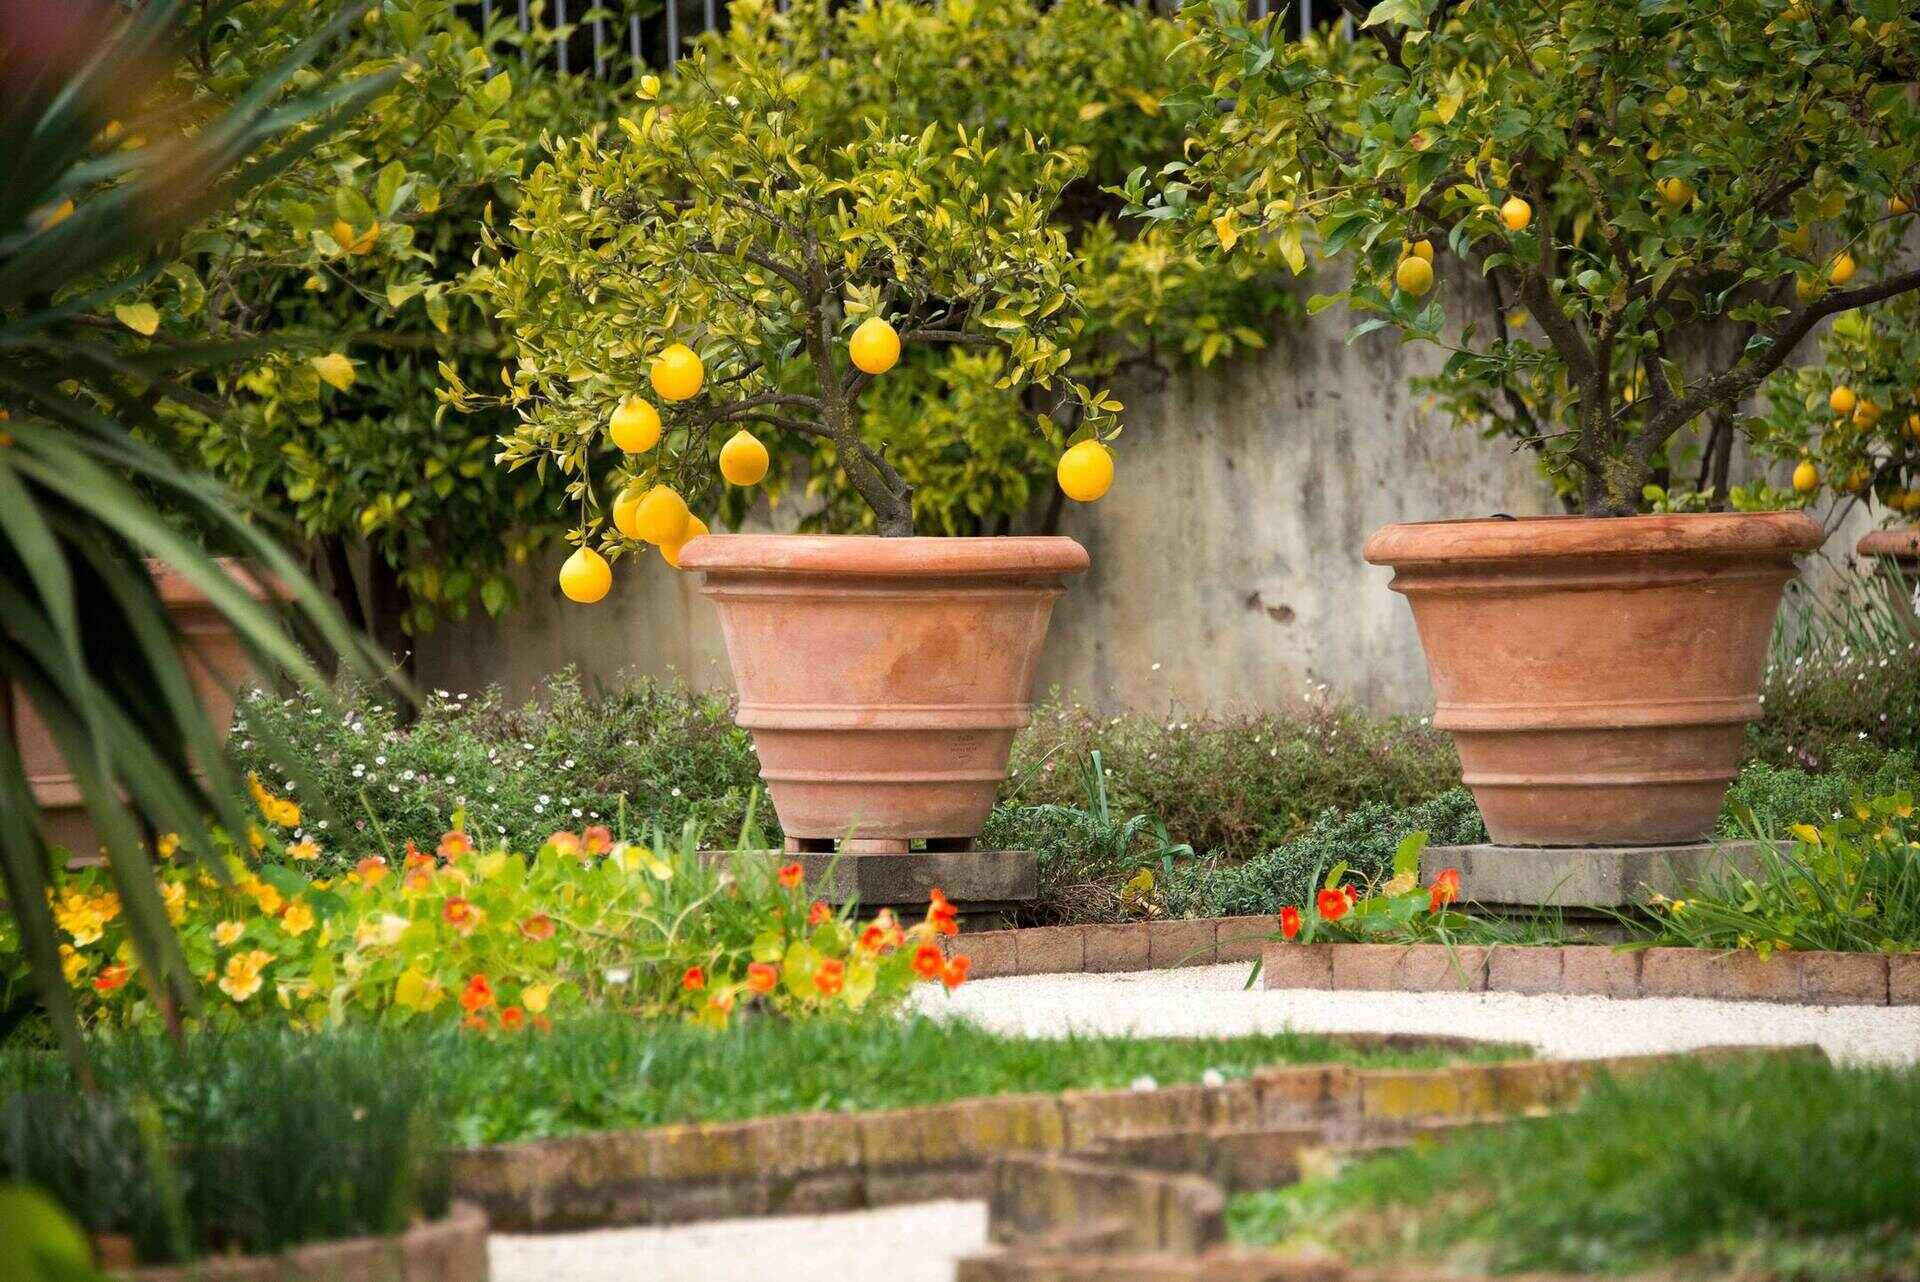
Step 5: Transferring the Lemon Tree to an Outdoor Location
Once your lemon tree has grown into a sturdy and established seedling, it’s time to think about transferring it to an outdoor location where it can thrive and reach its full potential. Follow these steps to successfully transplant your lemon tree:
- Choose the right timing: Plan to transplant your lemon tree when the weather is consistently warm and there is no longer a risk of frost. Typically, spring is an ideal time for this.
- Select a suitable location: Lemon trees require a sunny spot with well-draining soil. Choose an area with at least 6-8 hours of direct sunlight per day. Avoid areas prone to strong winds or waterlogging.
- Prepare the planting hole: Dig a hole that is slightly larger and deeper than the root ball of your lemon tree. Loosen the soil and remove any weeds or grass in the area.
- Water the tree: Before transplanting, thoroughly water your lemon tree in its current container to ensure it is well-hydrated and its roots are moist.
- Remove the tree from the container: Gently tap the sides of the container to loosen the root ball. Carefully slide the tree out, taking care not to disturb the roots too much.
- Plant the tree: Place the root ball in the prepared hole, ensuring the tree is upright and at the same depth as it was in its previous container. Backfill the hole with soil, gently firming it around the roots.
- Water and mulch: After planting, water the tree thoroughly to settle the soil and provide moisture for the roots. Apply a layer of organic mulch around the tree, leaving a gap around the trunk to prevent moisture build-up and rot.
- Stake if necessary: If your lemon tree is tall and top-heavy, you may need to provide support by staking it. Use soft ties to secure the tree to the stake, allowing room for some movement.
- Monitor and care: Keep a close eye on your transplanted lemon tree and water regularly, especially during the first few weeks. Provide occasional deep watering to encourage deep root growth. Continue to monitor for pests and diseases and take appropriate action if needed.
Transplant shock is common after moving a tree, so it’s important to give your lemon tree time to adjust to its new environment. With proper care and attention, your lemon tree will start to establish itself and reward you with a bountiful harvest of delicious lemons.
Step 6: Maintaining and Harvesting Lemons
Now that your lemon tree is growing strong and healthy, it’s time to shift your focus to its ongoing care and the exciting prospect of harvesting your very own lemons. Here are some essential tips for maintaining and harvesting lemons:
- Watering: Proper watering is crucial for the growth and health of your lemon tree. Keep the soil evenly moist, but be cautious not to overwater. Monitor the moisture levels by checking the top few inches of soil and adjust your watering schedule accordingly.
- Fertilizing: Feed your lemon tree regularly with a citrus-specific fertilizer to provide essential nutrients. Follow the instructions on the fertilizer package for application rates and frequency. It’s best to fertilize in early spring and again in late summer or early fall.
- Pruning: Prune your lemon tree annually to promote healthy growth and shape the tree. Remove any dead, damaged, or crossing branches. Thin out excess growth to improve air circulation and sunlight penetration. Pruning should be done during the dormant season, typically in late winter or early spring.
- Pest and disease control: Keep a watchful eye for common citrus pests such as aphids, mealybugs, and scale insects. Regularly inspect your tree for any signs of pest infestation or disease. If detected, take appropriate measures such as using organic insecticides or consulting with a local horticulturist for guidance.
- Protect from extreme temperatures: Lemon trees are sensitive to extreme cold or heat. During the winter, protect your tree from frost by covering it with frost blankets or bringing it indoors if temperatures drop significantly. In hot summer months, provide shade or shade cloth to prevent sunburn on the delicate leaves and fruits.
- Harvesting lemons: Patience is key when it comes to harvesting lemons. Wait until the lemons are fully ripe and have attained their desired color, which is typically bright yellow. To harvest, gently twist and pull the lemons from the tree. Avoid pulling or yanking forcefully, as this can damage the branches or break off immature fruit.
- Storage and usage: Freshly harvested lemons can be kept at room temperature for a few days. For longer storage, place them in a refrigerator where they can stay fresh for several weeks. Lemons can be used in a variety of culinary applications such as making lemonade, flavoring dishes, or as a garnish.
By following these maintenance practices and proper harvesting techniques, you can enjoy the fruits of your labor and savor the delicious flavor and aroma of homegrown lemons.
Congratulations on successfully growing your own lemon tree and embarking on this fruitful gardening journey! With care, dedication, and a little bit of luck, your lemon tree will continue to thrive and provide you with an abundance of fresh, tangy lemons for years to come.
Conclusion
Growing lemons from lemon seeds is a rewarding and fulfilling experience, allowing you to witness the magic of nature unfold right before your eyes. From collecting and preparing the seeds to caring for the seedlings and eventually harvesting your own lemons, this journey is filled with joy, learning, and a sense of accomplishment.
By following the steps outlined in this guide, you can successfully grow your lemon tree from seeds and enjoy the beauty and bounty it brings. Remember to provide your lemon tree with the right conditions, including ample sunlight, well-draining soil, and regular care with appropriate watering and fertilization. Keeping an eye out for pests and diseases is also important to ensure the health and vitality of your lemon tree.
As your lemon tree grows and matures, it will reward you with fragrant blossoms and an abundance of delicious lemons. From homemade lemonade to flavorful dishes and delightful desserts, your homegrown lemons will add a touch of freshness and zest to your culinary creations.
Remember, gardening is a journey of patience and perseverance. Don’t be discouraged by setbacks or challenges along the way. Embrace the learning process and adjust your methods as needed. Each step in growing lemons from seeds will deepen your understanding and appreciation for the natural world, and the satisfaction of nurturing a tiny seed into a thriving tree is immeasurable.
So, grab your gardening tools, collect those lemon seeds, and embark on this exciting adventure. With a little love and care, you’ll be rewarded with a vibrant lemon tree and a bounty of luscious lemons at your fingertips.
Happy gardening and enjoy the fruits of your labor!
Frequently Asked Questions about How To Grow Lemons From Lemon Seeds
Was this page helpful?
At Storables.com, we guarantee accurate and reliable information. Our content, validated by Expert Board Contributors, is crafted following stringent Editorial Policies. We're committed to providing you with well-researched, expert-backed insights for all your informational needs.


0 thoughts on “How To Grow Lemons From Lemon Seeds”