Home>Garden Essentials>How To Start A Lemon Tree From Seed
Garden Essentials
How To Start A Lemon Tree From Seed
Modified: August 23, 2024
Learn how to start a lemon tree from seed and cultivate a thriving garden with our helpful step-by-step guide. Unlock the secrets to successful gardening today!
(Many of the links in this article redirect to a specific reviewed product. Your purchase of these products through affiliate links helps to generate commission for Storables.com, at no extra cost. Learn more)
Introduction
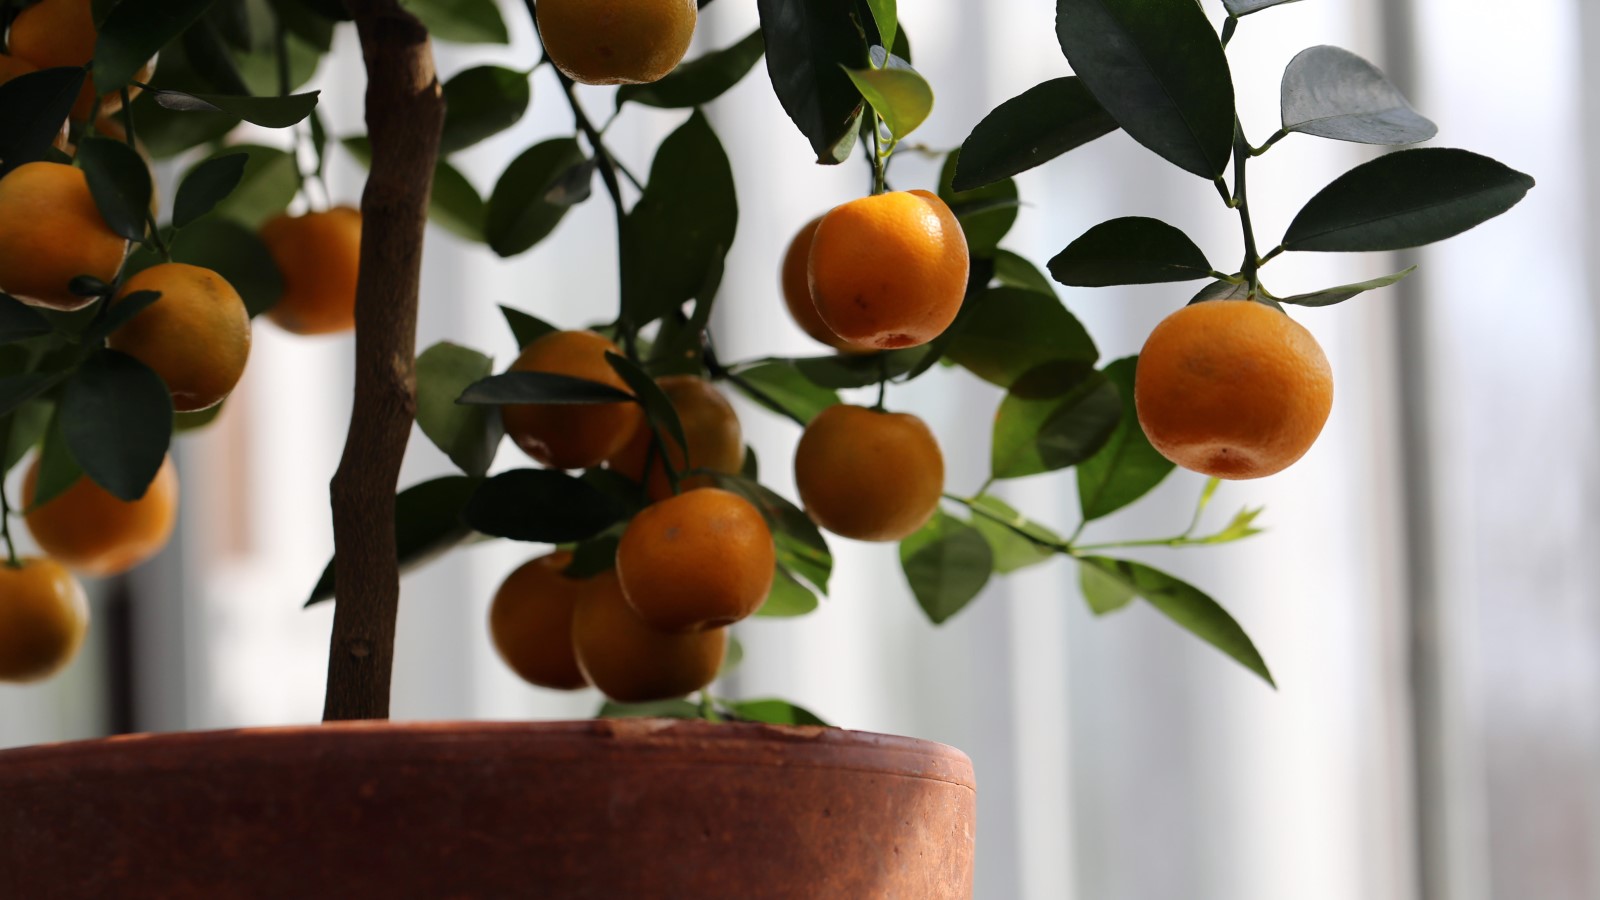
Growing a lemon tree from seed can be a rewarding and fulfilling experience for garden enthusiasts. Not only do lemon trees provide a fresh and invigorating fragrance, but they also bear delicious and nutritious fruits that can be used in a variety of culinary applications. Whether you’re looking to add some greenery to your garden or simply want to try your hand at growing your own fruit, starting a lemon tree from seed is a great option.
While it may be tempting to purchase a fully grown lemon tree, starting from seed offers a sense of accomplishment and allows you to witness the entire lifecycle of the plant. Additionally, growing a lemon tree from seed is a cost-effective alternative to buying an established plant.
However, it’s essential to understand that growing a lemon tree from seed requires patience, care, and attention to detail. Lemon trees are tropical plants that thrive in warm climates, so it’s important to provide them with the right conditions to ensure successful growth. In this article, we will guide you through the process of choosing the right seed, preparing it for planting, germinating the seed, planting it, caring for the seedling, and eventually transplanting it into a larger container or your garden.
So, roll up your sleeves, grab some gardening tools, and get ready to embark on an exciting journey of growing your very own lemon tree from seed!
Key Takeaways:
- Starting a lemon tree from seed is a rewarding journey that requires patience, care, and attention to detail. By choosing the right seed, preparing it for planting, and providing proper care, you can grow a healthy and productive lemon tree.
- Caring for your lemon seedlings involves watering, providing adequate light, maintaining suitable temperatures, fertilizing, and pruning. By following these essential steps, you can nurture your seedlings into thriving lemon trees and enjoy the beauty and benefits they bring to your garden or home.
Read more: How To Start A Nectarine Tree From Seed
Choosing the Right Seed
When it comes to choosing the right seed for your lemon tree, there are a few factors to consider. First and foremost, it’s essential to select a seed from a mature and healthy lemon, as this will increase your chances of successfully growing a robust and productive tree.
Look for lemons that are fully ripe and have a vibrant yellow color. Avoid using seeds from under-ripe or overripe fruits, as they may not produce viable seedlings. It’s also crucial to choose organic lemons whenever possible, as they are less likely to have been treated with chemicals or pesticides that could affect the seeds’ germination.
Once you have selected a suitable lemon, gently remove the seeds from the fruit. Avoid damaging the seeds as you extract them, as any cracks or damage could hinder germination. Remember that lemon seeds are fragile and should be handled with care.
After removing the seeds, rinse them thoroughly under cool running water to remove any pulp or residue. This will help prevent mold or fungal growth that could harm the germination process. Pat the seeds dry using a clean paper towel and then lay them out on a separate piece of paper towel to air dry completely. Ensure that the seeds are spread out evenly and not touching each other to promote proper drying.
It’s important to note that planting multiple seeds will increase your chances of success, as not all seeds will germinate. By planting multiple seeds, you can select the healthiest and strongest seedlings to continue growing, providing you with a higher likelihood of a thriving lemon tree.
With your seeds now ready, it’s time to move on to the next step: preparing the seeds for planting.
Preparing the Seed for Planting
Before you can plant your lemon tree seeds, it’s important to prepare them properly to improve their chances of germination. Preparing the seeds involves a few simple steps that will help to remove any inhibitors and promote successful sprouting.
The first step in preparing the seed is called scarification. This process involves making a small slit or nick in the seed coat to help water penetrate and initiate germination. To scarify your lemon seeds, you can use a small knife or sandpaper. Gently rub the seed coat in a circular motion on a section of sandpaper or make a small cut on one side of the seed with the knife, being careful not to damage the inner seed.
Once the seeds have been scarified, they need to be soaked in water overnight. Fill a bowl or glass with room temperature water and place the seeds in it. Allow them to soak for at least 12 hours or overnight. This soaking process helps to soften the seed coat and promote germination.
After the soaking period, remove the seeds from the water and gently pat them dry with a paper towel. At this point, you can proceed to the next step: germinating the seeds.
It’s important to mention that not all lemon seeds will sprout, even with proper preparation. However, by scarifying and soaking the seeds, you increase the likelihood of successful germination, giving your lemon tree the best possible start.
Now that your lemon seeds are scarified and soaked, it’s time to move on to the exciting process of germinating the seeds and watching them spring to life!
Germinating the Seed
Germination is the process by which a seed sprouts and begins to grow into a seedling. To germinate your lemon seeds, you have a few options, including using the paper towel method or planting them directly in a growing medium. Let’s explore both methods.
The paper towel method is a popular and straightforward way to germinate seeds. To start, dampen a paper towel with water, ensuring it is moist but not soaking wet. Place the moist towel on a flat surface and spread out your scarified and soaked lemon seeds evenly on the towel. Fold the towel over the seeds to cover them completely.
Next, place the towel with the seeds in a sealable plastic bag or container to create a controlled environment. This helps to retain moisture and create a greenhouse effect, promoting germination. Make sure the bag or container is not airtight to allow for some airflow.
Find a warm and well-lit location for your germinating seeds. Ideally, the temperature should be around 70-80°F (21-27°C). Check on the towel regularly to ensure it remains moist, but be careful not to oversaturate it. Within a few weeks, you should start to see tiny sprouts emerging from the seeds.
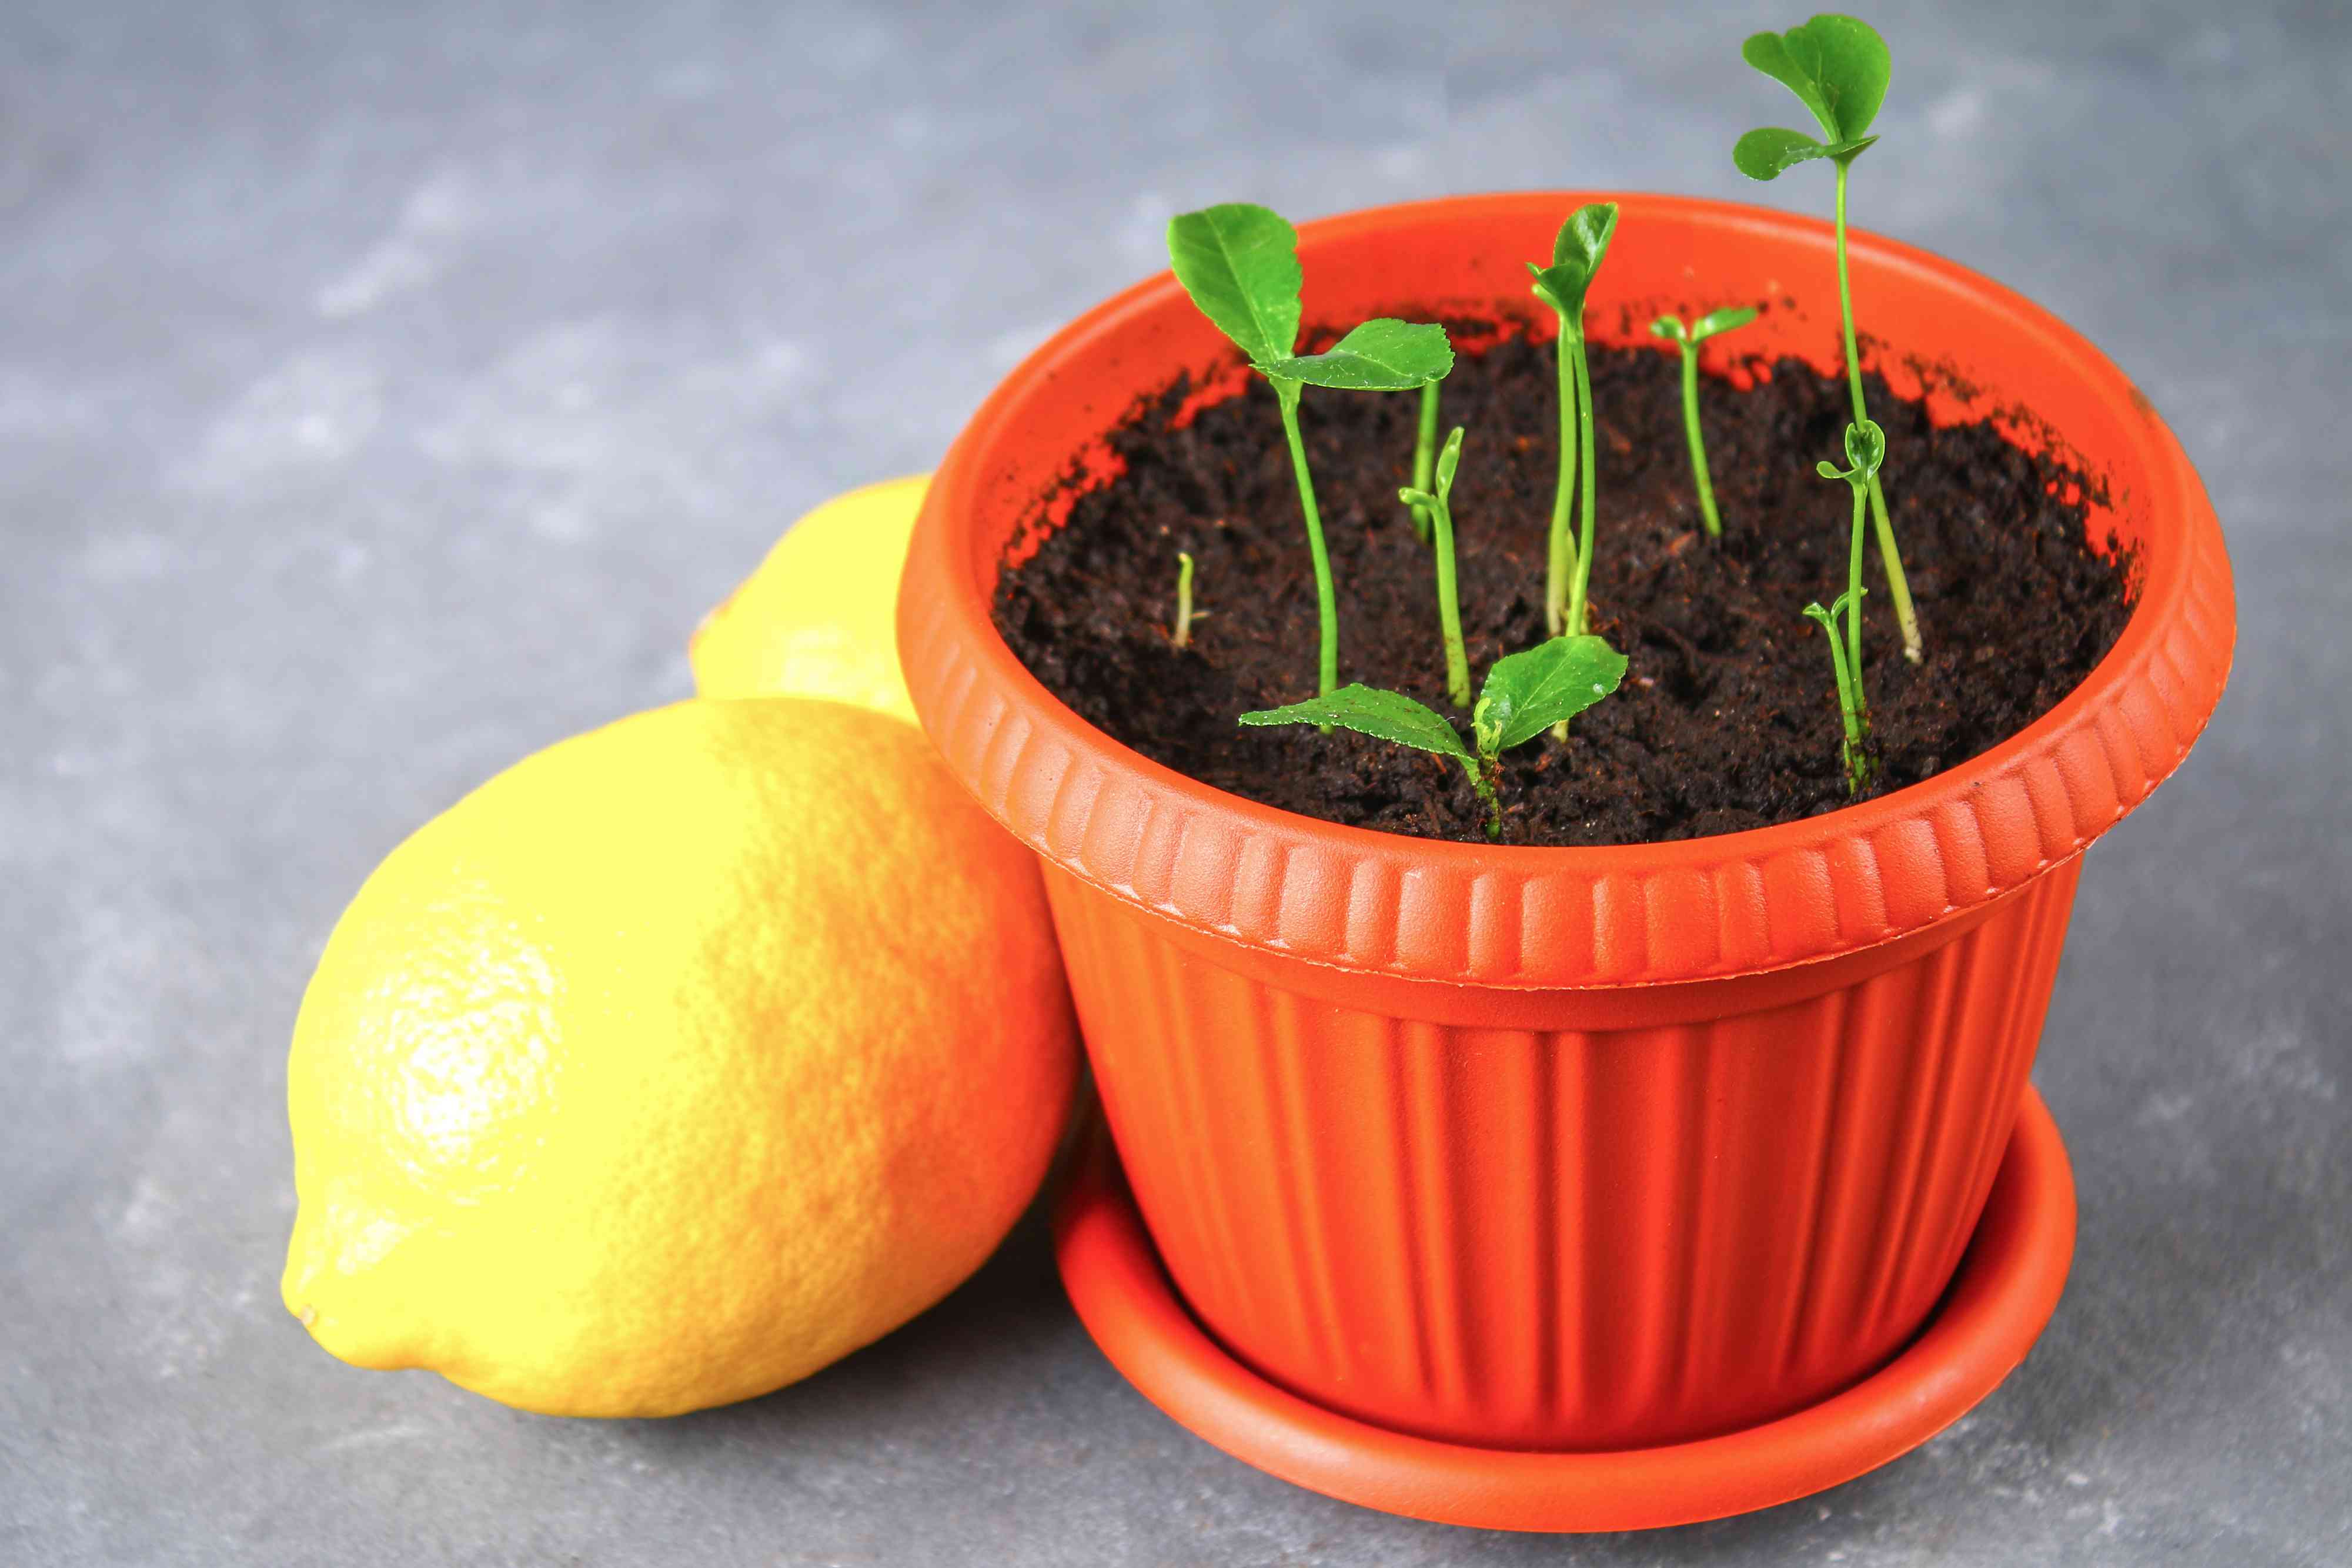
An alternative method is to plant the scarified and soaked seeds directly in a small pot or seed tray filled with well-draining potting soil. Create small holes in the soil, about half an inch deep, and place a seed in each hole. Cover the seeds lightly with soil and water gently to moisten the soil.
Place the pot or tray in a warm and well-lit area, ensuring it receives indirect sunlight. Keep the soil consistently moist but not waterlogged, as excessive moisture can lead to rotting. Within a few weeks, you should observe the emergence of seedlings.
Regardless of the method you choose, patience is key. Some seeds may germinate quickly, while others may take longer. Be mindful of the different germination rates and continue to provide the necessary care for successful sprouting.
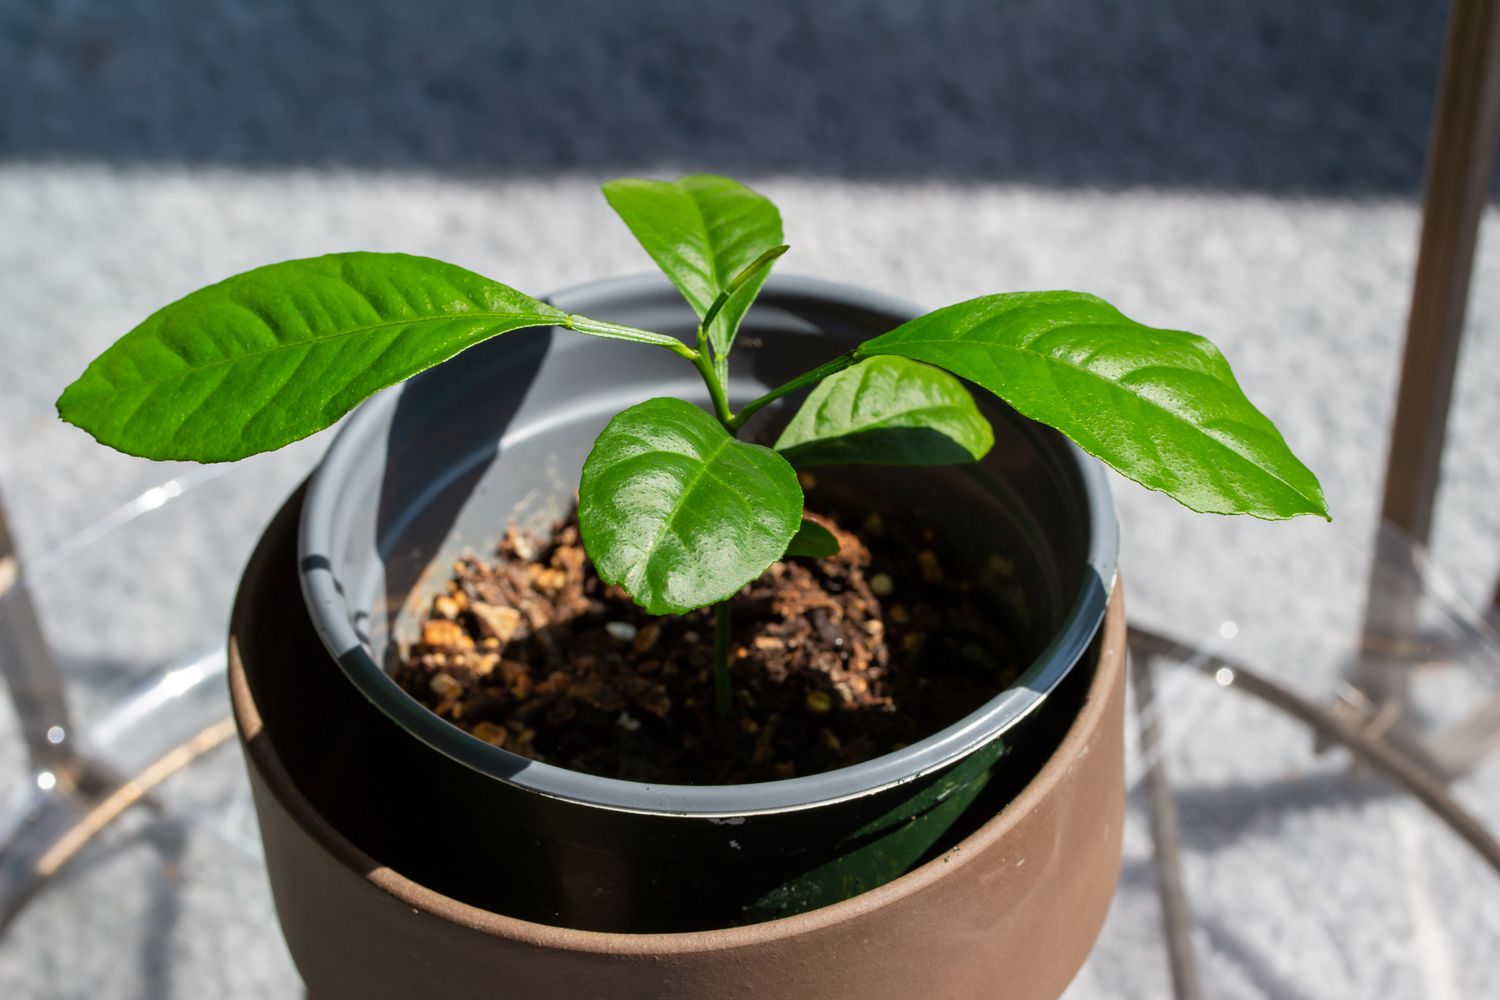
Once your lemon seeds have sprouted and you have healthy seedlings, it’s time to move on to the next step: planting the seedlings into individual containers.
To start a lemon tree from seed, first remove the seeds from a ripe lemon and wash off any pulp. Plant the seeds in a small pot with well-draining soil, water regularly, and keep the pot in a warm, sunny spot. It may take a few weeks for the seeds to sprout, but with patience, you can grow your own lemon tree at home!
Planting the Seed
After successfully germinating your lemon seeds and observing the emergence of healthy seedlings, it’s time to plant them into individual containers. This step will provide the young plants with the space they need to develop their roots and grow into strong, thriving lemon trees.
Choose containers that are at least 4-6 inches in diameter and have drainage holes at the bottom. These holes will prevent waterlogging and ensure proper drainage, which is essential for the health of the plants.
Fill each container with well-draining potting soil, leaving about 1-2 inches of space at the top. Make a small hole in the center of the container, deep enough to accommodate the roots of the seedling. Carefully transfer the seedling from its germination location by gently holding the base of the stem and easing it out of the paper towel or soil.
Place the seedling into the hole and gently backfill the soil around it, ensuring that it is stable and upright. Gently press the soil down to secure the seedling in place. Be careful not to bury the stem too deeply, as this can lead to rotting. Leave a small space between the soil level and the rim of the container to allow for watering without overflowing.
Water the newly planted seedling thoroughly, ensuring that the soil is evenly moist. Avoid overwatering, as this can lead to root rot. Place the containers in a warm and well-lit location, ideally where they can receive 6-8 hours of indirect sunlight per day.
As the seedlings continue to grow, monitor the moisture levels in the soil and water accordingly. It’s important to keep the soil consistently moist but not waterlogged. Allow the top inch of soil to dry out slightly between waterings to prevent the risk of overwatering.
During this stage, it’s also a good idea to provide the seedlings with a balanced liquid fertilizer once every two weeks. Follow the manufacturer’s instructions for dilution and application. This will supply the necessary nutrients for healthy growth and development.
As the seedlings continue to grow and establish their root systems, it’s important to keep an eye on their progress. In a few months, the seedlings will have outgrown their containers and will need to be transplanted into larger pots or into the garden. But for now, continue to care for and nurture your seedlings as they prepare for the next stage in their growth journey.
Next, we will explore the essential steps for caring for the seedlings and ensuring their continued health and vitality.
Read more: How To Start A Magnolia Tree From Seed
Caring for the Seedling
After successfully planting your lemon seedlings, it’s crucial to provide them with proper care to ensure their healthy development. Here are some essential steps to follow when caring for your lemon seedlings:
1. Watering: Proper watering is essential for the growth of your seedlings. Water the plants regularly, keeping the soil moist but not waterlogged. Check the moisture level by sticking your finger about an inch into the soil. If it feels dry, it’s time to water. Avoid overwatering, as it can lead to root rot. Instead, allow the top inch of soil to dry out slightly between waterings.
2. Light: Place your lemon seedlings in a location where they can receive 6-8 hours of indirect sunlight per day. If you’re growing them indoors, consider using grow lights to provide adequate light intensity. Rotate the pots regularly to ensure even exposure to light and prevent the seedlings from leaning towards one direction.
3. Temperature and Humidity: Lemon trees prefer warm temperatures between 70-85°F (21-29°C). Keep the seedlings away from drafts or extreme temperature fluctuations. Maintain a moderate level of humidity around the plants, especially if you live in a dry climate. You can increase humidity by placing a tray of water near the seedlings or using a humidifier.
4. Fertilizing: Feed your lemon seedlings with a balanced liquid fertilizer once every two weeks. Use a fertilizer specifically formulated for citrus plants and follow the recommended dosage instructions. Fertilizing provides the necessary nutrients for healthy growth and enhances the overall vigor of the seedlings.
5. Pruning: It may be necessary to prune the seedlings to promote proper branching and shape as they grow. Remove any leggy or weak branches, as well as any leaves that appear brown or diseased. Pruning encourages the growth of stronger branches and enhances the overall aesthetics of the tree.
6. Pest and Disease Control: Keep an eye out for common pests such as aphids, mealybugs, or scale insects. Regularly inspect the leaves and stems for any signs of infestation. Treat any pests promptly using organic insecticidal soap or neem oil. Additionally, ensure proper air circulation around the plants to prevent fungal diseases.
By following these care practices, your lemon seedlings will thrive and develop into healthy and robust trees. As they continue to grow, they will soon be ready for the next phase: transplanting into larger containers or into the garden.
Now, let’s explore the essential steps for successfully transplanting your lemon seedlings.
Transplanting the Seedling
Once your lemon seedlings have outgrown their current containers and have developed a strong root system, it’s time to transplant them into larger pots or directly into the garden. Transplanting allows the seedlings to have more space to grow and ensures their continued health and vitality. Here are the essential steps for successful transplanting:
1. Choose the Right Container: Select a container that is at least 12-18 inches in diameter and has drainage holes at the bottom. This will provide enough space for the roots to spread and allow excess water to drain properly. Make sure the container is made of a sturdy material, such as terracotta or plastic, and is suitable for outdoor use.
2. Prepare the New Container: Fill the new container with well-draining potting soil, leaving enough space at the top to accommodate the root ball of the seedling. Ensure that the soil is loose and crumbly, as compacted soil can hinder root growth.
3. Water the Seedling: Before transplanting, thoroughly water the seedling in its current container. This will help loosen the root ball and make it easier to remove without causing damage to the plant.
4. Gently Remove the Seedling: Carefully and gently lift the seedling out of its current container, taking care not to damage the roots. If the roots are tightly wound together, you can gently loosen them with your fingers or a fork to encourage outward growth.
5. Plant the Seedling: Place the seedling in the prepared hole in the new container, making sure it is centered. Backfill the hole with soil, gently firming it around the plant to provide stability. Ensure that the soil level is slightly below the top of the container to prevent water runoff.
6. Water and Mulch: Give the transplanted seedling a thorough watering to help settle the soil and eliminate any air pockets around the roots. Apply a layer of organic mulch, such as wood chips or straw, around the base of the plant to conserve moisture and suppress weed growth.
7. Provide Care and Maintenance: Place the newly transplanted seedling in a sunny location that receives at least 6-8 hours of indirect sunlight per day. Water the plant regularly, making sure the soil remains consistently moist but not waterlogged. Monitor for pests or diseases and take appropriate measures to control them.
Remember to give your transplanted seedling some time to adjust to its new environment. Avoid excessive fertilization immediately after transplanting, as this can stress the plant. Instead, focus on providing proper care and monitoring its progress.
In due time, your transplanted lemon seedling will continue to grow and develop into a thriving lemon tree, rewarding you with beautiful foliage and delicious fruits.
As a final note, enjoy the journey of nurturing your lemon tree and appreciate the natural beauty and benefits it brings to your garden and home.
With these guidelines, you are well-equipped to start a lemon tree from seed and foster its growth with care and patience. Good luck and happy growing!
Conclusion
Growing a lemon tree from seed is a rewarding endeavor that allows you to witness the entire lifecycle of this remarkable plant. Starting with the right seed, preparing it for planting, germinating it, and caring for the seedling, all contribute to the successful growth of a healthy lemon tree. By following the steps outlined in this article, you have learned how to choose the right seed, prepare it for planting, germinate the seed, and transplant the seedling into a larger container or garden.
Throughout this journey, it is important to provide proper care, including watering, providing adequate light, maintaining suitable temperatures, fertilizing, and pruning. By meeting the specific needs of your lemon seedlings, you will foster their growth and help them develop into robust and productive trees.
Remember, growing a lemon tree from seed requires patience and attention to detail. It may take time for your seedlings to establish and produce fruit, but the sense of accomplishment and the joy of harvesting your own lemons will be well worth the effort.
As your lemon tree grows, make sure to continue monitoring and addressing any issues such as pests or diseases that may arise. With proper care and maintenance, your lemon tree will flourish, adding beauty and a delicious citrus aroma to your garden or indoor space.
Whether you’re a seasoned gardener or a beginner, starting a lemon tree from seed offers a unique experience and the satisfaction of nurturing new life. So, embrace the journey, enjoy the process, and savor the fruits of your labor.
Now it’s time to roll up your sleeves, gather your gardening tools, and embark on the exciting adventure of growing your very own lemon tree from seed!
After mastering the art of starting a lemon tree from seed, you might be wondering about the next steps. How quickly can you expect to see signs of life from your newly planted seeds? Dive into our detailed guide on seed germination to find out the typical timelines and essential conditions for your seeds to thrive and emerge as healthy seedlings. This knowledge is crucial for any avid gardener looking to optimize their planting strategy!
Frequently Asked Questions about How To Start A Lemon Tree From Seed
Was this page helpful?
At Storables.com, we guarantee accurate and reliable information. Our content, validated by Expert Board Contributors, is crafted following stringent Editorial Policies. We're committed to providing you with well-researched, expert-backed insights for all your informational needs.


0 thoughts on “How To Start A Lemon Tree From Seed”