Home>Garden Essentials>How To Grow Papaya Seeds
Garden Essentials
How To Grow Papaya Seeds
Modified: March 15, 2024
Learn how to grow papaya seeds in your garden and enjoy fresh, tropical fruit right at home. Follow our step-by-step guide to achieve success.
(Many of the links in this article redirect to a specific reviewed product. Your purchase of these products through affiliate links helps to generate commission for Storables.com, at no extra cost. Learn more)
Introduction
Growing papaya from seeds is an exciting and rewarding experience for any gardening enthusiast. Not only do papayas offer delicious tropical fruits that are rich in vitamins and antioxidants, but they also make a striking addition to any garden or indoor space with their large, vibrant leaves.
Before you dive into the process of growing papaya seeds, there are a few key things to keep in mind. First, papayas thrive in warm climates, so if you live in a region with cold winters, you may need to consider growing them indoors or in a greenhouse. Additionally, papayas are dioecious, meaning they have separate male and female plants. Therefore, it’s important to have both male and female plants if you want to produce fruit.
In this comprehensive guide, we will walk you through the step-by-step process of growing papaya seeds successfully. From selecting the seeds to harvesting the ripe fruits, you’ll learn everything you need to know to cultivate healthy papaya plants in your own garden or indoor space.
Key Takeaways:
- Choose ripe, high-quality papaya seeds and prepare a well-draining potting mix to grow healthy papaya plants. Scarify the seeds for faster germination and provide the right conditions for successful growth.
- Protect your papaya plants from pests, diseases, and extreme weather while providing proper watering, fertilization, and sunlight. Harvest ripe papayas carefully and enjoy the delicious fruits of your gardening efforts.
Read more: How To Grow Papaya From Seed
Step 1: Selecting the Papaya Seeds
The first step in growing papaya seeds is selecting the right seeds for planting. It’s essential to choose high-quality seeds to ensure a successful growth journey. Here are a few factors to consider when selecting your papaya seeds:
- Variety: There are several varieties of papayas available, each with slightly different characteristics and flavors. Common varieties include Maradol, Red Lady, and Solo. Research the different varieties and choose one that suits your taste preferences and growing conditions.
- Seed Source: Purchase your seeds from a reputable source to ensure their quality and viability. Look for seeds that are fresh, properly stored, and labeled with the variety and expiration date.
- Organic and Non-GMO: If possible, opt for organic and non-genetically modified organism (GMO) seeds. These seeds are free from pesticides and genetic modifications, making them a healthier choice for you and the environment.
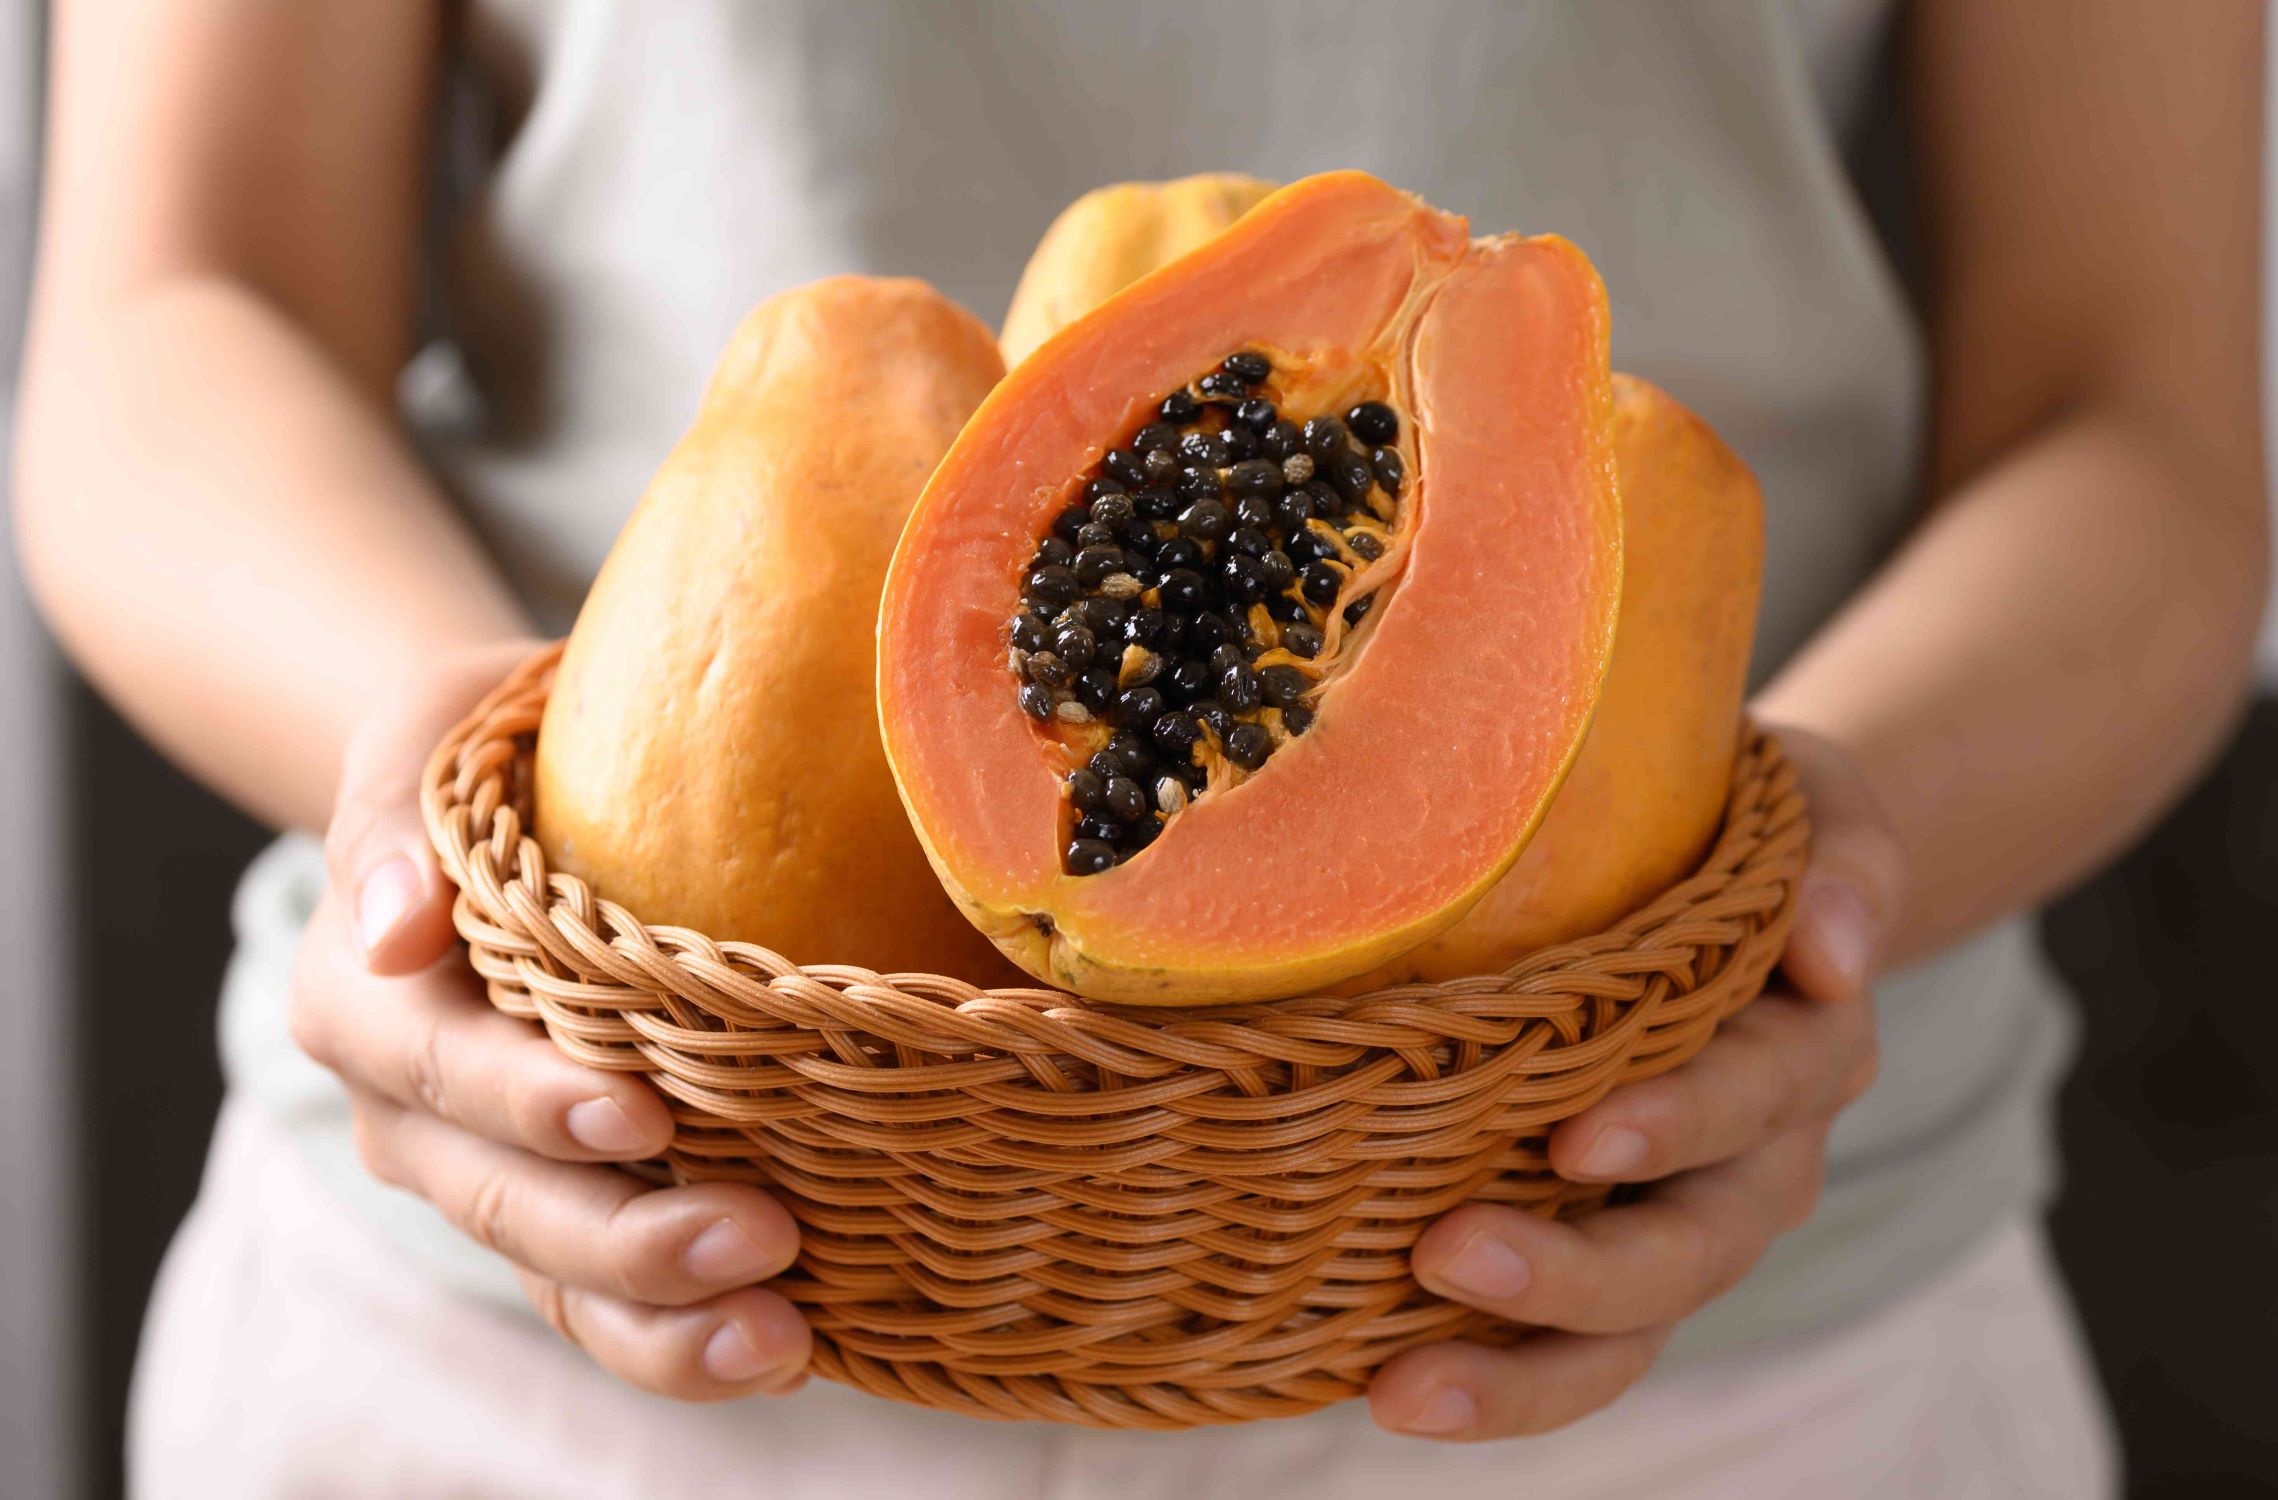
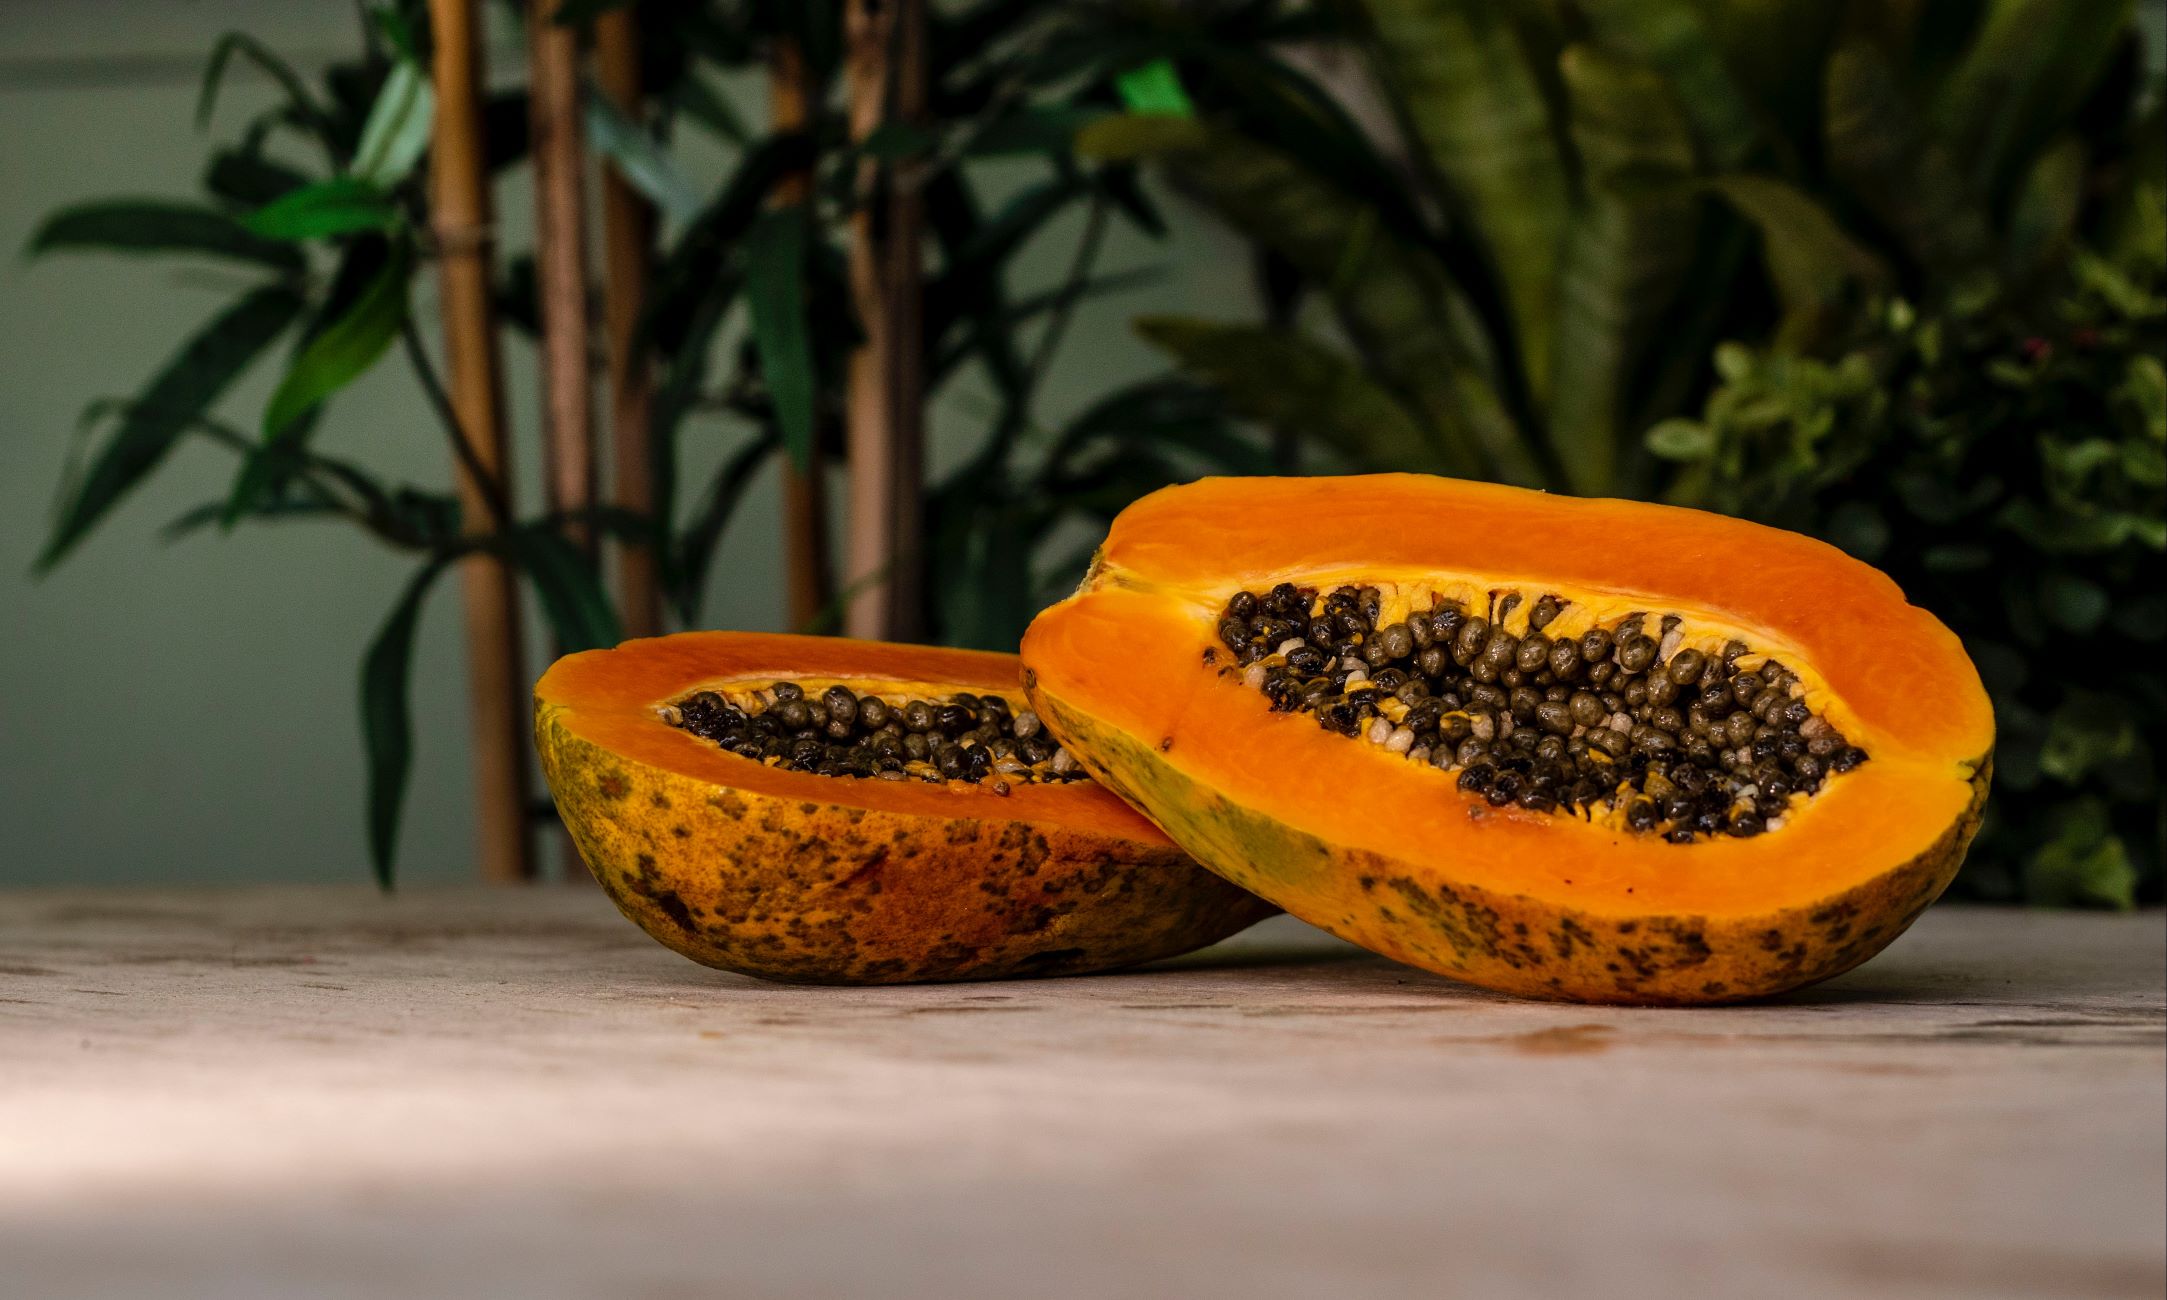
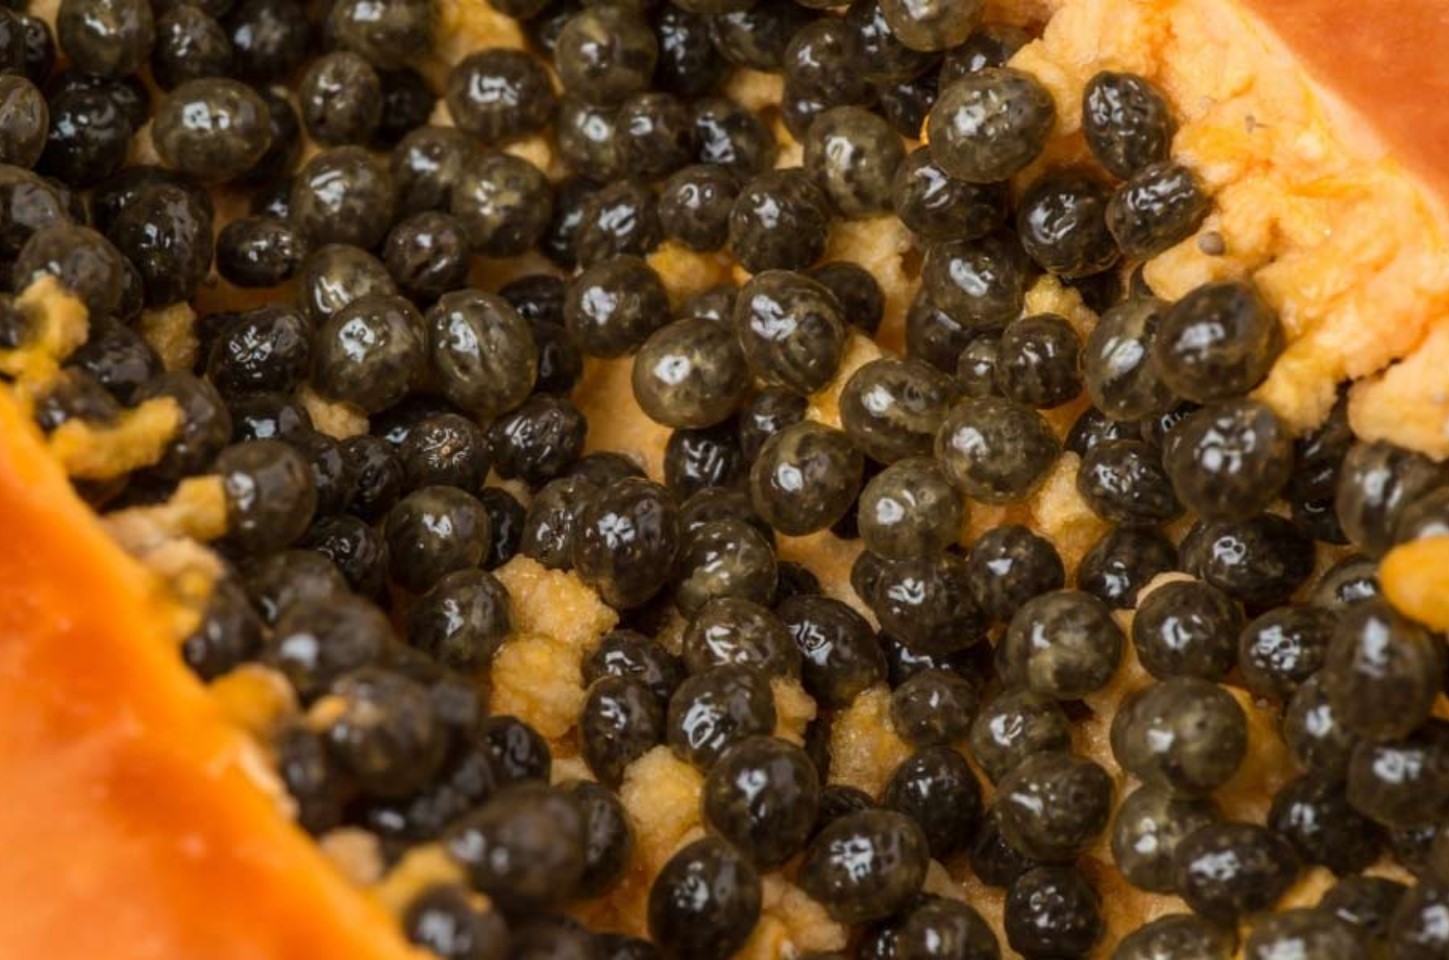
- Ripeness: Choose fully ripe papayas for seed collection. Look for fruits that are starting to soften and have a vibrant color. Avoid using seeds from underripe or overripe papayas, as they may not germinate successfully.
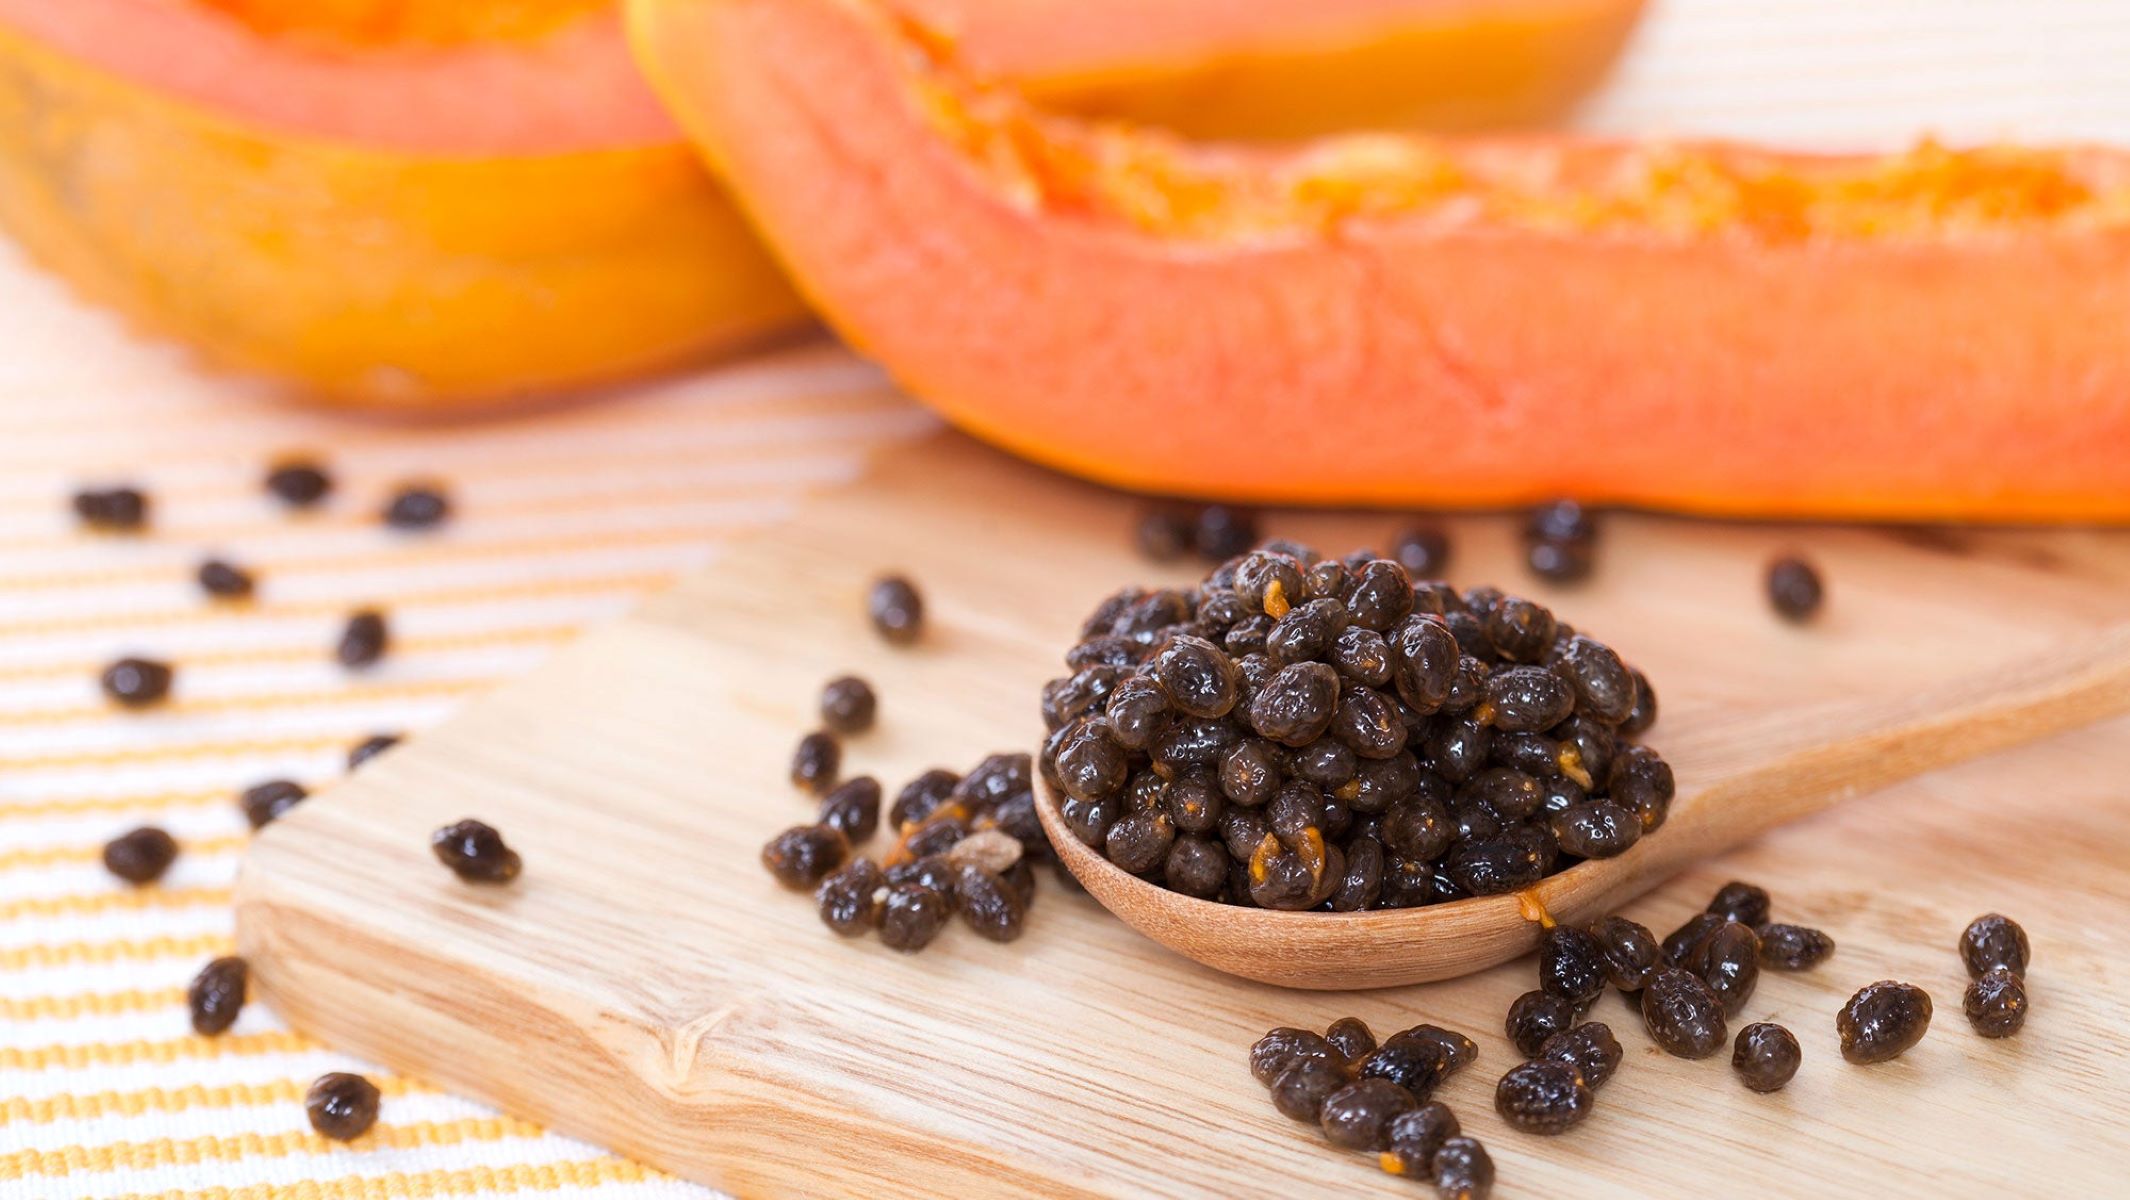
- Seed Extraction: Once you have selected your ripe papaya, cut it open and remove the seeds from the fruit’s cavity. Rinse off any pulp or flesh clinging to the seeds using cool water. Pat them dry with a paper towel before moving on to the next steps.
Remember, papaya seeds have a relatively short shelf life, so it’s best to plant them as soon as possible after extraction. If you need to store them temporarily, place them in a sealed container and store them in a cool, dark place.
By choosing high-quality papaya seeds, you’re setting yourself up for a successful growing journey and the opportunity to enjoy delicious papaya fruits in the future.
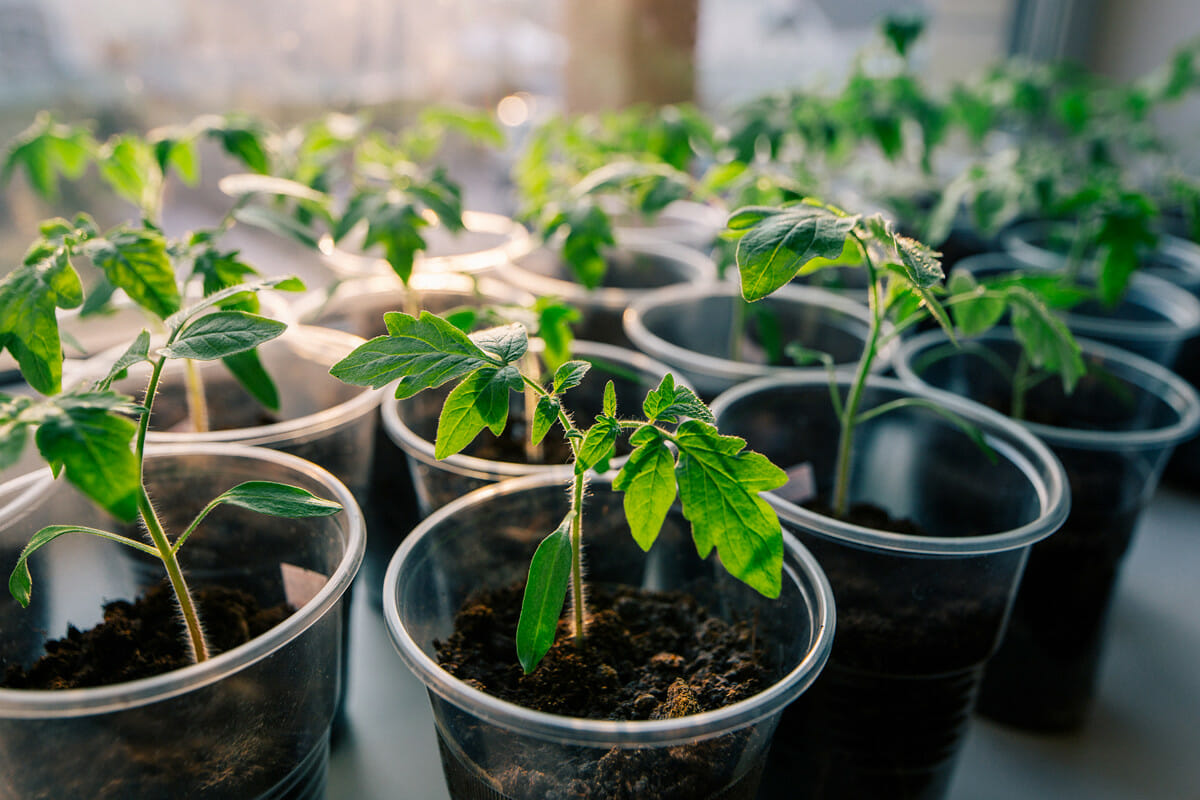
Step 2: Preparing the Planting Medium
Once you have selected your papaya seeds, the next step is to prepare the planting medium. The right planting medium will provide the necessary nutrients and a well-draining environment for the seeds to germinate and grow into healthy seedlings. Here’s how to prepare the planting medium:
- Container or Pots: Choose a container or pot with drainage holes to prevent waterlogging. Papayas have long taproots, so opt for deep containers that allow for ample root development. You can also use biodegradable pots made from materials such as peat or coconut coir, which can be planted directly into the ground without disturbing the roots.
- Potting Mix: Prepare a well-draining potting mix by combining equal parts of compost, perlite or vermiculite, and coconut coir or peat moss. This mixture will provide the necessary nutrients, aeration, and moisture retention for the papaya seeds.
- Soil pH: Papayas prefer slightly acidic to neutral soil, with a pH range of 6.0 to 7.0. Test the pH of the potting mix using a soil testing kit, and make the necessary adjustments by adding lime to increase alkalinity or sulfur to increase acidity.
- Sterilization: If you are reusing old containers or potting mix, it’s important to sterilize them to prevent the spread of diseases and pests. You can sterilize containers by soaking them in a solution of 1 part bleach to 9 parts water for about 15 minutes. For potting mix, bake it in the oven at 180°C (350°F) for 30 minutes.
Once you have prepared the planting medium, fill the containers or pots with the potting mix, leaving about an inch of space from the top. Lightly tamp down the soil to ensure it is firm but not compacted.
By taking the time to prepare a suitable planting medium, you are creating a favorable environment for the papaya seeds to grow and thrive. With the right mix of nutrients and proper drainage, your papaya seedlings will have a solid foundation for healthy development.
Step 3: Scarifying the Papaya Seeds
Scarifying the papaya seeds is an important step in the germination process. Scarification refers to the process of breaking or thinning the tough outer seed coat to allow moisture and air to penetrate, promoting a quicker and more successful germination. Here’s how you can scarify your papaya seeds:
- Seed Coat: Papaya seeds have a hard outer coat that can delay germination. Before scarifying, examine the seeds and identify the end opposite to the pointed tip. This end is known as the “eye” and is where the roots will emerge.
- Tools for Scarification: You can scarify the seeds using a few different methods. One option is to carefully nick the seed coat with a sharp knife or nail file. Another method is to gently rub the seeds against a fine-grit sandpaper or emery board. The goal is to create small scratches or openings in the seed coat without damaging the inner embryo.
- Soaking: After scarifying, place the seeds in a bowl of warm water and let them soak for 24 to 48 hours. This soaking process helps to further soften the seed coat and encourages the seeds to absorb moisture, kick-starting the germination process.
Alternatively, some gardeners prefer to skip the scarification step and directly sow the papaya seeds without any pre-treatment. However, scarifying the seeds can significantly increase the germination rate and reduce the time it takes for the seeds to sprout.
Once the seeds have finished soaking, they are ready for planting in the prepared potting mix. Gently press the scarified seeds into the soil, making sure to plant them at a depth of half an inch to an inch. Space the seeds about 2 to 3 inches apart to allow room for growth.
By scarifying the papaya seeds, you are facilitating the germination process and giving your seeds a better chance of sprouting into healthy seedlings. With a little extra effort upfront, you will be rewarded with faster and more successful germination.
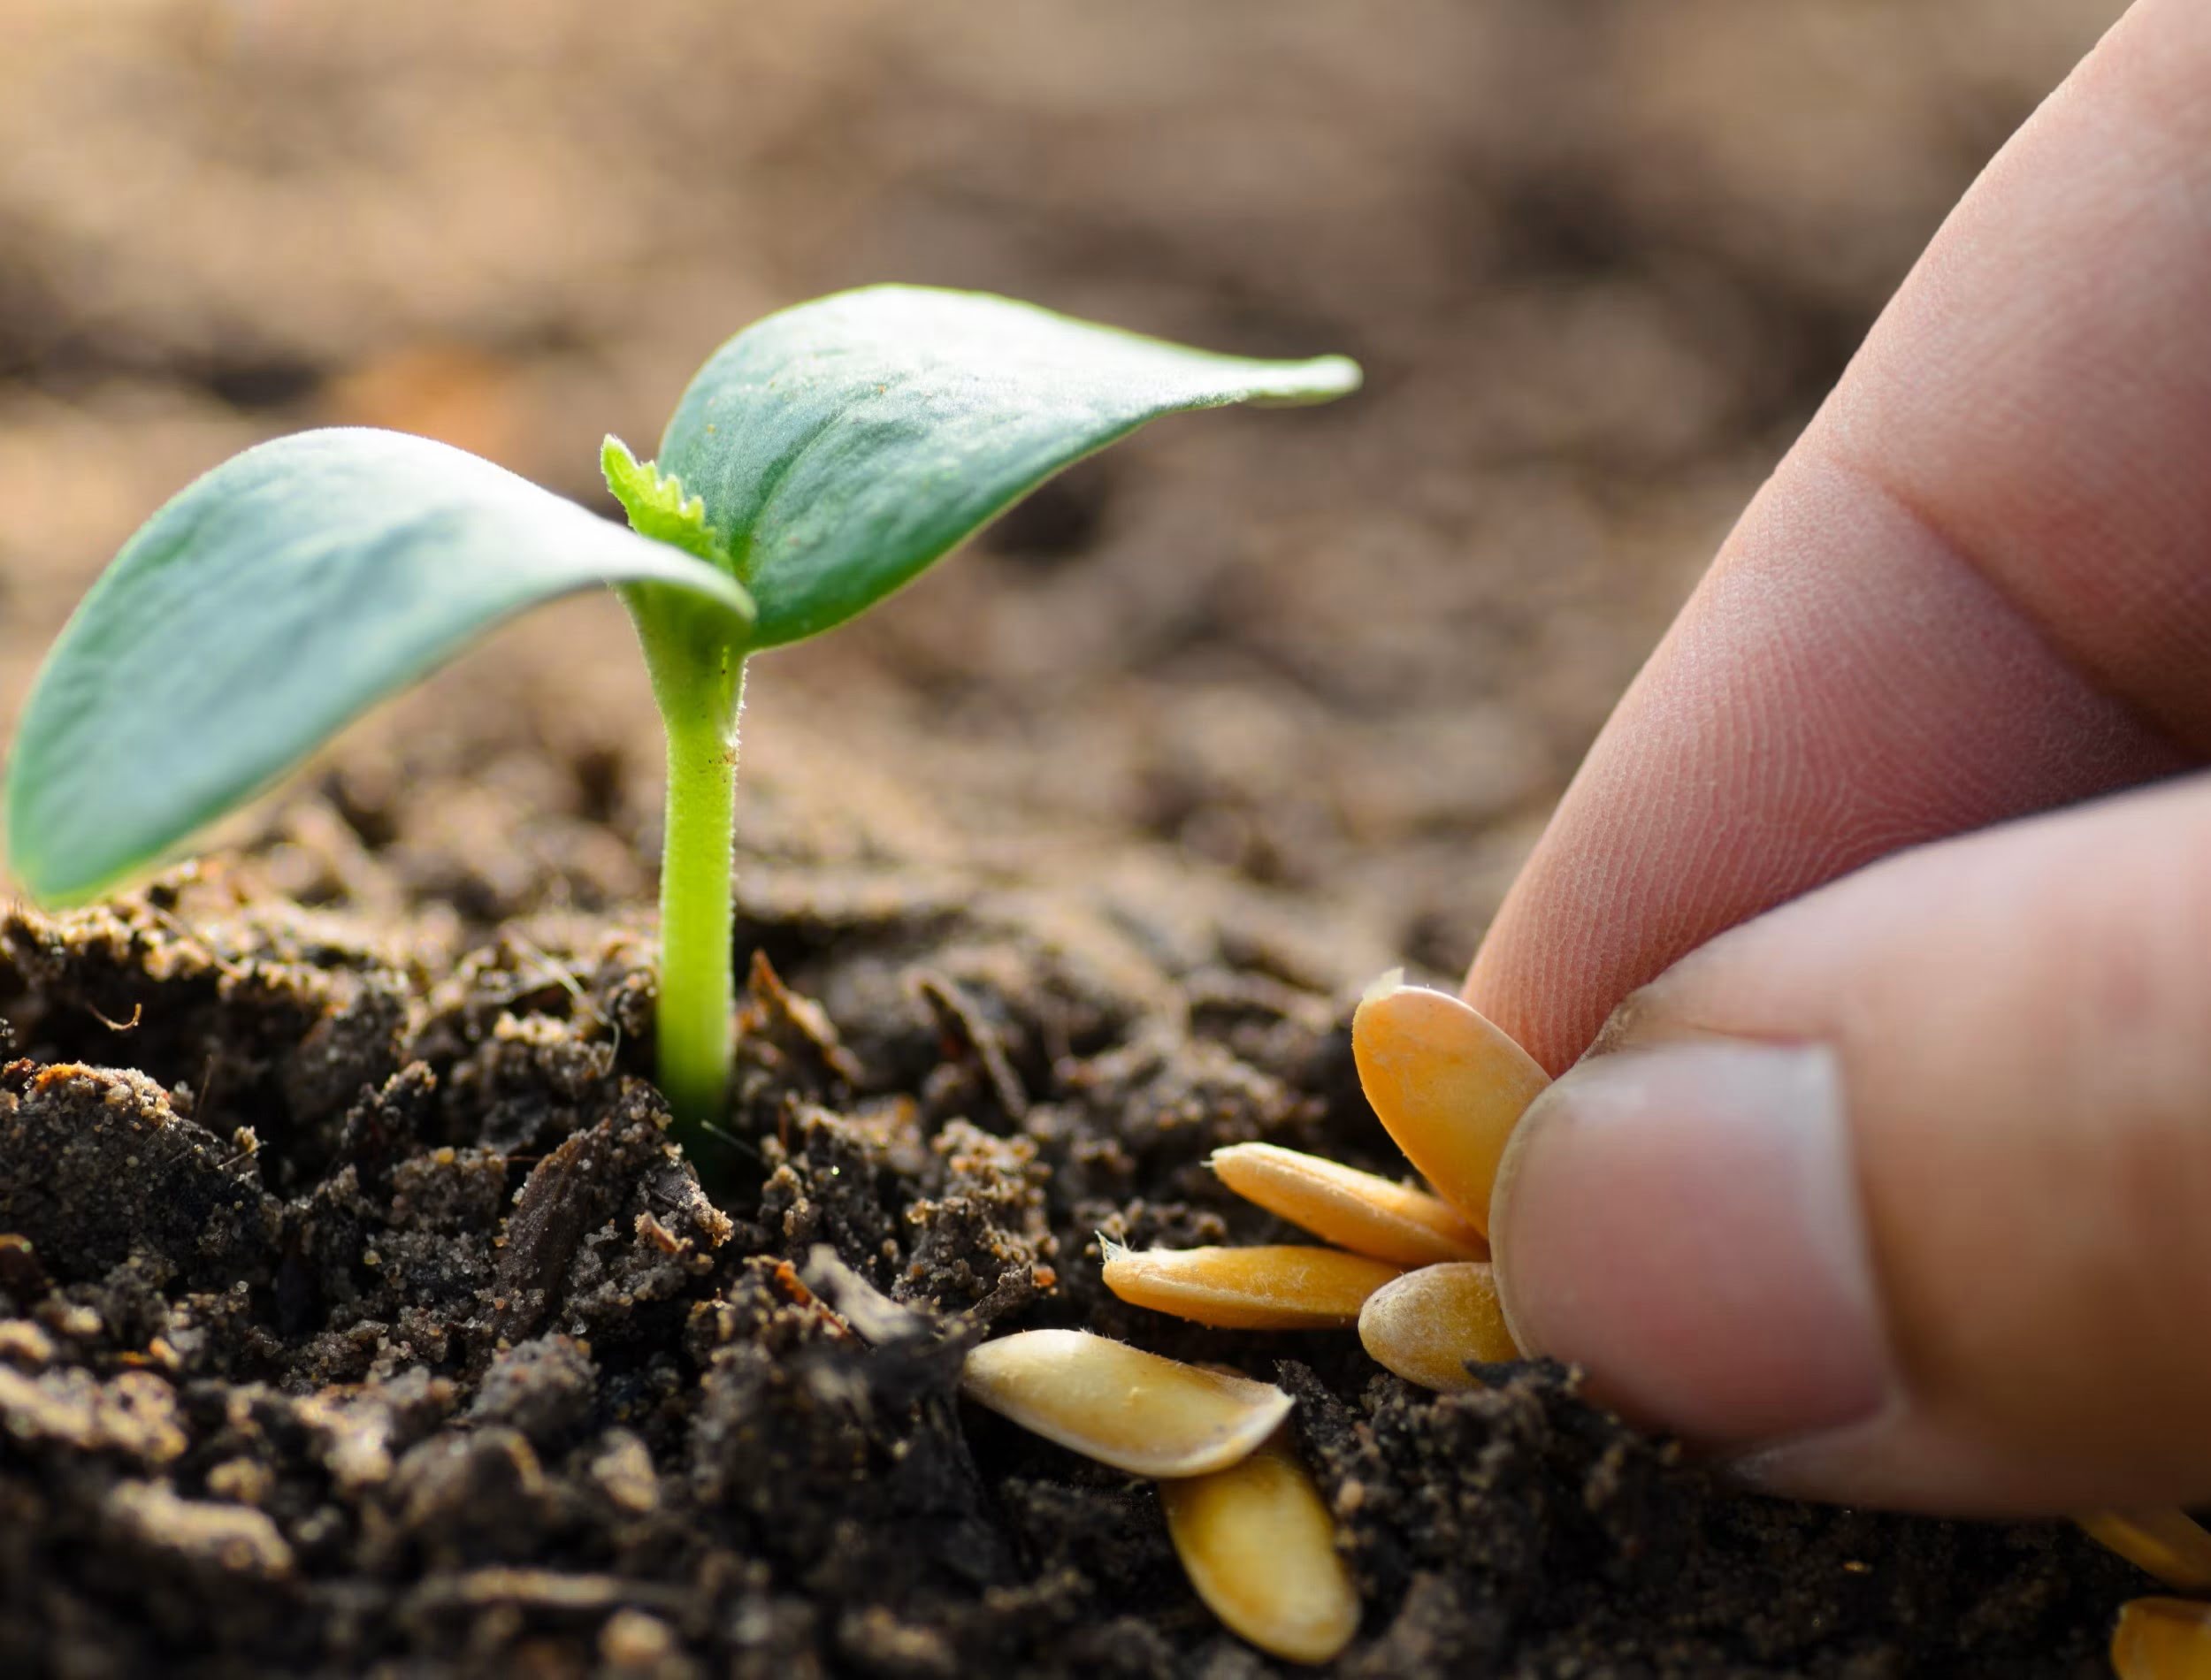
Step 4: Planting the Papaya Seeds
After scarifying the papaya seeds, it’s time to plant them in the prepared potting mix. Proper planting ensures that the seeds have the right conditions to germinate and develop into strong seedlings. Here’s how to plant your papaya seeds:
- Moisten the Soil: Before planting, make sure the potting mix is slightly moist but not saturated. This will provide a favorable environment for the seeds to germinate.
- Planting Depth: Using your fingertip or the back of a pencil, create small holes in the soil at a depth of about half an inch to an inch. Space the holes about 2 to 3 inches apart to give the seedlings room to grow.
- Planting the Seeds: Place one scarified seed in each hole and gently cover it with soil. Press the soil lightly to ensure good seed-to-soil contact while still allowing the seedlings to emerge easily.
- Watering: After planting, water the soil gently to ensure it is evenly moist. Avoid overwatering, as excessive moisture can cause the seeds to rot. Keep the soil consistently moist throughout the germination period.
Once the seeds are planted, place the containers or pots in a warm and well-lit area. Papayas thrive in temperatures between 70°F and 90°F (21°C and 32°C), so make sure the seedlings receive adequate sunlight or provide artificial light if necessary.
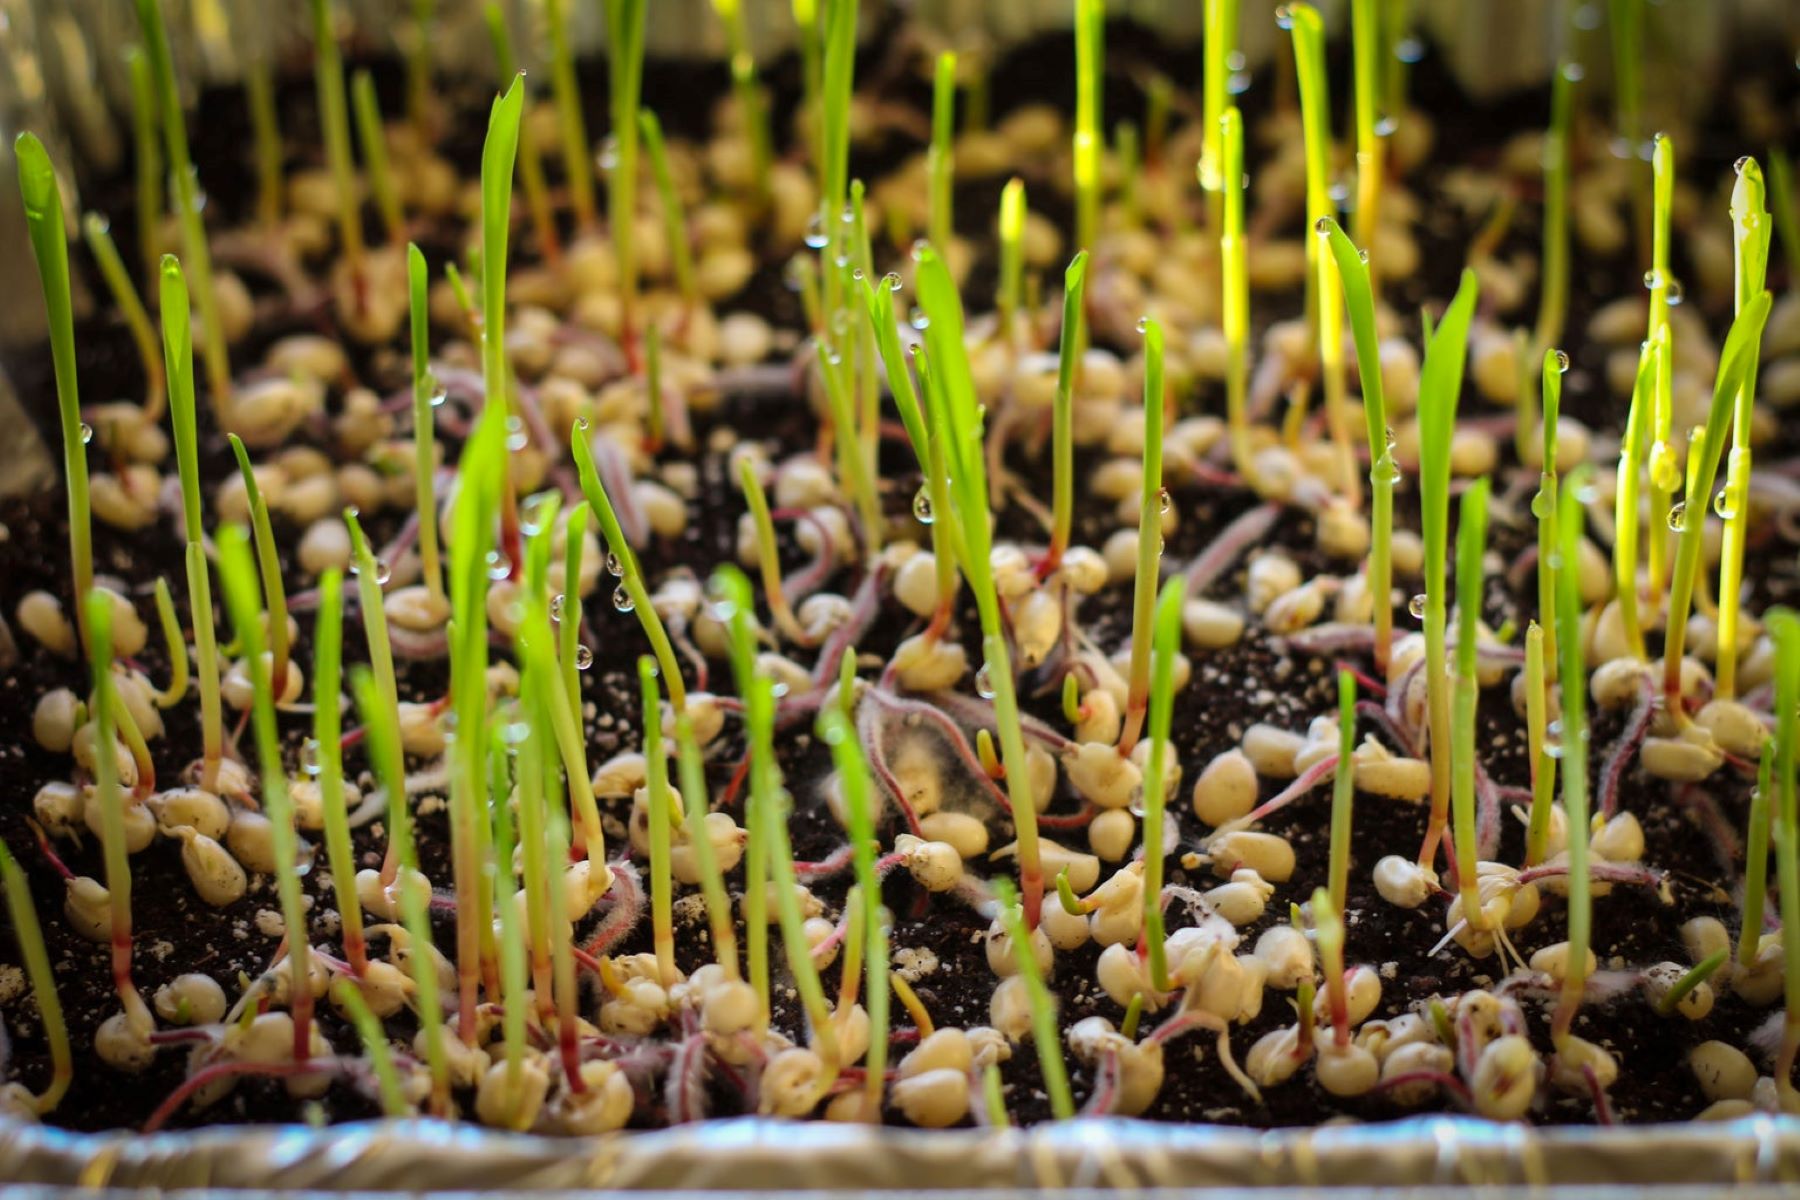
Germination can take anywhere from 1 to 3 weeks, depending on the conditions and seed viability. During this period, be patient and continue to monitor the moisture levels in the soil.
By carefully planting the papaya seeds at the right depth and maintaining proper moisture levels, you are setting the stage for successful germination and the emergence of healthy papaya seedlings.
Read more: How Deep To Plant Papaya Seeds
Step 5: Providing the Right Growing Conditions
Once the papaya seeds have sprouted and emerged as seedlings, it’s crucial to provide them with the right growing conditions to ensure healthy growth and development. Proper care and attention during this stage are essential for the papaya plants to thrive. Here are some key factors to consider:
- Sunlight: Papayas require full sun to grow and produce fruit. Place the seedlings in an area that receives at least 6 to 8 hours of direct sunlight daily. If you are growing them indoors, consider using fluorescent grow lights to provide adequate lighting.
- Temperature: Papayas are tropical plants that thrive in warm temperatures. Keep the ambient temperature between 70°F and 90°F (21°C and 32°C) throughout the growing season. Protect them from frost or extreme temperature fluctuations, especially if growing outdoors.
- Wind Protection: Strong winds can damage the papaya plants or uproot them. Shield your plants from strong winds by positioning them in a location with natural windbreaks, such as fences or walls. You can also use stakes or trellises to support the plants and prevent them from bending or breaking.
- Humidity: Papayas prefer high humidity levels. To increase humidity, place a tray filled with water near the plants or use a humidifier if growing indoors. Avoid excessive moisture, as it can lead to fungal diseases.
In addition to these environmental factors, provide regular care for your papaya plants. Monitor the soil moisture and water the plants when the top inch of soil feels dry. Avoid overwatering, as it can lead to root rot. Apply a layer of organic mulch around the base of the plants to conserve moisture and suppress weed growth.
Furthermore, it’s important to provide adequate airflow around the plants to prevent the development of fungal diseases. Avoid overcrowding by providing sufficient spacing between the plants to allow for good air circulation.
By creating the ideal growing conditions, including ample sunlight, proper temperature, humidity control, and good airflow, you will give your papaya plants the best chance to thrive and produce a bountiful harvest of delicious fruits.
Plant papaya seeds in well-draining soil, keep them warm and moist, and provide plenty of sunlight. Transplant seedlings once they have 3-4 leaves.
Step 6: Watering the Papaya Seeds
Proper watering is crucial for the healthy growth and development of papaya seeds. While it’s essential to provide adequate moisture, overwatering can lead to root rot and other issues. Follow these guidelines to water your papaya seeds effectively:
- Moisture Level: Papayas prefer moist soil but not waterlogged conditions. Allow the top inch of soil to dry out slightly before watering again. Use your finger to test the soil moisture by sticking it about an inch deep into the soil.
- Watering Frequency: Water the papaya seeds deeply and thoroughly when the soil feels dry. Aim to provide about 1 inch of water per week. However, adjust the frequency based on the weather conditions and the moisture requirements of your specific growing location.
- Watering Technique: To avoid damaging the delicate seedlings, use a gentle watering technique. A watering can or a hose with a soft spray nozzle is ideal. Water directly at the base of the plant, targeting the root zone, and avoid wetting the foliage excessively.
- Drip Irrigation: Consider installing a drip irrigation system for efficient and targeted watering. Drip systems deliver water directly to the root zone, reducing water wastage and minimizing the risk of foliar diseases.
In addition to regular watering, it’s important to monitor the moisture levels during periods of heavy rainfall or high humidity. Excessive moisture can lead to root rot and fungal diseases. If you’re growing papayas in containers, ensure proper drainage to prevent water from accumulating in the bottom of the pots.
During dry spells or hot weather, you may need to increase the frequency of watering to prevent the plants from drying out. Be attentive to the moisture needs of your papaya plants and adjust your watering routine accordingly.
By providing appropriate moisture levels through regular and mindful watering, you are creating an ideal environment for the papaya seeds to grow into healthy and robust plants.
Step 7: Fertilizing the Papaya Plants
Fertilizing is essential for nourishing papaya plants and promoting vigorous growth, flower production, and fruit development. While papayas are generally low-maintenance plants, providing them with the right nutrients will enhance their overall health. Here are some guidelines for fertilizing your papaya plants:
- Timing: Start fertilizing your papaya plants about a month after they have been transplanted or once they have developed a few sets of true leaves. Continue fertilizing every two to three months throughout the growing season.
- Slow-Release Fertilizer: Choose a balanced slow-release fertilizer with a ratio of 10-10-10 or 14-14-14. This balanced formulation will ensure the plants receive a well-rounded supply of essential macronutrients.
- Application Method: Apply the fertilizer around the base of the plants, avoiding direct contact with the trunk. Follow the package instructions for application rates based on the size and age of your papaya plants.
- Organic Fertilizers: Alternatively, you can opt for organic fertilizers such as compost, well-rotted manure, or fish emulsion. These natural fertilizers provide slow-release nutrients and improve the overall soil health.
- Micronutrients: Papayas also benefit from additional micronutrients, such as iron, magnesium, and zinc. You can use foliar sprays or water-soluble micronutrient supplements to ensure these essential minerals are readily available to the plants.
While fertilizing is important, be cautious not to over-fertilize, as it can lead to excessive vegetative growth and reduced fruit production. Follow the recommended dosage and avoid applying fertilizer too close to the trunk, as it can burn the plant. Always water the plants after fertilization to help distribute the nutrients evenly in the soil.
Regularly monitoring the growth and appearance of your papaya plants will give you an indication of their nutrient needs. Adjust the fertilization regimen accordingly, and remember to maintain a balance between providing adequate nutrients and avoiding nutrient overload.
By supplying the necessary nutrients through proper fertilization, you are supporting the growth and development of your papaya plants, enabling them to produce abundant and healthy fruits.
Step 8: Protecting the Papaya Plants
Protecting your papaya plants from pests, diseases, and environmental stresses is crucial for ensuring their optimal growth and productivity. By implementing preventive measures and taking proactive steps, you can safeguard your papayas and maintain their health. Here are some strategies for protecting your papaya plants:
- Pest Control: Regularly inspect your papaya plants for common pests such as aphids, mealybugs, and fruit flies. Introduce beneficial insects like ladybugs or lacewings to control pest populations naturally. For severe infestations, consider using organic insecticides or insecticidal soaps.
- Disease Management: Common diseases that affect papaya plants include powdery mildew, leaf spot, and root rot. Ensure good air circulation around the plants by providing proper spacing. Avoid overhead watering to minimize moisture on the leaves. If diseases occur, apply appropriate organic fungicides as per the instructions.
- Weed Control: Keep the area around your papaya plants free from weeds. Weeds compete for nutrients, water, and sunlight, which can hinder the growth of your papayas. Regularly remove weeds by hand or use mulch to suppress their growth.
- Environmental Protection: Papayas are sensitive to extreme temperatures, especially frost. Cover your plants with protective materials, such as frost blankets or cloths, during cold spells. Shield them from strong winds by using windbreaks or constructing barriers.
- Support Structures: As papaya plants grow, they can become top-heavy or prone to bending. Provide support to the plants by tying them to stakes or using bamboo poles. This will help prevent breakage and promote upright growth.
- Mulching: Apply a layer of organic mulch around the base of the papaya plants. Mulch helps maintain soil moisture, suppresses weed growth, and regulates soil temperature. Organic materials like straw, wood chips, or compost work well as mulch for papayas.
Regular observation and early intervention are key to preventing and managing potential threats to your papaya plants. By implementing protective measures, you can create a favorable environment that promotes healthy growth and minimizes the risks of pests, diseases, and other stressors.
Remember to monitor your plants closely, provide proper care, and address any issues promptly. With proactive protection, your papaya plants will thrive and produce an abundant harvest.
Read more: How Much Papaya Seeds For Parasites
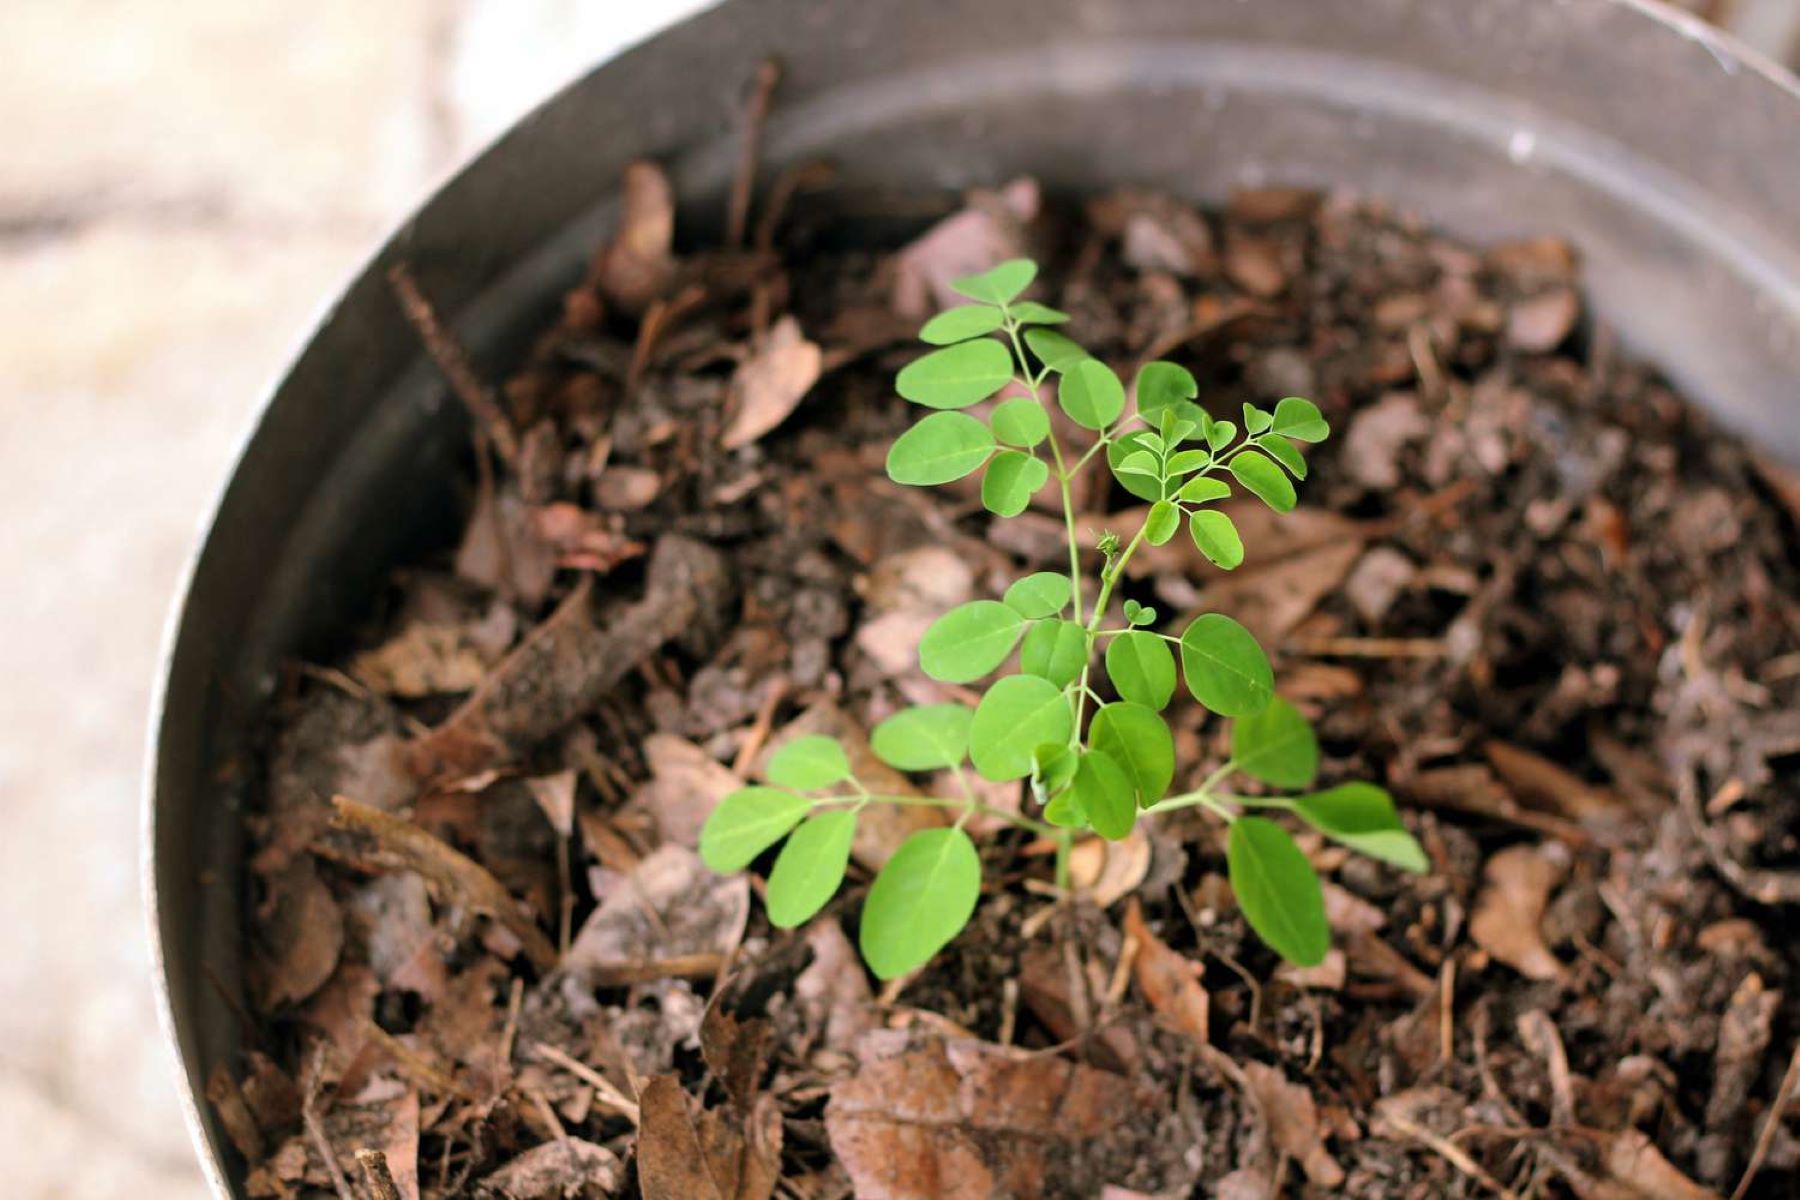
Step 9: Transplanting the Papaya Seedlings
Transplanting papaya seedlings is a crucial step in their growth journey, allowing them to establish deeper roots and better access to nutrients. Here’s how to successfully transplant your papaya seedlings:
- Timing: Transplant your papaya seedlings when they have developed a strong root system and are about 12 to 18 inches tall. This typically occurs around 3 to 4 months after germination.
- Site Selection: Choose a sunny location with well-draining soil for transplanting your papaya seedlings. The soil should be enriched with organic matter and have a pH between 6.0 and 7.0.
- Preparing the Planting Hole: Dig a hole that is about two times wider and deeper than the root ball of the seedling. Ensure that the hole is deep enough to accommodate the entire root system without crowding or bending the roots.
- Handling the Seedlings: Gently remove the seedlings from their containers, taking care not to damage the fragile roots. If the seedlings are tightly packed together, carefully separate them to avoid root entanglement.
- Planting: Place each seedling into the planting hole, ensuring it sits at the same depth as it was in its original container. Backfill the hole with soil, firming it gently around the base of the plant to secure it in place.
- Watering: After transplanting, water the papaya seedlings thoroughly to settle the soil and eliminate air pockets around the roots. Maintain regular watering to keep the soil consistently moist but not waterlogged.
- Spacing: Space the papaya seedlings at least 5 to 7 feet apart to allow room for the plants to grow and spread. Proper spacing ensures adequate airflow and prevents overcrowding.
Transplant shock is common after moving seedlings to a new location. To minimize stress, shield the seedlings from direct sunlight for a few days after transplanting. Gradually expose them to full sunlight over a period of one to two weeks.
Continue to monitor the newly transplanted seedlings closely, providing them with proper care, including regular watering and fertilization. With time, they will establish themselves and begin growing vigorously.
By following these transplanting guidelines, you are giving your papaya seedlings the best opportunity to thrive and continue their growth towards healthy, productive papaya plants.
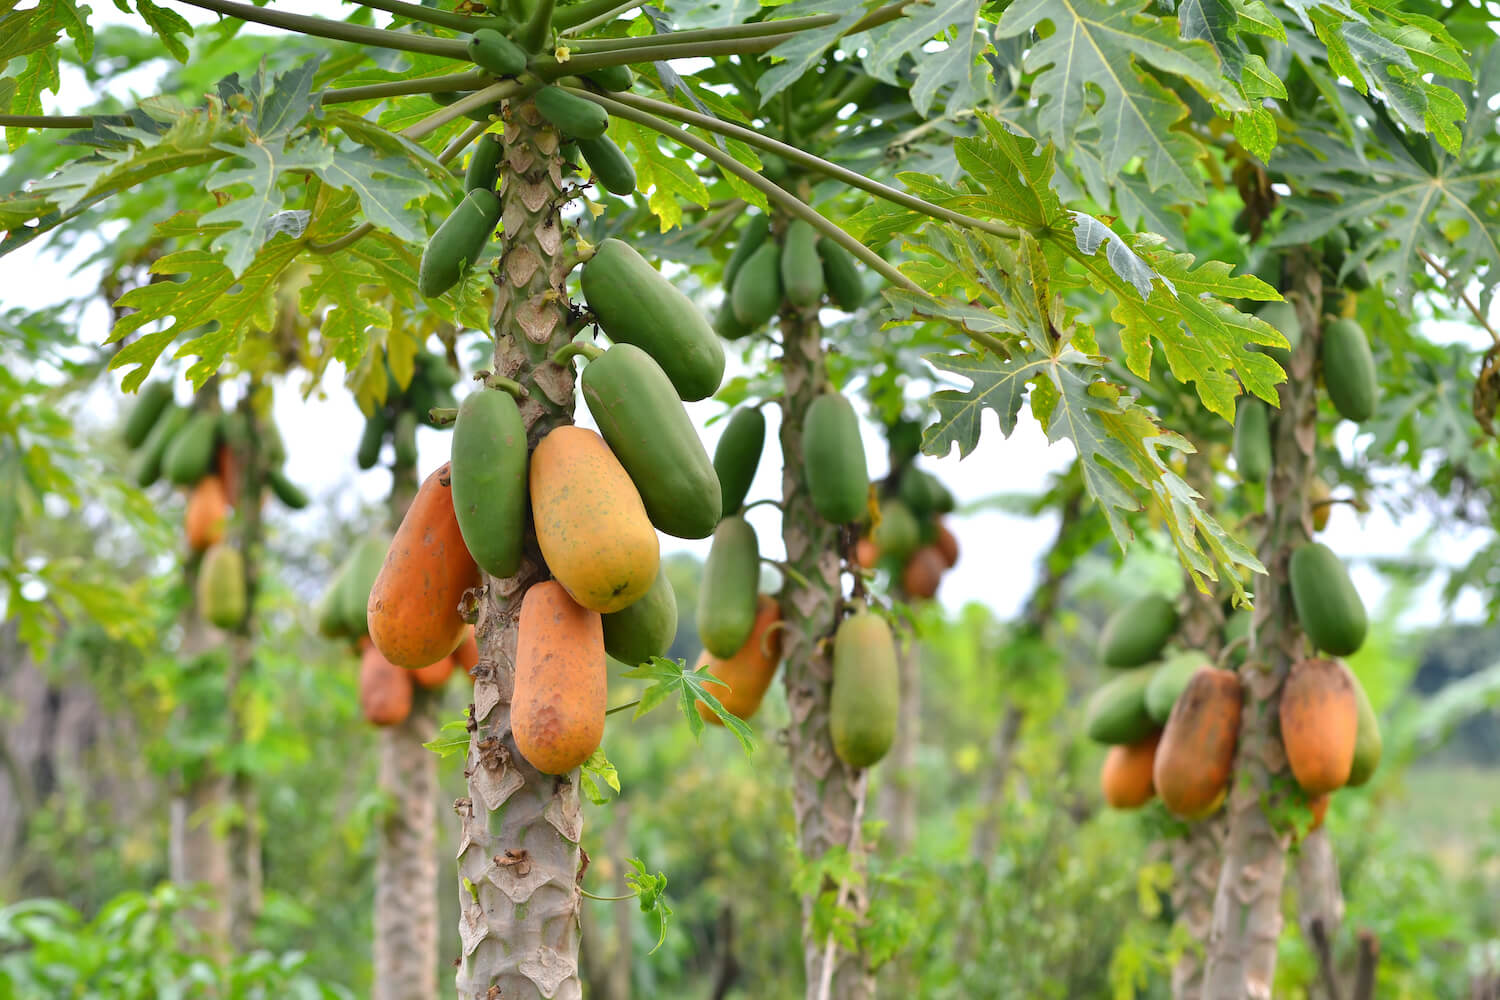
Step 10: Harvesting the Papayas
After months of care and nurturing, the time for harvesting your papayas finally arrives. Knowing the right moment to harvest ensures that you enjoy fully ripe and flavorful fruits. Here’s how to properly harvest your papayas:
- Monitor Fruit Maturity: Papayas are ready for harvest when the fruits reach their mature size and have developed a uniform color. Depending on the variety, the skin color may range from green to yellow or orange.
- Check Firmness: Gently press the skin of the papaya to assess its firmness. Ripe papayas will yield slightly to gentle pressure, indicating a soft and juicy interior. Avoid applying excessive force when checking for ripeness to avoid bruising the fruit.
- Inspect the Stem End: Examine the stem end of the papaya. If it has changed from green to yellow or brown, it is a positive indication that the fruit is ripe. Avoid harvesting papayas with a green stem end as they may not have fully ripened.
- Use Pruning Shears: To harvest the papaya, use clean pruning shears or a sharp knife to cut the fruit from the tree. Make a clean cut through the stem, leaving a short portion attached to the fruit.
- Post-Harvest Care: Handle harvested papayas with care to avoid bruising or damaging the fruit. Place them in a shaded area to prevent sunburn and reduce moisture loss. Avoid stacking or piling the fruits on top of each other, as this can lead to bruising or rotting.
It’s important to note that not all papayas on the tree will ripen simultaneously. Cherry-picking ripe fruits and allowing others to continue maturing ensures a longer harvest period.
If you anticipate a frost or cold spell in your area, it’s advisable to harvest the papayas before the temperature drops. Unripe papayas can be picked and ripened indoors at room temperature. Place them in a paper bag with a ripe banana or apple to speed up the ripening process.
Once fully ripe, papayas can be stored in the refrigerator for a few days. However, they are best enjoyed when consumed fresh and at their peak flavor.
Congratulations! You have successfully grown and harvested your own delicious papayas. Enjoy the fruits of your labor and savor the satisfaction of a successful gardening journey!
Conclusion
Growing papayas from seeds can be a rewarding and fulfilling experience for any gardening enthusiast. With the right knowledge and proper care, you can cultivate healthy papaya plants that provide you with delicious tropical fruits. Throughout this comprehensive guide, we have walked you through the step-by-step process of growing papaya seeds with success.
From selecting high-quality seeds to preparing the planting medium, scarifying the seeds, and planting them in the right conditions, each step plays a vital role in the overall growth and development of the papaya plants. Providing adequate sunlight, proper watering, and necessary nutrients through fertilization ensures optimal growth and fruit production.
To protect your papaya plants, remember to implement pest control measures, manage diseases, and provide environmental protection such as wind barriers and frost protection. Transplanting the seedlings at the right time and harvesting the ripe fruits when they’re at their peak ensures optimal taste and flavor.
As you embark on this journey of growing papayas, always remember to monitor your plants closely, observe their needs, and adapt your care routine accordingly. Gardening is an ongoing learning process, and by being attentive and responsive, you will continue to refine your skills and deepen your gardening expertise.
So roll up your sleeves, gather your supplies, and get ready to enjoy the delightful process of growing your own papayas. As you savor the juicy and delectable fruits, let the satisfaction of having nurtured these plants from tiny seeds be a source of pride and joy.
Happy papaya gardening!
Frequently Asked Questions about How To Grow Papaya Seeds
Was this page helpful?
At Storables.com, we guarantee accurate and reliable information. Our content, validated by Expert Board Contributors, is crafted following stringent Editorial Policies. We're committed to providing you with well-researched, expert-backed insights for all your informational needs.


0 thoughts on “How To Grow Papaya Seeds”