Home>Garden Essentials>How To Install A Pump In A 3-Tier Water Fountain
Garden Essentials
How To Install A Pump In A 3-Tier Water Fountain
Modified: May 6, 2024
Learn how to install a pump in your garden's 3-tier water fountain for a stunning outdoor display. Transform your garden oasis with this easy DIY guide.
(Many of the links in this article redirect to a specific reviewed product. Your purchase of these products through affiliate links helps to generate commission for Storables.com, at no extra cost. Learn more)
Introduction
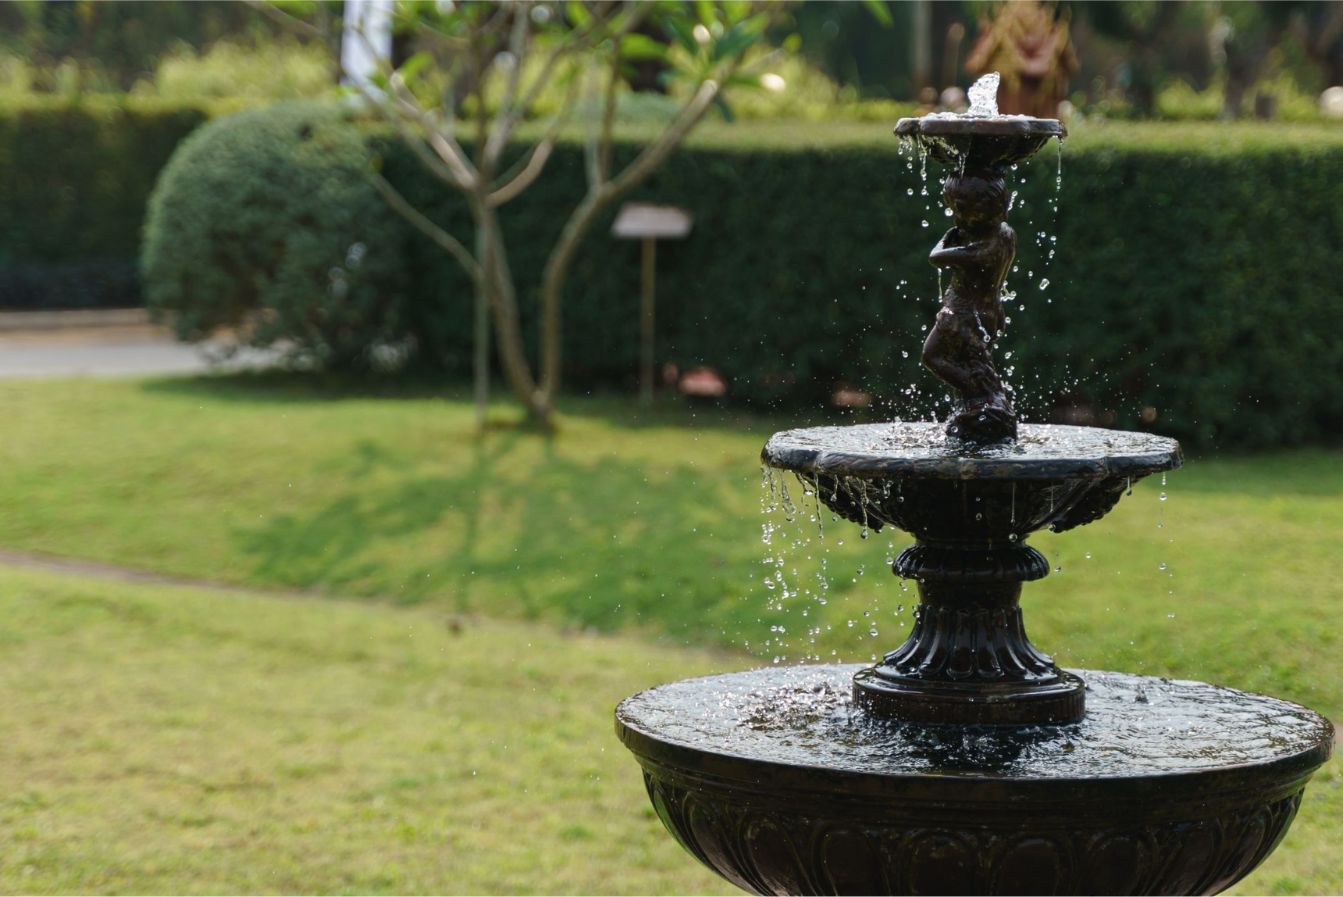
Welcome to our guide on how to install a pump in a 3-tier water fountain. Adding a pump to your garden fountain not only enhances its beauty but also creates a soothing ambiance with the gentle sound of flowing water. Whether you have just purchased a new fountain or want to upgrade an existing one, installing a pump is an essential step to ensure proper water circulation and a stunning visual effect.
Installing a pump may seem like a daunting task, but with the right tools and a step-by-step approach, it can be a straightforward process. In this article, we will guide you through the installation process, from gathering the necessary tools to testing the pump and making any necessary adjustments. By following these steps, you’ll have your 3-tier water fountain up and running in no time.
Before we dive into the installation process, it’s important to choose the right pump for your fountain. Consider the size and design of your fountain and ensure that the pump you select has the appropriate flow rate and head height capacity to meet your needs. It’s advisable to consult the manufacturer’s guidelines or seek advice from a knowledgeable salesperson if you’re unsure about which pump to choose.
Now, let’s get started on installing a pump in your 3-tier water fountain and create a captivating feature in your garden or outdoor space.
Key Takeaways:
- Choosing the right pump and preparing the fountain are crucial for a successful installation. Proper placement, testing, and adjustments ensure a captivating and tranquil 3-tier water fountain in your garden.
- Gathering tools, connecting tubing, and testing the pump are essential steps. Enjoy the soothing sound and mesmerizing beauty of your new water feature once the pump is successfully installed.
Read more: How To Install A Water Fountain
Step 1: Gather the Required Tools and Materials
Before you begin the installation process, it’s essential to gather all the necessary tools and materials. Having everything prepared beforehand will ensure a smooth and efficient installation. Here are the tools and materials you’ll need:
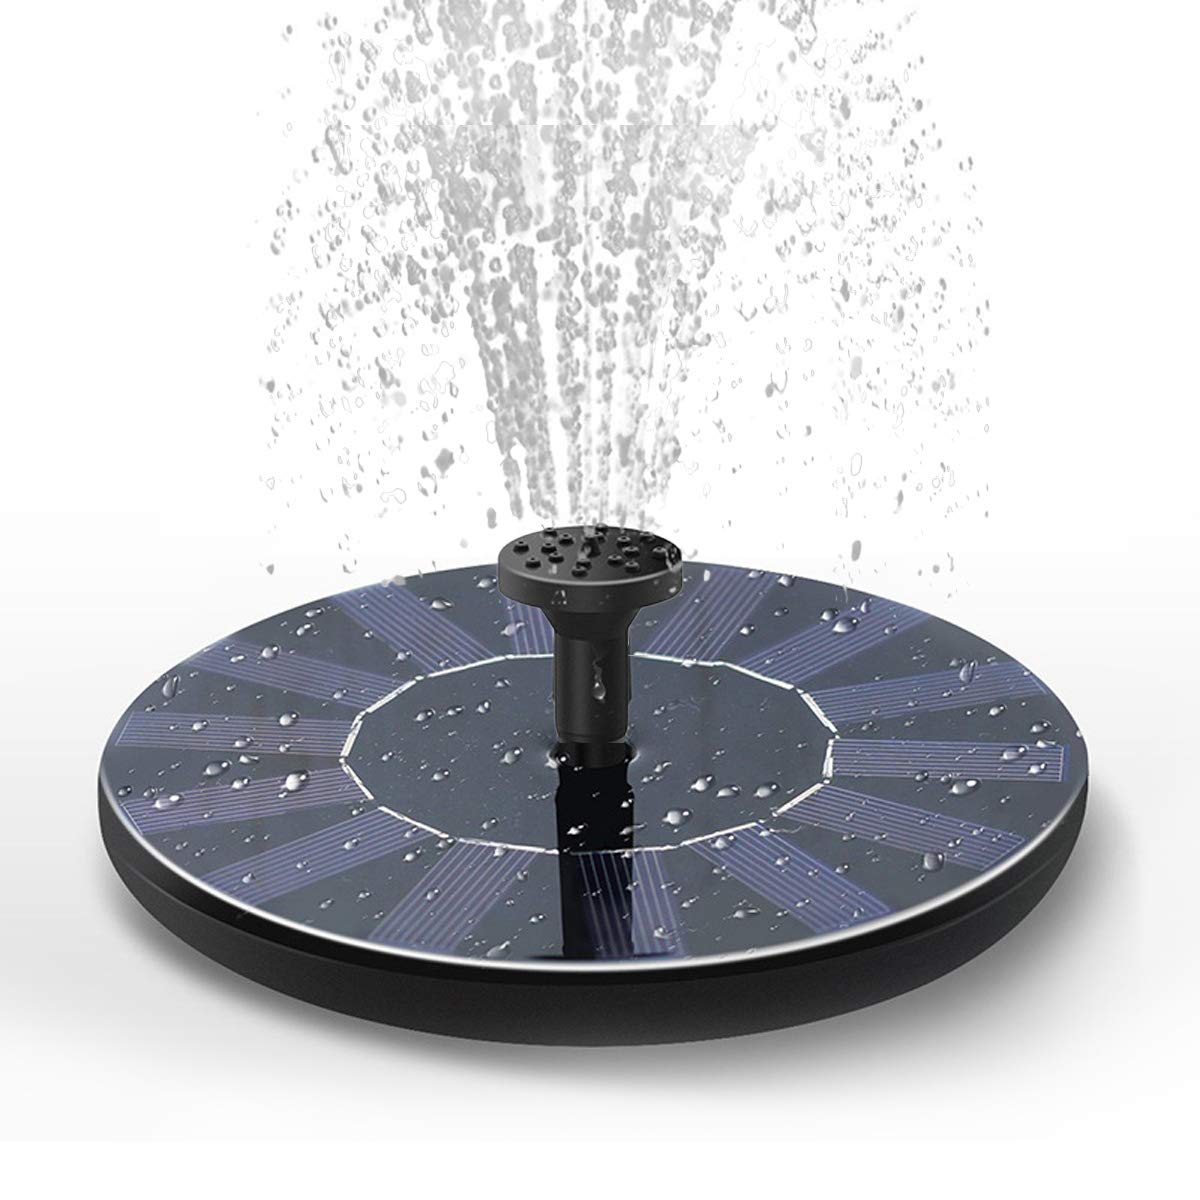
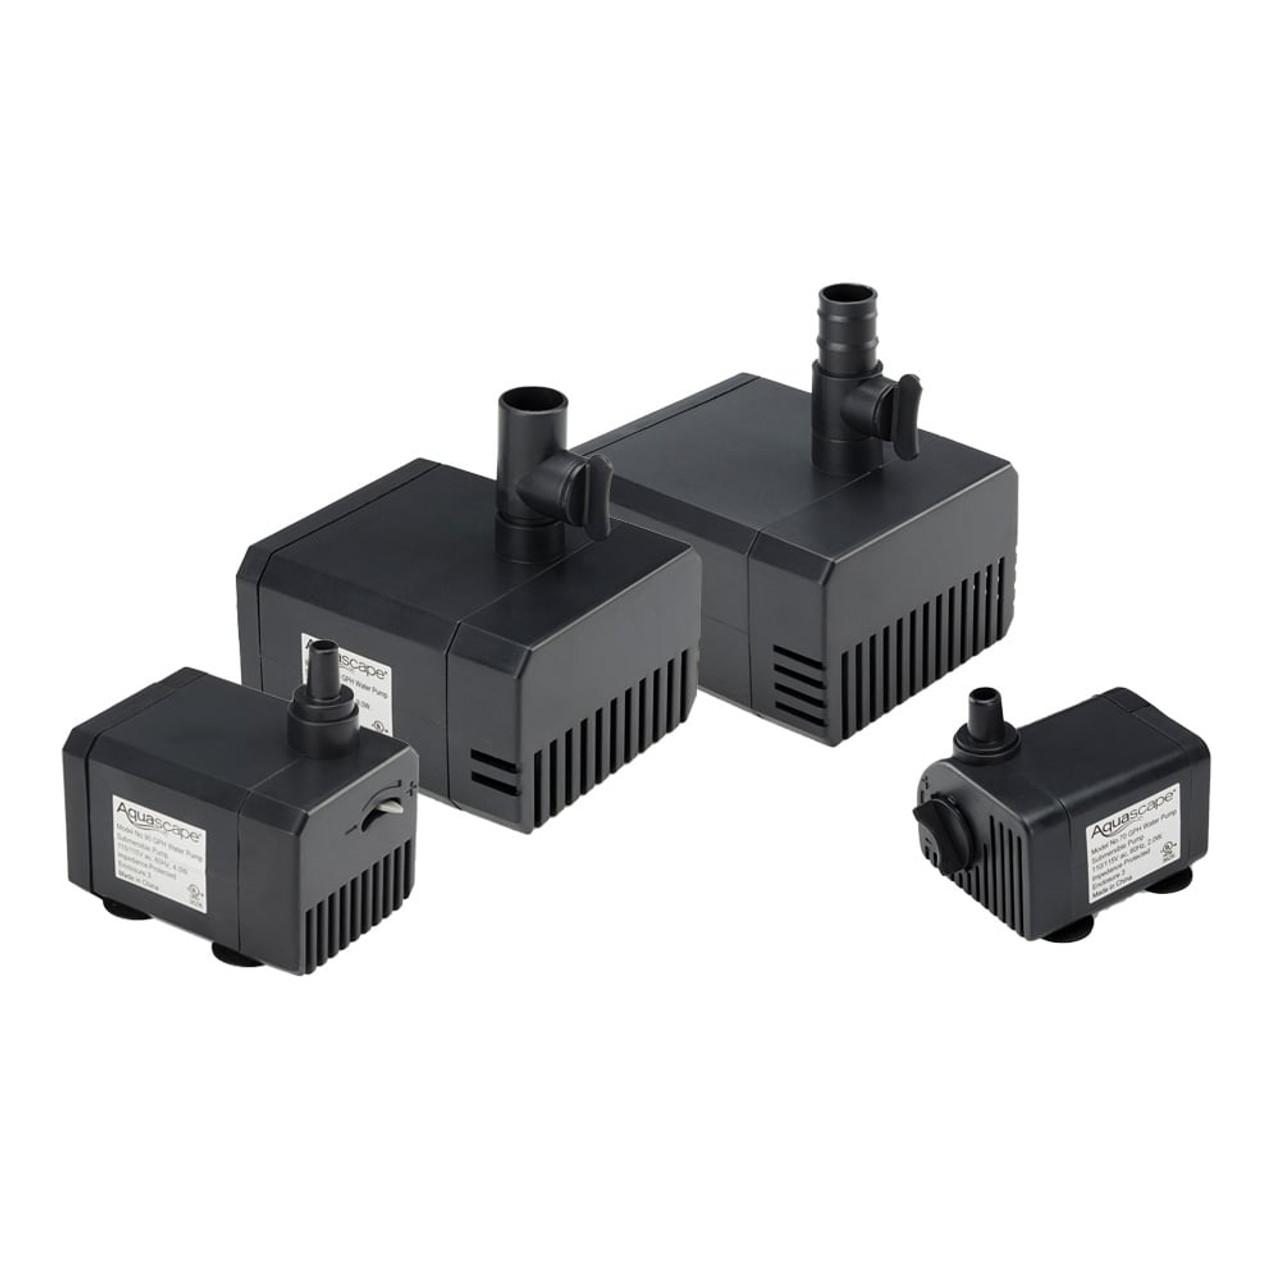
- Water pump: Choose a pump that is suitable for the size and flow rate requirements of your fountain.
- Pump tubing: This is used to connect the pump to the fountain’s spouts or nozzles.
- Fountain accessories: Depending on the design of your fountain, you may need additional accessories such as nozzles, connectors, or valves.
- Power supply: Ensure that you have a power source nearby to connect the pump.
- Waterproof sealant: This will help secure the tubing and prevent leaks.
- Adjustable wrench or pliers: These tools will be needed for tightening and connecting various components.
- Tape measure: Use this to measure the distance between the pump and the fountain to determine the length of tubing needed.
- Bucket or basin: You’ll need this to collect water and test the pump before installing it in the fountain.
Having all these tools and materials ready will save you time and frustration during the installation process. Once you have them gathered, you can move on to the next step of preparing your fountain for the pump installation.
Step 2: Prepare the Fountain
Now that you have all the necessary tools and materials, it’s time to prepare your fountain for the pump installation. Follow these steps to ensure a smooth and successful installation:
- Empty the fountain: If your fountain is already filled with water, carefully drain it out to ensure a clean and dry installation.
- Clean the fountain: Use a mild detergent and a soft brush or cloth to clean the inside and outside of the fountain. Remove any debris or dirt that may have accumulated over time. This step will not only improve the appearance of your fountain but also help maintain the pump’s performance.
- Inspect the fountain: Thoroughly inspect the fountain for any cracks, damage, or weak spots. Repair or reinforce any areas that need attention before proceeding with the installation. This will prevent any issues or water leakage in the future.
- Locate the water inlet: Identify the water inlet or hole in the fountain where the tubing will connect to the pump. Ensure that it is clean and free from any blockages or debris that could hinder water flow.
By preparing your fountain properly, you’re setting the foundation for a successful and long-lasting pump installation. Once you’ve completed these steps, you can move on to determining the placement of the pump in your fountain.
Step 3: Determine the Placement of the Pump
The placement of the pump in your fountain is crucial for optimal performance and visual effect. Follow these guidelines to determine the ideal placement:
- Consider the pump size: Take into account the dimensions of the pump to ensure that it fits properly within your fountain. Avoid placing the pump in a crowded or cramped area, as this may restrict water flow and make installation more challenging.
- Position for easy access: Choose a location that allows for easy access to the pump for maintenance and cleaning. This will save you time and effort in the long run.
- Avoid direct contact with decorations: If your fountain has decorative elements such as rocks or figurines, make sure the pump is positioned in a way that avoids direct contact. This will prevent any obstruction or damage to the pump’s operation.
- Account for water level: Consider the water level of your fountain. Ideally, the pump should be submerged or partially submerged in water to ensure proper functioning. Adjust the pump’s placement accordingly.
- Align with the water inlet: Position the pump in a way that aligns with the water inlet or hole in your fountain. This will make it easier to connect the tubing and ensure a secure and efficient water flow.
Take your time in determining the best placement for the pump. Make sure to consider both functionality and aesthetic aspects. Once you have decided on the ideal location, you’re ready to move on to the next step: installing the pump in your fountain.
Make sure to place the pump at the bottom of the fountain and connect it to the tubing. Secure the pump in place and fill the fountain with water before turning it on.
Step 4: Install the Pump
With the placement of the pump determined, it’s time to install it in your fountain. Follow these steps for a successful pump installation:
- Prepare the pump: Ensure that the pump is disconnected from the power source before beginning the installation. This is for your safety and to avoid any accidental damage.
- Attach the tubing: Take the pump tubing and securely attach it to the water outlet of the pump. Use a waterproof sealant or hose clamp to ensure a tight and leak-proof connection.
- Lower the pump into place: Carefully lower the pump into the predetermined placement in your fountain. Ensure that it is positioned securely and that the tubing is not twisted or kinked.
- Attach the tubing to the water inlet: Connect the other end of the tubing to the water inlet or hole in your fountain. Again, use a waterproof sealant or hose clamp to create a tight and secure connection.
- Check the alignment: Double-check that the pump is level and aligned properly with the water inlet. Make any necessary adjustments to ensure a smooth water flow.
- Secure the pump: If your fountain has a housing or bracket to support the pump, secure it in place according to the manufacturer’s instructions. This will provide stability and help prevent any movement or vibrations.
Take your time with the installation process to ensure everything is properly connected and tightly secured. Once you’ve completed these steps, you’re ready to move on to connecting the tubing and accessories for your 3-tier water fountain.
Read more: How To Install A Water Fountain Pump
Step 5: Connect the Tubing and Accessories
Now that you have installed the pump in your 3-tier water fountain, it’s time to connect the tubing and any additional accessories. These steps will help ensure proper water circulation and create the desired visual effect:
- Measure and cut the tubing: Use a tape measure to determine the necessary length of tubing to connect the pump to the various tiers of your fountain. Cut the tubing to the appropriate size using a sharp pair of scissors or a utility knife.
- Attach the tubing to the spouts: Connect the tubing to the spouts or nozzles in your fountain, ensuring a secure and snug fit. You can use connectors or clamps if necessary to create a tight connection.
- Add accessories: If your fountain has additional accessories like nozzles or valves, attach them to the tubing according to the manufacturer’s instructions. These accessories can enhance the water flow and create different water patterns and effects.
- Ensure proper water flow: Double-check that the tubing is not twisted or kinked, as this can disrupt the water flow. Adjust the tubing as needed to ensure a smooth water circulation between the tiers of your fountain.
Connecting the tubing and accessories is an important step in achieving the desired visual effect and water flow in your 3-tier water fountain. Take your time to ensure proper connections and alignment. Once you’ve completed these steps, you’re ready to move on to the next and final step: testing the pump and making any necessary adjustments.
Step 6: Test the Pump and Make Adjustments
After connecting the tubing and accessories, it’s crucial to test the pump and make any necessary adjustments to ensure proper functionality. Here’s what you need to do:
- Fill the fountain with water: Fill your 3-tier water fountain with water, ensuring that it covers the pump completely and reaches the desired water level in each tier.
- Power on the pump: Connect the pump to a nearby power source and turn it on. Listen and observe the water flow in your fountain to ensure that it is as desired. Pay attention to any gurgling sounds, splashing, or uneven water distribution.
- Adjust the water flow: If the water flow is too low or too high, you can adjust it using the pump’s flow control valve or by adjusting the water level in the fountain. Experiment with different settings until you achieve the desired water flow and visual effect.
- Check for leaks: While the pump is running, inspect the connections and joints for any signs of water leakage. If you notice any leaks, promptly turn off the pump and fix the connections using a waterproof sealant or hose clamp.
- Make aesthetic adjustments: Step back and assess the overall appearance of your 3-tier water fountain. Make any additional adjustments, such as repositioning the accessories or altering the direction of the water flow, to achieve the desired visual effect.
Testing the pump and making adjustments is crucial to ensure that your 3-tier water fountain is functioning properly and creating the desired ambiance in your garden or outdoor space. Take your time to fine-tune the settings and make any necessary tweaks to achieve the perfect water flow and visual appeal.
Once you’re satisfied with the pump’s performance and the overall look of your fountain, congratulations! You have successfully installed a pump in your 3-tier water fountain. Sit back, relax, and enjoy the soothing sound and mesmerizing beauty of your new water feature.
Conclusion
Congratulations on successfully installing a pump in your 3-tier water fountain! By following the step-by-step guide outlined in this article, you have created a captivating feature in your garden or outdoor space. Not only does a pump enhance the visual appeal of your fountain, but it also adds the soothing and tranquil sound of flowing water, creating a serene atmosphere.
Remember, before beginning the installation process, it’s important to choose the right pump for your fountain based on its size and flow rate requirements. This ensures proper water circulation and optimal performance. Additionally, gathering all the necessary tools and materials beforehand and preparing your fountain for the pump installation are crucial steps to guarantee a smooth and successful installation process.
Determining the placement of the pump and ensuring easy access for maintenance are essential factors to consider. Aligning the pump with the water inlet and securing it properly provide stability and prevent any movement or vibration during operation.
Connecting the tubing and any additional accessories, such as nozzles or valves, allows for different water patterns and effects. Ensure that the tubing is properly measured and cut, and that it is not twisted or kinked to maintain proper water flow between the tiers.
Once the pump is installed, it’s crucial to test it and make any necessary adjustments. Fill the fountain with water, power on the pump, and observe the water flow for an ideal visual effect. Adjust the flow, check for leaks, and make aesthetic adjustments until you are satisfied with the performance and appearance of your 3-tier water fountain.
Now, sit back, relax, and enjoy the beautiful and tranquil oasis you have created. Your 3-tier water fountain with a pump will surely be a focal point in your garden, inviting you and your guests to unwind and appreciate nature’s serenity.
Now that you've mastered installing a pump in your 3-tier water fountain, why not enhance your outdoor space even further? For those keen on sprucing up their garden's perimeter with style and function, our article on the best garden fence ideas for 2022 offers a plethora of creative solutions. From privacy to decoration, these ideas cater to all needs, ensuring your landscape stands out. Dive into our guide and find the perfect fence to complement your flourishing garden.
Frequently Asked Questions about How To Install A Pump In A 3-Tier Water Fountain
Was this page helpful?
At Storables.com, we guarantee accurate and reliable information. Our content, validated by Expert Board Contributors, is crafted following stringent Editorial Policies. We're committed to providing you with well-researched, expert-backed insights for all your informational needs.


0 thoughts on “How To Install A Pump In A 3-Tier Water Fountain”