
Articles
How To Install A Water Pump In A Well
Modified: January 25, 2024
Learn everything you need to know about installing a water pump in a well with our informative articles. Get step-by-step instructions and expert tips.
(Many of the links in this article redirect to a specific reviewed product. Your purchase of these products through affiliate links helps to generate commission for Storables.com, at no extra cost. Learn more)
Introduction
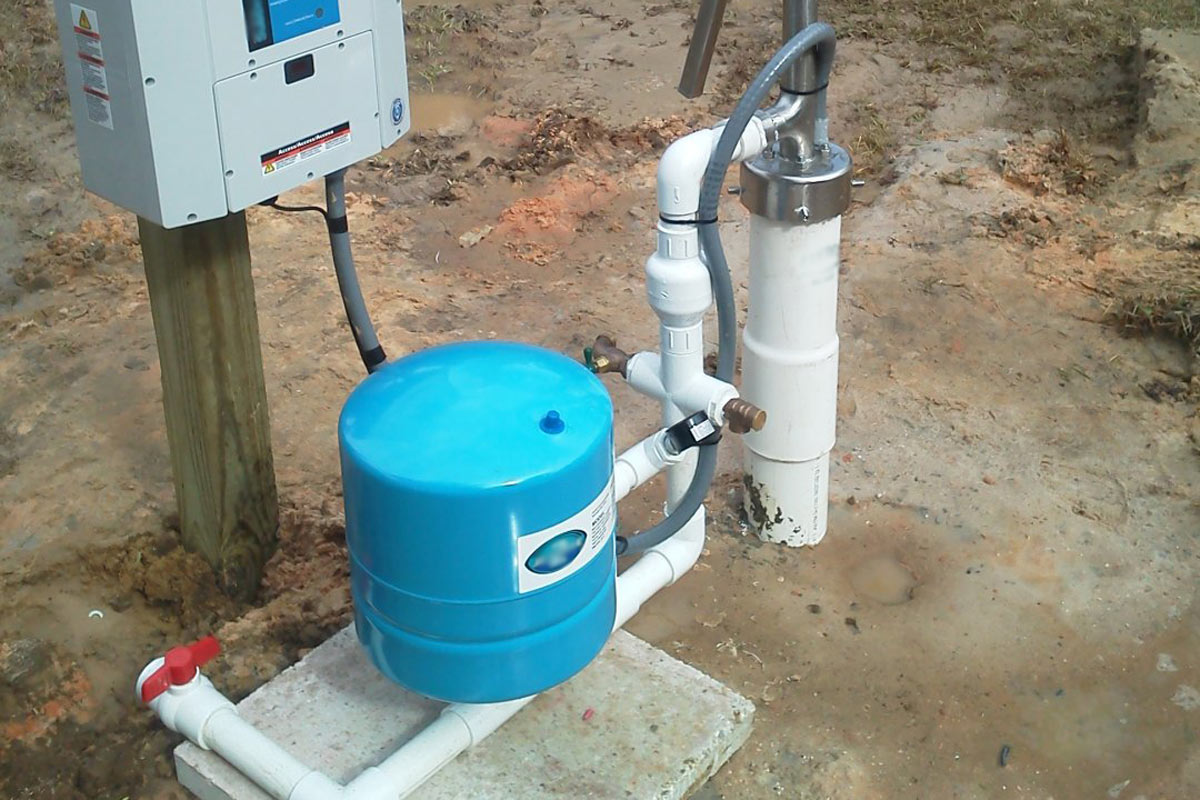
Installing a water pump in a well is an essential task for ensuring a reliable water supply for your home or property. Whether you are constructing a new well or replacing an old water pump, understanding the installation process is vital to ensure optimal performance and longevity of the pump system.
In this article, we will guide you through the step-by-step process of installing a water pump in a well. From gathering the necessary materials to testing the pump, we will cover everything you need to know to successfully complete the installation. So, let’s dive in!
Before we begin, it is important to note that well water systems can vary depending on the type of well and location. It is always recommended to consult with a professional well installation expert or plumber to ensure compliance with local regulations and to address any specific requirements or challenges you may encounter.
This installation guide is intended to provide a general overview of the process and should be used as a reference. Now, let’s get started with the first step.
Key Takeaways:
- Proper preparation, including gathering necessary materials, identifying the ideal well location, and preparing the well, is crucial for a successful water pump installation. Attention to detail and compliance with safety guidelines are essential for optimal performance.
- Thorough testing, regular maintenance, and prompt troubleshooting are key to ensuring the longevity and reliability of a water pump system. Following manufacturer’s guidelines, monitoring water pressure, and consulting professionals when needed are vital for a consistent and reliable water supply.
Read more: How To Install A Shallow Well Water Pump
Step 1: Gather Necessary Materials
The first step in installing a water pump in a well is to gather all the necessary materials and tools. Having everything prepared beforehand will help streamline the installation process and prevent delays. Here is a list of the essential materials you’ll need:
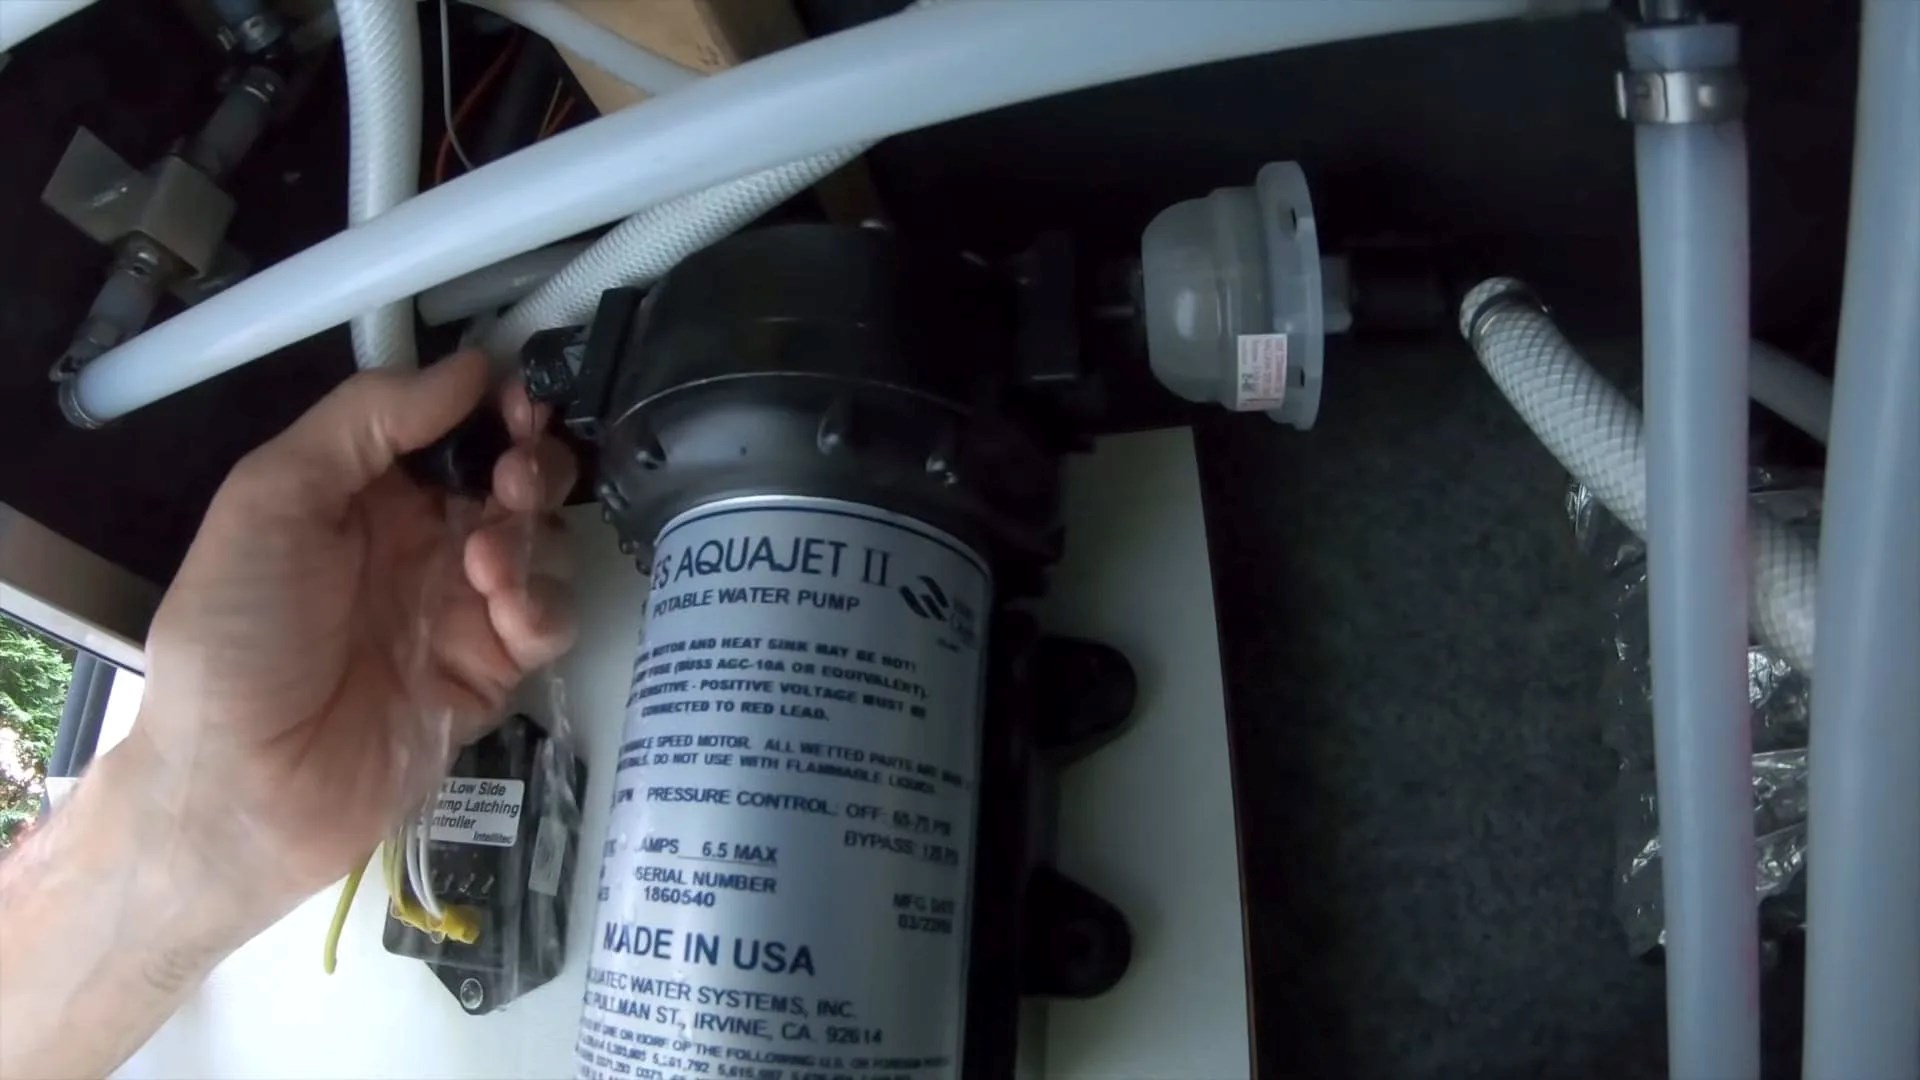
- A submersible water pump: This is the main component that will be installed in the well. Choose a pump that is suitable for your well’s depth and water flow requirements.
- Piping System: You’ll need PVC or polyethylene pipes, couplings, and elbows to connect the pump to the water supply and distribute water to your home. Make sure the pipes are durable and corrosion-resistant.
By gathering all these materials and tools beforehand, you will have a smoother installation process and avoid last-minute trips to the hardware store. Make sure to double-check the compatibility of the materials and ensure they meet local building code requirements.
Once you have gathered all the necessary materials, it’s time to move on to the next step: identifying the well location.
Step 2: Identify the Well Location
Before installing a water pump in a well, it is crucial to identify the ideal location for the well. The well’s location will determine the efficiency and accessibility of the pump system. Here are some key considerations when identifying the well location:
- Local Regulations: Check with your local authorities for any restrictions or regulations regarding well installation. Ensure that the selected location complies with these regulations to avoid any legal issues in the future.
- Accessibility: Choose a location that provides easy access for maintenance and repairs. It should be in a well-drained area, away from potential obstructions such as tree roots or structures.
- Distance from Contaminants: Ensure that the well is located at a safe distance from sources of potential contamination, such as septic tanks, chemicals, or underground storage tanks. This will help safeguard the quality of the water supply.
- Water Table: Conduct a professional survey or consult with well drilling experts to determine the water table level. The well should be dug deep enough to reach a stable water source that can sustain the desired water volume throughout the year.
- Proximity to Power Source: Consider the distance between the well location and the power source. It is crucial to have a convenient power supply to connect the water pump without long wiring runs.
- Safety Measures: Ensure that the well location adheres to safety standards. Keep in mind factors such as well casing depth, wellhead protection, and ventilation requirements to ensure your well installation is compliant with safety codes.
By carefully considering these factors, you can select the optimal location for your well, enhancing the efficiency and longevity of your water pump system.
Once you have identified the ideal well location, it’s time to move on to the next step: preparing the well for installation.
Step 3: Prepare the Well for Installation
Preparing the well for installation is a crucial step in ensuring the proper functioning of the water pump system. It involves cleaning the well, inspecting its condition, and making any necessary repairs or adjustments. Here’s how to prepare the well for the installation:
- Clear the Well: Remove any debris, dirt, or obstructions from the well casing. This can be done using a bucket or a well cleaning brush. Clearing the well helps prevent clogging or damage to the pump.
- Inspect the Well Casing: Carefully inspect the well casing for any signs of damage, such as cracks or corrosion. If any issues are found, it is recommended to consult with a professional well repair service to address the problems before proceeding with the installation.
- Sanitize the Well: Disinfecting the well is essential to ensure a clean water supply. Follow the guidelines provided by your local health department or consult a professional to properly sanitize the well. This typically involves using an approved well disinfectant and following the appropriate procedures.
- Install a Well Cap: A well cap is necessary to protect the well from contaminants and debris. Install a well cap that fits securely over the well casing, ensuring proper sealing and ventilation.
- Consider Well Protection: Depending on your location and specific needs, you may want to add additional protection to the well, such as a well house or protective cover. This helps shield the well from the elements and potential damage.
Preparing the well for installation ensures a clean and safe water source, prolongs the life of the water pump, and minimizes the chances of future problems. Take your time to complete these steps carefully before moving on to the next phase of the installation process.
With the well prepared for installation, it’s time to move on to the next step: attaching the pump and piping system.
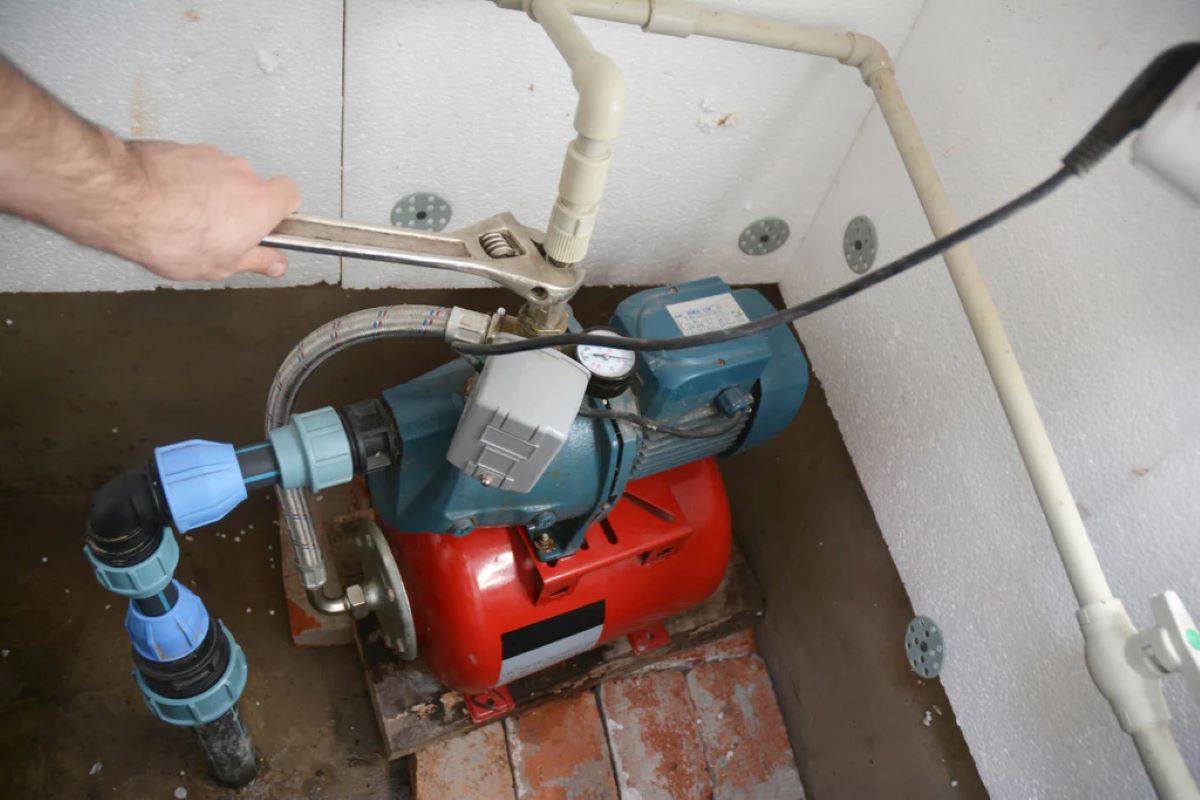
Step 4: Attach the Pump and Piping System
Now that you have prepared the well, it’s time to attach the water pump and piping system. This step involves connecting the pump to the water supply and ensuring proper water flow to and from the pump. Here’s how to proceed:
- Position the Pump: Carefully lower the submersible water pump into the well, making sure it is suspended at an appropriate depth. Refer to the manufacturer’s instructions for the recommended placement based on the well’s depth and water level.
- Connect the Pump to the Piping System: Use durable PVC or polyethylene pipes to connect the pump to the water supply system. Securely attach the pipes to the pump outlet and use couplings and elbows as needed to create the desired piping configuration.
By carefully attaching the pump and piping system, you will ensure a smooth water flow and optimize the performance of your water pump. Take your time to double-check all connections and ensure they are secure and properly sealed.
With the pump and piping system in place, it’s time to move on to the next step: securing the pump in the well.
Before installing a water pump in a well, make sure to properly measure the depth of the well and choose a pump that is suitable for that depth. It’s important to also consider the water flow rate and the power source for the pump.
Read more: How To Prime A Water Pump On A Well
Step 5: Secure the Pump in the Well
Securing the pump in the well is a crucial step to ensure its stability, prevent movement, and maintain proper alignment. Here’s how to secure the pump in the well:
- Attach Support Cables: Install support cables or ropes to hold the pump in place. These cables should be securely attached to the pump and anchored to the well casing or a stable support structure.
- Maintain Proper Alignment: Ensure that the pump is properly aligned and centered in the well casing. This is important to prevent any contact or friction between the pump and the sides of the well.
- Adjust Placement (if necessary): If the pump is not at the desired depth, use the support cables to carefully adjust its positioning. Keep in mind the water level and the manufacturer’s recommendations for the optimal depth of the pump.
- Suspend the Electrical Cable: Using appropriate clamps or supports, suspend the electrical cable alongside the support cables. This will help prevent entanglement and potential damage to the cable.
- Ensure Proper Clearance: Verify that there is enough clearance between the pump and the well casing or any other components in the well. This prevents any potential damage or interference during the pump’s operation.
- Tighten Support Cables: Double-check the tightness of the support cables, ensuring that they provide adequate support and stability to the pump. Avoid overtightening, as this may cause unnecessary strain on the pump or the well casing.
By securing the pump properly in the well, you will ensure its stability, reduce the risk of damage, and promote optimal performance of your water pump system.
With the pump securely in place, it’s time to move on to the next step: connecting the electrical system.
Step 6: Connect the Electrical System
Connecting the electrical system is a crucial step in the installation process as it provides power to the water pump and allows it to function properly. When connecting the electrical system, safety precautions must be taken. Here’s how to proceed:
- Ensure Safety: Before starting any electrical work, switch off the power at the circuit breaker to avoid any electrical shocks or accidents.
- Consult a Professional: If you are not experienced with electrical work, it is highly recommended to hire a licensed electrician to handle the connection of the electrical system. It ensures compliance with electrical codes and guarantees safe and proper installation.
Connecting the electrical system correctly is essential for the proper functioning and safety of your water pump. If you are not confident in your electrical abilities, it is always best to seek professional assistance to ensure a safe and reliable connection.
With the electrical system connected, it’s time to move on to the next step: testing the water pump.
Step 7: Test the Water Pump
Testing the water pump is a critical step to ensure that it is functioning correctly and providing an adequate water supply. Here’s how to test the water pump:
- Prime the Pump: If your water pump requires priming, follow the manufacturer’s instructions to prime the pump before testing. Priming helps remove air from the system and ensures the pump is filled with water.
- Switch on the Power: Turn on the power to the water pump at the circuit breaker or power source.
- Monitor the Pump: Observe the operation of the water pump. Ensure that it starts up smoothly, without any unusual noises or vibrations.
- Check Water Flow: Verify that water is being drawn from the well and flowing through the piping system. Monitor the water flow rate and ensure it is consistent with your water requirements.
- Check for Leaks: Inspect all connections and pipes for any signs of leaks. Pay close attention to joints, fittings, valves, and couplings. Address any leaks promptly to prevent water loss and potential damage.
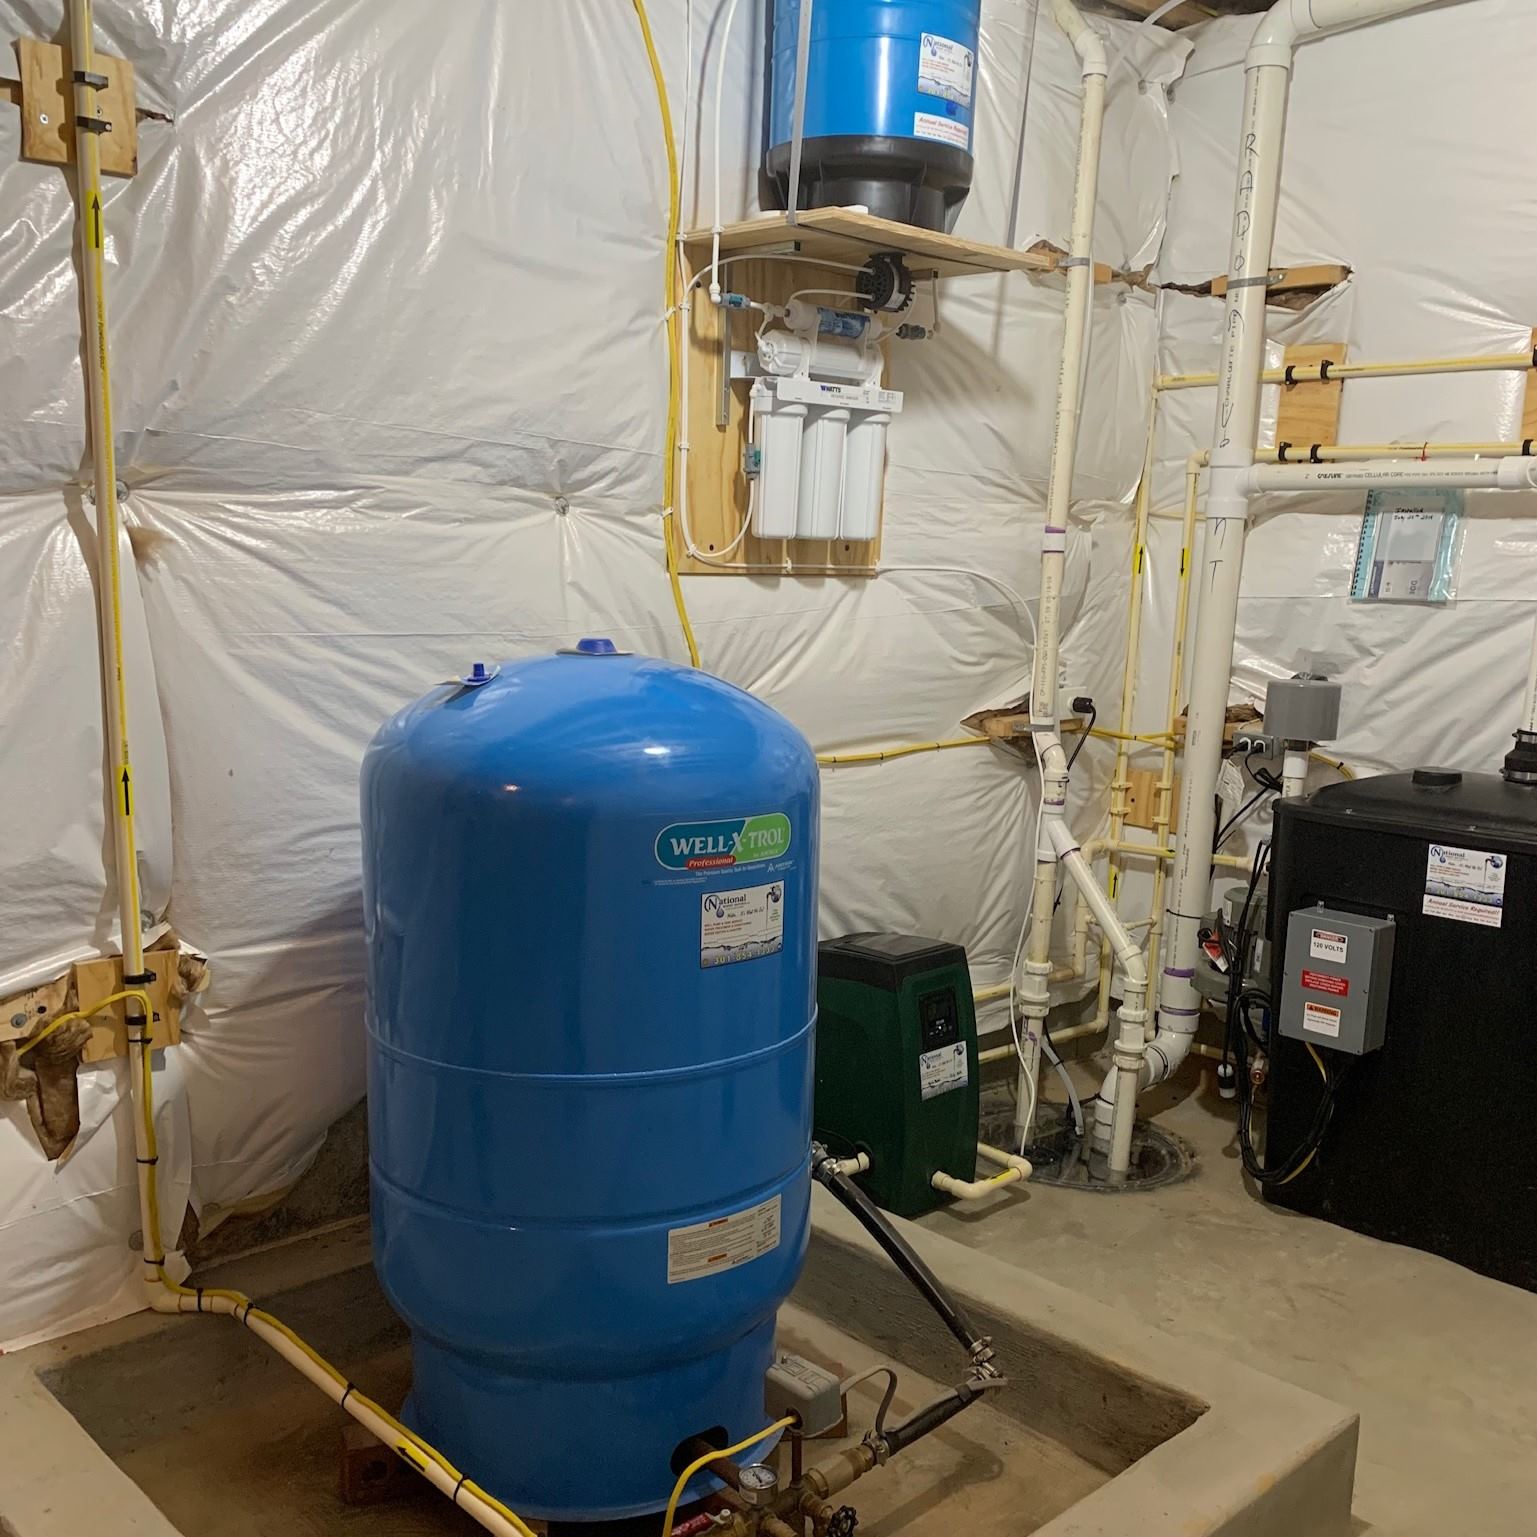
- Monitor Pressure: If you have a pressure tank, check the pressure gauge to ensure that it is functioning properly and maintaining the desired pressure levels.
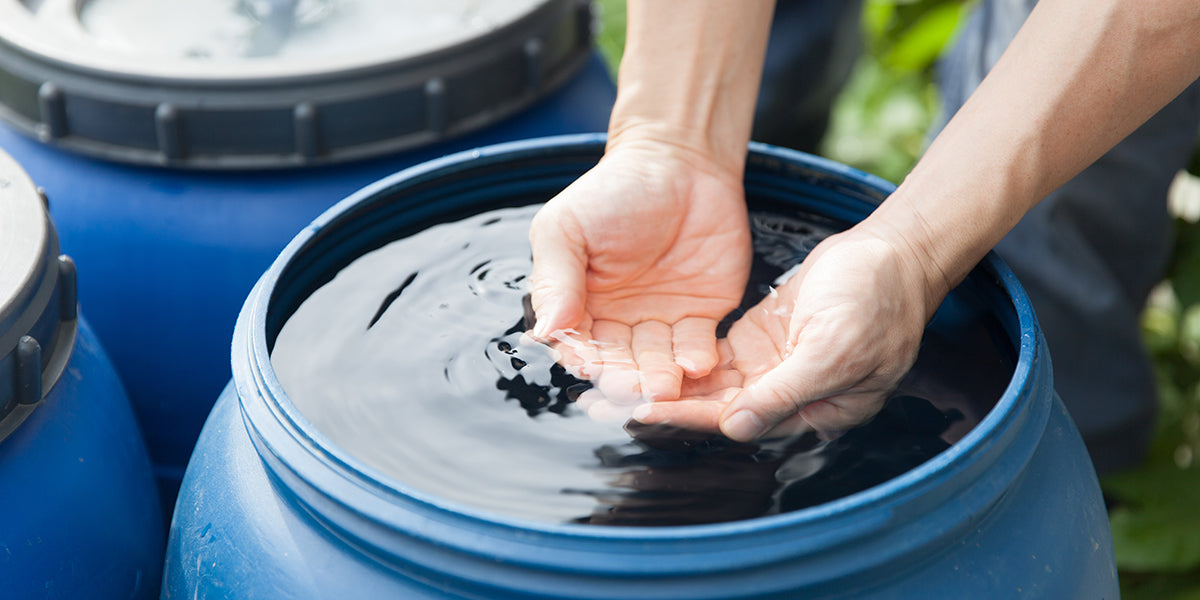
- Test Water Quality: Collect a sample of water from the tap closest to the pump and test it for quality. This can include checking for impurities, pH levels, or any other specific parameters relevant to your water supply.
By thoroughly testing the water pump, you can identify any issues or potential problems early on and take appropriate action. Addressing any concerns before relying on the pump for regular water supply will help ensure its long-term performance and reliability.
If you encounter any issues during the testing process or notice abnormal behavior from the pump, consult with a professional well service technician to diagnose and resolve the problem.
With the water pump tested and functioning correctly, it’s time to move on to the final step: maintaining and troubleshooting the water pump.
Step 8: Maintain and Troubleshoot the Water Pump
Maintaining and troubleshooting the water pump is essential for its long-term performance and reliability. Regular maintenance helps prevent potential issues and ensures the pump functions optimally. Here are some maintenance and troubleshooting tips for your water pump:
- Follow Manufacturer’s Guidelines: Refer to the manufacturer’s instructions for specific maintenance guidelines. This may include recommended service intervals and procedures for cleaning, lubrication, and filter replacement.
- Monitor Water Pressure: Regularly check the water pressure gauge in your pressure tank. If you notice any significant fluctuations or a decrease in pressure, it may indicate an issue with the pump or the system.
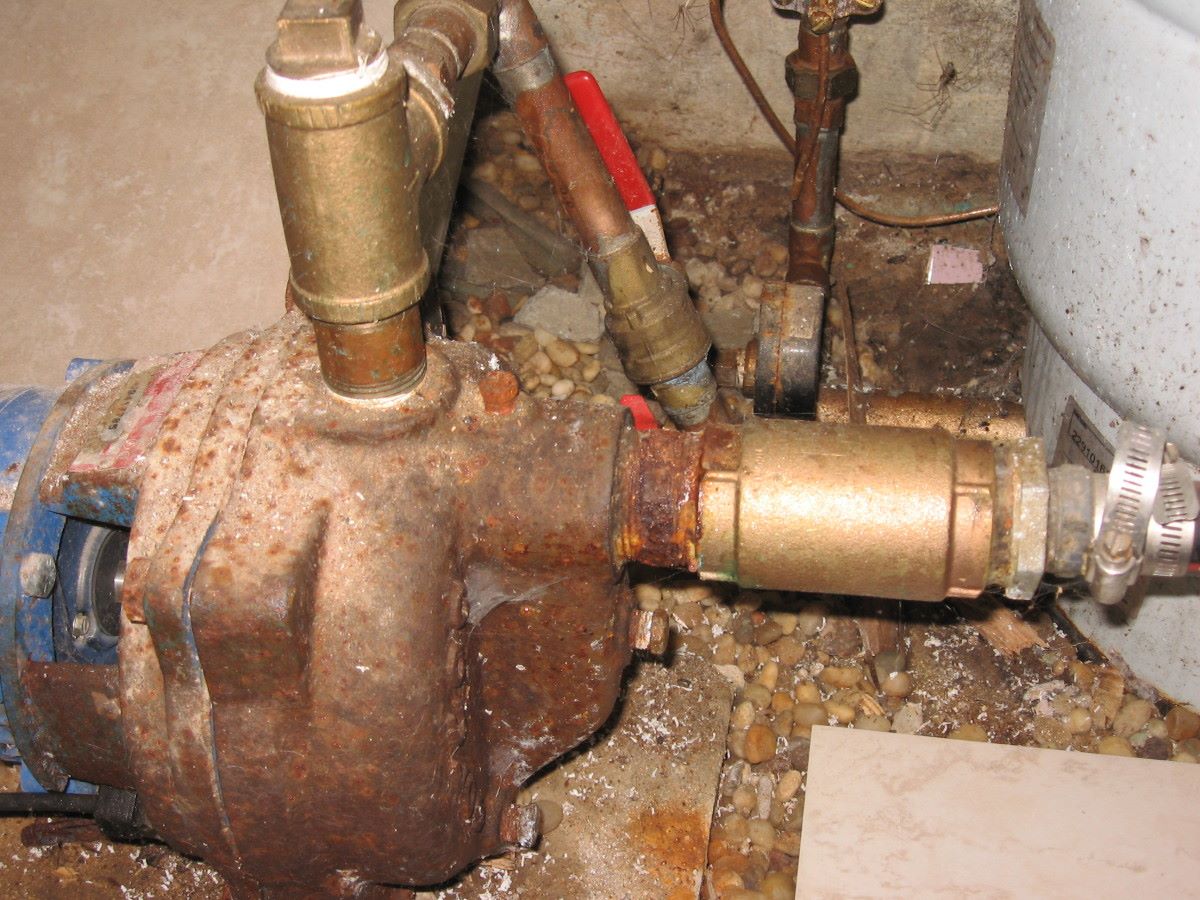
- Inspect the Pump and Piping: Periodically inspect the pump, piping, and fittings for any signs of wear, damage, or leaks. Replace any worn-out parts and repair any leaks promptly to prevent further damage.
- Clean the Pump Intake: The intake screen or filter of the pump can accumulate debris over time. Regularly clean and remove any accumulated dirt or obstructions to maintain proper water flow and prevent clogging.
- Monitor Electrical Connections: Check the electrical connections for any signs of loose or corroded wires. Tighten connections if necessary and ensure the electrical system is functioning properly.
- Keep a Maintenance Log: Maintain a detailed log of all maintenance activities, repairs, and any issues encountered. This will help track the pump’s performance over time and assist in identifying recurring problems.
- Consult a Professional: If you encounter any significant issues or are unsure about troubleshooting steps, it is recommended to consult with a professional well service technician. They can provide expert guidance and assistance in resolving complex problems.
Regular maintenance and prompt troubleshooting can help extend the life of your water pump and ensure it continues to provide a reliable water supply. By taking proactive measures, you can prevent costly repairs and unexpected interruptions in your water system.
Remember to adhere to local regulations and industry best practices when maintaining and troubleshooting your water pump.
By following these steps, you have successfully installed, tested, and maintained your water pump in the well. Enjoy the benefits of a consistent and reliable water supply for your home or property!
As a final note, it’s always a good idea to consult with professionals, such as well drillers or plumbers, for assistance during the installation process and for any specific requirements or challenges unique to your well system.
Read more: How To Fix A Well Water Pump
Conclusion
Installing a water pump in a well is a task that requires careful planning, attention to detail, and adherence to safety guidelines. By following the step-by-step process outlined in this article, you can successfully install, test, and maintain your water pump system, ensuring a reliable water supply for your home or property.
Throughout the installation process, it is important to gather all the necessary materials and tools, identify the ideal well location, and prepare the well for installation. Attaching the pump and piping system correctly, securing the pump in the well, and connecting the electrical system will ensure smooth operation and optimal performance of the water pump.
Testing the water pump after installation is crucial to verify its functionality and address any potential issues. Regular maintenance and troubleshooting help prevent problems and keep the water pump in good working condition. Monitoring water pressure, inspecting the pump and piping, and addressing any maintenance needs will contribute to the longevity and efficiency of the system.
Remember to consult with professionals, such as well drilling experts or electricians, when necessary, to ensure compliance with local regulations and to address any specific challenges or requirements unique to your well system.
By following these guidelines and taking the necessary precautions, you can enjoy a consistent and reliable water supply from your well for years to come. Enjoy the benefits of having a water pump system that meets your water needs while providing peace of mind.
Always prioritize safety throughout the installation and maintenance processes, and never hesitate to seek professional assistance if needed. With proper installation and maintenance, your water pump system will continue to serve you well.
Frequently Asked Questions about How To Install A Water Pump In A Well
Was this page helpful?
At Storables.com, we guarantee accurate and reliable information. Our content, validated by Expert Board Contributors, is crafted following stringent Editorial Policies. We're committed to providing you with well-researched, expert-backed insights for all your informational needs.


0 thoughts on “How To Install A Water Pump In A Well”