Articles
How To Install Rv Water Pump
Modified: December 7, 2023
Discover useful articles on how to install an RV water pump. Gain valuable insights and step-by-step instructions to ensure a smooth and efficient installation process.
(Many of the links in this article redirect to a specific reviewed product. Your purchase of these products through affiliate links helps to generate commission for Storables.com, at no extra cost. Learn more)
Introduction
Installing a water pump in your RV is an essential task to ensure a steady and reliable water supply while you’re on the road. Whether you’re embarking on a long camping trip or simply need to replace an old or malfunctioning water pump, this guide will walk you through the step-by-step process of installing an RV water pump.
Having a properly functioning water pump is crucial for a variety of tasks during your RV adventures. It allows you to have access to clean and running water for washing dishes, showering, and even flushing the toilet. With the right tools and materials, along with some basic knowledge, you can easily install a new water pump in your RV and be ready to hit the road in no time.
In this comprehensive guide, we will cover each step of the installation process in detail, ensuring that you have a clear understanding of what needs to be done. We’ll also provide tips and precautions along the way to help you avoid any common pitfalls that may arise during the installation.
So, if you’re ready to take control of your RV’s water supply and ensure a smooth and reliable camping experience, let’s dive into the step-by-step process of installing an RV water pump.
Key Takeaways:
- Ensure a smooth RV water pump installation by gathering all necessary tools and materials, locating the water pump, and following step-by-step instructions. Enjoy a reliable water supply for all your camping needs!
- After installing the new RV water pump, reconnect the water supply, test the pump’s functionality, and address any leaks or issues promptly. Regular maintenance will ensure a steady water source for future adventures.
Read more: How To Prime A Rv Water Pump
Step 1: Gather the Necessary Tools and Materials
Before you begin the installation process, it’s important to gather all the necessary tools and materials. Having everything on hand will help streamline the process and ensure that you have everything you need without having to make multiple trips to the hardware store.
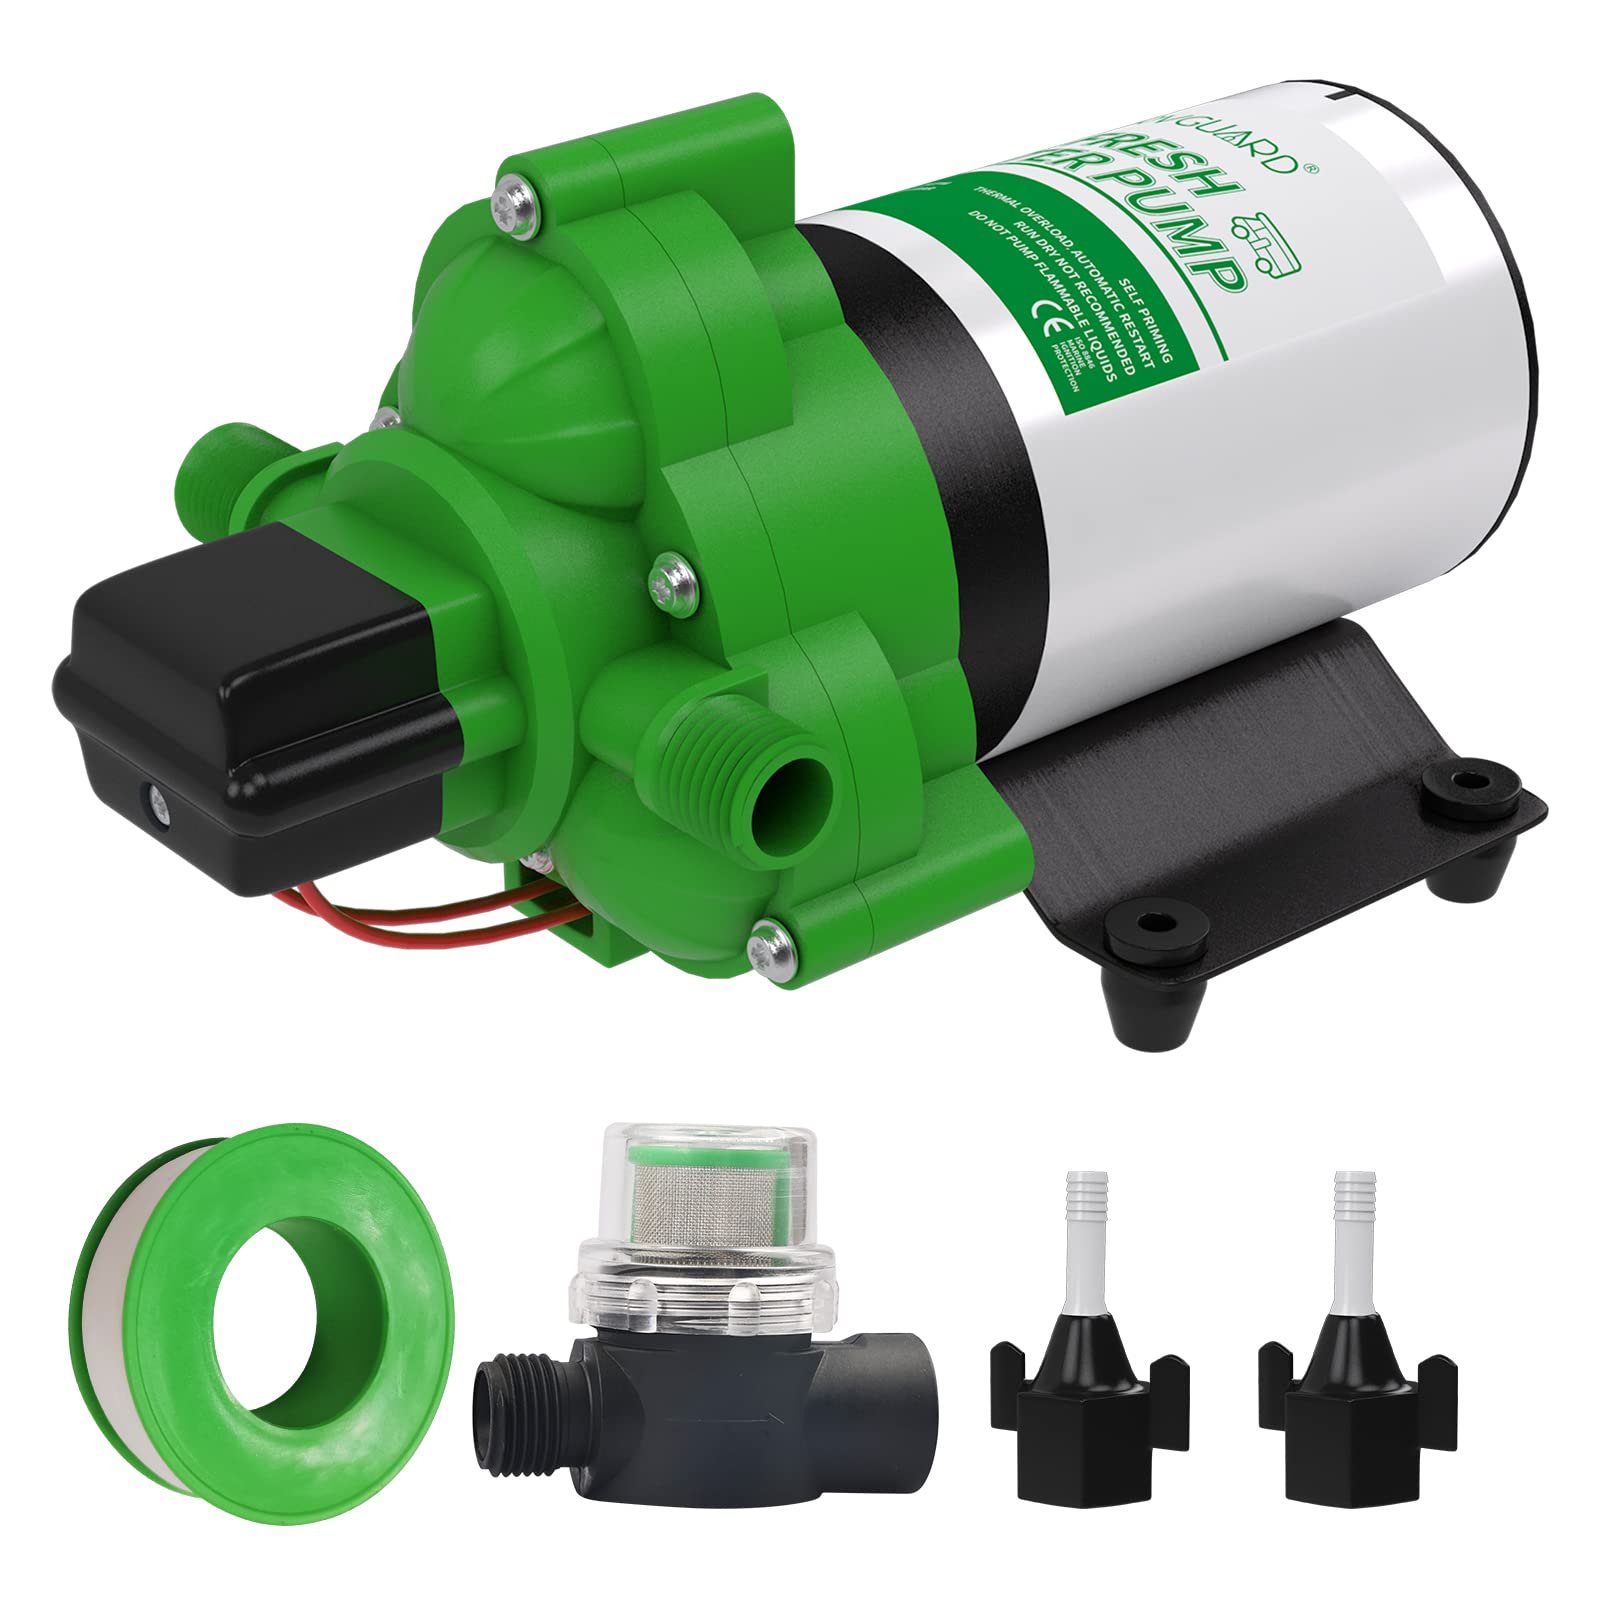
Here’s a list of tools and materials you’ll need:
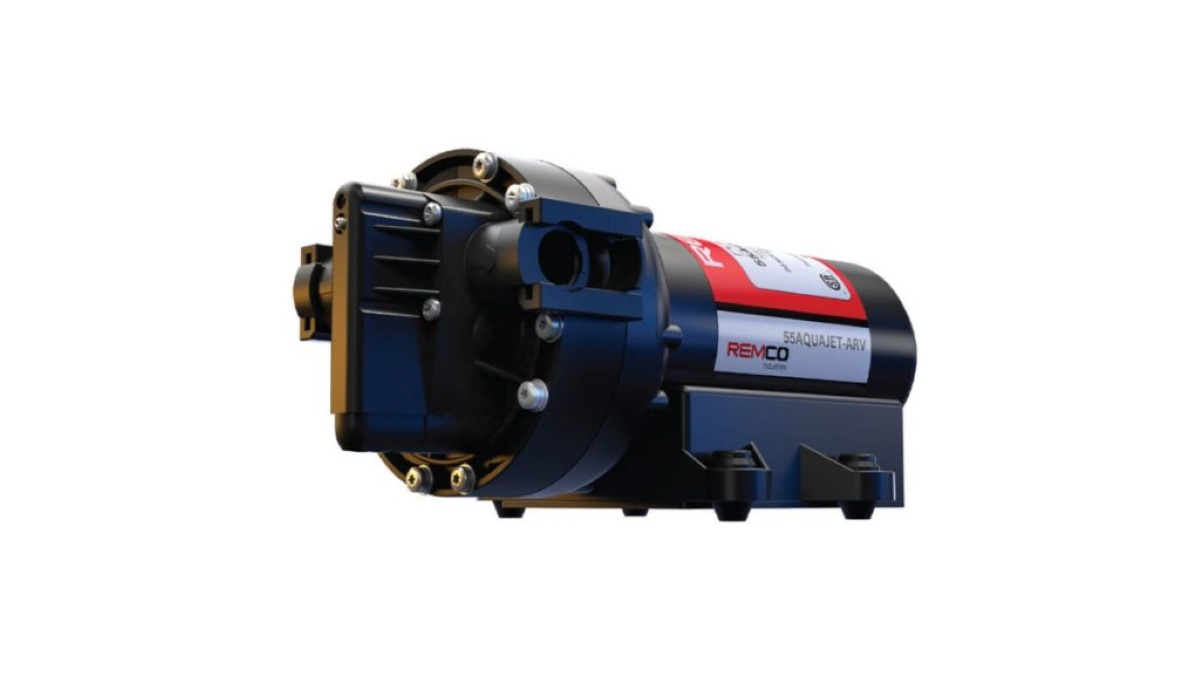
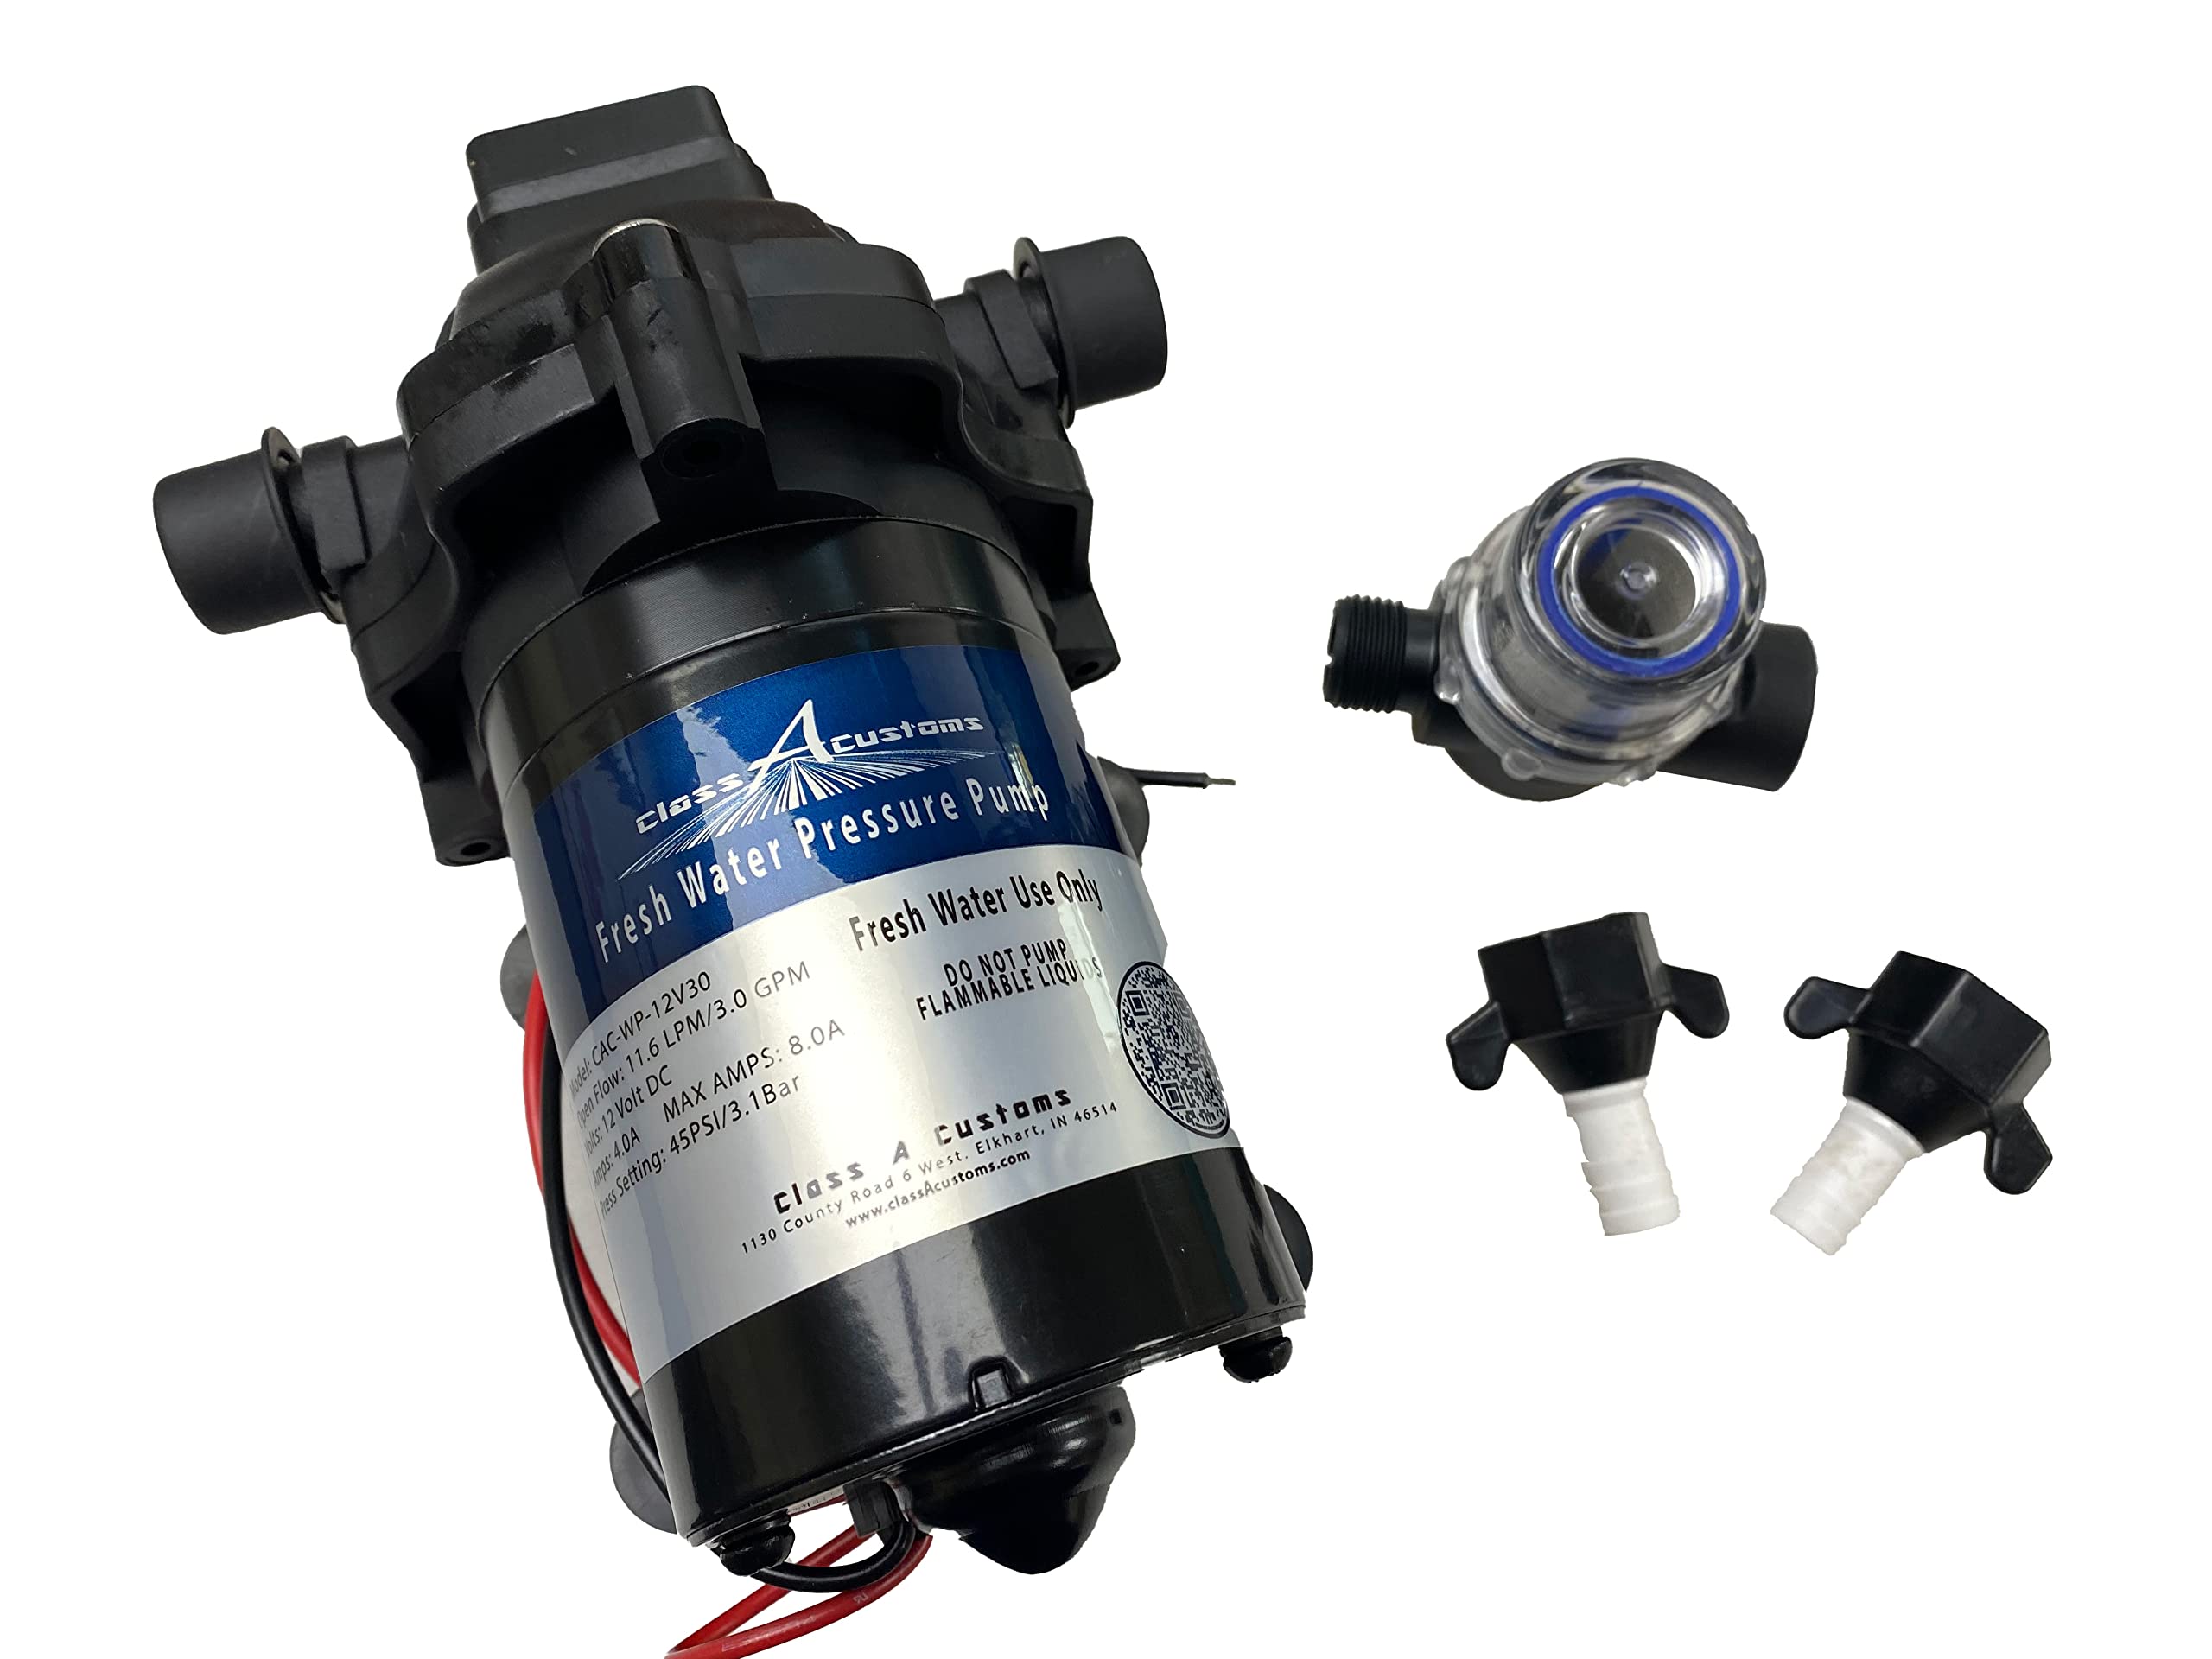
- RV water pump
- Adjustable wrench
- Pliers
- Teflon tape
- Screwdriver (Phillips and flat-head)
- Hose clamps
- Thread sealant
- Rubber gloves
- Rag or towel
- Safety glasses
Make sure to read the instructions provided with your specific water pump model to ensure you have any additional tools or materials that may be required.
Once you have gathered all the necessary tools and materials, find a well-lit and well-ventilated area to work in. It’s also a good idea to have a clean workspace and cover any nearby surfaces to protect them from water or debris during the installation process.
With everything ready, let’s move on to the next step of the installation process: locating the water pump in your RV.
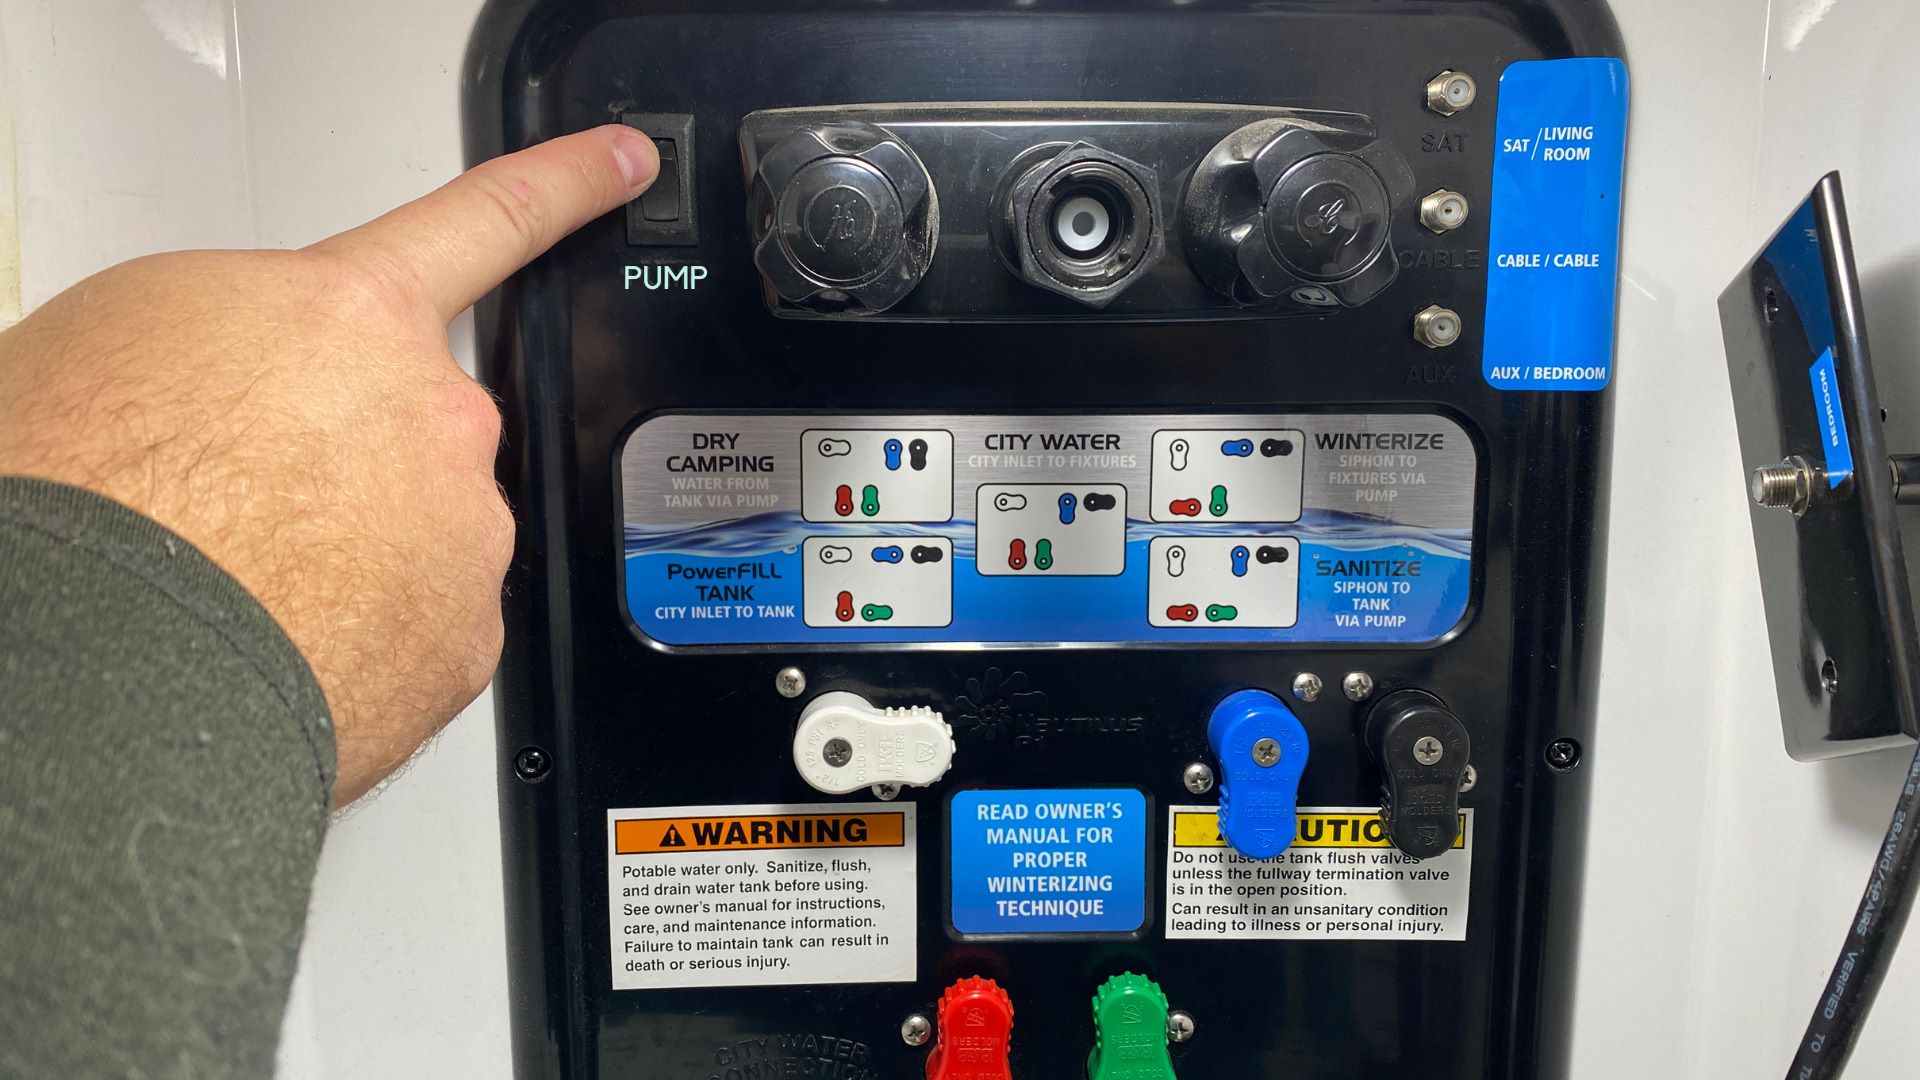
Step 2: Locate the Water Pump
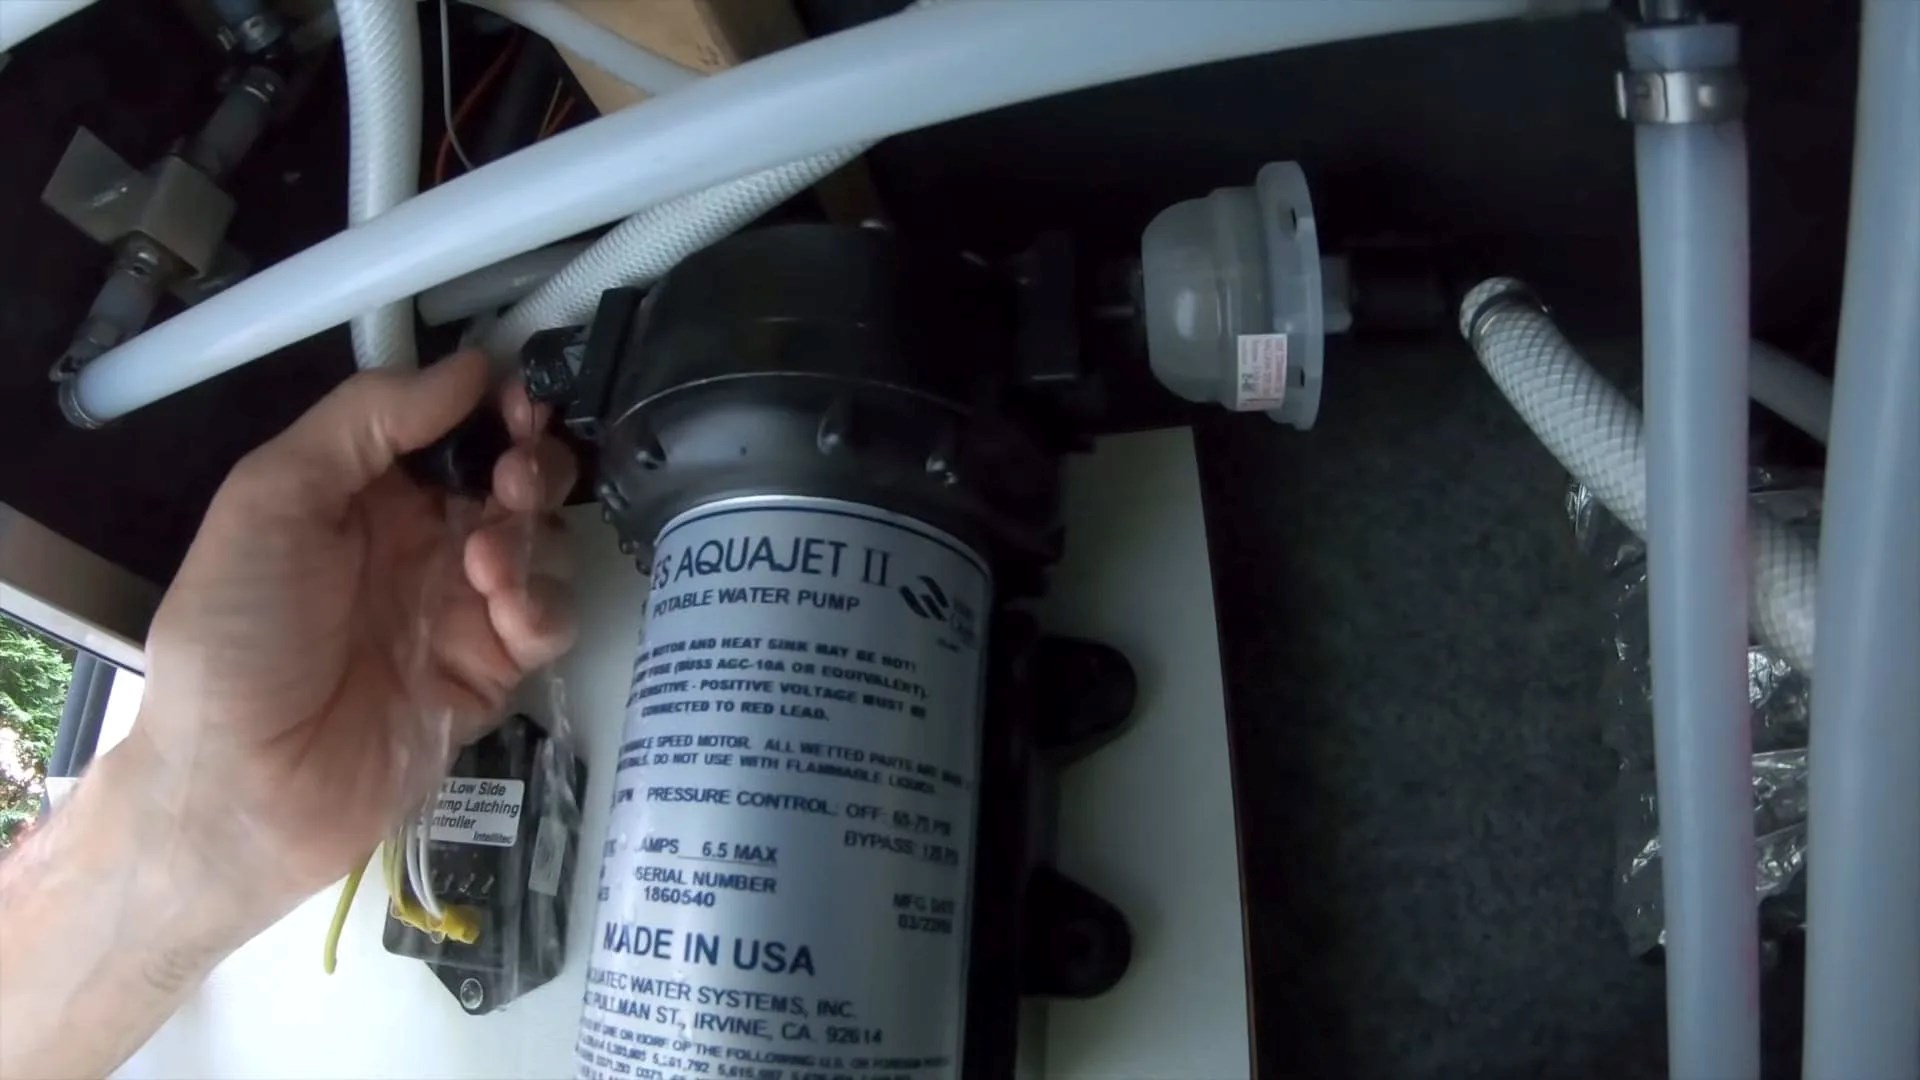
Locating the water pump in your RV is an important step before you can begin the installation process. The exact location of the water pump may vary depending on the make and model of your RV, but it is typically found in one of two places.
The most common location for the water pump is in an accessible compartment such as an exterior storage compartment or underneath a sink or bathroom vanity. In some cases, it may be hidden behind a removable panel or cover.
If you’re having trouble locating the water pump, consult your RV’s owner’s manual or contact the manufacturer for guidance.
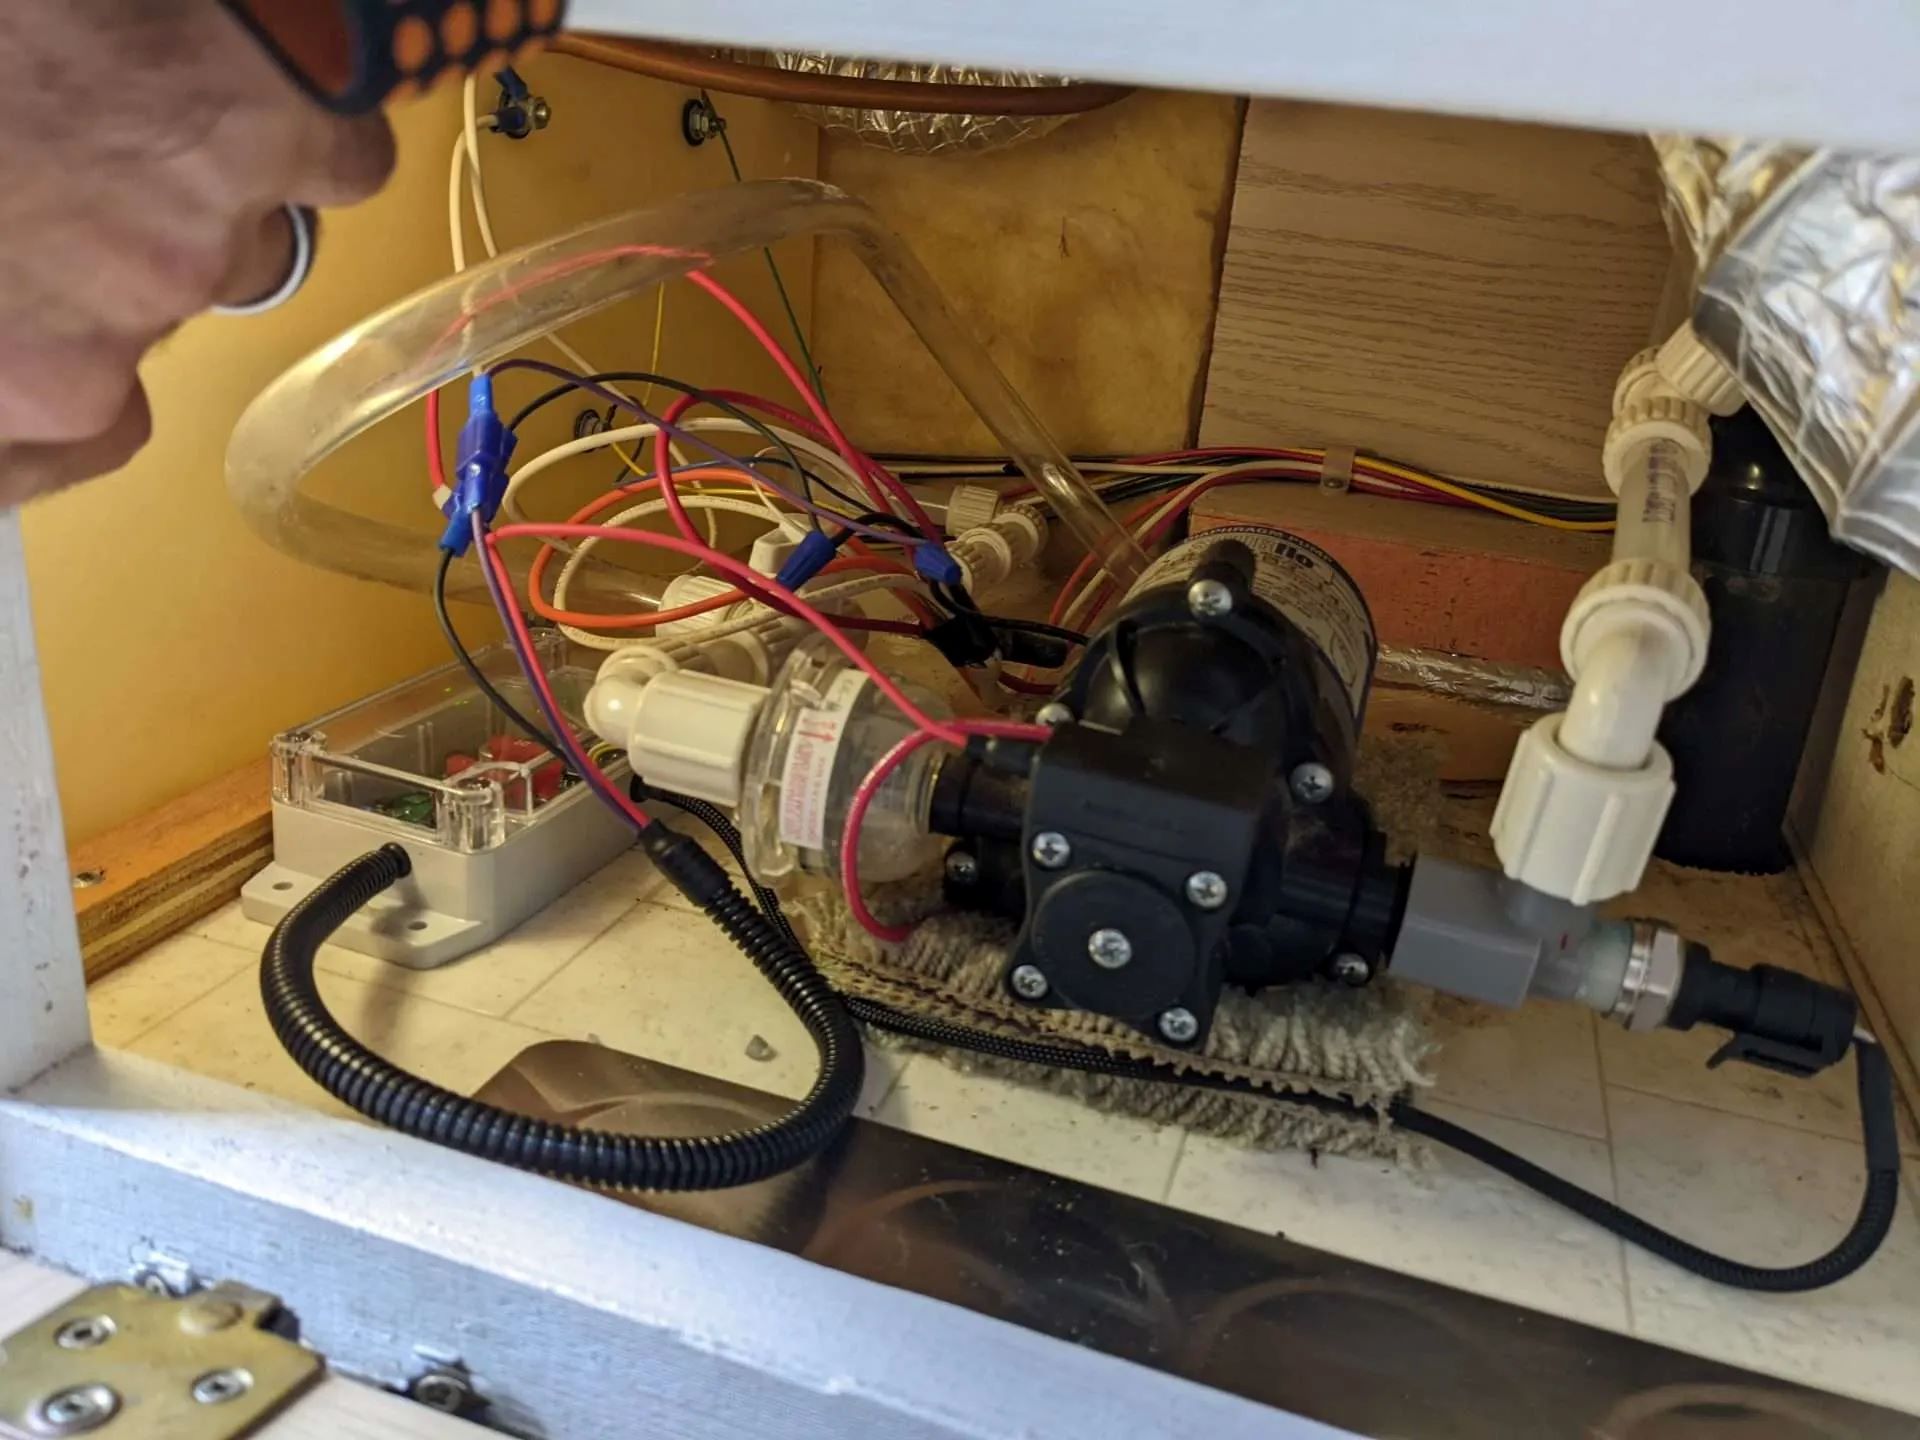
Once you have located the water pump, take a moment to familiarize yourself with its placement and any surrounding components. This will help you better understand the installation process and identify any potential challenges or obstacles you may need to overcome during the installation.
Additionally, take note of the water connections on the water pump. There will typically be an incoming water line, which brings water from your freshwater tank, and an outgoing water line, which distributes water throughout your RV’s plumbing system. These connections will need to be disconnected and reconnected during the installation process.
Now that you have located the water pump and have a clear understanding of its placement and connections, it’s time to move on to the next step: turning off the water supply.
Step 3: Turn Off the Water Supply
Before you proceed with the installation of your new water pump, it’s crucial to turn off the water supply to your RV. This will prevent any accidental spills or leaks during the installation process.
The water supply in your RV is typically controlled by a valve located near the freshwater tank or water hookup. Locate this valve and turn it to the “off” position to shut off the water flow.
It’s also a good idea to release any remaining water pressure in the system by opening faucets and allowing them to run until the water stops flowing. This will help prevent any unexpected surges of water while you’re working on the water pump.
Once you have turned off the water supply and released any remaining pressure, it’s time to move on to the next step: disconnecting the old water pump.
Note: If you’re installing a water pump for the first time and there is no existing pump to disconnect, you can skip this step and proceed directly to the installation of the new water pump.
Quick Tip: It’s always a good idea to wear rubber gloves and safety glasses when working with water systems to protect yourself from potential hazards.
With the water supply turned off and any remaining pressure released, let’s move on to disconnecting the old water pump in the next step.
Step 4: Disconnect the Old Water Pump
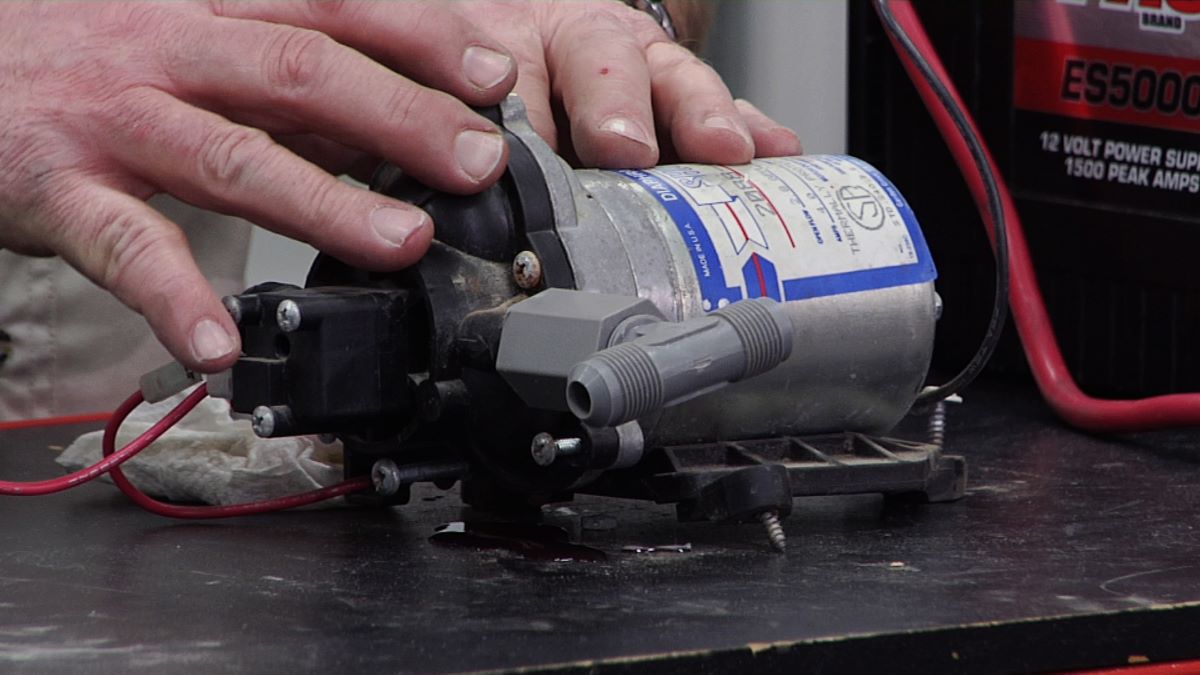
Now that you have turned off the water supply, it’s time to disconnect the old water pump from your RV’s plumbing system. This step involves removing the water connections and any mounting brackets or screws that secure the pump in place.
Start by using an adjustable wrench or pliers to loosen and remove the hose clamps that secure the incoming and outgoing water lines to the old water pump. Slide the hose clamps off the hoses and set them aside for later use.
Once the hose clamps are removed, gently twist and pull the hoses off the water pump connections. It may be helpful to use a pair of pliers to loosen stubborn connections. Be prepared for some water to spill out when disconnecting the hoses.
After removing the water hoses, inspect the pump for any additional mounting brackets or screws. Use a screwdriver to remove these fasteners and carefully detach the old water pump from its location.
Once the old water pump is removed, take a moment to clean the area and remove any debris or residue. This will ensure a clean and smooth surface for installing the new water pump.
Now that you have successfully disconnected the old water pump, it’s time to move on to the next step: installing the new water pump.
Note: If you’re replacing a faulty water pump and there are no mounting brackets or screws to remove, you can simply proceed to installing the new pump without this additional step.
Quick Tip: It’s a good idea to keep a rag or towel nearby to wipe up any spills or drips during the disconnection process.
With the old water pump removed and the area cleaned, let’s move on to the installation of the new water pump in the next step.
When installing an RV water pump, make sure to properly secure the pump to prevent excessive vibration and noise. Use rubber mounts or padding to reduce the transfer of vibrations to the RV structure.
Read more: How To Winterize Rv Water Pump
Step 5: Install the New Water Pump
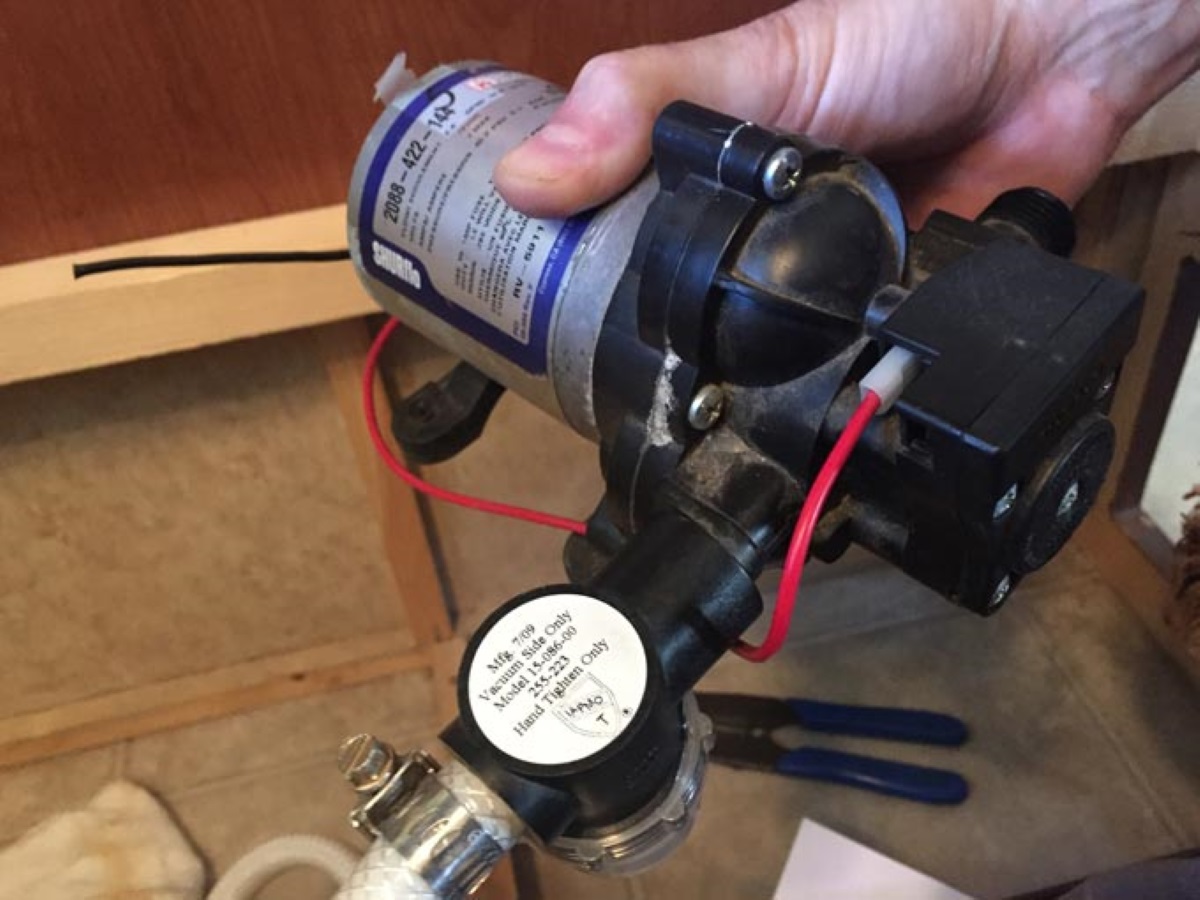
Now that the old water pump has been disconnected and removed, it’s time to install the new water pump in your RV. This step involves securely mounting the new pump and reconnecting the water lines.
Start by positioning the new water pump in the same location where the old pump was installed. Use the mounting brackets or screws that came with the new pump to secure it in place. Make sure the pump is stable and secure, as this will help reduce vibrations and potential leaks in the future.
Next, take the incoming and outgoing water lines that you disconnected earlier and slide them onto the corresponding connections on the new water pump. Make sure the hoses are pushed all the way onto the connections, and then secure them with hose clamps. Tighten the clamps using an adjustable wrench or pliers.
Note: If the new water pump has different-sized connections compared to the old pump, you may need to use appropriate adapters or fittings to ensure a proper and secure connection between the hoses and pump.
Once the water lines are securely connected, double-check all the connections to ensure they are tight and leak-free. Give the pump a gentle shake to ensure it is properly seated and not loose.
Now that the new water pump is correctly installed and connected, it’s time to move on to the next step: reconnecting the water supply.
Quick Tip: It’s a good idea to apply some Teflon tape to the threaded connections on the water pump to create a watertight seal.
With the new water pump securely installed, let’s move on to reconnecting the water supply in the next step.
Step 6: Reconnect the Water Supply
After successfully installing the new water pump in your RV, it’s time to reconnect the water supply. This step involves restoring the flow of water to your plumbing system and ensuring a proper connection between the water source and the pump.
To begin, locate the valve or switch that controls the water supply to your RV. Turn it back to the “on” position to allow water to flow into your plumbing system.
Next, check all the water connections on the water pump to ensure they are securely tightened. If necessary, use an adjustable wrench or pliers to tighten any loose connections.
Once all the connections are checked and tightened, it’s a good idea to test the water pump to ensure it is working properly. Turn on a faucet in your RV and allow the water to run for a few minutes. Listen for the sound of the water pump running and check for consistent water flow.
If you notice any leaks or irregularities, immediately turn off the water supply and inspect the connections. Tighten any loose fittings or replace worn-out gaskets or seals to resolve the issue.
Once you are satisfied with the performance of the water pump and there are no leaks, you can proceed to the final step: testing the water pump.
Note: If you experience any difficulties with the water pump or notice a decrease in water pressure, consult your RV’s owner’s manual or contact a professional for assistance.
With the water supply reconnected and the water pump tested, let’s move on to the final step: testing the water pump in the next step.
Step 7: Test the Water Pump
Testing the water pump is the final step in the installation process to ensure that it is functioning properly and supplying water throughout your RV’s plumbing system. This step allows you to identify any potential issues and make necessary adjustments before hitting the road.
To test the water pump, turn on various faucets and fixtures throughout your RV, including sinks, showers, and toilets. Listen for the sound of the water pump running and check for consistent water flow at each location.
If you notice any issues during the testing process, such as weak water flow or inconsistent pressure, there may be an underlying problem with the water pump or the plumbing system. In such cases, it’s important to troubleshoot the issue or seek professional assistance.
During the testing phase, you may also want to check for any leaks around the water pump or its connections. Look for any signs of water drips or puddles and inspect the hose clamps and fittings for any signs of looseness.
If you do notice any leaks or water-related issues, it’s crucial to address them promptly to prevent any further damage or water wastage. Tighten any loose connections or replace damaged parts as necessary.
Once you are satisfied with the performance of the water pump and have ensured that there are no leaks or issues, congratulations! You have successfully installed and tested your new RV water pump.
Remember to keep the RV water pump in good condition by performing regular maintenance and inspections. This will help prolong its lifespan and ensure a reliable water supply during all your future adventures.
With the water pump installed, tested, and functioning correctly, you can now enjoy a steady and reliable water supply for all your RV camping needs.
Conclusion
Installing an RV water pump is a crucial task for ensuring a smooth and reliable water supply during your camping adventures. By following the step-by-step process outlined in this guide, you can easily install a new water pump or replace a faulty one in your RV.
Throughout the installation process, we discussed the importance of gathering all the necessary tools and materials, locating the water pump in your RV, turning off the water supply, disconnecting the old water pump, installing the new water pump, reconnecting the water supply, and testing the water pump to ensure its functionality.
Remember to be cautious, wear appropriate safety gear, and take your time during each step of the installation process. Double-check all connections and be mindful of any potential leaks or issues that may arise.
With a properly installed water pump, you’ll have access to clean and running water for various tasks such as washing dishes, showering, and toilet flushing during your RV adventures.
Regular maintenance and inspections are essential to keeping your water pump in good working condition. Check for any signs of leaks or damage, and address them promptly to prevent any further issues.
Now that you have completed the installation and testing of your RV water pump, you can embark on your next camping trip with peace of mind, knowing that you have a reliable source of water at your disposal.
Happy camping!
Frequently Asked Questions about How To Install Rv Water Pump
Was this page helpful?
At Storables.com, we guarantee accurate and reliable information. Our content, validated by Expert Board Contributors, is crafted following stringent Editorial Policies. We're committed to providing you with well-researched, expert-backed insights for all your informational needs.

0 thoughts on “How To Install Rv Water Pump”