Articles
How To Install A Shallow Well Water Pump
Modified: December 7, 2023
Learn how to install a shallow well water pump with our helpful articles. Find step-by-step instructions and expert tips for a successful installation.
(Many of the links in this article redirect to a specific reviewed product. Your purchase of these products through affiliate links helps to generate commission for Storables.com, at no extra cost. Learn more)
Introduction
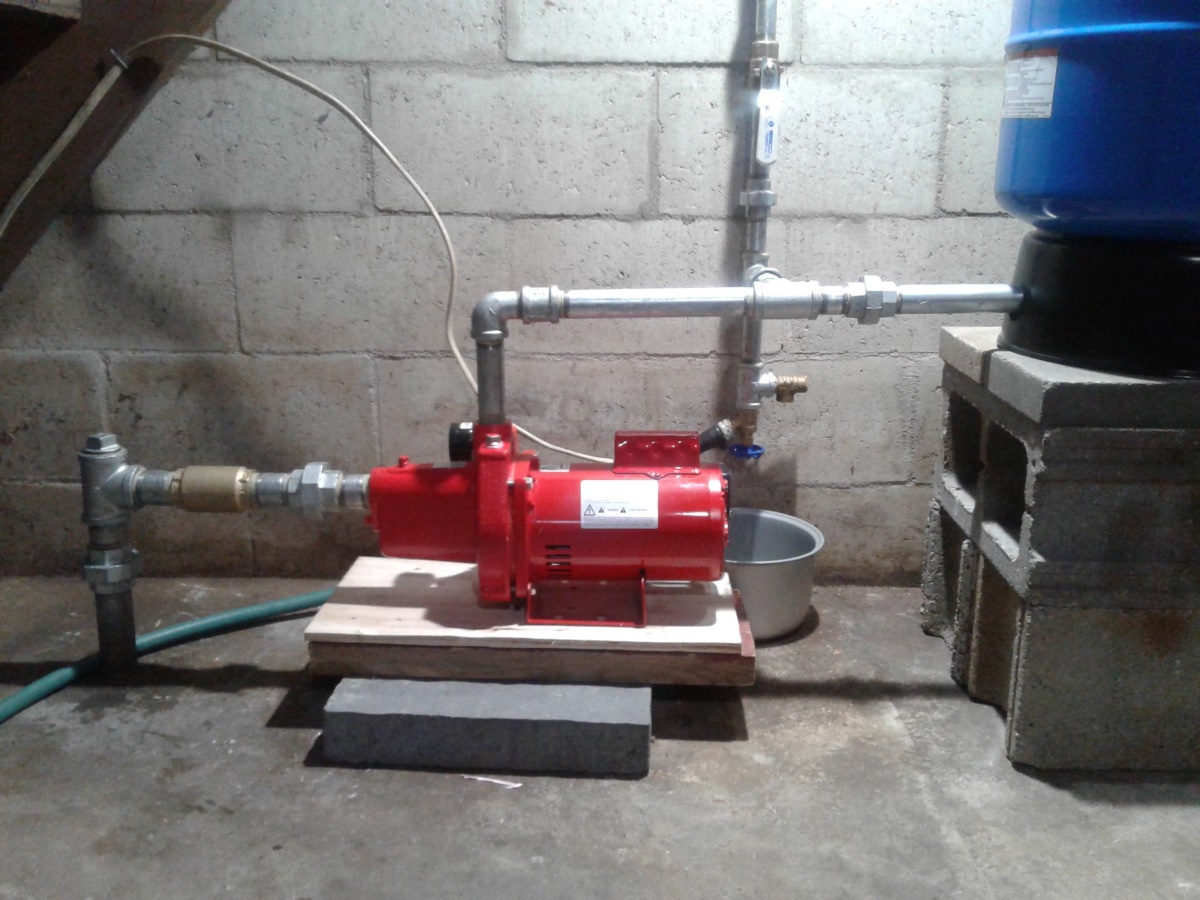
Installing a shallow well water pump is a cost-effective solution for accessing clean and reliable water on your property. Whether you need it for irrigation purposes, supplying water to your garden, or for basic household use, a well pump can be a great investment.
Before diving into the installation process, it’s essential to understand what exactly a shallow well water pump is. Unlike deep well pumps that draw water from significant depths, shallow well pumps are designed for wells with a depth of 25 feet or less. These pumps are typically less expensive, easier to install, and require minimal maintenance.
In this step-by-step guide, we will walk you through the process of installing a shallow well water pump. From gathering the necessary tools and materials to checking for proper functioning, we will cover all the essential steps to help you complete the installation successfully.
Remember, if you are not confident in your abilities or lack the necessary experience, it’s always best to consult a professional to ensure the job is done correctly and safely.
Key Takeaways:
- Installing a shallow well water pump is a cost-effective way to access clean water. Prioritize safety, gather the right tools, and follow step-by-step instructions for a successful installation.
- Proper preparation, connection of pipes and fittings, and electrical wiring are crucial for a well pump system. Regular maintenance and troubleshooting ensure reliable water access for various needs.
Read more: How To Prime A Water Pump On A Well
Step 1: Gather the Required Tools and Materials
Before you begin the installation process, it’s important to gather all the necessary tools and materials. Having everything on hand will help streamline the process and prevent unnecessary delays. Here is a list of the essential tools and materials you will need:
- Shallow well water pump
- Pressure tank
- PVC pipes
- Pipe fittings
- Teflon tape
- Wire connectors
- PVC primer and cement
- Electrical wire
- Wire strippers
- Trencher or shovel
- Tank tee
- Check valve
- Pressure switch
- Plumbers wrench
- Adjustable wrench
- Screwdrivers
- Measuring tape
- Level
- Drill
- Hacksaw or PVC cutter
- Bucket
It’s important to ensure that all the tools and materials are of good quality and suitable for the installation. This will help ensure a long-lasting and efficient well pump system.
Once you have gathered all the required tools and materials, you are ready to move on to the next step: choosing the right location for well pump installation.
Step 2: Choose the Right Location for Well Pump Installation
Choosing the right location for installing your shallow well pump is crucial for its efficiency and longevity. Here are a few factors to consider when selecting the location:
- Well Depth: Determine the depth of your well to ensure that the chosen location is suitable for a shallow well pump. Shallow well pumps are designed for wells with a depth of 25 feet or less.
- Accessibility: Select a location that is easily accessible for maintenance and repairs. It should have enough space to work around the pump system comfortably.
- Water Source: Ensure that the chosen location is close to the water source, such as a well or underground water supply, for better efficiency and reduced pressure loss.
- Distance from Structures: Keep a safe distance from any structures, such as buildings, to prevent potential damage or disturbance during the installation process.
- Electrical Connection: Consider the proximity to an electrical source for connecting the pump’s electrical wiring. It’s important to follow local electrical codes and safety guidelines throughout the process.
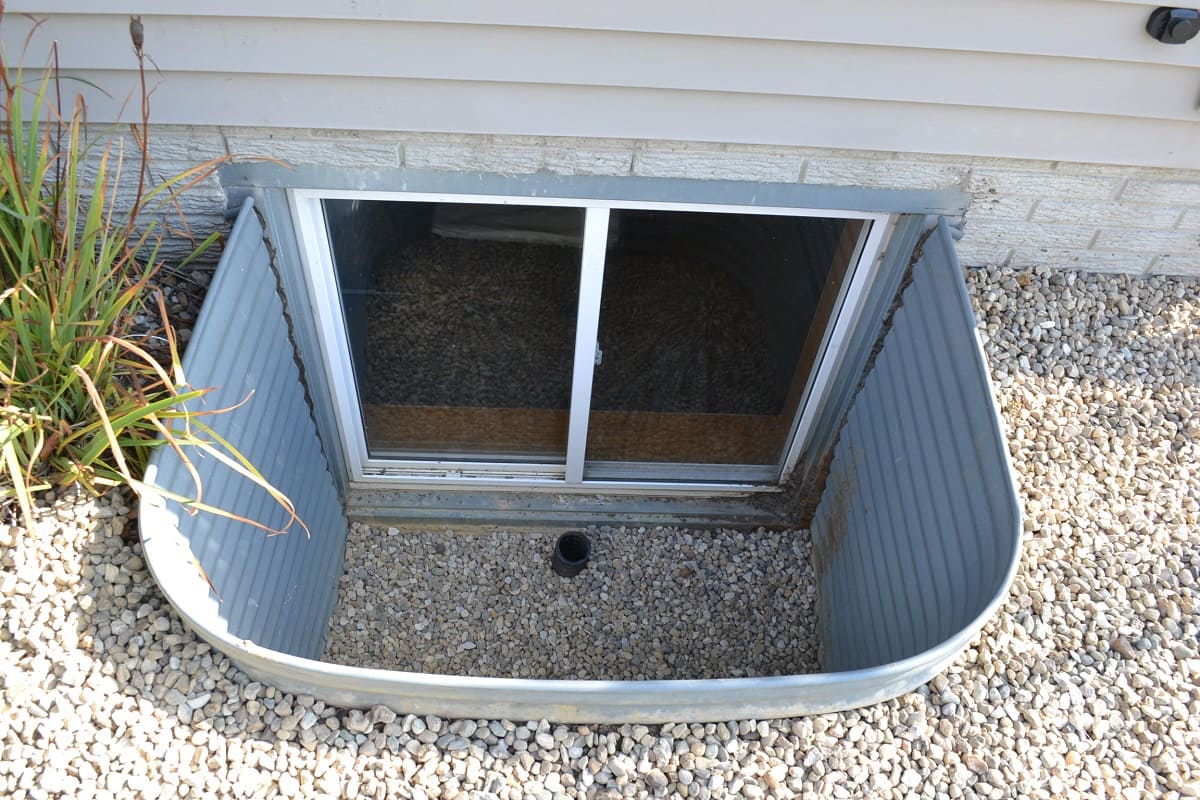
- Drainage: Choose a location with proper drainage to prevent water accumulation around the pump. This will protect the pump from potential damage due to flooding or moisture.
Once you have evaluated these factors, mark the chosen location for the well pump installation. This will help you visualize the setup and plan the pipe connections accordingly.
With the location selected, you are ready to move on to the next step: preparing the well and the pump for installation.
Step 3: Prepare the Well and the Pump
Before installing the shallow well water pump, it’s essential to prepare both the well and the pump for a successful installation. Here are the steps to follow:
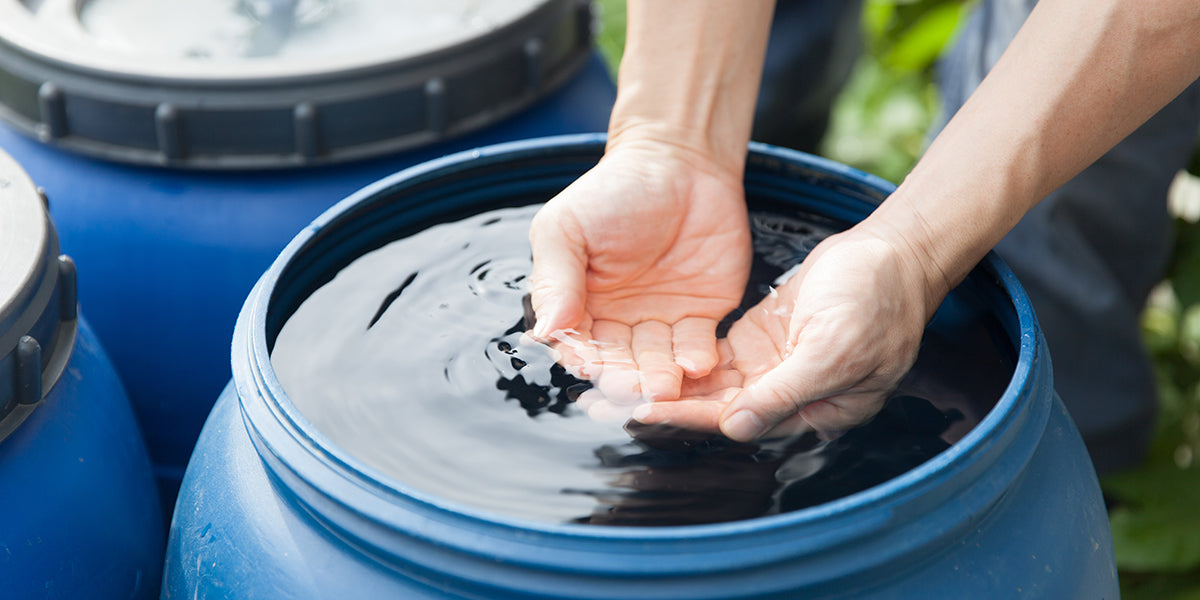
- Clean the Well: Remove any debris or obstructions from the well to ensure smooth water flow. This can be done by using a well bucket or a submersible pump to flush out the well.
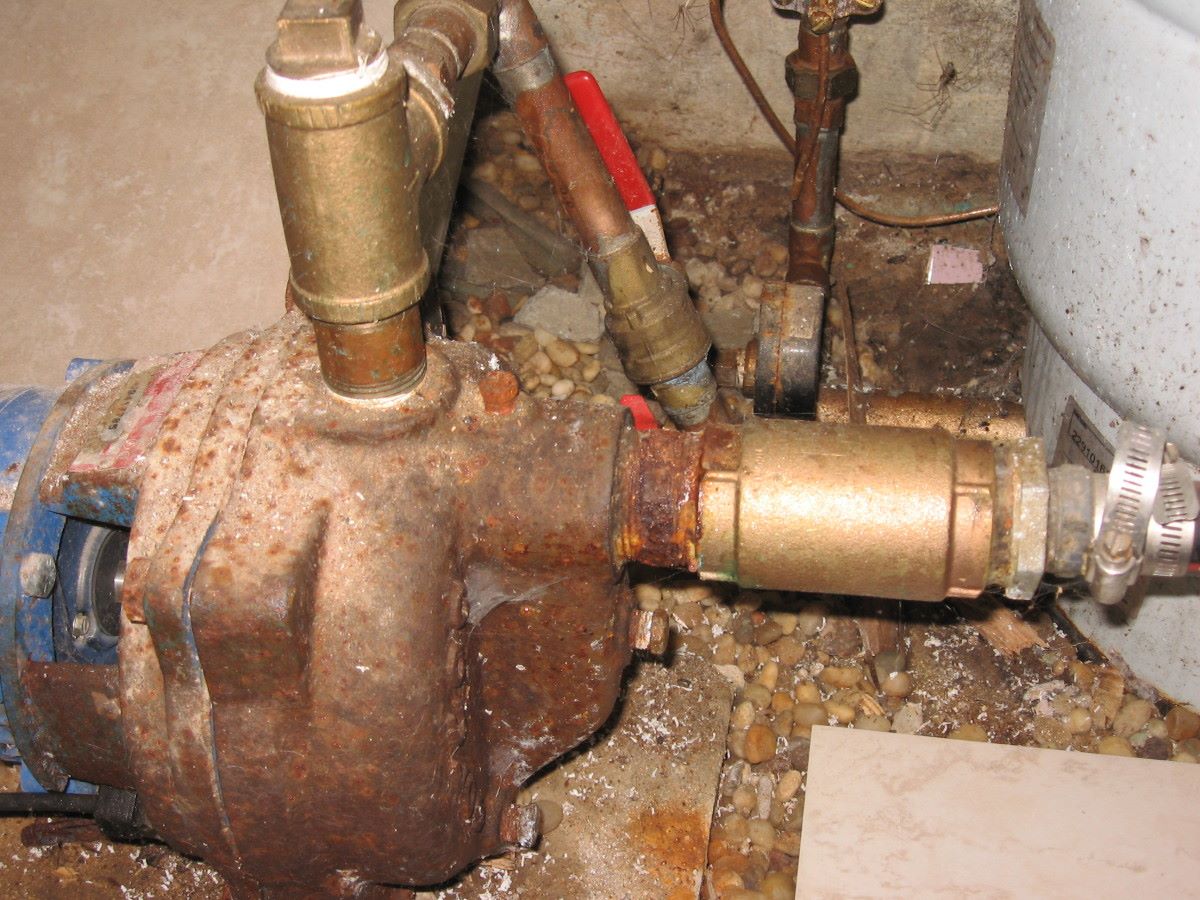
- Inspect the Well Casing: Check the condition of the well casing for any signs of damage or corrosion. If necessary, repair or replace the casing to maintain the integrity of the well.
- Check the Pump: Inspect the shallow well water pump for any visible damage or defects. Ensure that all the components, such as impellers and seals, are in good condition.
- Prime the Pump: If your shallow well water pump requires priming, follow the manufacturer’s instructions to prime the pump before installation. This will ensure proper water circulation and prevent air locks.
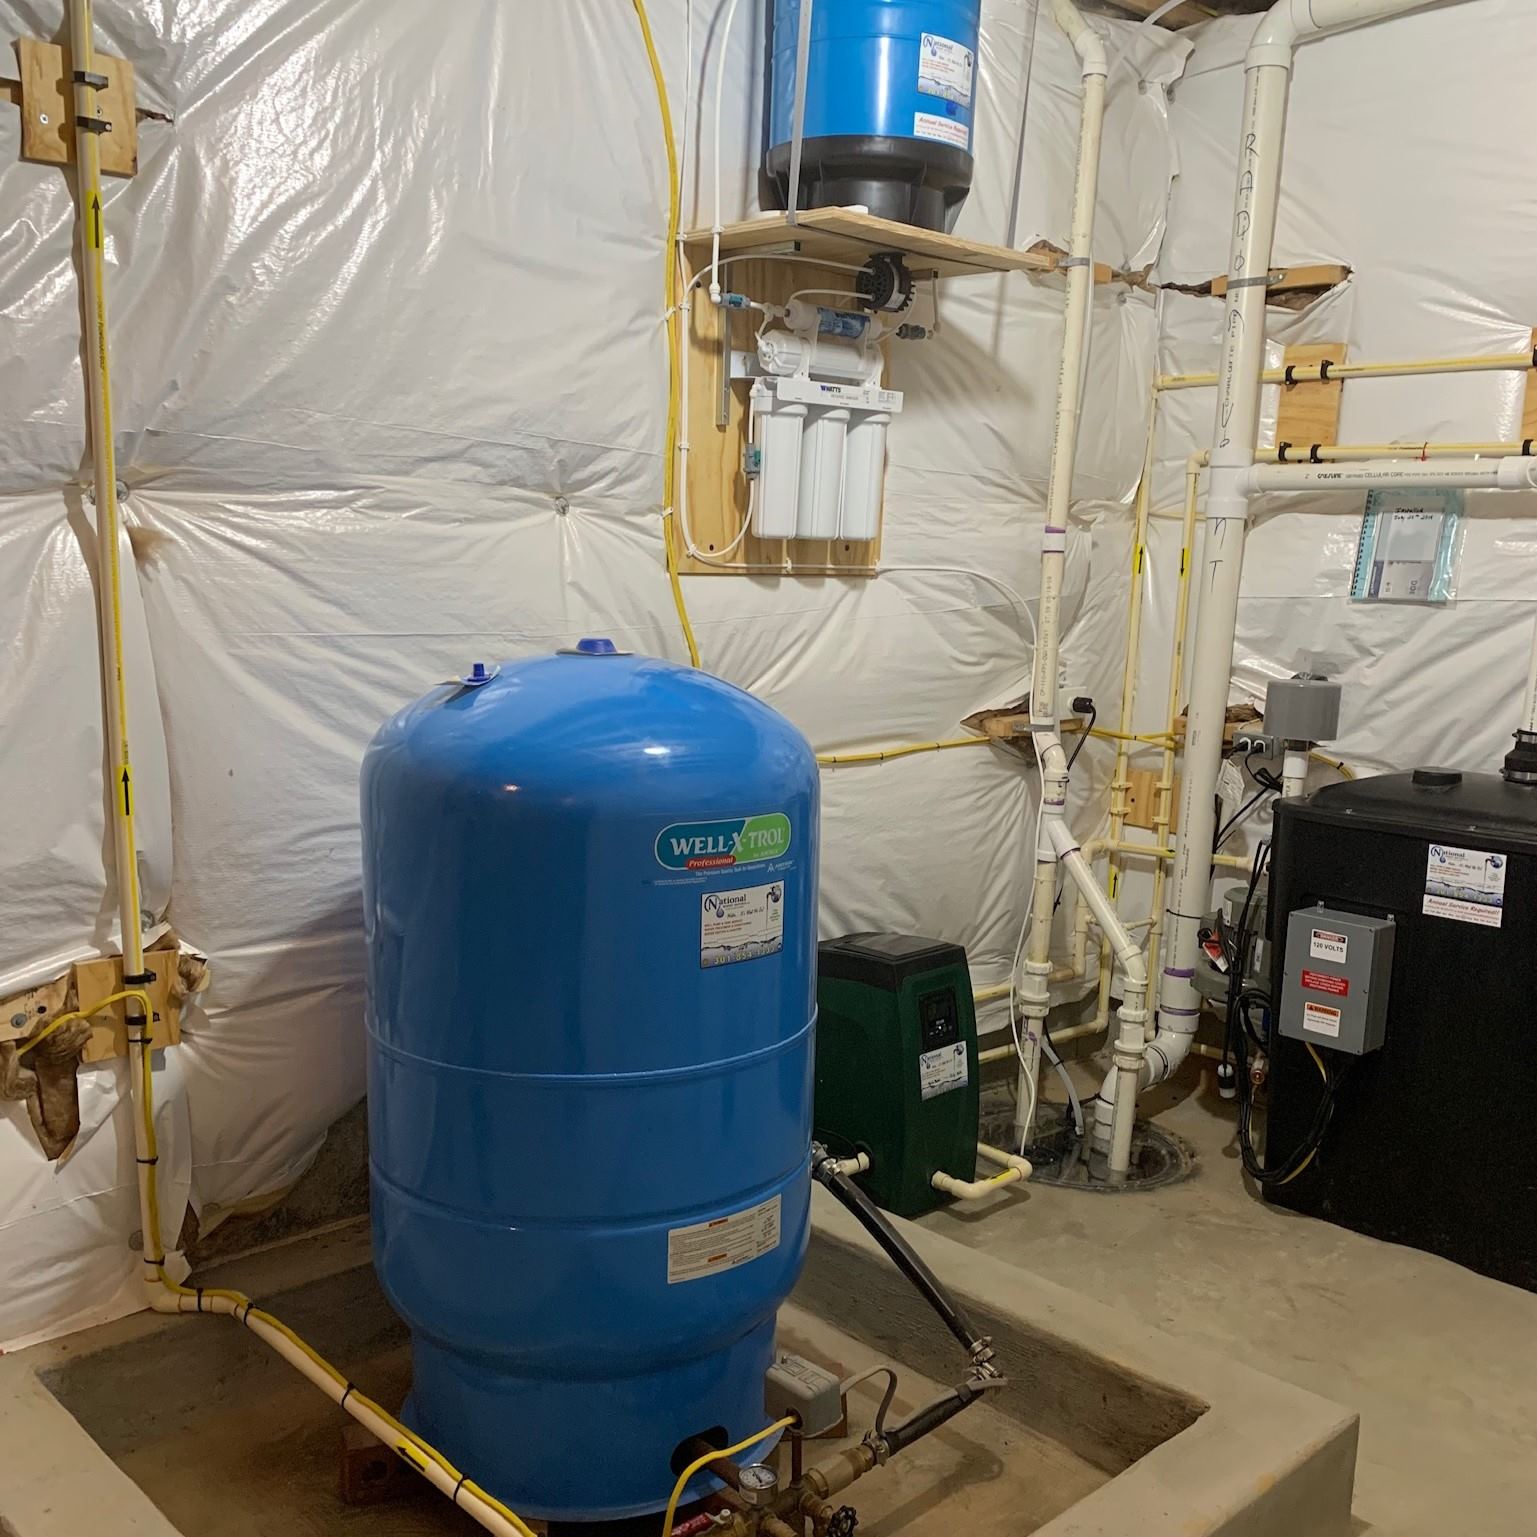
- Prepare the Pressure Tank: Install the pressure tank near the well pump location. Ensure that the tank is properly supported and securely mounted to prevent any movement or damage.
By thoroughly preparing both the well and the pump, you are setting the stage for a smooth installation process and efficient operation. Once these preparations are complete, you can proceed to the next step: connecting the pipes and fittings.
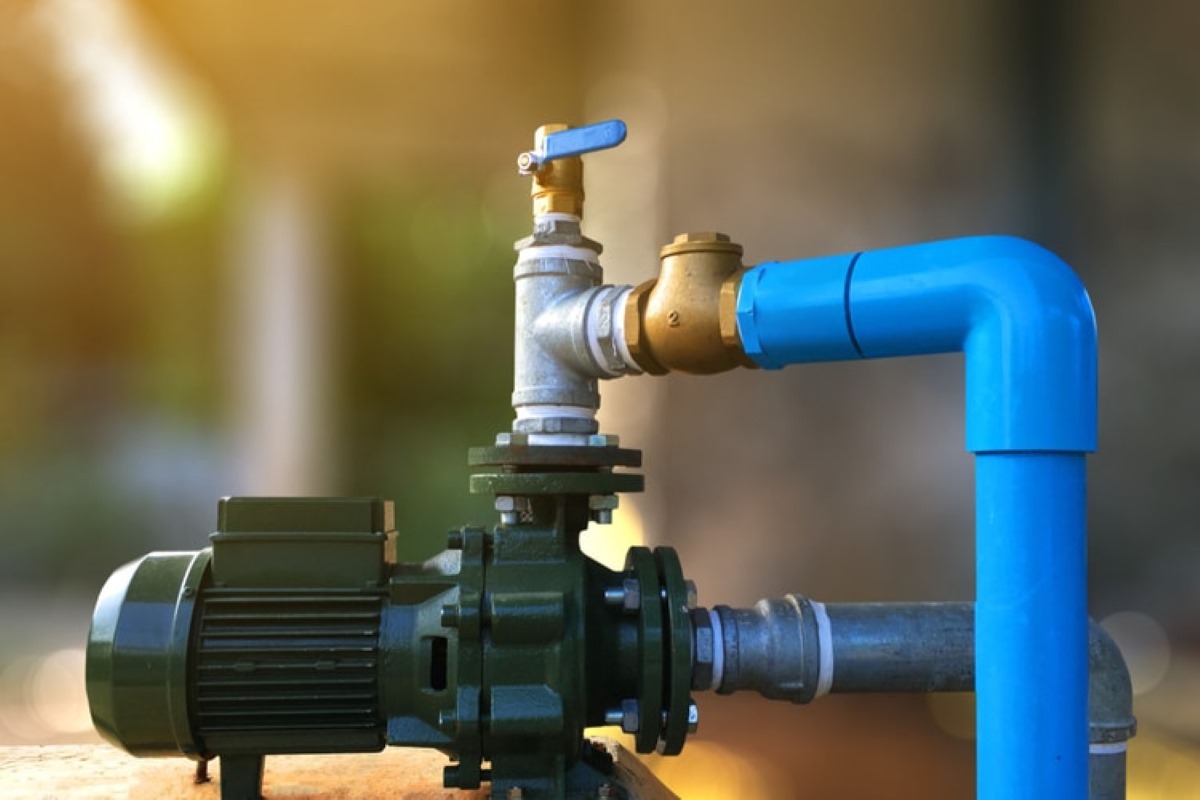
Step 4: Connect the Pipes and Fittings
Connecting the pipes and fittings is a critical step in installing a shallow well water pump. This process ensures proper water flow and pressure throughout the system. Follow these steps to connect the pipes and fittings:
- Measure and Cut the Pipes: Measure and cut the PVC pipes to the required lengths using a hacksaw or PVC cutter. Make sure to account for any necessary angles or bends in the pipes.
- Prepare the Pipes and Fittings: Remove any burrs or rough edges from the cut pipes using a deburring tool or sandpaper. Clean the pipes and fittings to ensure a secure and leak-free connection.
- Apply Teflon Tape: Wrap Teflon tape around the threaded ends of the pipes and fittings. This helps create a tight seal and prevents leaks when joining the components together.
- Assemble the Pipes and Fittings: Begin connecting the pipes and fittings, starting from the well pump and moving towards the pressure tank. Use PVC primer and cement to secure the connections, following the manufacturer’s instructions.
- Add a Check Valve: Install a check valve between the well pump and the pressure tank. This valve prevents backflow and maintains consistent water pressure within the system.
- Install a Pressure Switch: Connect the pressure switch to the pipe leading to the pressure tank. The pressure switch controls the on and off cycles of the well pump based on the water pressure.
- Secure the Connections: Ensure that all the connections are tight and secure. Use a plumber’s wrench or adjustable wrench to tighten any loose fittings.
Throughout the process, it’s crucial to properly align the pipes and fittings to avoid any unnecessary bends or stress on the connections. This will help maintain the integrity of the system and prevent leaks.
With the pipes and fittings properly connected, you are now ready to move on to the next step: installing the pressure tank.
When installing a shallow well water pump, make sure to properly prime the pump before turning it on. This will help prevent damage and ensure proper water flow.
Read more: How To Winterize Well Water Pump
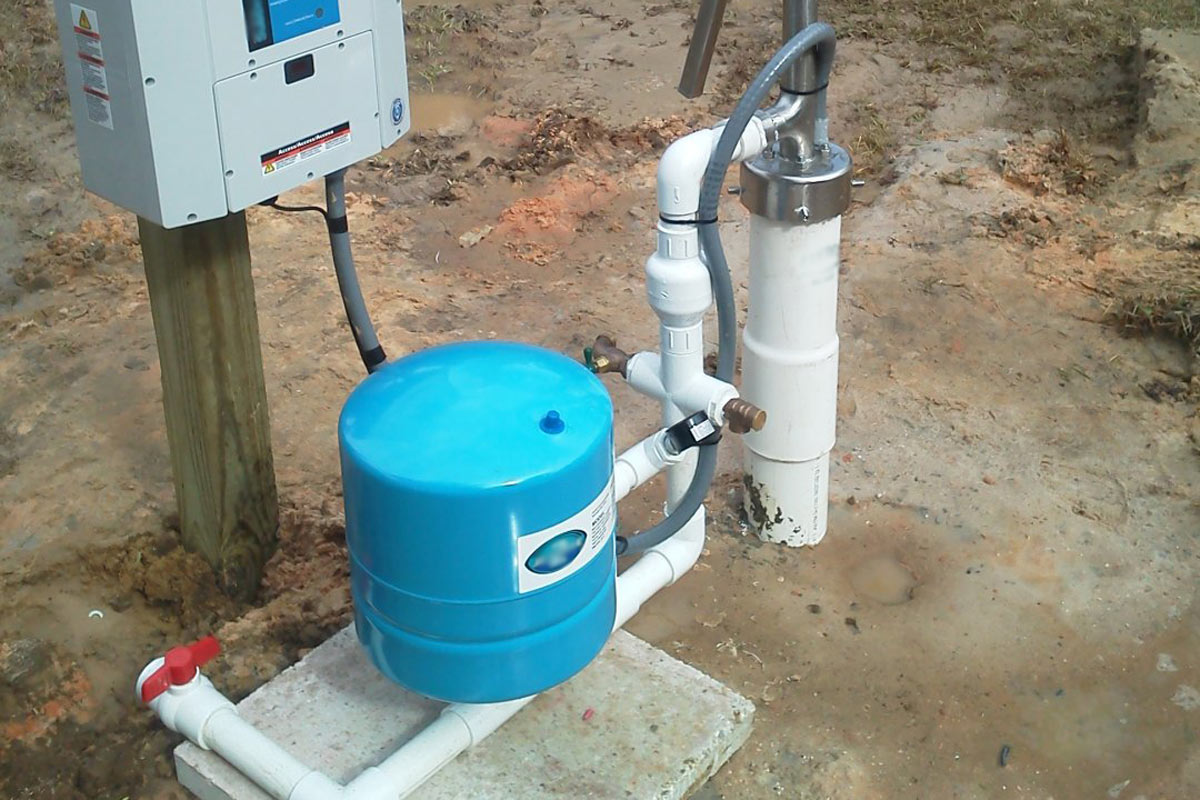
Step 5: Install the Pressure Tank
The pressure tank plays a crucial role in maintaining consistent water pressure and reducing the frequency of well pump cycling. Follow these steps to ensure a proper installation of the pressure tank:
- Choose the Right Location: Select a location near the well pump where you can securely mount the pressure tank. Make sure there is enough space to access the tank for future maintenance and inspection.
- Prepare the Mounting Surface: Clean and level the surface where the pressure tank will be mounted. Use a level to ensure proper alignment.
- Mount the Pressure Tank: Securely mount the pressure tank to the prepared surface using straps or brackets. Follow the manufacturer’s instructions for proper installation.
- Connect the Pipes: Connect the pipe from the well pump to the pressure tank using pipe fittings. Make sure to use Teflon tape and PVC primer and cement to create a watertight seal.
- Install a Pressure Gauge: Attach a pressure gauge to the pressure tank to monitor and adjust the water pressure. This gauge will indicate the pressure level within the system.
- Adjust the Pressure Settings: Set the pressure switch to the desired cut-in and cut-out pressure levels. Follow the manufacturer’s instructions for adjusting the pressure settings.
- Test the System: Turn on the well pump and allow the pressure tank to fill with water. Monitor the pressure gauge and ensure that the system operates smoothly without any leaks or abnormalities.
Proper installation of the pressure tank will help regulate water pressure, reduce pump cycling, and increase the efficiency of the well pump system.
With the pressure tank properly installed, you are now ready to move on to the next step: connecting the electrical wiring.
Step 6: Connect the Electrical Wiring
Connecting the electrical wiring is a crucial step in installing a shallow well water pump. Follow these steps to ensure a safe and proper electrical connection:
- Turn Off Power: Before starting any electrical work, ensure that the power to the well pump is turned off. This can be done by switching off the circuit breaker dedicated to the well pump.
- Prepare the Wiring: Measure and cut the electrical wire to the appropriate length, leaving some extra length for flexibility. Strip about ½ inch of insulation from the ends of the wires.
- Connect the Wires: Connect the wires from the power source to the corresponding wires on the well pump. Use wire connectors or wire nuts to secure the connections.
- Secure the Connections: Once the wires are connected, wrap electrical tape around the wire connectors to provide additional insulation and secure the connections.
- Grounding: Ensure that the well pump is properly grounded. Connect the ground wire from the power source to the grounding screw on the well pump or as per local electrical codes.
- Test the Electrical Connection: Turn on the power to the well pump and check for any electrical issues. Listen for the sound of the pump running and observe the pressure gauge for the desired pressure level.
- Call for Professional Help: If you are not confident in your electrical skills or are uncertain about the wiring process, it’s best to seek the help of a professional electrician to ensure a safe and proper connection.
By following proper electrical wiring procedures, you can ensure the safe operation of the well pump system and prevent any electrical hazards.
With the electrical wiring successfully connected, you are now ready to move on to the final step: checking for proper functioning and troubleshooting if necessary.
Step 7: Check for Proper Functioning and Troubleshoot if Necessary
After completing the installation of the shallow well water pump, it’s crucial to check for proper functioning and troubleshoot any issues that may arise. Follow these steps to ensure everything is working as expected:
- Monitor Water Pressure: Turn on the well pump and observe the pressure gauge. The pressure should reach the desired cut-in pressure level, causing the pump to turn on. Once the water pressure reaches the cut-out pressure level, the pump should turn off.
- Check for Leaks: Inspect all connections and fittings for any signs of leaks. A leak can cause a loss of pressure and reduced efficiency of the well pump system. If you notice any leaks, tighten the connections or repair the faulty components.
- Test Faucets and Fixtures: Open various faucets and fixtures connected to the waterline to ensure that water flows smoothly and consistently. Check for any irregularities or fluctuations in pressure.
- Inspect Pressure Tank: Monitor the pressure tank for any signs of excessive cycling or waterlogged issues. The tank should maintain a stable pressure and provide consistent water flow.
- Troubleshooting: If you encounter any issues such as low water pressure, pump cycling too frequently, or abnormal noises, consult the troubleshooting section of the well pump’s manual. It will provide guidance on how to identify and resolve common problems.
- Consider Professional Assistance: If you are unable to troubleshoot the issues or if there are persistent problems with the well pump system, it is highly recommended to seek the assistance of a professional well pump technician or plumber.
Regular maintenance and inspection of the well pump system are also important to ensure its long-term functionality. This includes checking the pressure tank’s air pressure, inspecting the well pump for any debris or obstructions, and scheduling periodic maintenance as recommended by the manufacturer.
By following these steps and closely monitoring the system, you can ensure that your shallow well water pump is functioning properly and providing you with a reliable water supply for your needs.
With the installation and proper functioning of the shallow well water pump complete, you can enjoy the benefits of having an accessible and efficient water source right on your property.
Remember, if at any point during the installation or troubleshooting process you are unsure or require assistance, it is always best to consult a professional who specializes in well pump systems.
Conclusion
Installing a shallow well water pump can be a rewarding and cost-effective way to access clean and reliable water on your property. By following the step-by-step guide outlined in this article, you can successfully install a shallow well pump and enjoy the benefits it brings.
From gathering the necessary tools and materials to troubleshooting any issues that may arise, each step is crucial in ensuring the proper functioning of the well pump system. Taking the time to prepare the well, connect the pipes and fittings, and install the pressure tank will contribute to the efficiency and longevity of the system.
Throughout the installation process, it’s important to prioritize safety and follow all electrical and plumbing guidelines. If you are unsure about any particular step or lack the necessary experience, it’s always best to consult a professional to ensure the job is done correctly and safely.
Regular maintenance and inspection of the well pump system are essential for its continued operation. By monitoring water pressure, checking for leaks, and addressing any issues promptly, you can maximize the efficiency and lifespan of your shallow well water pump.
Remember, a properly installed and maintained well pump system can provide you with a reliable water source for various needs, whether it’s irrigation, gardening, or basic household use. Enjoy the convenience and peace of mind that comes with having access to clean water right on your property.
By following the guidelines in this article and seeking professional help when needed, you can successfully install a shallow well water pump and enjoy the benefits of a reliable water supply for years to come.
Frequently Asked Questions about How To Install A Shallow Well Water Pump
Was this page helpful?
At Storables.com, we guarantee accurate and reliable information. Our content, validated by Expert Board Contributors, is crafted following stringent Editorial Policies. We're committed to providing you with well-researched, expert-backed insights for all your informational needs.


0 thoughts on “How To Install A Shallow Well Water Pump”