Home>Garden Essentials>How To Make A Faux Greenery Wall

Garden Essentials
How To Make A Faux Greenery Wall
Modified: March 7, 2024
Learn how to create a stunning faux greenery wall with our step-by-step guide. Transform any space into a garden oasis.
(Many of the links in this article redirect to a specific reviewed product. Your purchase of these products through affiliate links helps to generate commission for Storables.com, at no extra cost. Learn more)
Introduction
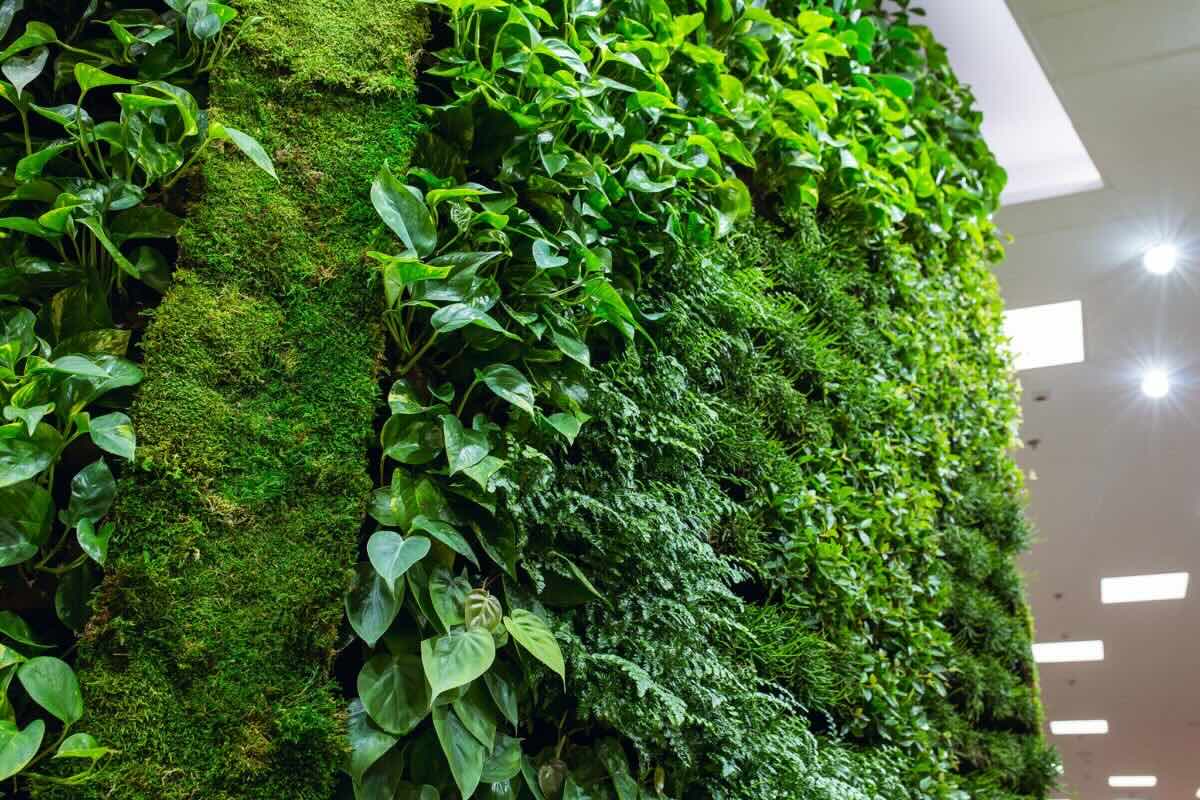
Welcome to the world of faux greenery walls, where you can effortlessly bring the beauty of nature indoors without the hassle of watering or maintaining real plants. Whether you want to add a touch of greenery to your home, office, or event space, creating a faux greenery wall is a fantastic way to achieve a vibrant and natural ambiance.
These stunning walls not only enhance the aesthetic appeal of any space but also offer numerous benefits. They can instantly transform a dull and lifeless area into a refreshing haven, providing a sense of tranquility and a connection to the outdoors. Furthermore, they require minimal upkeep and are a cost-effective alternative to traditional living walls.
Creating your own faux greenery wall may seem overwhelming, but fear not! In this guide, we will take you through the step-by-step process of bringing this stunning decor element to life. So gather your materials and get ready to let your creativity flourish as we dive into the world of faux greenery walls.
Key Takeaways:
- Bring nature indoors hassle-free
Create a vibrant faux greenery wall to add freshness and tranquility to any space. Choose realistic greenery, secure it in place, and enjoy the beauty without the maintenance. - Personalize with extra decorations
Enhance your faux greenery wall with artificial flowers, string lights, or frames for a unique and visually appealing touch. Maintain it by dusting regularly and avoiding direct sunlight.
Read more: How To Make A Greenery Wall Backdrop
Materials Needed
Before diving into the creation process, it’s important to gather all the necessary materials. Here’s a list of what you’ll need:
- Faux greenery panels
- Measuring tape
- Mounting brackets or hooks
- Hammer or drill
- Wall anchors (if necessary)
- Wire or zip ties
- Scissors or wire cutters
- Optional: additional decorations like flowers, lights, or frames
When selecting faux greenery panels, consider the overall aesthetic you want to achieve. There are various options available, ranging from realistic-looking fake plant arrangements to more abstract designs. Look for panels that are easy to install and have a sturdy backing for durability.
Measure the area where you plan to install the faux greenery wall to determine how many panels you’ll need. Keep in mind that you’ll want to cover the entire space without leaving any gaps.
Be sure to have the necessary mounting brackets or hooks to secure the panels to the wall. Depending on the weight of the panels and the surface you’re mounting them on, you may need to use wall anchors to ensure a secure attachment.
Wire or zip ties will be used to secure the greenery panels to the backing or the mounting brackets/hooks. Opt for strong and durable ties that can withstand the weight of the panels and any additional decorations.
Lastly, consider adding extra decorations to personalize your faux greenery wall. For example, you could incorporate artificial flowers, string lights, or even frames with inspirational quotes or artwork.
Once you have all the materials ready, you’re one step closer to creating your very own faux greenery wall. Let’s move on to the next step: preparing the wall.
Step 1: Choose Your Greenery
Choosing the right greenery for your faux greenery wall is essential to achieving the desired look and feel. There are a wide variety of faux greenery options available, so you can easily find something that suits your taste and complements your space.
When selecting your greenery, consider the following factors:
- Realism: Look for faux greenery that closely resembles real plants. High-quality options will have intricate details and vibrant colors that mimic the natural beauty of live plants.
- Durability: Since the greenery will be attached to a wall, it’s important to choose materials that can withstand the test of time. Opt for foliage that is made with durable materials such as UV-resistant plastic or fabric.
- Texture: Varying textures can add depth and visual interest to your greenery wall. Consider mixing different types of foliage, such as leaves of different sizes or plants with different textures.
- Size and Shape: Depending on the size of your wall and the aesthetic you want to achieve, choose greenery panels or arrangements that are the right size and shape. Some panels come in standard sizes, while others can be trimmed to fit your specific needs.
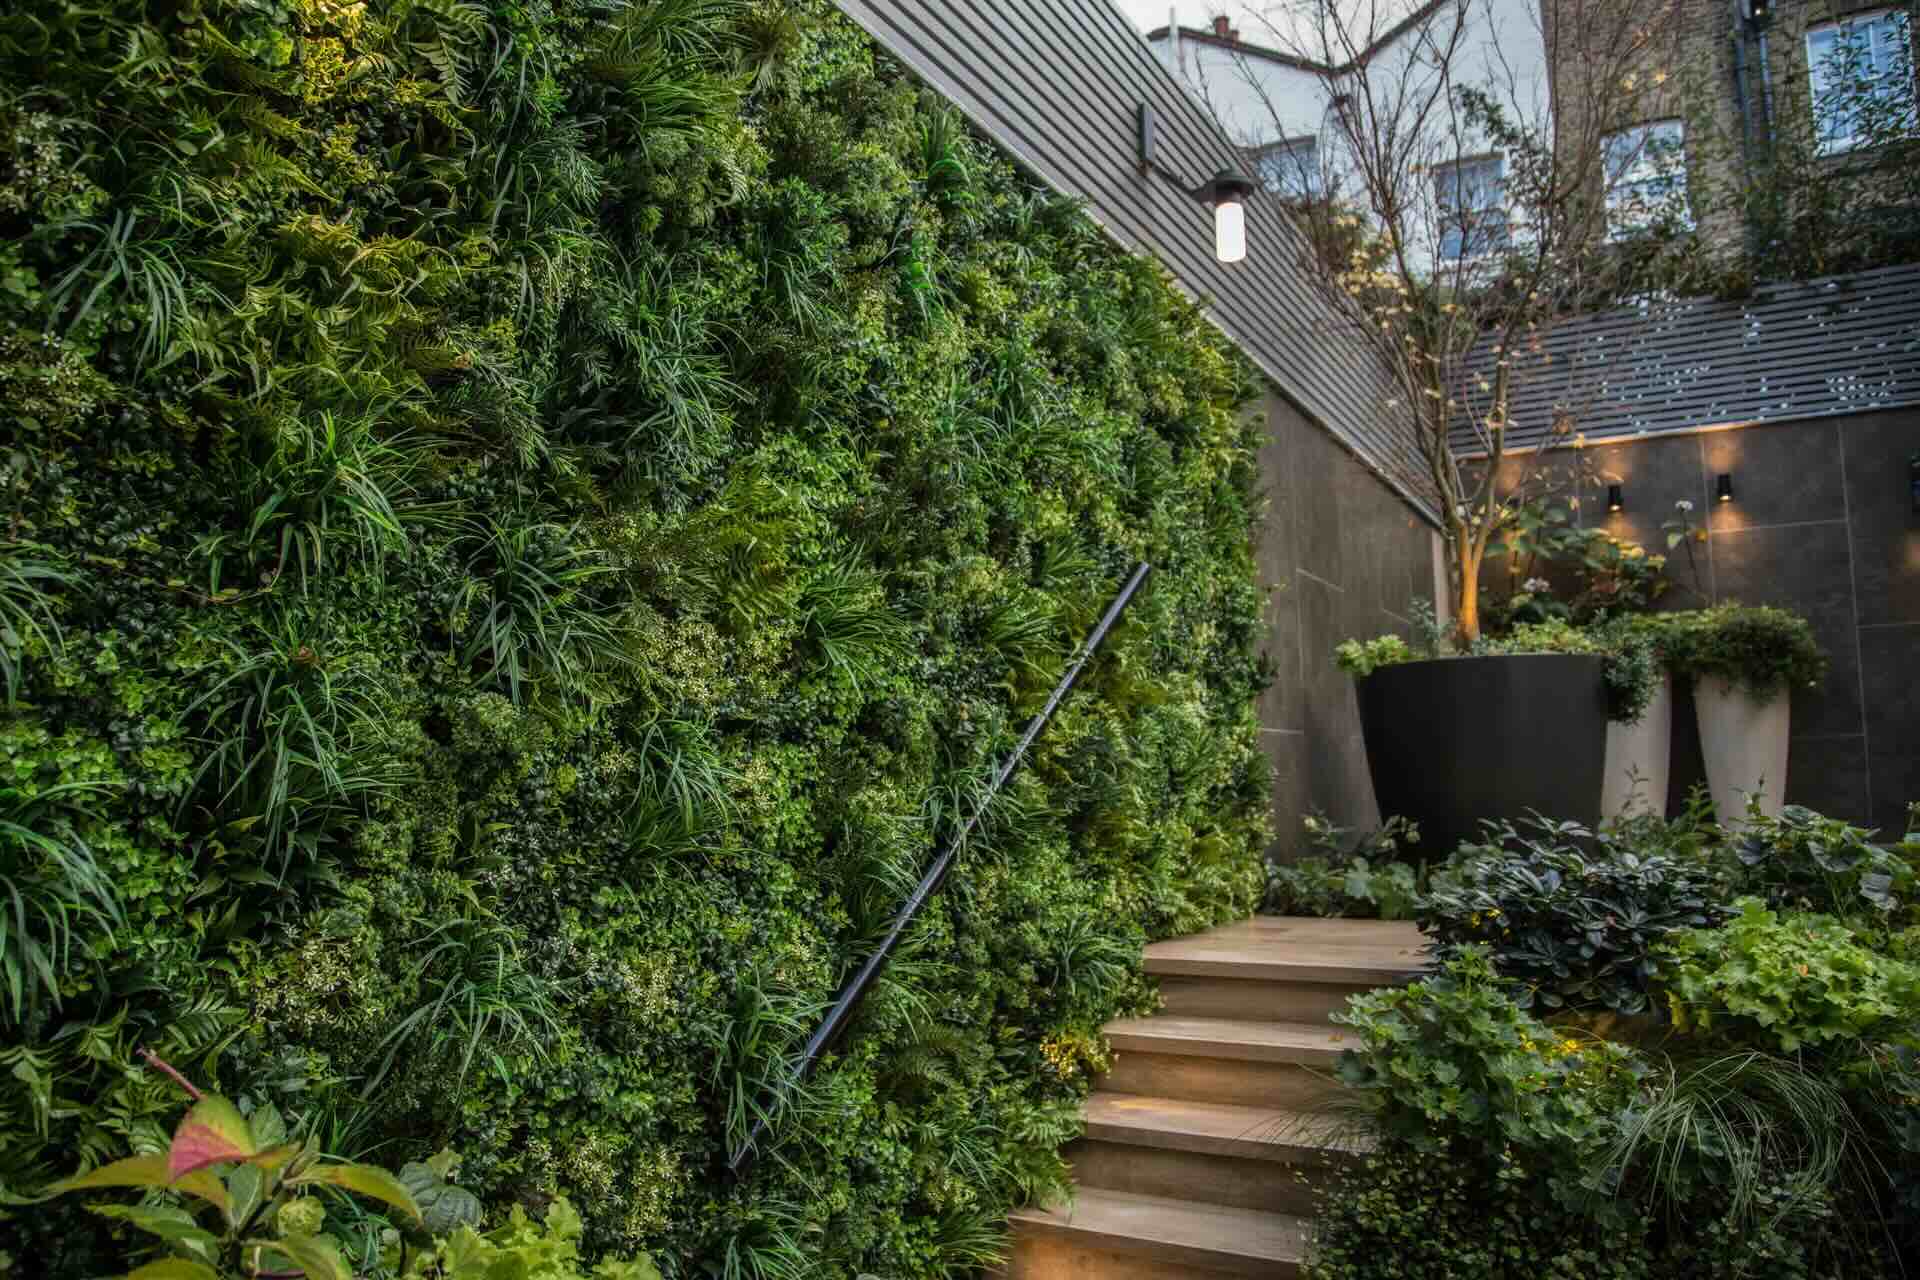
Additionally, think about the overall theme or style you want to create. Do you prefer a lush and tropical feel, or a more minimalist and modern look? Consider the colors and patterns in your space and choose greenery that complements or contrasts with them.
It’s also helpful to gather inspiration and ideas from magazines, websites, or even outdoor gardens. This can help you visualize the type of greenery that will work best for your project and provide a starting point for selecting the right faux plants.
Once you’ve considered these factors and have a clear idea of the greenery you want, you’re ready to move on to the next step: preparing the wall.
Step 2: Prepare the Wall
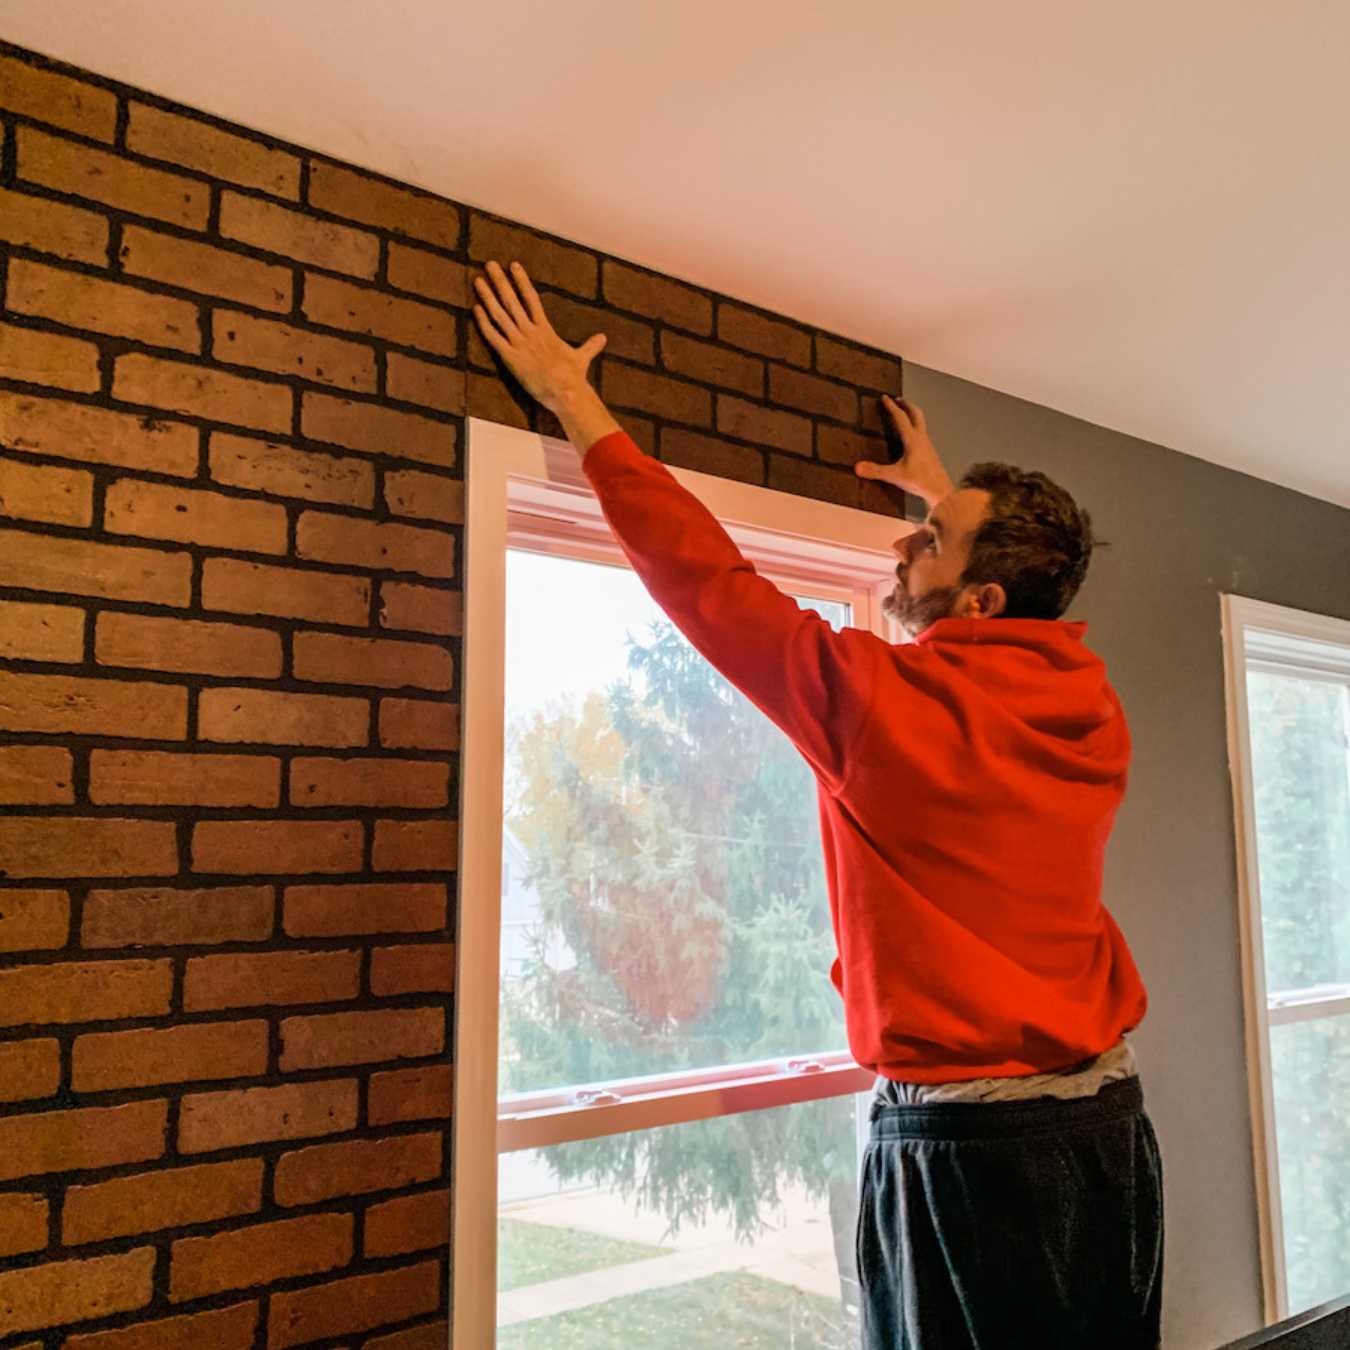
Preparing the wall is an important step in ensuring a smooth installation and a secure attachment for your faux greenery wall. Follow these steps to get your wall ready:
- Clean the wall: Start by thoroughly cleaning the wall where you plan to install the faux greenery. Remove any dirt, dust, or debris using a damp cloth or a mild cleaning solution. This will ensure better adhesion and a clean surface for the mounting brackets or hooks.
- Measure and mark: Use a measuring tape to determine the exact height and width of the area you want to cover with the greenery panels. Mark the dimensions on the wall using a pencil or painter’s tape. This will serve as a guide when attaching the panels later on.
- Locate studs: If you’re using mounting brackets, it’s important to locate the studs in the wall. Use a stud finder or knock on the wall to identify the stud locations. Mark these spots with a pencil so you know where to attach the brackets for extra stability.
- Install wall anchors (if necessary): Depending on the weight of the greenery panels and the type of wall you have, you may need to install wall anchors. Follow the instructions provided with the wall anchors to securely attach them to the wall at the marked spots. These anchors will provide additional support for the mounting brackets or hooks.
By taking the time to properly prepare the wall, you’ll ensure a more seamless installation process and a sturdy foundation for your faux greenery wall. Once the wall is prepped, it’s time to move on to the next step: attaching the backing.
Step 3: Attach the Backing
Attaching the backing is a crucial step in creating a stable and secure base for your faux greenery panels. Here’s how to do it:
- Measure and cut the backing: Use a measuring tape to determine the dimensions of the area you want to cover with the greenery panels. Transfer these measurements onto the backing material, whether it’s a plywood board, wall grid, or any other suitable material. Use a saw or utility knife to cut the backing to the desired size.
- Position the backing on the wall: Hold the backing against the marked area on the wall, ensuring that it aligns properly. Use a level to check if it’s straight. Adjust as needed to ensure an even and balanced placement.
- Attach the backing: Depending on the type of backing material and the wall surface, you can use mounting brackets, hooks, screws, or adhesive to secure the backing in place. If using brackets or hooks, follow the manufacturer’s instructions for installation. If using screws, make sure to use wall anchors if needed for added support.
- Check for stability: Once the backing is attached, give it a gentle tug to ensure it’s securely fixed to the wall. Make any necessary adjustments or reinforcements to ensure a stable base.
The backing serves as a solid foundation for your faux greenery panels, providing support and stability. It also helps to create a more seamless and polished appearance by hiding any gaps or spaces between the panels and the wall. With the backing securely attached, you’re ready to move on to the exciting step of arranging the greenery.
When creating a faux greenery wall, make sure to vary the types and sizes of greenery to create a more natural and visually appealing look. Mix different shades of green and textures to add depth and interest to the wall.
Step 4: Arrange the Greenery
Now that the backing is in place, it’s time to bring your faux greenery to life and start arranging it on the wall. Follow these steps to create a visually appealing and balanced composition:
- Lay out the greenery panels: Start by laying out the panels on a flat surface, such as a table or the floor, to get an idea of how they will fit together. Play around with different arrangements and configurations until you find a layout that you’re satisfied with.
- Consider the flow and spacing: As you arrange the greenery panels, think about the flow and spacing between them. Aim for a natural and organic look by staggering the panels and leaving some space between them. This will create a more visually pleasing and realistic effect.
- Play with different heights: To add visual interest and dimension to your faux greenery wall, experiment with different panel heights. Some panels can be positioned higher or lower than others to create a cascading or tiered effect. This will give your wall a dynamic and eye-catching appearance.
- Blend different types of greenery: If you have multiple types of faux greenery, mix and match them to create a cohesive and visually appealing arrangement. Combine different leaf shapes, sizes, and textures to add depth and variety to your greenery wall.
- Step back and assess: Once you’ve arranged the panels on the wall, take a step back and assess the overall composition. Make any necessary adjustments to achieve a balanced and pleasing arrangement. Take your time with this step, as the final result will greatly impact the overall aesthetic of your space.
Remember, there’s no right or wrong way to arrange the greenery. Get creative and have fun with it! This is your opportunity to showcase your personal style and create a unique and beautiful focal point in your space. When you’re satisfied with the arrangement, it’s time to secure the greenery panels in place.
Step 5: Secure the Greenery
After arranging the greenery panels to your liking, it’s crucial to secure them in place to ensure they stay in position and maintain their desired arrangement. Follow these steps to securely attach the faux greenery to the backing:
- Starting from one corner, lift the first greenery panel slightly away from the wall to access the backing.
- Using wire or zip ties, fasten the panel to the backing by looping the ties through the holes or gaps in the panels and around the backing. Make sure to tighten the ties securely but not too tightly, as you want the greenery to have a natural and relaxed appearance.
- Continue this process for each panel, working your way across the wall. Take care to maintain the desired arrangement and spacing between the panels.
- If the panels have multiple layers or sections, secure each layer individually to ensure a secure attachment.
- Once all the panels are securely fastened, step back and assess the arrangement. Make any necessary adjustments to ensure a balanced and cohesive look.
By properly securing the greenery panels, you can ensure they withstand normal movement, such as people brushing past the wall or minor vibrations. This will help maintain the overall appearance of your faux greenery wall.
If you’re using additional decorations such as flowers, lights, or frames, now is the time to incorporate them. Attach them securely to the greenery panels using wire, zip ties, or adhesive as appropriate.
With the greenery panels and any additional decorations securely in place, your faux greenery wall is starting to come to life! The next step is optional but can add a personal touch to your creation: adding extra decorations.
Step 6: Add Extra Decorations (Optional)
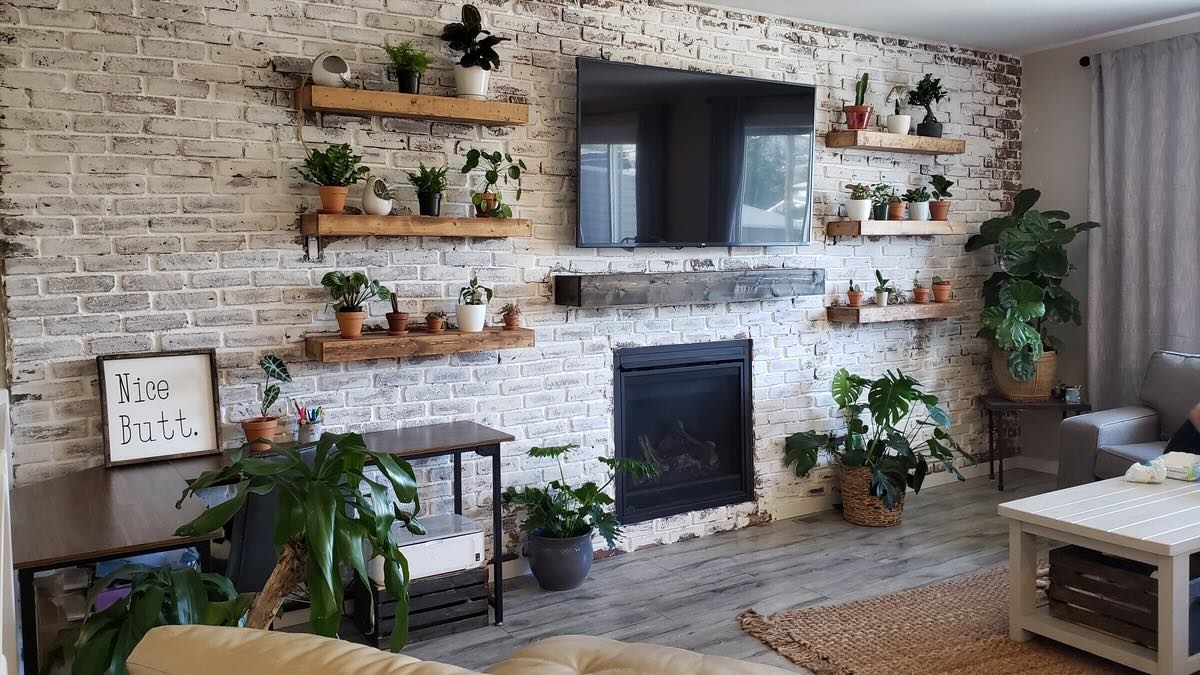
If you want to take your faux greenery wall to the next level, consider adding extra decorations to enhance its visual appeal and personalize the space. Here are some ideas to inspire you:
- Artificial Flowers: Incorporate colorful artificial flowers throughout the greenery wall to add pops of color and a touch of whimsy. Choose flowers that complement the greenery and create a harmonious composition.
- String Lights: Illuminate your greenery wall by adding string lights. Twine them through the foliage to create a soft and enchanting ambiance. Opt for warm white or soft pastel lights for a cozy and inviting atmosphere.
- Wall Frames: Consider adding frames with inspirational quotes, botanical prints, or artworks to accentuate your faux greenery wall. Place the frames strategically among the greenery for an artistic touch.
- Hanging Ornaments: Hang small hanging decorations, such as glass orbs, macramé plant holders, or wooden ornaments, from the top of your greenery wall. This will add visual interest and create a multi-dimensional look.
- Personal Touches: Add personal touches that resonate with you, such as small trinkets, family photos, or handmade crafts. These elements will make your faux greenery wall feel more meaningful and reflective of your personality.
When incorporating extra decorations, ensure they are securely attached to the greenery panels or the backing. Use wire, zip ties, or adhesive as appropriate and be mindful of the weight and balance of the wall.
Remember, this step is optional, and you can choose to keep your faux greenery wall minimalistic and focused solely on the greenery. The goal is to create a space that brings you joy and reflects your personal style.
With the extra decorations in place, take a moment to admire your handiwork. Your faux greenery wall is now a stunning and personalized focal point in your space. The final step is to ensure you maintain and care for your creation properly.
Step 7: Maintain and Care for the Faux Greenery Wall
Once your faux greenery wall is complete, it’s important to maintain and care for it properly to ensure its longevity and keep it looking fresh and vibrant. Follow these tips to keep your faux greenery wall in optimal condition:
- Dust Regularly: Dust can accumulate on the leaves and panels of your faux greenery wall over time, diminishing its natural appearance. Use a soft cloth or duster to gently wipe away dust and debris. For hard-to-reach areas, you can use a can of compressed air to blow away the dust.
- Occasional Cleaning: Depending on the location of your greenery wall and the amount of dust it collects, you may need to give it a more thorough cleaning. Fill a spray bottle with water and a mild detergent or use a specialized faux plant cleaner. Lightly spray the leaves and wipe them down with a soft cloth. Avoid using harsh chemicals or abrasive materials that could damage the foliage.
- Avoid Direct Sunlight: While faux greenery is designed to be more resilient than real plants, prolonged exposure to direct sunlight can cause fading and discoloration. Try to place your greenery wall away from direct sunlight or use UV protection sprays specifically designed for artificial plants.
- Keep Away from Moisture: Unlike real plants, faux greenery is not designed to withstand moisture. Keep your greenery wall away from areas with high humidity or moisture, such as bathrooms or kitchens. Exposing the panels to water or damp conditions can damage the backing or cause mold and mildew growth.
- Inspect and Replace as Needed: Over time, individual leaves or panels may become damaged or worn. Regularly inspect your faux greenery wall and replace any damaged components to maintain its pristine appearance. Many manufacturers offer replacement parts or panels, making it easy to refresh your greenery wall when needed.
By following these maintenance tips, your faux greenery wall will continue to add beauty and charm to your space for years to come. With minimal effort, you can enjoy the benefits of lush greenery without the hassle of watering or extensive upkeep.
Congratulations on creating your own stunning faux greenery wall! Now sit back, relax, and enjoy the vibrant and natural ambiance it brings to your home, office, or event space.
It’s time to embrace the beauty of nature indoors, in a hassle-free and captivating way!
Read more: How To Paint A Faux Brick Wall
Conclusion
Creating a faux greenery wall allows you to bring the beauty of nature into your space without the maintenance and care required by real plants. It’s a versatile and visually appealing decor element that adds a touch of freshness and life to any room, office, or event space.
In this comprehensive guide, we’ve walked you through the step-by-step process of creating your own faux greenery wall. From choosing the perfect greenery to securing it in place, each step has been carefully explained to help you achieve a stunning result.
Remember to consider the realism, durability, and texture of the faux greenery you choose. Pay attention to the size and shape of the panels to create a harmonious composition. Preparing the wall, attaching the backing, and securing the greenery are vital steps to ensure a stable and visually appealing wall.
If you want to take your greenery wall to the next level, consider adding extra decorations such as artificial flowers, string lights, or frames. These personal touches can enhance the aesthetic and make the space truly unique.
Maintaining and caring for your faux greenery wall is essential to keep it looking fresh and vibrant. Regular dusting and periodic cleaning will help preserve its natural appearance. Avoid direct sunlight and moisture, and inspect the wall for any damaged components that may need replacement.
Now, armed with the knowledge and steps outlined in this guide, it’s time to unleash your creativity and bring your own faux greenery wall to life. Enjoy the beauty and relaxation that this stunning decor element will bring to your space!
Frequently Asked Questions about How To Make A Faux Greenery Wall
Was this page helpful?
At Storables.com, we guarantee accurate and reliable information. Our content, validated by Expert Board Contributors, is crafted following stringent Editorial Policies. We're committed to providing you with well-researched, expert-backed insights for all your informational needs.


0 thoughts on “How To Make A Faux Greenery Wall”