Home>Garden Essentials>How To Make A Seed Bomb
Garden Essentials
How To Make A Seed Bomb
Modified: March 15, 2024
Learn how to create a seed bomb for your garden and cultivate a vibrant green space. Simple steps and sustainable gardening techniques shared.
(Many of the links in this article redirect to a specific reviewed product. Your purchase of these products through affiliate links helps to generate commission for Storables.com, at no extra cost. Learn more)
Introduction
Welcome to the wonderful world of seed bombs! If you’re a gardening enthusiast or someone who wants to make a positive impact on the environment, seed bombs are a fantastic way to contribute. Seed bombs are small balls made up of seeds, clay, compost, and water. They are designed to be “thrown” into areas that need a bit of natural beautification, such as vacant lots, abandoned spaces, or even your own backyard.
Seed bombs have gained popularity in recent years due to their simplicity and effectiveness. They are an excellent way to promote biodiversity and help with reforestation efforts. Plus, making seed bombs is a fun and rewarding activity that can be enjoyed by people of all ages! Whether you’re a seasoned gardener or a beginner, making seed bombs is a great way to get your hands dirty and make a positive impact on the environment.
In this article, we will guide you through the process of making seed bombs from start to finish. We’ll discuss the materials needed, step-by-step instructions, and provide some tips and tricks along the way. By the end, you’ll be equipped with all the knowledge and skills necessary to create your own seed bombs and contribute to a greener world. So, let’s get started!
Key Takeaways:
- Seed bombs are a fun and easy way to help the environment by creating vibrant gardens in neglected spaces using just seeds, clay, compost, and water.
- By choosing native seeds and sowing them in appropriate locations, you can support biodiversity, restore ecosystems, and create habitats for pollinators and other wildlife.
Read more: What Is A Seed Bomb
Materials needed
Before we dive into the process of making seed bombs, let’s gather all the necessary materials. Fortunately, you won’t need anything too fancy or hard to find. Here’s a list of the materials you’ll need:
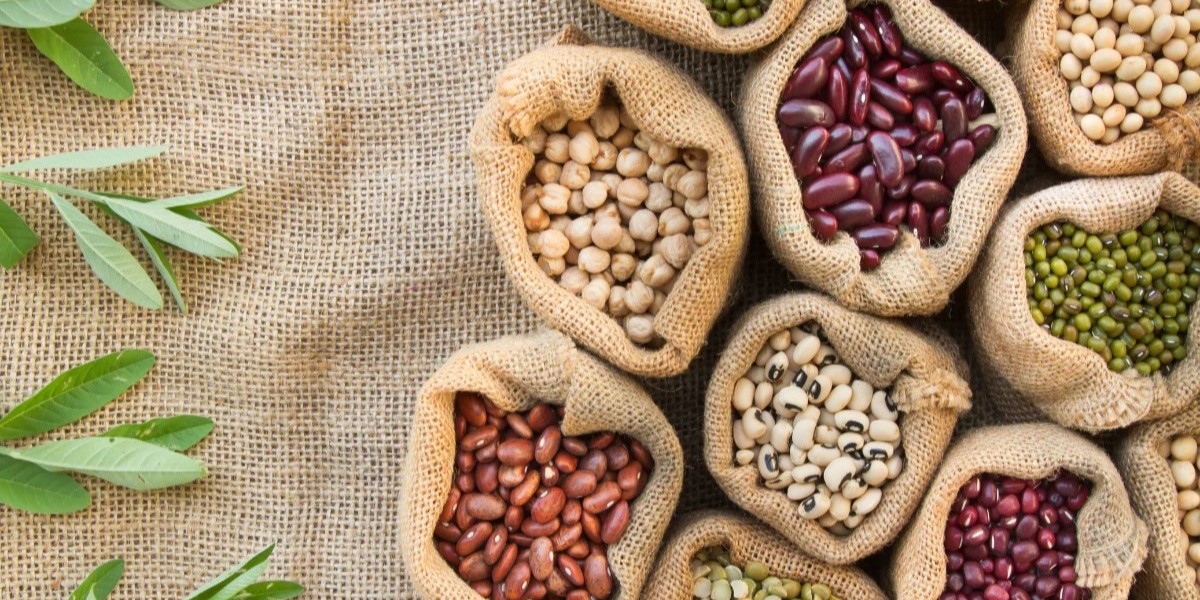
- Seeds: Choose a variety of seeds that are suitable for your region and the type of plants you want to grow. Opt for native and pollinator-friendly seeds for the best impact.
- Clay: The clay acts as a binding agent for the seed bomb. Look for natural clay, such as pottery clay or powdered clay from a local craft store.
- Compost: Compost adds nutrients to the seed bomb and helps nourish the seeds as they germinate.
- Water: You’ll need water to mix the clay and compost together and achieve the right consistency.
- Bucket or bowl: A container to mix the ingredients together.
- Gloves: Wearing gloves will protect your hands from getting dirty and help with the mixing process.
- Newspaper or wax paper: To place the seed bombs on while they dry.
These materials are easily accessible and can be found at your local gardening store, craft store, or online. Once you have everything on hand, you’re ready to move on to the next step: gathering the seeds!
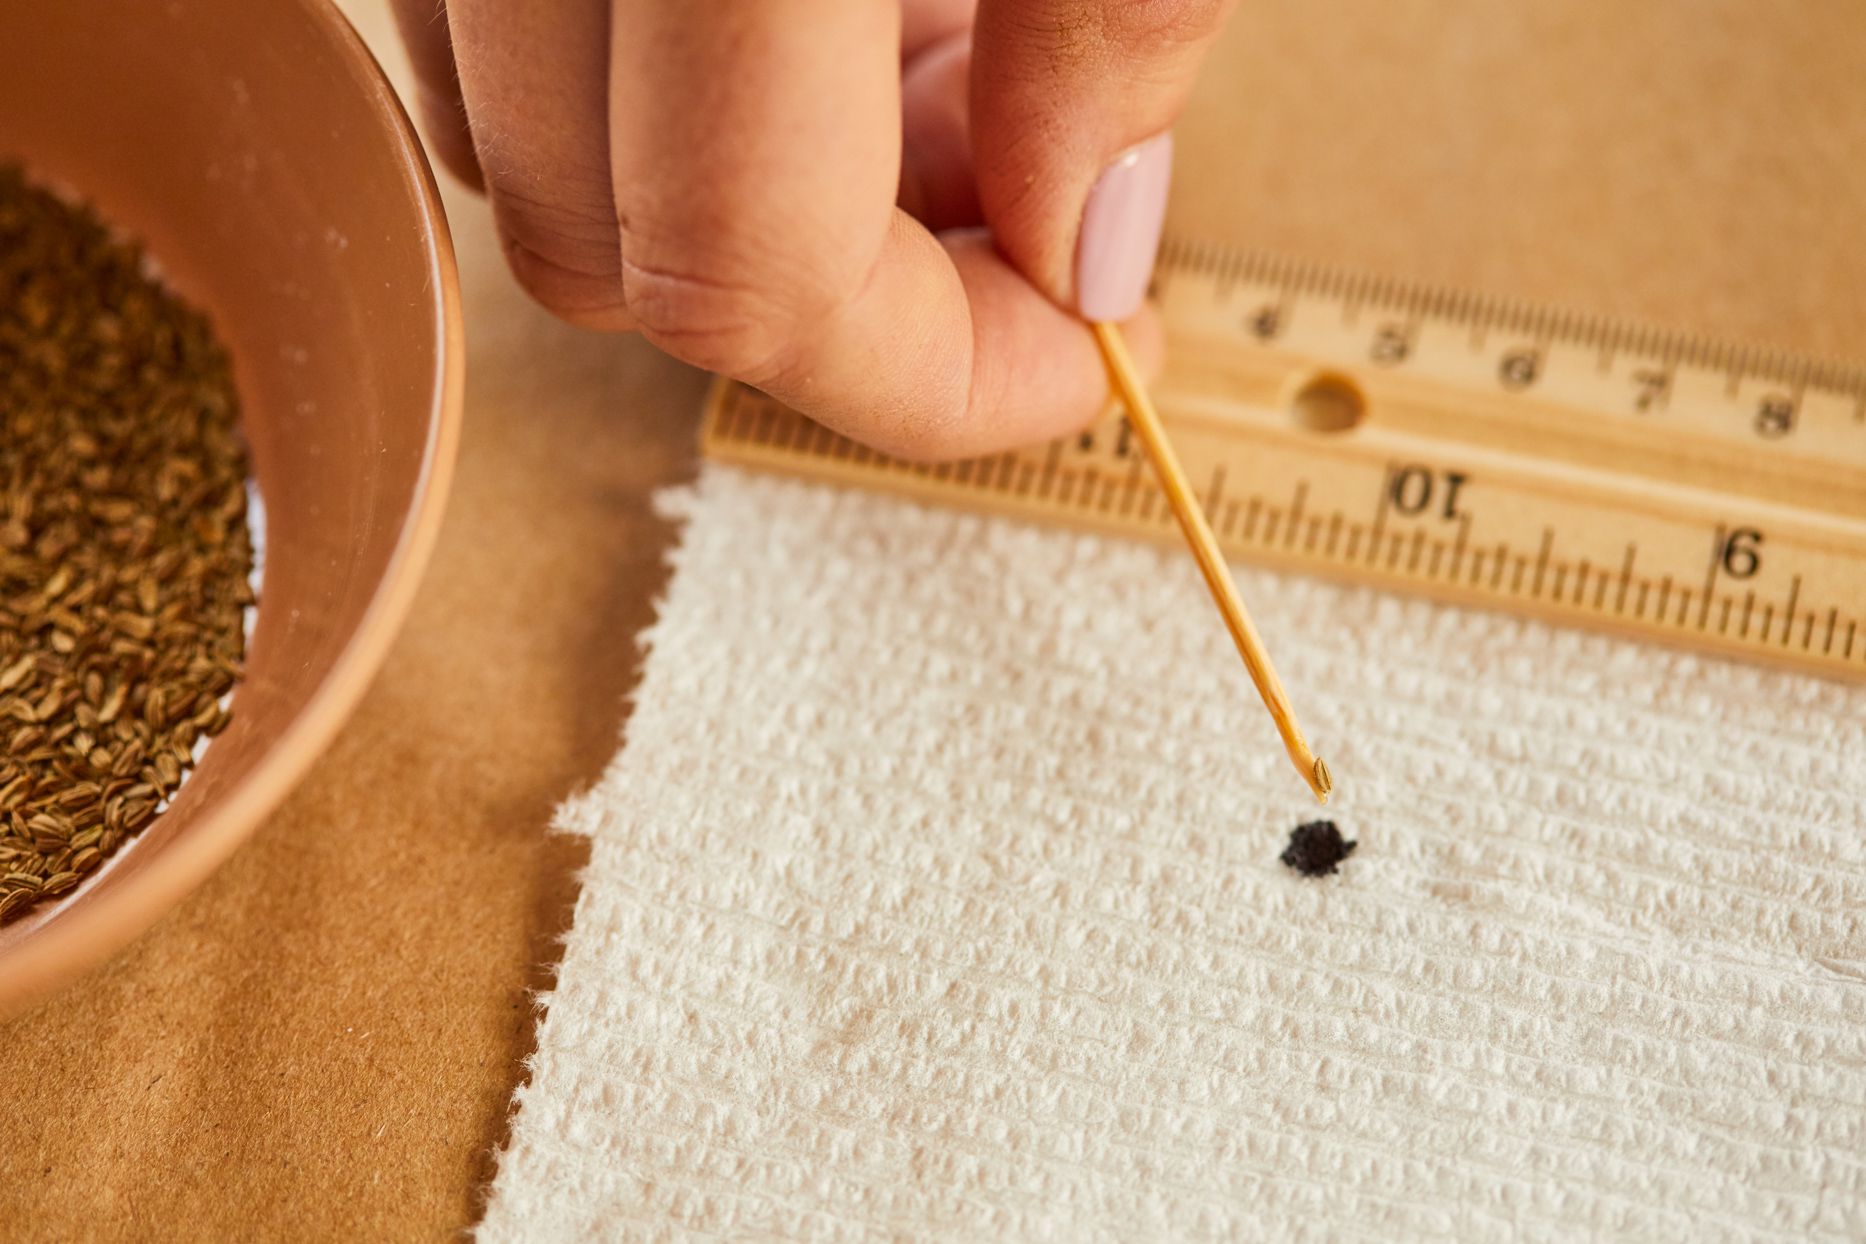
Step 1: Gathering the seeds
In order to create effective seed bombs, it’s important to gather the right kind of seeds. You want to choose seeds that are native to your region and suited to the specific conditions of the area where you plan to throw the seed bombs. Here’s how you can gather the seeds:
- Research native plants: Explore the native plants in your region and learn about their characteristics, growth habits, and preferred growing conditions. This research will help you select the most suitable seeds for your seed bombs.
- Locate seed sources: Look for local seed banks, nurseries, gardening centers, or online platforms that specialize in selling native seeds. These sources will have a variety of seeds to choose from and can offer advice on the best options for your specific area.
- Collect seeds responsibly: If you have access to wild patches of native plants or have friends or neighbors with gardens, you may be able to collect seeds responsibly. Ensure that you have permission and follow proper procedures for seed collection, such as not taking more than you need and avoiding damaging the plant in the process.
- Consider specialized seeds: Depending on your goals, you may want to include specialized seeds, such as those for attracting pollinators or growing edible plants. These can add an extra layer of biodiversity and functionality to your seed bombs.
Remember, the key is to use seeds that are well-suited to your local environment. This will increase the chances of successful germination and the establishment of healthy plants.
Once you have gathered your seeds, it’s time to move on to the next step: mixing the seeds with clay. Let’s get our hands dirty!
Step 2: Mixing the seeds with clay
Now that you have your seeds ready, it’s time to incorporate them into the seed bomb mixture. The clay will act as a binder, helping to hold everything together. Follow these steps to mix the seeds with clay:
- Prepare the clay: Start by breaking up the clay into small pieces. If you’re using powdered clay, you can skip this step.
- Measure the clay: Take the desired amount of clay and place it in a bucket or bowl. The exact amount depends on the number of seed bombs you want to make. As a general guide, use roughly equal parts clay and compost.
- Add the seeds: Sprinkle your chosen seeds into the bucket or bowl with the clay. Be generous with the seeds to maximize the chances of successful plant growth.
- Begin mixing: Put on gloves to keep your hands clean and start mixing the clay and seeds together. Knead the mixture, ensuring that the seeds are evenly distributed throughout the clay.
- Adjust consistency: If the mixture feels too dry, gradually add water while continuing to mix. The goal is to achieve a dough-like consistency that holds together when formed into a ball.
- Test the mixture: Take a small amount of the mixture and roll it into a ball. If it holds its shape without cracking, it’s ready. If it crumbles, add a bit more water and remix until the desired consistency is reached.
Remember, different types of clay may require slightly different amounts of water, so adjust accordingly. The goal is to have a malleable mixture that will hold its shape when formed into seed bombs.
Now that your seeds are mixed with clay, we’re ready to move on to the next step: adding compost and water. Keep that gardening spirit alive!
Step 3: Adding compost and water
With the seeds and clay well mixed, it’s time to give an extra boost to your seed bombs by adding compost and water. Compost provides essential nutrients for the seeds and promotes healthy growth. Follow these steps to incorporate compost and water into the mixture:
- Gather your compost: You can either purchase compost from a gardening store or create your own at home using kitchen scraps, yard waste, and other organic materials.
- Add the compost: Measure out an equal amount of compost as you did for the clay. This balance between clay and compost will ensure a nourishing environment for the seeds to germinate.
- Mix the compost in: Place the compost into the bucket or bowl with the seed and clay mixture. Use your gloved hands to thoroughly mix the compost with the rest of the ingredients.
- Add water gradually: Slowly pour water into the mixture while continuing to mix. The amount of water needed will depend on the consistency of your mixture. The goal is to make it moist enough to hold together without becoming too soggy.
- Knead the mixture: Use your hands to knead and mix the ingredients together. Ensure that the compost and water are evenly distributed throughout the mixture. This will help the seeds receive the nutrients they need for successful germination.
As you add water, be mindful not to make the mixture too wet, as it may become difficult to work with. Adjust the quantity of water as needed to achieve the ideal consistency.
With the compost and water incorporated, our seed bomb mixture is now packed with nutrients and ready for the next step: shaping the seed bombs! Let’s get creative and make some beautiful seed bombs.
Mixing in some organic compost with your seed bomb mixture can help provide essential nutrients for the seeds to grow once they are dispersed.
Read more: How To Plant A Seed Bomb
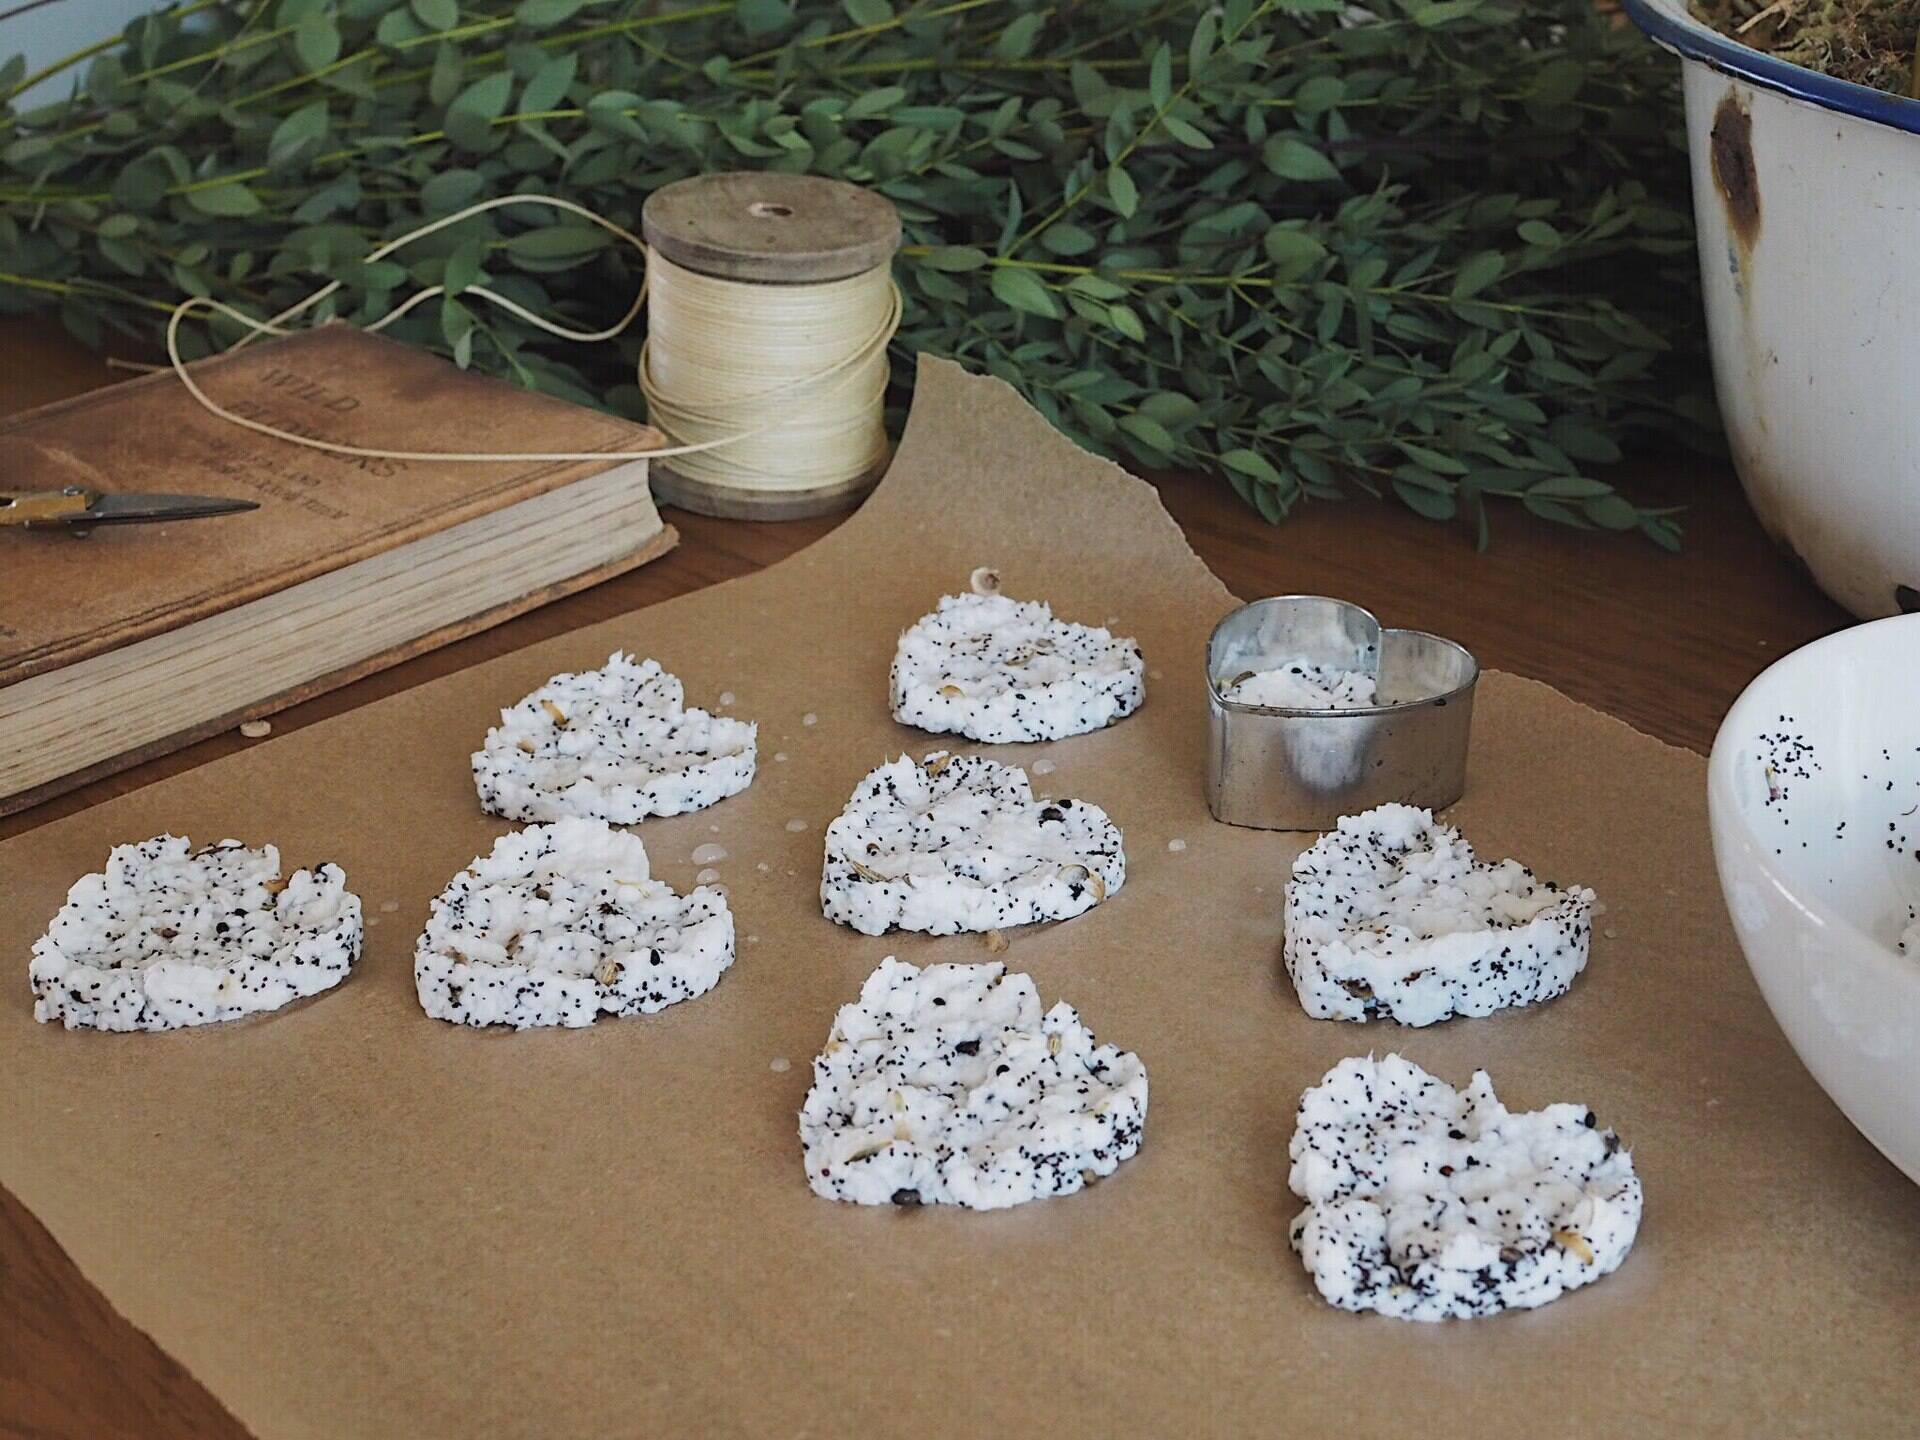
Step 4: Shaping the seed bombs
Now that your seed bomb mixture is well-mixed and properly moisturized, it’s time to shape them into small balls or “bombs.” Follow these steps to shape your seed bombs:
- Prepare your workspace: Lay down some newspaper or wax paper on a flat surface to prevent the mixture from sticking to your table or countertop.
- Take a small handful: Scoop up a small handful of the seed bomb mixture, about the size of a golf ball or slightly larger.
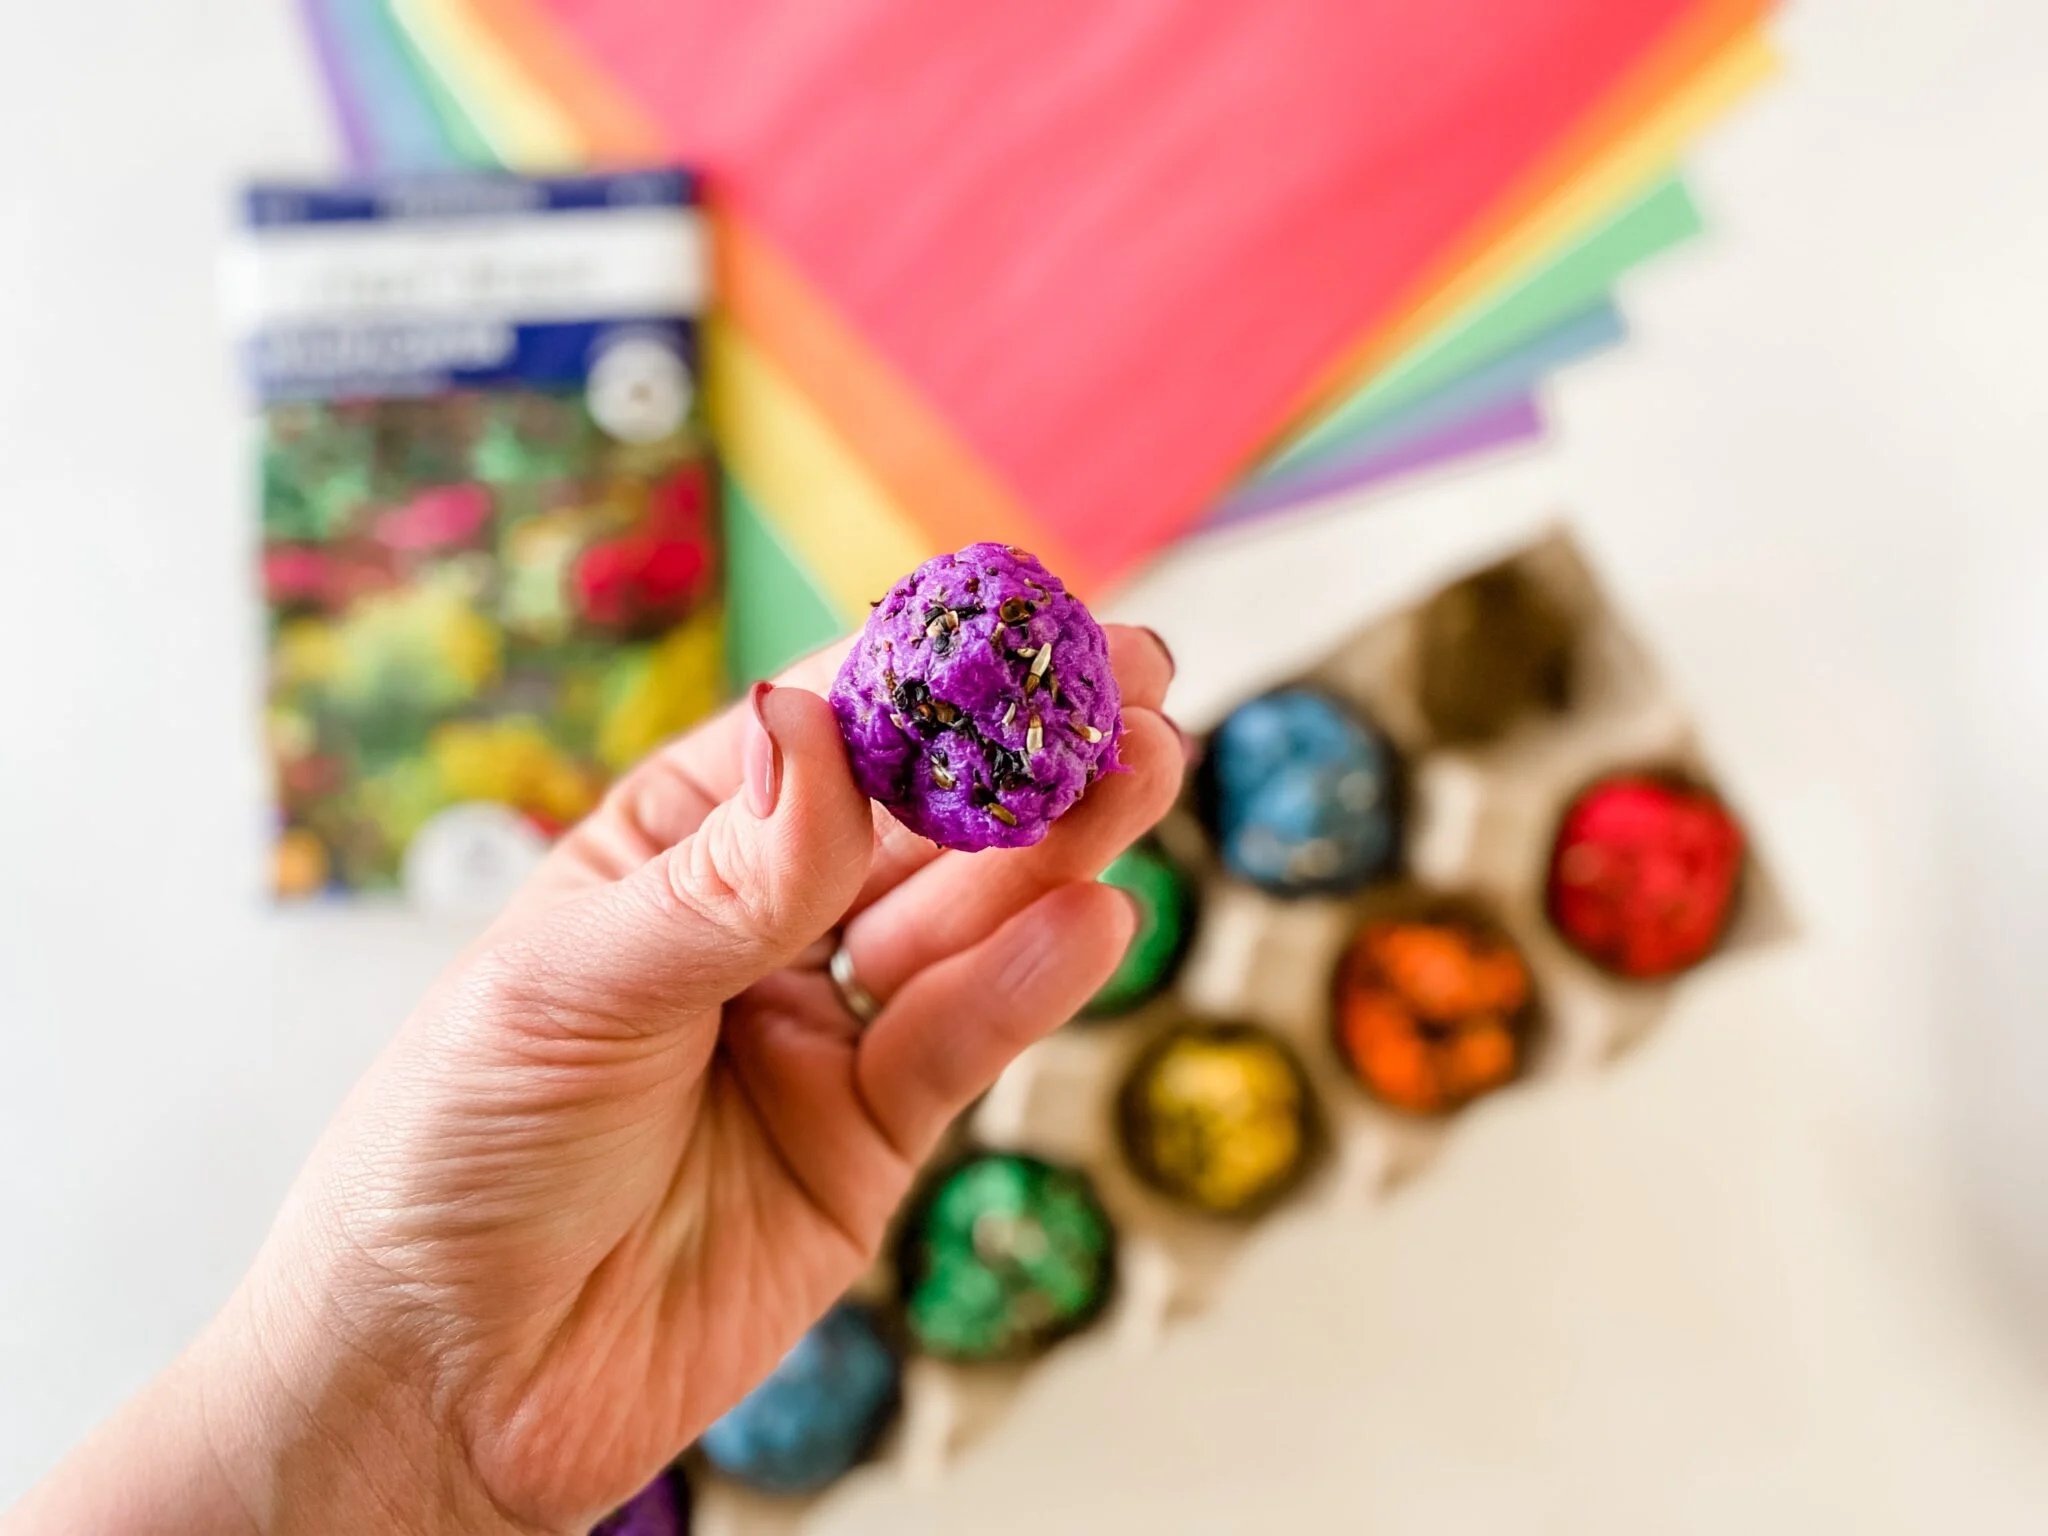
- Roll it into a ball: Gently roll the mixture between your hands to form a compact ball. Ensure that the mixture holds together and feels solid. If it crumbles, add a little bit of water and remix the mixture.
- Repeat the process: Continue scooping up small handfuls of the mixture and rolling them into balls until you have used up all the mixture. Space the seed bombs apart on the newspaper or wax paper, leaving room for them to dry without touching each other.
- Get creative (optional): If you want to add a decorative touch to your seed bombs, you can press flower petals, dried herbs, or even a small stone into the surface of the seed bomb. This will add visual appeal and make each seed bomb unique.
Remember to work efficiently, as the seed bomb mixture can dry out over time. If you’re making a large batch, you can cover the formed seed bombs with a slightly damp cloth to prevent them from drying out before the next step.
Now that your seed bombs are shaped and ready, it’s time to let them dry before putting them to use. Patience is key as we move on to the next step: drying the seed bombs!
Step 5: Drying the seed bombs
Once you’ve shaped your seed bombs, it’s important to allow them to dry thoroughly before storing or using them. Drying helps the seed bombs harden and keeps them intact when you’re ready to toss them into your desired area. Follow these steps to dry your seed bombs:
- Find a well-ventilated area: Look for a dry and well-ventilated space where you can place your seed bombs to dry. This could be a table indoors near an open window or a sunny spot outdoors.
- Transfer the seed bombs: Carefully transfer the seed bombs from the newspaper or wax paper onto a clean, dry surface. Make sure they are spaced apart to avoid any sticking or touching.
- Allow for air circulation: Ensuring proper air circulation will speed up the drying process. If you’re drying seed bombs indoors, you can use a fan to enhance air movement around the seed bombs.
- Be patient: Depending on the humidity level and size of the seed bombs, drying can take anywhere from a few days to a week or more. It’s essential to be patient and let them dry completely. You’ll know they’re ready when they feel hard to the touch.
- Check for cracks: While drying, periodically check the seed bombs for any cracks. If you notice cracks forming, mist them lightly with water using a spray bottle. This will help prevent further cracking and keep them intact.
Remember, the drying process is crucial in ensuring the seed bombs are ready for use. It may require some patience, but the end result will be well worth it.
With your seed bombs now dry and firm, it’s time to move on to the final step: using and storing your seed bombs. Let’s get ready to sow some green!
Step 6: Using and storing the seed bombs
Congratulations! Your seed bombs are now ready to be used to transform bland patches of land into vibrant green spaces. Follow these steps to use and store your seed bombs:
- Choose the right location: Select an area that could benefit from some greenery, such as an empty lot, a neglected garden bed, or even a barren corner of your own backyard.
- Prepare the soil (if necessary): Before throwing your seed bombs, ensure that the soil is loosened and free from excessive weeds or debris. This will provide an optimal environment for the seeds to germinate.
- Throw with enthusiasm: Hold a seed bomb in your hand, take aim, and toss it gently but with enthusiasm onto the desired area. The impact of the seed bomb hitting the ground will help disperse the seeds and promote their germination.
- Water as needed: After throwing the seed bombs, water the area regularly to keep the soil moist. This will aid in the germination and growth of the seeds. Be mindful of the specific watering needs of the seeds you used.
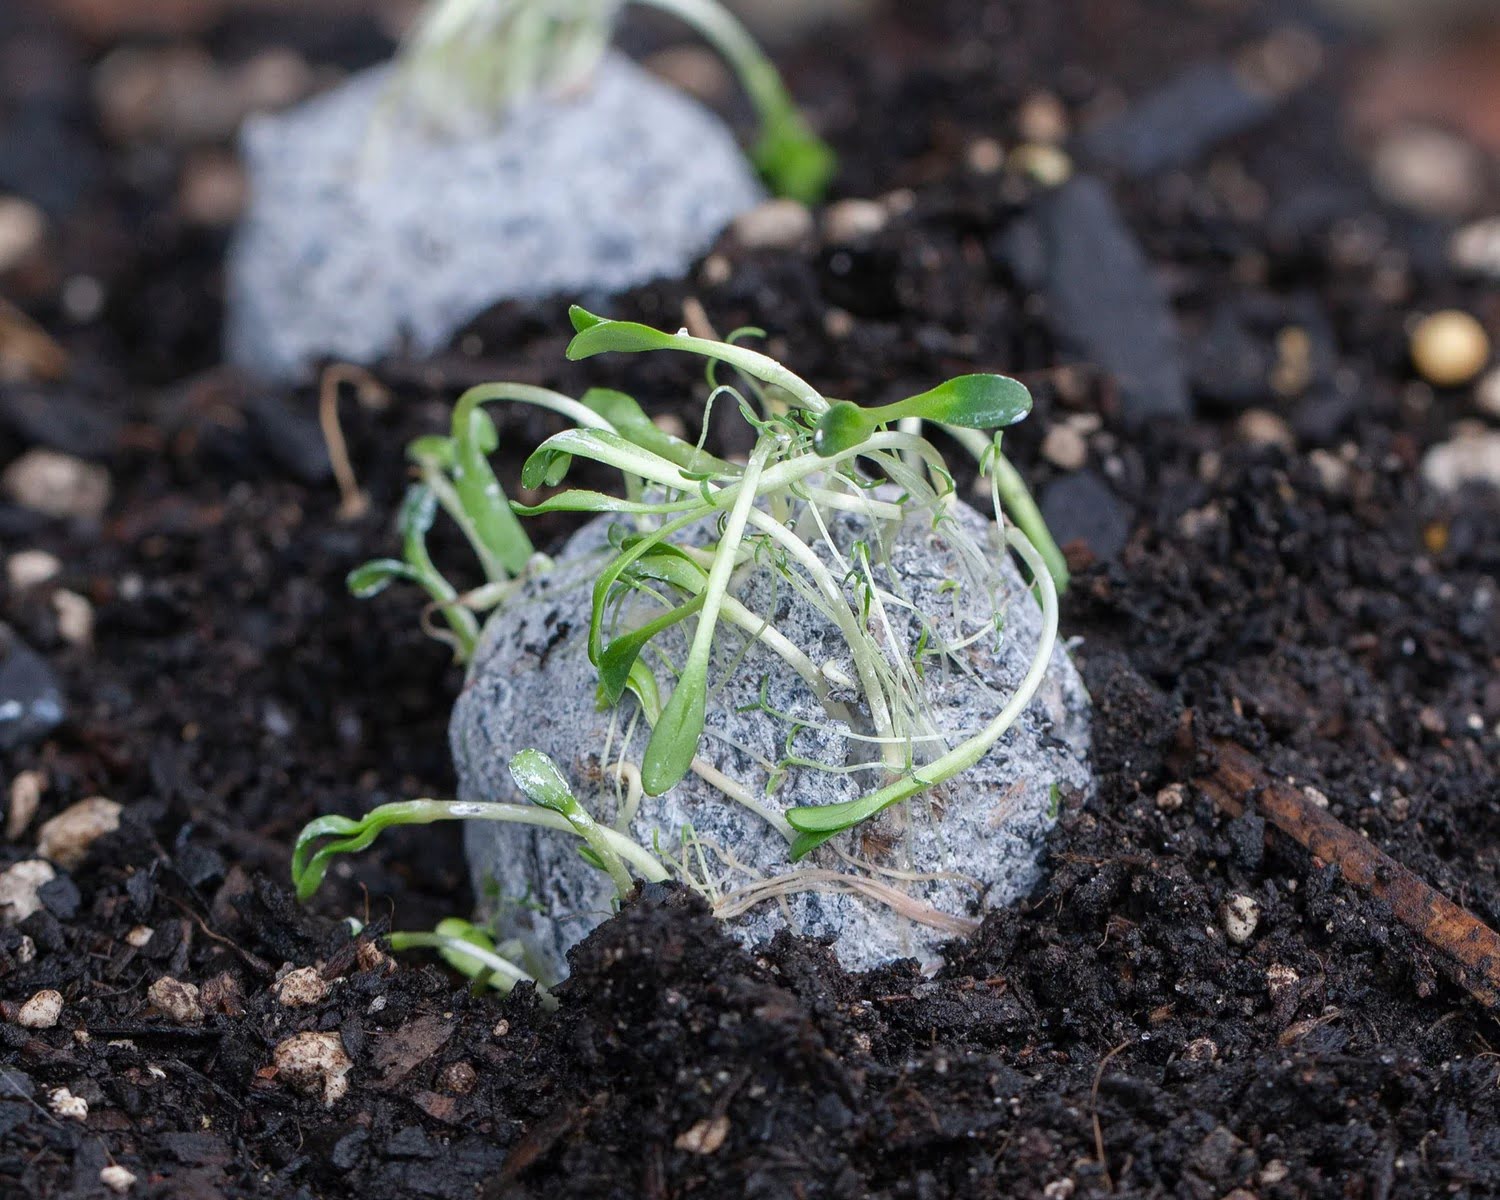
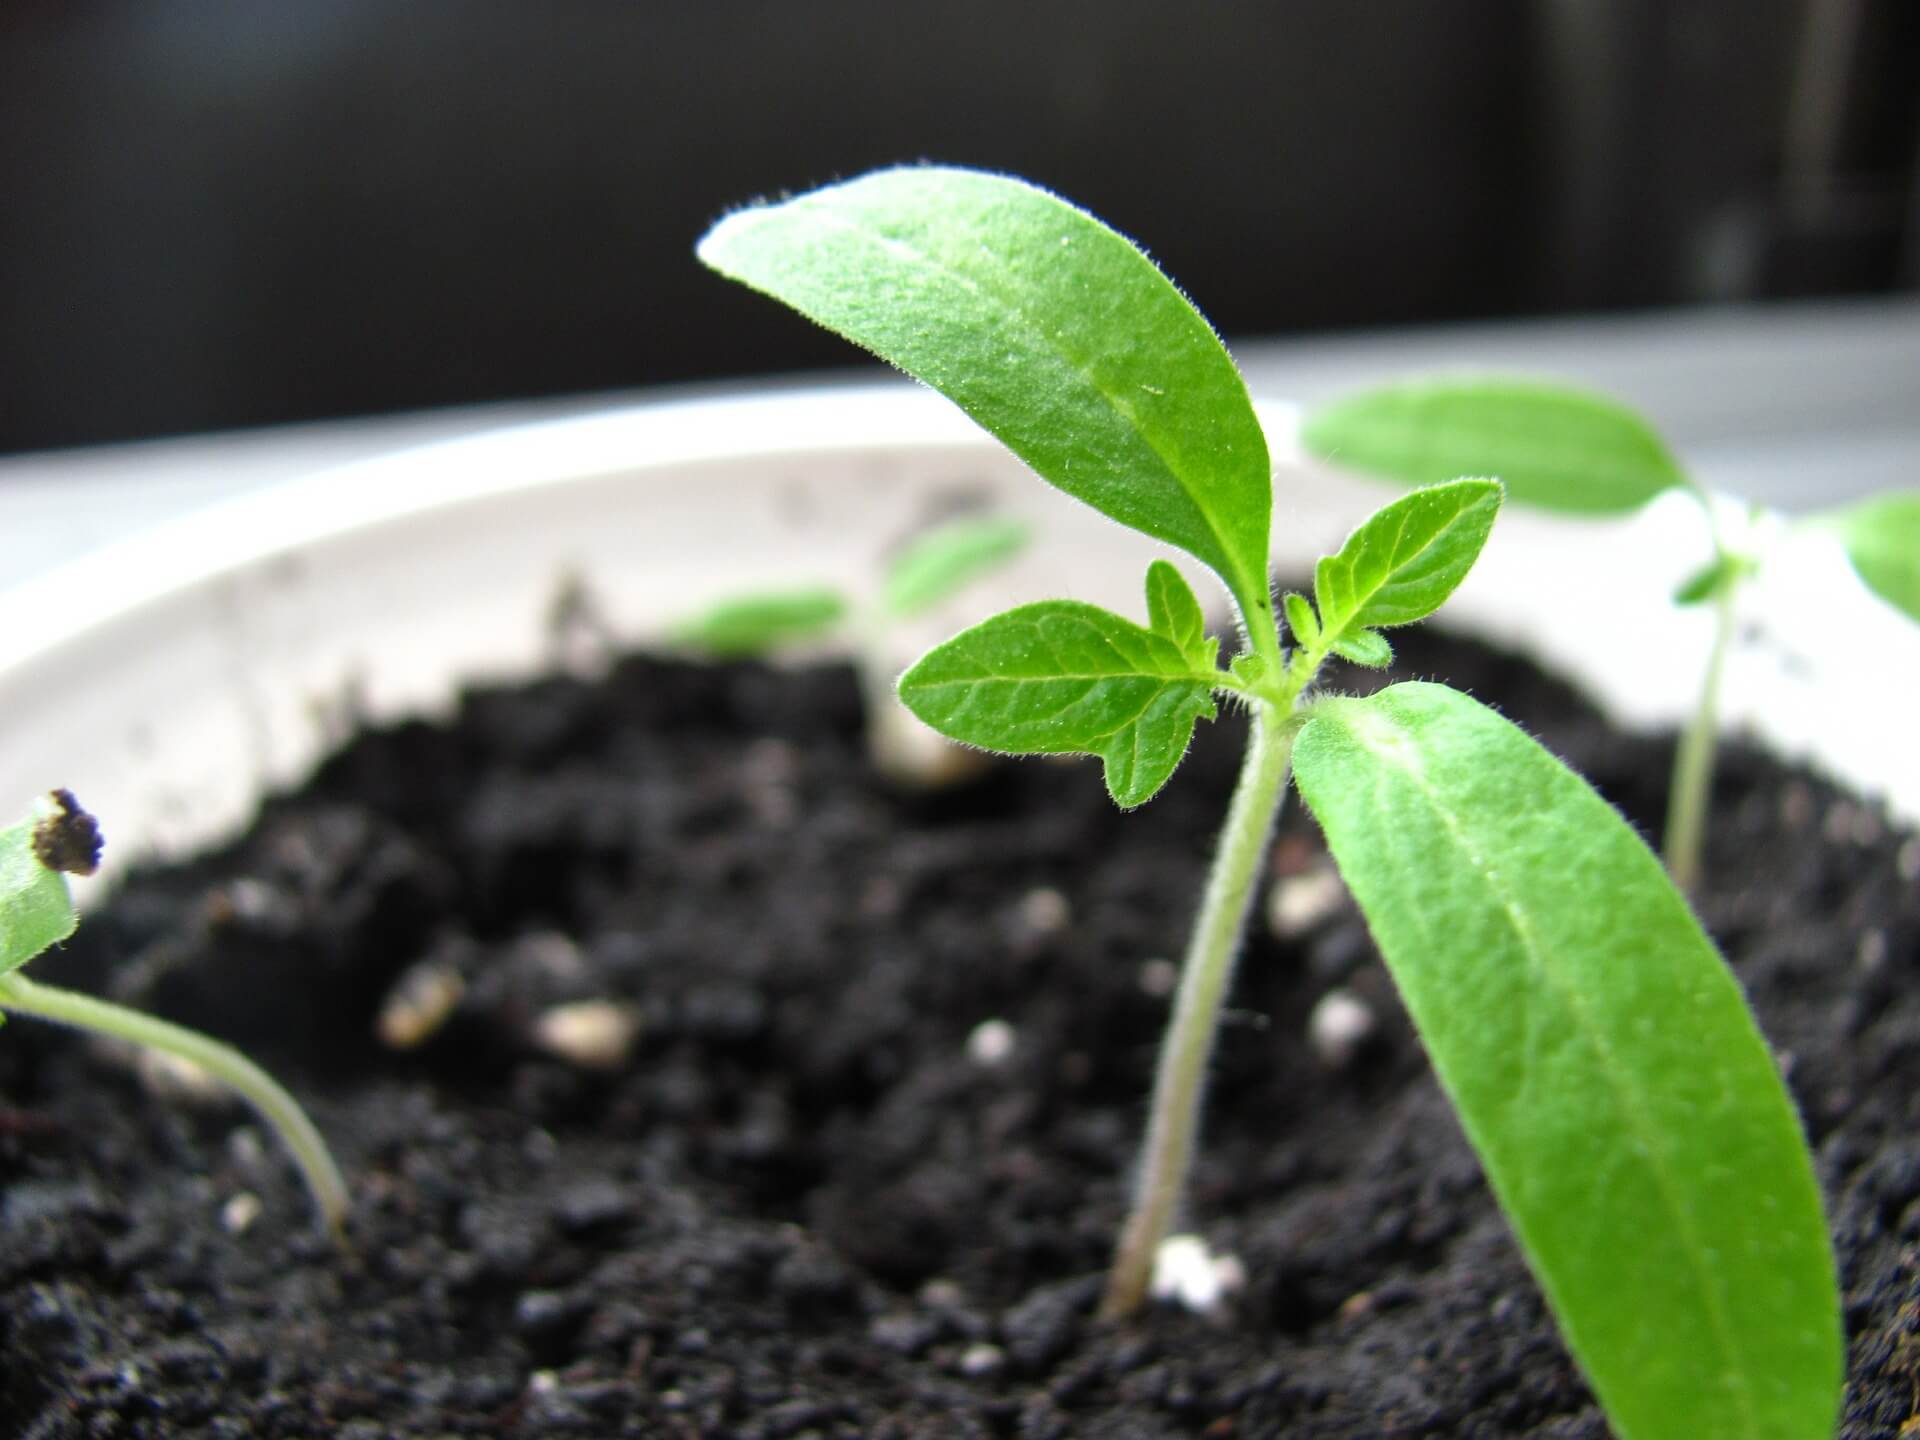
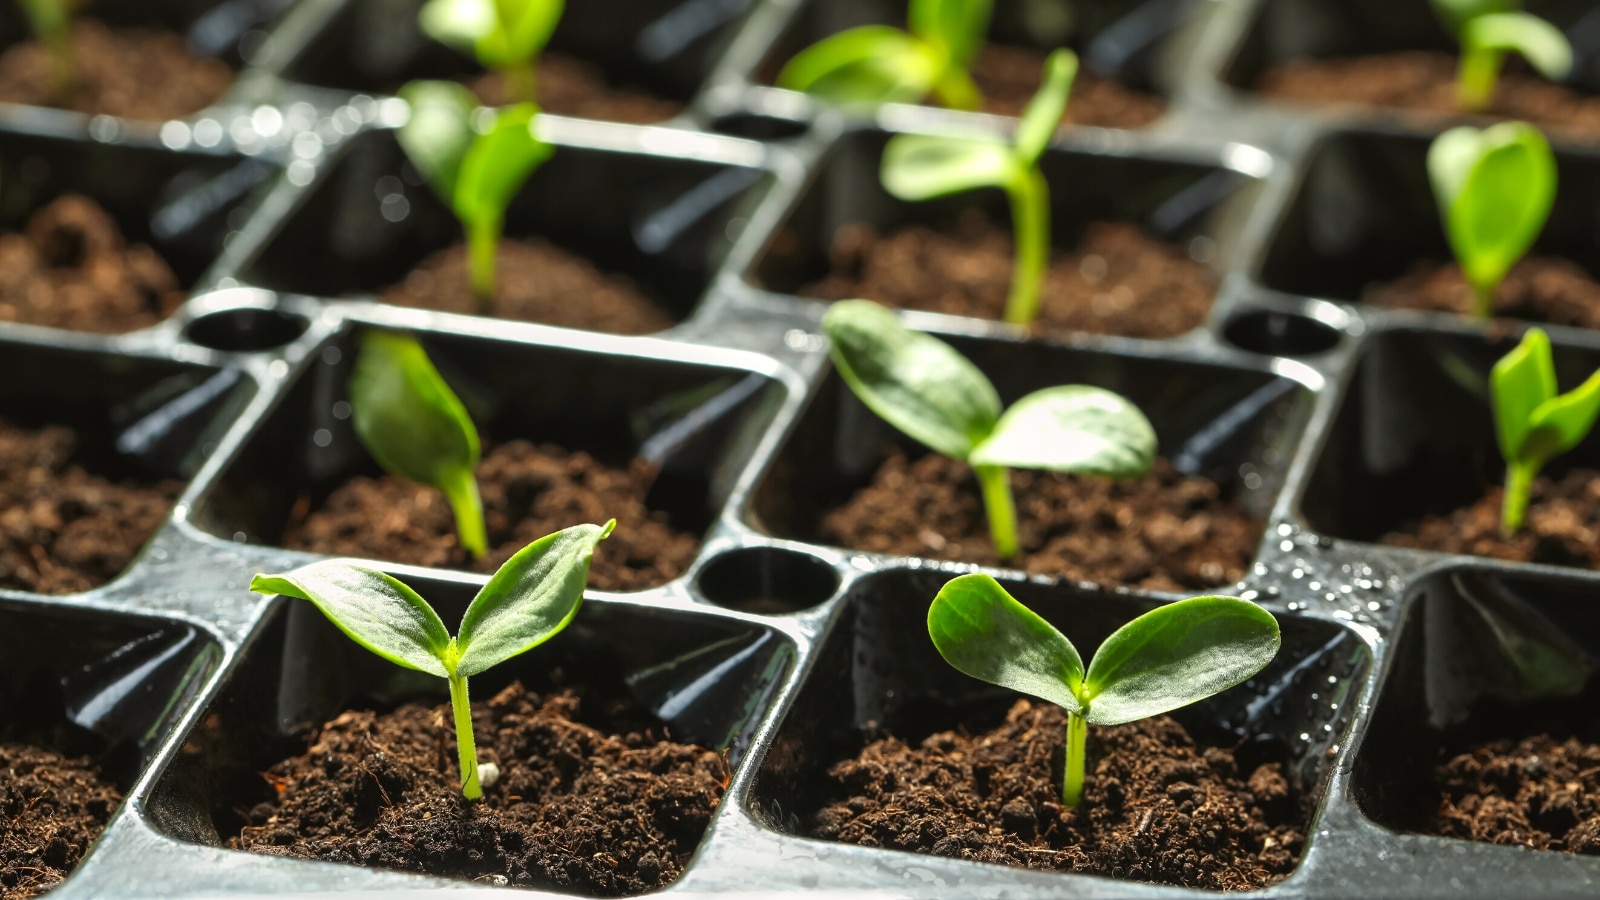
- Observe and enjoy: Over time, watch as the seeds germinate and transform the previously barren area into a beautiful garden. Enjoy the process and marvel at the power of nature.
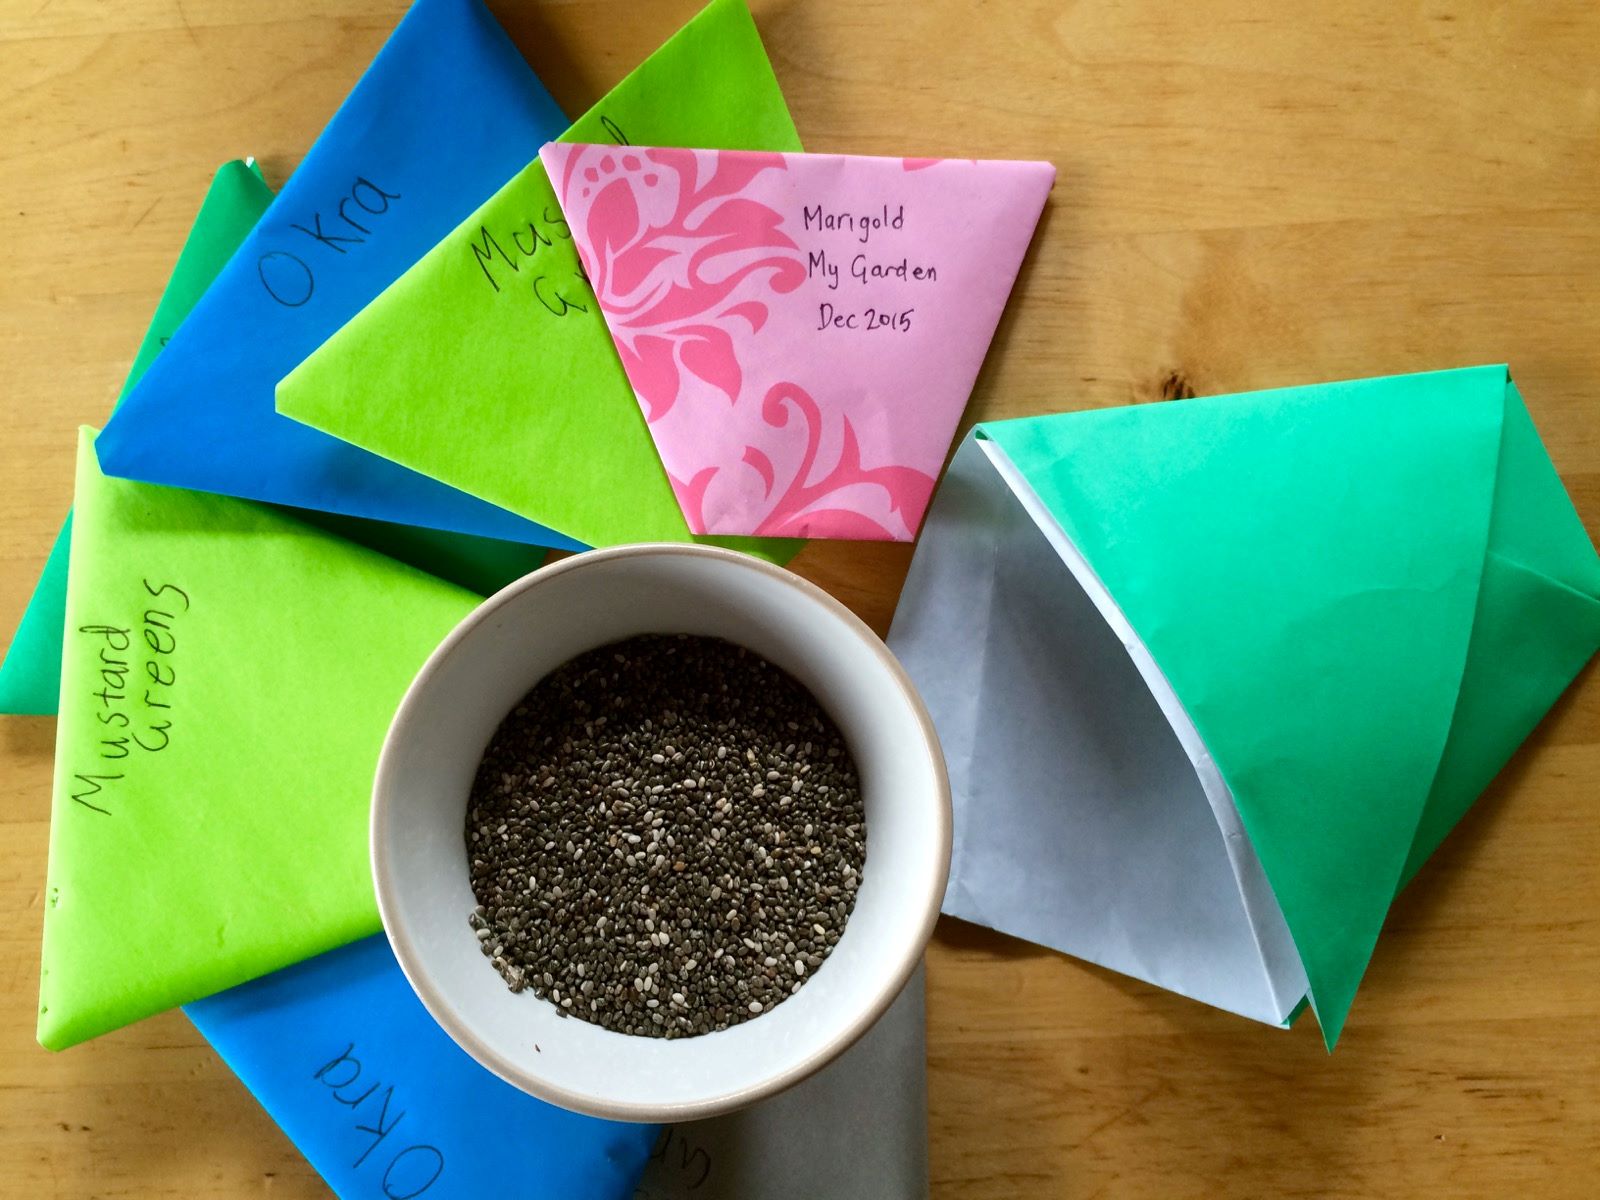
- Store remaining seed bombs: If you have any seed bombs left over, store them in a cool, dry place in an airtight container or seed packet. This will help preserve their viability for future use. Be sure to label the container with the types of seeds and the date they were made.
Remember, seed bombs are a great way to bring new life to overlooked spaces. With proper care and maintenance, you’ll witness the growth and beauty of the plants that sprout from your seed bombs.
By following these steps, you have successfully learned how to make and use seed bombs. Now, go out and make a positive impact on the environment, one seed bomb at a time!
After reading through this guide, you are now equipped with the knowledge and skills to create your own seed bombs. Enjoy the process of making seed bombs and watch as they contribute to the green transformation of the world around you. Let your creativity and passion for gardening flourish as you sow the seeds of change!
Conclusion
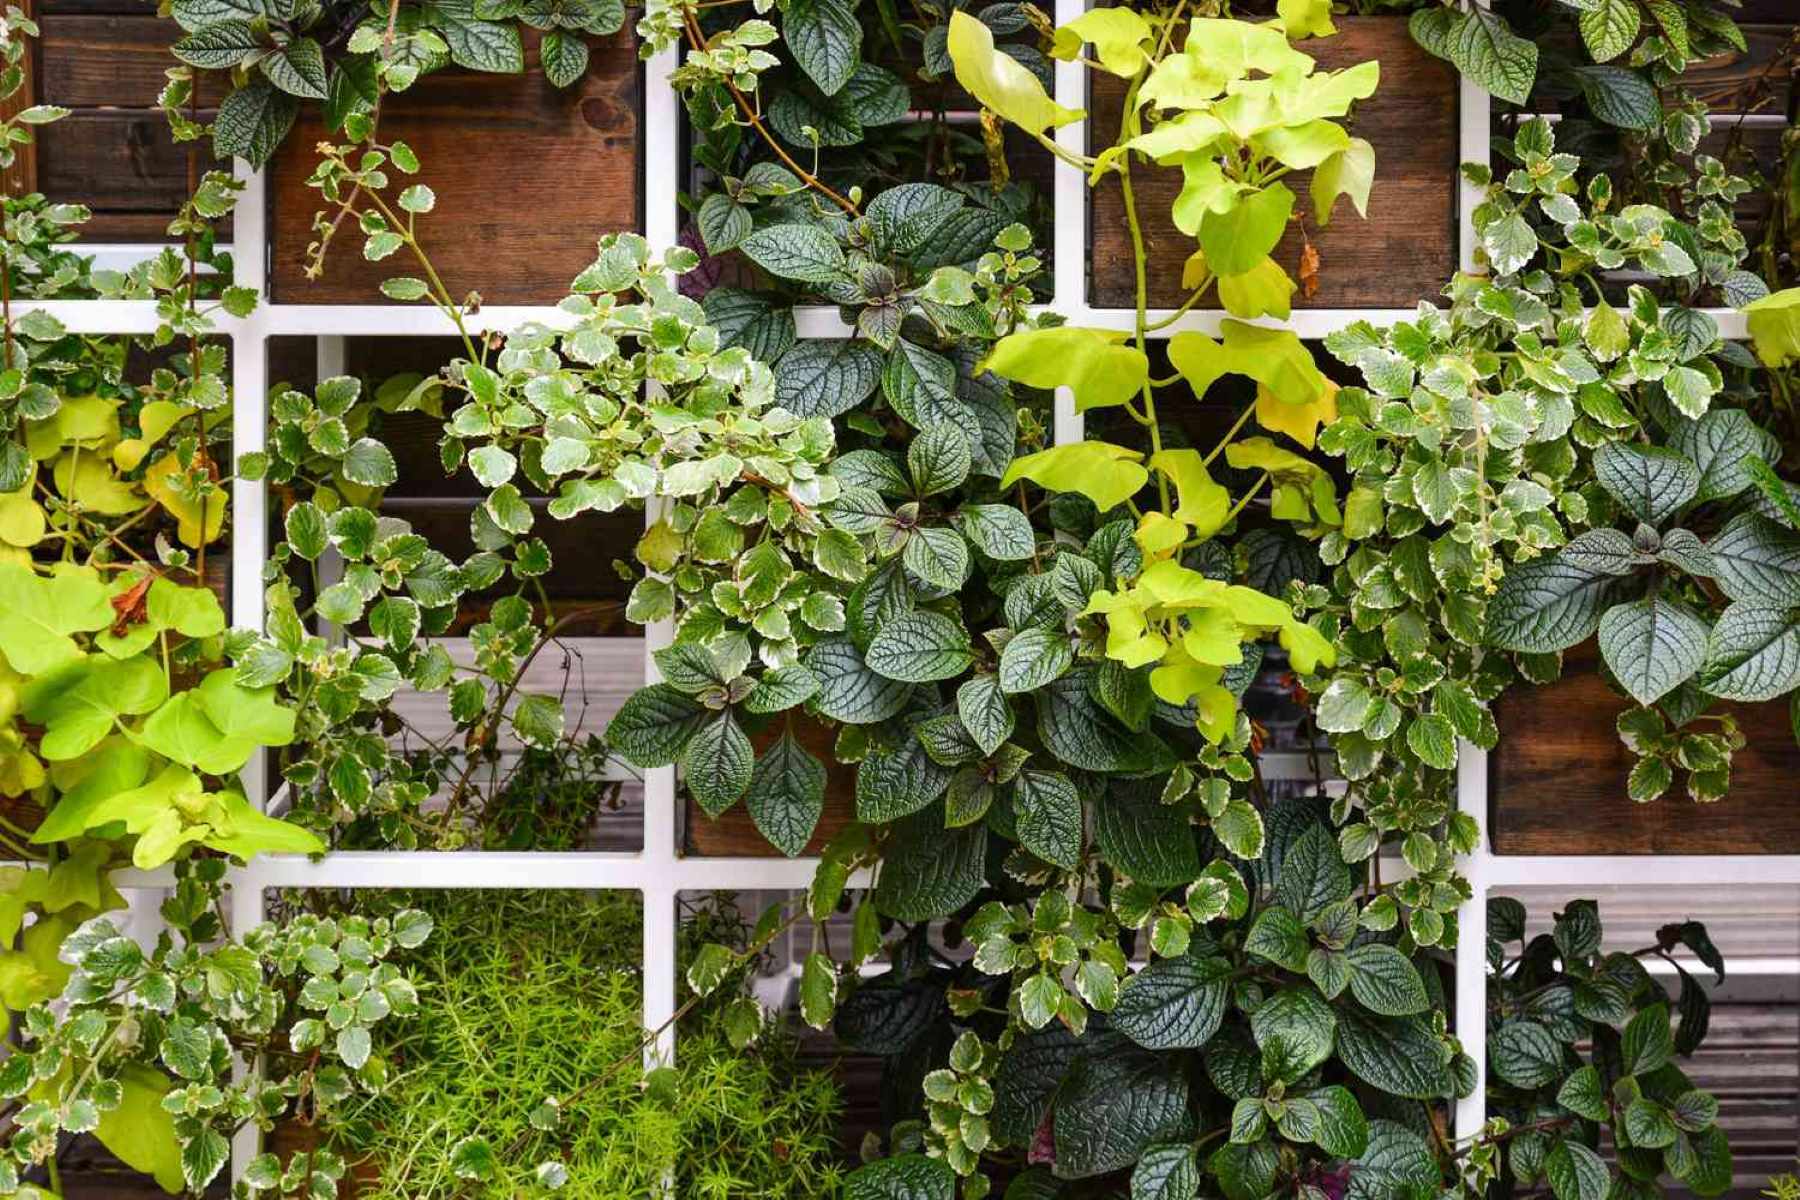
Seed bombs are a simple yet powerful way to make a positive impact on the environment and enhance the beauty of the world around us. With just a few materials and some creativity, you can create small balls of potential that will blossom into vibrant plants, attracting pollinators, and beautifying even the most neglected spaces.
In this guide, we walked through the step-by-step process of making seed bombs. From gathering the right seeds to mixing them with clay, compost, and water, shaping them into balls, and finally drying them, each step plays an important role in ensuring the success of your seed bombs.
By choosing native seeds and sowing them in appropriate locations, you can support biodiversity, restore ecosystems, and create habitats for pollinators and other wildlife. The journey doesn’t end after tossing your seed bombs; it’s essential to water, nurture, and observe as your efforts turn into thriving green spaces.
Remember, seed bombs offer a sense of hope and creativity. They allow us to actively contribute to the environment while also enjoying the hands-on experience of making something from scratch. Whether you’re an experienced gardener or a beginner, seed bombs offer a fun and accessible way to connect with nature and make a positive impact.
So, let’s embrace the power of seed bombs and spread nature’s beauty far and wide! Let’s make our neighborhoods, cities, and the world a greener and more vibrant place. Together, we can sow the seeds of change and create a future filled with blossoming gardens and thriving ecosystems.
Now, go out and embark on your seed bomb journey. Get your hands dirty, let your creativity flow, and watch as your seed bombs transform the world around you, one explosion of life at a time!
Frequently Asked Questions about How To Make A Seed Bomb
Was this page helpful?
At Storables.com, we guarantee accurate and reliable information. Our content, validated by Expert Board Contributors, is crafted following stringent Editorial Policies. We're committed to providing you with well-researched, expert-backed insights for all your informational needs.


0 thoughts on “How To Make A Seed Bomb”