Home>Garden Essentials>How To Plant A Seed Bomb
Garden Essentials
How To Plant A Seed Bomb
Modified: March 24, 2024
Learn how to create a garden seed bomb and bring life to your space. Planting your garden has never been easier or more enjoyable!
(Many of the links in this article redirect to a specific reviewed product. Your purchase of these products through affiliate links helps to generate commission for Storables.com, at no extra cost. Learn more)
Introduction
Gardening is a therapeutic and rewarding hobby that allows us to reconnect with nature and contribute to the beauty of our surroundings. While traditional gardening methods involve planting seeds in the soil, there is a more innovative and exciting approach that has gained popularity in recent years: seed bombing.
Seed bombing, also known as guerrilla gardening, is a technique that involves encapsulating seeds in a protective coating and dispersing them in various areas to promote the growth of plants and flowers. This approach has gained traction in urban environments, where there may be limited space for traditional gardening.
In this article, we will explore the world of seed bombing and how you can join in on this green revolution. From the benefits of using seed bombs to choosing the right seeds and making your own seed bombs, we will guide you through the entire process. So, let’s dive in and discover the magic of planting a seed bomb!
Key Takeaways:
- Seed bombing is a fun and eco-friendly way to transform neglected spaces into vibrant gardens, attracting pollinators and enhancing urban beauty.
- By encapsulating seeds in protective coatings and dispersing them, seed bombing promotes biodiversity and community engagement in sustainable gardening practices.
Read more: What Is A Seed Bomb
What is a seed bomb?
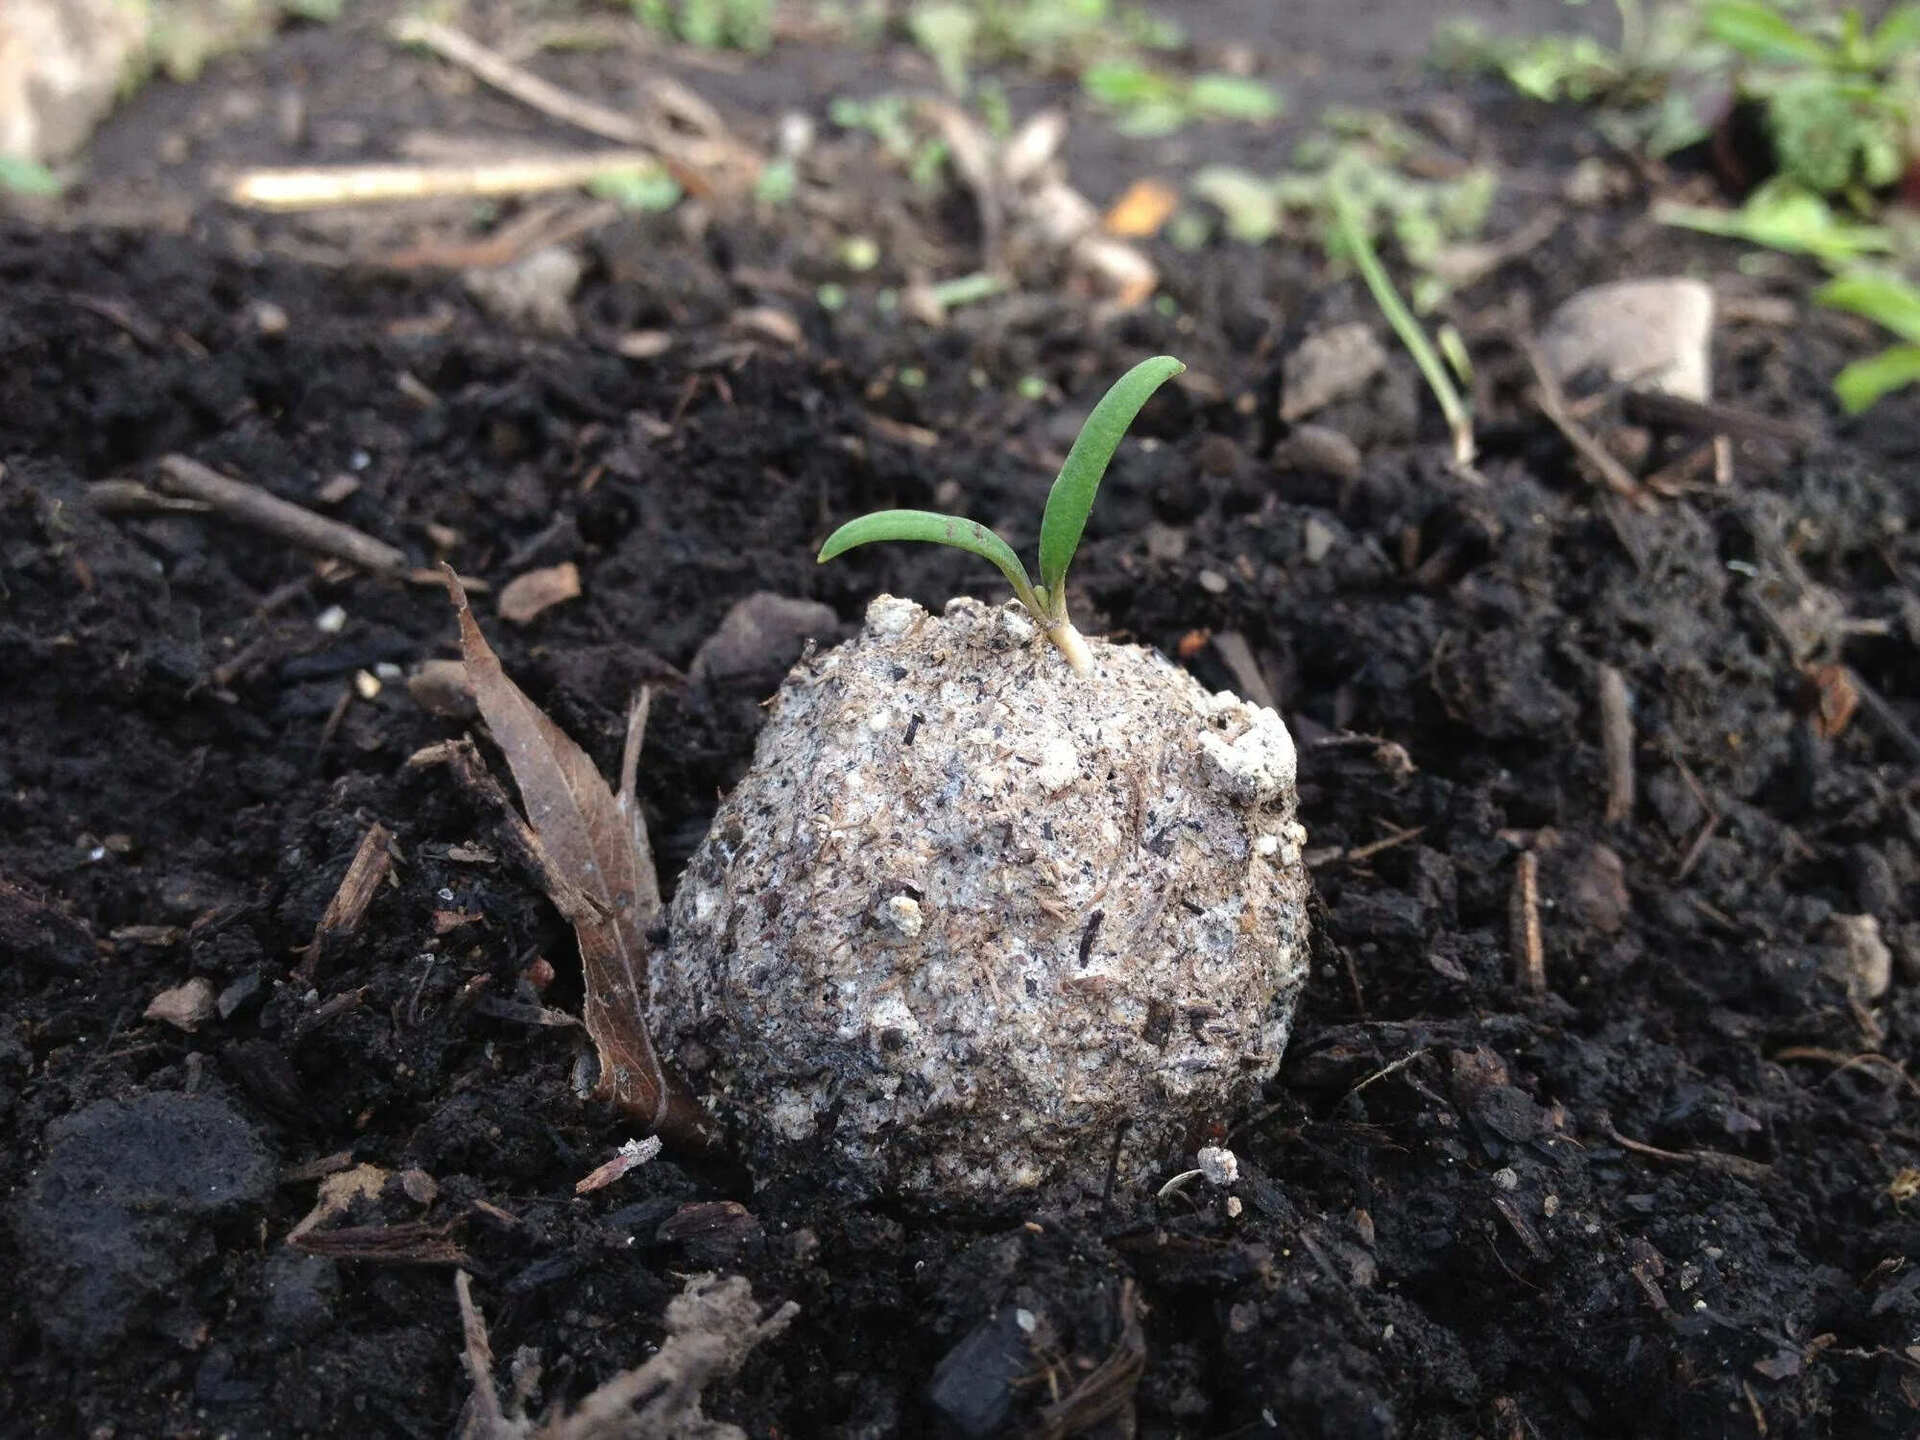
A seed bomb, also known as an ecological grenade or green grenade, is a small ball or capsule that contains seeds encapsulated in a mixture of soil, clay, and compost. These seed bombs are designed to be easily dispersed and planted in various locations, including barren land, urban spaces, and neglected areas.
The idea behind seed bombing is to introduce plant life and enhance biodiversity in areas where it may be difficult to grow plants through traditional methods. The protective coating surrounding the seeds provides them with initial nutrients and protection from environmental factors until they are ready to germinate and grow.
The concept of seed bombing originated in Japan in the 1930s and gained widespread popularity globally as a means to bring life to abandoned or neglected spaces. It has since become a creative and environmentally friendly way to transform urban landscapes and contribute to sustainable gardening practices.
Seed bombs are often used in areas where conventional gardening techniques may be challenging, such as urban environments with limited access to soil or land. By dispersing seed bombs, gardeners and environmental enthusiasts can reclaim neglected spaces, add beauty to urban landscapes, and provide habitats for local wildlife.
Furthermore, seed bombs can be particularly effective in areas impacted by natural disasters or where soil conditions are poor. They can help restore vegetation and prevent soil erosion, making them a valuable tool in ecological restoration efforts.
Now that you know what a seed bomb is, let’s explore the benefits of using seed bombs and how you can plan your own seed bomb project.
Benefits of using seed bombs
Using seed bombs as a gardening technique offers a range of benefits, both for the environment and for gardeners. Let’s explore some of the advantages:
- Promoting biodiversity: Seed bombs allow plant species to flourish in areas where they may not otherwise grow. By introducing a diverse mix of seeds, seed bombs contribute to the creation of vibrant ecosystems that support a variety of flora and fauna.
- Beautifying urban spaces: Seed bombs are an excellent way to add beauty and color to urban landscapes. They can transform dull and neglected spaces into vibrant gardens, improving the aesthetic appeal of the area.
- Enhancing environmental health: Plants play a crucial role in improving air quality by absorbing carbon dioxide and releasing oxygen. Seed bombs aid in the creation of green spaces, reducing pollution levels and improving the overall environmental health of an area.
- Supporting pollinators: Seed bombs that contain flowering plants help attract pollinators, such as bees and butterflies. These insects play a vital role in pollinating plants and ensuring the growth of fruits, vegetables, and other crops.
- Low maintenance gardening: Seed bombs require minimal maintenance compared to traditional gardening methods. Once planted, they only need water and nature’s care to grow. This makes them an ideal option for busy individuals or those with limited gardening experience.
- Cost-effective gardening: Making your own seed bombs is a cost-effective way to beautify your surroundings. By using local seeds and readily available materials, you can create seed bombs at a fraction of the cost of purchasing plants or seedlings.
- Encouraging community engagement: Seed bombing projects can bring communities together. By involving neighbors, friends, or local organizations, you can create a sense of unity and pride in transforming shared spaces into flourishing gardens.
These are just a few of the many benefits that seed bombs offer. Now that we understand the advantages, let’s move on to planning your seed bomb project.
Planning your seed bomb project
Embarking on a seed bomb project requires some careful planning to ensure its success. Here are a few steps to help you get started:
- Define your objectives: Determine the purpose of your seed bomb project. Are you looking to beautify a specific area, promote biodiversity, or support pollinator populations? Having a clear objective will guide your seed selection and planting strategy.
- Research the area: Visit the target location and assess its suitability for seed bomb planting. Observe factors such as sunlight exposure, soil quality, and the presence of any potential obstacles or vegetation that could hinder seed germination.
- Identify native or adapted plant species: Choose seeds that are well-suited to the local climate and soil conditions. Native plants are often the best choice as they are adapted to the specific environment and require less maintenance.
- Consider seed bomb distribution: Determine how and where you will distribute your seed bombs. Identify areas that can benefit from the introduction of plant life, such as empty lots, roadside verges, or containers in urban spaces. Seek permission if necessary, and involve the community to maximize impact.
- Create a timeline: Set realistic timelines for preparing the seed bombs, planting them, and monitoring their progress. Consider the optimal time of year for planting based on the seed species you have chosen.
- Plan for seed bomb care: Establish a plan for watering and maintaining the plants after the seed bombs have been planted. Assign responsibility for regular check-ups and care, ensuring the seedlings have the best chance of survival.
- Document and share your project: Capture the progress of your seed bomb project through photographs or videos. Share your experiences on social media or local gardening forums to inspire others and create a ripple effect of ecological activism.
By taking the time to plan your seed bomb project, you set yourself up for a successful and impactful gardening endeavor. The next step in the process is selecting the right seeds for your seed bombs. Let’s explore that in the next section.
Choosing the Right Seeds
When it comes to selecting seeds for your seed bombs, it’s important to choose varieties that are well-suited to your specific location and project goals. Here are some tips to help you choose the right seeds:
- Consider native plants: Native plant species are adapted to the local environment and are more likely to thrive in your area. They also provide essential food and habitat for local wildlife. Consult local gardening resources or native plant societies to identify suitable native species for your region.
- Assess growing conditions: Take into account the growing conditions of your target location, such as sunlight, soil type, and moisture levels. Select seeds that are compatible with those conditions. Some plants require full sun, while others can tolerate shade. Similarly, certain species prefer well-drained soil, while others can thrive in wetter conditions.
- Consider flowering times: Choose seeds that bloom at different times throughout the growing season to ensure a continuous display of colors and attract a variety of pollinators. This will provide food sources for insects and increase the overall impact of your seed bomb project.
- Opt for hardy varieties: Select seeds of plants that are known for their resilience and ability to withstand environmental challenges. Hardy varieties can tolerate a range of conditions and require less maintenance, making them well-suited for seed bombs.
- Focus on ecological value: Prioritize seeds of plants that have ecological value, such as those that provide nectar and pollen for bees and butterflies, or those that support specific habitat requirements for wildlife. This will contribute to the overall sustainability and balance of your seed bomb project.
- Consider seed viability and germination: Ensure you choose fresh seeds with good germination rates. Check the packaging or seed supplier for information on seed viability and follow their recommendations on storage conditions before use.
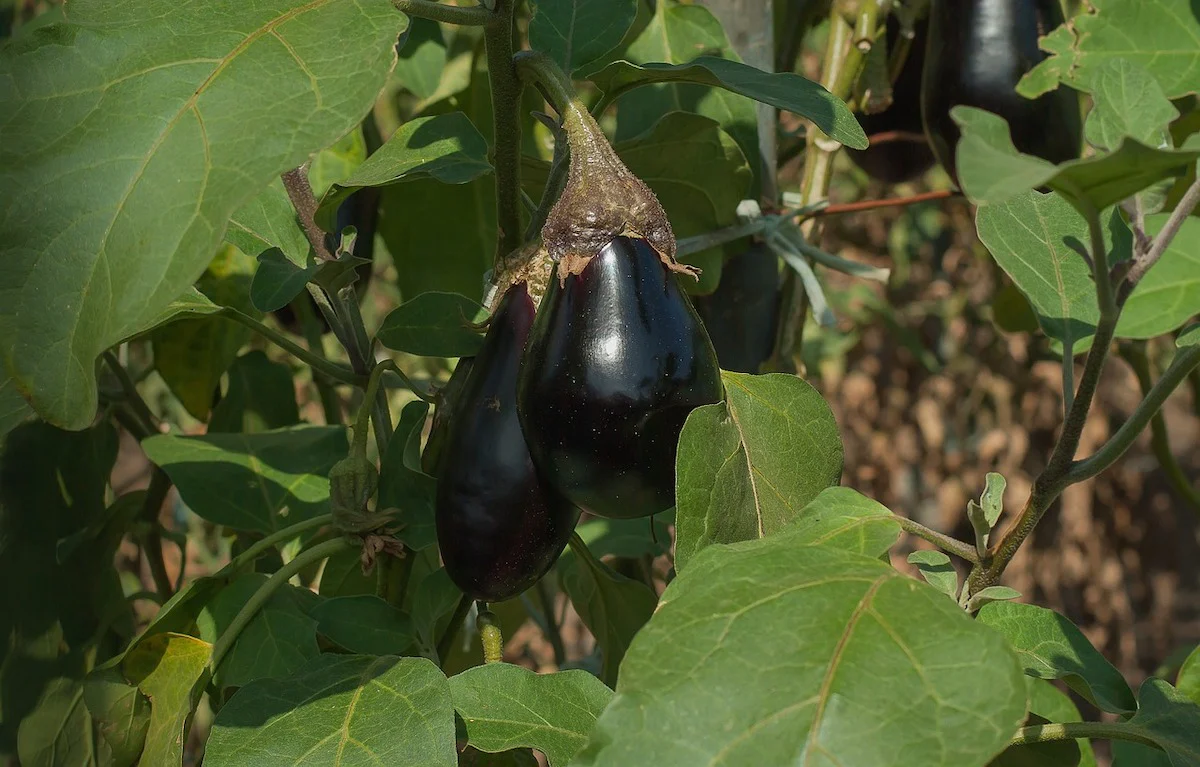
- Opt for diversity: Include a mix of plant species in your seed bombs to promote biodiversity and create a more resilient ecosystem. Choose a variety of flowers, grasses, and even herbs or vegetables if suitable for your project objectives.
By carefully selecting the right seeds for your seed bombs, you can ensure the success and long-term impact of your gardening project. In the next section, we will discuss the materials needed for making seed bombs.
Read more: How To Make A Seed Bomb
Materials Needed for Making Seed Bombs
Creating seed bombs is a fun and straightforward DIY project that requires just a few simple materials. Here’s what you’ll need to get started:
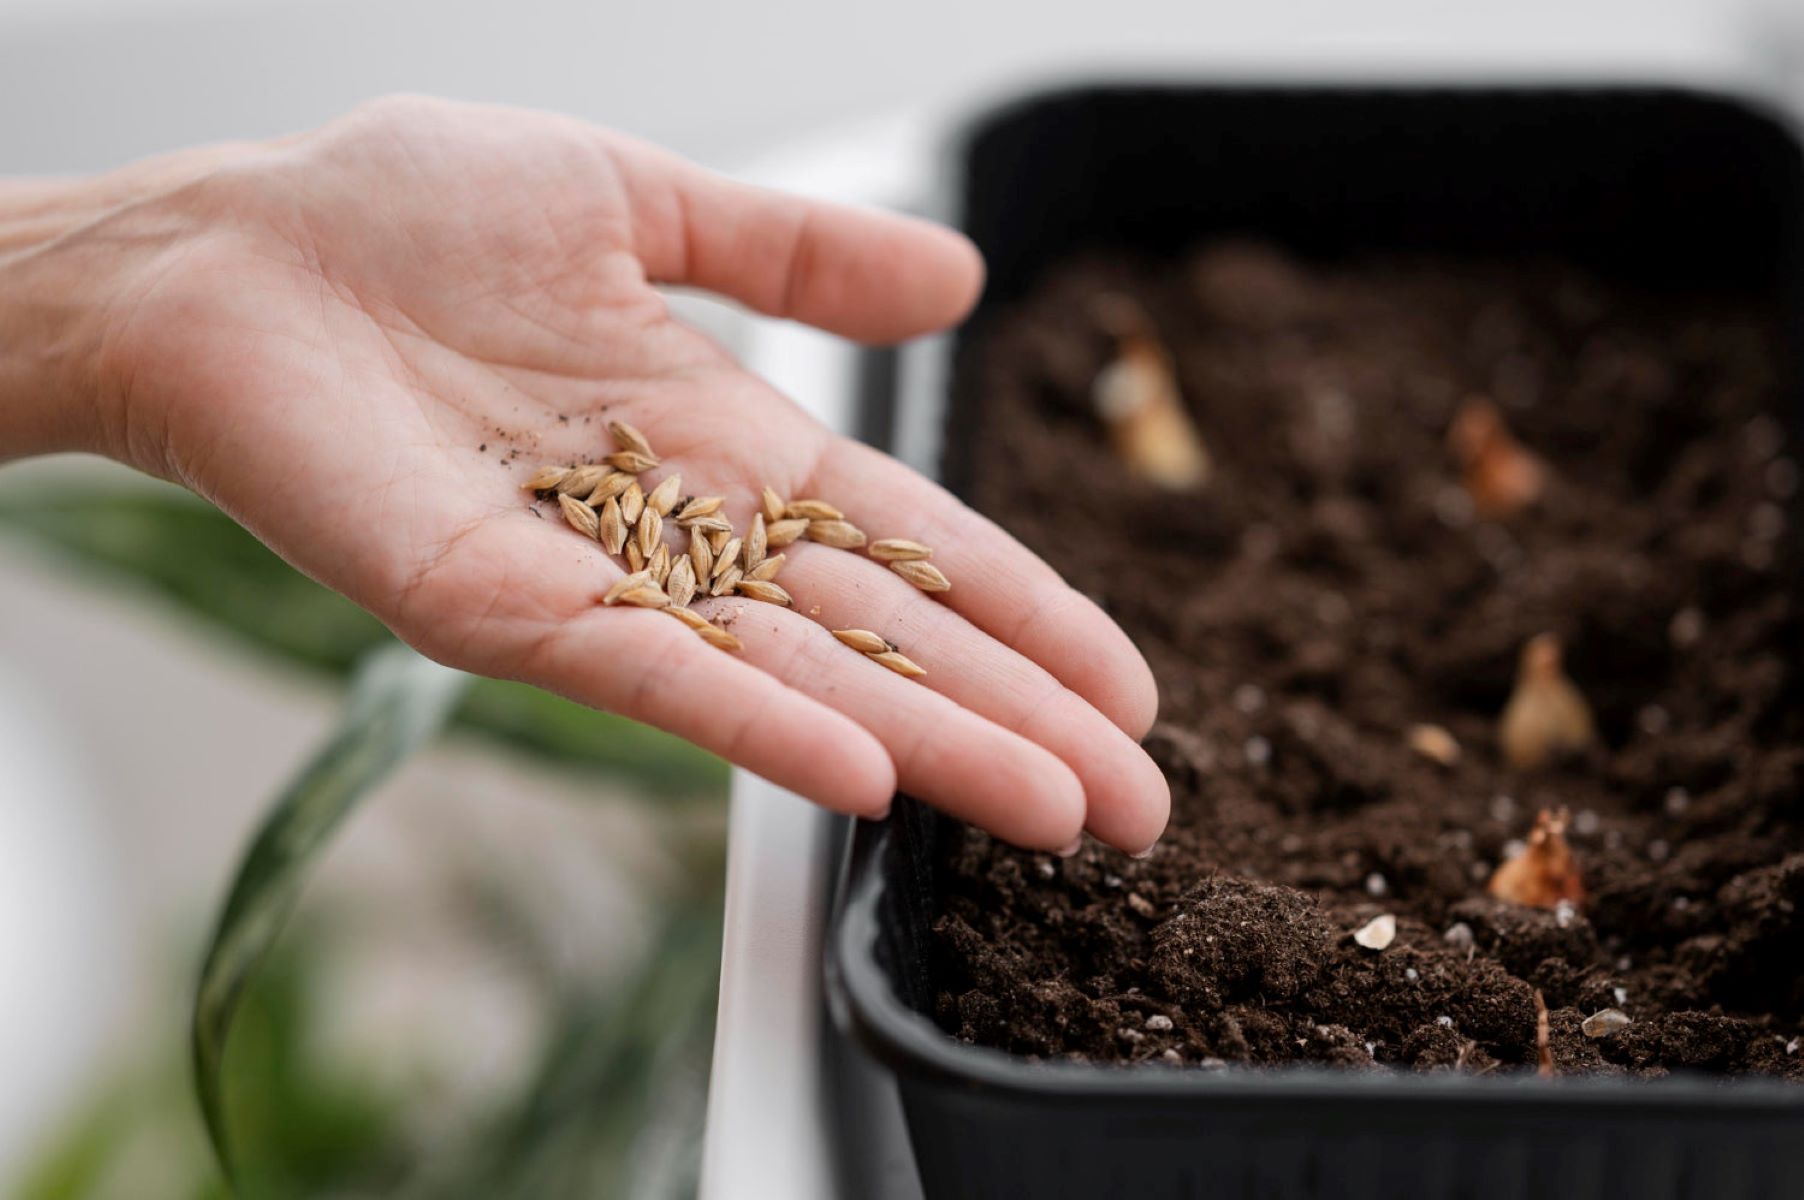
- Seeds: Choose a variety of seeds based on your project goals, growing conditions, and preferred plant species. Make sure to select high-quality seeds that are suitable for the environment in which you plan to plant them.
- Compost: Compost provides essential nutrients for the seeds to germinate and grow. It also improves soil quality and helps retain moisture. If you don’t have compost readily available, you can purchase it from a local garden center or make your own using kitchen scraps and organic waste.
- Clay: The clay acts as a binder and protective coating for the seeds. It helps hold the seed bombs together and prevents them from drying out too quickly. Bentonite or powdered clay can be purchased from pottery supply stores or online.
- Soil: Soil provides a growing medium for the seeds. Use a high-quality potting soil or garden soil that is well-draining and rich in organic matter. Avoid using soil from your garden, as it may contain weed seeds or pests that could affect the success of your seed bombs.
- Water: Water is essential for the seed bomb-making process. It helps create a workable mixture and aids in seed germination after the bombs are planted.
- Mixing container: Use a large mixing bowl or bucket to combine the ingredients and create the seed bomb mixture. Make sure the container is clean and large enough to comfortably mix the ingredients without spilling.
- Molds or shaping tools: You will need molds or shaping tools to form your seed bombs into uniform shapes. This can be as simple as using your hands to shape them into small balls or using specialized tools such as cookie cutters or ice cube trays to create various shapes.
- Drying surface: After shaping the seed bombs, you’ll need a flat surface where they can dry. This can be a baking sheet, tray, or a flat area of your garden where they can sit undisturbed.
Once you have gathered all the necessary materials, you’re ready to start making your seed bombs. In the next section, we’ll provide a step-by-step guide to help you through the process. Get ready to get your hands dirty!
When making seed bombs, use a mix of clay, compost, and native wildflower seeds. Roll into small balls and let dry before tossing into a bare area to grow.
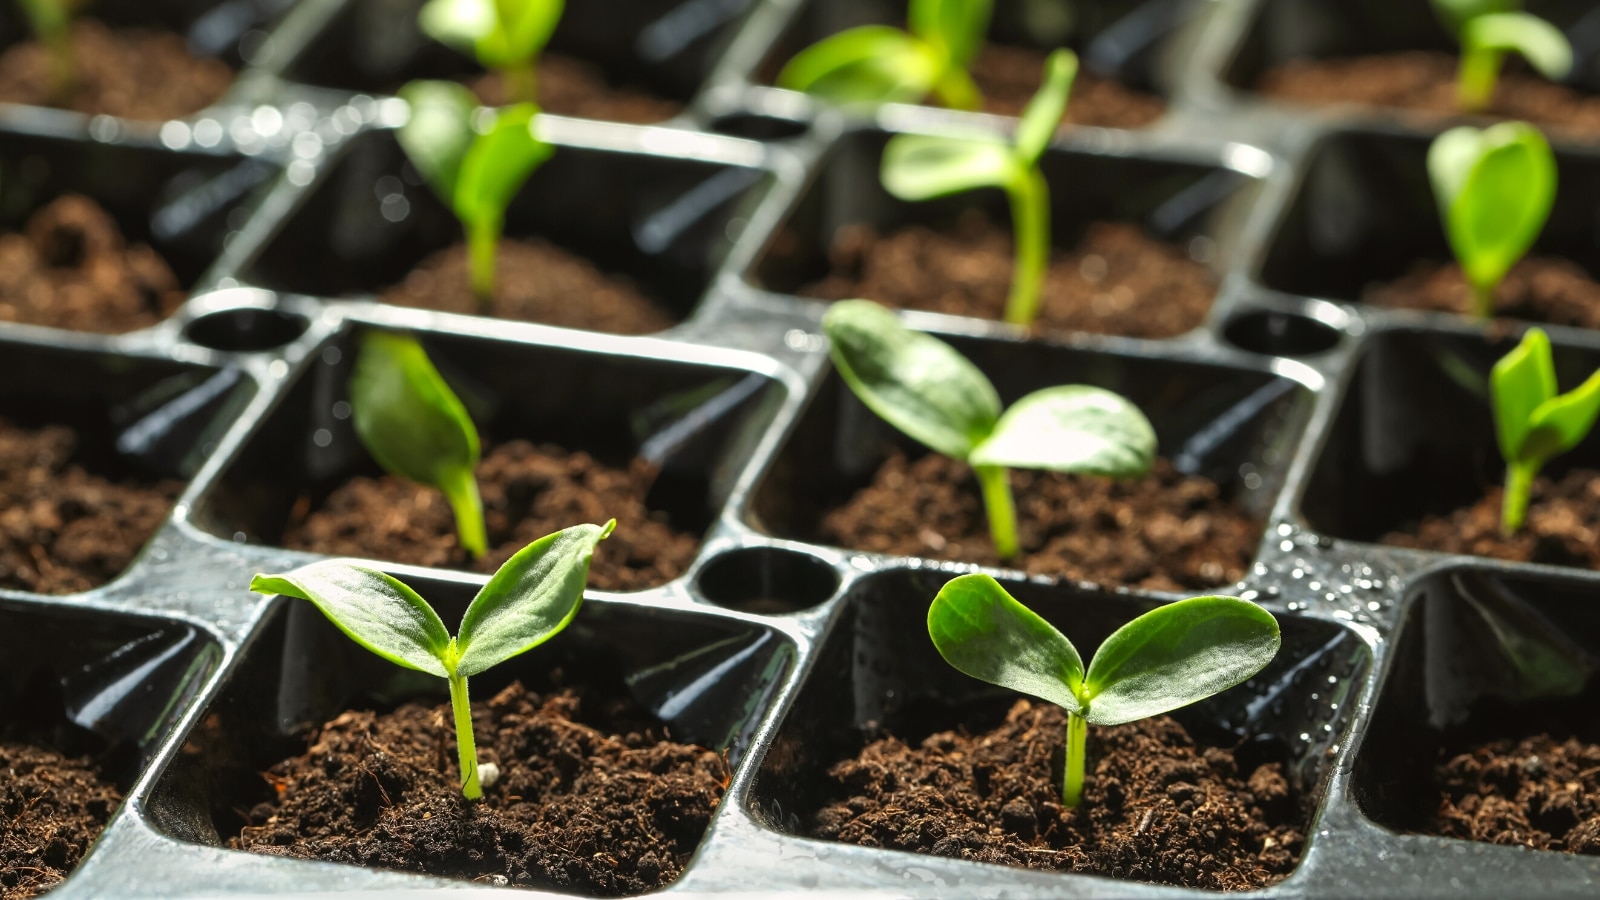
Step-by-step Guide to Making Seed Bombs
Making seed bombs is a fun and rewarding process that allows you to be a part of the green revolution. Follow these step-by-step instructions to create your own seed bombs:
- Gather your materials: Collect all the materials needed for making seed bombs, including seeds, compost, clay, soil, water, mixing container, molds or shaping tools, and a drying surface.
- Prepare the mixture: In a large mixing container, combine equal parts clay and compost. Gradually add in soil, mixing it thoroughly with the clay and compost mixture. The goal is to create a workable consistency that holds its shape when formed into a ball.
- Add water: Slowly add water to the mixture while continuously mixing it. The mixture should be moist enough to hold together without being overly wet or sticky. Be cautious not to add too much water, as it can make the mixture difficult to handle.
- Add seeds: Once the mixture reaches the right consistency, add your chosen seeds. Gently mix them into the mixture, making sure they are evenly distributed throughout.
- Shape the seed bombs: Take small handfuls of the seed bomb mixture and shape them into balls or desired shapes using your hands or molds. Ensure they are compact and well-formed, as this will help them hold together during planting.
- Dry the seed bombs: Place the shaped seed bombs on a drying surface, such as a baking sheet or tray. Allow them to dry completely for at least 24 to 48 hours. This will give them time to harden and ensure they hold their shape when planted.
- Store or distribute: Once the seed bombs have dried, store them in a cool, dry place in an airtight container until you are ready to use them. Alternatively, distribute them to friends, neighbors, or community members to spread the joy of seed bombing.
With these simple steps, you can create your own batch of seed bombs ready to be planted and bring life to various spaces. In the next section, we’ll provide some tips for successful seed bomb planting to ensure the best possible results.
Tips for Successful Seed Bomb Planting
Planting your seed bombs in the right way can greatly increase their chances of success and help you achieve your gardening goals. Here are some tips to ensure successful seed bomb planting:
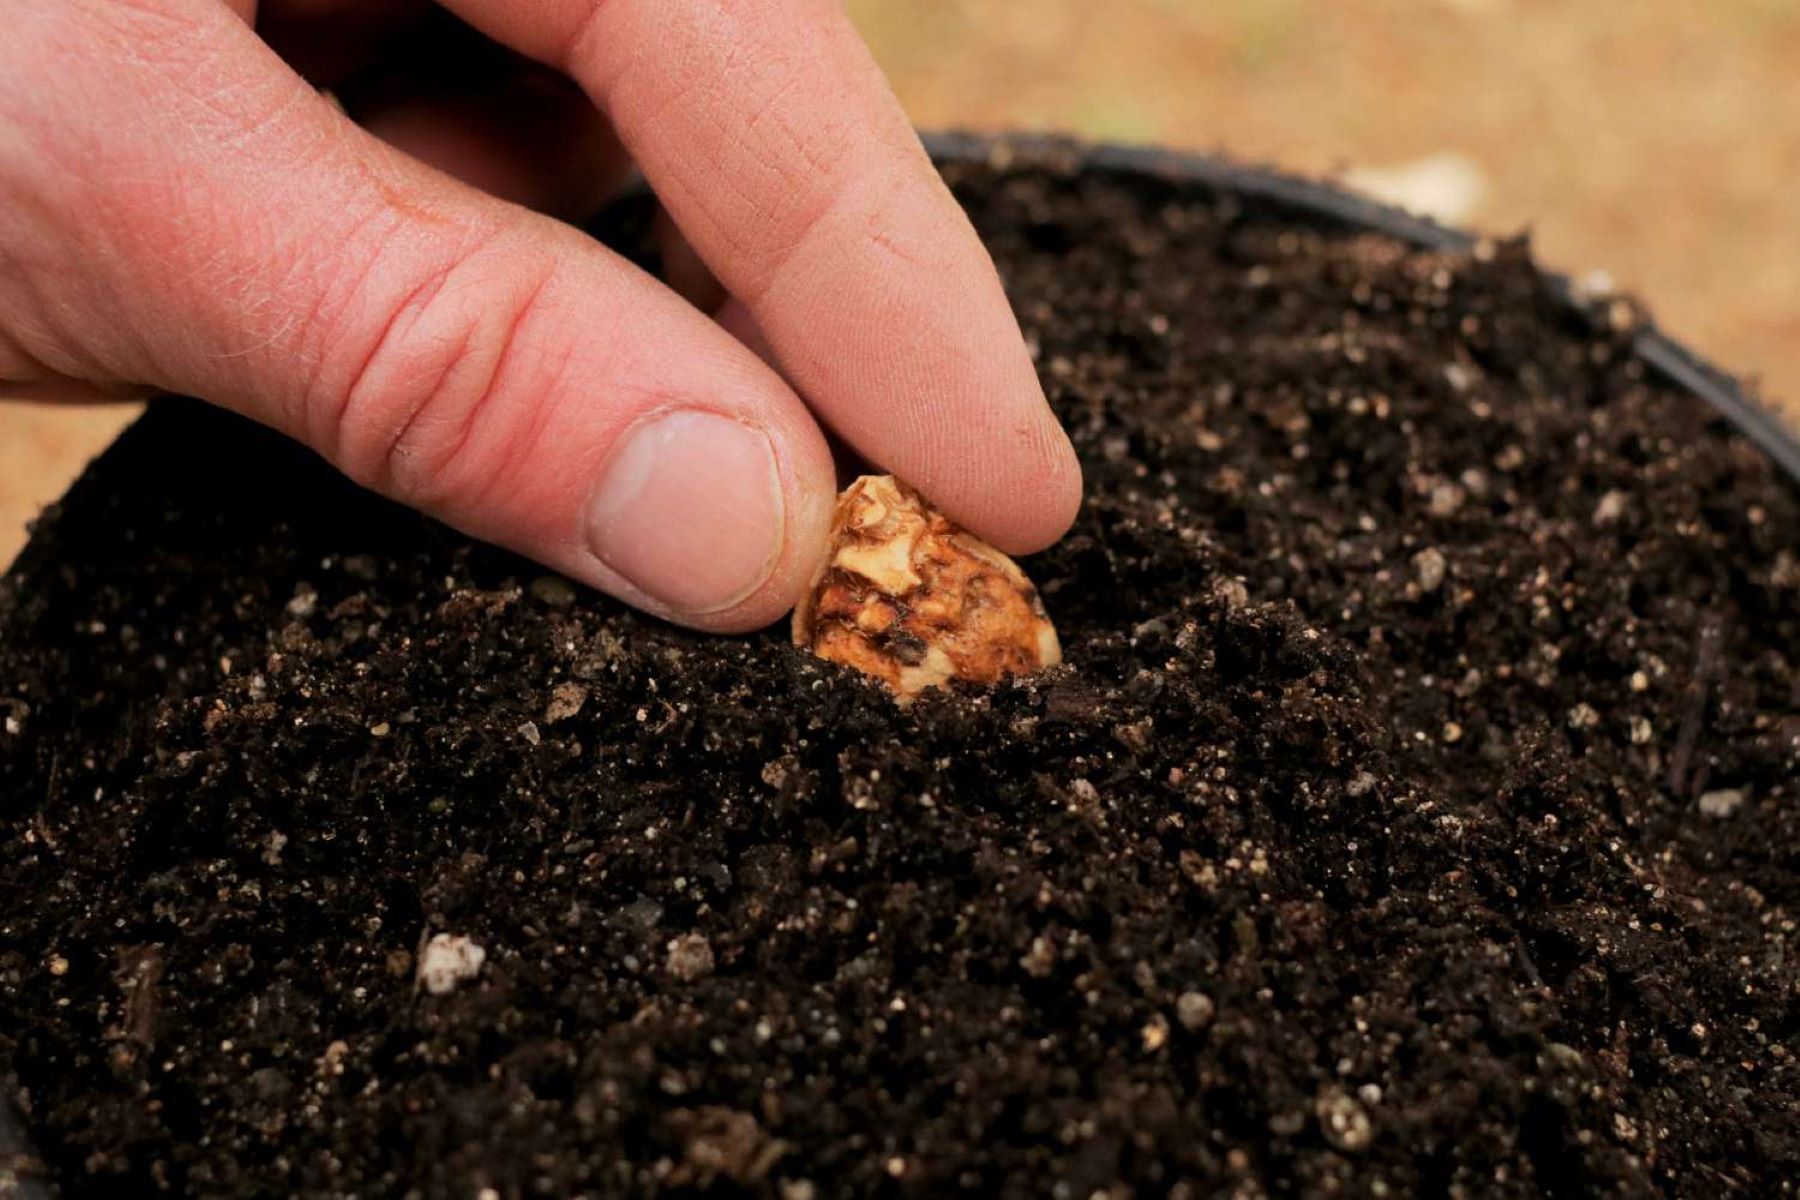
- Choose the right time: Plant your seed bombs during the optimal planting season for the chosen plant species. Different plants have different preferences for temperature and moisture, so be sure to consider these factors when deciding the best time to plant.
- Prepare the planting area: Clear the planting area of any debris or vegetation that may obstruct the growth of your seed bombs. Loosen the soil with a garden fork to create a friendly environment for the seeds to germinate.
- Water the area: Before planting, water the planting area lightly to moisten the soil. This will help the seed bombs settle and make it easier for the seeds to establish contact with the soil for germination.
- Aim for optimal planting depth: Depending on the seed type, aim for a planting depth that ensures good seed-to-soil contact without burying the seeds too deeply. Follow the recommended planting depth specified on the seed packet for best results.
- Space seed bombs appropriately: Plant the seed bombs with adequate spacing to allow room for the plants to grow and spread. Overcrowding can lead to competition for resources and hinder the growth of individual plants.
- Water regularly: After planting the seed bombs, water the area regularly to keep the soil consistently moist until the seeds germinate and establish themselves. Avoid overwatering, as it can lead to waterlogged conditions that are detrimental to seedling growth.
- Monitor and weed: Keep an eye on the planted area and remove any weeds that compete with the seedlings for nutrients and sunlight. Regular weeding will ensure the best chance of survival and growth for your desired plants.
- Be patient and observe: It may take some time for the seeds to germinate and for the plants to establish themselves. Be patient and observe the progress, providing the necessary care and attention as needed.
By following these tips, you can maximize the success of your seed bomb planting efforts and enjoy the transformation of your surroundings into an enchanting garden. In the final section, we will discuss the ideal growing conditions for seed bombs to thrive.
Ideal Growing Conditions for Seed Bombs
For seed bombs to thrive and flourish, providing the right growing conditions is essential. Here are some key factors to consider when creating an ideal environment for your seed bombs:
- Sunlight: Most plants require adequate sunlight to grow and thrive. Ensure that the planting area receives the appropriate amount of sunlight based on the seed species you have chosen. Some plants prefer full sun, while others can tolerate partial shade.
- Soil quality: Good soil quality is crucial for the success of your seed bombs. Ensure that the soil is well-draining, rich in organic matter, and free from contaminants. If the soil in your area is poor, consider amending it with compost or organic matter to improve its fertility and structure.
- Moisture: Maintaining proper soil moisture is essential for the germination and growth of the seeds. While seed bombs are designed to retain moisture, they still require regular watering, especially during dry periods. However, be cautious not to overwater, as excessively wet conditions can lead to fungus or root rot.
- Temperature: Different plants have different temperature preferences. Ensure that the temperature in your area aligns with the requirements of the seeds you have chosen. Some plants thrive in cool temperatures, while others prefer warmth.
- Protection from pests and animals: Wildlife, insects, and pests can pose a threat to your seed bombs. Consider protective measures such as using mesh or netting to deter animals and insects, and regularly monitor for signs of pests or diseases.
- Space for growth: Give your seed bombs enough space to grow and spread. Consider the mature size of the plants and allow sufficient room between seed bombs to avoid overcrowding, which can hinder their establishment and growth.
- Regular maintenance: Regular maintenance is key to ensuring the health and vitality of your seed bombs. This includes watering, weeding, and providing any necessary support or pruning as the plants grow.
By creating the ideal growing conditions, you provide the best chance for your seed bombs to thrive and contribute to a vibrant and beautiful garden. Remember to monitor the progress of your seed bombs and make adjustments as needed to maintain the optimal environment for their growth.
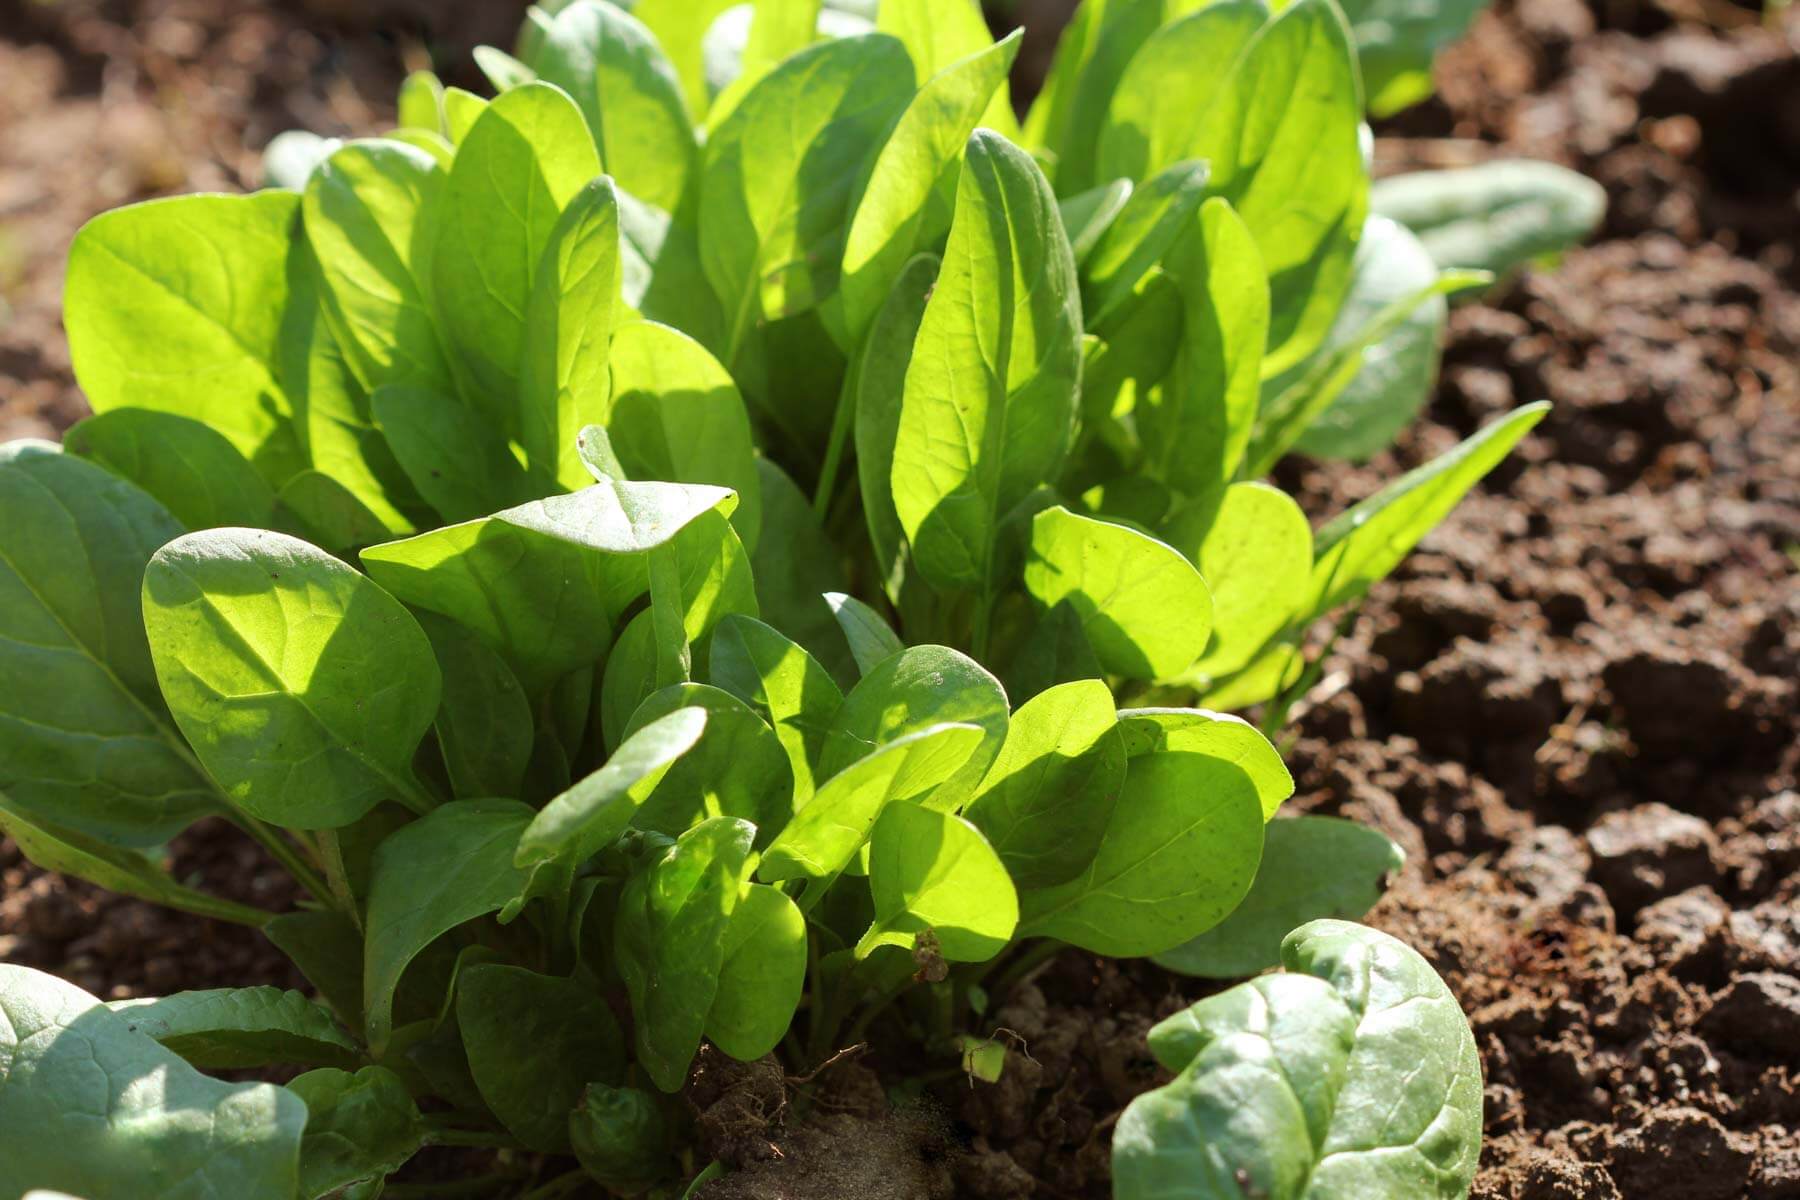
With these tips, you are well-equipped to embark on your own seed bomb project. Seed bombing allows us to be active participants in greening our surroundings and contributing to a more sustainable and vibrant environment. So, get creative, have fun, and let your seed bombs bring forth a world of beauty and biodiversity!
Read more: How To Plant Wildflower Seed Bombs
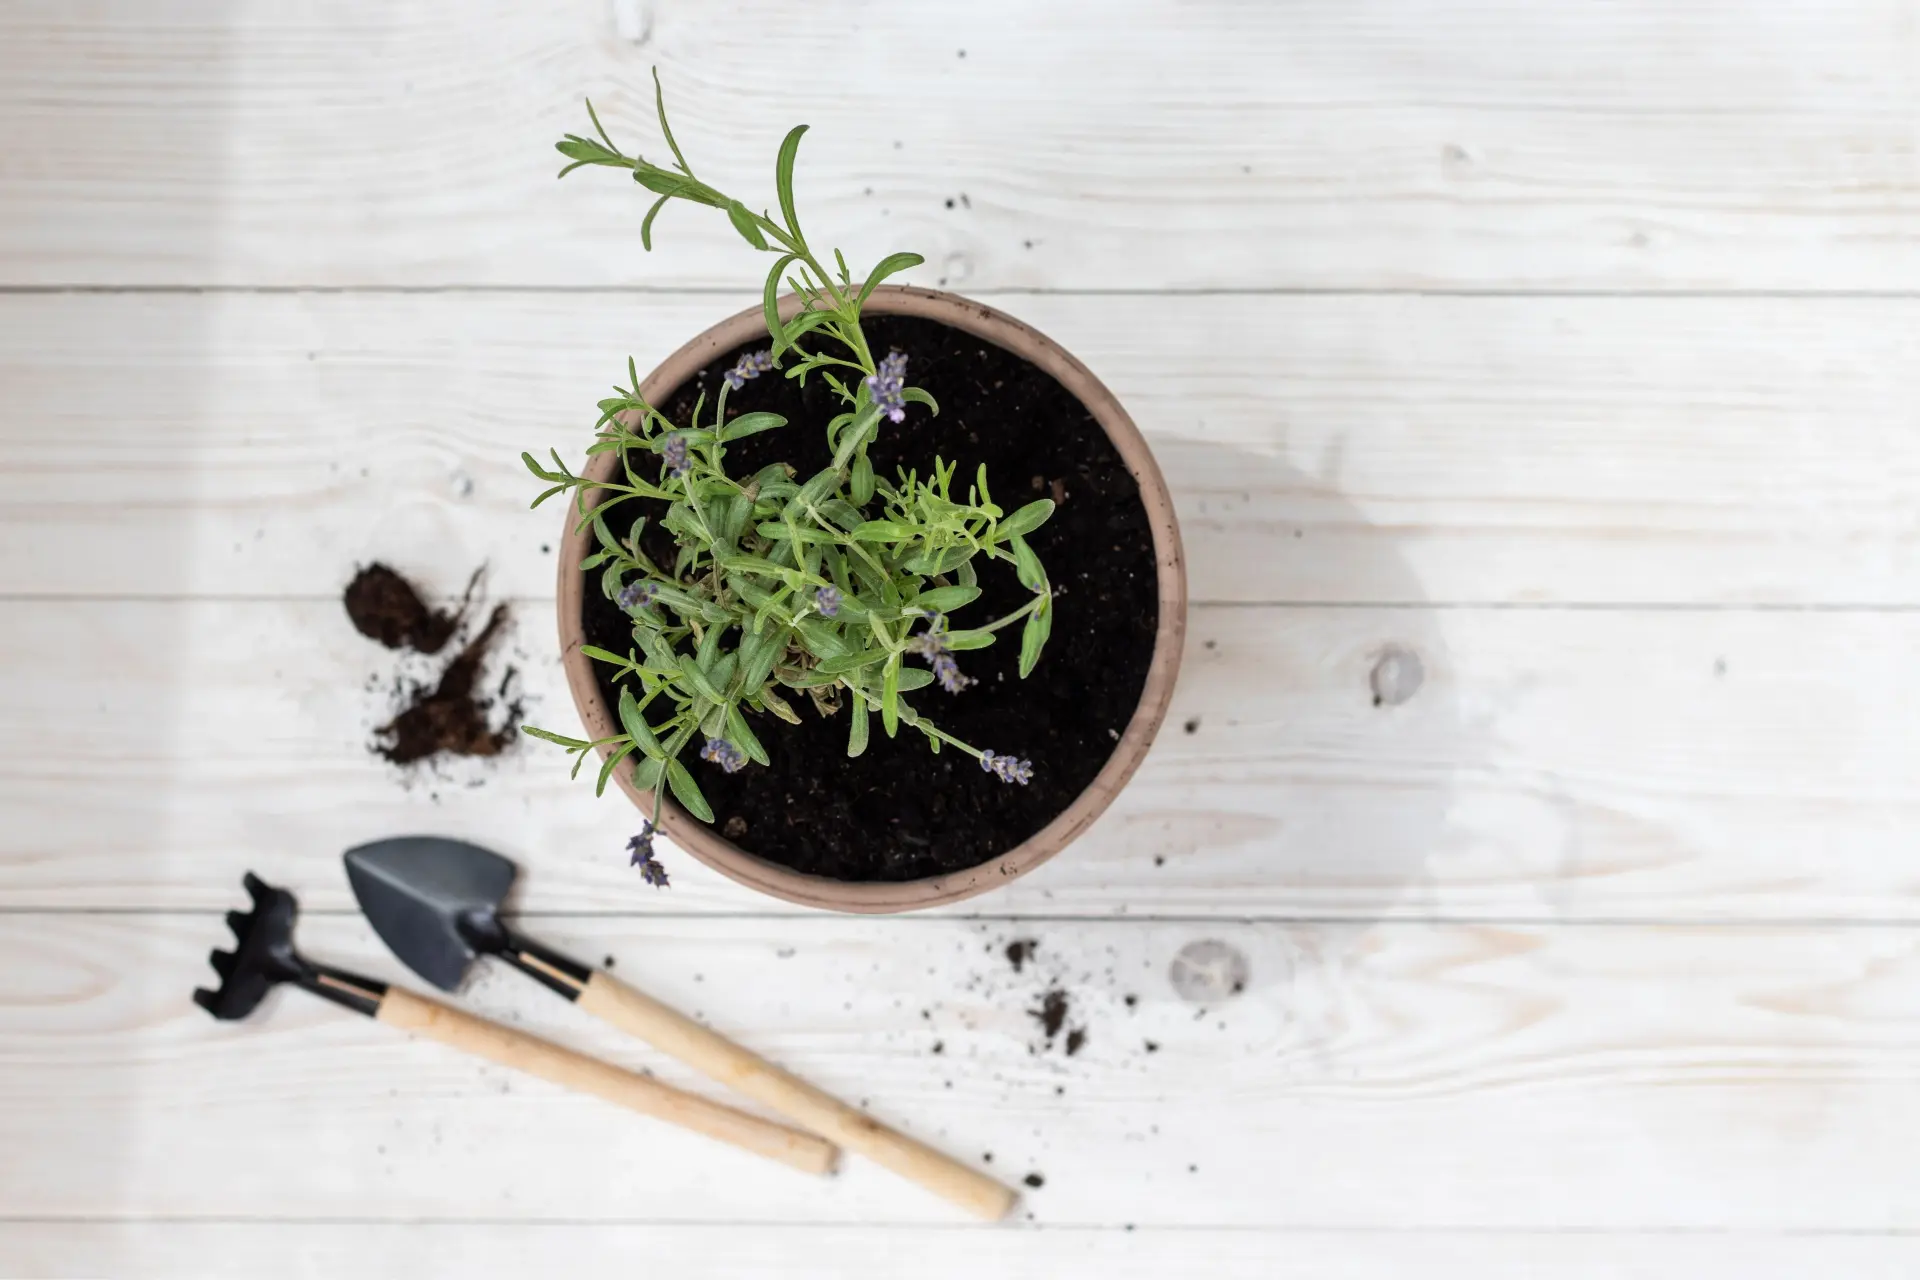
Maintaining and Caring for Your Seed Bombs
To ensure the success and longevity of your seed bombs, it’s important to provide proper maintenance and care. Here are some essential tips for maintaining and caring for your seed bombs:
- Watering: Seed bombs require regular watering, especially during dry periods when natural rainfall may be insufficient. Keep the soil consistently moist, but not waterlogged, to support seed germination and the establishment of young seedlings. Use a gentle spray or watering can to avoid disturbing the seed bombs.
- Weeding: Regular weeding is essential to minimize competition between the seedlings and any unwanted vegetation. Remove weeds carefully to avoid disturbing the seeds or delicate seedlings. Mulching around the seed bombs can help suppress weed growth and retain soil moisture.
- Protection from pests: Monitor your seed bombs for any signs of pests or diseases. Deal with any potential issues promptly by using organic pest control methods or seeking advice from a local gardening expert. Taking preventative measures, such as installing physical barriers or using natural repellents, can help protect your seed bombs from animal browsing or insect damage.
- Provide support: As the plants grow, some may benefit from additional support to prevent them from bending or breaking. Use stakes, trellises, or plant supports to provide stability and help guide their growth in the desired direction.
- Monitor and adjust: Regularly monitor your seed bombs for signs of growth and health. Observe the development of the plants and make adjustments as necessary, such as thinning out overcrowded areas or providing extra care for slower-growing seedlings.
- Deadheading and pruning: Depending on the plant species, deadheading (removing spent flowers) and pruning may be necessary to promote continuous blooming and maintain the overall shape and health of the plants. Follow specific guidelines for each plant’s care requirements.
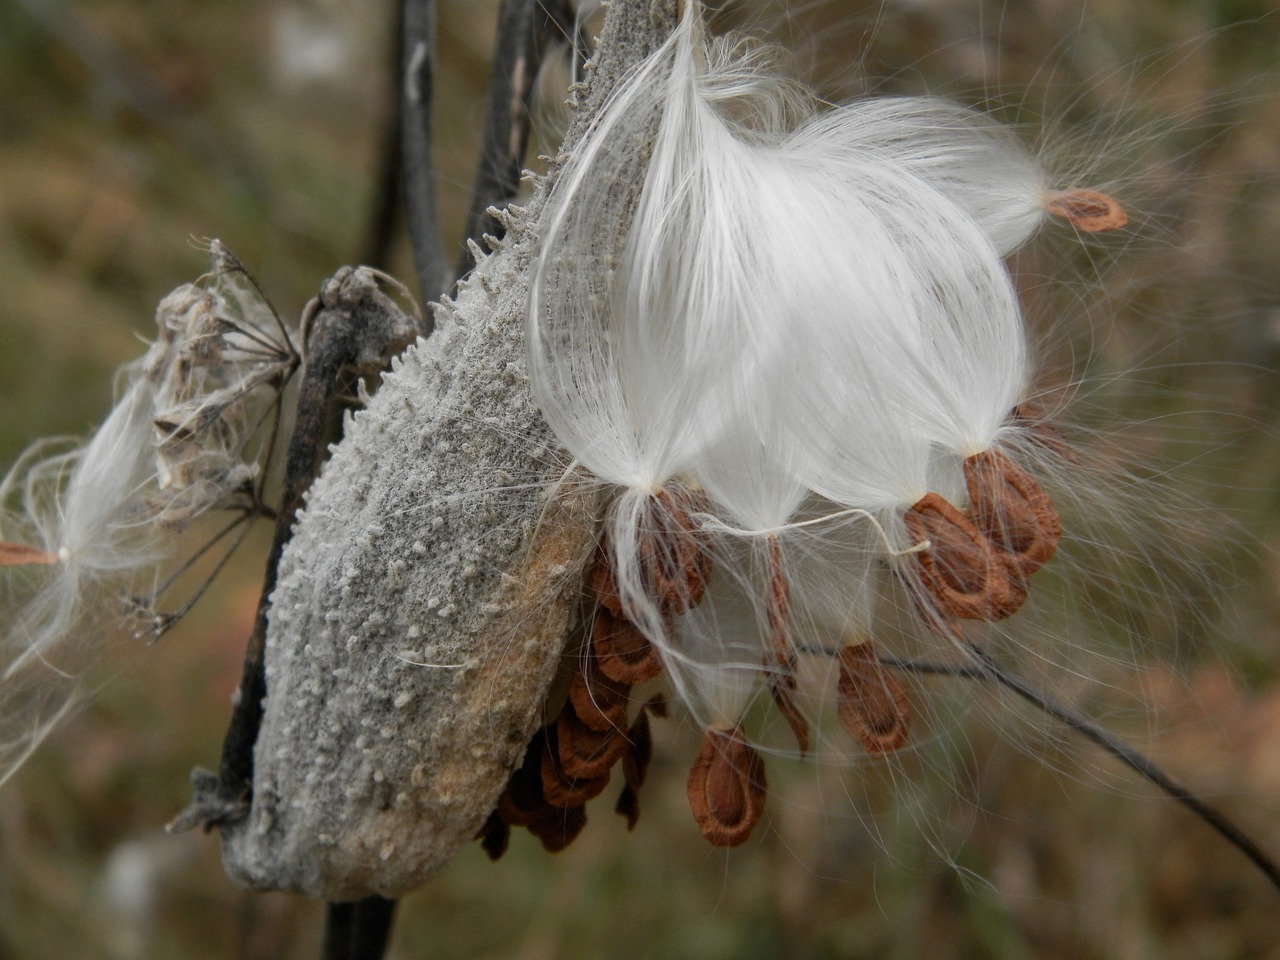
- Harvesting seeds: After the flowering period, some plants will produce seeds that you can harvest for future use. Allow the seeds to fully mature and dry on the plants, then carefully collect and store them in a cool, dry place for future planting or sharing with others.
- Share the joy: Seed bombing is a fulfilling and communal activity. Share your knowledge and experiences with others, inspire them to start their own seed bombing projects, and encourage the preservation and expansion of green spaces in your community.
By providing the necessary care and attention to your seed bombs, you will create a flourishing garden filled with vibrant blooms and thriving plants. Remember that gardening is a continuous learning process, so be open to experimentation and adapt your care routine based on your observations and the specific needs of the plants.
With these maintenance and care tips, you are well-equipped to nurture your seed bombs and enjoy the beautiful results of your gardening efforts for seasons to come.
Conclusion
Seed bombing is not only an innovative gardening technique but also a powerful way to contribute to the greening of our surroundings and promote biodiversity in urban environments. By encapsulating seeds in protective coatings and dispersing them in various areas, seed bombs allow us to transform neglected spaces into blooming gardens, attracting pollinators and enhancing the beauty of our communities.
Throughout this article, we have explored the world of seed bombing, starting with the definition and benefits of using seed bombs. We discussed the importance of planning your seed bomb project, choosing the right seeds, and gathering the necessary materials. We provided a step-by-step guide to making seed bombs and shared tips for successful planting and maintenance.
Whether you’re looking to add color to a vacant lot, create a thriving urban garden, or support local wildlife, seed bombing offers an accessible and enjoyable way to make a positive impact on the environment. It allows us to be active participants in the growth and rejuvenation of our surroundings, even in areas with limited space or poor soil quality.
As you embark on your seed bomb journey, remember to be patient and observant. Gardening is a continuous learning process, and each seed bomb represents the potential for life and growth. Embrace the joy of seeing your seed bombs bloom and share the beauty with others.
So, gather your materials, select the seeds that resonate with your vision, and get ready to create your seed bombs. Spread them in the chosen areas, provide them with the care they need, and watch as your seed bombs come to life, transforming abandoned spaces into thriving gardens.
Let seed bombing be a catalyst for positive change, igniting a love for nature and inspiring others to participate in the green revolution. Together, we can create a greener, more biodiverse world, one seed bomb at a time.
Frequently Asked Questions about How To Plant A Seed Bomb
Was this page helpful?
At Storables.com, we guarantee accurate and reliable information. Our content, validated by Expert Board Contributors, is crafted following stringent Editorial Policies. We're committed to providing you with well-researched, expert-backed insights for all your informational needs.


0 thoughts on “How To Plant A Seed Bomb”