Home>Garden Essentials>How To Make Seed Tape
Garden Essentials
How To Make Seed Tape
Modified: March 15, 2024
Learn how to make seed tape for your garden with this easy step-by-step guide. Create custom seed strips to simplify planting and maximize growth.
(Many of the links in this article redirect to a specific reviewed product. Your purchase of these products through affiliate links helps to generate commission for Storables.com, at no extra cost. Learn more)
Introduction
Welcome to the wonderful world of gardening! If you’re a gardening enthusiast or someone looking to start their very own garden, you’ve come to the right place. One of the important aspects of successful gardening is the ability to sow seeds in a precise and organized manner. This is where seed tape comes in handy. Seed tape is a simple yet effective tool that helps you plant seeds evenly spaced and at the right depth, giving your plants the best chance to grow and thrive.
In this article, we will guide you through the process of making your own seed tape, step by step. We’ll cover everything from choosing the right seeds to harvesting your plants. So, whether you’re a seasoned gardener or a complete beginner, get ready to learn how to create your own seed tape and level up your gardening game.
But before we jump into the process of making seed tape, let’s quickly go through the materials you’ll need:
Key Takeaways:
- Making seed tape helps you plant seeds evenly and at the right depth, giving your plants the best chance to grow and thrive. It’s a fun and organized way to kickstart your gardening adventure!
- Harvesting your plants is a satisfying culmination of your gardening journey. Enjoy the fruits of your labor by using your harvest in delicious recipes or preserving them for future use. Happy gardening!
Read more: How To Make Seed Tape For Carrots
Materials Needed
- Seeds of your choice
- Toilet paper, newspaper, or tissue paper
- Ruler or measuring tape
- Small paintbrush or cotton swabs
- All-purpose glue or flour and water mixture
- Marker or pen
- Water spray bottle
- Plastic wrap or Ziploc bags
Now that you have gathered all the necessary materials, let’s dive into the step-by-step process of making your own seed tape.
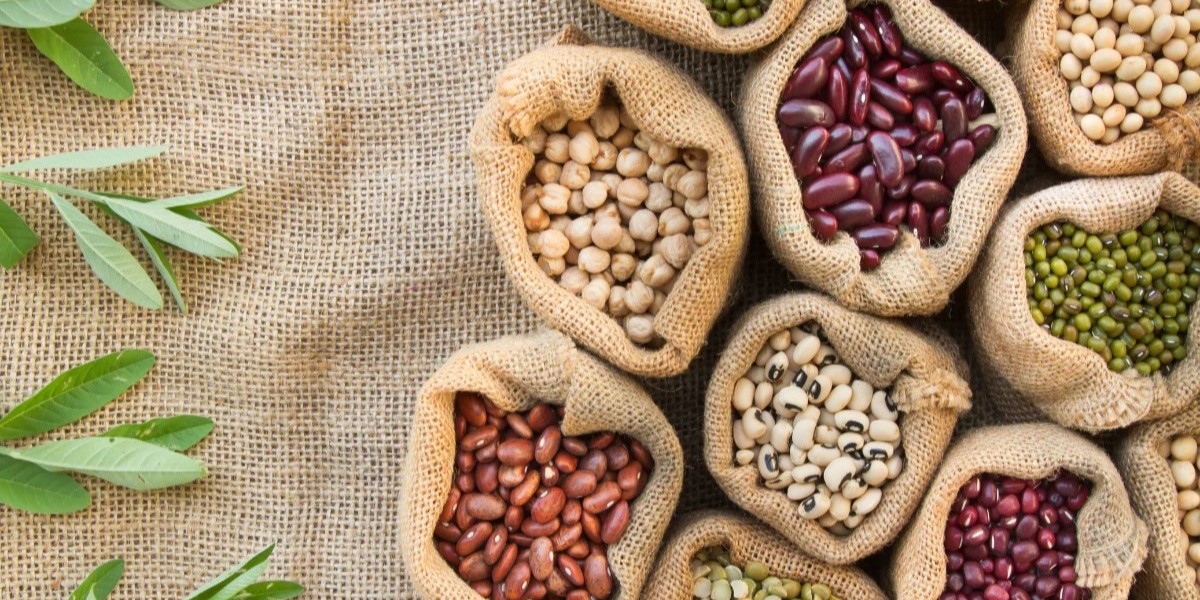
Step 1: Choosing the Seeds
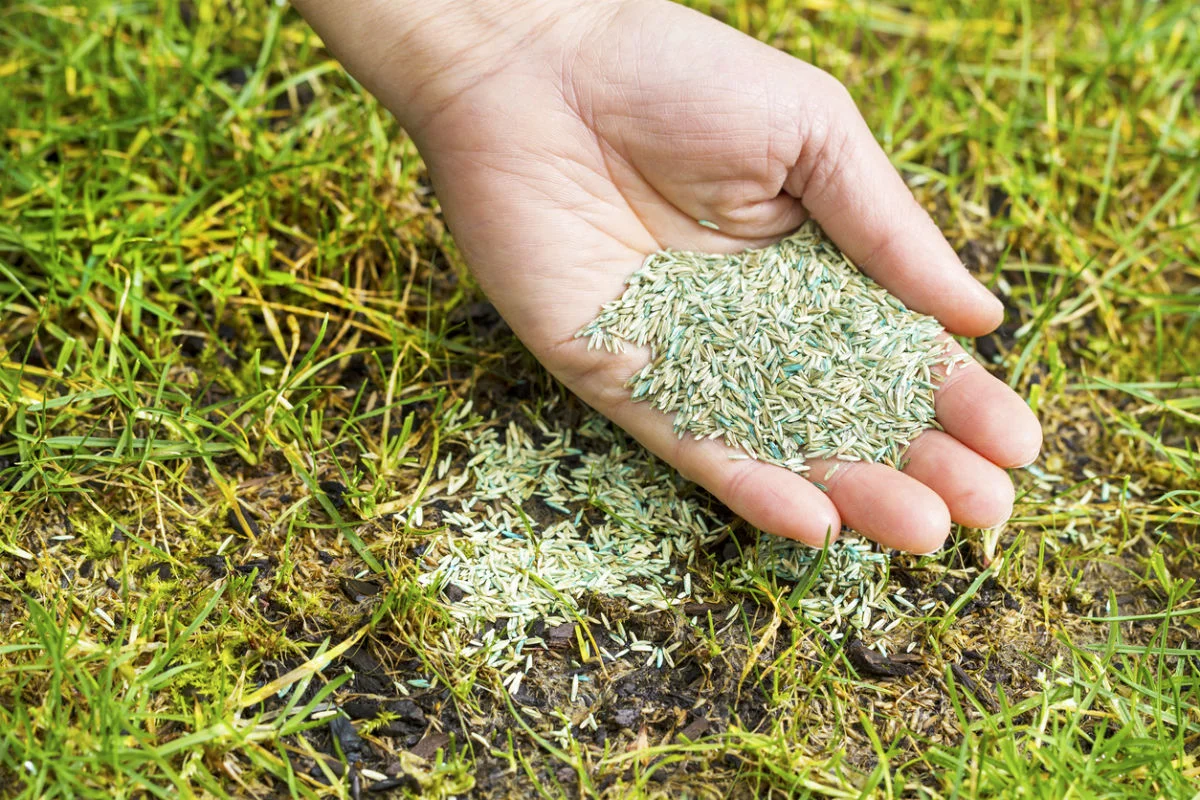
The first step in making your own seed tape is to choose the seeds you want to plant. Consider the type of garden you have and the climate in your area. Select seeds that are suitable for the growing conditions and the season.
Whether you prefer to grow flowers or vegetables, there is a wide range of seeds available to choose from. Research which plants are best suited to your garden’s sunlight, soil conditions, and the amount of space you have available. You can find seed packets at your local garden center or order them online from reputable seed suppliers.
When choosing seeds, it’s essential to consider factors such as plant size, growth habits, and companion planting. Some plants require more space to grow, while others can be grown in containers or small spaces. Additionally, certain plants thrive when planted alongside specific companions as they provide mutual benefits.
Take your time to research various plant varieties and their specific requirements. Consider factors such as planting depth, spacing, and germination time. This will ensure that you choose seeds that are suitable for creating seed tape and that will have a high success rate when planted.
Once you have selected the seeds for your seed tape, move on to the next step of preparing the tape itself.
Step 2: Preparing the Seed Tape
Now that you have chosen the seeds for your seed tape, it’s time to prepare the tape itself. You can use various materials for creating the seed tape, such as toilet paper, newspaper, or tissue paper.
To start, cut the paper into strips that are around 1-2 inches wide. The length of the strips can vary depending on the number of seeds you want to plant and the available space in your garden. Keep in mind that the strip length should be manageable and easy to handle during the planting process.
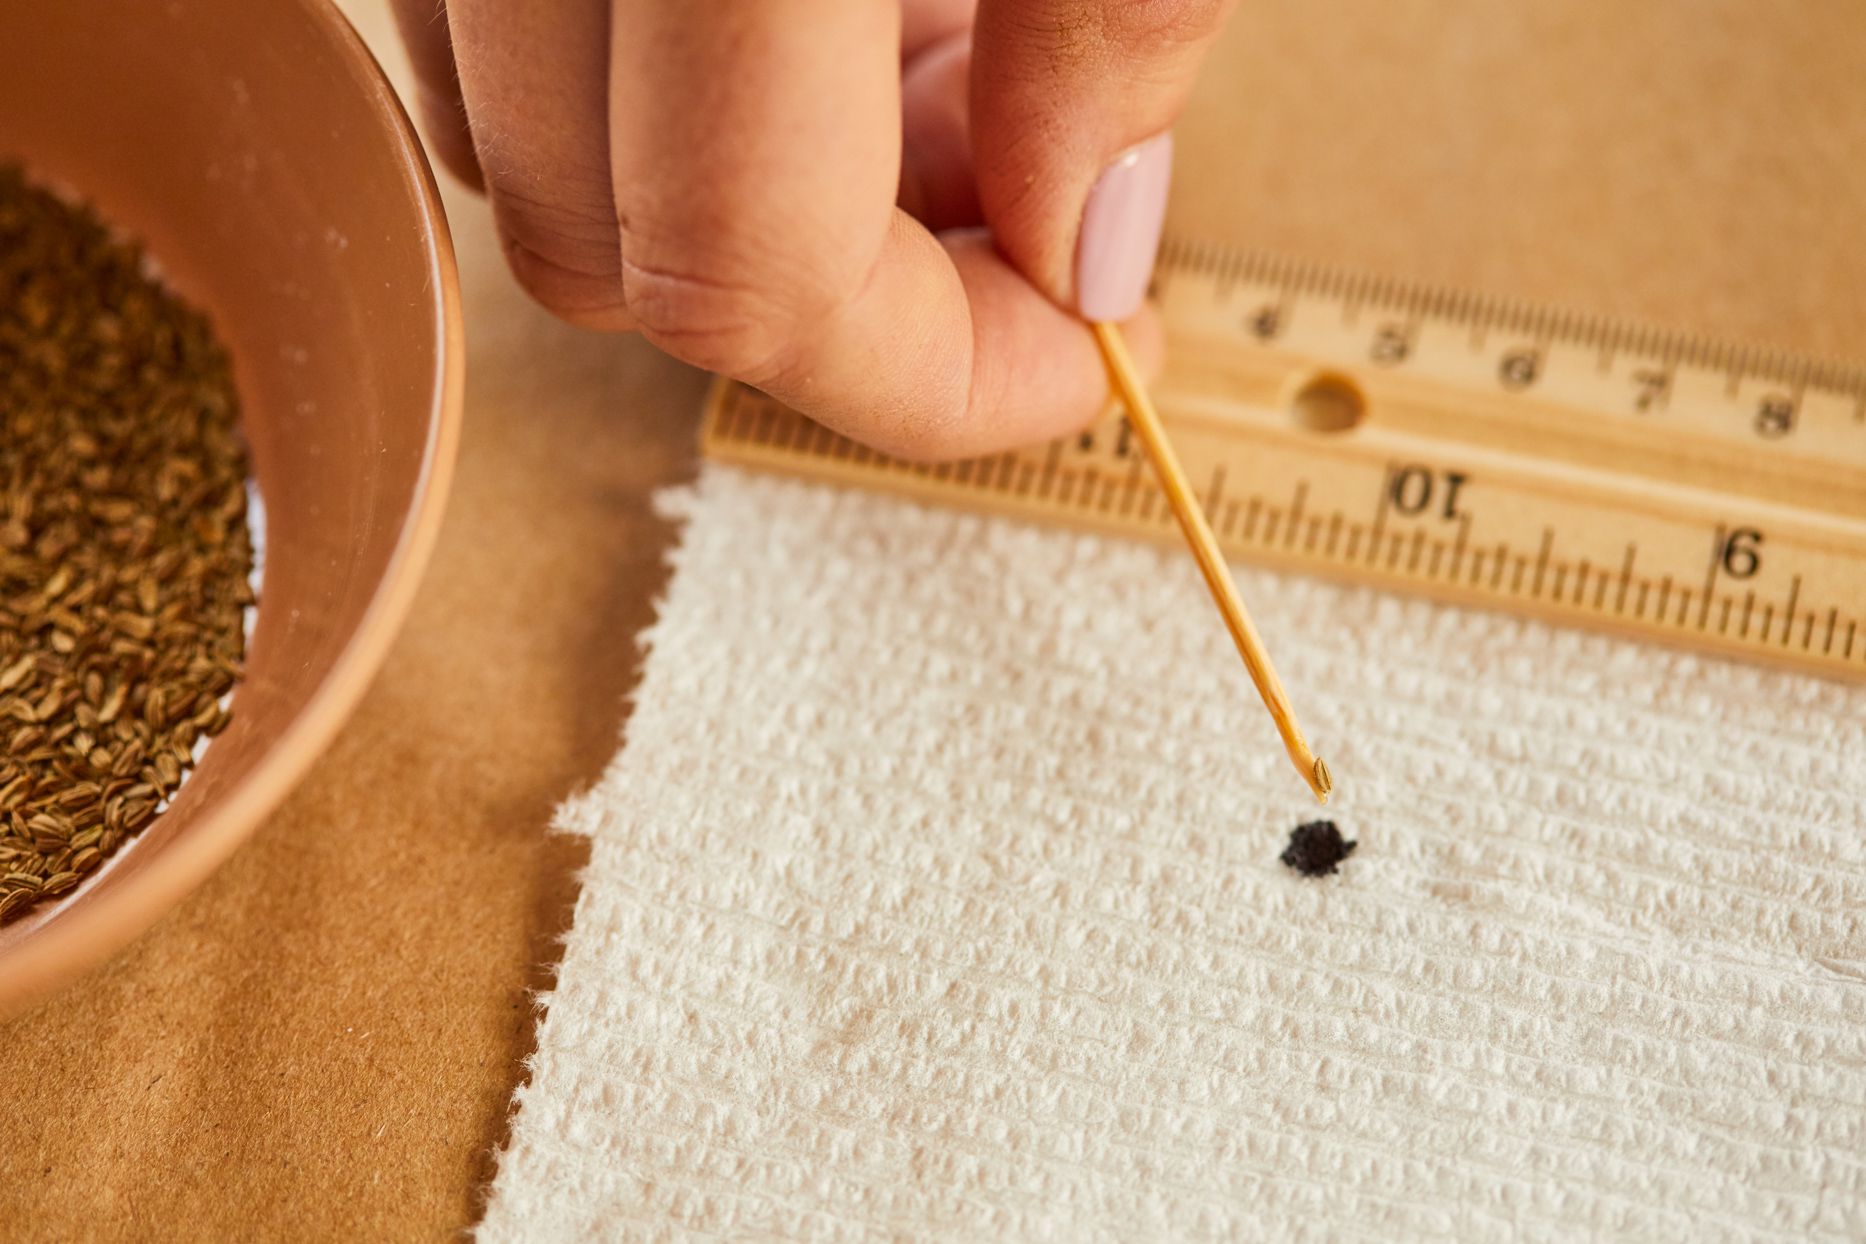
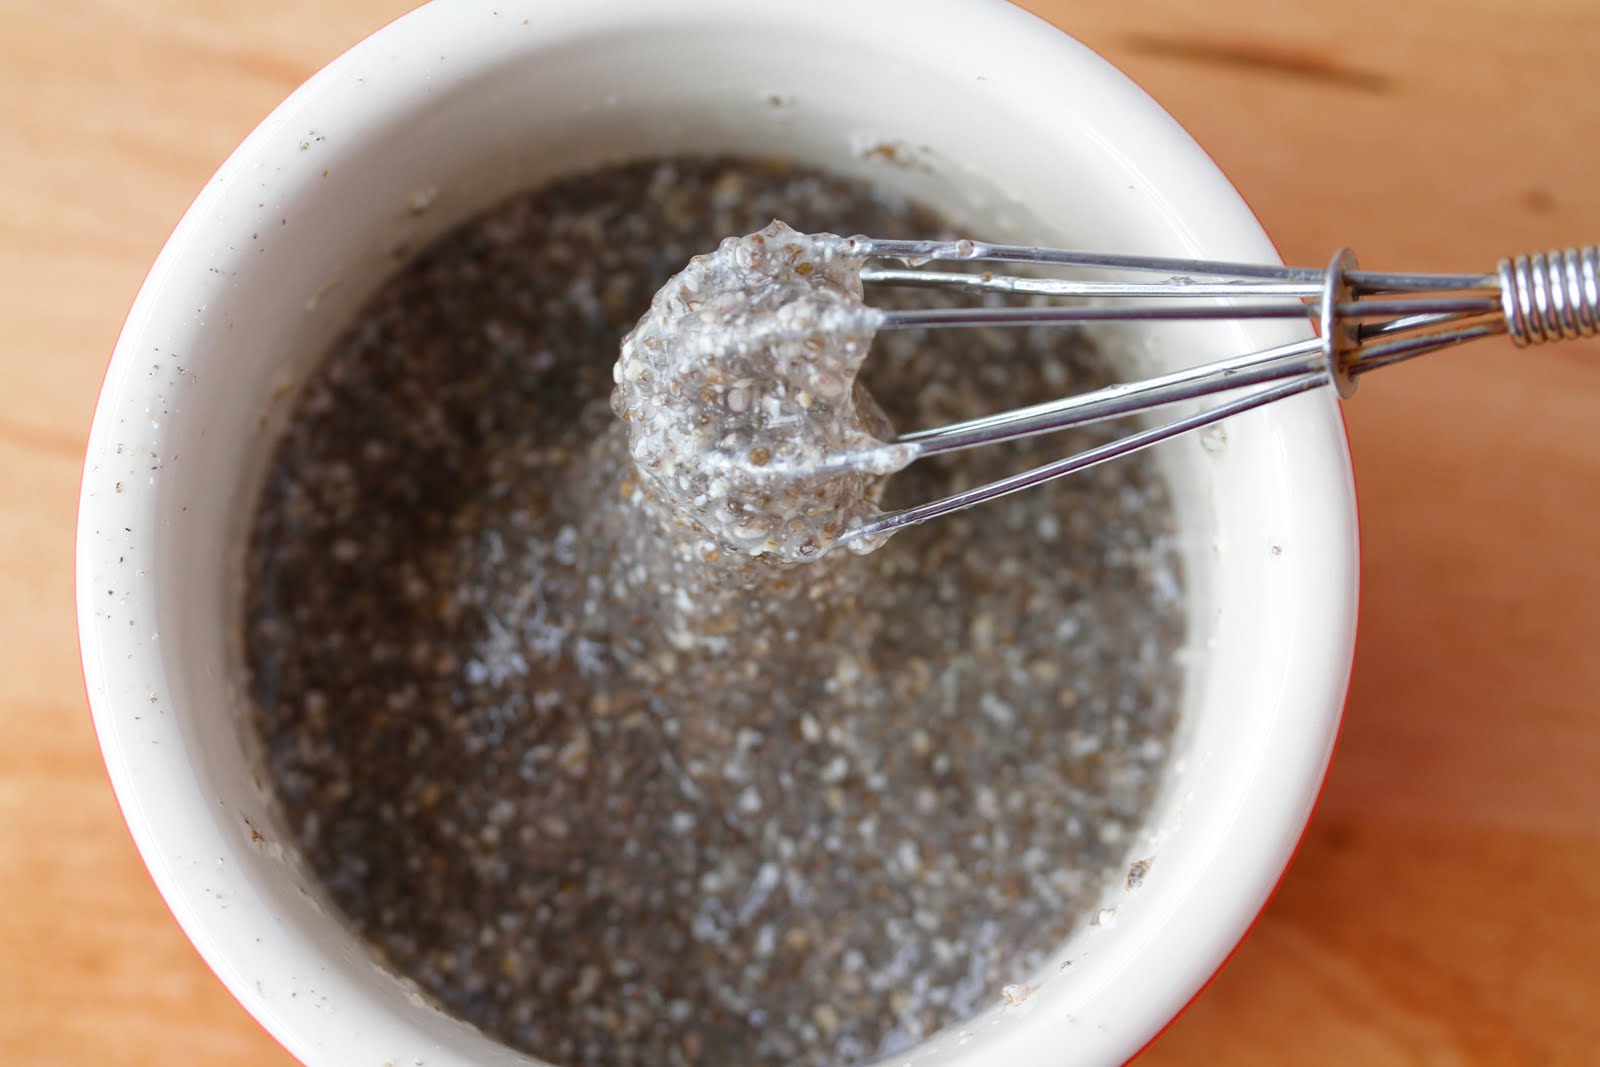
Next, prepare a glue mixture. You can either use all-purpose glue or make your own glue by mixing flour and water until you achieve a paste-like consistency. The glue will help secure the seeds onto the seed tape.
Take one of the paper strips and lay it flat on a clean surface. Use a ruler or measuring tape to mark evenly spaced sections along the strip. The spacing will depend on the specific requirements of the seeds you are planting. It’s important to refer to the seed packet instructions to determine the appropriate distance between each seed.
Using a small paintbrush or a cotton swab, apply a small amount of glue onto each marked section. Make sure to apply the glue sparingly to avoid saturating the paper.
Once the glue is applied, gently place a seed onto each glued section of the paper strip. Be careful not to overlap or place the seeds too close together, as this may hinder their growth and development.
Continue this process along the entire length of the seed tape, ensuring that each seed is securely attached to the paper strip with the glue. Allow the glue to dry completely before moving on to the next step.
With the seed tape prepared, you’re now ready to move on to creating seed compartments and planting the tape in your garden.
Step 3: Creating Seed Compartments
Creating seed compartments on the seed tape will help ensure that each seed has its own space to grow and prevent overcrowding. This step is crucial for proper plant development and maximizing yield.
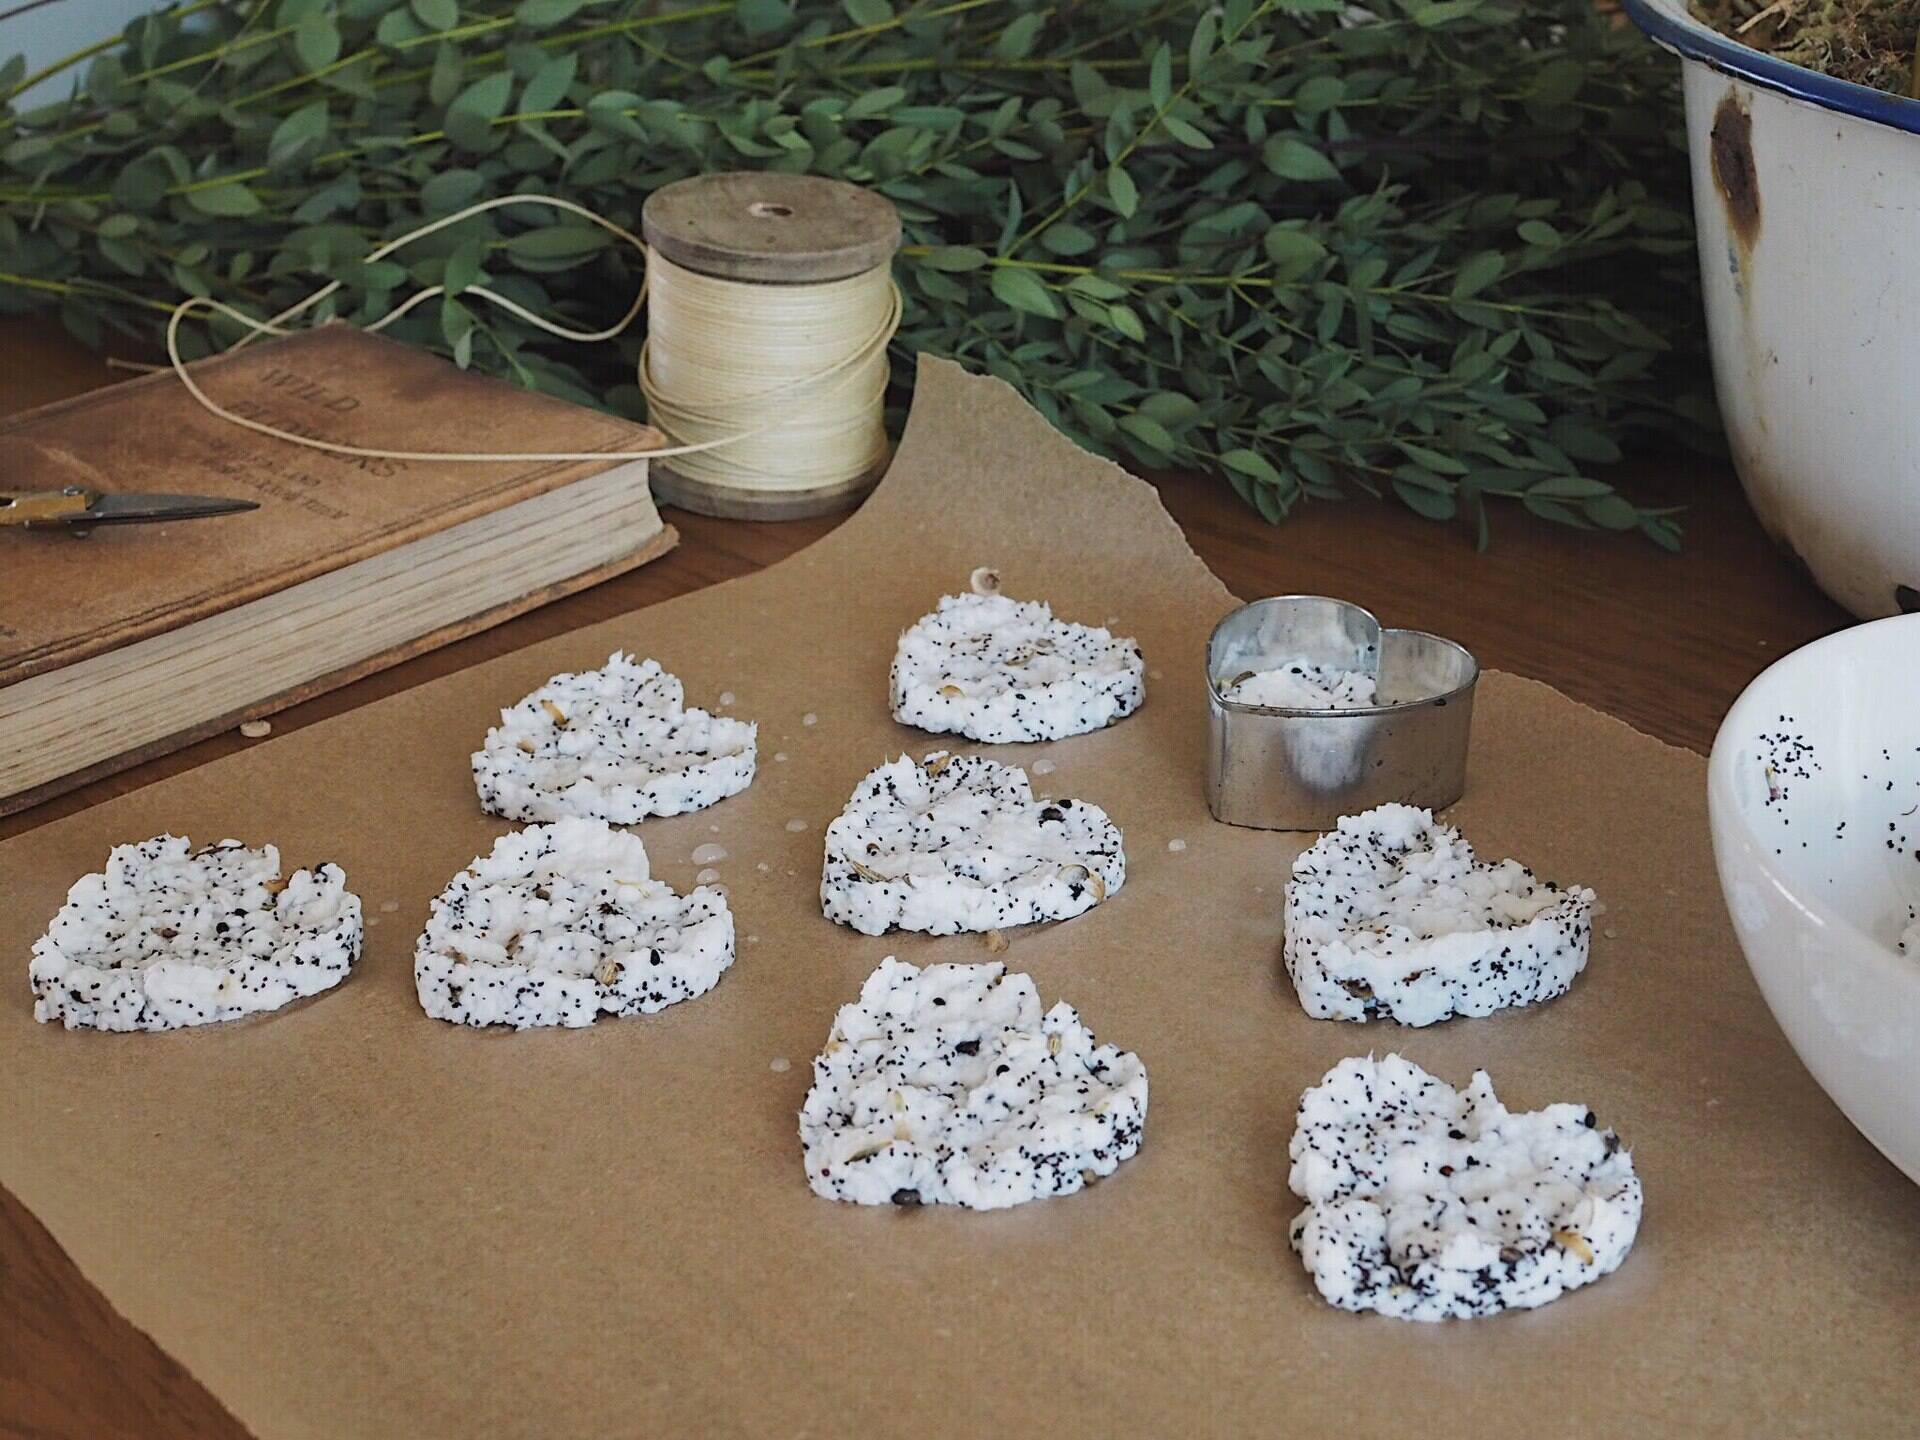
To create seed compartments, fold the seed tape on itself at regular intervals, ensuring that each seed is enclosed within its own section. This will prevent the seeds from shifting or falling off when planted in the soil.
If you’re using toilet paper or tissue paper, a simple fold in half will suffice. For newspaper strips, you may need to fold the paper several times, depending on the thickness, to create sturdy compartments.
Remember to leave a small gap between each seed compartment to allow for expansion and airflow as the plants grow. This will prevent overcrowding and increase the chances of successful germination.
Once you have created the seed compartments along the entire length of the seed tape, move on to the next step: planting the seed tape in your garden.
To make seed tape, use strips of biodegradable paper and a mixture of flour and water to attach the seeds at the correct spacing. This will make planting easier and ensure proper seed placement.
Read more: How To Make Cassette Tape Centerpieces
Step 4: Planting the Seed Tape
Now that your seed tape is ready with seed compartments, it’s time to plant it in your garden. Before planting, make sure to prepare the soil by removing any weeds or debris and loosening it to provide a suitable environment for germination and growth.
Using a garden hoe or a hand trowel, create shallow furrows or trenches in the soil where you want to plant the seed tape. The depth of the furrows should correspond to the planting depth specified on the seed packet.
Unroll the seed tape along the length of the furrow, making sure that the seed compartments are positioned correctly in the soil. Gently press the tape into the soil to ensure good contact and help anchor it in place.
If you have multiple rows of seed tape, make sure to leave appropriate spacing between the rows to allow for proper growth and easy access for watering and maintenance. Refer to the seed packet instructions for specific row spacing recommendations.
Once the seed tape is securely in place, cover it with a thin layer of soil, again referring to the seed packet instructions for specific soil coverage guidelines. Lightly press down the soil to ensure good soil-to-seed contact.
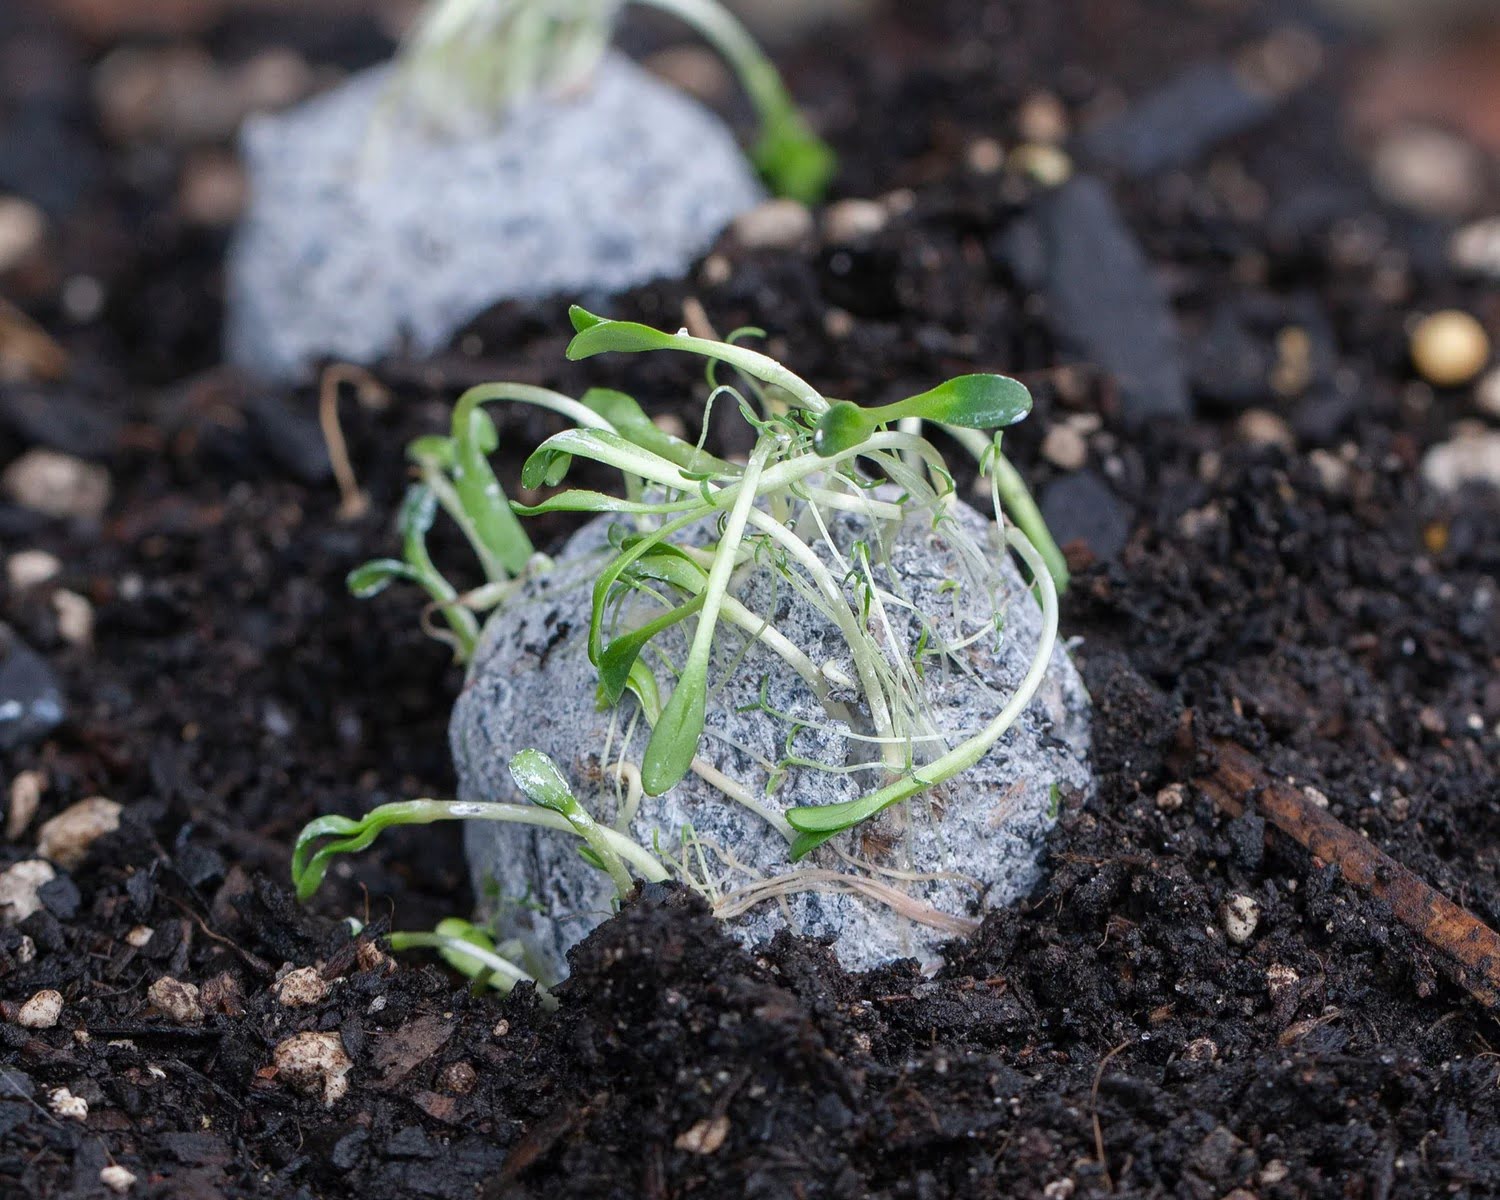
Water the seed tape using a gentle spray from a water bottle or a watering can with a fine nozzle. Avoid using a heavy stream of water, as it may displace the seeds or wash away the soil. Ensure that the soil remains moist, but not soaked, throughout the germination and growth process.
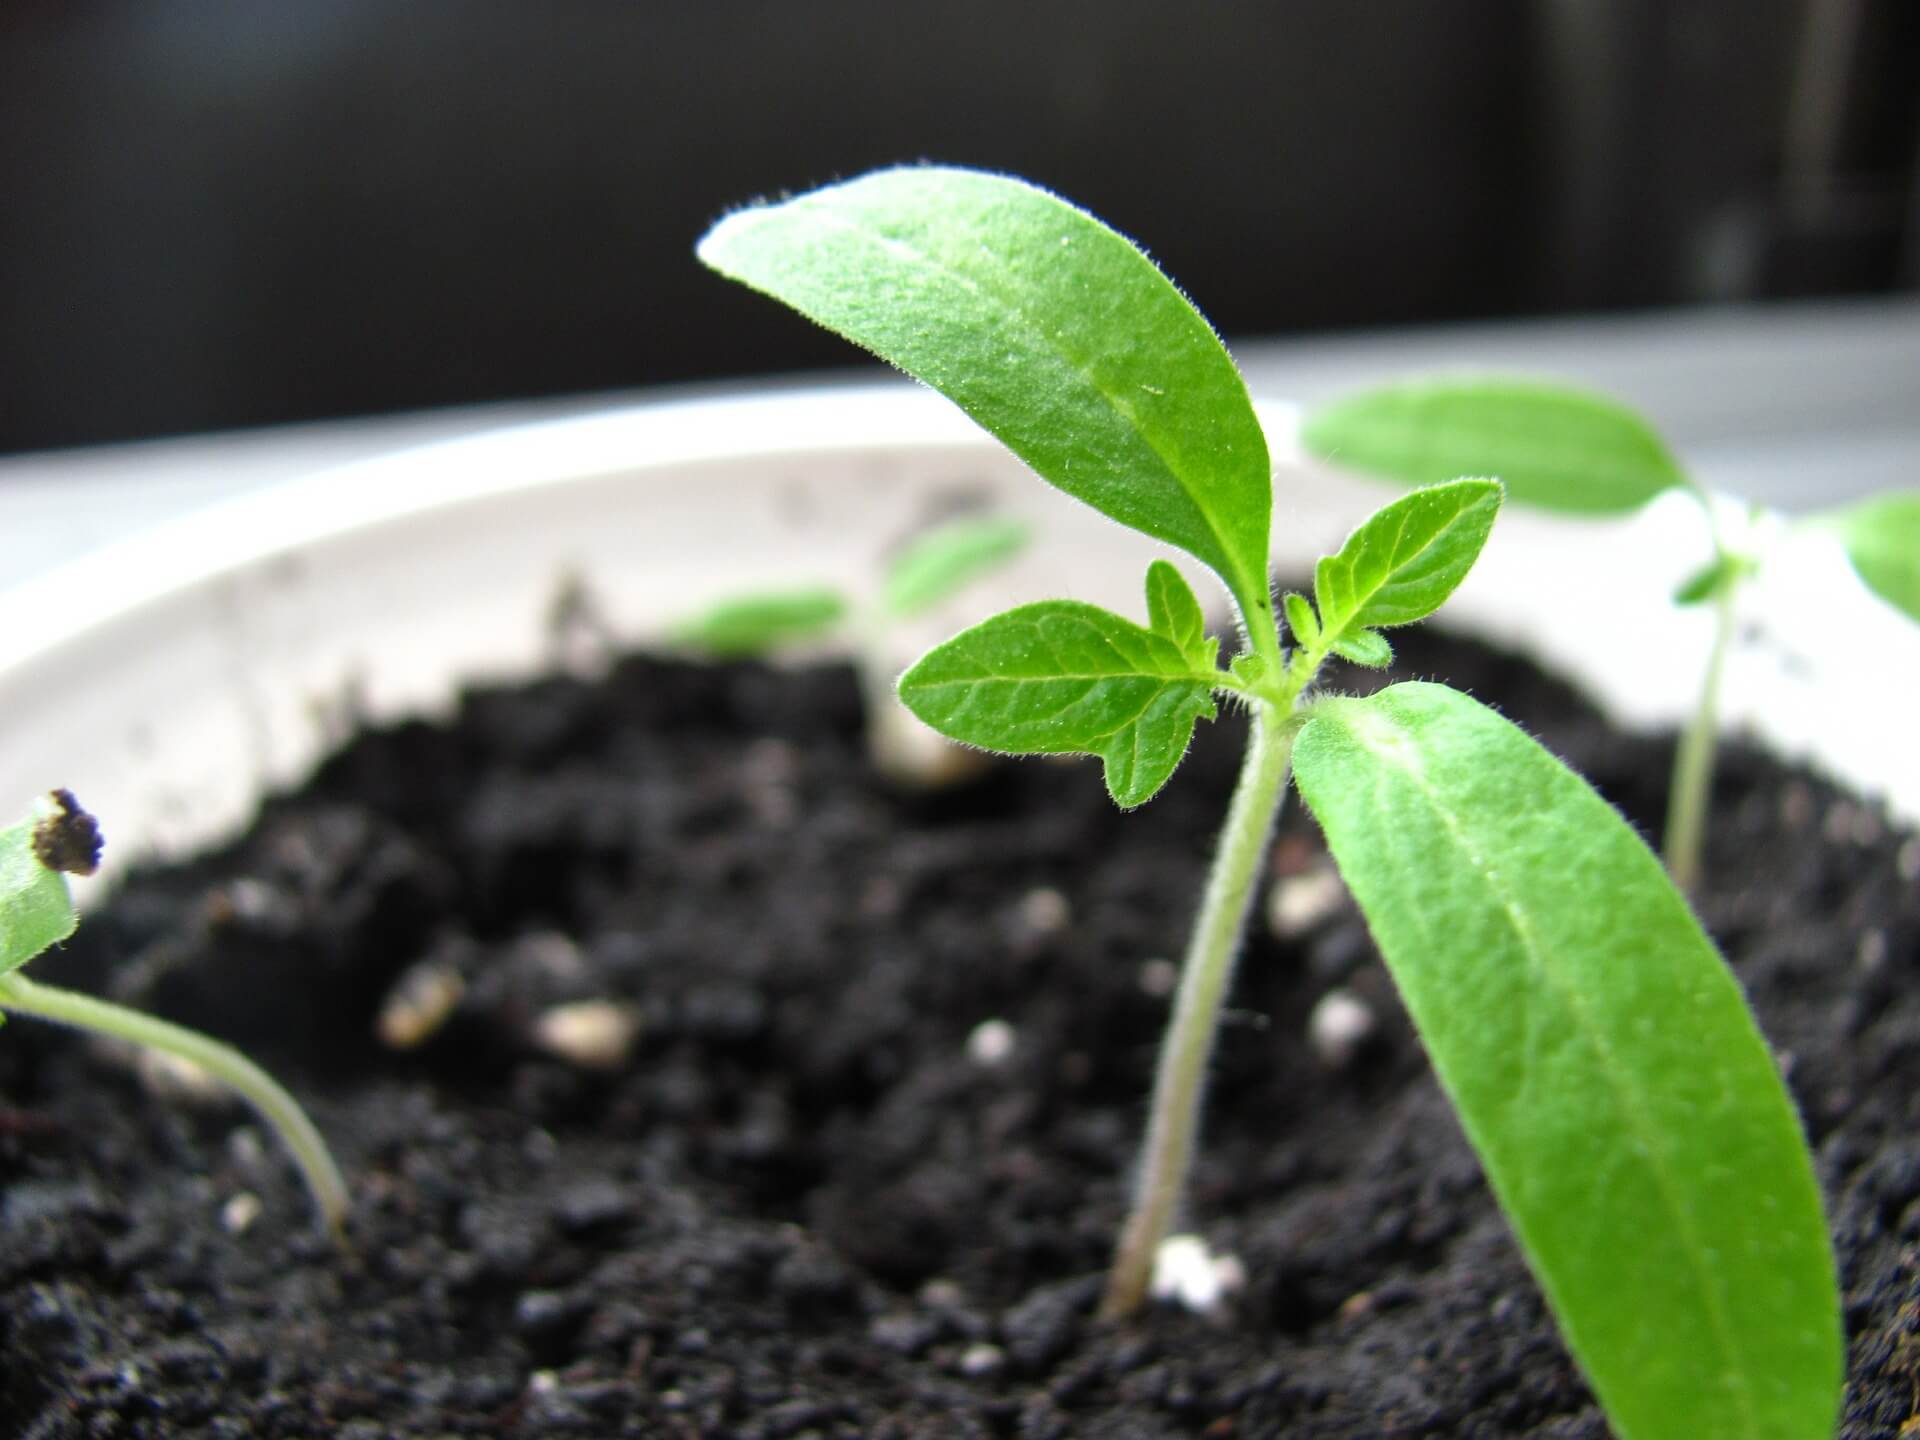
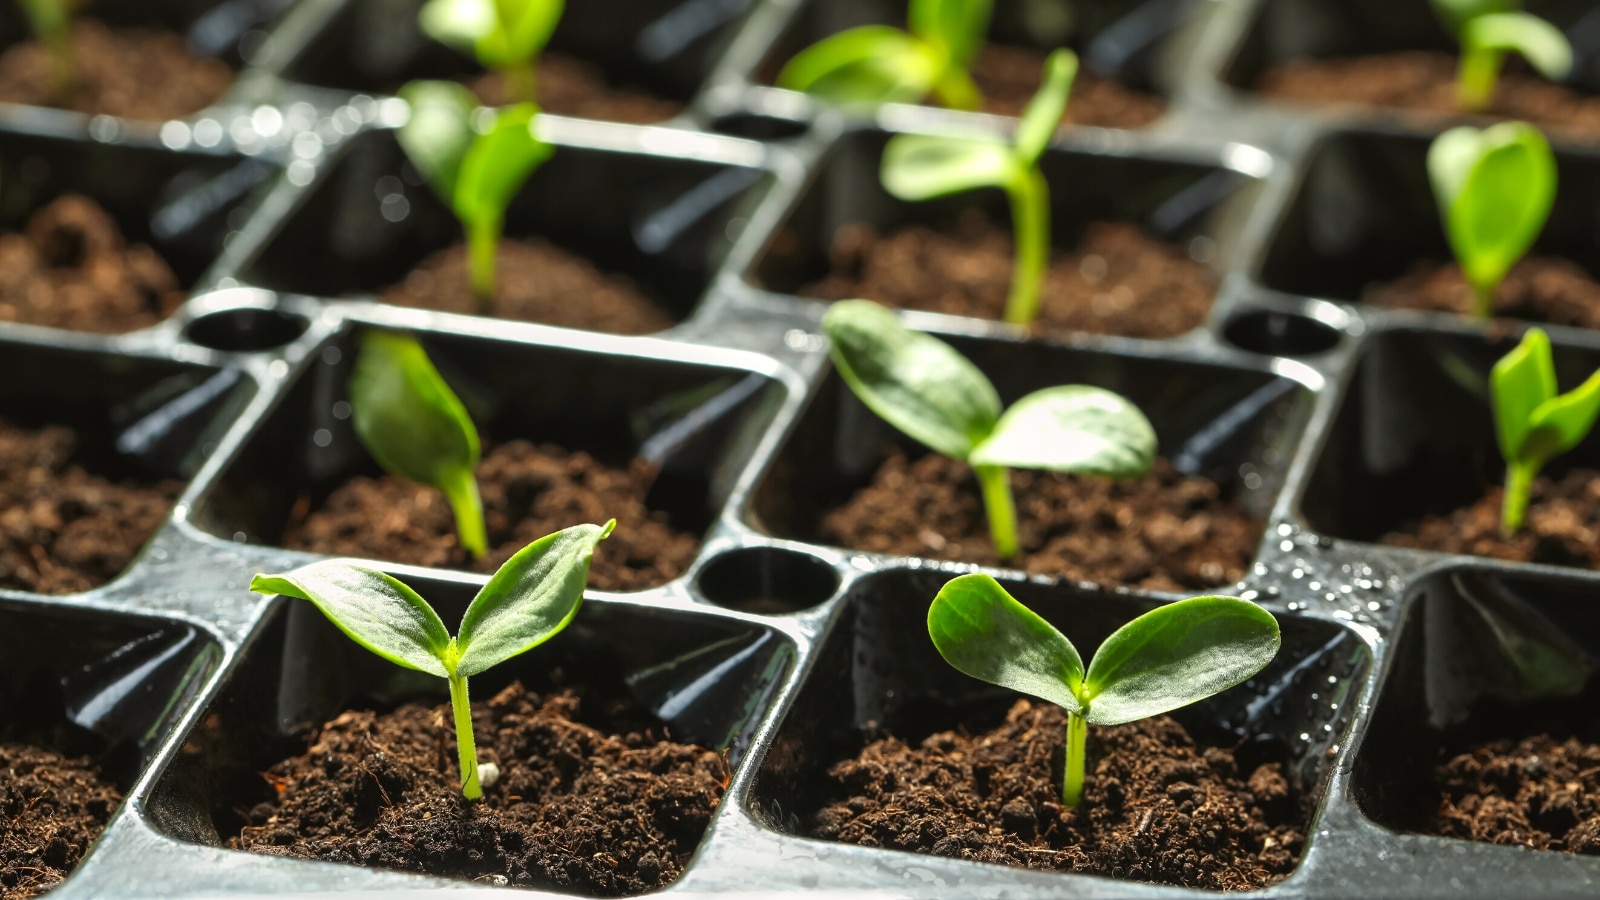
Now, sit back and wait for the magic to happen! Monitor the seed tape regularly, providing adequate water and care as needed. The seed tape will gradually germinate, and you will start seeing tiny sprouts emerging from the soil.
Continue to the next step to learn how to properly care for your seed tape and promote healthy plant growth.
Step 5: Watering and Caring for the Seed Tape
Proper watering and care are crucial for the success of your seed tape. Here are some tips to ensure healthy plant growth:
Watering:
Keep the soil consistently moist, but be careful not to overwater. Watering with a gentle spray or misting is ideal to avoid disturbing the seeds or seedlings. Monitor the moisture levels regularly and adjust your watering schedule accordingly, especially during hot and dry weather.
Thinning:
As the seedlings start to grow, it’s important to thin them out to provide sufficient space for each plant to thrive. Follow the recommended spacing guidelines on the seed packet and remove any excess or weaker seedlings, leaving the healthiest ones to reach their full potential.
Weeding:
Keep the area around your seed tape free from weeds. Weeds can compete with your plants for nutrients, water, and sunlight, hindering their growth. Regularly inspect the area and gently remove any weeds by hand or with a small garden tool to prevent them from overtaking your plants.
Pest and Disease Control:
Monitor your seed tape for any signs of pests or diseases. Common garden pests such as aphids, slugs, and snails can be controlled using organic methods like handpicking, using traps, or introducing beneficial insects. For diseases, proper sanitation and crop rotation practices can help prevent their spread.
Fertilizing:
Depending on the plant variety and soil conditions, you may need to fertilize your seed tape. Use a balanced organic fertilizer, following the recommended application rates. Avoid over-fertilizing, as it can harm the plants. Always read and follow the instructions on the fertilizer packaging.
Supporting:
Some plants, such as tomatoes or climbing peas, may require extra support as they grow. Install stakes, cages, or trellises to provide the necessary support and prevent the plants from bending or breaking under their weight.
By following these care tips, you will give your seed tape the best chance to flourish and produce a bountiful harvest. Now, let’s move on to the final step: harvesting your plants!
Step 6: Harvesting the Plants
After weeks of watering, caring, and patiently waiting, it’s time to reap the rewards of your hard work. Harvesting your plants is a satisfying culmination of the gardening process. Here are some general tips for harvesting:
Know the signs:
Each plant has its own indications of when it’s ready to be harvested. Look for visual cues such as color changes, firmness, size, or ripeness. Additionally, refer to the seed packet or do some research to learn the specific harvest indicators for your chosen plants.
Timing is key:
Harvest your plants at the right time of day to ensure optimal flavor and nutrient content. Many vegetables and herbs are best harvested in the morning when the moisture content is highest and the flavors are most concentrated.
Use the right tools:
For delicate herbs, use a pair of sharp scissors or pruning shears to snip the leaves or stems. For larger vegetables or fruits, use a sharp knife to cleanly cut them from the plant. Keeping your tools clean and sharp will minimize damage to the plant and prolong their shelf life.
Handle with care:
Handle harvested plants with care to prevent bruising or damaging them. Place them gently into a basket or container, being mindful not to overcrowd or crush them. Avoid exposing them to extreme temperatures or sunlight during the harvest and transportation process.
Eat fresh or preserve:
Enjoy the fruits of your labor by utilizing your harvest in delicious recipes or preserving them for future use. Freshly picked vegetables can be used immediately in salads, stir-fries, soups, or simply enjoyed as a healthy snack. Alternatively, consider preserving your harvest through methods such as canning, freezing, or drying to extend your enjoyment throughout the year.
Remember to savor the satisfaction of your successful harvest and take a moment to appreciate the beauty and flavors that your garden has brought to your table.
Congratulations! You now have a complete understanding of how to make seed tape and nurture your plants from start to finish. With each gardening experience, you will continue to learn and refine your skills, allowing you to grow a garden that brings you joy and abundance for years to come.
Happy gardening!
Conclusion
Gardening is a fulfilling and rewarding activity that allows us to connect with nature, cultivate our own food, and create beautiful spaces. By learning how to make seed tape and following the step-by-step process, you can ensure precise seed placement, improve germination rates, and ultimately enjoy healthier and more productive plants.
Throughout this article, we covered the materials needed for creating seed tape, the importance of choosing the right seeds, and the process of preparing the tape itself. We then discussed creating seed compartments, planting the seed tape in your garden, and the essential steps for watering and caring for the seed tape as your plants grow.
We also provided guidance on when and how to harvest your plants, highlighting the importance of timing, proper tools, and gentle handling. Whether you enjoy using your harvest in the kitchen straightaway or preserving it for future use, the final step of harvesting is a moment of satisfaction and pride.
Gardening is a continuous journey of learning and experimentation. Each season brings new discoveries and challenges, but with proper care and attention, your garden can flourish and delight you year after year. The process of creating seed tape is just one of the many skills you can develop to enhance your gardening experience.
So, grab your seeds, gather your materials, and embark on your gardening adventure. With each seed carefully placed on your homemade seed tape, you are setting the foundation for a vibrant and thriving garden.
Remember, gardening is not just about the end result; it’s also about the joy and fulfillment that comes from nurturing and witnessing the growth of plants. Embrace the process, experiment with different techniques, and enjoy the journey as you create your own little piece of paradise.
Happy gardening!
Frequently Asked Questions about How To Make Seed Tape
Was this page helpful?
At Storables.com, we guarantee accurate and reliable information. Our content, validated by Expert Board Contributors, is crafted following stringent Editorial Policies. We're committed to providing you with well-researched, expert-backed insights for all your informational needs.


0 thoughts on “How To Make Seed Tape”