Home>Garden Essentials>How To Make DIY Vertical Garden With PVC Pipe Hydroponics
Garden Essentials
How To Make DIY Vertical Garden With PVC Pipe Hydroponics
Modified: March 16, 2024
Learn how to create your own vertical garden using PVC pipes and hydroponics. Discover the secrets to a beautiful, space-saving garden with this DIY guide.
(Many of the links in this article redirect to a specific reviewed product. Your purchase of these products through affiliate links helps to generate commission for Storables.com, at no extra cost. Learn more)
Introduction
Welcome to the world of DIY gardening! If you’re looking to maximize your garden space and add a touch of creativity to your backyard or balcony, then a DIY vertical garden with PVC pipe hydroponics is the perfect project for you. This innovative gardening technique allows you to grow an abundance of plants in a small area, all while conserving water and minimizing soil usage.
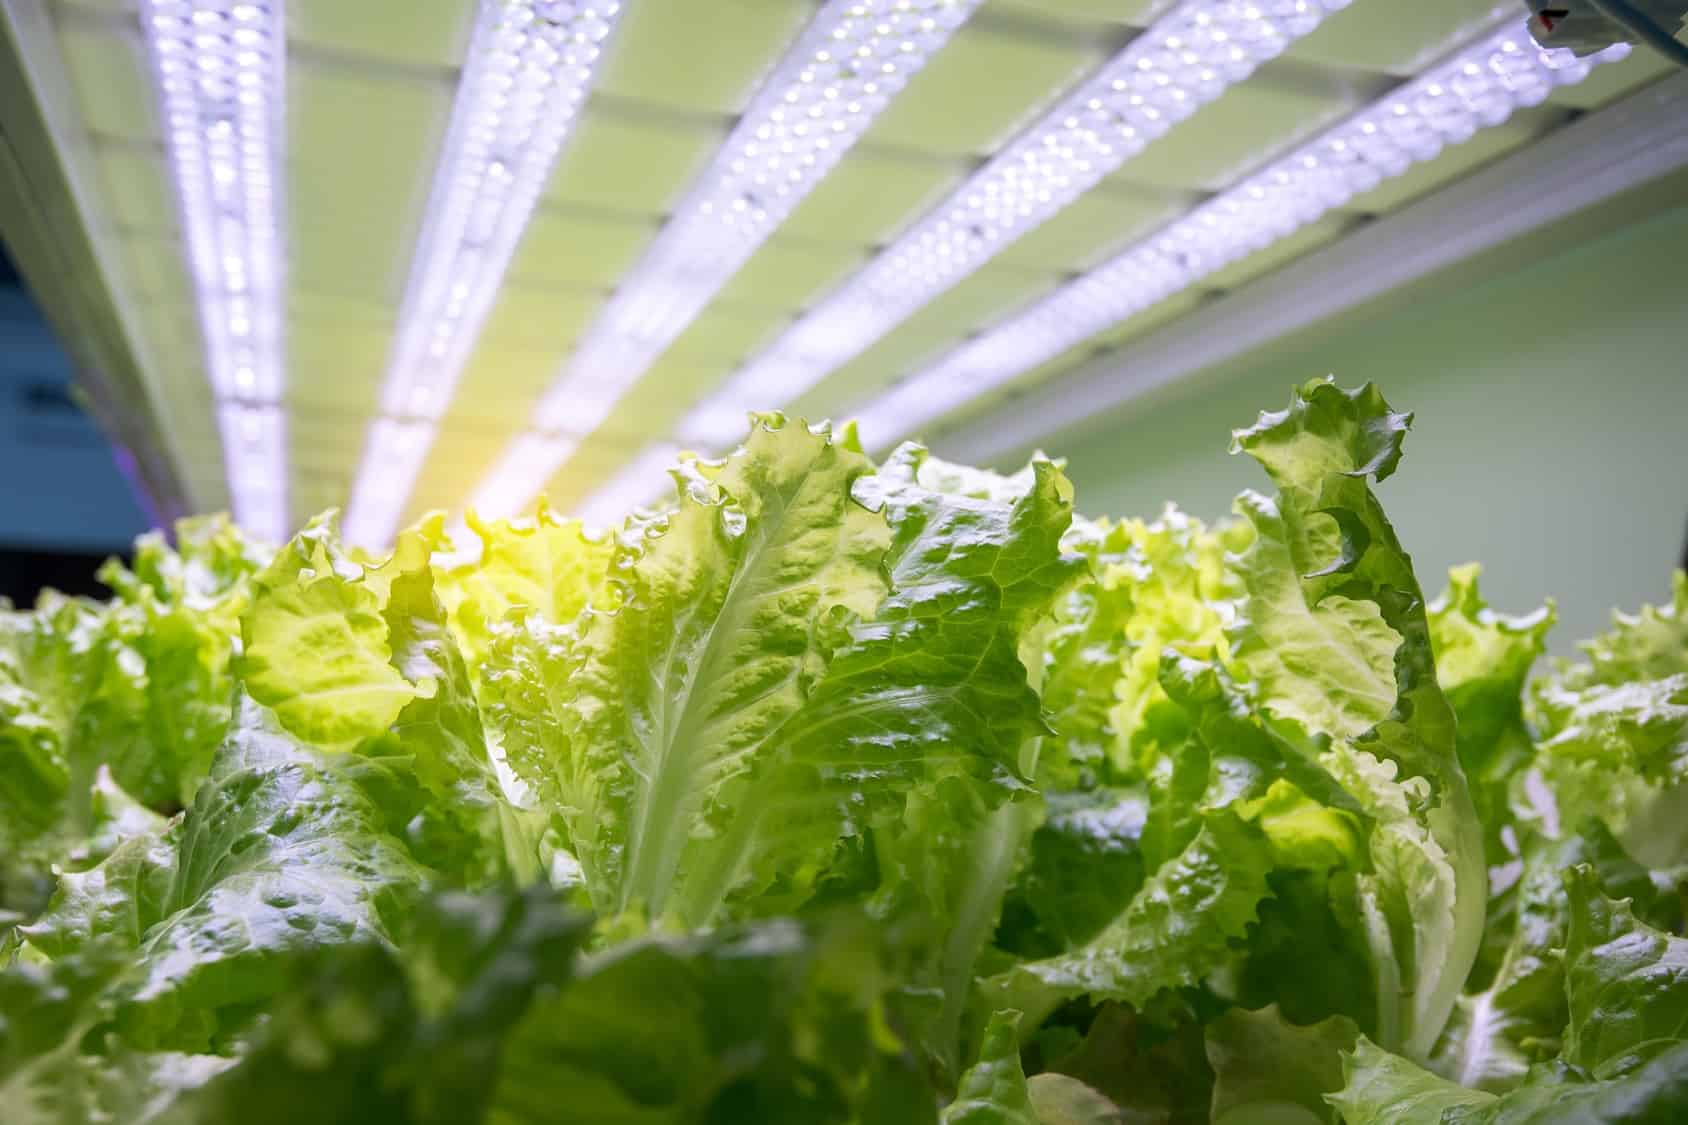
Vertical gardening has gained popularity in recent years due to its numerous advantages. Not only does it make efficient use of limited space, but it also facilitates better air circulation and sunlight exposure for your plants. Plus, by using hydroponics, you eliminate the need for traditional soil, avoiding issues like pests, weeds, and soil-borne diseases.
In this article, we will guide you through the step-by-step process of creating your very own DIY vertical garden using PVC pipe hydroponics. We will cover everything from gathering the necessary materials to planting the seeds and maintaining your garden. So, let’s get started!
Key Takeaways:
- Create a space-saving DIY vertical garden with PVC pipe hydroponics to grow an abundance of plants in a small area, conserving water and minimizing soil usage. Enjoy the satisfaction of growing your own plants and the beauty they bring to your environment.
- Embrace an innovative gardening technique that conserves water, minimizes soil usage, and eliminates common issues like pests and weeds. With proper care, your vertical garden will continue to thrive and reward you with a bountiful harvest.
Read more: How To Make A Vertical Garden With PVC Pipe
Materials Needed
Before diving into your DIY vertical garden project, let’s gather all the materials you’ll need. These can be easily found at your local hardware store or online. Here’s a list of the essential items:
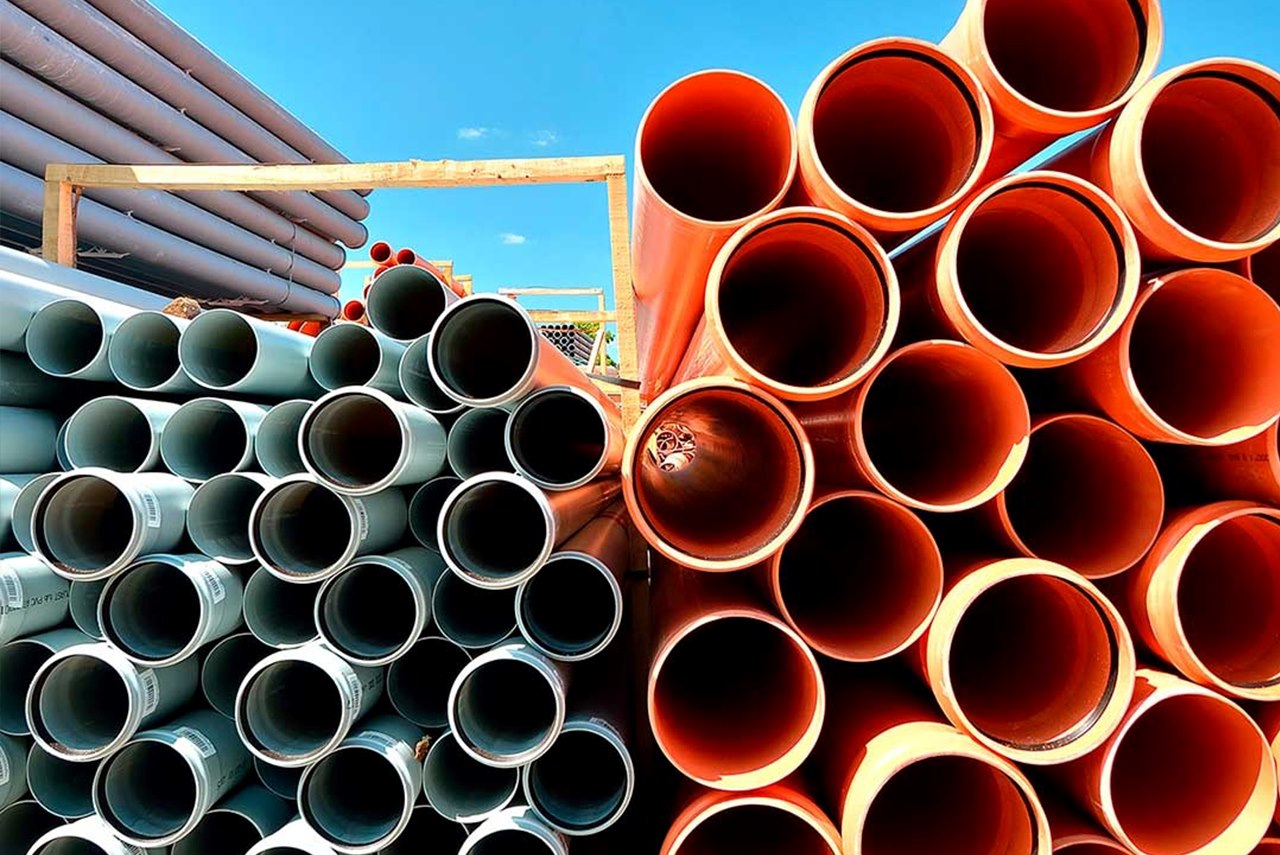
- PVC pipes: Look for sturdy and durable PVC pipes of various widths, depending on the size of your garden. You’ll need enough to create the desired number of planting pockets.
- PVC pipe connectors: These fittings will help you create a sturdy structure for your vertical garden. Make sure to get connectors that match the diameter of your PVC pipes.
- End caps: These will seal the ends of your PVC pipes, preventing water from leaking out.
- Net pots or cups: These containers will hold your plants and allow the roots to access the nutrient-rich water. Choose net pots or cups that fit snugly into the holes cut into the PVC pipes.
- Hydroponic nutrient solution: This is essential for providing the necessary nutrients to your plants. Look for a quality hydroponic nutrient solution suitable for the variety of plants you intend to grow.
- Seedlings or seeds: Select the plants you wish to grow in your vertical garden. Opt for varieties that thrive in hydroponic systems and are compatible with the size of your PVC pipes.
- Support structure: Depending on where you plan to install your vertical garden, you may need additional materials such as brackets, hooks, or ropes to support the weight of the PVC pipes.
- Drill and hole saw: These tools will be needed to create holes in the PVC pipes for planting.
- Measuring tape: To ensure precise measurements and accurate cuts.
- Marking pen: This will help you mark the spots where you need to drill or cut.
- Nutrient testing kit: In order to monitor and maintain the nutrient levels in your hydroponic system, a nutrient testing kit is recommended.
Once you have gathered all of the materials listed above, you’re ready to move on to the next step: cutting and assembling the PVC pipes for your vertical garden.
Step 1: Gathering the Supplies
Now that you have your materials ready, it’s time to gather them and set up your workspace. Find a flat and well-ventilated area where you can comfortably work on your DIY vertical garden. Lay out all the supplies and tools in front of you, making sure everything is easily accessible.
Take a moment to familiarize yourself with the PVC pipes, connectors, end caps, and other components. Understand how they fit together and visualize the final structure of your vertical garden. This will help you plan and execute each step with ease.
As you gather your supplies, double-check that you have the correct sizes and quantities of PVC pipes and connectors. Verify that your net pots or cups fit securely into the holes you will be cutting in the PVC pipes. It’s also a good idea to inspect the quality of your tools to ensure they are in good working condition.
If you have any questions or need assistance with the assembly process, refer to online tutorials or consult with experienced gardeners. They can offer valuable insights and advice to make your DIY vertical garden project a success.
Once you have checked and organized all your supplies, you’re ready to move on to the exciting part: cutting and assembling the PVC pipes for your vertical garden!
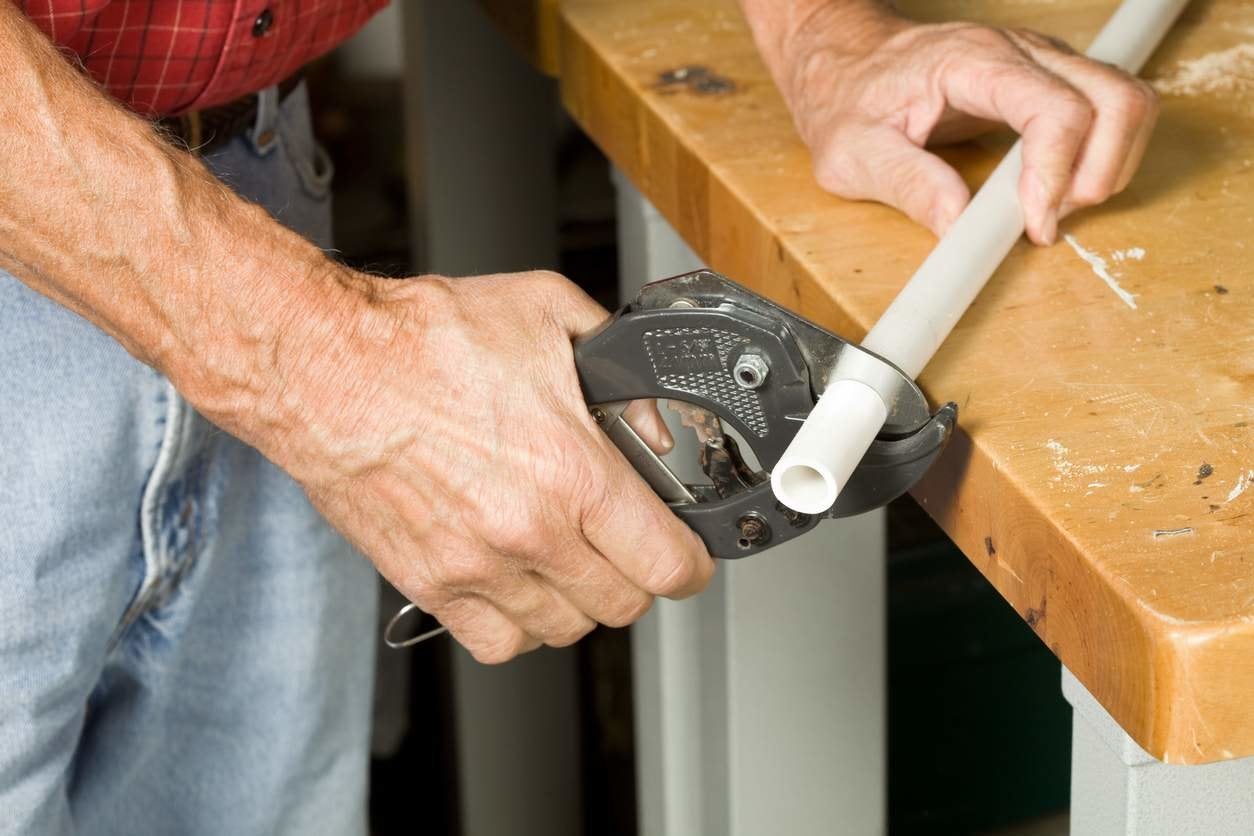
Step 2: Cutting the PVC Pipes
With your supplies gathered and your workspace ready, it’s time to start cutting the PVC pipes for your vertical garden. This step requires precision and careful measurement to ensure that the pipes fit together seamlessly.
Begin by measuring the desired length of each pipe segment. Use a measuring tape to mark the cutting points on the PVC pipes with a marking pen. Make sure to account for the height of the net pots or cups you will be using.
Next, secure the PVC pipe firmly in place, either in a vise or with the help of a clamp. This will ensure stability while cutting and prevent any accidental slippage.
Now, using a drill fitted with an appropriate hole saw bit, carefully drill the holes for your plants. The size of the holes should be slightly larger than the diameter of the net pots or cups you will be using. It’s crucial to maintain a straight and perpendicular cut to ensure proper alignment of the plant holders.
Continue cutting the necessary number of holes in each PVC pipe segment. Take your time and double-check the measurements and alignment of each hole before proceeding to the next one.
Once all the required holes are drilled, remove any burrs or rough edges by lightly sanding the cut ends of the PVC pipes. This will create a smooth surface and prevent any damage to the net pots or cups when inserting them.
Congratulations! You have successfully cut the PVC pipes for your DIY vertical garden. Take a moment to admire your handiwork and prepare for the next step: assembling the PVC pipes into a sturdy structure.
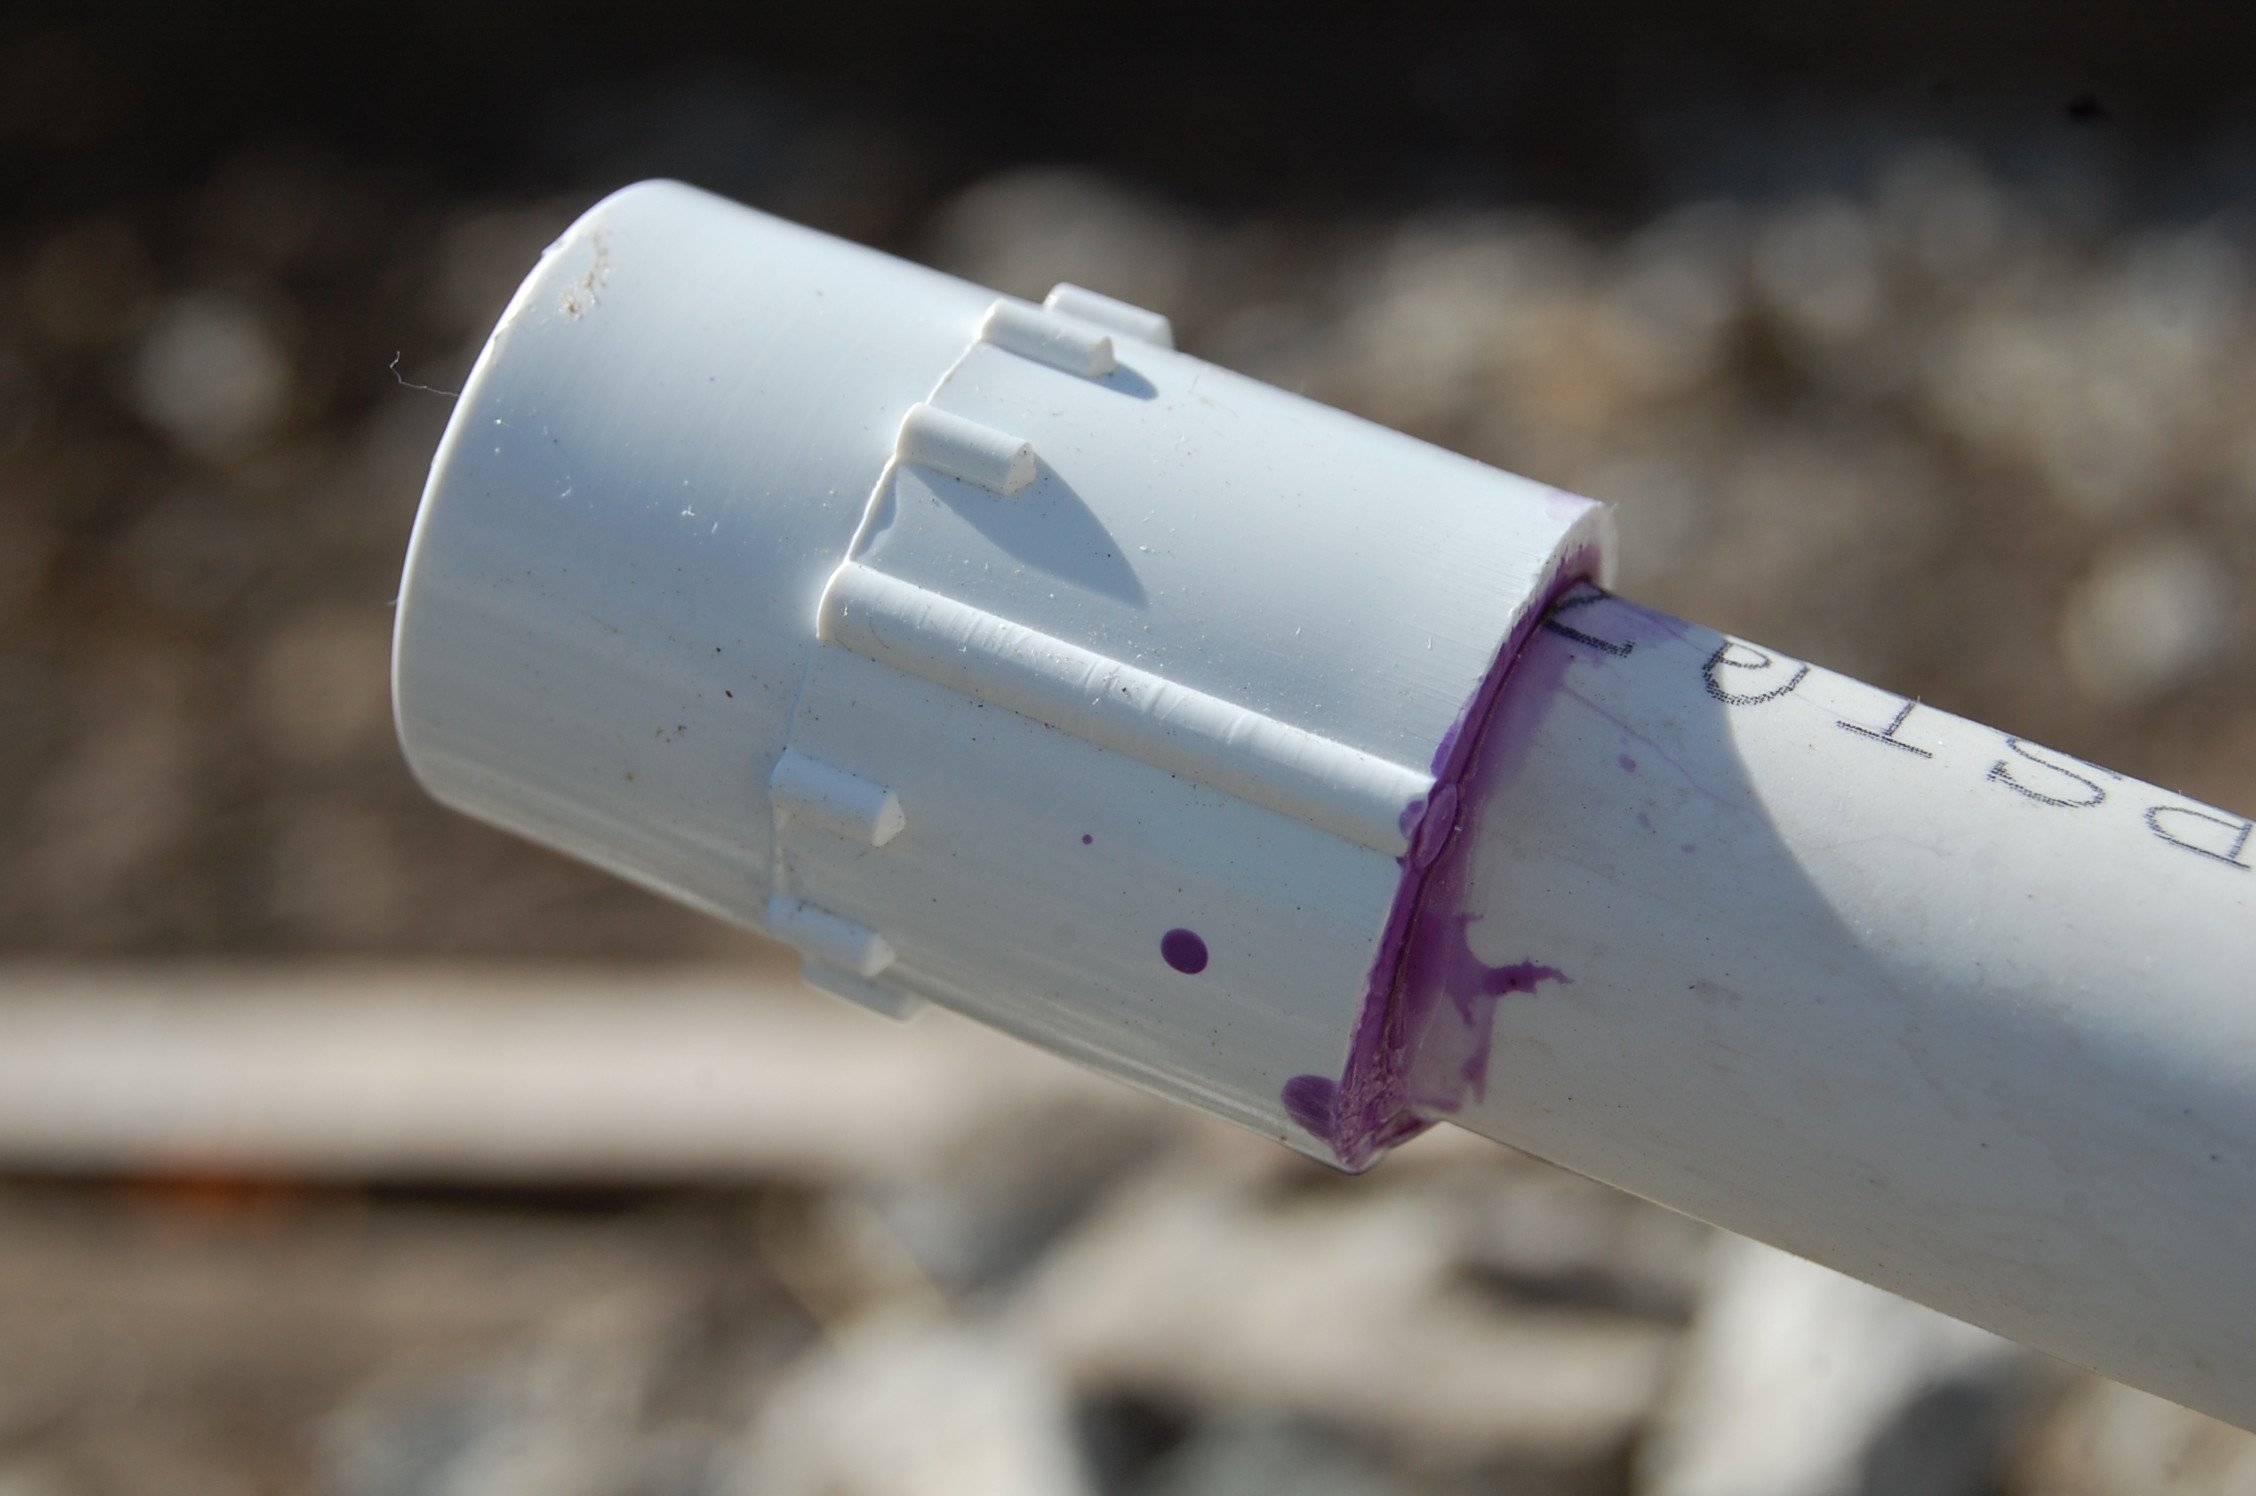
Step 3: Assembling the PVC Pipes
Now that you have cut the PVC pipes to the desired length and drilled holes for the plant holders, it’s time to assemble them into a sturdy structure for your vertical garden. This step requires careful fitting and connecting of the PVC pipes and connectors.
Begin by laying out all the PVC pipes and connectors on your work surface. Take a moment to visualize how they will fit together, ensuring that you have enough connectors for the number of pipes you have.
Start by attaching the connectors to one end of the PVC pipes. Depending on the design of your vertical garden, you may choose to create a grid-like structure or a vertical column. Regardless, make sure the connectors fit snugly into the ends of the pipes, creating a secure joint.
Continue connecting the PVC pipes and connectors, following your predetermined design. Take your time to ensure that the structure is stable and properly aligned. It’s helpful to periodically step back and assess the overall shape and stability of the vertical garden as you assemble it.
Once you have connected all the PVC pipes, test the stability of the structure by gently shaking it. If it feels wobbly or unstable, make any necessary adjustments by tightening the connectors or reinforcing the joints with additional connectors or adhesive.
Take a moment to appreciate your assembled PVC pipe structure. It’s starting to look like a vertical garden! Now, let’s move on to the next step: preparing the hydroponic system for your plants.
When making a DIY vertical garden with PVC pipe hydroponics, make sure to use a good quality PVC pipe and secure it properly to a stable structure to prevent it from falling over.
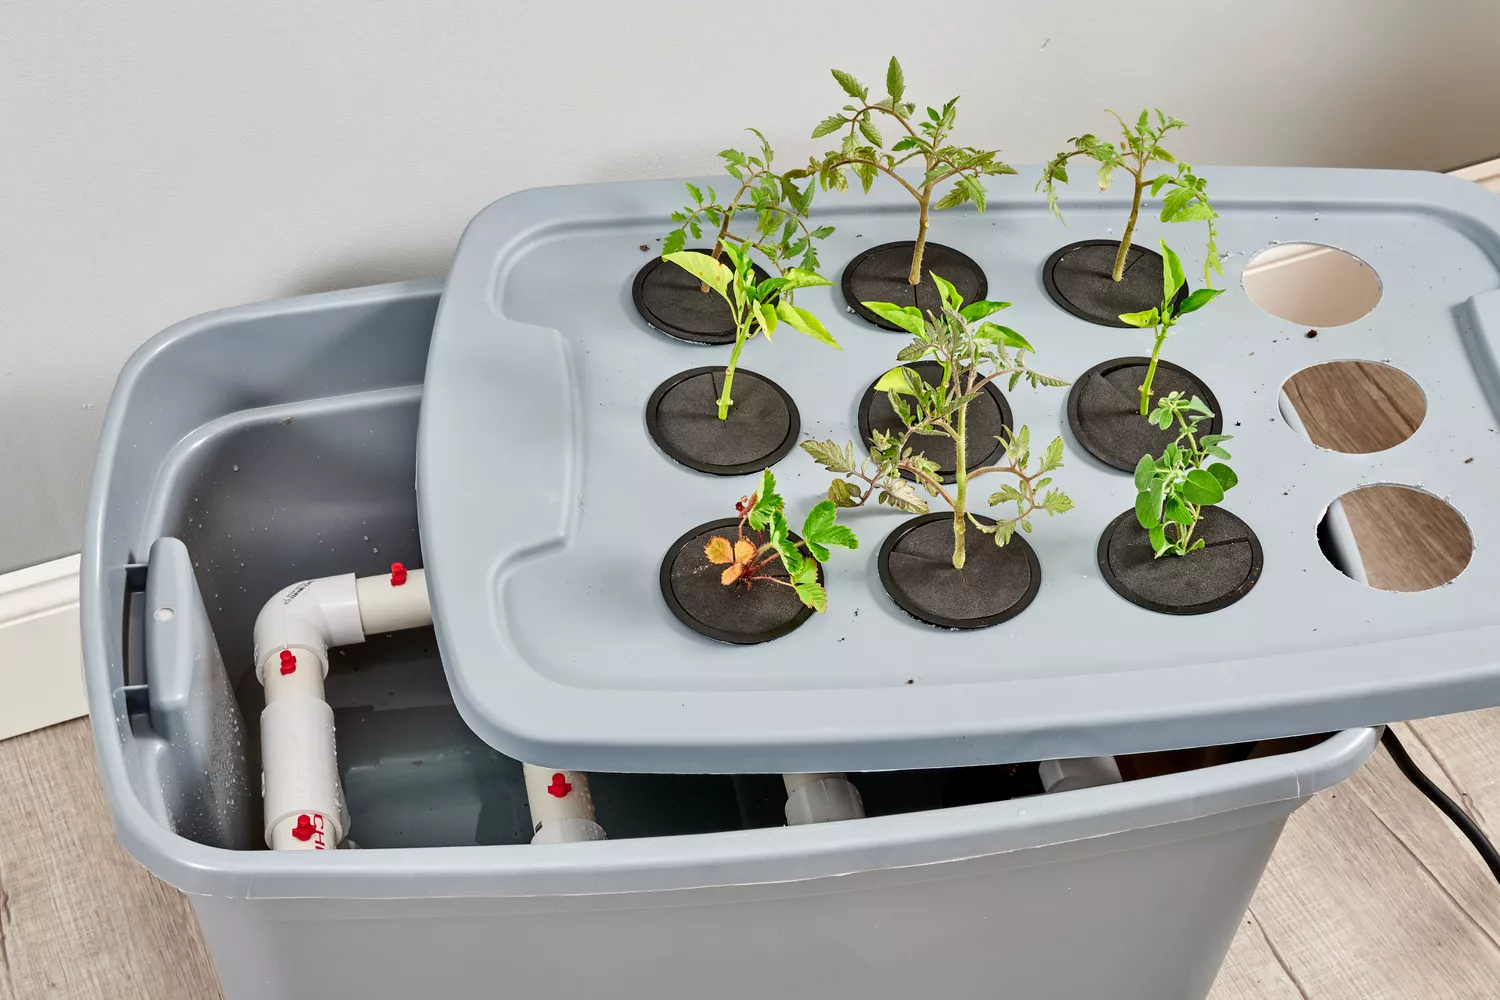
Step 4: Preparing the Hydroponic System
Now that you have assembled the PVC pipe structure for your vertical garden, it’s time to prepare the hydroponic system that will nourish your plants. This step involves setting up the water reservoir, adding the nutrient solution, and ensuring proper water circulation.
First, designate a suitable space for the water reservoir. This can be a container or a reservoir specifically designed for hydroponic systems. Make sure it is large enough to hold an adequate amount of water for your plants.
Next, place the water reservoir at the base of your vertical garden structure. You may need to elevate it slightly to ensure proper water flow and prevent any flooding or water stagnation.
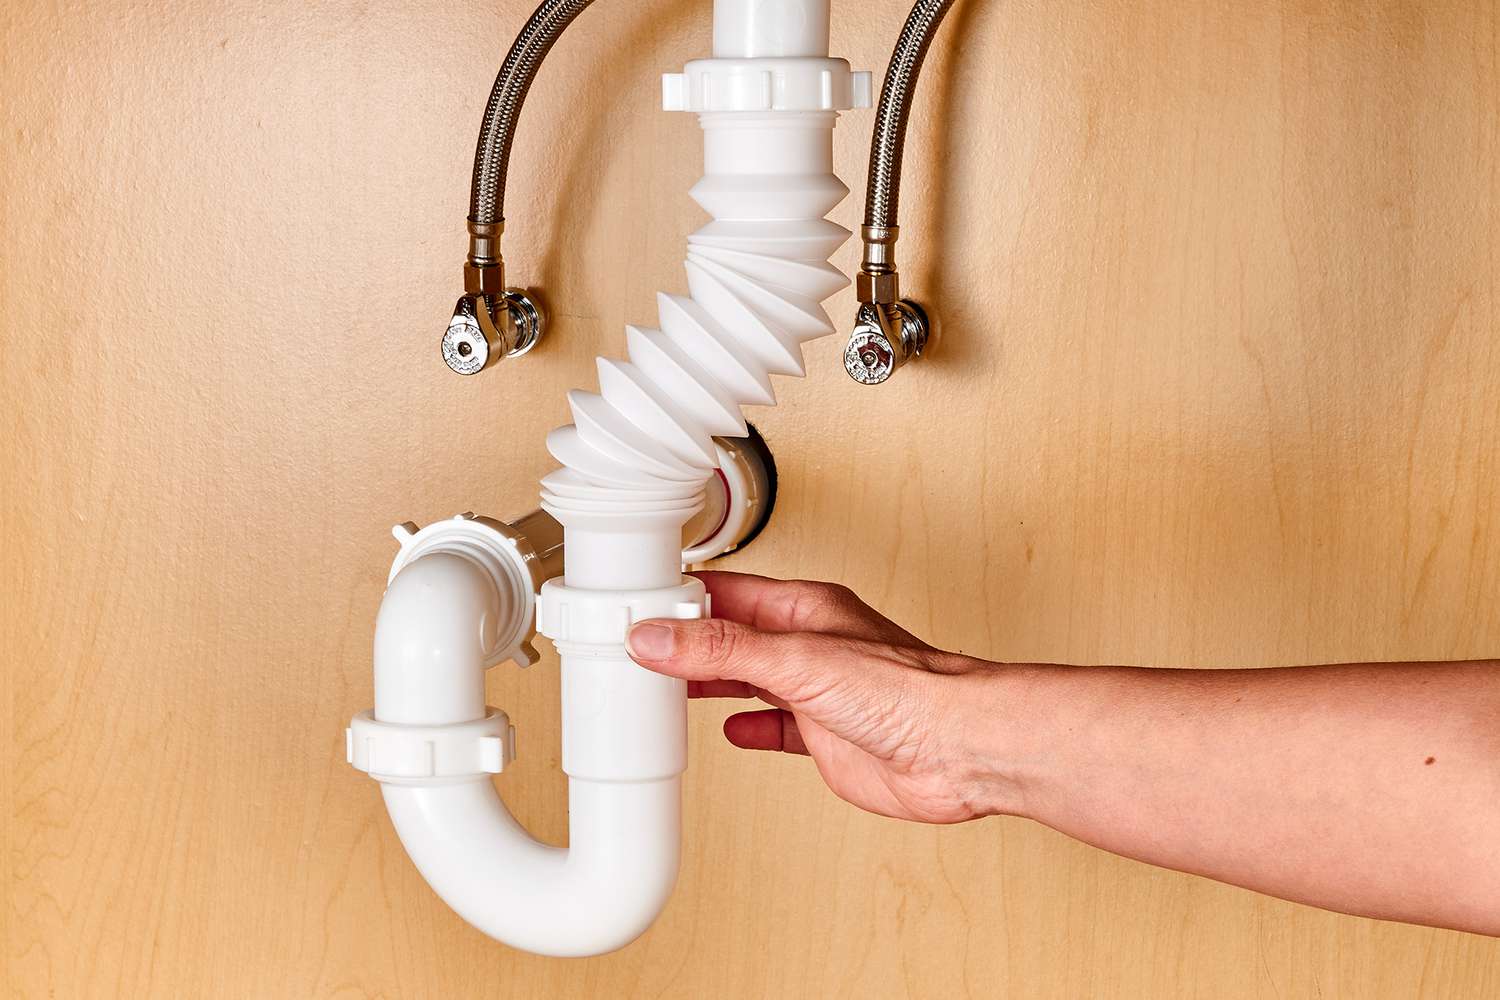
Attach a water pump to the reservoir and connect it to a flexible hose or tubing. The pump will circulate the nutrient-rich water throughout the PVC pipes, allowing your plants to absorb the necessary nutrients.
Submerge the pump in the water reservoir, ensuring that it is fully submerged to prevent any damage. Connect the other end of the tubing to the top end of the PVC pipe structure, allowing the water to flow down through the pipes.
Now, it’s time to add the hydroponic nutrient solution to the water reservoir. Follow the instructions on the nutrient solution packaging to determine the appropriate dilution ratio for your plants. Different plants may require different nutrient levels, so it’s important to research and choose the right solution for your specific plant species.
Once you have mixed the nutrient solution, carefully pour it into the water reservoir. Monitor the water level and ensure that it is maintained at an appropriate level to keep the system running smoothly.
At this stage, it’s a good idea to install a timer to control the water pump, establishing a regular watering cycle for your plants. This will provide them with consistent access to water and nutrients, promoting healthy growth.
With the hydroponic system set up and ready, you have created the foundation for a thriving vertical garden. Now, it’s time to move on to the exciting part: planting the seeds or seedlings!
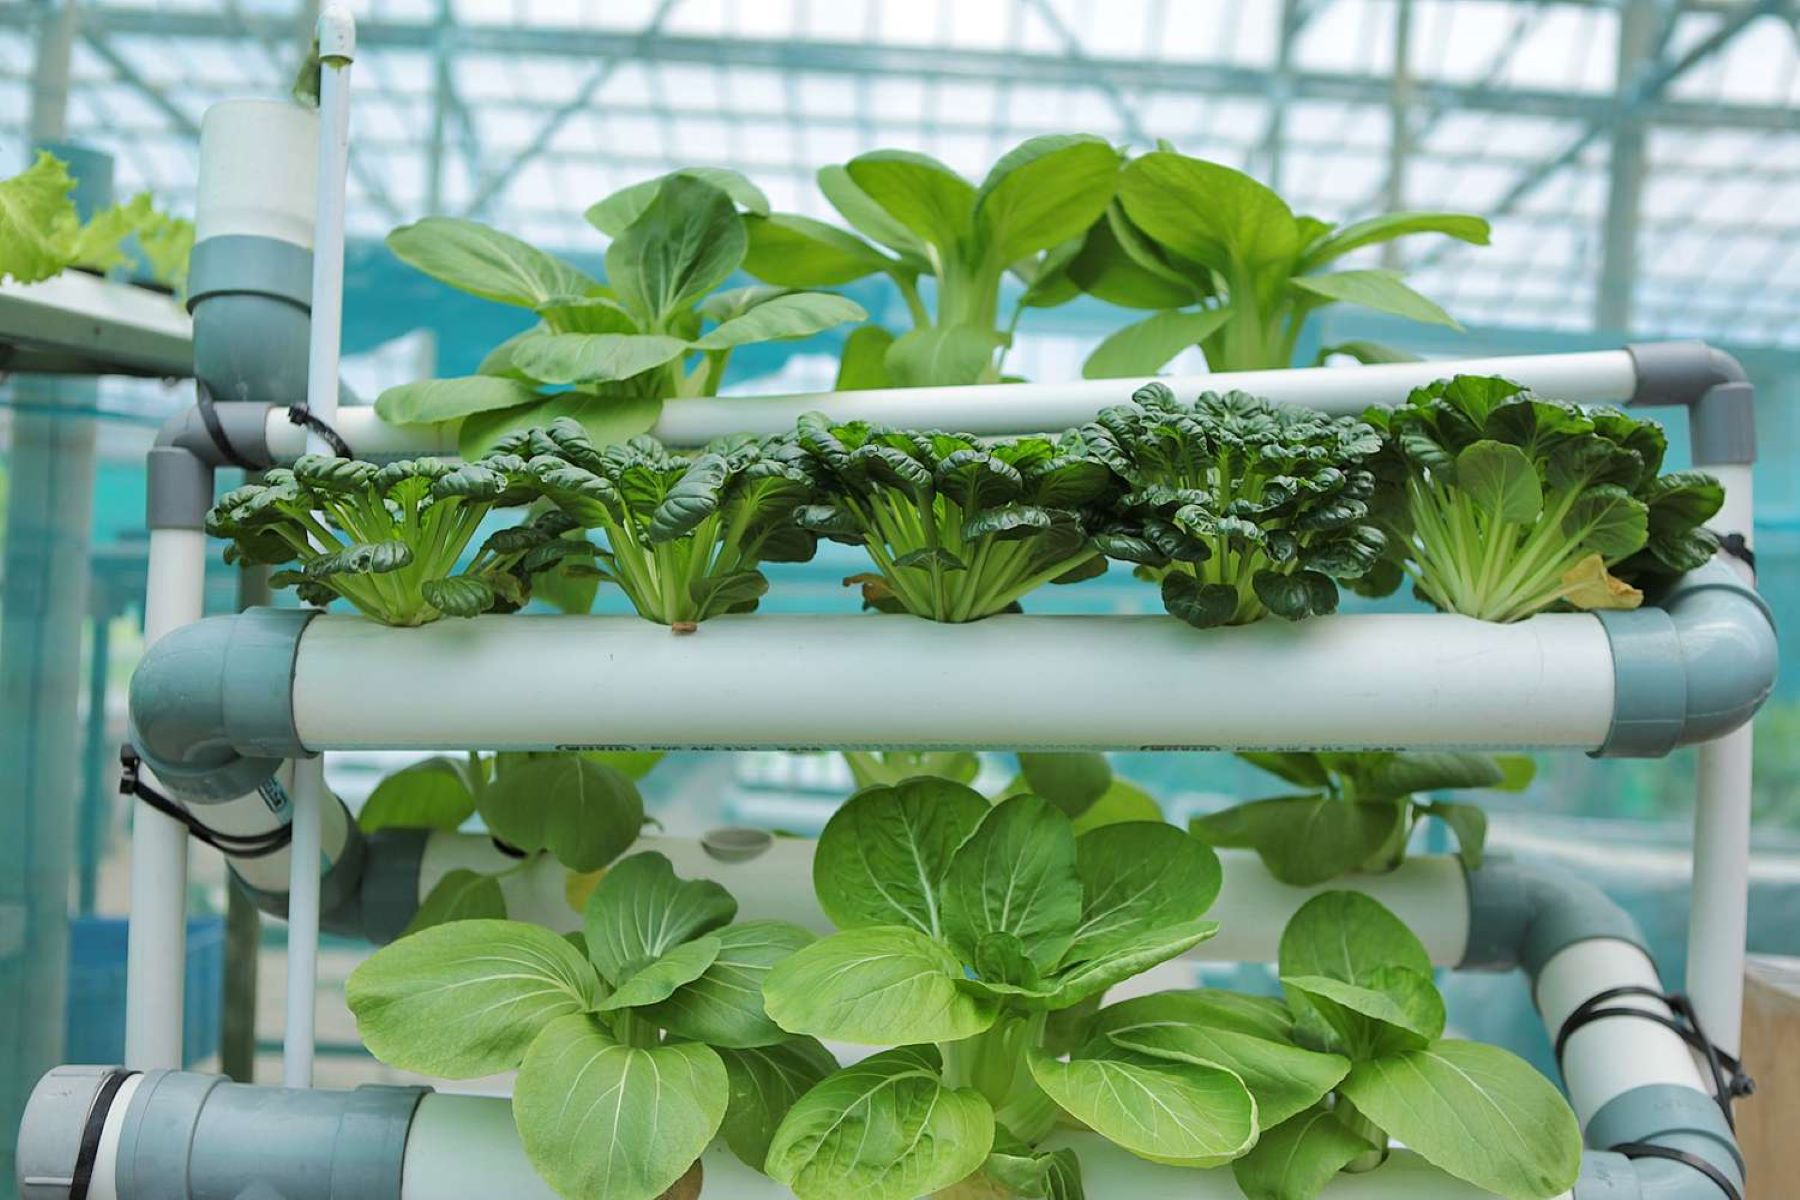
Step 5: Planting the Seeds or Seedlings
Now that your vertical garden and hydroponic system are ready, it’s time to bring life to your project by planting seeds or seedlings. This step requires careful placement of plants in the PVC pipe structure and ensuring they have proper access to water and nutrients.
Start by selecting the seeds or seedlings that you wish to plant in your vertical garden. Consider the specific requirements of each plant and choose varieties that thrive in hydroponic systems.
If you are using seeds, follow the instructions provided on the seed packet for planting depth and spacing. Use a small scoop or your finger to create a hole in the net pots or cups that matches the recommended planting depth. Gently place the seed in the hole and cover it with a thin layer of growing medium, such as perlite or vermiculite.
If you are using seedlings, carefully remove them from their nursery pots and gently tease apart any tangled roots. Place one seedling into each net pot or cup, ensuring that the roots are well-positioned and not overly crowded. Fill in any gaps with growing medium, gently patting it down to secure the seedling in place.
Once all the net pots or cups are filled with seeds or seedlings, arrange them in the pre-drilled holes in the PVC pipe structure. Ensure that each plant is securely held in place and that the net pots or cups fit snugly into the holes.
After planting, give your vertical garden a gentle shake to make sure the plants are stable and well-positioned. This will allow the roots to establish themselves properly as the plants grow.
Now, turn on the water pump to allow the nutrient-rich water to flow through the PVC pipes and reach the plants. Ensure that the water is evenly distributed and that each plant receives an adequate amount of water and nutrients.
Monitor the growth of your plants and adjust the water pump settings if necessary to ensure proper watering frequency. Regularly check the nutrient levels in the water and make any adjustments as needed.
Congratulations! You have successfully planted seeds or seedlings in your DIY vertical garden. Now it’s time for the final step: hanging and maintaining your vertical garden.
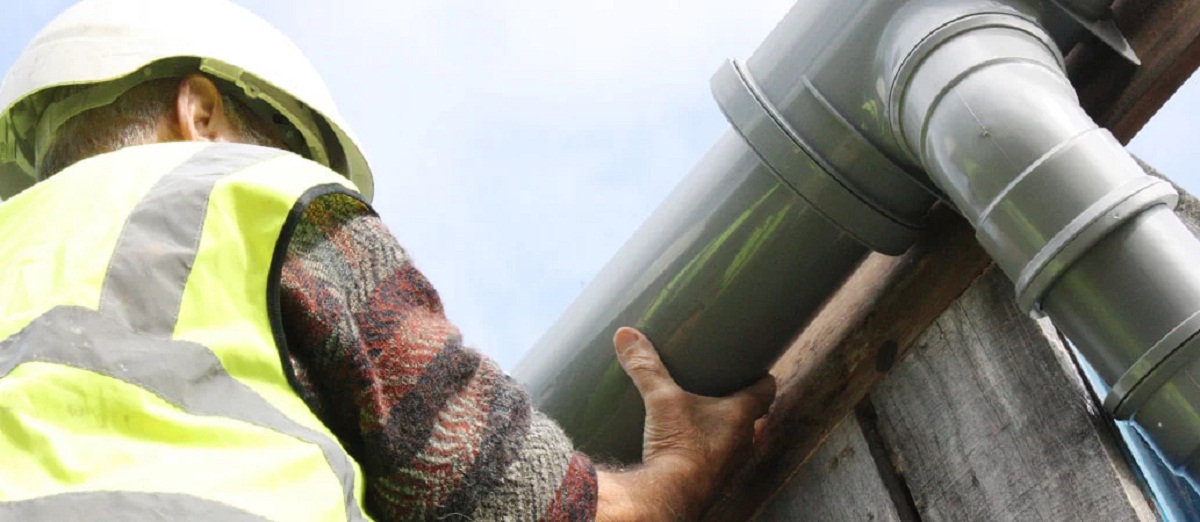
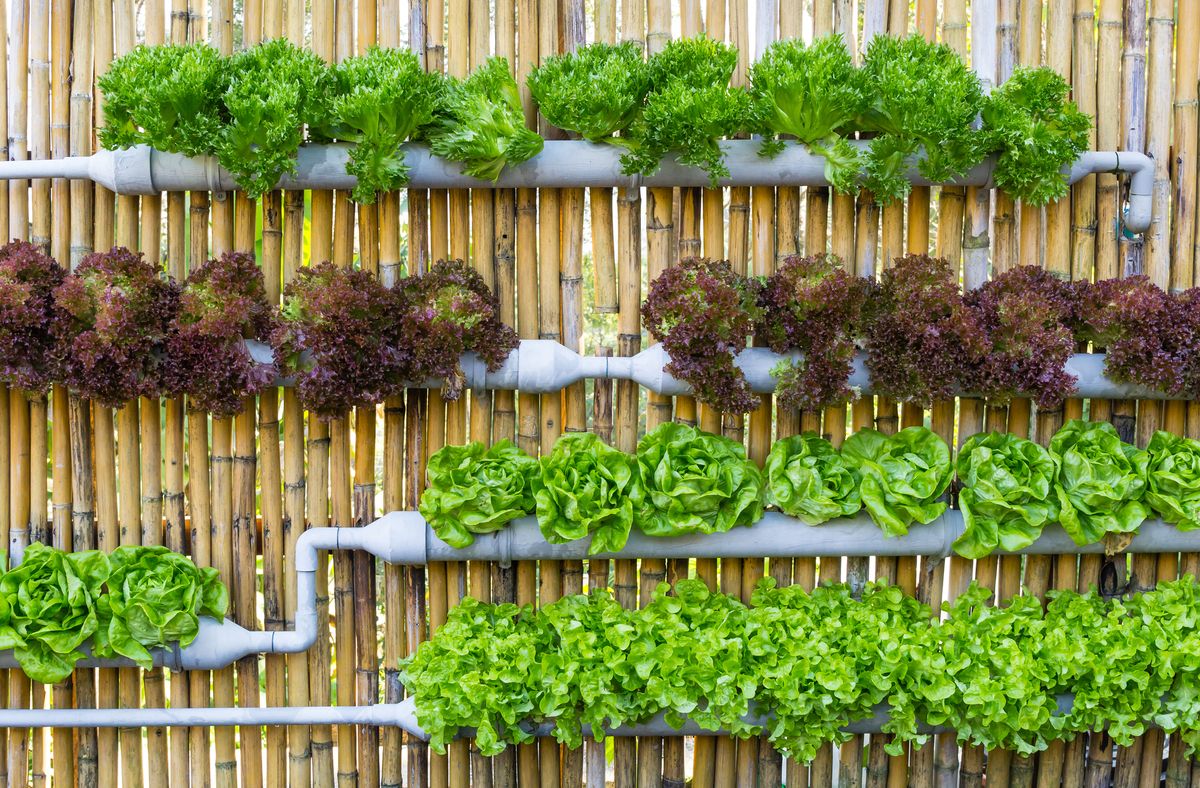
Step 6: Hanging and Maintaining the Vertical Garden
With your plants securely planted in the PVC pipe structure, it’s time to hang your vertical garden and establish a maintenance routine to ensure its health and longevity. This final step involves proper installation, monitoring, and regular care.
Start by determining the best location for your vertical garden. Consider factors such as sunlight exposure, accessibility for watering and maintenance, and the weight-bearing capacity of the mounting surface.
Using brackets, hooks, or ropes, securely mount the PVC pipe structure to the chosen surface. Make sure it is stable and can support the weight of the plants and water reservoir.
Once your vertical garden is hung, it’s important to monitor and maintain its health. Here are some key maintenance tasks:
- Watering: Regularly check the water level in the reservoir and ensure it is maintained. Plants in hydroponic systems require consistent access to water and nutrients, so it’s important to monitor and refill the reservoir as needed.
- Nutrient levels: Test the nutrient levels in the water regularly using a nutrient testing kit. Adjust the nutrient solution as recommended by the instructions to provide the optimal balance of nutrients for your plants.
- Pest and disease control: Keep an eye out for any signs of pests or diseases. Promptly address any issues by using appropriate organic pest control methods or consulting with a professional if necessary.
- Pruning and trimming: Regularly inspect your plants and remove any dead leaves or overgrown sections. This will promote healthy growth and prevent the spread of diseases within the vertical garden.
- Support and training: As your plants grow, they may require support or training to ensure they remain upright and well-positioned. Use stakes, trellises, or plant clips to support climbing or sprawling plants, helping them grow in an organized manner.
Additionally, regularly inspect the PVC pipe structure for any signs of damage or wear. Replace any connectors or pipes that are cracked or broken to maintain the stability and functionality of your vertical garden.
With proper maintenance and care, your DIY vertical garden will flourish and provide you with a beautiful and productive space-saving garden. Enjoy the satisfaction of growing your own plants and the beauty they bring to your environment.
Congratulations on creating your very own DIY vertical garden with PVC pipe hydroponics! Get ready to reap the rewards of fresh herbs, vibrant flowers, or even delicious fruits and vegetables right at your fingertips.
Happy gardening!
Conclusion
Congratulations on completing your DIY vertical garden project with PVC pipe hydroponics! By following the step-by-step guide, you have transformed a simple PVC pipe structure into a thriving and space-saving garden. Your vertical garden will not only beautify your surroundings but also provide you with the joy of growing your own plants.
With the use of hydroponics, you have embraced an innovative gardening technique that conserves water, minimizes soil usage, and eliminates common issues like pests and weeds. This not only makes your gardening experience more efficient but also allows you to achieve impressive yields in a smaller space.
Remember, regular maintenance is key to ensuring the success of your vertical garden. Stay vigilant with watering, nutrient levels, pest control, pruning, and support for your growing plants. With proper care, your vertical garden will continue to thrive and reward you with a bountiful harvest.
Feel free to experiment with different plant varieties and arrangements in your vertical garden. Whether you choose to grow herbs for culinary delights, colorful flowers for a vibrant display, or even fresh vegetables for a sustainable food source, the possibilities are endless.
As you embark on this gardening journey, don’t forget to enjoy the process. Gardening is not only a means to grow plants; it can also be a way to relax, connect with nature, and engage in a fulfilling hobby. Take time to appreciate the beauty of your vertical garden, witness the growth of your plants, and revel in the serenity it brings to your space.
Finally, be sure to share your DIY vertical garden project with others. Inspire your friends, family, and community to explore eco-friendly gardening practices and embrace the joy of growing plants vertically. By sharing your knowledge and experiences, you can encourage others to embark on their own green journey and make a positive impact on the environment.
Once again, congratulations on creating your DIY vertical garden with PVC pipe hydroponics! Embrace the beauty, joy, and rewards of your thriving garden as you continue to nurture and care for it.
Happy gardening!
Frequently Asked Questions about How To Make DIY Vertical Garden With PVC Pipe Hydroponics
Was this page helpful?
At Storables.com, we guarantee accurate and reliable information. Our content, validated by Expert Board Contributors, is crafted following stringent Editorial Policies. We're committed to providing you with well-researched, expert-backed insights for all your informational needs.
0 thoughts on “How To Make DIY Vertical Garden With PVC Pipe Hydroponics”