Home>Garden Essentials>How To Make A Vertical Garden With Grow Bags
Garden Essentials
How To Make A Vertical Garden With Grow Bags
Modified: August 27, 2024
Learn how to create a stunning vertical garden using grow bags and turn your backyard into a flourishing garden oasis. Discover the secrets of successful gardeners and start your garden today!
(Many of the links in this article redirect to a specific reviewed product. Your purchase of these products through affiliate links helps to generate commission for Storables.com, at no extra cost. Learn more)
Introduction
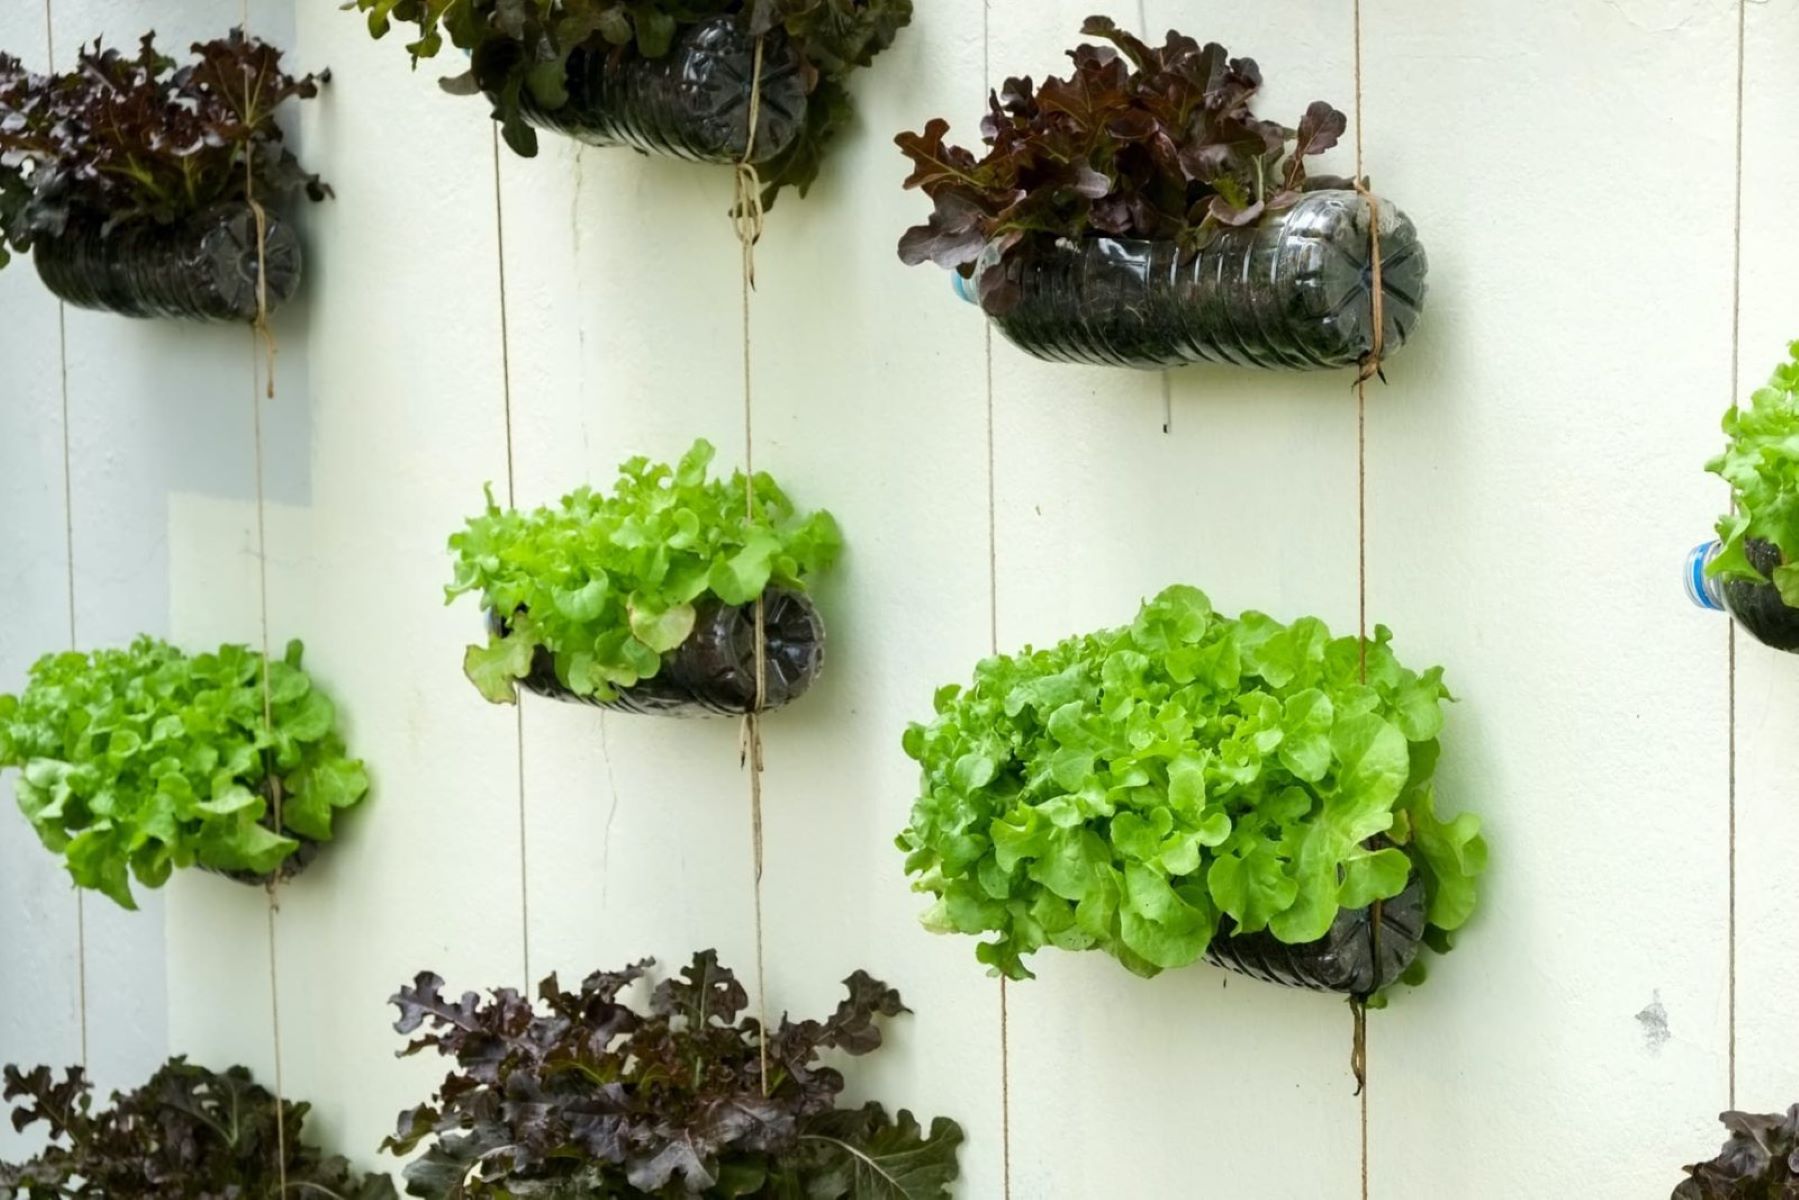
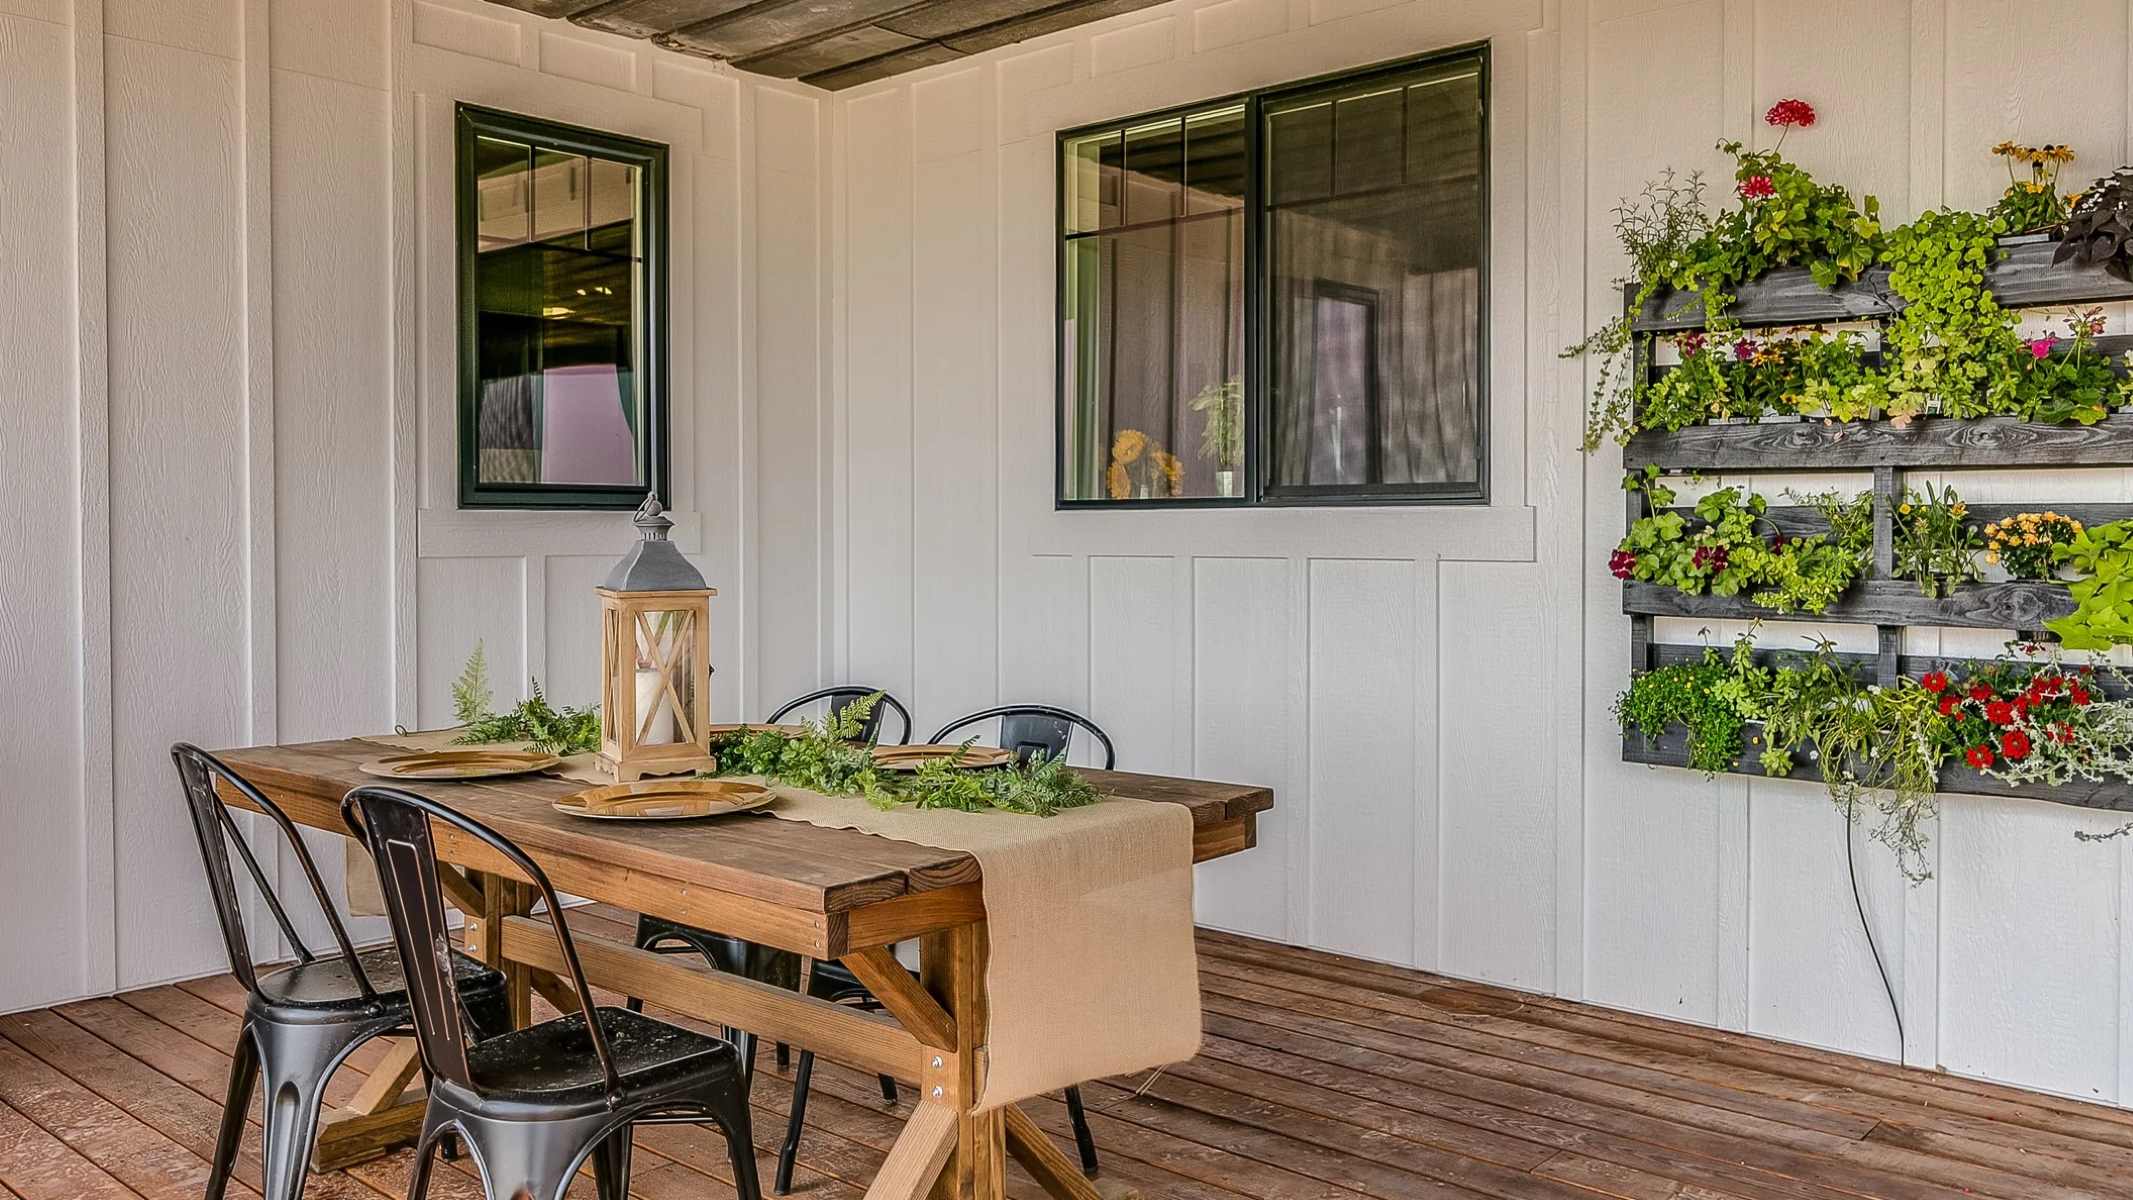
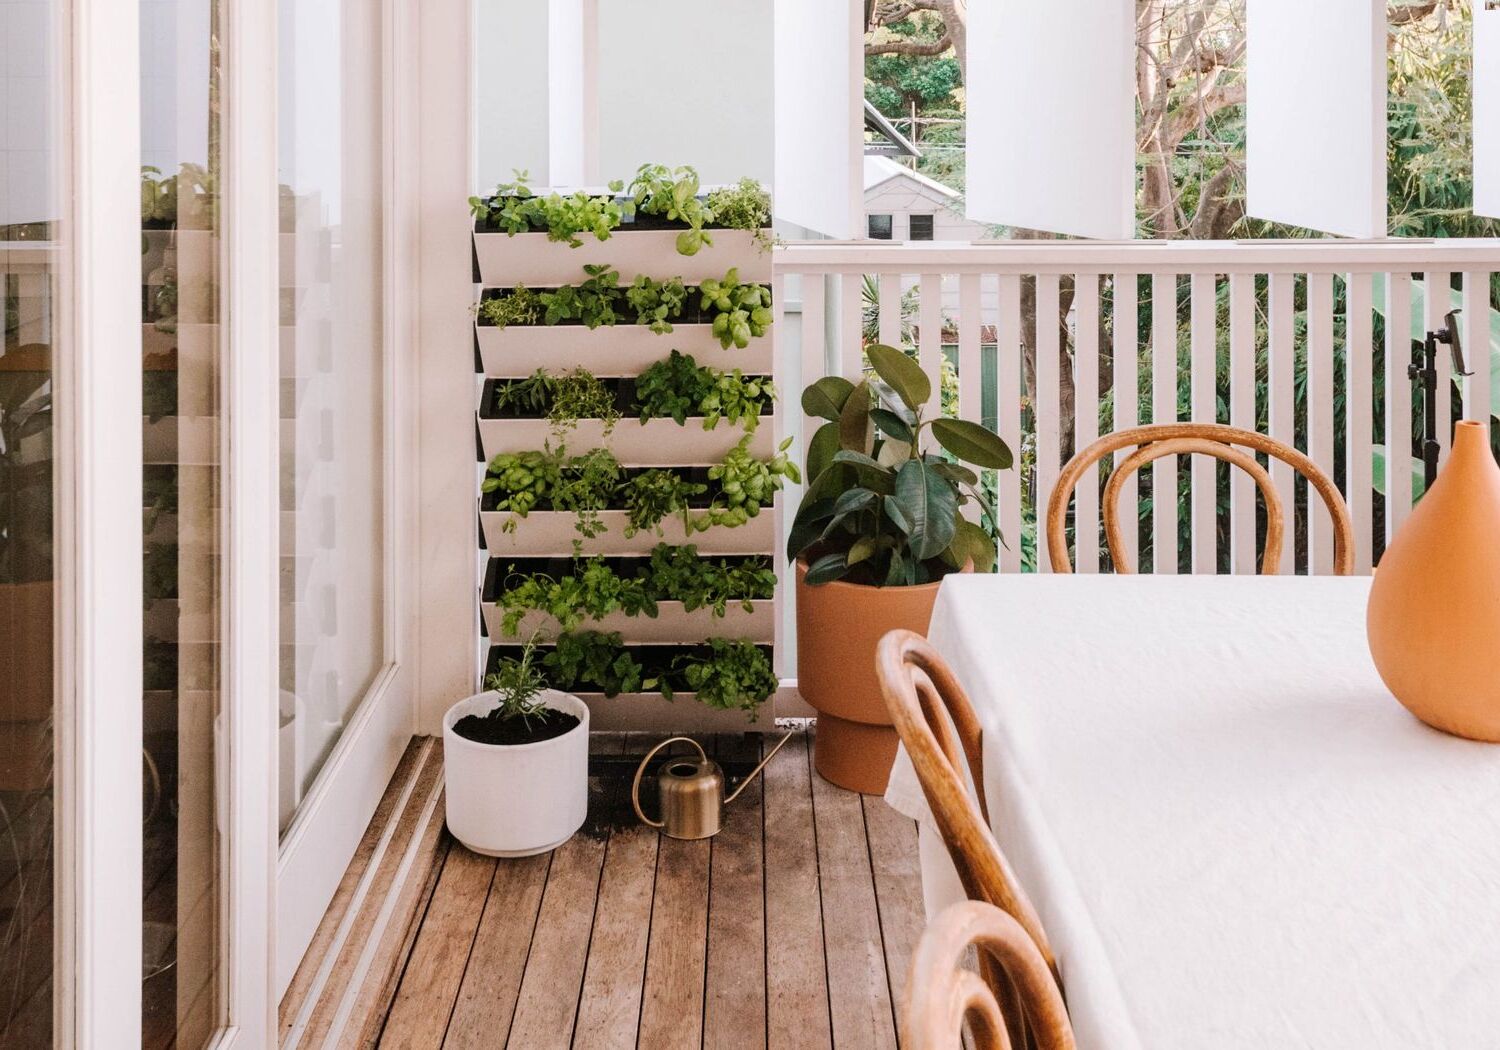
Vertical gardening has become increasingly popular in recent years, allowing gardeners with limited space to make the most of their available area. One of the easiest and most versatile methods of vertical gardening is using grow bags. These bags, made of durable fabric, can be hung or stacked to create a stunning vertical garden display.
With grow bags, you can transform any sunny wall, balcony railing, or even a small corner of your yard into a lush and vibrant garden. In this article, we will guide you through the process of creating a vertical garden using grow bags, from choosing the right location to troubleshooting common issues. So, let’s get started and bring some greenery into your life!
Before we dive into the details, it’s essential to understand the benefits of vertical gardening. Not only does it enable you to maximize your gardening space, but it also helps save water and reduces the risk of pests and diseases. Additionally, vertical gardens can add a beautiful and unique focal point to any outdoor or indoor space.
Whether you’re a seasoned gardener or a beginner, creating a vertical garden with grow bags is an accessible and rewarding project. So, let’s explore the steps involved in making your own vertical garden and enjoy the wonders of gardening even with limited space.
Key Takeaways:
- Create a stunning vertical garden with grow bags to maximize space and bring nature’s beauty to small areas. Consider sunlight, grow bag selection, plant care, and troubleshooting for a thriving garden.
- Transform any sunny wall, balcony, or yard corner into a lush garden oasis with vertical gardening using grow bags. Choose the right location, prepare the grow bags, select the perfect plants, and maintain your garden for success.
Read more: How To Make Succulent Vertical Garden
Choosing the Right Location
When it comes to creating a vertical garden with grow bags, selecting the right location is crucial for the success of your plants. Here are some factors to consider when choosing the perfect spot:
- Sunlight: Most plants require at least 6 hours of direct sunlight daily. Observing your prospective location throughout the day will help determine if it receives sufficient sunlight. Choose a spot that offers the maximum amount of sunlight for the majority of the day.
- Accessibility: Ensure that the location is easily accessible for watering, pruning, and harvesting. Consider the height of the vertical garden and ensure that you can reach all parts comfortably.
- Structural Support: Your chosen location should have a sturdy structure, such as a wall or a fence, to support the weight of the vertical garden. If you plan to hang the grow bags, make sure the structure can bear the weight.
- Drainage: Adequate drainage is crucial to prevent waterlogging and root rot. Choose a location that allows excess water to drain freely, or ensure that the grow bags have sufficient drainage holes.
- Proximity to Water Source: Select a location that is close to a water source or easily accessible for regular watering. Remember, vertical gardens may require more frequent watering compared to traditional gardens due to the smaller volume of soil in grow bags.
By considering these factors, you can ensure your plants thrive in the ideal environment. Once you have found the perfect location, it’s time to move on to selecting the right grow bags for your vertical garden.
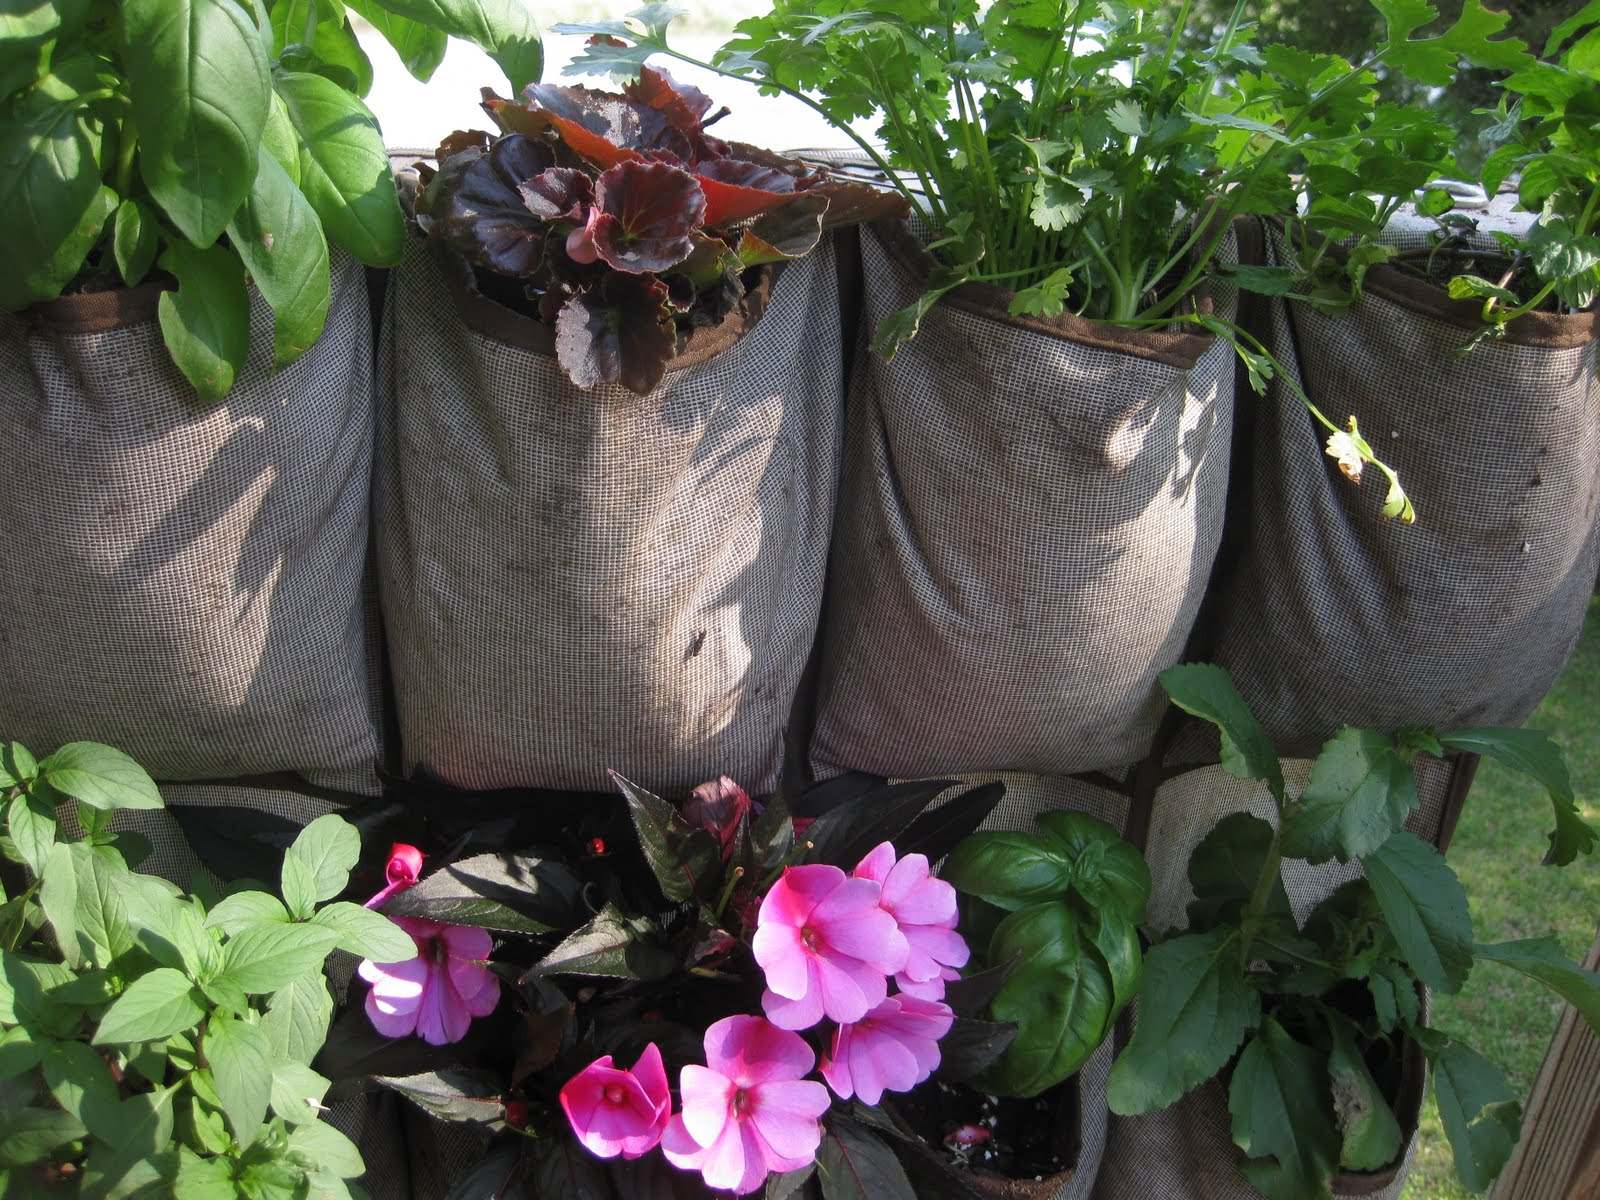
Selecting Grow Bags
Choosing the right grow bags for your vertical garden is an important step in ensuring the success of your plants. Here are some factors to consider:
- Size: Grow bags come in various sizes, ranging from small to extra-large. Consider the size of the plants you intend to grow and select grow bags that provide enough space for root development. The general rule of thumb is to choose a grow bag with a capacity of at least 5 gallons.
- Material: Grow bags are commonly made of fabric materials such as polypropylene or felt. These materials offer excellent drainage and allow for better air circulation around the roots. Ensure that the grow bags you choose are made of durable and UV-resistant material to withstand outdoor conditions.
- Handles: Look for grow bags with sturdy handles for easy transportation and maneuverability. This is especially important if you plan on moving your vertical garden or need to bring in the plants during extreme weather conditions.
- Color: While it may seem like a minor consideration, the color of the grow bags can impact the temperature of the soil. Light-colored bags reflect sunlight and help keep the soil cooler, while dark-colored bags absorb heat and may cause the soil to warm up more quickly. Choose the color that suits your plant’s needs and the climate in your area.
It’s also worth mentioning that there are specialized grow bags available for specific plant types, such as fruiting plants or herbs. These bags may have additional features like built-in trellises or pockets for multiple plants. Consider your gardening goals and the type of plants you want to grow to find the most suitable grow bags.
Once you have selected the grow bags, it’s time to prepare them for planting in your vertical garden.
Preparing the Grow Bags
Before you start planting in your grow bags, it’s important to prepare them properly to create an optimal environment for your plants. Follow these steps to ensure your grow bags are ready for planting:
- Clean the Grow Bags: If you are reusing grow bags from a previous season, make sure to clean them thoroughly to remove any debris or potential disease-causing organisms. Scrub the bags with a mild soap and water solution, rinse well, and allow them to dry completely.
- Fill the Grow Bags: Fill the grow bags with high-quality potting soil or a well-balanced soil mix. Avoid using garden soil as it may be too heavy and not provide adequate drainage. Fill the bags to about 2 inches below the rim, leaving enough space for watering without causing overflow.
- Add Organic Matter: Mix in some organic matter, such as compost or well-rotted manure, to enrich the soil and provide essential nutrients for plant growth. This will help create a fertile environment for your plants.
- Moisten the Soil: Before planting, lightly moisten the soil in the grow bags. It should be damp but not overly saturated. This will help the roots establish and prevent the soil from drying out too quickly.
- Optional: Install a Trellis or Support System: If you plan to grow vining or climbing plants, consider installing a trellis or support system inside the grow bags. This will provide the necessary support for the plants as they grow vertically.
Once you have prepared the grow bags, it’s time to move on to selecting the right plants for your vertical garden.
Choosing the Right Plants
When it comes to selecting plants for your vertical garden, there are a few factors to consider. Here are some tips to help you choose the right plants for your grow bags:
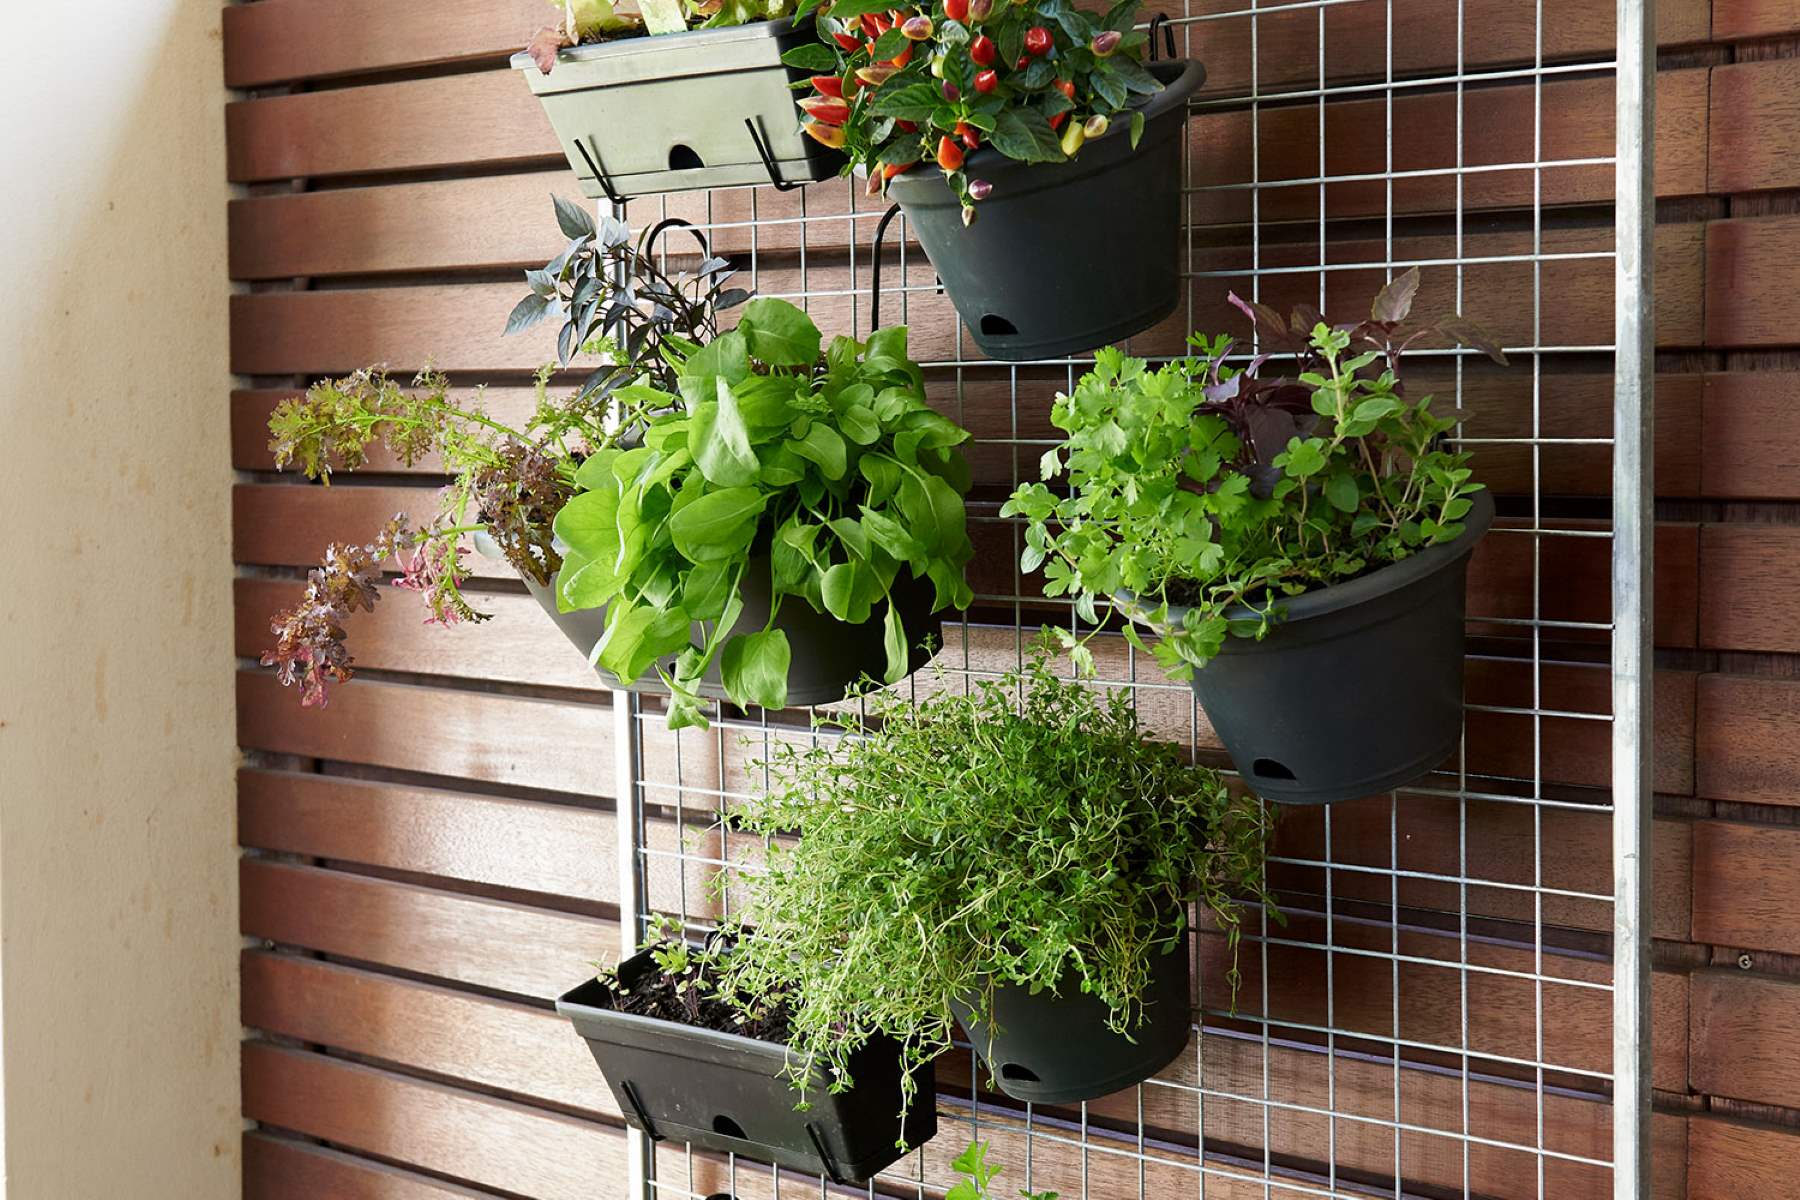
- Space Requirements: Consider the available space in your grow bags and choose plants that fit well. Some options for vertical gardening include herbs, salad greens, strawberries, flowers, and small vegetables like cherry tomatoes or peppers. Choose plants that have a compact growth habit or can be trained to grow vertically.
- Sunlight Requirements: Pay attention to the sunlight requirements of the plants you choose. Ensure that your chosen location provides the necessary amount of sunlight for the specific plants you want to grow.
- Growth Habit and Support: Consider how the plants grow and whether they require additional support or trellising. Some plants, like tomatoes or cucumbers, will benefit from a trellis system installed in the grow bags. This will help them grow upward and prevent the plants from sprawling across the ground.
- Climate Adaptability: Choose plants that are suitable for your climate and growing conditions. Consider factors such as temperature, humidity, and the length of the growing season. Opt for plant varieties that are known to thrive in your specific region.
- Edible vs. Ornamental: Decide whether you want to grow plants for ornamental purposes or for harvesting fresh produce. Vertical gardens can be a great way to grow your own herbs, vegetables, or fruits. Alternatively, you can focus on creating a visually pleasing display with a variety of foliage and flowering plants.
- Companion Planting: Consider companion planting to maximize the use of space and promote healthy growth. Some plants have mutually beneficial relationships, while others may inhibit each other’s growth. Research companion planting guidelines to choose combinations that work well together.
By taking these factors into account, you can select plants that are well-suited for your vertical garden and ensure a successful and bountiful harvest.
Now that you have chosen the plants, it’s time to plant them in your grow bags.
When making a vertical garden with grow bags, make sure to choose a sturdy structure to hang the bags from, such as a trellis or a wall-mounted frame, to support the weight of the soil and plants.
Planting the Grow Bags
Now that you have prepared your grow bags and selected the plants, it’s time to start planting. Follow these steps to ensure successful planting in your vertical garden:
- Dig Planting Holes: Make small holes in the soil of the grow bag, spaced according to the planting recommendations for each specific plant. The holes should be deep enough to accommodate the roots of the plants.
- Remove Excess Soil: Gently remove the plants from their nursery pots, being careful not to damage the delicate roots. Remove any excess soil from the root ball, as this will ensure a better fit in the grow bags and promote healthy root growth.
- Place the Plants: Carefully place each plant in its designated hole, ensuring that the roots are spread out and not compressed. Position the plants at the same depth they were in their original pots, making sure the crown is level with the soil surface.
- Backfill and Firm the Soil: Fill the holes around the plants with the soil mixture, gently firming it around the roots to provide stability. Avoid compacting the soil too tightly, as this may hinder the root growth and water drainage.
- Water Thoroughly: After planting, give your grow bags a thorough watering, ensuring that the soil is evenly moist. This will help settle the soil and encourage the roots to establish in their new environment.
- Optional: Install Supports: If you are growing vining or climbing plants that require support, install the trellis system or other supports in the grow bags. This will help guide the plants as they grow vertically.
Remember to follow the specific planting instructions for each type of plant you have chosen. Some plants may require additional care or techniques, such as staking, pruning, or regular pinching to encourage bushier growth.
After planting, it’s important to maintain proper care for your vertical garden to ensure healthy and thriving plants.
Watering and Fertilizing
Proper watering and fertilizing are essential for the health and growth of your plants in a vertical garden. Here are some tips to help you maintain the ideal moisture and nutrient levels:
- Watering: Grow bags tend to dry out faster than traditional garden beds, so consistent watering is important. Check the moisture level of the soil regularly by inserting your finger about an inch into the soil. If it feels dry, it’s time to water. Ensure thorough watering by allowing water to drip from the drainage holes until it starts to flow out from the bottom.
- Watering Frequency: The frequency of watering will depend on various factors, including the weather, plant type, and size of the grow bags. As a general guideline, aim to keep the soil evenly moist but not overly saturated. Avoid allowing the soil to dry out completely.
- Fertilizing: Since grow bags have limited soil volume, plants may benefit from regular fertilization to ensure they receive adequate nutrients. Choose a slow-release, balanced fertilizer or opt for organic options such as compost or worm castings. Follow the fertilizer package instructions and apply as directed, adjusting the frequency based on the needs of your specific plants.
- Top-Dressing with Compost: Periodically top-dress the surface of the grow bags with compost. This will replenish nutrients and improve soil health over time. Gently mix the compost into the top layer of soil or simply spread it on the surface and allow it to naturally integrate with the soil through watering.
- Monitor Plant Health: Pay attention to signs of over or under-watering, as well as nutrient deficiencies or excesses. Wilting, yellowing leaves, or stunted growth can indicate a lack of water or nutrients. Adjust your watering and fertilizing practices accordingly to ensure your plants remain healthy.
Remember, each plant has its watering and fertilizing requirements, so it’s essential to research and understand the specific needs of the plants in your vertical garden. Regular monitoring and attentive care will help your plants thrive in their grow bags and contribute to a flourishing vertical garden.
Now that you know how to care for your plants, let’s move on to maintaining your vertical garden.
Maintaining the Vertical Garden
Maintaining your vertical garden is key to ensuring its long-term success and beauty. Here are some important maintenance tasks to keep your garden thriving:
- Pruning and Trimming: Regularly prune and trim your plants to maintain their shape and encourage bushier growth. Remove any dead or yellowing leaves, as well as any overcrowded or tangled stems. This will improve air circulation and reduce the risk of pests and diseases.
- Weeding: Keep an eye out for any weeds that may pop up around your grow bags and promptly remove them. Weeds compete with your plants for nutrients and water, so regular weeding is important to maintain their health.
- Support Adjustment: If you are growing vining or climbing plants with a support system, periodically check and adjust the supports as needed. As the plants grow, they may require additional guidance or tying to keep them on the designated path.
- Monitor Pests and Diseases: Inspect your plants regularly for any signs of pests or diseases. Common pests in vertical gardens include aphids, slugs, and snails. Treat infestations promptly with organic insecticides or natural deterrents. If you notice any signs of disease, such as wilting, spots, or discoloration, isolate the affected plants and take appropriate measures to prevent the spread.
- Harvesting: If you are growing edible plants, enjoy the fruits of your labor by harvesting them at the appropriate time. Harvesting regularly will encourage continuous production and prevent overripening or plant exhaustion.
- Regular Inspection: Conduct regular inspections of your vertical garden to identify any issues or environmental changes that may impact plant health. Adjust your care routine accordingly to ensure optimal conditions for your plants.
By staying on top of these maintenance tasks, you can enjoy a vibrant and healthy vertical garden throughout the growing season. Regular care and attention will contribute to the overall success and longevity of your garden.
Now, let’s address any common issues that may arise in your vertical garden and how to troubleshoot them.
Troubleshooting Common Issues
Like any garden, a vertical garden can face a few common issues that require troubleshooting. Here are some potential problems you may encounter and how to address them:
- Watering Problems: Overwatering can lead to root rot and fungal diseases, while underwatering can cause wilting and nutrient deficiencies. Ensure you are providing the appropriate amount of water for your plants based on their needs and the current weather conditions. Adjust your watering schedule accordingly to maintain the optimal moisture level.
- Pest Infestations: Aphids, slugs, snails, and other pests can attack your plants. Monitor your garden regularly and take immediate action if you notice an infestation. Use organic insecticides or natural deterrents to control pests effectively. Encourage beneficial insects like ladybugs or lacewings that can help control pest populations naturally.
- Nutrient Deficiencies: Yellowing leaves, stunted growth, and weak plants may indicate nutrient deficiencies. Feed your plants with a balanced fertilizer or amend the soil with organic matter to replenish essential nutrients. Be cautious not to over-fertilize, as this can lead to nutrient burn or nutrient imbalances.
- Diseases: Fungal, bacterial, or viral diseases can affect your plants. To prevent the spread of diseases, practice proper sanitation by removing and disposing of infected plant parts. Provide adequate air circulation and avoid overhead watering, as this can promote disease development. Consider using disease-resistant plant varieties and regularly inspect your plants for any signs of disease.
- Temperature Extremes: Excessive heat or cold can stress your plants. Provide shade or use shade cloth during hot summer months to protect your plants from scorching. In colder climates, consider insulating your grow bags or moving them to a protected area during freezing temperatures.
- Improper Support: If your vining or climbing plants are not properly supported, they may sag or break under their weight. Regularly check the stability of your support system and make adjustments as needed to prevent damage to the plants.
Remember, prevention is key to avoiding common issues. Regular monitoring, proper care, and addressing any problems early on will help you maintain a flourishing and healthy vertical garden.
With the tips provided above, you are now equipped to create and maintain your vertical garden successfully. Enjoy the beauty and rewards of gardening in a unique and space-saving way!
Read more: How To Make A Vertical Garden With PVC Pipe
Conclusion
Creating a vertical garden with grow bags is an excellent way to maximize your gardening space and bring nature’s beauty to even the smallest areas. By carefully choosing the location, selecting the right grow bags, preparing the soil, and choosing the appropriate plants, you can create a stunning vertical garden that thrives and delights.
Remember to consider factors such as sunlight, accessibility, structural support, drainage, and proximity to a water source when choosing the location for your vertical garden. Select grow bags that are the right size, made of durable material, and have handles for easy maneuverability. Preparing the grow bags by filling them with well-balanced soil, adding organic matter, and moistening the soil will provide the perfect foundation for your plants.
When it comes to choosing plants, consider their space requirements, sunlight needs, growth habit, climate adaptability, as well as whether you want edible or ornamental plants. Keep in mind the benefits of companion planting and ensure a harmonious combination of plants in your vertical garden.
Proper watering and fertilizing are crucial for the health of your plants in a vertical garden. Monitor the moisture level of the soil and water accordingly, ensuring it stays evenly moist. Regularly fertilize the plants using slow-release, balanced fertilizers or organic options such as compost. Don’t forget to top-dress the grow bags with compost for added nutrients.
Maintaining your vertical garden requires pruning and trimming, weeding, support adjustment, pest and disease monitoring, and regular inspection. By addressing issues promptly and providing care tailored to your plants’ needs, you can prevent problems and maintain a thriving garden throughout the season.
With proper care and attention, your vertical garden will become a beautiful oasis, showcasing the wonders of nature in a compact and creative way. Whether you’re growing herbs for culinary adventures or adding a burst of color with decorative flowers, your vertical garden will bring joy and relaxation to your life.
So, unleash your creativity, embrace the possibilities, and embark on the exciting journey of creating your own vertical garden with grow bags. Enjoy the beauty, abundance, and benefits that gardening has to offer, even in limited spaces!
Eager to enhance your gardening skills further? Dive into our guide on creating your own DIY vertical garden. This step-by-step journey will show you how to transform even the smallest spaces into verdant areas brimming with life. Whether you're looking to beautify your balcony or add a splash of green to your patio, this guide offers all the savvy tips needed to get started. Let your creativity bloom as you follow along and craft a unique green space that's both eye-catching and functional.
Frequently Asked Questions about How To Make A Vertical Garden With Grow Bags
Was this page helpful?
At Storables.com, we guarantee accurate and reliable information. Our content, validated by Expert Board Contributors, is crafted following stringent Editorial Policies. We're committed to providing you with well-researched, expert-backed insights for all your informational needs.


0 thoughts on “How To Make A Vertical Garden With Grow Bags”