Home>Garden Essentials>How To Make Roasted Pumpkin Seeds In Oven
Garden Essentials
How To Make Roasted Pumpkin Seeds In Oven
Modified: August 23, 2024
Learn how to make delicious roasted pumpkin seeds in the oven with this simple garden recipe. Enjoy a healthy and flavorful snack!
(Many of the links in this article redirect to a specific reviewed product. Your purchase of these products through affiliate links helps to generate commission for Storables.com, at no extra cost. Learn more)
Introduction
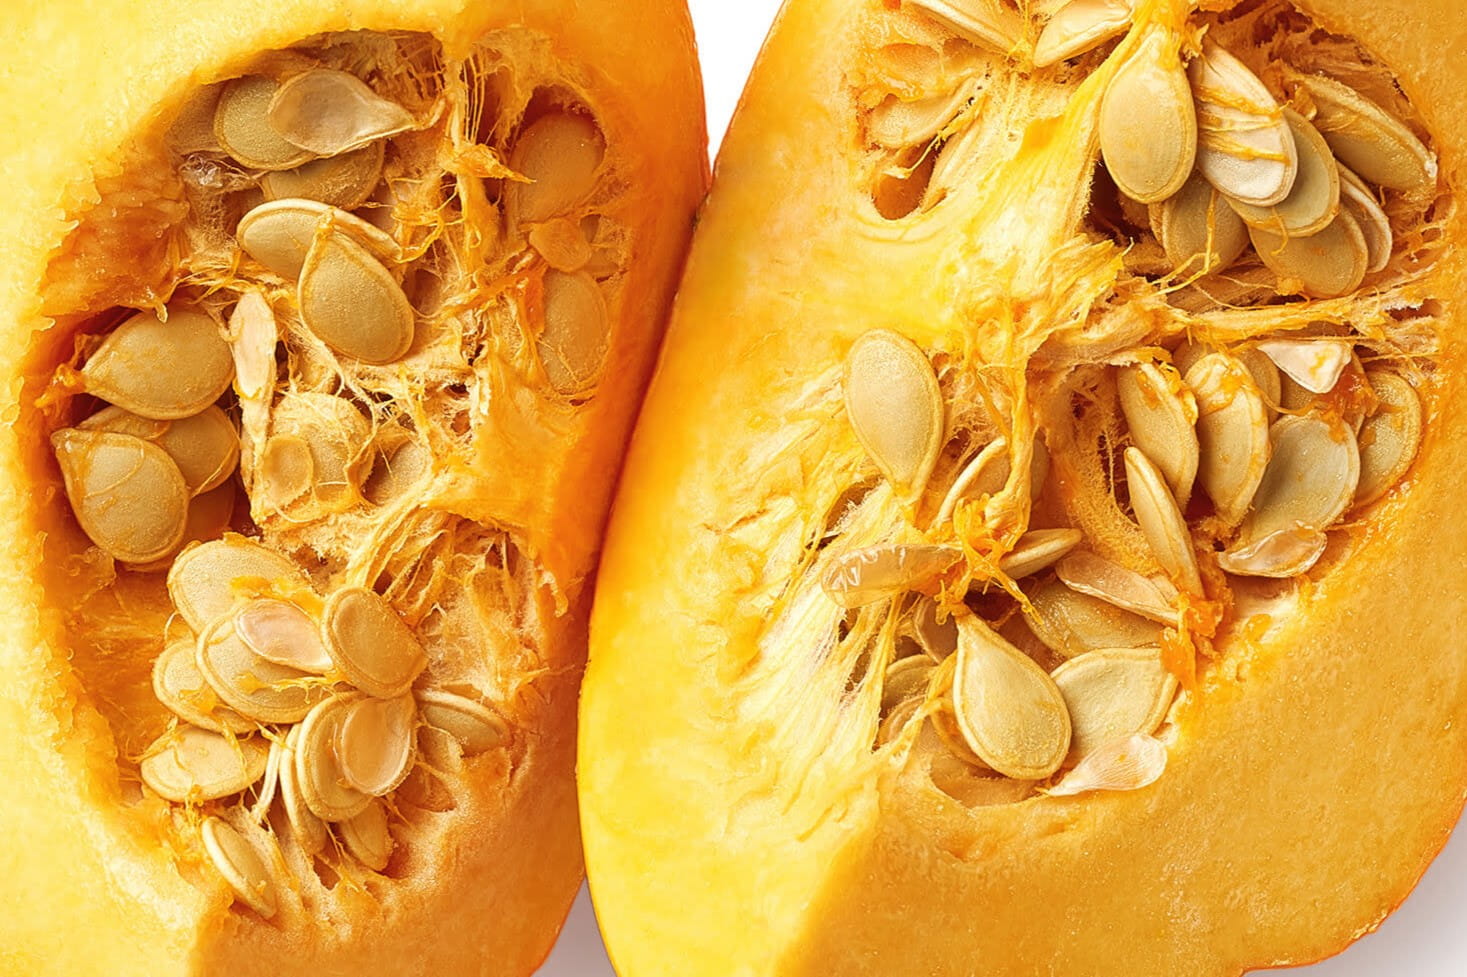
Welcome to the wonderful world of roasted pumpkin seeds! If you’ve ever carved a pumpkin for Halloween or cooked with fresh pumpkin, you’re probably familiar with the task of removing the slimy seeds from the pumpkin’s inner cavity. But did you know that these seeds can be transformed into a delicious and nutritious snack? Roasted pumpkin seeds are not only incredibly easy to make, but they are also packed with essential nutrients and have a satisfying crunch that will keep you coming back for more.
In this article, we will guide you through the simple steps to transform those discarded pumpkin seeds into a delectable treat. Whether you’re a seasoned chef or a curious beginner, you’ll be able to create a batch of roasted pumpkin seeds that will impress your family and friends.
Roasted pumpkin seeds are not only tasty but also offer a range of health benefits. They are an excellent source of protein, healthy fats, fiber, and essential minerals like magnesium, zinc, and iron. Incorporating these nutrient-packed seeds into your diet can support immune function, promote heart health, and even help with a restful night’s sleep.
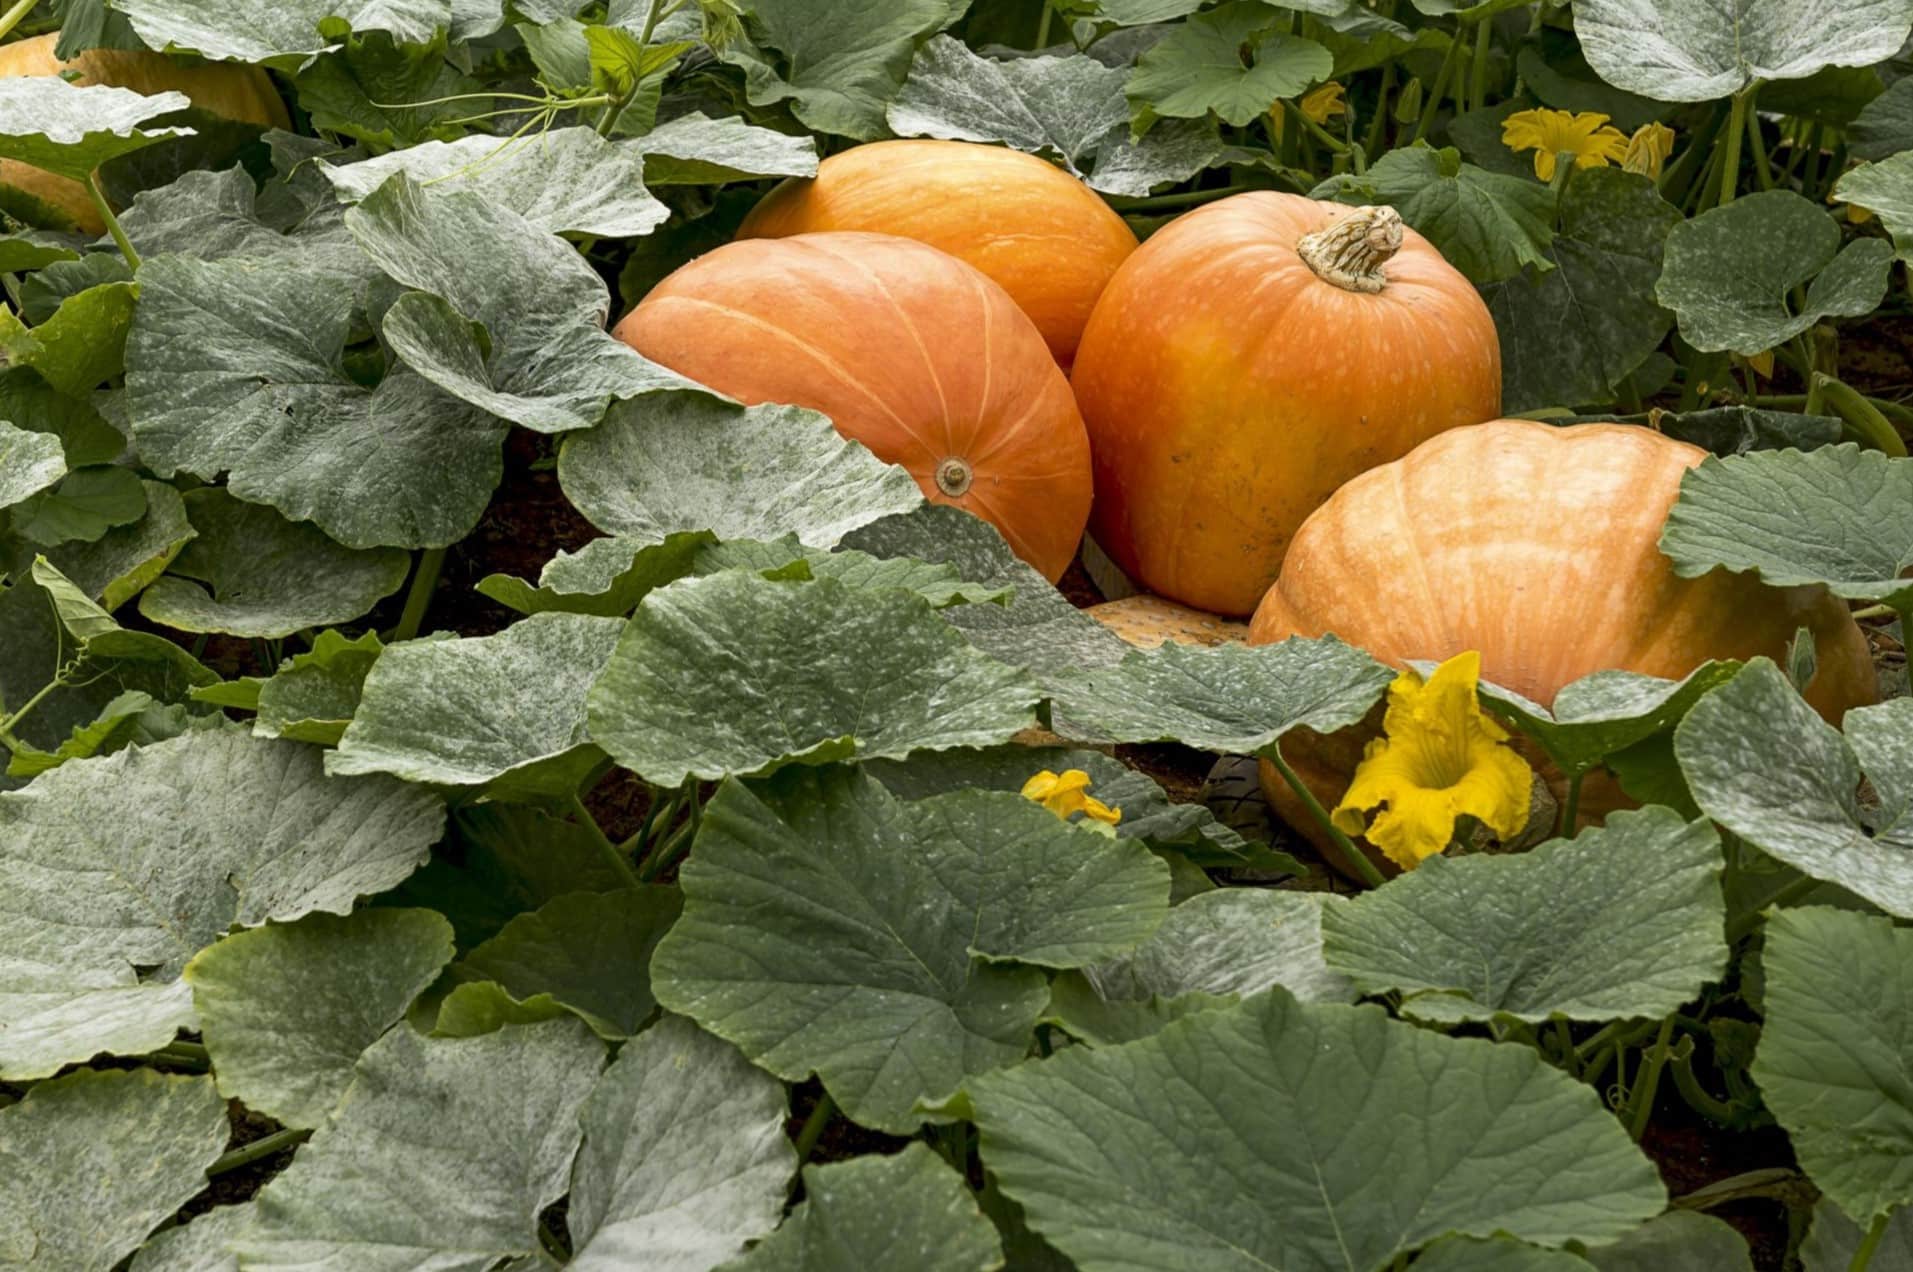
Before we dive into the step-by-step process, let’s talk about the type of pumpkin you’ll need. While any pumpkin can yield seeds, it’s best to choose a pumpkin that is specifically grown for culinary purposes. These pumpkins, often labeled as “sugar” or “pie” pumpkins, have a denser and sweeter flesh, making them perfect for roasting. As an added bonus, the pumpkins bred for cooking tend to have larger seeds, making them easier to handle.
Now that we have our pumpkin, let’s get started on the first step of the process: selecting and preparing the pumpkin.
Key Takeaways:
- Don’t toss those pumpkin seeds! Turn them into a tasty and nutritious snack with simple steps. Enjoy the crunchy goodness and health benefits of roasted pumpkin seeds.
- Get creative with flavors and seasonings to make your roasted pumpkin seeds unique and delicious. Share the joy of homemade snacks with friends and family.
Read more: How To Make Pumpkin Seeds Sweet
Step 1: Selecting and preparing the pumpkin
The first step in making roasted pumpkin seeds is selecting the right pumpkin and preparing it for seed extraction. Here’s what you need to do:
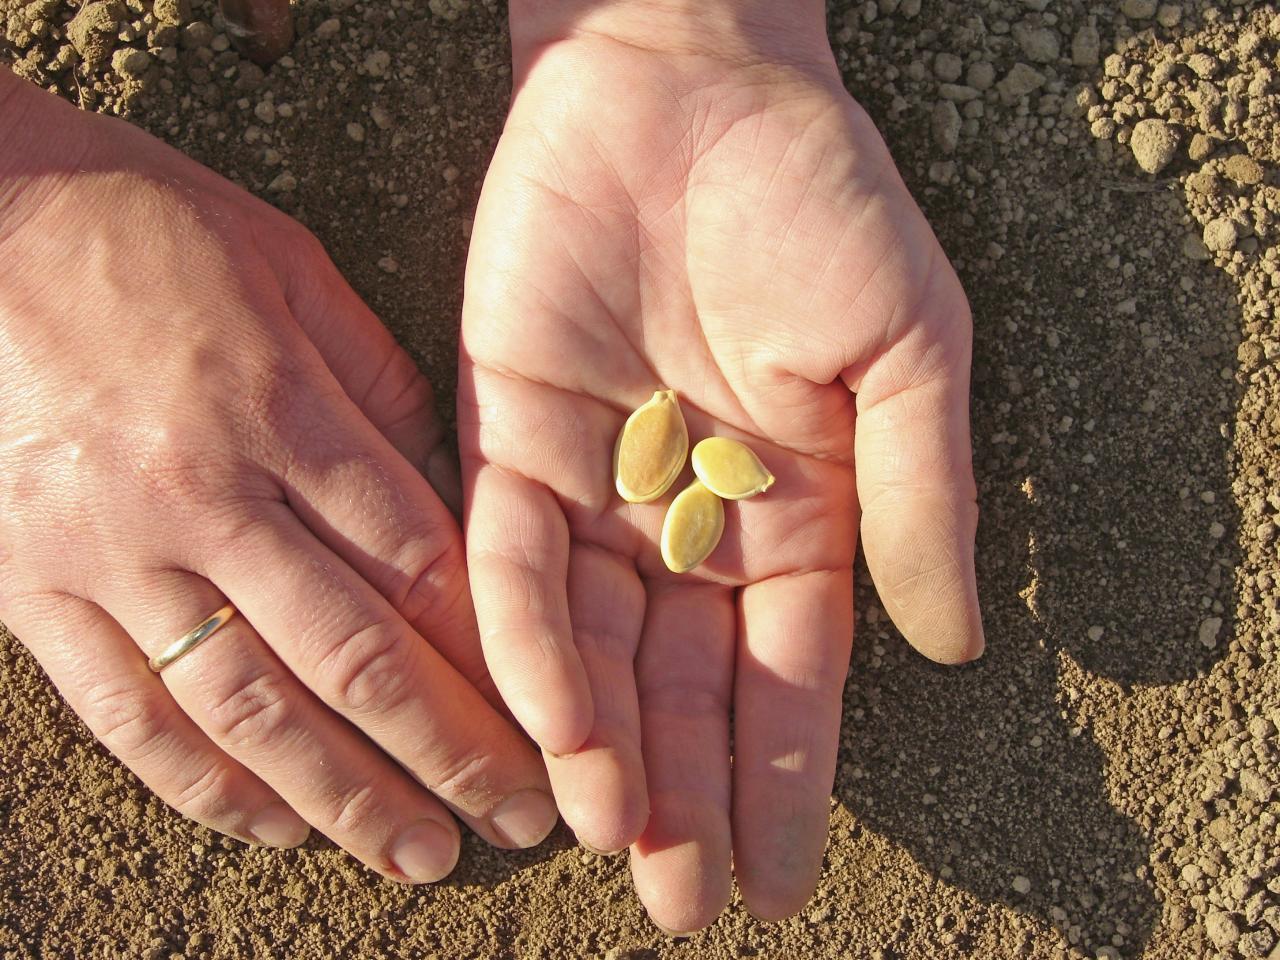
- Select the right pumpkin: Look for small to medium-sized pumpkins that are specifically grown for cooking. These pumpkins, often known as “sugar” or “pie” pumpkins, have a denser flesh and sweeter flavor compared to the ones used for carving.
- Wash the pumpkin: Before cutting into the pumpkin, give it a good wash with water to remove any dirt or debris from the outer skin. This will ensure that no contaminants end up on the seeds.
- Cut off the top: Using a sharp knife, carefully slice off the top of the pumpkin. This will create a lid that can be easily removed later.
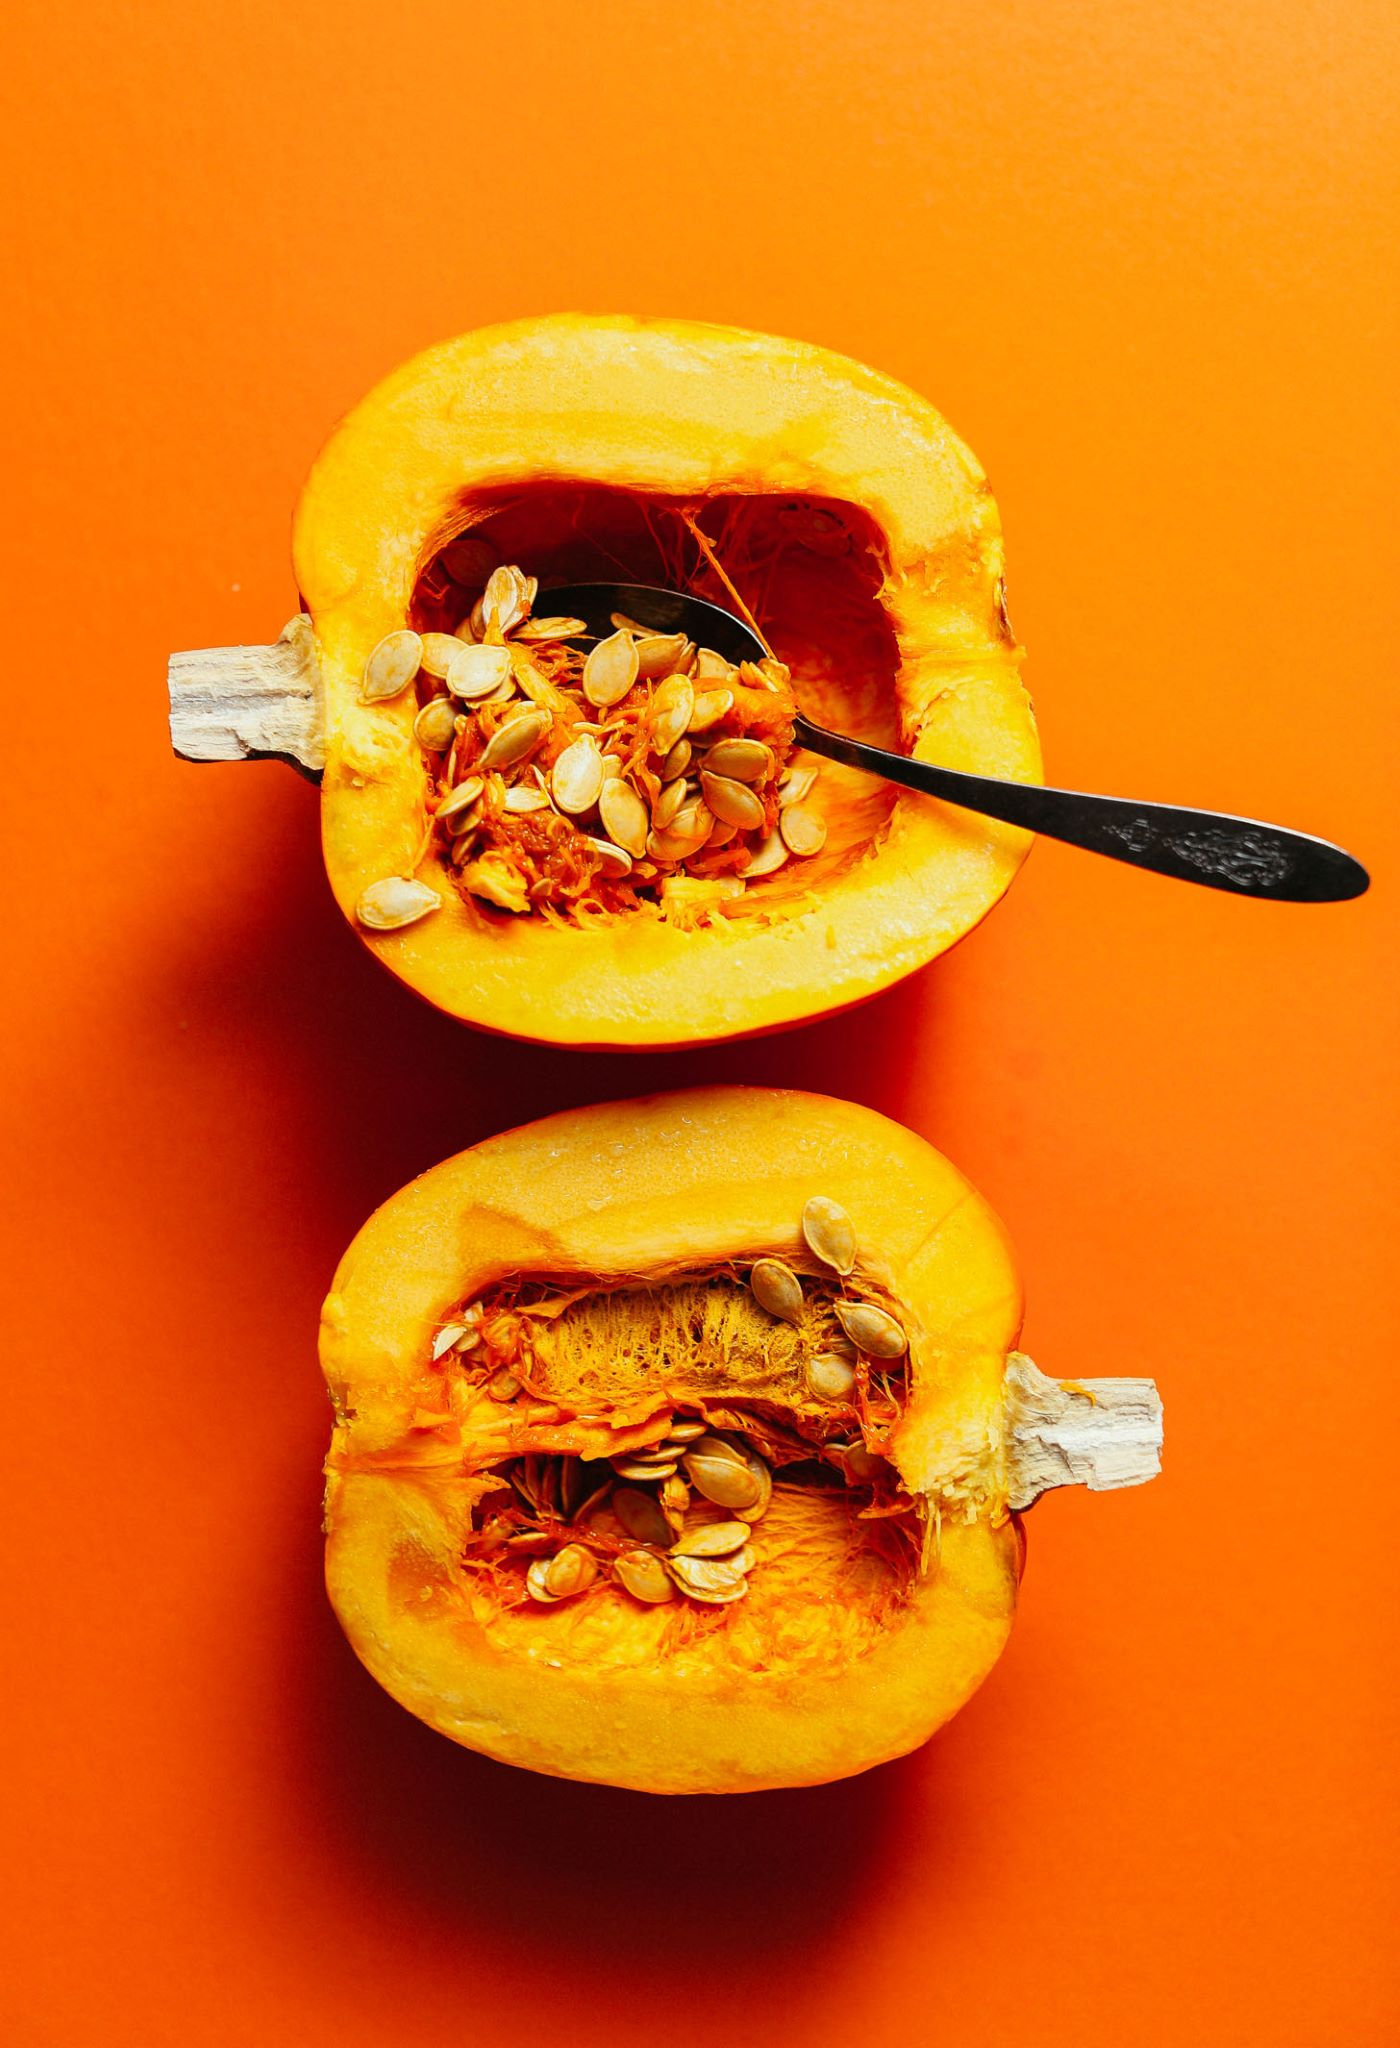
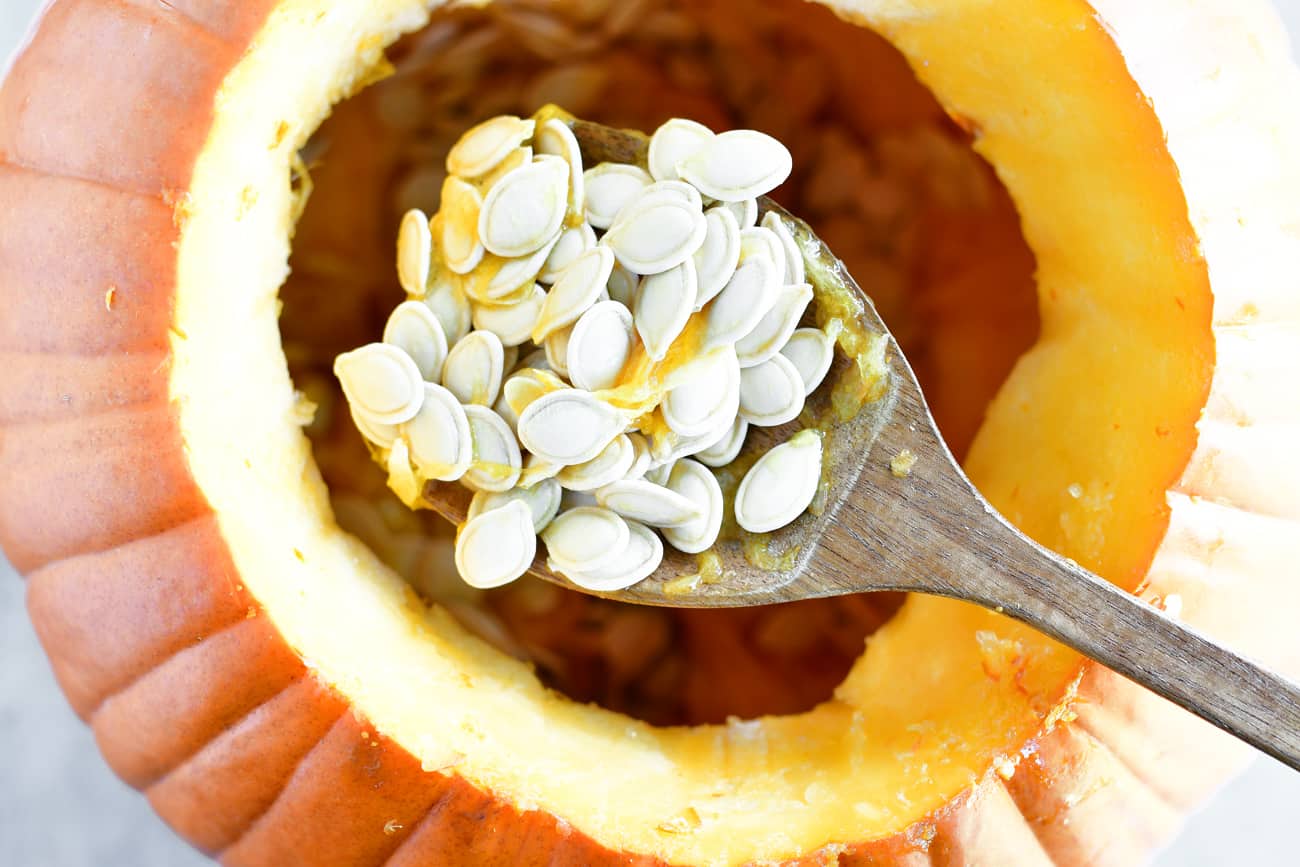
- Scoop out the seeds: With a large spoon or scoop, remove the pumpkin seeds and any stringy pulp attached to them. Place the seeds in a separate bowl to make the cleaning process easier later on.
- Separate the seeds from the pulp: If there is a large amount of pulp clinging to the seeds, you can place them in a colander and rinse them under cold water. Gently rub the seeds between your fingers to separate them from the pulp.
Once you’ve completed these steps, you’ll have a bowl of pumpkin seeds ready to be cleaned and dried. In the next step, we’ll learn the best way to clean and dry the pumpkin seeds to ensure a crispy and delicious end result.
Step 2: Removing the pumpkin seeds
Now that you have your pumpkin seeds separated from the pulp, it’s time to prepare them for roasting. Removing any remaining pulp and debris from the seeds will ensure a clean and flavorful result. Here’s how to do it:
- Rinse the seeds: Place the pumpkin seeds in a colander and rinse them under cold water. Use your hands to agitate the seeds and loosen any remaining pulp.
- Remove excess pulp: As you’re rinsing the seeds, use your fingers to remove any remaining bits of pumpkin pulp. The water will help in the process of separating the pulp from the seeds.
- Inspect for debris: After rinsing, carefully examine the seeds for any debris or unwanted particles that may have escaped your initial cleaning. Remove them from the batch to ensure that only clean seeds remain.
Once the pumpkin seeds have been thoroughly cleaned, it’s time to move on to the next step: drying them out. Properly drying the seeds is crucial for achieving a crispy texture during the roasting process. Let’s find out how to do it effectively.
Step 3: Cleaning and drying the pumpkin seeds
After removing the excess pulp and debris from the pumpkin seeds, it’s important to ensure they are properly cleaned and dried. This step is crucial in achieving crispy and flavorful roasted pumpkin seeds. Here’s how to do it:
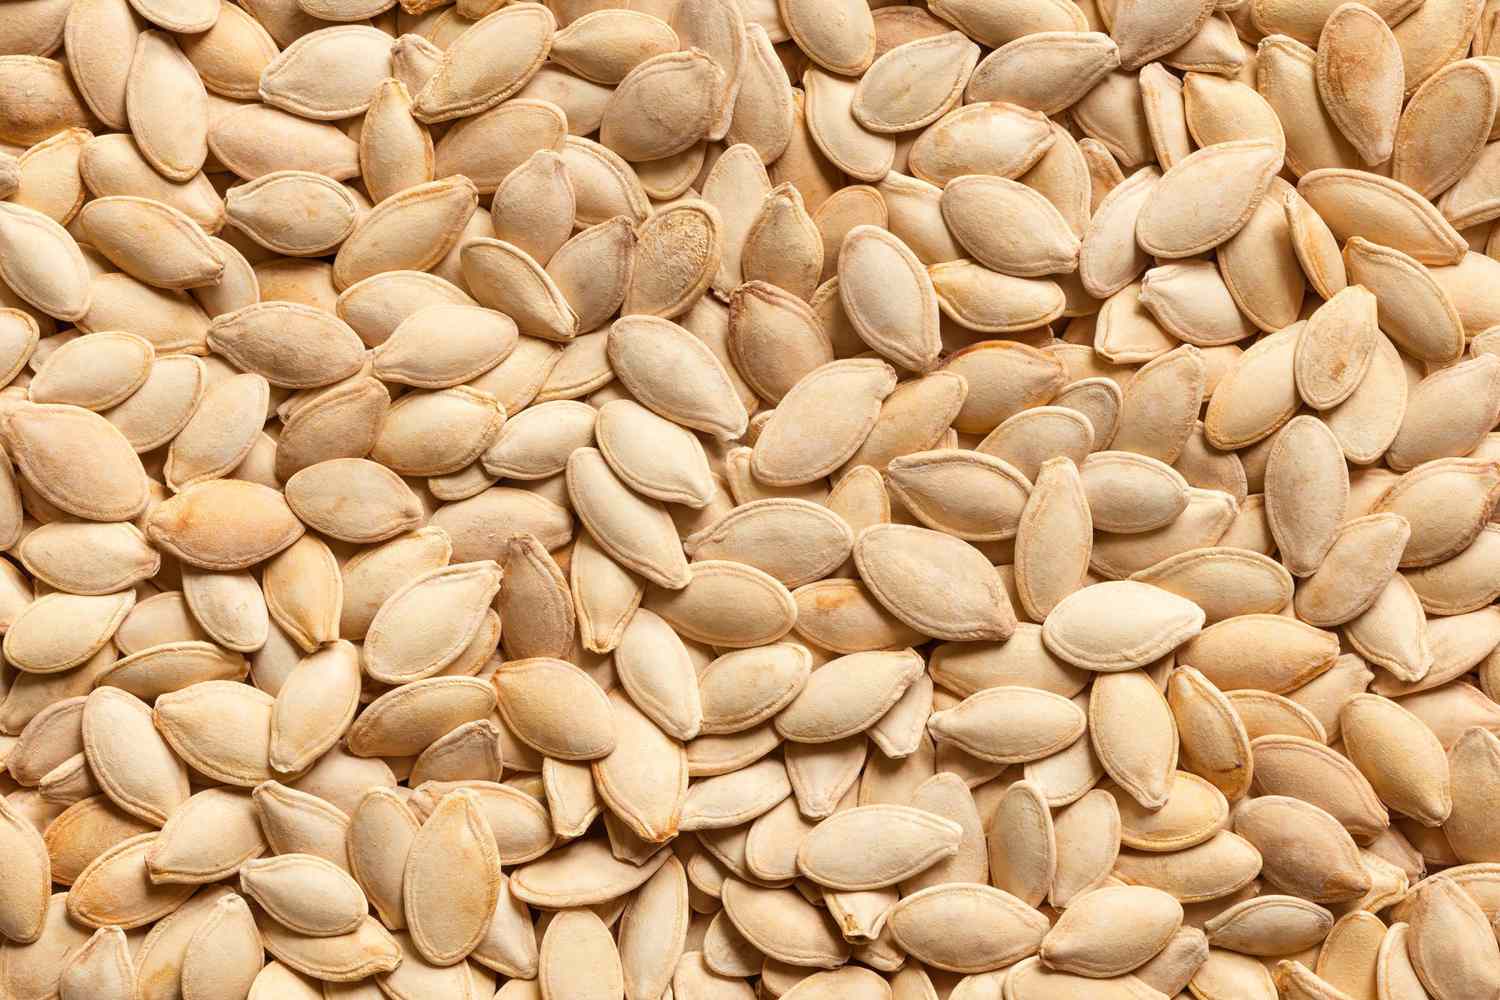
- Spread the seeds out: Take a clean kitchen towel or paper towel and spread the pumpkin seeds in a single layer. This will allow them to dry more efficiently.
- Air dry the seeds: Leave the pumpkin seeds to air dry for about 24 hours. It’s important to let them dry completely to avoid any moisture during the roasting process.
- Stir the seeds occasionally: Every few hours, gently stir the seeds to ensure even drying. This will help to prevent them from sticking together and encourage airflow around each seed.
- Optional: Speed up the drying process: If you’re short on time or don’t want to wait 24 hours, you can use a fan or a low-heat setting on your oven to speed up the drying process. Just make sure to check on the seeds frequently to prevent them from getting too hot or burning.
Once your pumpkin seeds are completely dry, it’s time to move on to the exciting part – seasoning! In the next step, we’ll explore different seasoning options to enhance the flavor of your roasted pumpkin seeds.
Step 4: Seasoning the pumpkin seeds
With your cleaned and dried pumpkin seeds ready, it’s time to add some delicious flavors and seasonings before roasting. This step allows you to get creative and customize the taste of your roasted pumpkin seeds. Here are some seasoning options to consider:
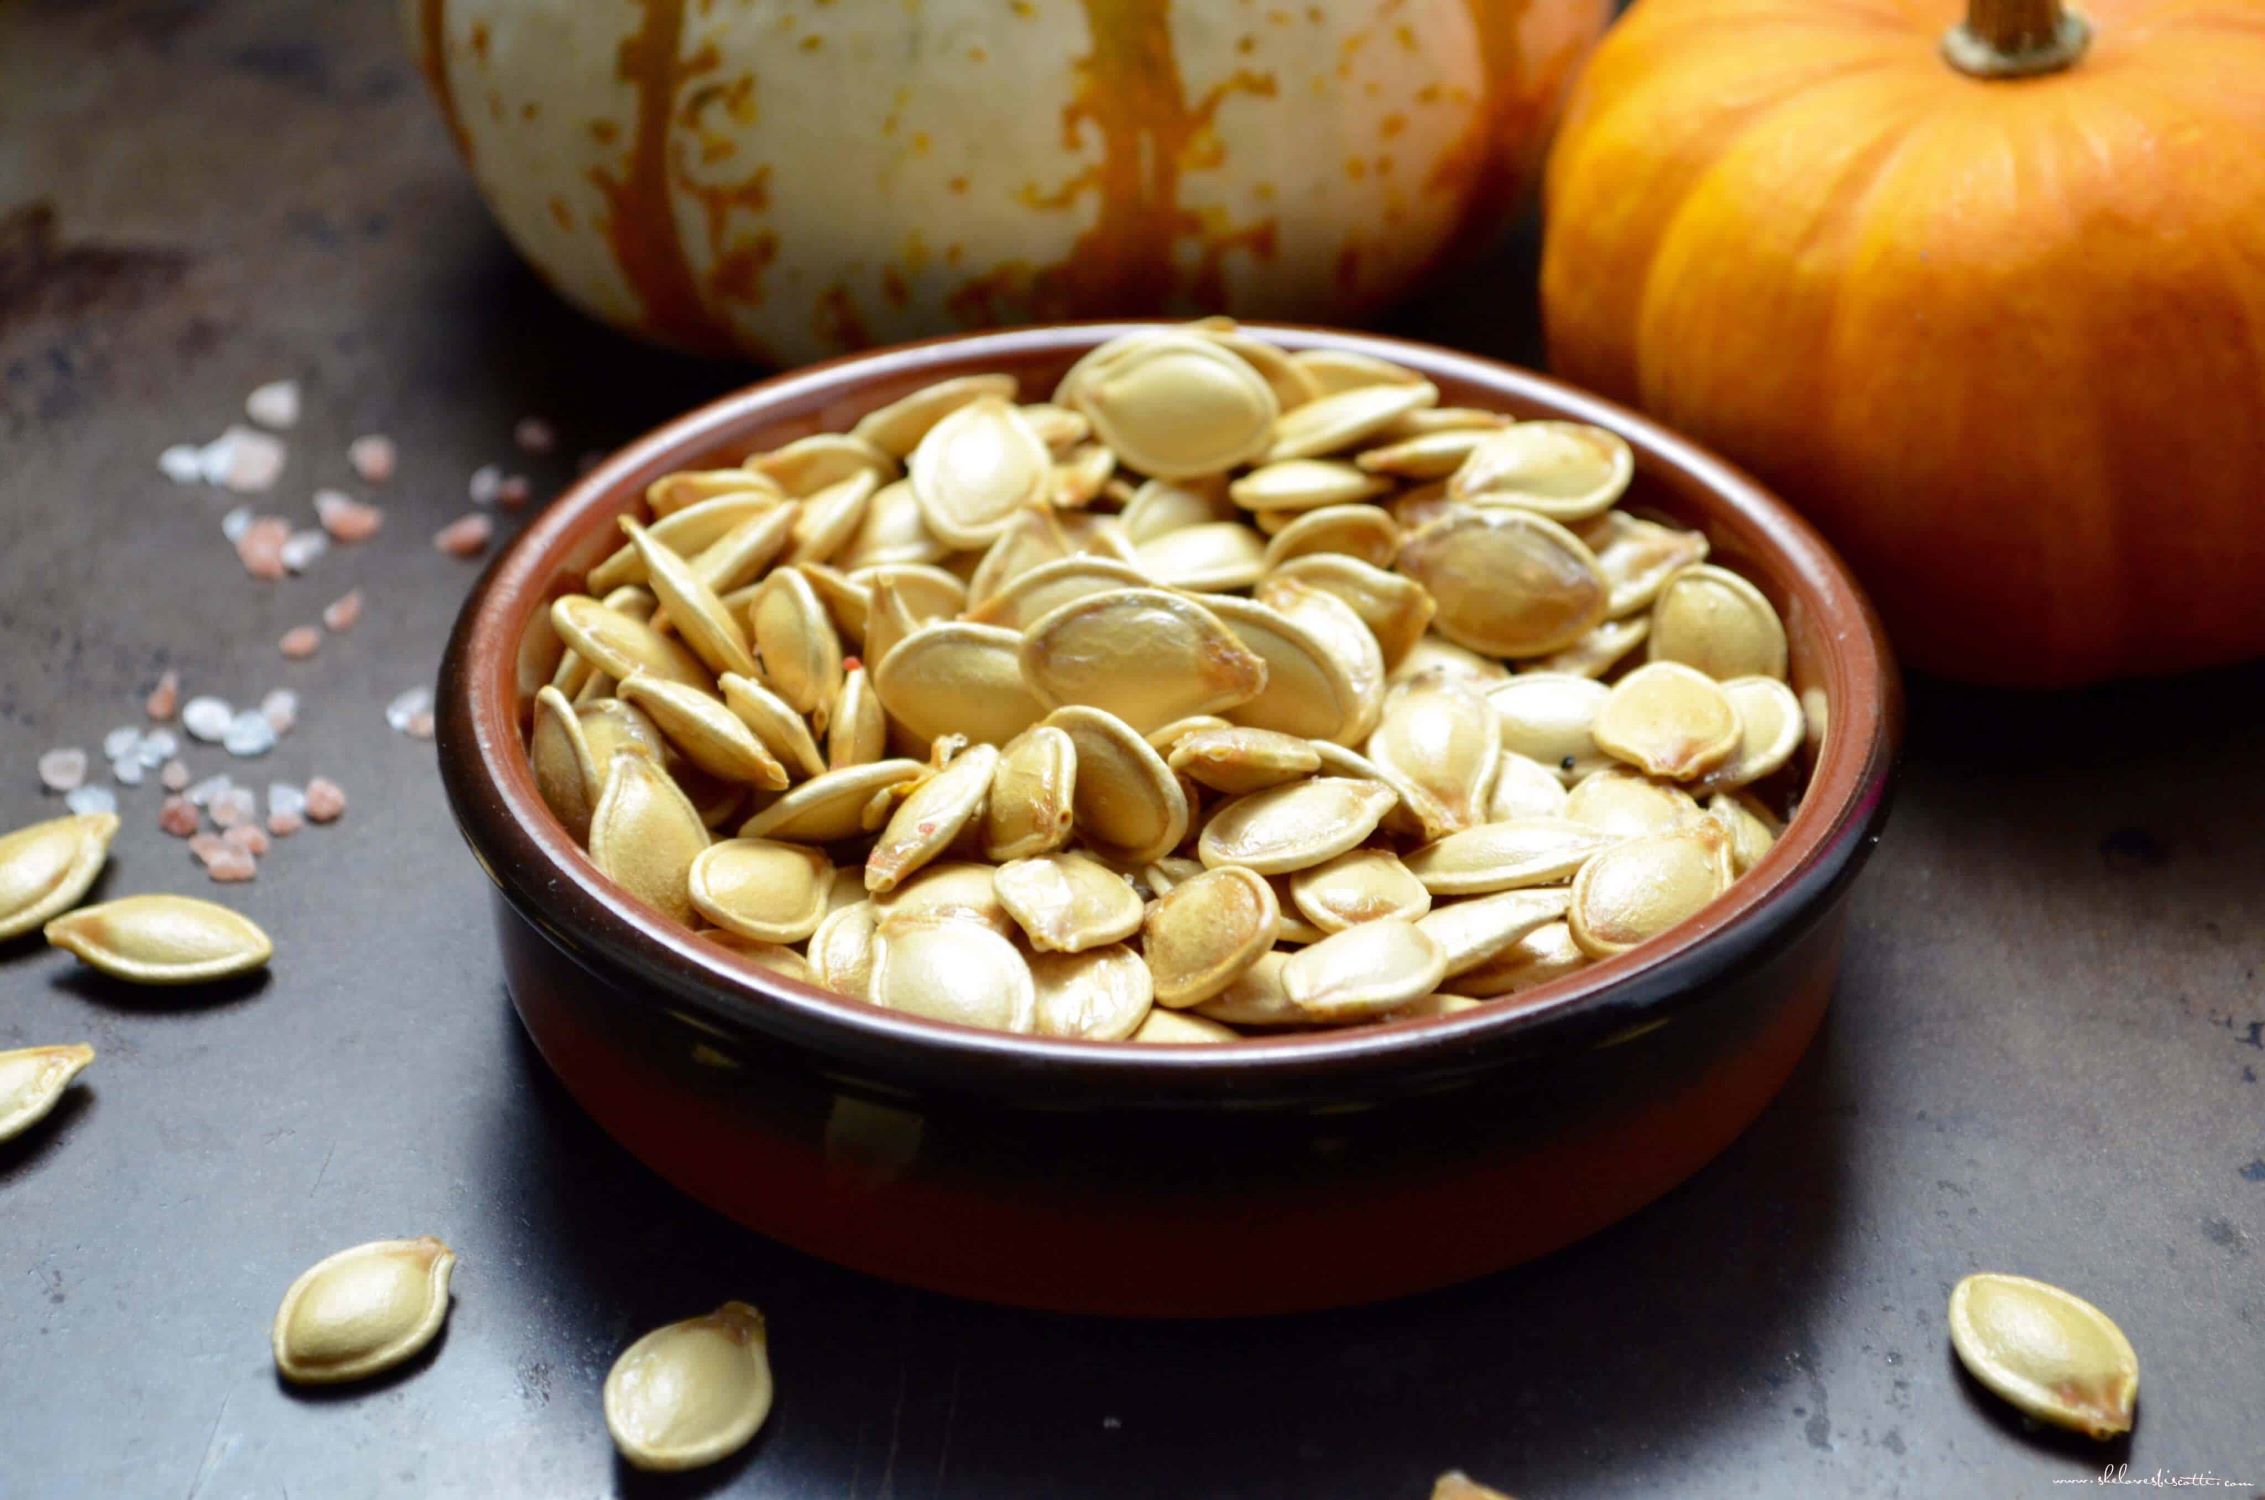
- Salted: For a classic and savory flavor, sprinkle your pumpkin seeds with salt. You can use regular table salt or get creative with flavored salts like sea salt, garlic salt, or seasoned salt.
- Spicy: Add a kick to your pumpkin seeds by tossing them with spices like cayenne pepper, paprika, chili powder, or crushed red pepper flakes. Adjust the amount of spice according to your preference for heat.
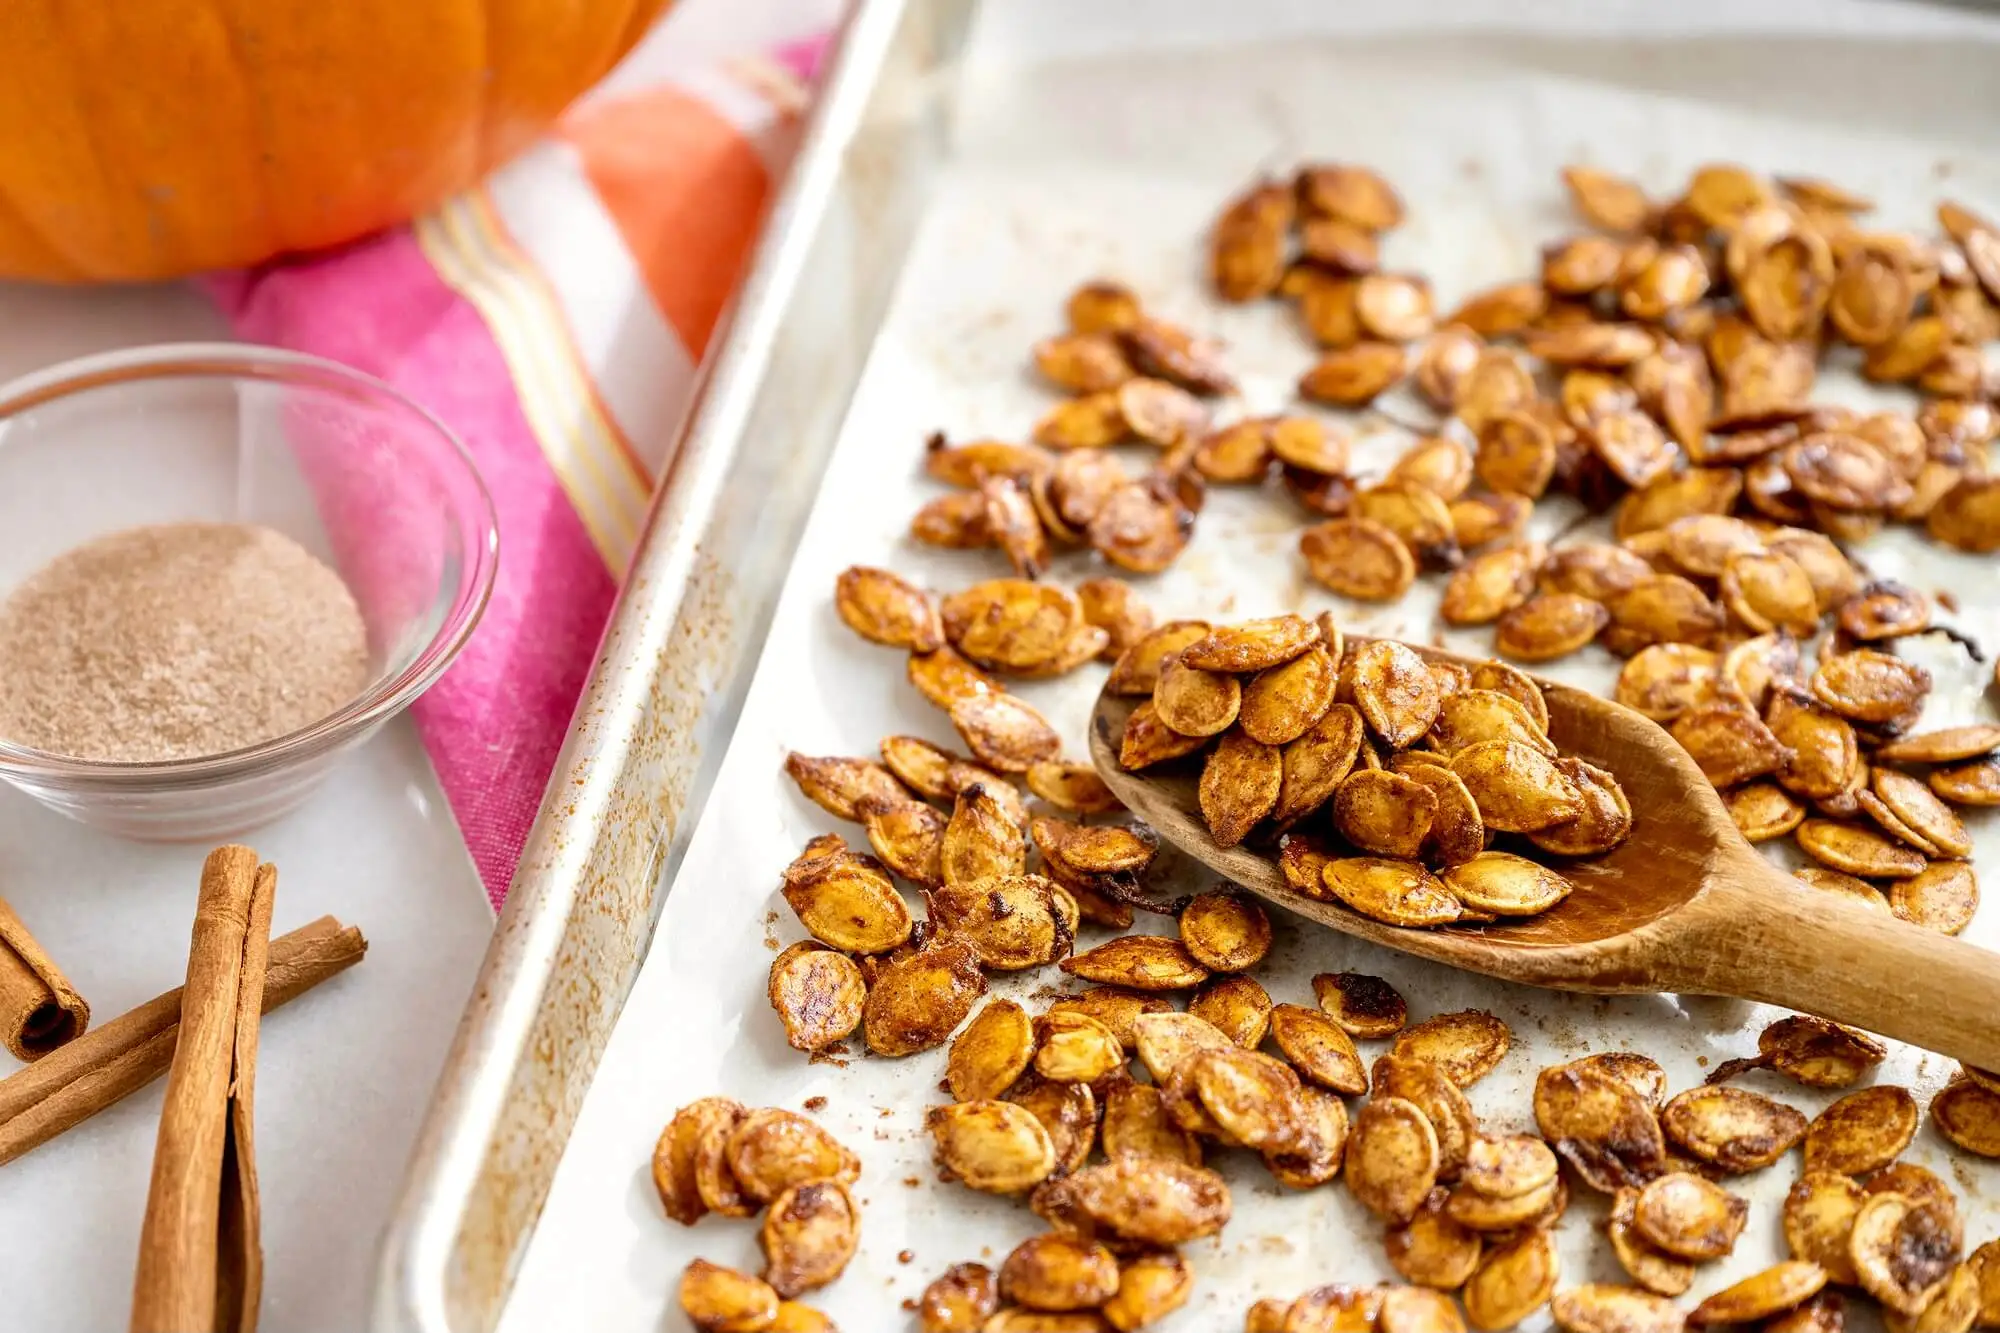
- Sweet and Spicy: Combine the best of both worlds by creating a sweet and spicy flavor profile. Mix your pumpkin seeds with a blend of brown sugar, cinnamon, nutmeg, and a pinch of cayenne pepper for a unique taste experience.
- Savory herbs: Experiment with the savory side by seasoning your pumpkin seeds with dried herbs like rosemary, thyme, oregano, or basil. These herbs will infuse the seeds with a delightful aroma and taste.
- Cheesy: If you’re a fan of cheese, try sprinkling grated Parmesan or cheddar cheese over the pumpkin seeds before roasting. The heat will melt the cheese, creating a deliciously cheesy coating.
To season the pumpkin seeds, simply place them in a bowl and toss them with your desired seasonings until each seed is coated evenly. Be generous with your seasonings, as some flavors may mellow during the roasting process.
Once your pumpkin seeds are seasoned to perfection, it’s time to move on to the next step: roasting them in the oven. Strap on your apron and get ready for some delicious results!
After removing the seeds from the pumpkin, rinse them and pat them dry. Toss them in a bowl with olive oil, salt, and any other desired seasonings. Spread them in a single layer on a baking sheet and roast at 300°F for 45 minutes, stirring occasionally. Enjoy!
Read more: How To Make Pumpkin Seed Oil
Step 5: Roasting the pumpkin seeds in the oven
Now that your pumpkin seeds are seasoned and ready, it’s time to roast them in the oven. This step will bring out their natural flavors and give them a satisfying crunch. Follow these simple instructions to achieve perfectly roasted pumpkin seeds:
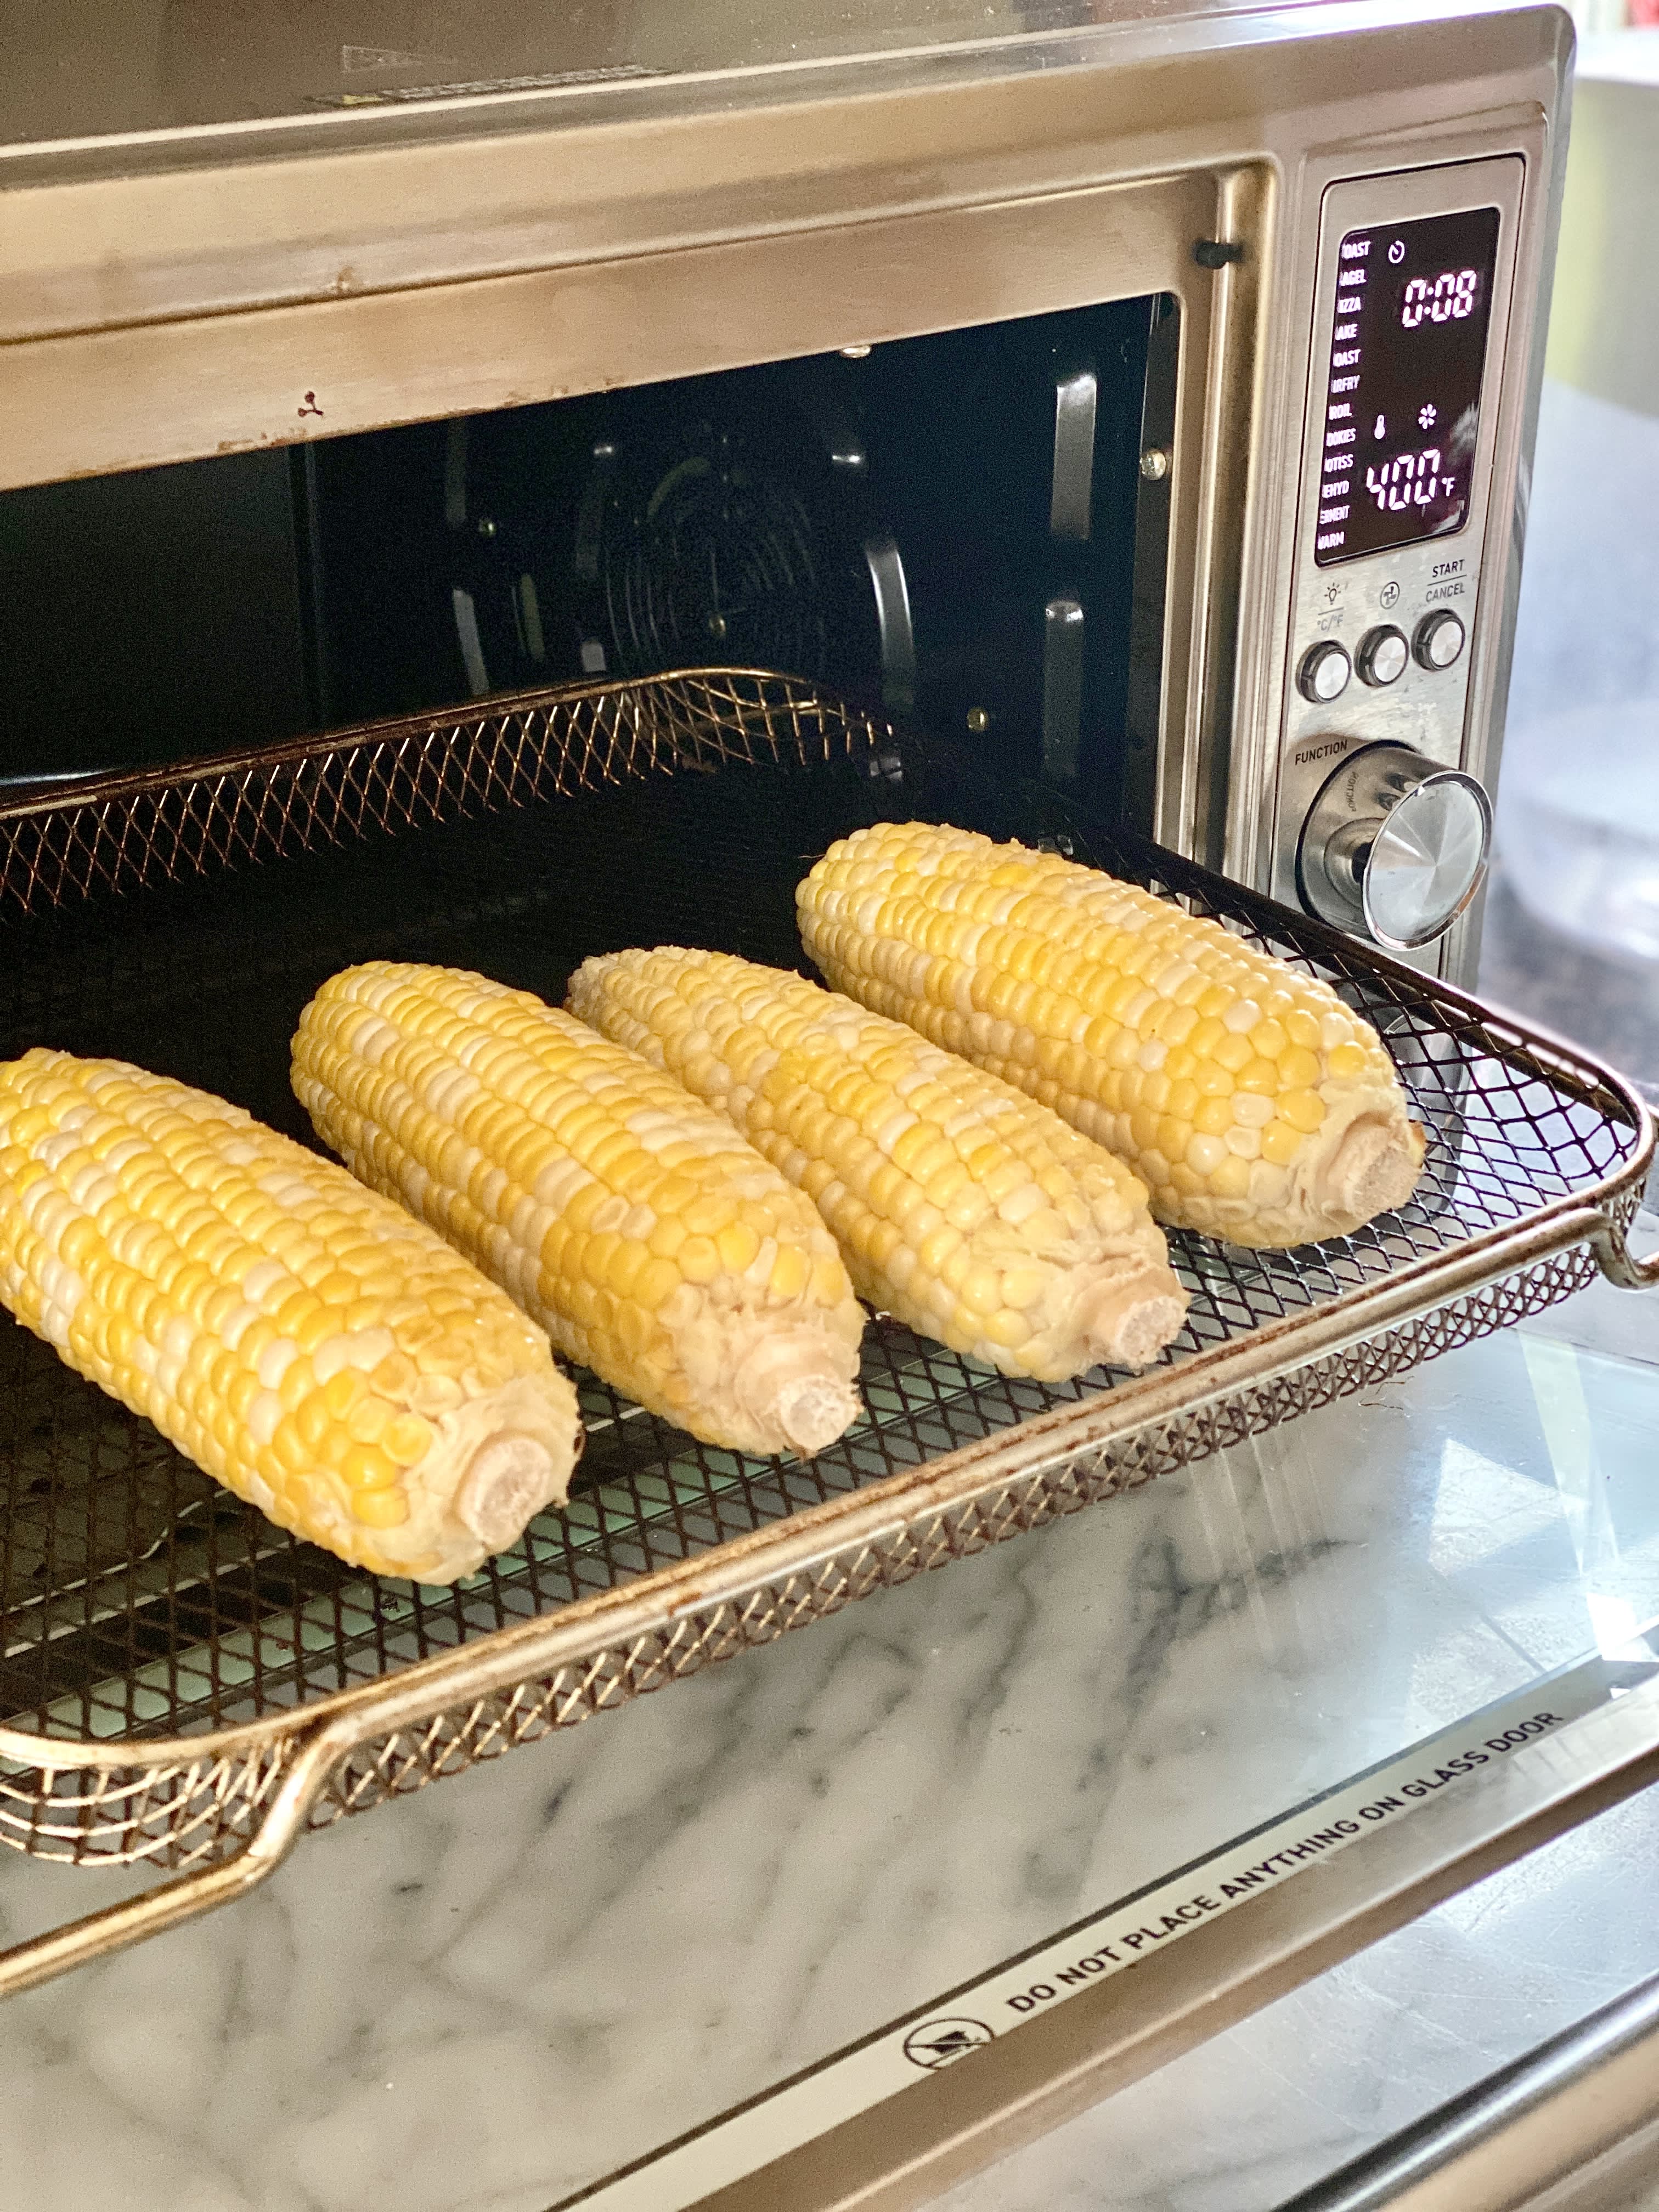
- Preheat the oven: Preheat your oven to 325°F (163°C). This temperature ensures that the seeds cook evenly without burning.
- Line a baking sheet: Line a baking sheet with parchment paper or aluminum foil to prevent the seeds from sticking to the pan and to make cleanup easier.
- Spread the seeds: Spread the seasoned pumpkin seeds in a single layer on the prepared baking sheet. Make sure they are evenly distributed and not overcrowded.
- Roast in the oven: Place the baking sheet with the pumpkin seeds in the preheated oven. Roast them for about 20-25 minutes, or until the seeds turn golden brown. You may need to adjust the baking time depending on your oven’s heat distribution.
- Stir occasionally: Every 10 minutes, gently stir the pumpkin seeds with a spoon or spatula. This promotes even browning and prevents any seeds from burning.
Keep a close eye on the pumpkin seeds during the roasting process as they can quickly go from golden brown to burnt. The roasted seeds should have a crisp texture and a delicious aroma filling your kitchen. Once they reach this stage, it’s time for the next step: testing for doneness.
Now that your pumpkin seeds are perfectly roasted, let’s move on to step 6 to ensure they are cooked to perfection.
Step 6: Testing for doneness
Testing for doneness is an essential step in the process of making roasted pumpkin seeds. This ensures that the seeds are fully cooked and ready to be enjoyed. Here’s how to determine if your pumpkin seeds are done:
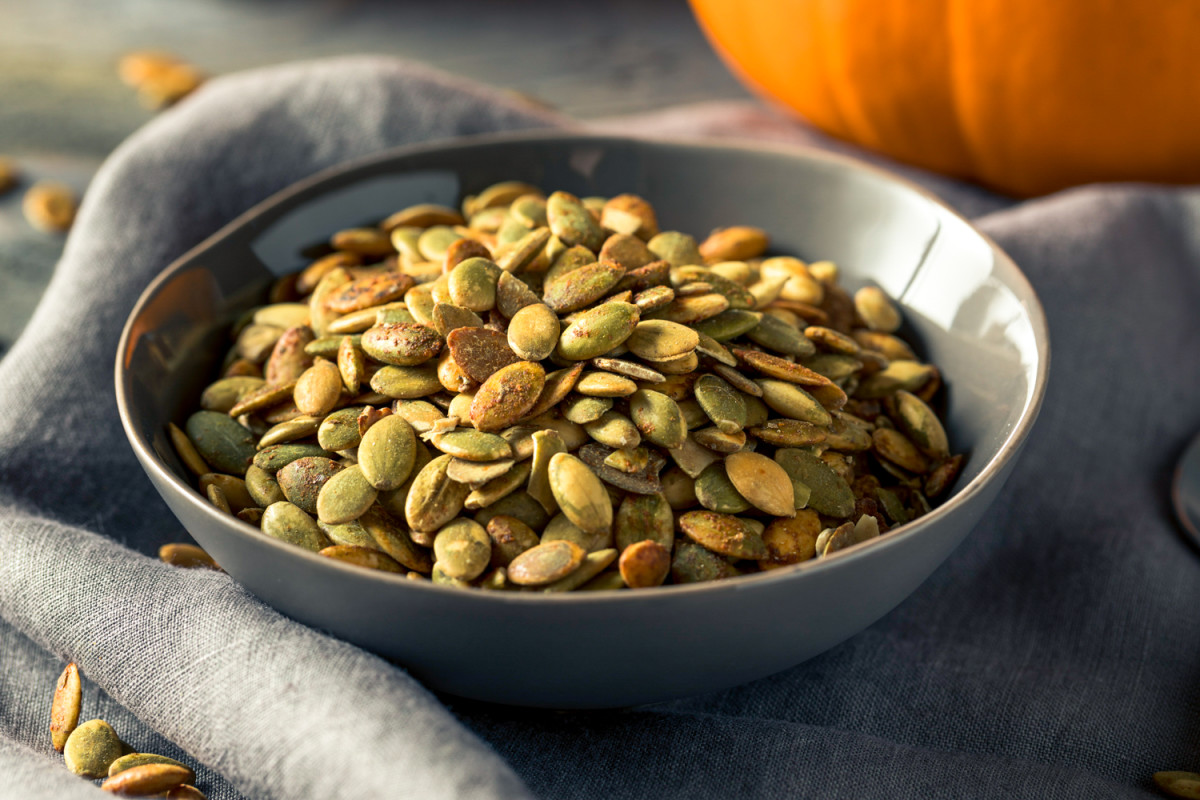
- Check the color: Roasted pumpkin seeds should have a golden brown color. They should not appear pale or have any dark spots, as this indicates undercooking or burning, respectively.
- Crunch test: Take a cooled pumpkin seed and give it a gentle bite. It should have a satisfying crunch. If the seed feels soft or chewy, it may need more roasting time.
- Taste test: Take a few roasted pumpkin seeds and taste them. They should be crispy and have a slightly nutty flavor. If they taste raw or have a bitter taste, they need more time in the oven.
If your pumpkin seeds pass the color, crunch, and taste tests, congratulations! You’ve successfully roasted them to perfection. If you feel that they need further roasting, return them to the oven for a few more minutes, keeping a close eye to prevent burning.
Once you’re satisfied with the doneness of your roasted pumpkin seeds, it’s time to move on to the final step: cooling and storing them for future snacking.
Step 7: Cooling and storing the roasted pumpkin seeds
After the excitement of roasting your pumpkin seeds, it’s important to cool and store them properly to maintain their freshness and flavor. Follow these simple steps to ensure the long-lasting enjoyment of your delicious snack:
- Cool the seeds: Once you remove the roasted pumpkin seeds from the oven, let them cool completely on the baking sheet. This will allow them to firm up and become even crunchier.
- Transfer to airtight containers: Once the pumpkin seeds have cooled, transfer them to airtight containers such as glass jars or resealable bags. Make sure the containers are clean and dry to prevent any moisture from compromising the crispness of the seeds.
- Store in a cool, dry place: Place the containers of roasted pumpkin seeds in a cool, dry pantry or cupboard. Avoid exposing them to heat, light, or humidity, as these factors can shorten their shelf life.
- Label and date: To keep track of freshness, label the containers with the date of preparation. Roasted pumpkin seeds can typically be stored for up to 2-3 months, but for the best flavor and texture, try to consume them within the first month.
Once your roasted pumpkin seeds are properly stored, they are ready to be enjoyed as a healthy and satisfying snack. You can also add them to salads, sprinkle them on top of soups, or use them as a crunchy topping for yogurt or oatmeal.
Remember, if you notice any signs of spoilage such as a rancid smell or mold growth, discard the seeds immediately. It’s always better to be safe than sorry when it comes to food storage.
Congratulations! You have successfully followed all the steps to make delicious roasted pumpkin seeds. Now, sit back, relax, and enjoy your homemade snack.
Thank you for joining us on this journey of turning humble pumpkin seeds into a flavorful and nutritious treat. Happy roasting!
Conclusion
Congratulations! You’ve learned how to transform discarded pumpkin seeds into a delectable and nutritious snack. Making roasted pumpkin seeds is a simple and rewarding process that allows you to get creative with flavors and seasonings.
By following the step-by-step guide, you learned how to select and prepare the perfect pumpkin, remove the seeds, clean and dry them, season them to your liking, and roast them to crispy perfection in the oven. The result? A flavorful and nutritious snack that will satisfy your cravings and impress your friends and family.
Roasted pumpkin seeds not only taste fantastic, but they also offer a range of health benefits. They are packed with protein, healthy fats, fiber, and essential minerals like magnesium, zinc, and iron. By incorporating these nutrient-packed seeds into your diet, you’re supporting your immune function, promoting heart health, and enjoying a natural source of energy.
The process of making roasted pumpkin seeds can be enjoyed by both experienced chefs and beginners alike. It’s a fun and engaging activity that allows you to explore different flavors and get creative in the kitchen.
Remember to store your roasted pumpkin seeds in airtight containers in a cool and dry place to maintain their freshness. Enjoy them as a standalone snack or use them as a topping in various dishes to add a nutritious crunch.
Whether you’re carving pumpkins for Halloween or cooking with fresh pumpkin, don’t let those seeds go to waste! Instead, put them to good use by making roasted pumpkin seeds that are sure to delight your taste buds and nourish your body.
So go ahead, embrace your inner chef, and enjoy the delicious journey of making roasted pumpkin seeds. Happy snacking!
Frequently Asked Questions about How To Make Roasted Pumpkin Seeds In Oven
Was this page helpful?
At Storables.com, we guarantee accurate and reliable information. Our content, validated by Expert Board Contributors, is crafted following stringent Editorial Policies. We're committed to providing you with well-researched, expert-backed insights for all your informational needs.

0 thoughts on “How To Make Roasted Pumpkin Seeds In Oven”