Articles
How To Make Whipped Cream With A Blender
Modified: August 27, 2024
Learn how to make homemade whipped cream easily with just a blender. Follow our step-by-step guide and enjoy creamy, dreamy desserts!
(Many of the links in this article redirect to a specific reviewed product. Your purchase of these products through affiliate links helps to generate commission for Storables.com, at no extra cost. Learn more)
Introduction
Whipped cream is a versatile and delicious topping that adds a touch of luxury to desserts, hot drinks, and even breakfast treats. While many people opt to purchase pre-made whipped cream from the store, you can easily make it at home with just a few simple ingredients and a blender. Homemade whipped cream has a fresher and more natural taste, making it the perfect complement to any dish.
In this article, we will walk you through the step-by-step process of making whipped cream with a blender. From chilling the equipment to storing the finished cream, we will cover all the essential tips and tricks to ensure a successful outcome. So, let’s dive in and discover the art of creating light and fluffy whipped cream in the comfort of your own kitchen.
Note: Before you begin, make sure you have a blender that is suitable for making whipped cream. A high-powered blender, such as a stand mixer or a hand mixer, is recommended for the best results.
Key Takeaways:
- Elevate your culinary creations by making homemade whipped cream with a blender. Customize sweetness and flavor, and achieve the perfect texture with these simple steps.
- Ensure success by chilling equipment, measuring accurately, and checking consistency. Store leftovers for future use or freeze for a delightful ice cream-like treat.
Read more: How To Make Dole Whip In A Blender
Ingredients
To make whipped cream with a blender, you will need the following ingredients:
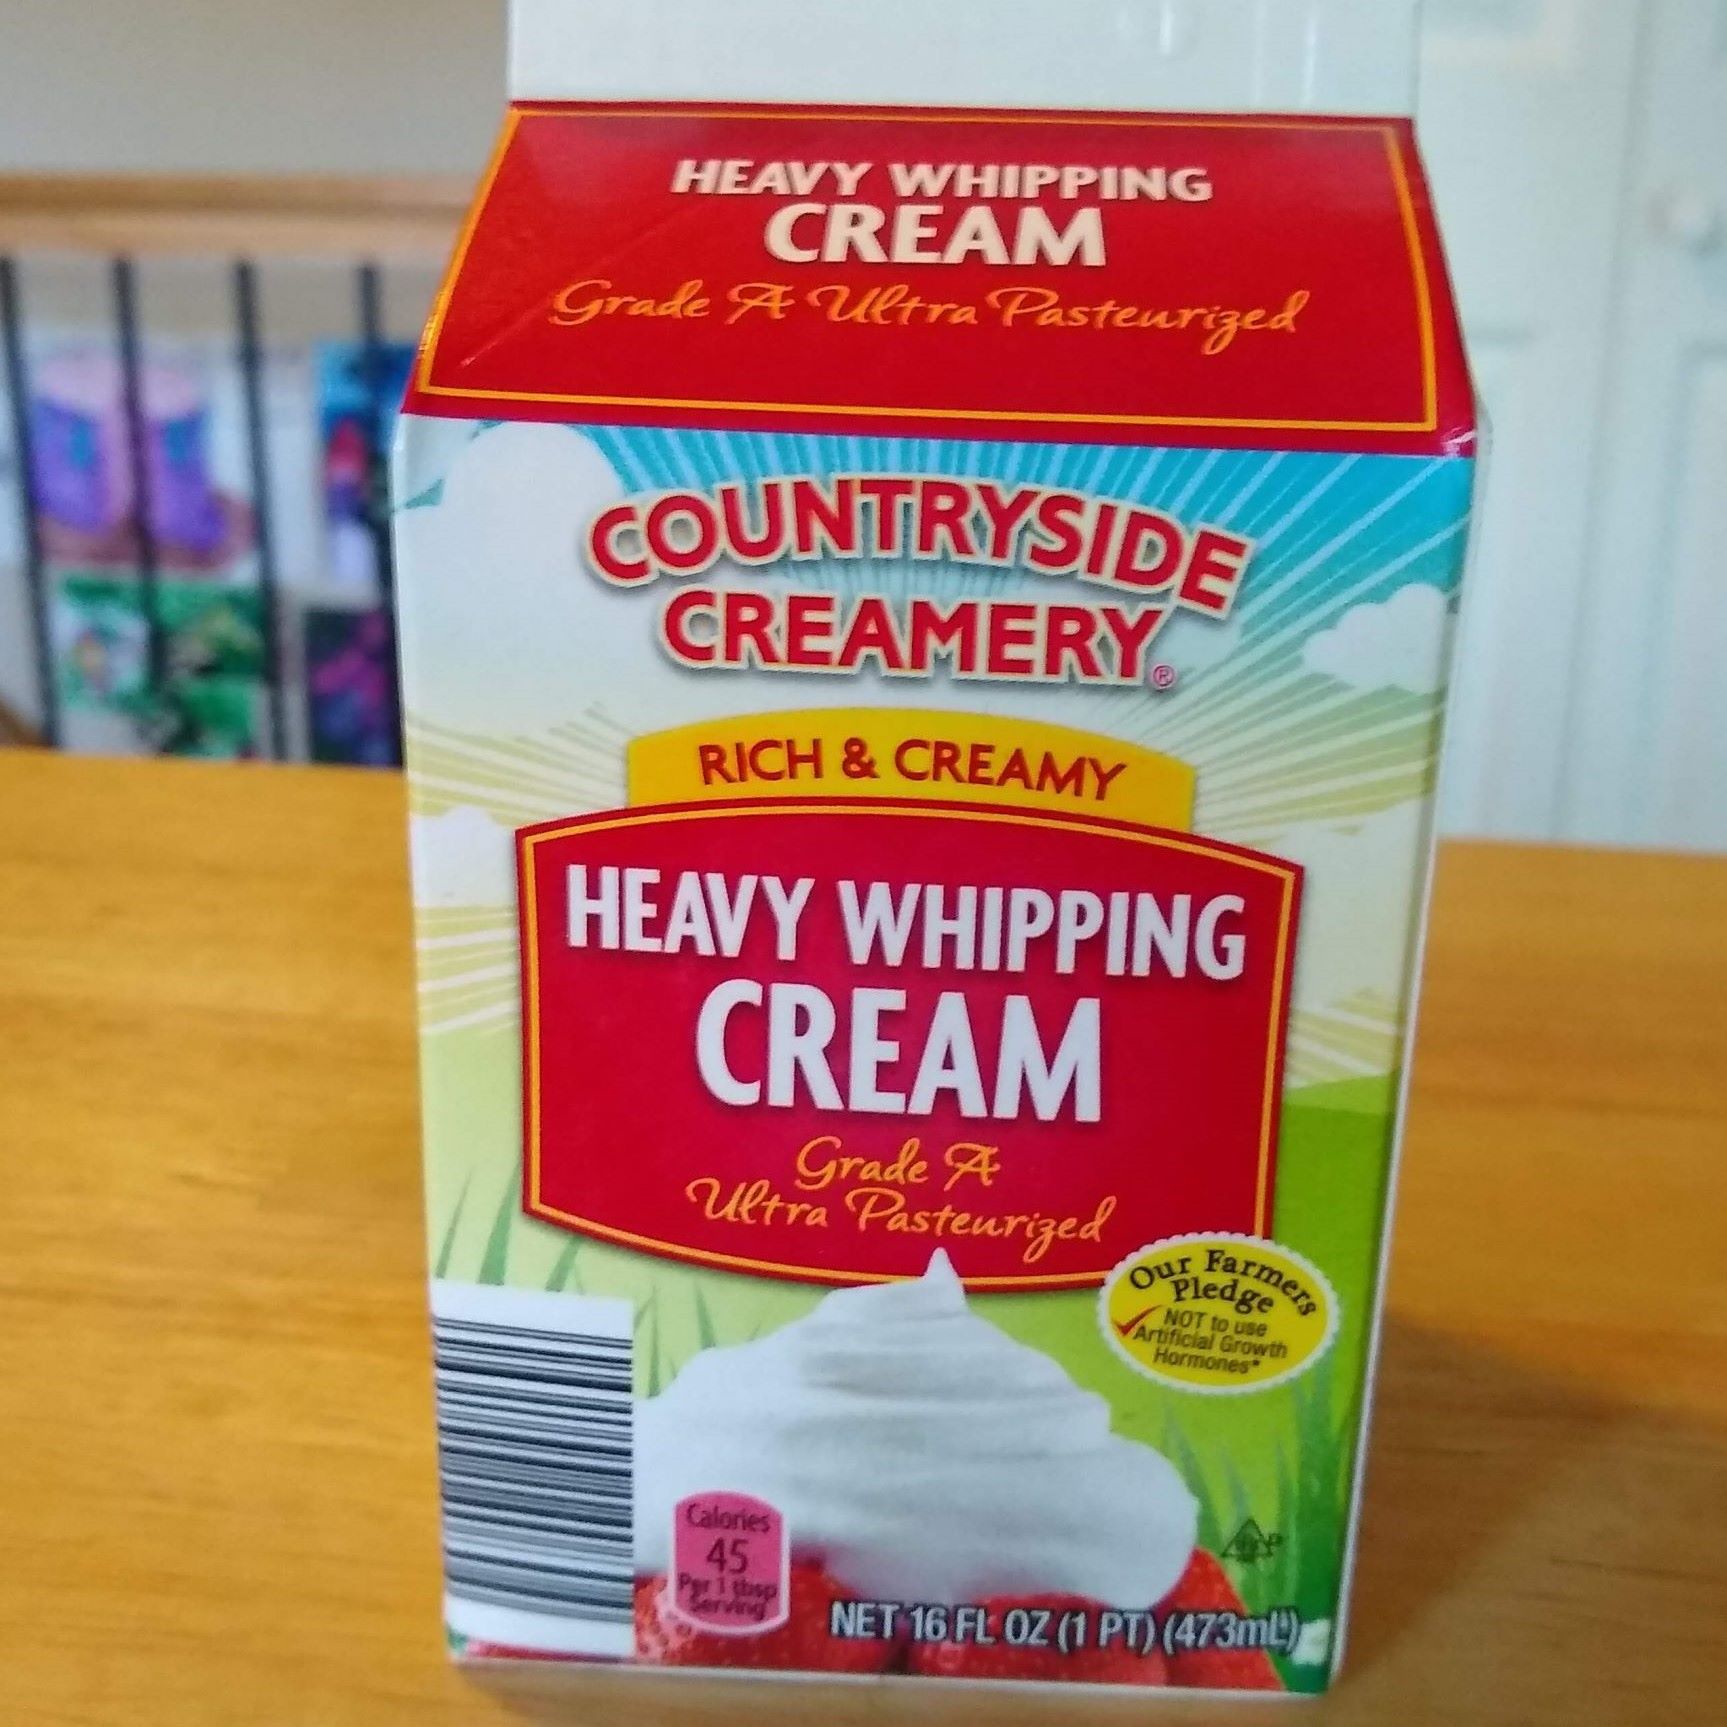
- 1 cup of heavy cream (also known as whipping cream)
- 2 tablespoons of granulated sugar (adjust based on your desired level of sweetness)
- 1 teaspoon of vanilla extract (optional, for flavor)
These ingredients are readily available in most grocery stores and are essential for creating a rich and creamy whipped topping.
It’s important to note that the measurements provided are a general guideline, and you can adjust the quantities based on your preferences. If you prefer a sweeter whipped cream, you can increase the amount of sugar, or if you want a more subtle flavor, you can reduce the amount of vanilla extract.
Step 1: Chilling the Equipment
The key to making whipped cream with a blender is to ensure that all the ingredients and equipment are properly chilled. Cold temperatures help the cream to whip faster and achieve a stable texture. Here’s how to chill your equipment:
- Place the bowl and whisk attachment of your blender in the refrigerator for at least 15 minutes before you start.
- You can also chill the cream in the refrigerator before using it, but it should not be frozen.
By chilling your equipment and ingredients, you create the perfect environment for whipping the cream.
Pro tip: If you’re short on time, you can place your mixing bowl and whisk attachment in the freezer for a few minutes instead of the refrigerator. Just be careful not to leave them in for too long, as this can cause them to become too cold and affect the cream’s texture.
Step 2: Measuring the Ingredients
Accurate measurements are crucial when making whipped cream to ensure the right balance of flavors and texture. Follow these steps to measure the ingredients correctly:
- Using a liquid measuring cup, carefully pour in 1 cup of heavy cream. Make sure to fill it to the appropriate line for a precise measurement.
- In a separate small bowl, measure out 2 tablespoons of granulated sugar. You can adjust the amount of sugar based on your taste preferences.
- If desired, add 1 teaspoon of vanilla extract to enhance the flavor of the whipped cream. This step is optional, but it adds a delightful aroma and taste.
By measuring the ingredients accurately, you can ensure that your whipped cream turns out creamy and perfectly sweetened.
Pro tip: It’s a good idea to have all your ingredients prepared and measured before beginning the whipping process. This will help you maintain the proper rhythm and prevent any delays during the blending process.
To make whipped cream with a blender, chill the mixing bowl and beaters in the freezer for 15 minutes before whipping the cream. This will help the cream whip up faster and hold its shape better.
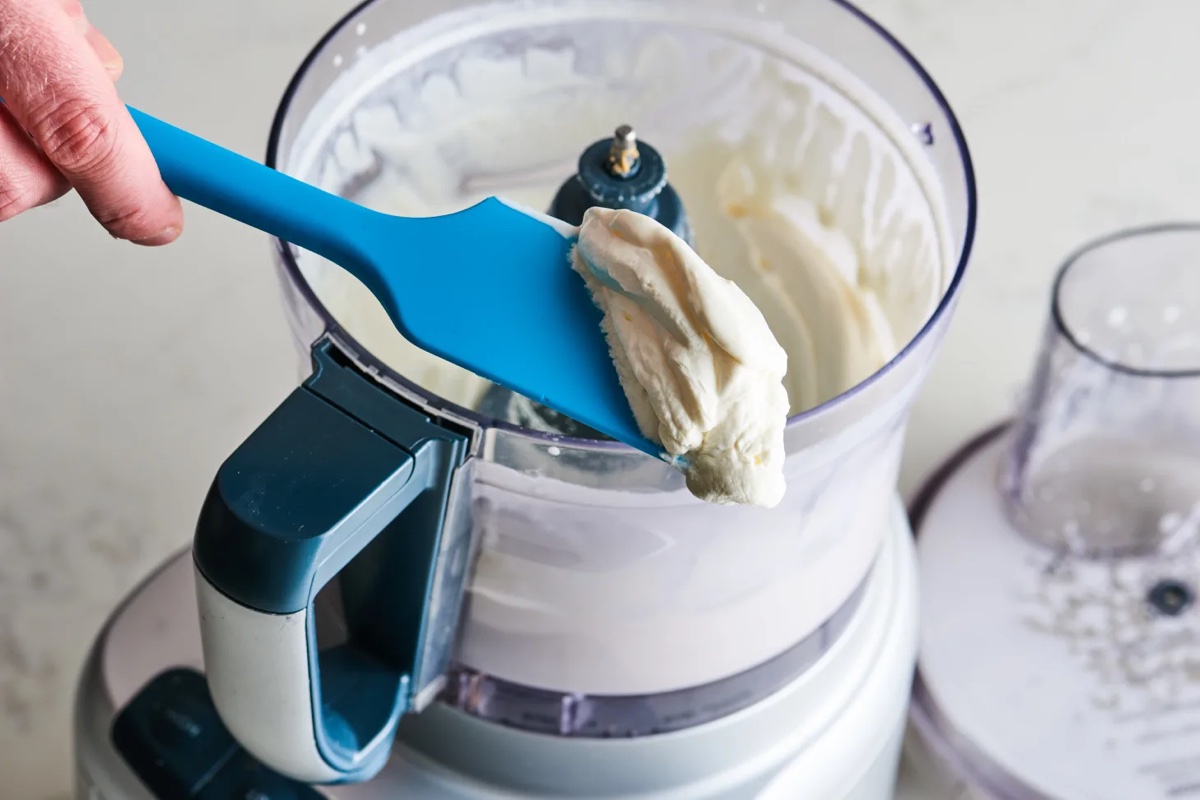
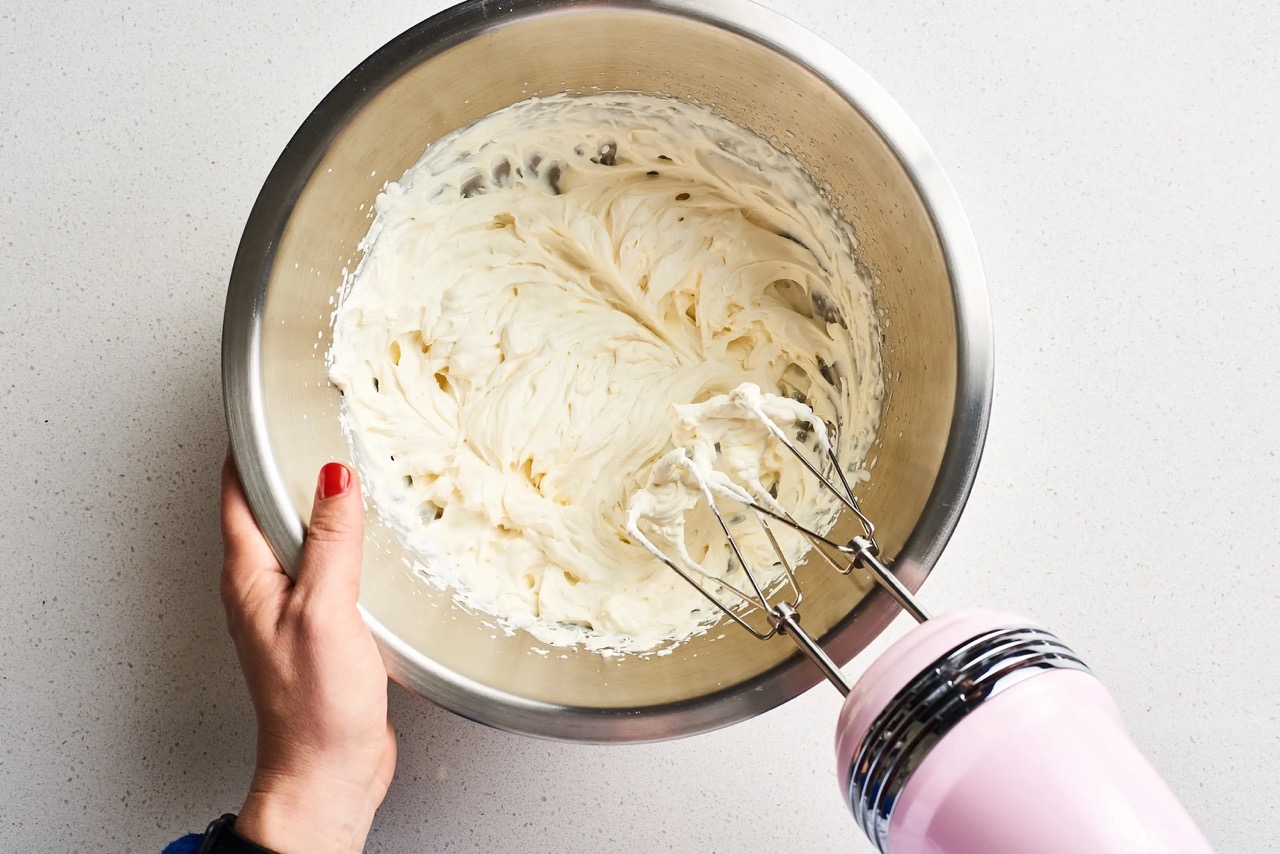
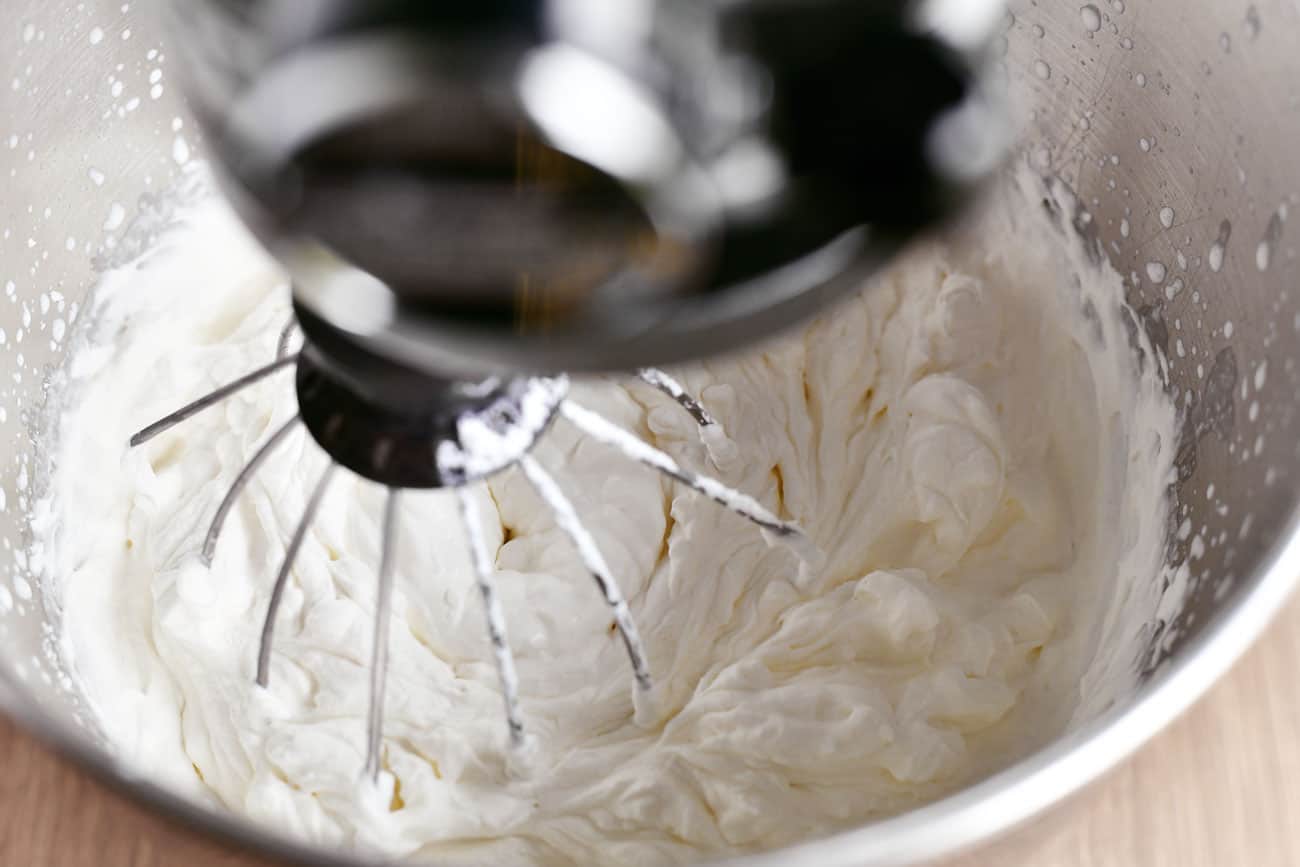
Step 3: Blending the Ingredients
Once your equipment is chilled and your ingredients are measured, it’s time to blend them together to create the whipped cream. Follow these steps to achieve the perfect consistency:
- Attach the chilled whisk attachment to your blender or mixer.
- Pour the cold heavy cream into the chilled mixing bowl.
- Start blending the cream on low speed to avoid splattering.
- Gradually increase the speed to medium-high or high, depending on your blender’s capabilities.
- As the cream begins to thicken, add the granulated sugar slowly. This helps to incorporate the sugar evenly into the cream.
- If using, add the vanilla extract while the cream is still being blended.
- Continue blending until the cream reaches stiff peaks. This means that when you lift the whisk or beaters out of the cream, it holds its shape and doesn’t flop over.
Be mindful when blending the cream, as overmixing can result in grainy or lumpy whipped cream. It’s best to keep a close eye on the consistency and stop blending as soon as stiff peaks form.
Pro tip: If you’re using a stand mixer, you can start on low speed and gradually increase it to avoid splattering. For a hand mixer, start at medium-high speed and adjust accordingly.
Read more: How To Make Whipped Cream In Stand Mixer
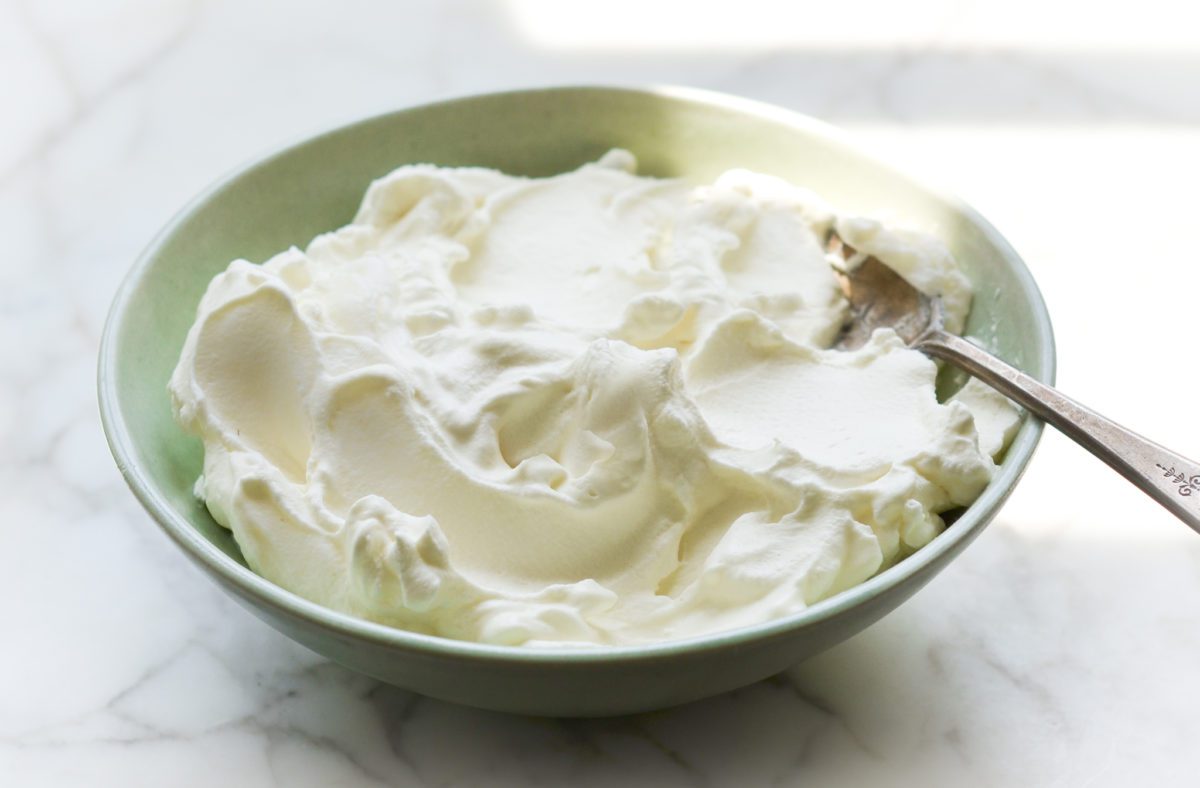
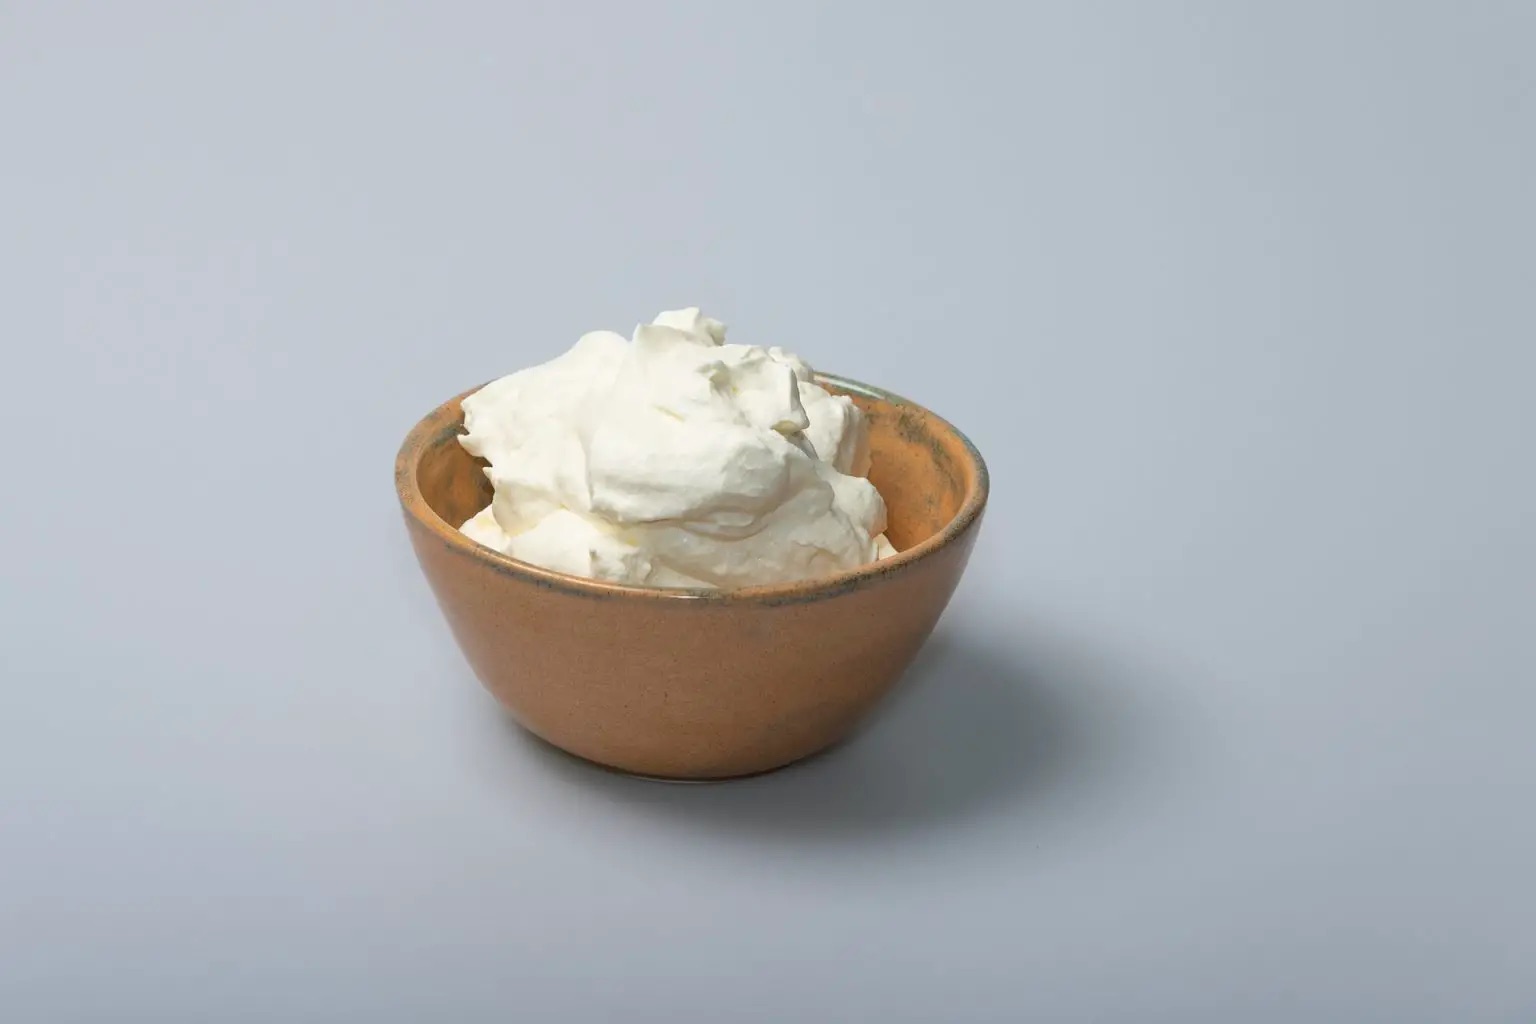
Step 4: Checking the Consistency
Once you have blended the ingredients and achieved stiff peaks, it’s important to check the consistency of the whipped cream to ensure it is just right. Follow these steps to assess the texture:
- Dip a spoon or spatula into the whipped cream and lift it out.
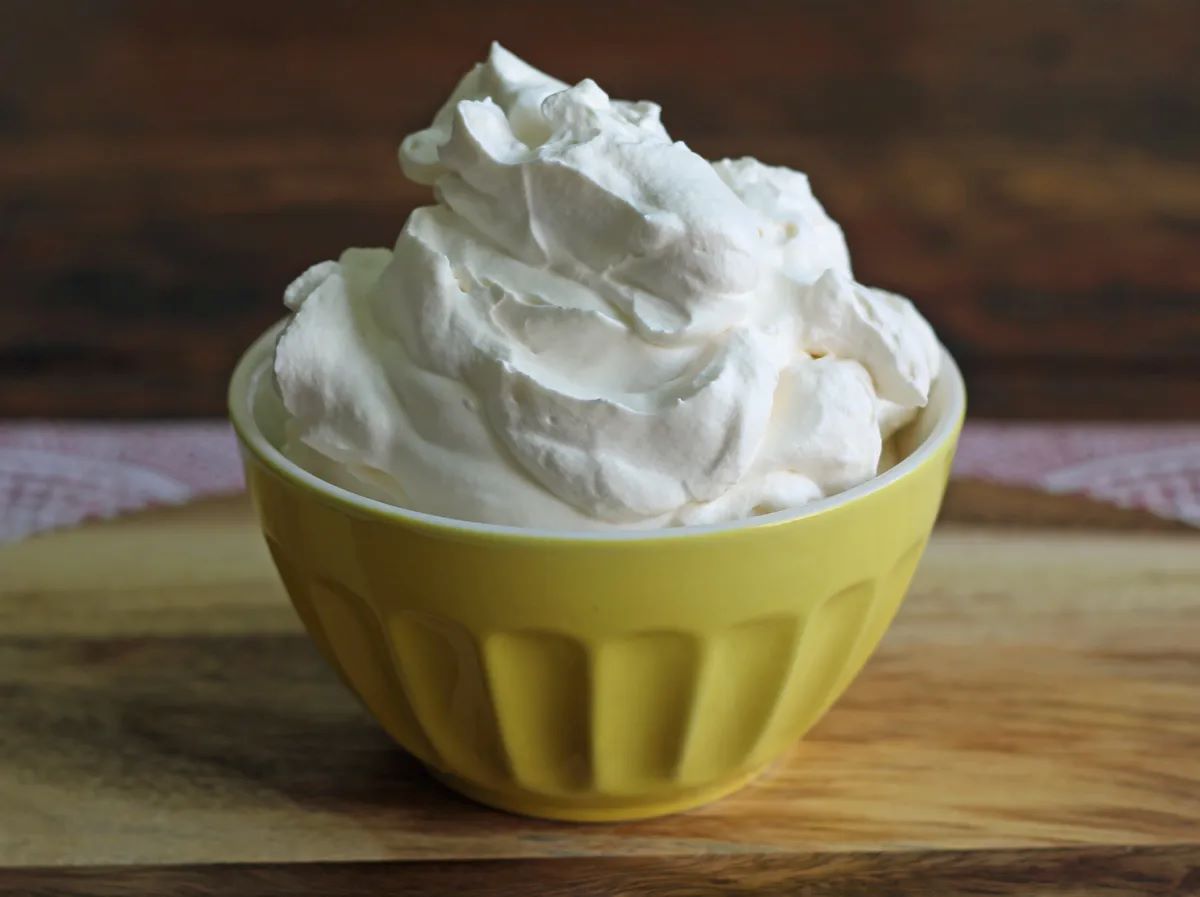
- Observe the consistency and texture of the cream. It should be smooth, velvety, and hold its shape without any liquid separating.
- Taste a small amount of the whipped cream to ensure it is sweetened to your liking. You can add more sugar if needed.
If the whipped cream is too soft or runny, you can continue blending for a little longer until it thickens. However, be careful not to overmix, as it can lead to an undesirable texture.
Pro tip: To test if the whipped cream is at the right consistency, you can also turn the mixing bowl upside down. If the cream clings to the whisk or beaters without falling out, it is properly whipped.
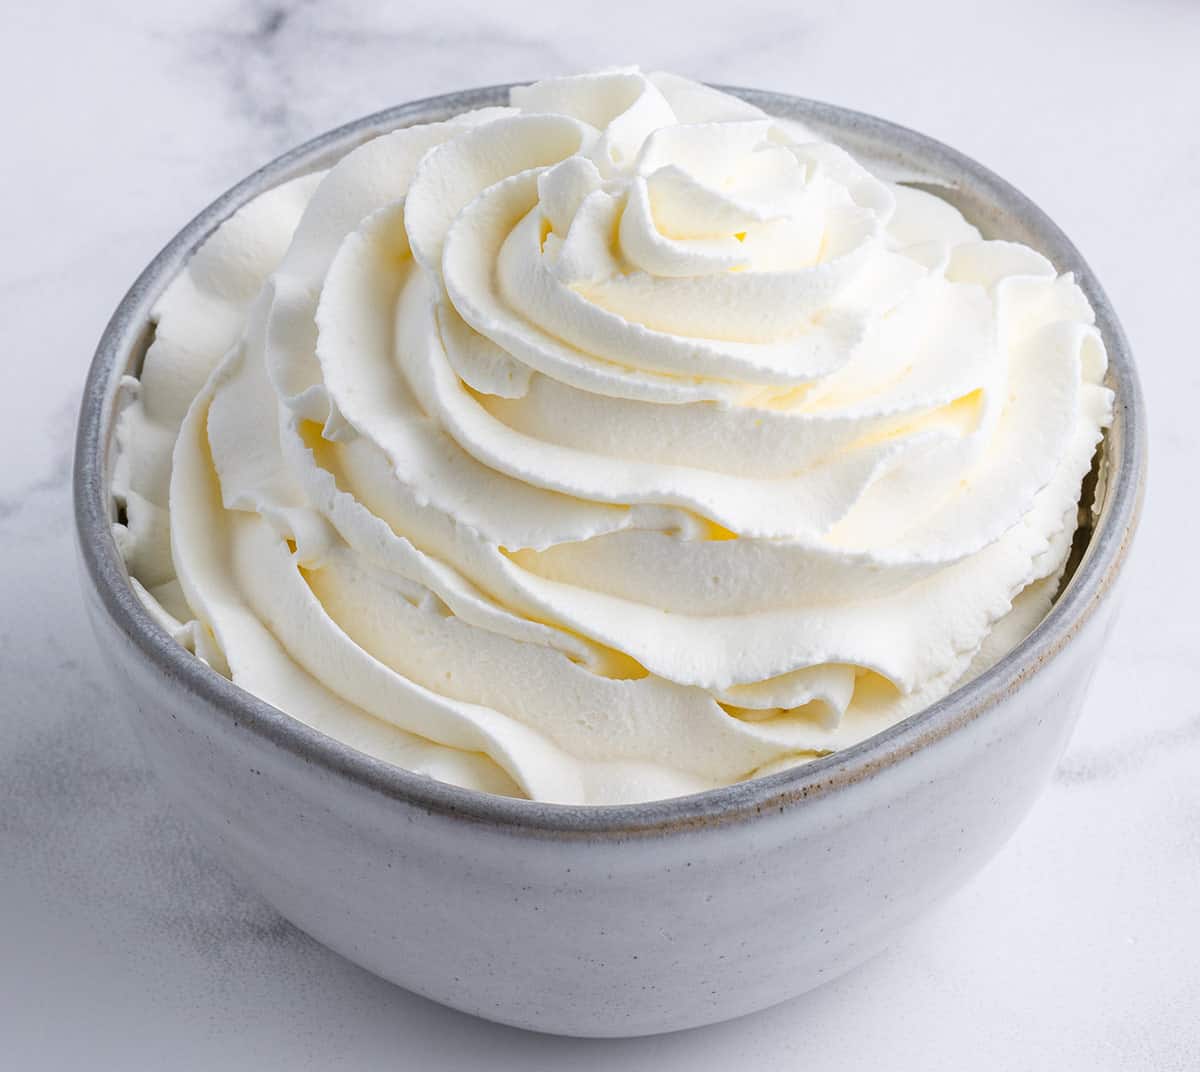
Step 5: Storing the Whipped Cream
After successfully making whipped cream, you may find yourself with leftovers or want to prepare it ahead of time. Follow these steps to store your whipped cream properly:
- Transfer the whipped cream to an airtight container. A glass or plastic container with a lid works well for this purpose.
- Place the container in the refrigerator to keep the whipped cream chilled and maintain its texture.
- It is best to consume the whipped cream within 24 hours to ensure its freshness. Over time, the texture may change, and it may start to lose its fluffiness.
Stored whipped cream can be used as a topping for various desserts, hot cocoa, or enjoyed on its own. Just be sure to give it a quick whisk or stir before using to restore its smoothness.
Pro tip: If you want to take your whipped cream to the next level, you can freeze it in an airtight container. It will solidify, resembling a creamy ice cream-like texture. Thaw it in the refrigerator before using, and it will be a delightful addition to your desserts.
Conclusion
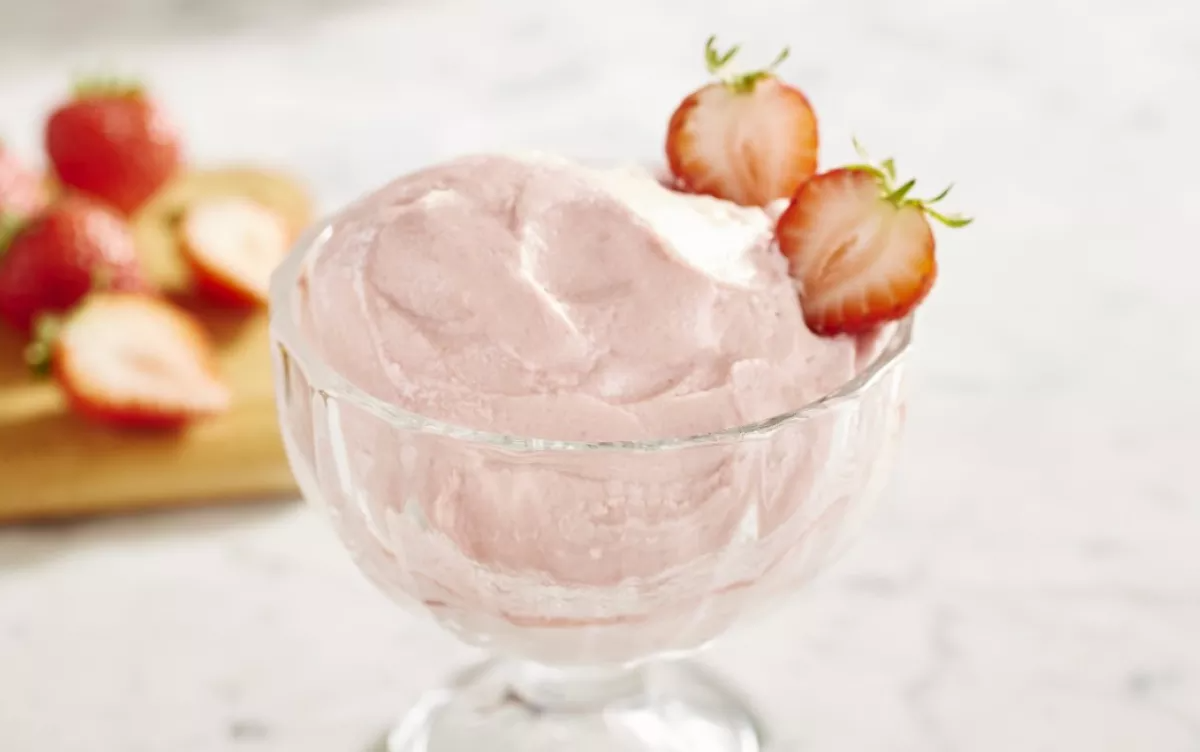
Congratulations! You have learned how to make whipped cream with a blender. By following these simple steps, you can easily create a luscious and fluffy topping for your favorite desserts, beverages, and more. Making whipped cream at home allows you to customize the sweetness and flavor according to your preferences, resulting in a truly decadent treat.
Remember to chill your equipment and ingredients, measure accurately, blend with care, and check the consistency to achieve perfect whipped cream. With a little practice, you’ll become a pro at creating this delicious topping.
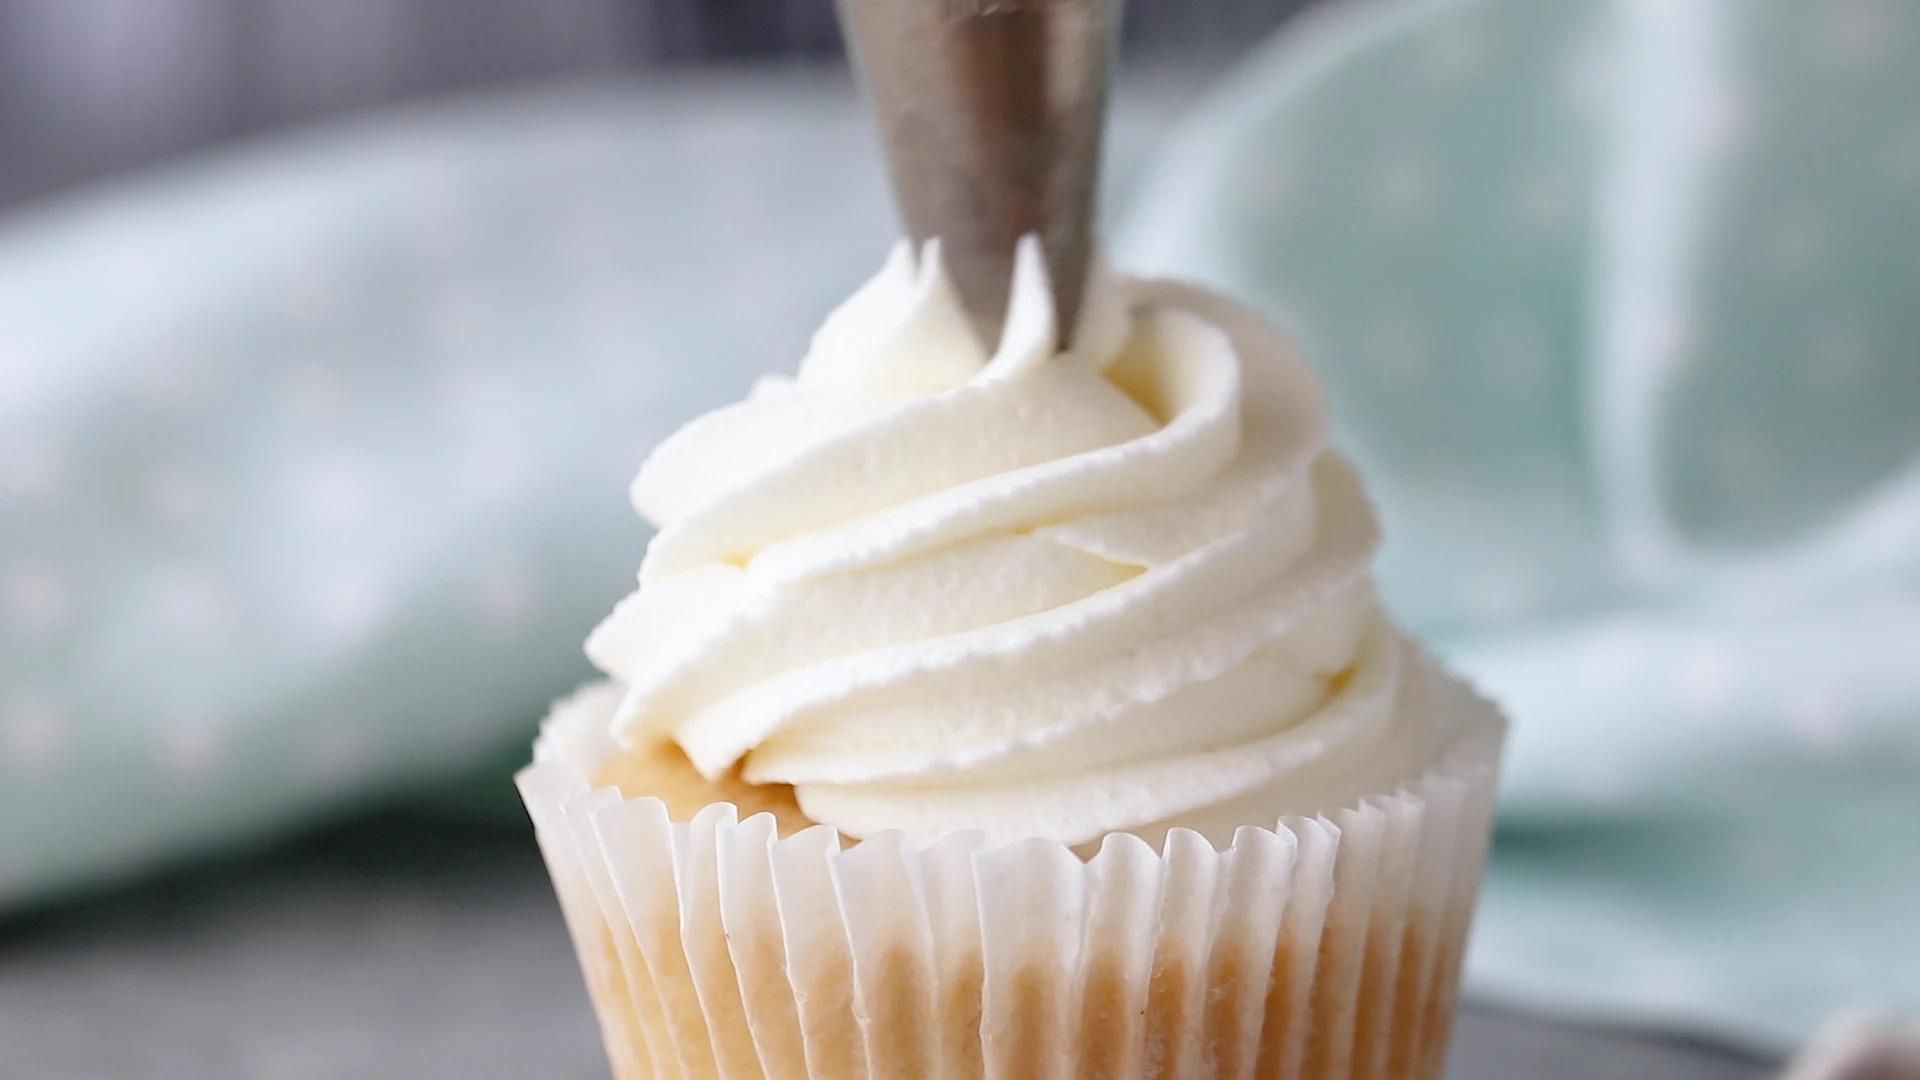
Whether you’re dressing up a slice of pie, adding the finishing touch to a mug of hot chocolate, or simply indulging in a spoonful of whipped cream straight from the bowl, homemade whipped cream is sure to elevate your culinary creations.
So why settle for store-bought when you can whip up your own delectable version? Grab your blender, gather your ingredients, and get ready to enjoy the airy and creamy delight of homemade whipped cream. Your taste buds will thank you!
Frequently Asked Questions about How To Make Whipped Cream With A Blender
Was this page helpful?
At Storables.com, we guarantee accurate and reliable information. Our content, validated by Expert Board Contributors, is crafted following stringent Editorial Policies. We're committed to providing you with well-researched, expert-backed insights for all your informational needs.

0 thoughts on “How To Make Whipped Cream With A Blender”