Home>Garden Essentials>How To Place Large Rocks In Landscaping


Garden Essentials
How To Place Large Rocks In Landscaping
Modified: October 18, 2024
Learn how to strategically place large rocks in your garden for a stunning and functional landscaping design. Enhance the beauty and create focal points with these landscaping tips.
(Many of the links in this article redirect to a specific reviewed product. Your purchase of these products through affiliate links helps to generate commission for Storables.com, at no extra cost. Learn more)
Introduction
Welcome to the world of landscaping! One of the key elements in creating a visually appealing and unique outdoor space is the use of large rocks. These majestic and sturdy stones can add depth, texture, and character to any garden or landscape design. However, maneuvering and placing large rocks can be a challenging task without the right knowledge and equipment.
In this article, we will provide you with a step-by-step guide on how to place large rocks in landscaping. Whether you are looking to create a focal point, build a rock wall, or enhance the overall aesthetics of your outdoor space, these tips will help you achieve your desired results.
Before we jump into the details, it’s important to note that safety should always be a top priority when working with heavy objects. Make sure to wear appropriate safety gear, such as gloves and protective eyewear, and have a buddy to assist you during the process.
Now, let’s dive into the exciting world of landscaping with large rocks!
Key Takeaways:
- Choose the right rocks: Consider the type, size, and durability of rocks for your landscaping project. Visit local suppliers for advice and explore options that suit your outdoor space.
- Plan and secure: Carefully plan the placement of rocks, prepare the area, and secure them for stability. Complete the landscape design with complementary plants and features for a stunning outdoor oasis.
Read more: How Much Are Large Rocks For Landscaping
Step 1: Choosing the Right Rock
When it comes to placing large rocks in landscaping, the first step is to choose the right type of rock for your project. The type of rock you choose will depend on the desired aesthetic, the purpose of the rock placement, and the overall theme of your landscape design.
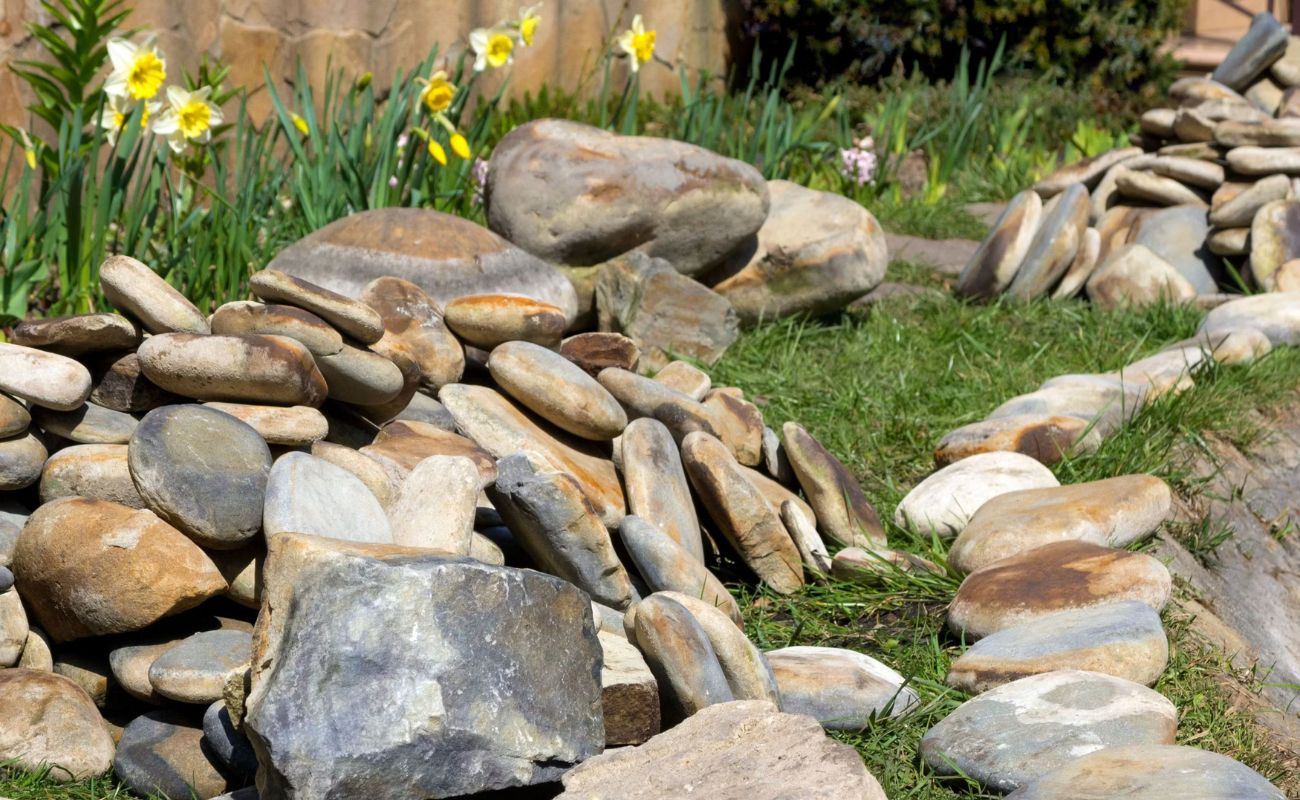
There are several types of rocks commonly used in landscaping, including limestone, granite, sandstone, and river rocks. Each type of rock has its own unique characteristics and colors, which can greatly impact the overall look and feel of your outdoor space.
If you’re seeking a natural and rugged look, sandstone and limestone rocks are excellent options. They come in various shades of brown, red, and gray, and their irregular shapes add a touch of authenticity to your landscape. On the other hand, if you prefer a more contemporary and polished appearance, granite rocks offer a sleek and sophisticated look with their smooth surfaces and range of colors.
Consider the size and weight of the rocks as well. Large rocks can be difficult to transport and maneuver, so it’s important to choose rocks that are manageable for your project. Additionally, think about the overall scale of your landscape design. Larger rocks work well in spacious areas, while smaller rocks may be better suited for tighter spaces or as accents.
Lastly, keep in mind the durability and weather resistance of the rocks. Ensure that the rocks you choose are suitable for your climate and can withstand the elements over time without deteriorating or discoloration.
Once you have a clear idea of the type, size, and characteristics you’re looking for, visit local stone yards or landscaping suppliers to explore the options available in your area. Don’t be afraid to ask questions and seek advice from the professionals to ensure you make the best choice for your landscaping project.
Step 2: Planning the Placement
Before you start placing large rocks in your landscaping, it’s essential to plan the placement carefully. This step involves considering the purpose of the rocks, the overall design of your landscape, and the natural flow of your outdoor space.
First, determine the purpose of the rocks. Are they meant to serve as a focal point? Do you want to create a rock pathway or border? Understanding the intended function of the rocks will help you determine the ideal placement locations.
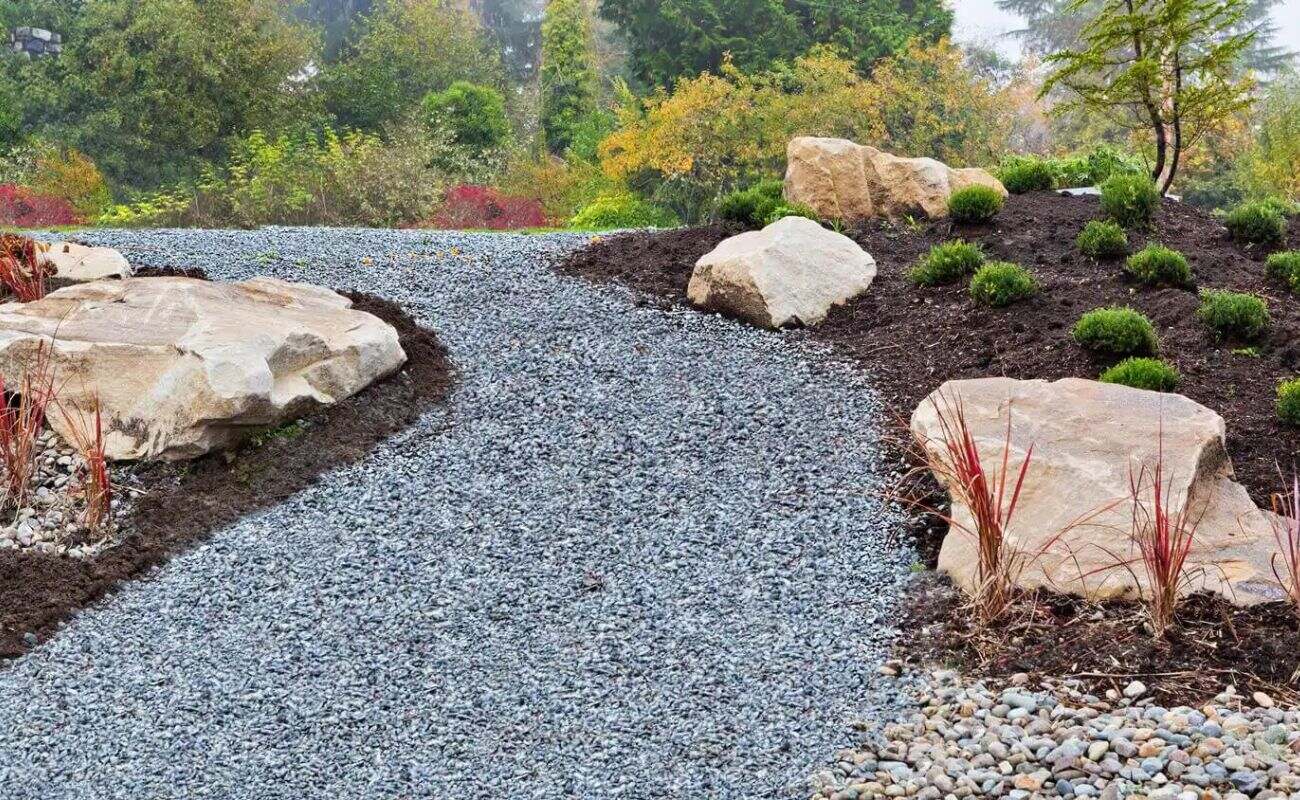
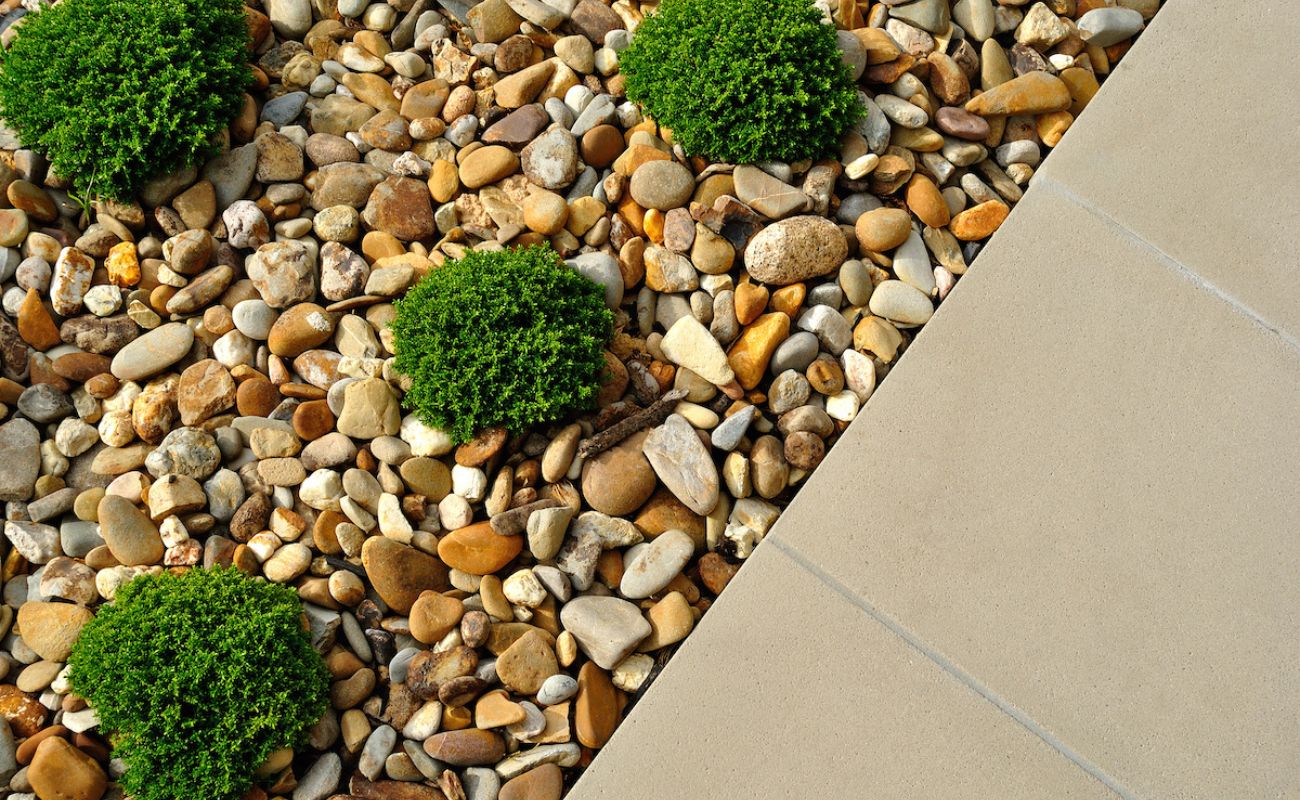
Next, take a step back and assess your landscape as a whole. Consider the existing plants, structures, and features in your outdoor space. Look for areas where the rocks can enhance the overall aesthetics or create interesting contrasts. For example, placing rocks near a lush garden or a colorful flower bed can create visual interest and provide a striking backdrop.
Think about the natural flow and movement in your landscape as well. Consider how people will navigate the area and where the rocks can be placed to create a harmonious and seamless transition. Avoid obstructing walkways or creating obstacles that may hinder the usability of your outdoor space.
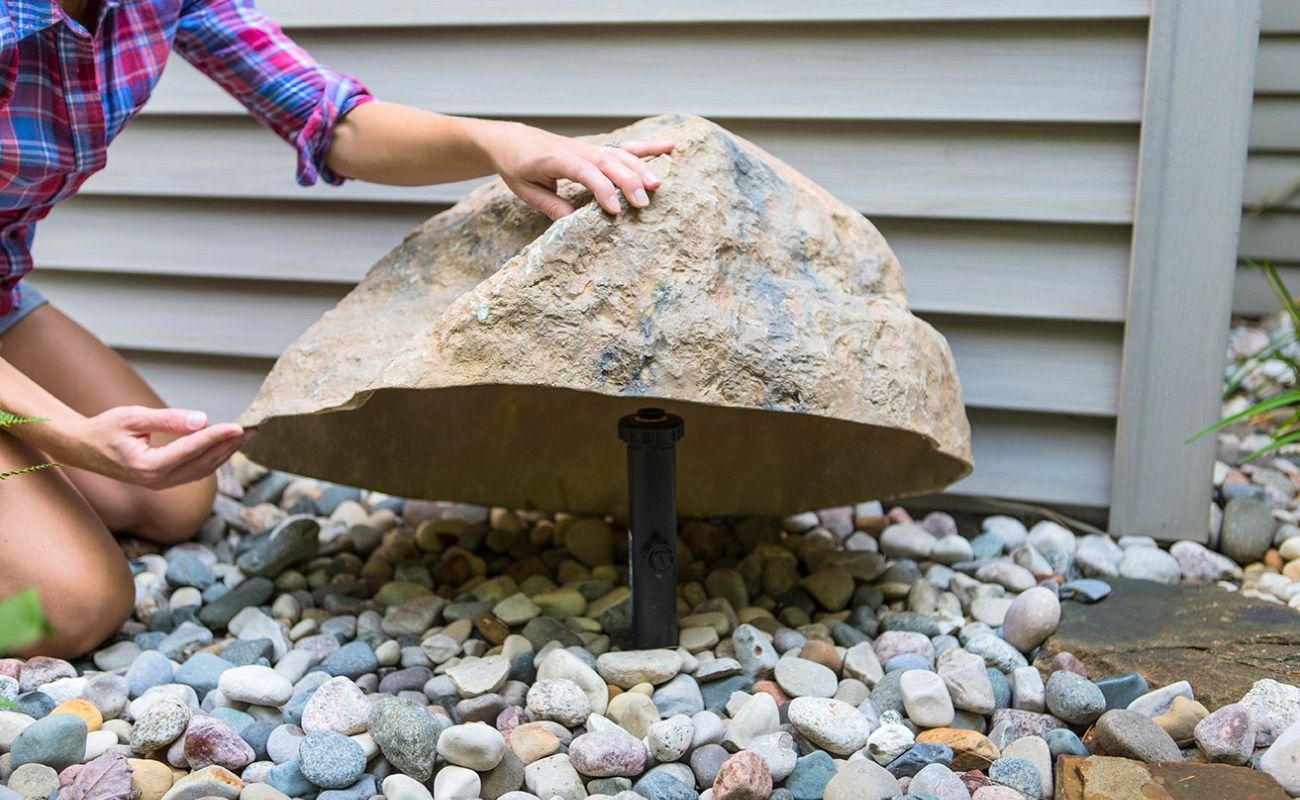
Remember to take into account the size and shape of the rocks you have chosen. Place larger rocks strategically to anchor the landscape and create a sense of stability. Use smaller rocks to fill in gaps or create visual interest between larger rocks.
For a more organic and natural look, consider mimicking the patterns and shapes found in nature. Place the rocks in a way that emulates the random arrangement seen in natural rock formations, while still maintaining balance and aesthetic appeal.
Before finalizing the placement, it can be helpful to sketch a rough layout of your landscape design, indicating the areas where the rocks will be placed. This will give you a visual representation of how the rocks will fit into the overall design and allow you to make adjustments if needed.
By taking the time to carefully plan the placement of your large rocks, you can ensure that they become a seamless and integral part of your landscape, enhancing its overall beauty and functionality.
Step 3: Preparing the Area
Once you have planned the placement of the large rocks in your landscaping, it’s time to prepare the area where the rocks will be placed. Proper preparation is crucial to ensure a stable and long-lasting installation.
Start by clearing the area of any debris, plants, or weeds. Use a shovel or a garden rake to remove any loose soil or vegetation. If there are existing plants or trees in the area, carefully transplant them to a temporary location until the rock placement is complete.
Next, level the ground where the rocks will be placed. Use a shovel or a garden tiller to even out the soil and create a flat surface. This will help provide stability for the rocks and prevent them from shifting over time.
If the soil in your area is prone to erosion or shifting, it’s important to reinforce the foundation. Consider adding a layer of landscape fabric or gravel to provide a stable base for the rocks. This will help prevent the rocks from sinking or tilting over time.
If you plan to install larger, heavier rocks, it may be necessary to excavate the area to create a deeper hole for proper placement. Use a shovel or a mini excavator to dig a hole that is slightly larger and deeper than the rock you intend to place. This will allow for better stability and prevent the rock from sitting too high on the surface.
Before placing the rocks, it’s also important to consider any necessary drainage. If the area has poor drainage, creating a gravel or sand bed underneath the rocks can help facilitate water runoff and prevent water accumulation around the rocks.
Finally, take the time to evaluate the overall stability of the area. If you’re working on a slope or uneven ground, it may be necessary to build a retaining wall or use additional reinforcement materials to prevent soil erosion or rock movement.
By properly preparing the area, you can ensure a stable foundation for your rocks, enhance their longevity, and create a visually appealing landscape that will withstand the test of time.
Step 4: Using Heavy Machinery (if applicable)
When dealing with large rocks in landscaping, the use of heavy machinery may be necessary, especially if you’re working with particularly large or heavy stones. While it’s possible to move and place rocks manually, using machinery can make the process safer and more efficient.
If you decide to use heavy machinery, such as a skid steer loader or a mini excavator, it’s important to prioritize safety. Ensure that you have the necessary skills and knowledge to operate the machinery effectively. If you are not experienced with heavy machinery, consider hiring a professional operator to assist you with the task.
Before starting the machinery, carefully assess the area and remove any obstacles or obstructions that may interfere with the movement of the equipment. This includes clearing away debris, rocks, or plants that could hinder the operation or pose a safety risk.
When operating the machinery, be aware of the weight limit and lifting capacity of the equipment. Attempting to lift or move rocks that exceed the machinery’s capacity can result in accidents or damage to the machinery.
Use straps, chains, or specialized rock-moving attachments to safely lift and transport the rocks. These tools can provide additional stability and control when moving the heavy stones. Ensure that the straps or chains are securely fastened around the rock before lifting, and use caution when maneuvering the machinery to prevent the rocks from swinging or slipping.
If you are working on a slope or uneven terrain, take additional precautions to ensure the stability of the machinery. Use stabilizers or outriggers to level the equipment and reduce the risk of tipping over.
Remember to communicate with your team or any helpers during the operation. Clear and concise communication is crucial to ensure everyone’s safety and to coordinate the movement of the machinery and rocks effectively.
Once the rocks have been moved to their designated locations using the machinery, it’s important to carefully lower them into place. Take your time, observe the stability of the ground, and make any necessary adjustments to ensure the rocks are securely positioned.
Using heavy machinery can greatly facilitate the process of moving and placing large rocks in your landscaping. However, it’s essential to approach this step with caution and prioritize safety to avoid accidents or damage to the machinery or surrounding structures.
When placing large rocks in landscaping, start by digging a hole for the rock to sit in, then backfill around the sides with soil to secure it in place. This will help prevent the rock from shifting or rolling.
Step 5: Moving and Placing the Rocks
Now that you have prepared the area and, if necessary, used heavy machinery to transport the rocks, it’s time to focus on moving and placing the rocks in their designated locations. This step requires careful coordination and attention to detail.
If the rocks are small enough to be moved manually, have a team of helpers to assist you. Clear communication is essential to ensure everyone is on the same page and working together to position the rocks accurately.
Start by carefully lifting the rocks using proper lifting techniques, such as bending your knees and using your leg muscles rather than your back. Avoid lifting rocks that are too heavy for your individual or collective strength.
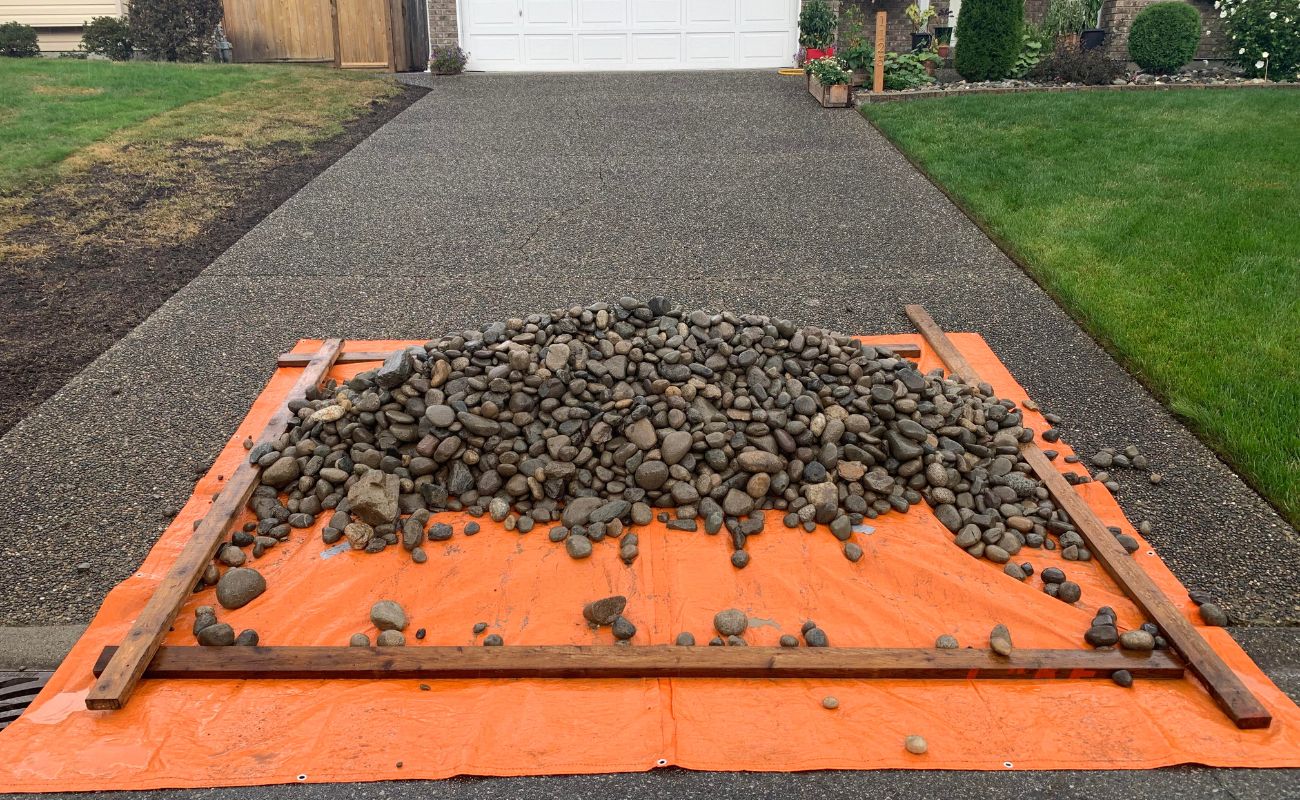
When moving the rocks, be mindful of the paths you take to avoid damaging existing plants or structures. Use a dolly or a wheelbarrow to transport the rocks from the staging area to their final locations, and use caution to prevent the rocks from rolling off or slipping.
As you place each rock, take the time to adjust its position and orientation until it fits seamlessly into the landscape. Consider how the rock interacts with its surroundings and neighboring elements, such as plants, walkways, or water features. Aim for a natural and visually pleasing arrangement.
If the rocks are too heavy to be moved manually or require precise placement, you may need to hire professional assistance with specialized equipment, such as cranes or hydraulic jacks. These tools can provide the necessary precision and strength to position large rocks accurately.
Regardless of the method used, take breaks as needed and listen to your body. Moving and placing large rocks can be physically demanding, so it’s important to pace yourself and avoid overexertion.
Throughout the process, step back and assess the overall composition of the rocks in your landscape. Adjust the position or rotation of the rocks if needed to achieve a cohesive and balanced design.
Remember that landscaping is an art form, and the placement of rocks is an opportunity to express your creativity. Don’t be afraid to experiment and make adjustments as you go along to create a visually captivating and harmonious landscape.
By carefully moving and placing the rocks, you can create stunning focal points, borders, or pathways that will enhance the overall beauty and charm of your outdoor space.
Step 6: Securing the Rocks
After you have successfully moved and placed the rocks in your landscaping, it’s important to secure them to ensure their stability and longevity. This step is crucial, especially if you live in an area prone to strong winds or if the rocks are positioned on a slope.
One of the most common methods to secure rocks is by using mortar or adhesive. Mortar is a mixture of cement, sand, and water that hardens over time, providing a strong bond between the rocks and preventing shifting or movement.
To secure rocks with mortar, start by cleaning the surfaces of the rocks thoroughly. Remove any loose debris or dirt using a brush or a cloth. Moistening the rocks with water will help the mortar adhere better.
Prepare the mortar mixture according to the manufacturer’s instructions. Apply a generous amount to the contact points between the rocks, ensuring a solid connection. Use a trowel or a pointing tool to spread and smooth out the mortar, filling any gaps or spaces between the rocks.
Allow the mortar to dry and cure completely according to the recommended curing time. This may take several hours or even a couple of days, depending on the type of mortar used and the surrounding environmental conditions.
Another method to secure rocks is by using metal stakes or anchors. This is particularly useful for larger rocks or those positioned on slopes. Drive metal stakes or anchors into the ground near the rocks, ensuring a secure connection. Then, use wires or metal straps to fasten the rocks to the stakes or anchors, providing additional stability.
For a more natural look, consider using plants or vegetation to secure the rocks. Planting ground cover or trailing plants around the rocks can help anchor them in place and blend them into the surrounding landscape.
Regular inspections should be conducted to ensure that the rocks remain securely in place. Periodically check for any signs of shifting or movement, and make necessary adjustments or repairs as needed. This will help maintain the integrity of your rock placement and prevent potential hazards.
By taking the time to properly secure the rocks, you can ensure their long-term stability and minimize the risk of accidents or damage to your landscaping.
Step 7: Completing the Landscape Design
Now that you have placed and secured the rocks in your landscaping, it’s time to complete the overall design of your outdoor space. This final step involves adding finishing touches and elements that tie the entire landscape together.
Consider incorporating other landscaping features such as plants, shrubs, or flowers to enhance the beauty and visual appeal of the area surrounding the rocks. Choose plants that complement the colors, textures, and shapes of the rocks to create a harmonious and cohesive design.
Strategically place plants around the rocks, using them to soften the edges or create a natural transition between the rocks and the rest of the landscape. Choose a mix of heights, colors, and textures to add depth and interest to the overall composition.
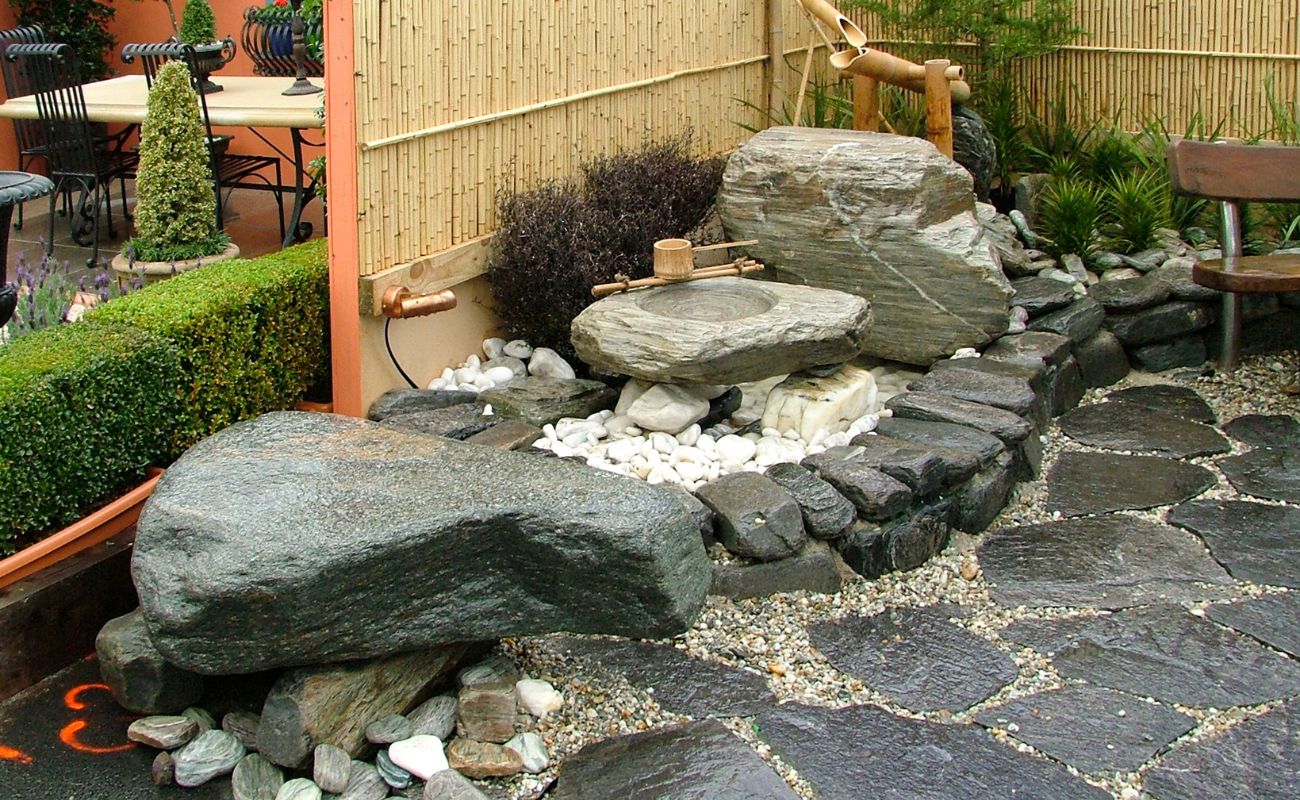
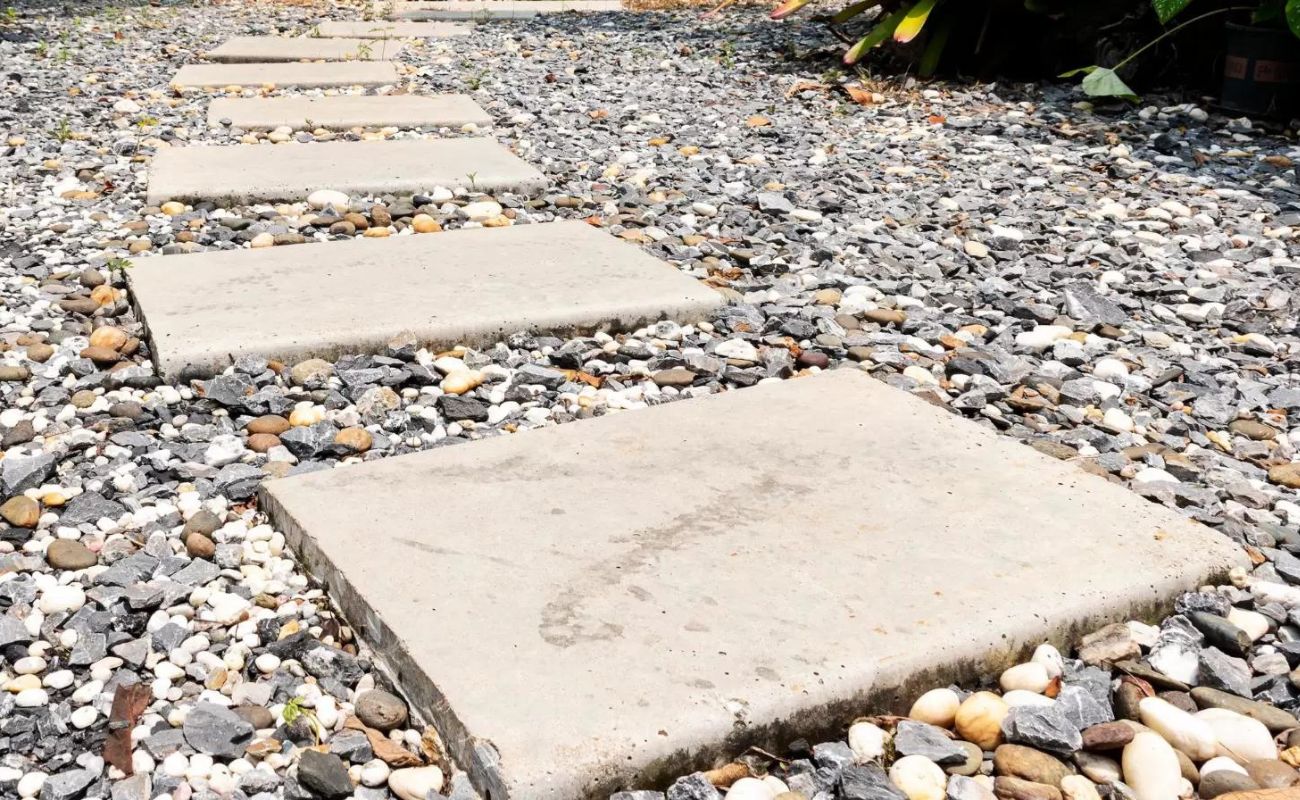
In addition to plants, consider incorporating other landscape elements such as paths, lighting, or water features. A well-designed pathway leading to the rock placement can enhance accessibility and create an inviting atmosphere. Outdoor lighting can highlight the rocks and create a dramatic effect during nighttime. Water features, such as a pond or a waterfall, can add a tranquil and soothing ambiance to your outdoor space.
Take into account the overall maintenance and care of your landscape design. Ensure that the plants and other elements are manageable and suitable for your climate and maintenance capabilities. Consider factors such as watering requirements, pruning needs, and the lifespan of certain plants or features.
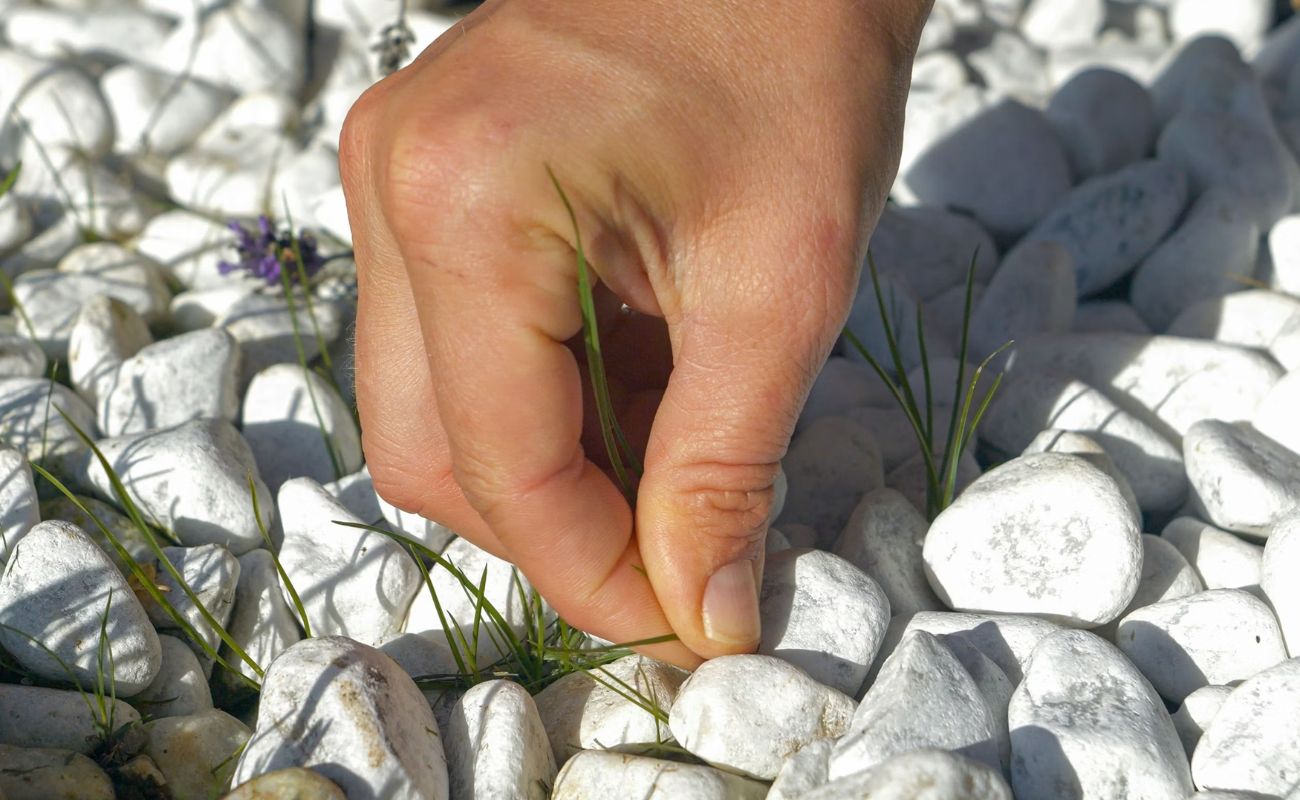
Regular maintenance is crucial to keep your landscape looking its best. Trim any overgrown plants, remove weeds, and clean any debris that may accumulate around the rocks. Regularly inspect the rocks and their surrounding area to ensure they remain in good condition and make any necessary adjustments as needed.
Finally, step back and appreciate your completed landscape design. Take the time to enjoy your outdoor space and the beauty it brings to your home. Share it with family and friends, and embrace the tranquility and serenity that a well-designed landscape can provide.
By completing the landscape design with thoughtful choices of plants, additional features, and ongoing maintenance, you can create an outdoor oasis that showcases your creativity and enhances the overall beauty of your property.
Conclusion
Placing large rocks in landscaping can transform your outdoor space, adding a touch of natural beauty, texture, and character. By following the steps outlined in this guide, you can successfully incorporate large rocks into your landscape design with ease and precision.
Choosing the right type of rock for your project, planning the placement carefully, and preparing the area are essential steps to ensure a successful installation. If necessary, utilizing heavy machinery can aid in the movement and placement of the rocks, while ensuring your safety.
Securing the rocks with mortar, metal stakes, or plants is crucial to maintain their stability and longevity. Completing the landscape design with complementary plants, pathways, lighting, and other features will bring unity and enhance the overall aesthetics of the area.
Remember to regularly maintain and inspect your landscape design, making any necessary adjustments or repairs to ensure its continued beauty and functionality.
As you complete your landscaping project with large rocks, take a moment to appreciate the transformation and the unique character it adds to your outdoor space. Enjoy the beauty of nature right in your own backyard and create a peaceful and inviting environment for yourself, your family, and your guests.
Now, armed with this comprehensive guide, go forth and embark on your rock-placing adventure, turning your outdoor space into a stunning masterpiece!
Frequently Asked Questions about How To Place Large Rocks In Landscaping
Was this page helpful?
At Storables.com, we guarantee accurate and reliable information. Our content, validated by Expert Board Contributors, is crafted following stringent Editorial Policies. We're committed to providing you with well-researched, expert-backed insights for all your informational needs.







0 thoughts on “How To Place Large Rocks In Landscaping”