Home>Garden Essentials>How To Plant Bell Pepper Seeds

Garden Essentials
How To Plant Bell Pepper Seeds
Modified: March 16, 2024
Learn how to plant bell pepper seeds in your garden with this step-by-step guide. Grow fresh and delicious peppers at home and enjoy the rewards of your own vegetable garden.
(Many of the links in this article redirect to a specific reviewed product. Your purchase of these products through affiliate links helps to generate commission for Storables.com, at no extra cost. Learn more)
Introduction
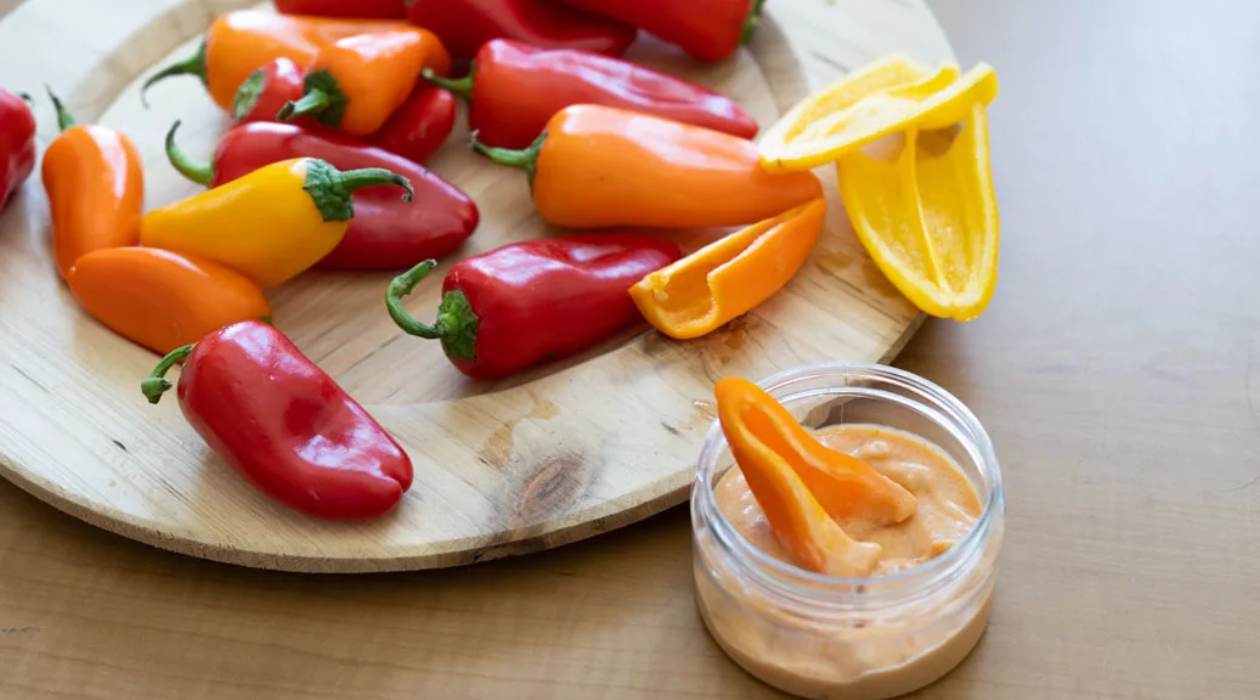
Welcome to the world of gardening! If you have decided to plant bell peppers in your garden, you are in for a delightfully rewarding experience. Bell peppers, also known as sweet peppers, are not only visually appealing with their vibrant colors but also versatile in the kitchen. Whether you enjoy them fresh in salads or roasted in stir-fries, growing your own bell peppers allows you to savor the delicious taste of homegrown produce.
Before you get started, it’s important to understand that bell peppers thrive in a warm climate and require some care and attention. In this article, we will guide you through the process of planting bell pepper seeds, from selecting the right seeds to harvesting your bountiful pepper crop.
So, roll up your sleeves and let’s dive into the world of bell pepper gardening!
Key Takeaways:
- Choose the right bell pepper seeds based on your taste preferences, growing conditions, and seed quality to ensure a successful and bountiful harvest in your garden.
- Provide proper care, including watering, fertilizing, and protecting from pests and diseases, to help your bell pepper plants thrive and produce delicious peppers for your culinary creations.
Read more: How To Grow Bell Pepper From Seeds
Choosing the Right Seeds
When it comes to bell peppers, you have a wide variety of seed options to choose from. Selecting the right seeds is crucial for a successful pepper harvest. Here are a few factors to consider when choosing bell pepper seeds:
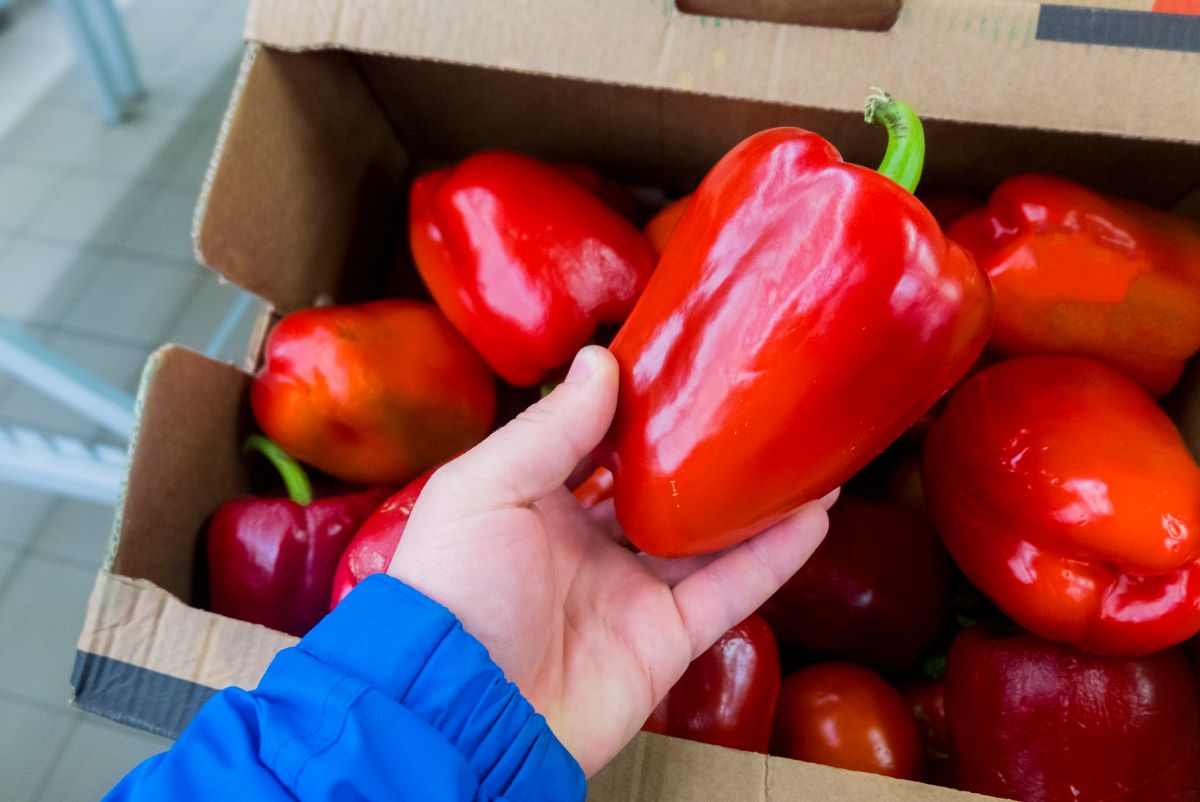
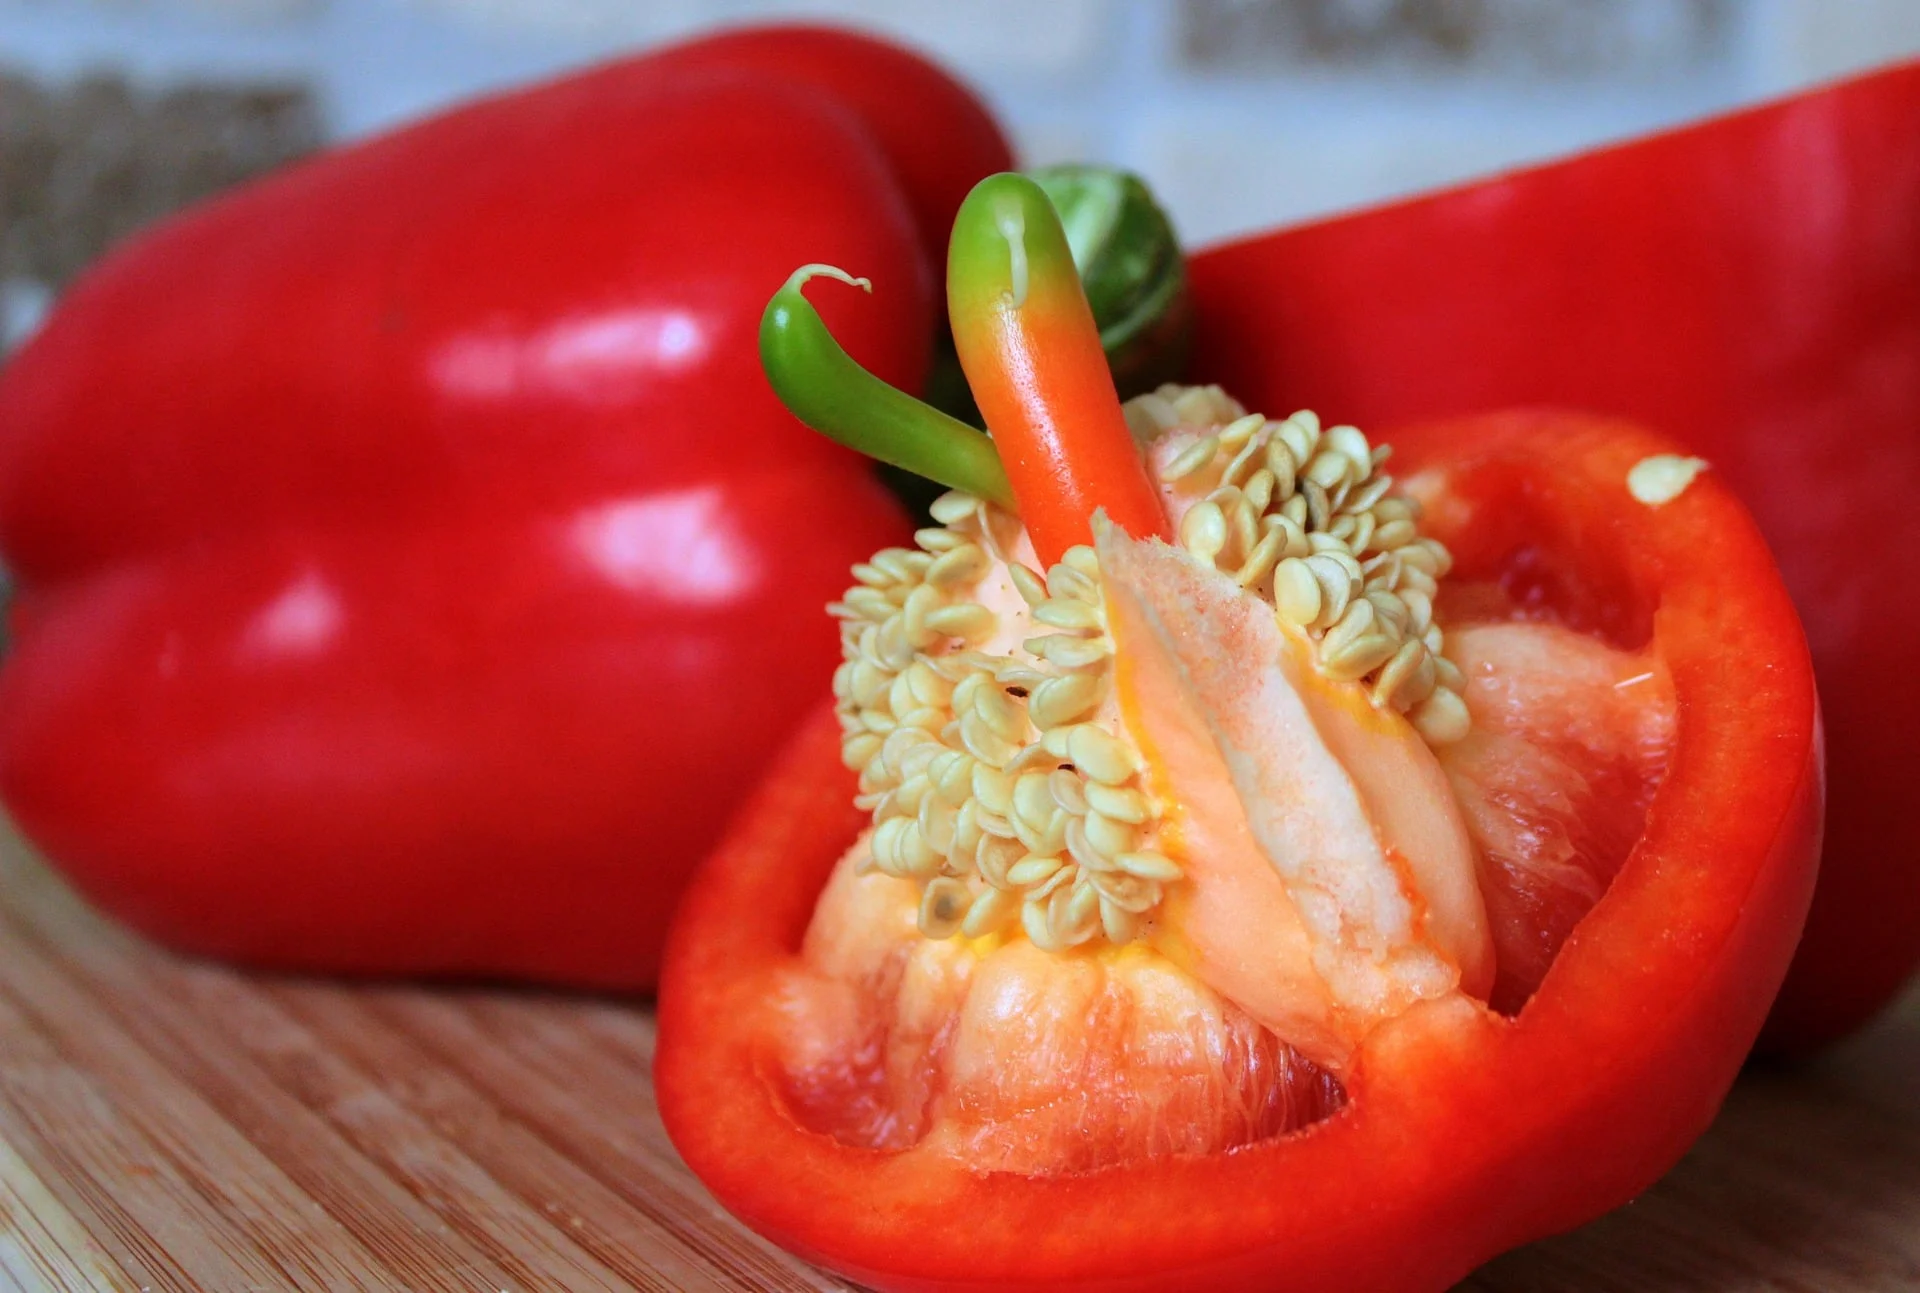
- Variety: Bell pepper seeds come in different varieties, each with its own unique flavor and color. Consider whether you prefer green, red, yellow, or orange bell peppers, and choose a variety that suits your taste preferences.
- Growing Conditions: Pay attention to the specific growing conditions required for each seed variety. Some varieties are more suitable for certain climates or soil types, so choose seeds that will thrive in your specific garden conditions.
- Hybrid vs. Heirloom: Hybrid seeds are bred for specific traits, such as disease resistance or higher yield. On the other hand, heirloom seeds are open-pollinated and have been passed down through generations. Decide whether you prefer hybrid seeds or heirloom seeds based on your gardening goals.
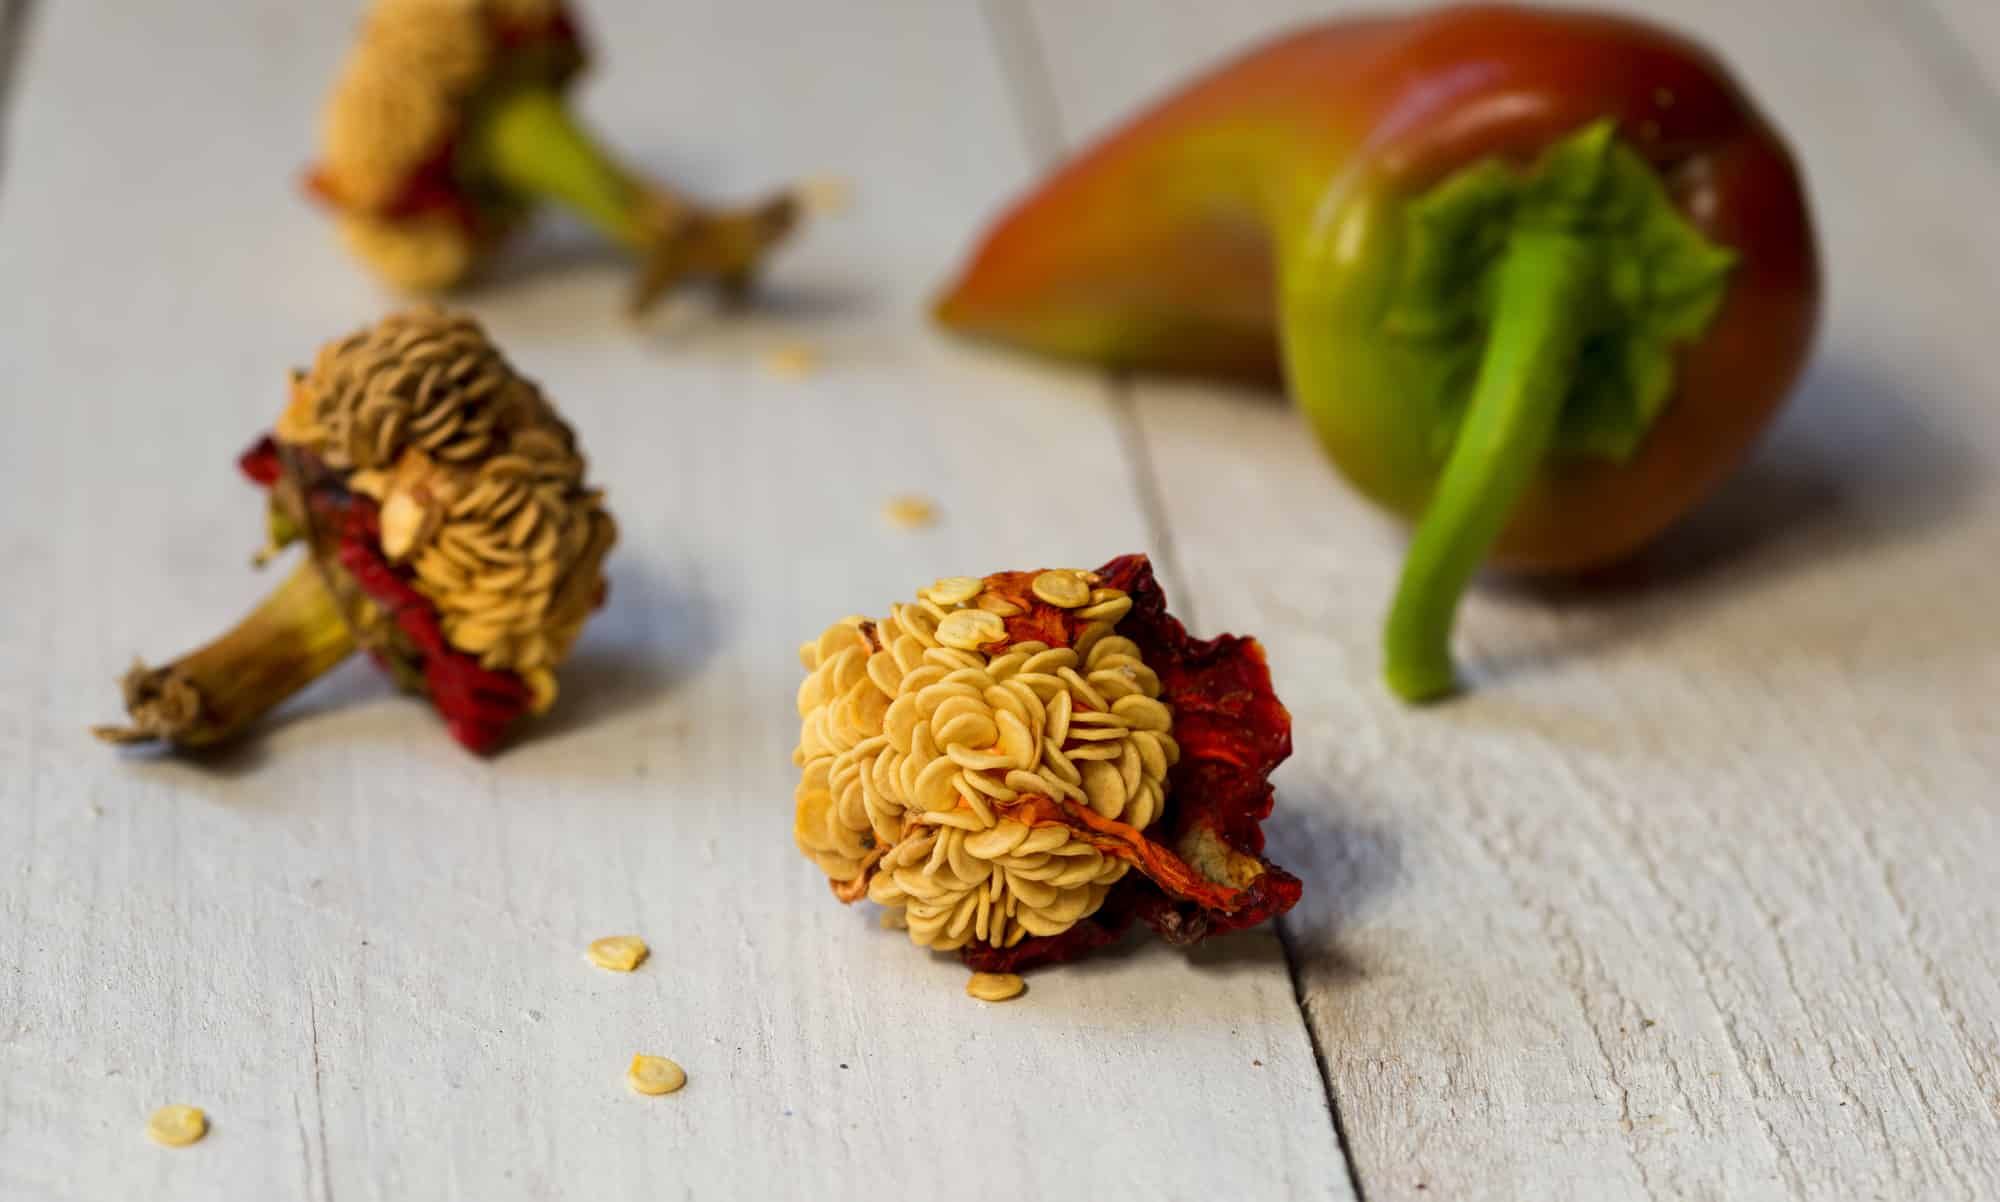
- Seed Quality: When purchasing seeds, opt for high-quality seeds from reputable suppliers. Check the seed packets for information on the seeds’ germination rate and ensure that they are not expired.
Once you’ve considered these factors, you can confidently choose the right bell pepper seeds for your garden. Remember to buy an adequate number of seeds based on the size of your desired pepper crop. It’s always better to have a few extra seeds than to run out when you’re ready to plant.
Now that you have your seeds in hand, let’s move on to preparing the soil for planting.
Preparing the Soil
A key step in successfully growing bell peppers is preparing the soil. The right soil conditions provide the necessary nutrients and drainage for healthy plant growth. Follow these steps to prepare your soil:
- Choose the Right Location: Bell peppers require full sun exposure, so select a location in your garden that receives at least 6-8 hours of direct sunlight each day. Ensure that the area has well-drained soil to prevent waterlogging.
- Clear the Area: Remove any weeds or debris from the planting area. Weeds compete with your pepper plants for nutrients, water, and sunlight.
- Loosen the Soil: Use a garden fork or tiller to loosen the soil in the planting area. This promotes good root development and allows for better water absorption.
- Amend the Soil: Bell peppers prefer slightly acidic soil with a pH range of 6.0-6.8. Test your soil’s pH level using a soil testing kit, and if necessary, amend it by adding organic matter, such as compost or well-rotted manure, to improve the soil structure and fertility.
- Ensure Adequate Drainage: Bell peppers don’t like their roots to sit in waterlogged soil. If your soil has poor drainage, consider creating raised beds or adding organic material, like perlite or sand, to improve drainage.
By following these steps, you’ll create an ideal environment for your bell pepper plants to thrive. Once the soil is prepared, it’s time to sow the bell pepper seeds and start your journey towards a bountiful harvest.
Planting the Bell Pepper Seeds
Now that the soil is ready, it’s time to plant your bell pepper seeds. Follow these steps to ensure successful germination and healthy seedling growth:
- Timing: Bell peppers are warm-season crops, so it’s important to wait until the danger of frost has passed and the soil temperature is consistently above 60°F (15°C). This is usually around 2-3 weeks after the last frost date in your area.
- Spacing: Bell pepper plants need adequate space to grow and spread. Plant them at least 18-24 inches (45-60 cm) apart to allow for proper air circulation and prevent overcrowding.
- Planting Depth: Make shallow furrows in the soil, about ¼ inch (6 mm) deep. Sow the bell pepper seeds, spacing them about 2 inches (5 cm) apart, and cover them with a thin layer of soil.
- Watering: After planting, thoroughly water the soil to ensure that the seeds are moist. Keep the soil evenly moist throughout the germination period, which usually takes 7-10 days.
- Provide Warmth: Bell pepper seeds germinate best when the soil temperature is between 70-80°F (21-27°C). Use a protective cover, such as a plastic wrap or a mini greenhouse, to create a warm and humid environment for the seeds.
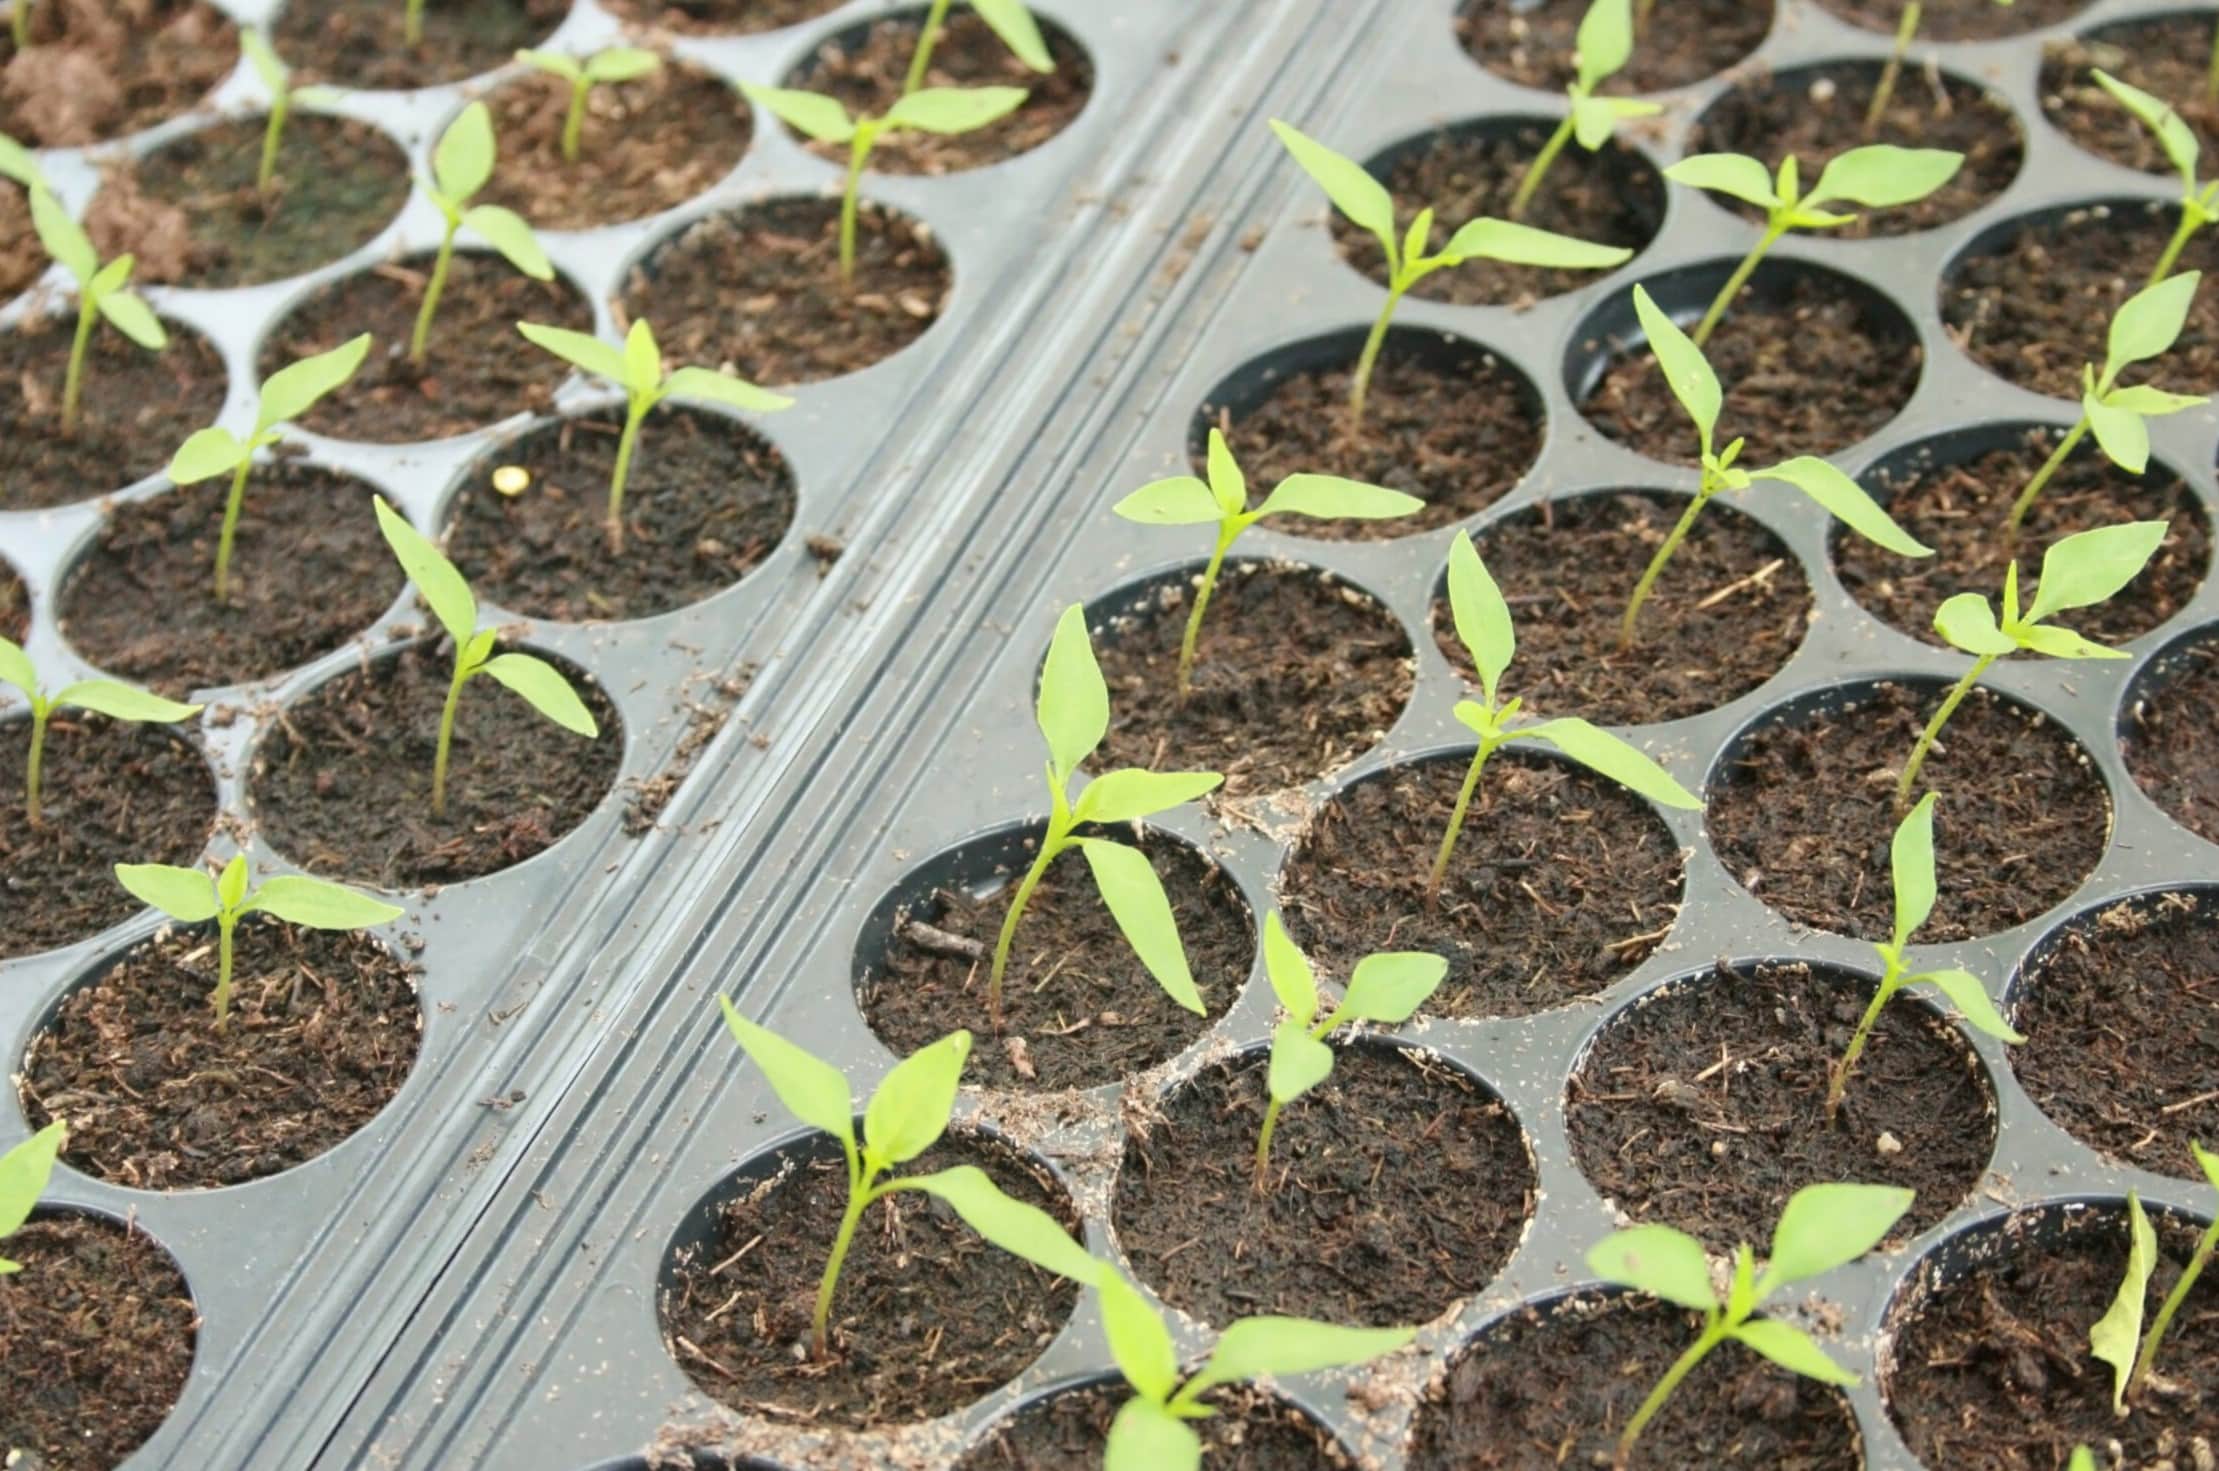
Once the seedlings emerge, remove the cover and provide them with plenty of light. You can either transplant them to larger containers or directly into the garden, depending on your gardening setup and climate. Now that your bell pepper seeds are planted, it’s time to nurture them with proper care.
Watering and Fertilizing
Proper watering and fertilizing are essential for the healthy growth and development of bell pepper plants. Here are some guidelines to ensure your plants receive the optimal amount of water and nutrients:
- Watering: Bell peppers require consistent moisture, but overwatering can lead to root rot. Water the plants deeply, providing enough water to moisten the soil to a depth of 6-8 inches. As a general rule, aim for 1-2 inches of water per week, either through rainfall or irrigation.
- Soil Moisture: Monitor the soil moisture regularly. Stick your finger into the soil up to your second knuckle. If it feels dry at that depth, it’s time to water. Avoid wetting the leaves to prevent the spread of diseases.
- Fertilizer: Bell peppers are heavy feeders and need regular fertilization. Before planting, amend the soil with compost or well-rotted manure to provide organic matter and nutrients. Additionally, apply a balanced slow-release fertilizer according to the package instructions every 4-6 weeks during the growing season.
- Nutrient Deficiencies: Keep an eye out for signs of nutrient deficiencies, such as yellowing leaves or stunted growth. If necessary, supplement with specific fertilizers to address any deficiencies. For example, calcium deficiencies can be treated with a calcium-rich fertilizer.
Remember, it’s important to strike a balance with watering and fertilizing. Too little or too much can negatively impact the health and productivity of your bell pepper plants. Regularly monitor the moisture levels, observe the plant’s growth, and make adjustments as needed.
Now that your bell pepper plants are well-nourished, let’s dive into the next step – providing proper care.
Plant bell pepper seeds in well-draining soil, 1/4 inch deep, and keep them moist. Place in a warm, sunny spot and transplant outdoors after the last frost.
Read more: How Long Do Bell Peppers Take To Germinate
Providing Proper Care
Good care is crucial for the optimal growth and productivity of bell pepper plants. Here are some essential care tips to keep in mind:
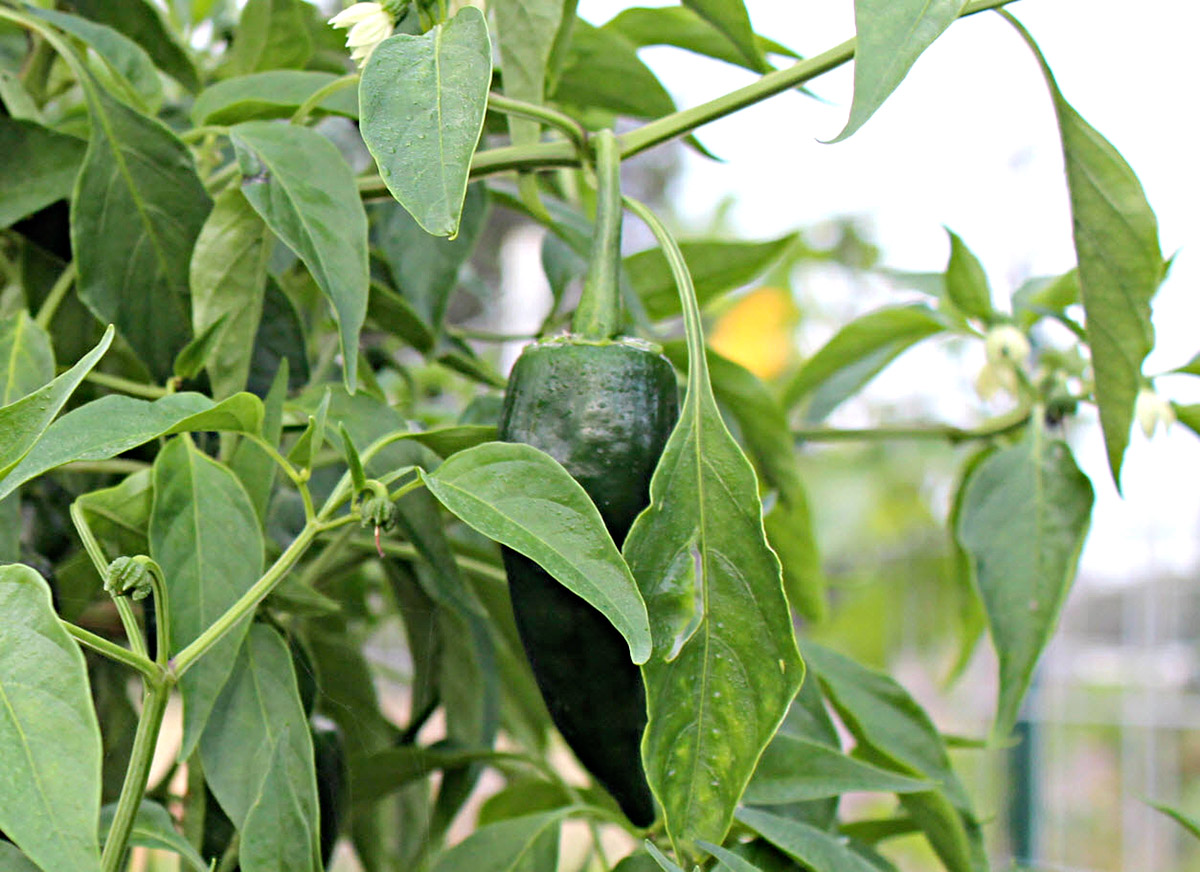
- Support and Stake: As your bell pepper plants grow, they may need support to prevent the heavy fruit-laden branches from sagging or breaking. Use stakes or cages to provide support and keep the plants upright.
- Pruning and Pinching: Regularly prune your bell pepper plants to remove damaged or diseased branches. Pinch off the small offshoots, known as suckers, that emerge in the leaf axils. This helps redirect the plant’s energy to the main branches and fruit production.
- Weed Control: Keep the area around your bell pepper plants free from weeds. Weeds compete with the plants for nutrients, water, and sunlight. Regularly remove any weeds that pop up to ensure your bell peppers have the resources they need to thrive.
- Mulching: Place a layer of organic mulch, such as straw or wood chips, around the base of the bell pepper plants. This helps conserve moisture, suppresses weed growth, and moderates soil temperature.
- Pollination: Bell peppers are self-pollinating plants, meaning they don’t rely on bees or other pollinators for fruit development. However, you can gently shake the plants or use a small brush to help transfer pollen from one flower to another, encouraging better fruit set.
By providing proper care, you are creating an optimal environment for your bell pepper plants to thrive. With regular maintenance and attention, you’ll witness healthy growth and an abundant bell pepper harvest.
Now that your plants are growing well, let’s learn about the next step in the bell pepper gardening journey – transplanting the seedlings.
Transplanting the Seedlings
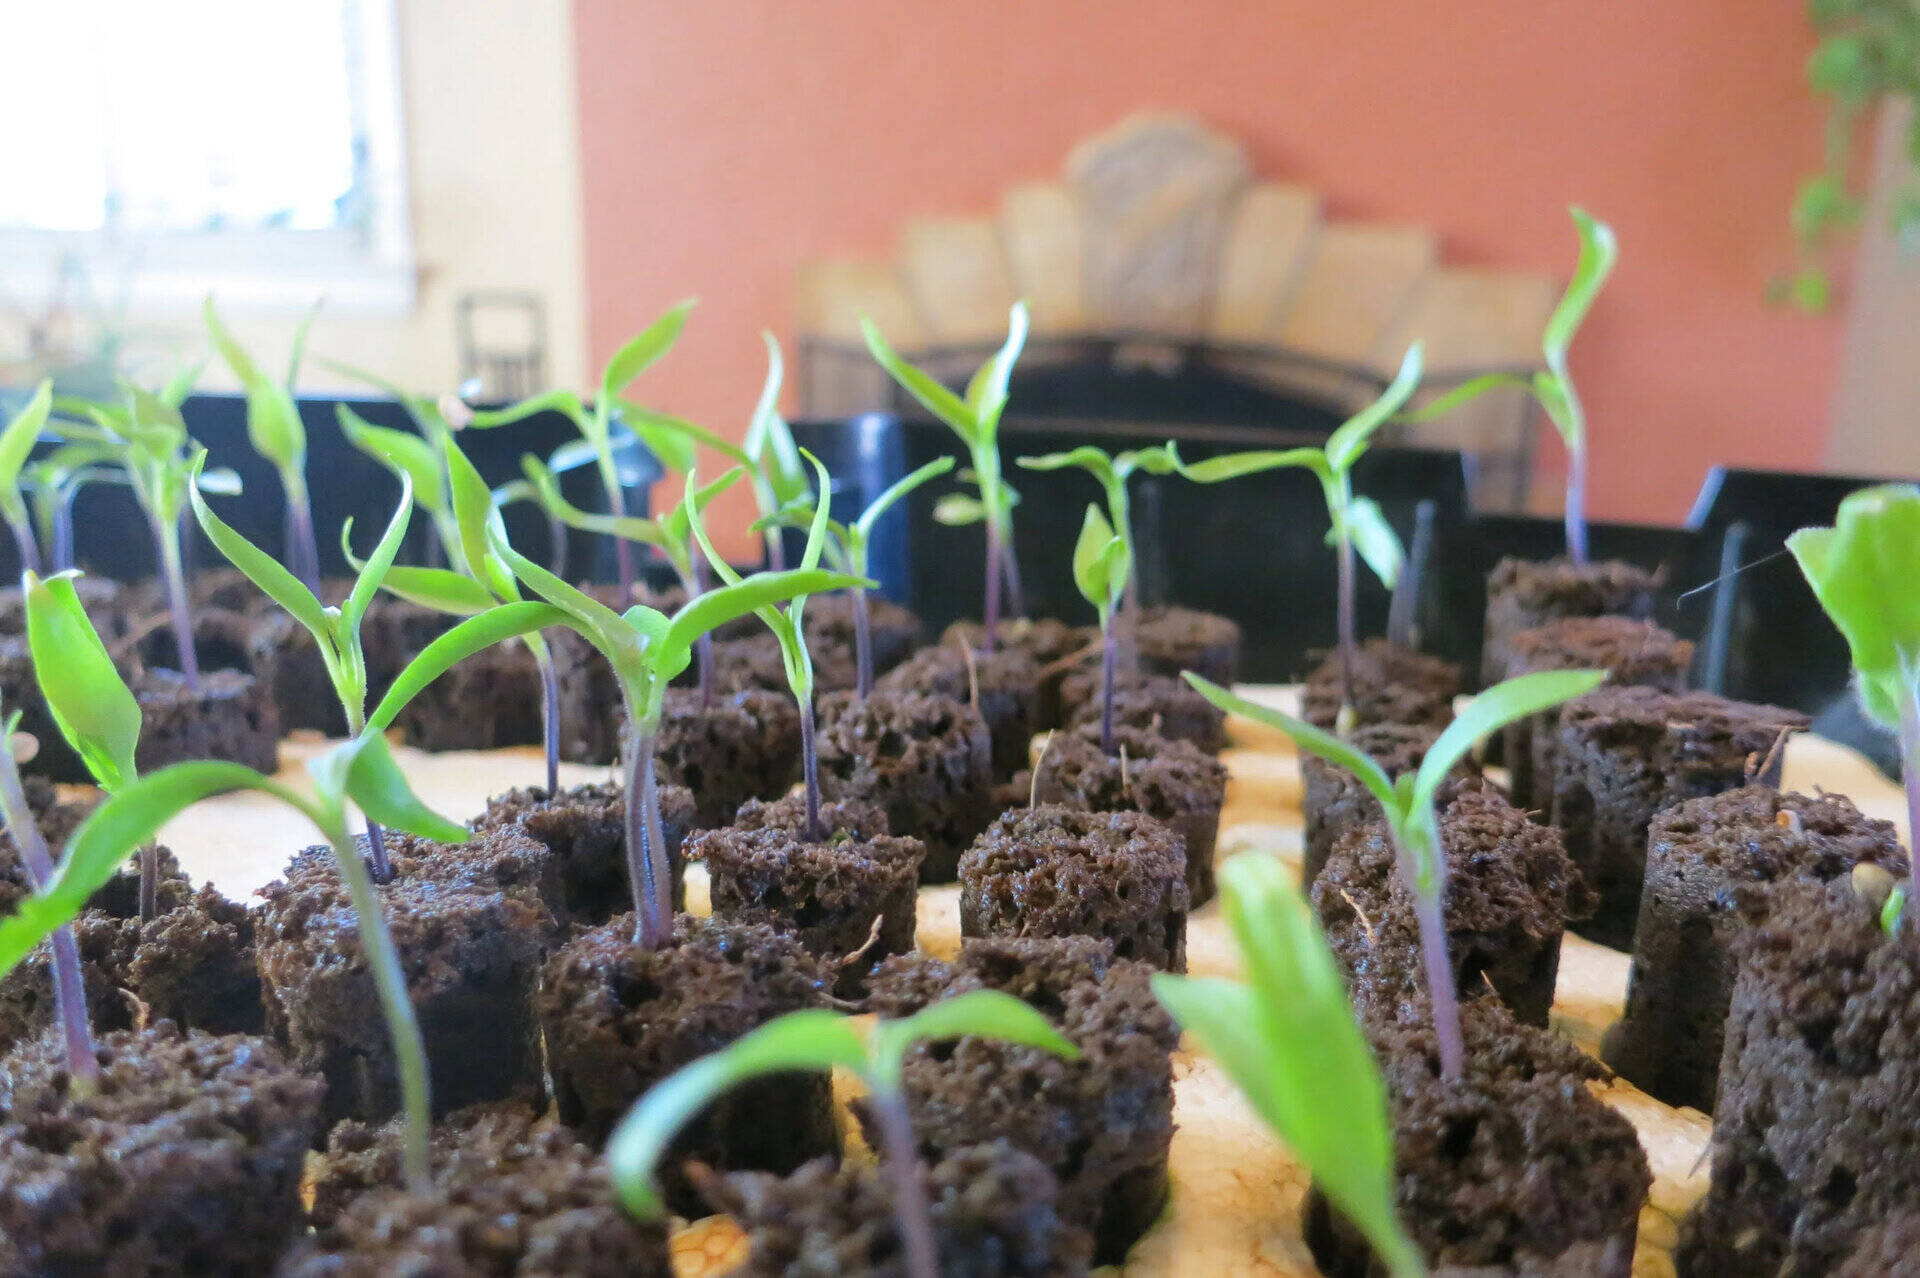
Once your bell pepper seedlings have grown a few sets of true leaves and the weather conditions are suitable, it’s time to transplant them into their permanent garden location. Follow these steps for successful transplanting:
- Choose the Right Timing: Transplant seedlings when all danger of frost has passed and the soil temperature has warmed up consistently. Typically, this is about 2-3 weeks after the last frost date in your area.
- Prepare the Transplanting Area: Clear any weeds or debris from the selected garden area. Loosen the soil and amend it with organic matter, such as compost or well-rotted manure, to improve fertility and drainage.
- Dig Planting Holes: Dig holes in the prepared bed that are slightly larger than the root ball of the seedlings. Space the holes around 18-24 inches apart to allow adequate room for the plants to grow.
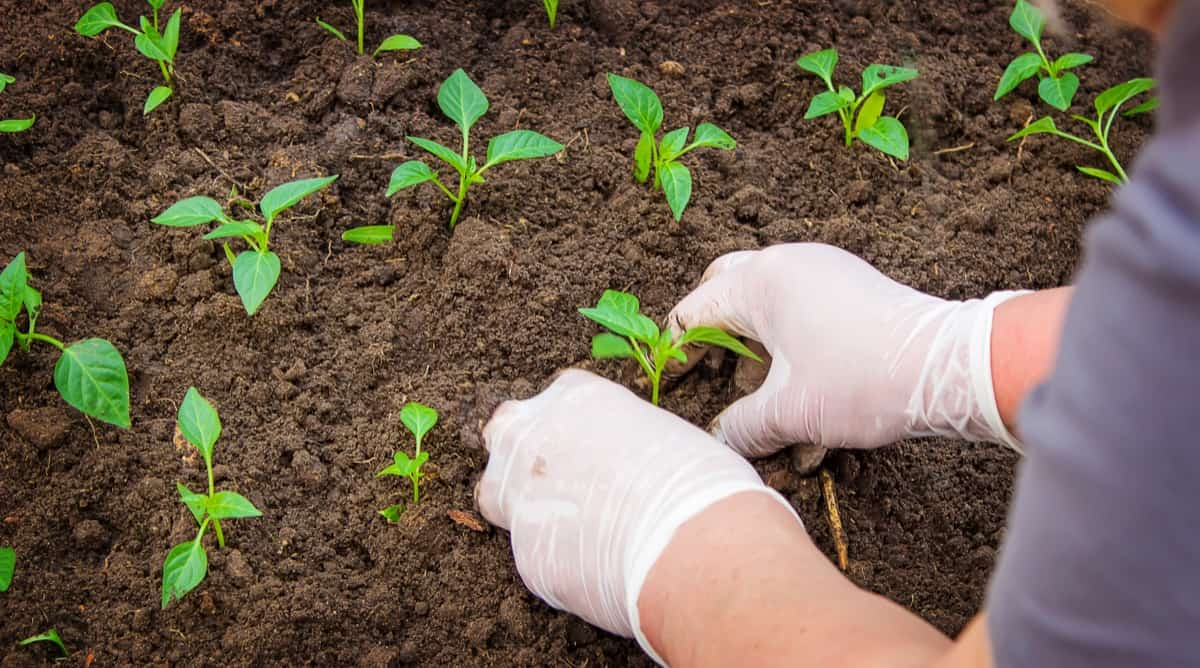
- Transplant Seedlings: Carefully remove the seedlings from their containers, being cautious not to damage the delicate roots. Place each seedling into a planting hole, gently filling the soil around it, ensuring that the seedling is at the same depth as it was in its initial container.
- Water Thoroughly: After transplanting, water the seedlings well to settle the soil and help them establish in their new location. Keep the soil consistently moist during the first few weeks to promote root growth.
- Provide Support: If your bell pepper varieties are large or prone to bending, insert stakes or cages near each plant to provide support as they grow.
Remember to transplant the seedlings during the cooler part of the day, such as early morning or late afternoon, to minimize stress on the plants. It’s also a good practice to harden off the seedlings before transplanting, gradually exposing them to outdoor conditions over a week or two.
By following these steps, you’ll give your bell pepper plants a strong start in their new garden home. Now, let’s explore how to protect your plants from pests and diseases.
Protecting from Pests and Diseases
Just like any other garden plants, bell peppers are susceptible to pests and diseases. Taking preventive measures and implementing organic pest control methods can help protect your bell pepper plants. Here are some tips to keep your plants healthy and pest-free:
- Inspect Regularly: Regularly inspect your bell pepper plants for signs of pests or diseases. Look for chewed leaves, discolored spots, or any other unusual symptoms. Early detection can help prevent further damage.
- Encourage Beneficial Insects: Attract beneficial insects, such as ladybugs, lacewings, and predatory wasps, to your garden. They prey on pests like aphids and caterpillars, keeping their populations in check.
- Handpick Pests: If you spot pests on your bell pepper plants, like aphids or caterpillars, handpick them off the plants and dispose of them. This method is effective for small infestations.
- Use Organic Pest Control Methods: Consider using organic pest control methods, such as neem oil, insecticidal soaps, or homemade remedies like garlic spray or chili pepper spray. These methods are safe for the environment and don’t harm beneficial insects.
- Practice Crop Rotation: Rotating your crops each season can help prevent the build-up of pests and diseases. Avoid planting bell peppers in the same location every year to disrupt the life cycle of pests and reduce the risk of diseases.
- Maintain Good Hygiene: Keep your garden clean and free from debris to reduce the risk of diseases. Remove any fallen leaves or fruit from the ground and dispose of them properly to prevent the spread of fungal infections.
By implementing these preventive measures and taking prompt action against pests and diseases, you can protect your bell pepper plants and ensure a healthy harvest.
Now that you’re equipped with knowledge on protecting your plants, let’s move on to the exciting part – harvesting your bell peppers!
Harvesting Bell Peppers
One of the most rewarding moments of bell pepper gardening is the time when you get to harvest your peppers. Here are some tips to help you know when and how to harvest your bell peppers:
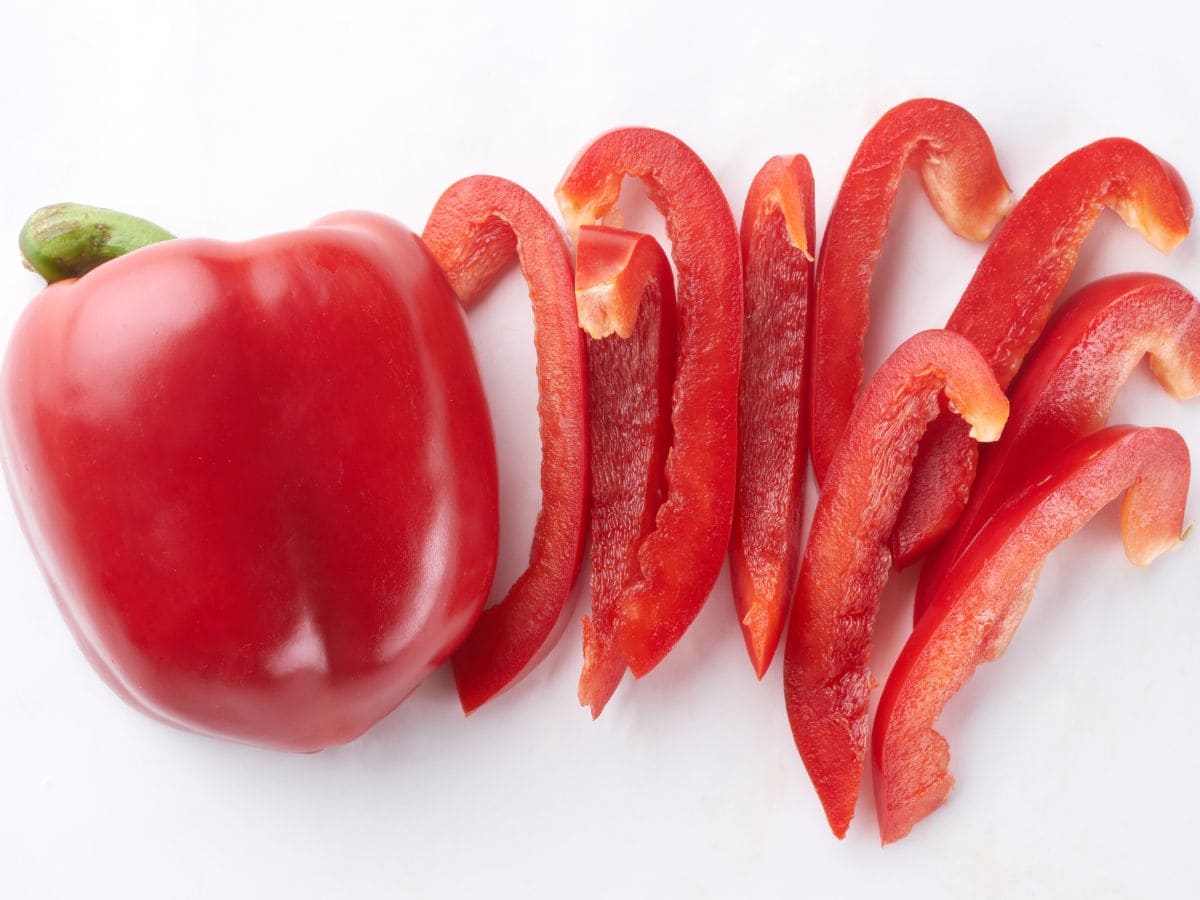
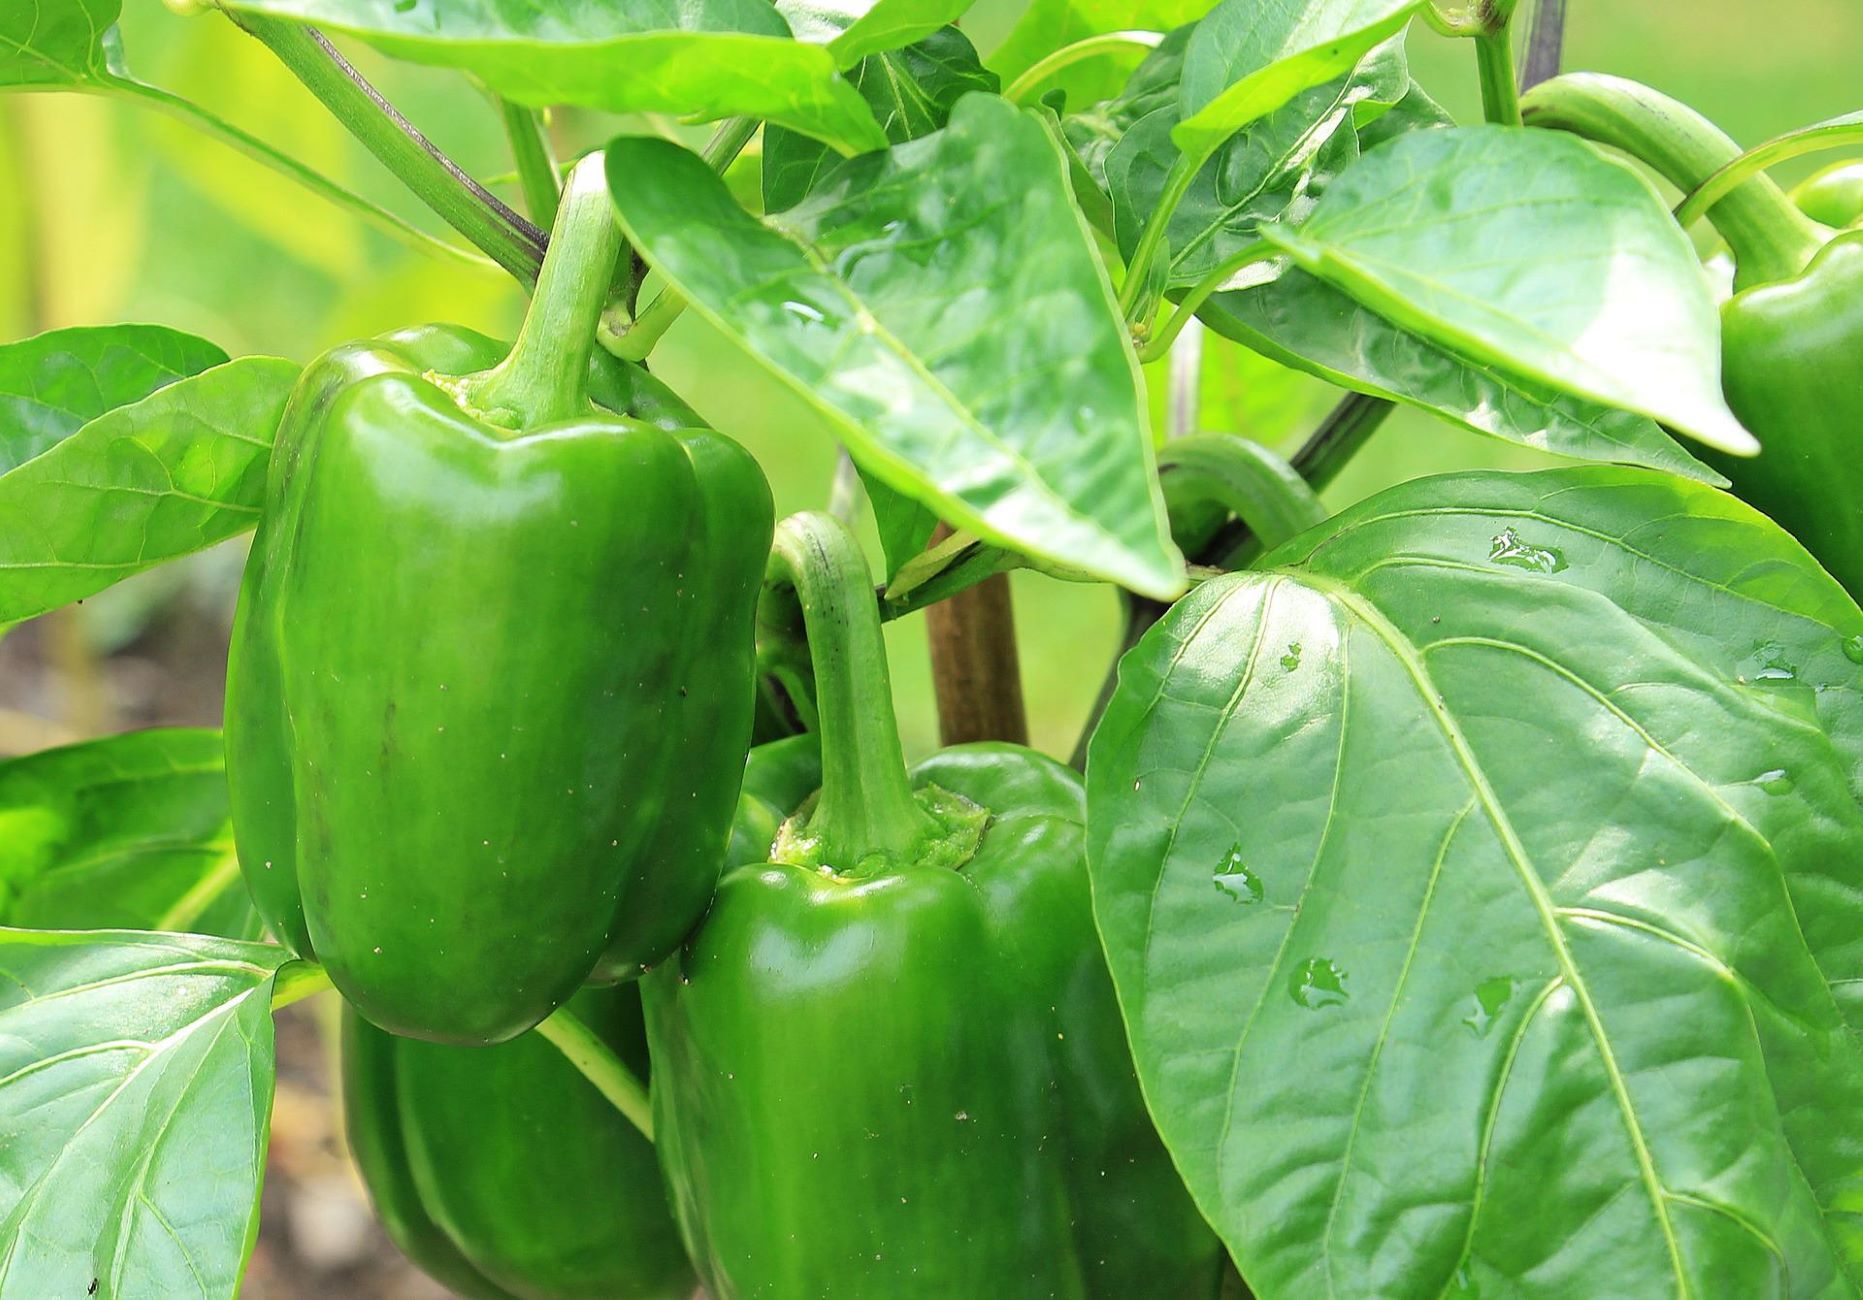
- Optimal Harvest Time: Bell peppers can be harvested at various stages of maturity, depending on your preferences. For green bell peppers, harvest them when they reach their full size and have a glossy appearance. For colored peppers, such as red, yellow, or orange, allow them to stay on the plant until they fully ripen and develop their vibrant hue.
- Use Pruning Shears: To harvest bell peppers, use clean pruning shears or a sharp knife. Cut the stem of the pepper about an inch above the fruit, taking care not to damage the plant or other developing peppers.
- Handle with Care: Bell peppers are delicate, so handle them with care to avoid bruising or damaging the fruit. Place the harvested peppers gently in a basket or container without piling them on top of each other.
- Continued Harvest: The more consistently you harvest bell peppers, the more the plant will continue to produce new peppers. Regularly check your plants and harvest the ripe peppers to encourage a continuous supply throughout the growing season.
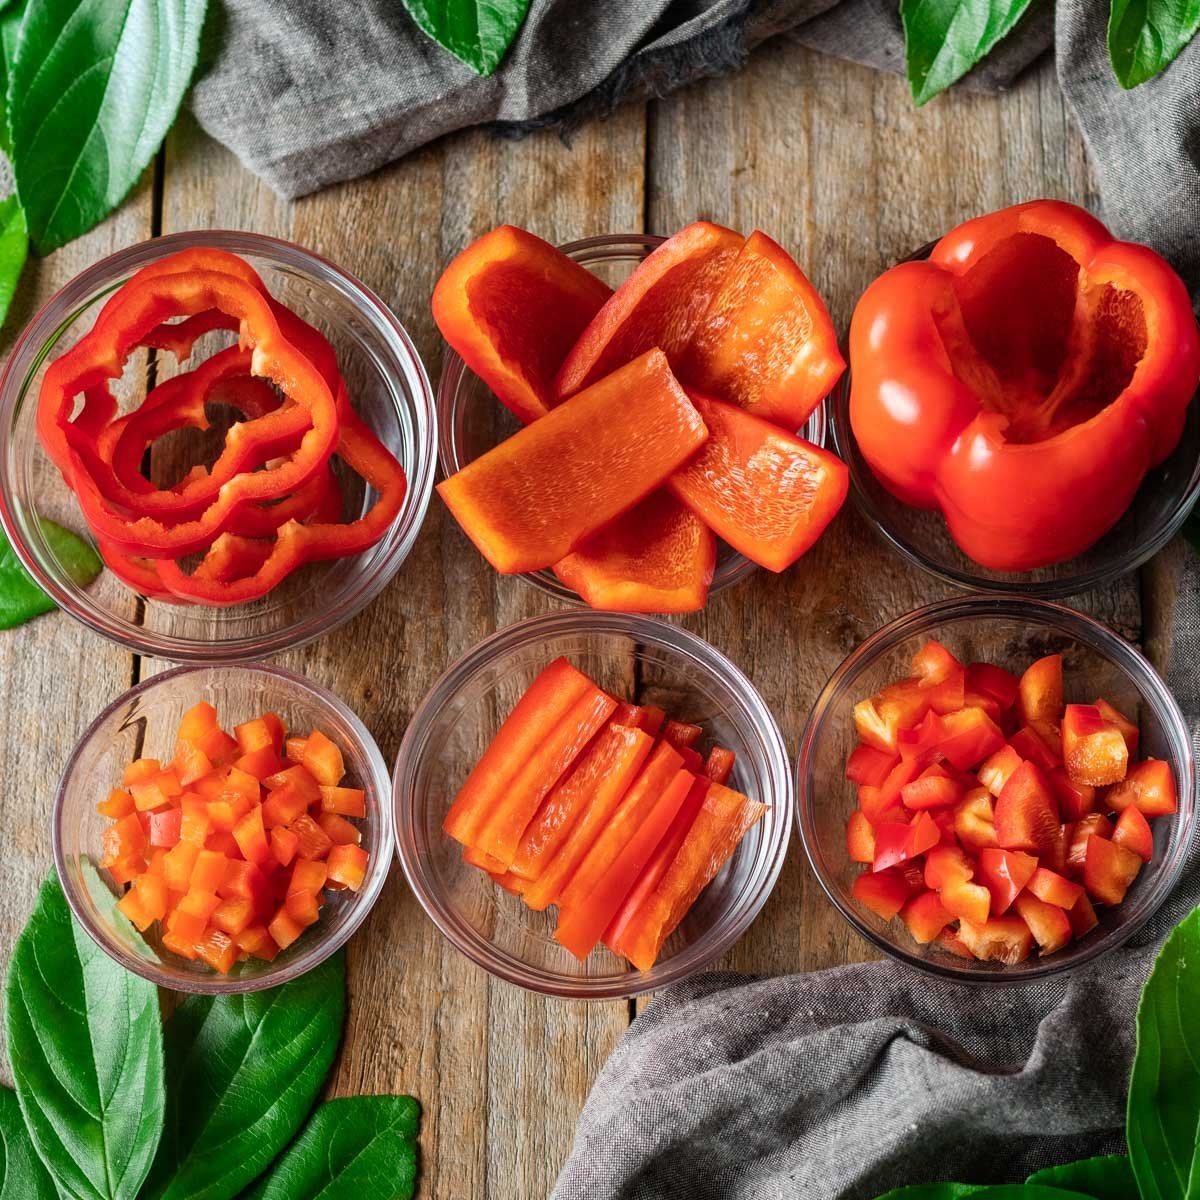
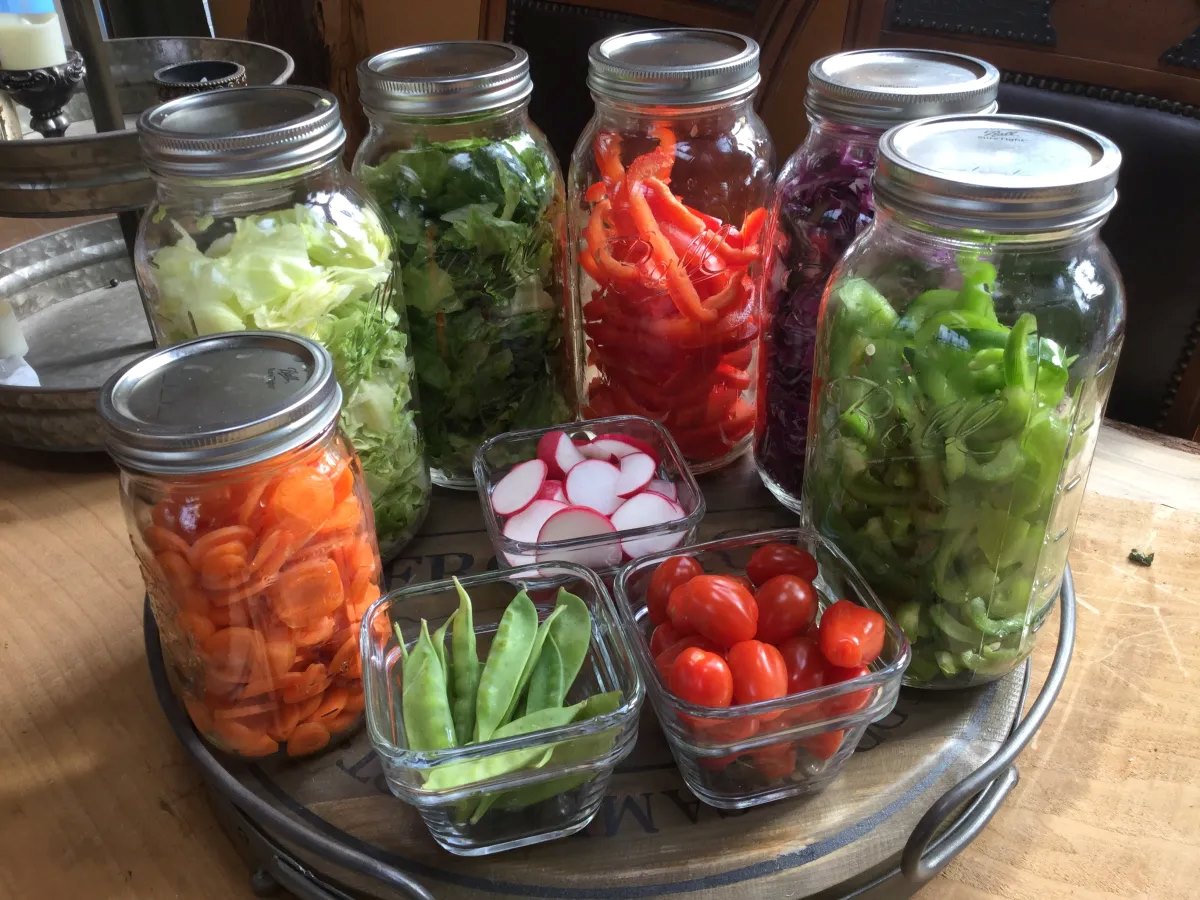
- Storage and Usage: Freshly harvested bell peppers can be stored in the refrigerator for up to 1-2 weeks. You can also freeze or preserve them by slicing, blanching, and storing them in airtight containers or by pickling them in vinegar for longer-term use.
Harvesting bell peppers at their peak ripeness ensures the best flavor and texture. Enjoy the fruits of your labor in various culinary creations, such as salads, stir-fries, stuffed peppers, or roasted vegetable dishes.
Congratulations! You have successfully completed the journey of growing and harvesting bell peppers in your own garden. With a little time, effort, and proper care, you can continue to enjoy the bountiful harvest year after year.
Now, go ahead and reap the rewards of your hard work!
Read more: How To Plant Red Pepper Seeds
Conclusion
Congratulations on becoming a bell pepper gardening expert! Throughout this article, we have explored the process of growing bell peppers from choosing the right seeds to harvesting your delicious peppers. By following the guidelines provided, you can create a thriving garden filled with vibrant bell pepper plants that yield a bountiful harvest.
Remember, the key to successful bell pepper gardening lies in choosing the right seeds, preparing the soil, providing proper care, and protecting the plants from pests and diseases. By paying attention to these crucial steps and implementing organic gardening practices, you are setting yourself up for a rewarding journey.
Whether you prefer the crisp green bell peppers or delight in the range of colors that red, yellow, and orange peppers offer, growing your own bell peppers allows you to enjoy their fresh and flavorful taste right from your own garden.
So, get started on your gardening adventure, and watch as your bell pepper plants thrive and produce an abundance of delicious peppers. Don’t be afraid to experiment with different varieties, flavors, and cooking methods to make the most of your homegrown peppers.
Remember to share the joy of bell pepper gardening with family and friends, allowing them to enjoy the fruits of your labor alongside you. Gardening is not only a rewarding and relaxing activity, but it also brings people together.
Now, armed with your new knowledge and skills, it’s time to put them into practice. So, grab your gardening tools, head to your garden, and let’s get growing those bell peppers!
Frequently Asked Questions about How To Plant Bell Pepper Seeds
Was this page helpful?
At Storables.com, we guarantee accurate and reliable information. Our content, validated by Expert Board Contributors, is crafted following stringent Editorial Policies. We're committed to providing you with well-researched, expert-backed insights for all your informational needs.

0 thoughts on “How To Plant Bell Pepper Seeds”