Home>Garden Essentials>How To Grow Bell Pepper From Seeds
Garden Essentials
How To Grow Bell Pepper From Seeds
Modified: August 27, 2024
Learn how to grow bell pepper from seeds in your garden and enjoy the bountiful harvest. Follow our step-by-step guide for a successful pepper garden.
(Many of the links in this article redirect to a specific reviewed product. Your purchase of these products through affiliate links helps to generate commission for Storables.com, at no extra cost. Learn more)
Introduction
Do you love adding a pop of color and a hint of sweetness to your meals? Look no further than bell peppers! These vibrant and versatile vegetables not only add flavor to a wide range of dishes, but they also bring a plethora of health benefits to the table.
While you can easily find bell peppers at your local grocery store, growing them from seeds can be a rewarding experience. Not only will you have a fresh supply of delicious peppers, but you’ll also have the opportunity to witness the fascinating growth process from start to finish.
In this guide, we will show you how to grow bell peppers from seeds. From choosing the right pepper variety to harvesting the juicy peppers, we’ve got you covered every step of the way. So, roll up your sleeves, grab your gardening tools, and let’s dive into the world of pepper cultivation!
Key Takeaways:
- Growing bell peppers from seeds involves choosing the right variety, preparing the soil, and providing proper care to ensure healthy plants and a bountiful harvest. It’s a rewarding journey from seed to table!
- Harvesting homegrown bell peppers requires observing maturity, using sharp tools, and storing properly. Enjoy the vibrant colors and delicious flavors in your culinary creations, and consider saving seeds for future planting!
Read more: How To Plant Bell Pepper Seeds
Step 1: Choosing the Right Pepper Variety
When it comes to growing bell peppers, the first step is to select the right variety. There are various types of bell peppers available, each offering a unique flavor, size, and color. Here are some popular options to consider:
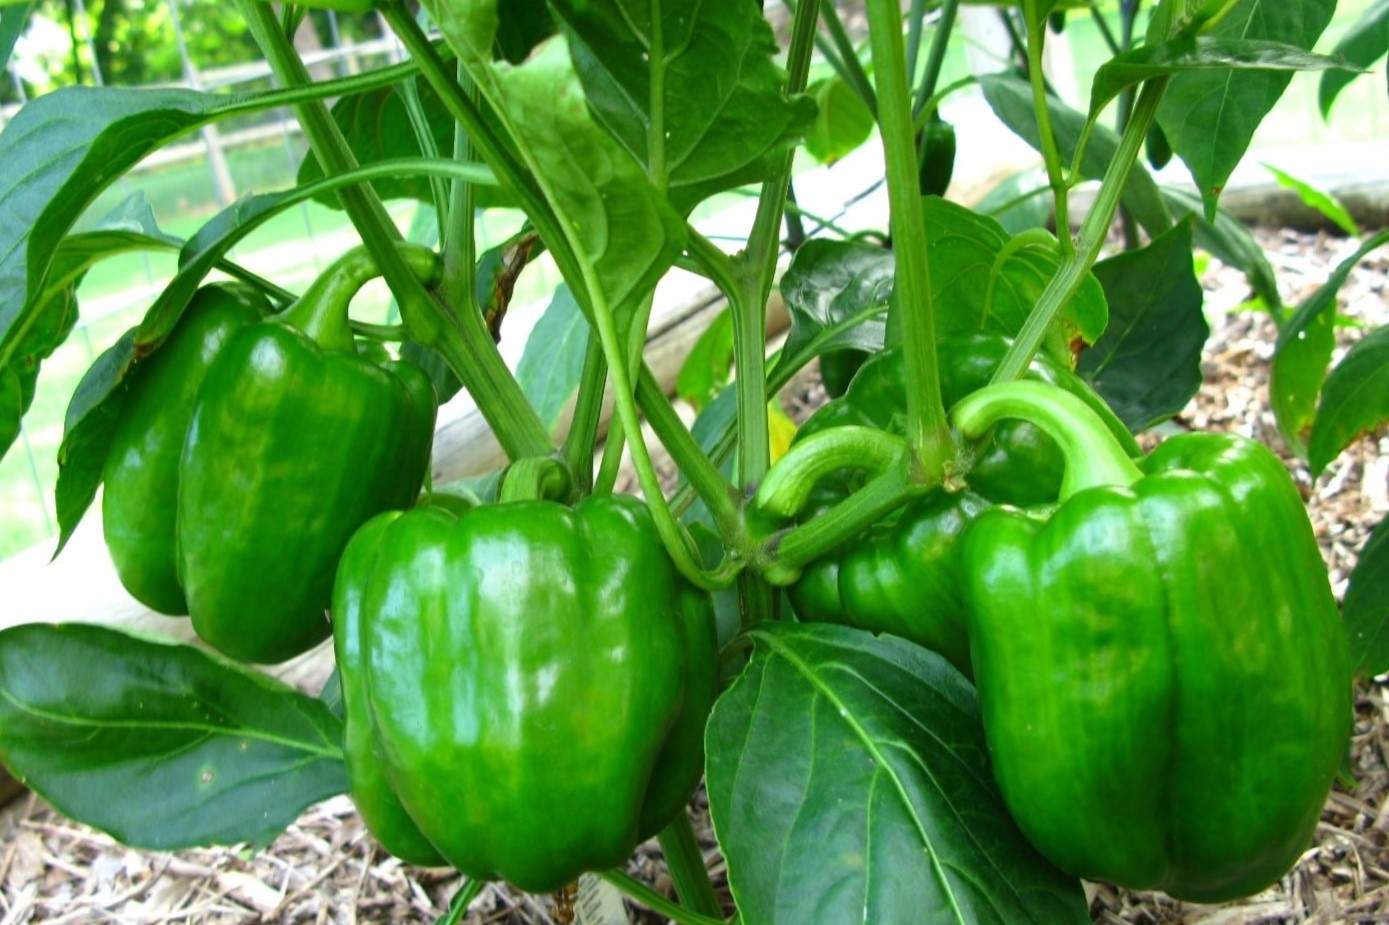
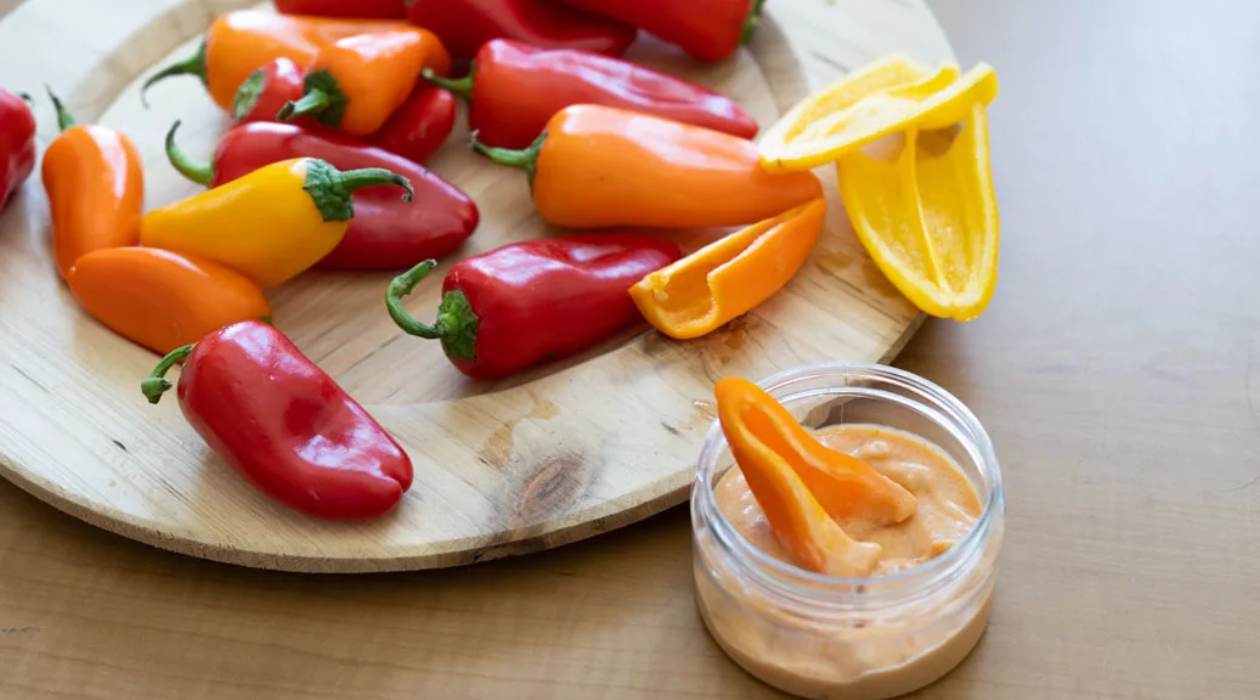
- Green Bell Peppers: These are the most common variety, often picked when unripe. They have a slightly bitter and grassy flavor, perfect for adding a crisp crunch to salads or stir-fries.
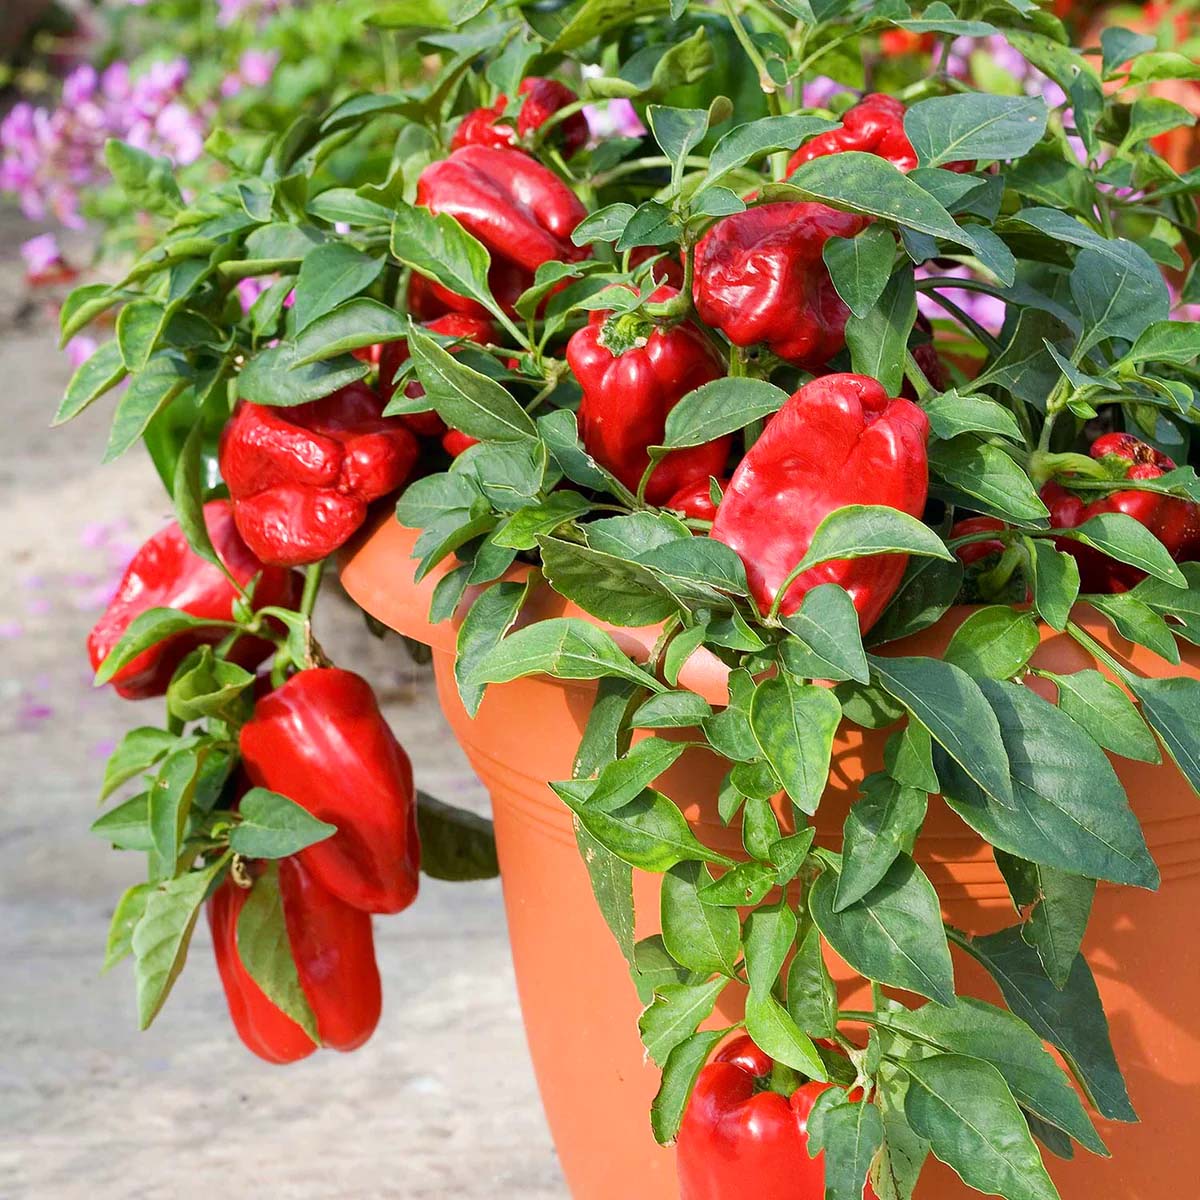
- Red Bell Peppers: Fully ripened green bell peppers turn vibrant red, offering a sweeter taste and a milder flavor. These are delicious additions to roasted dishes or stuffed pepper recipes.
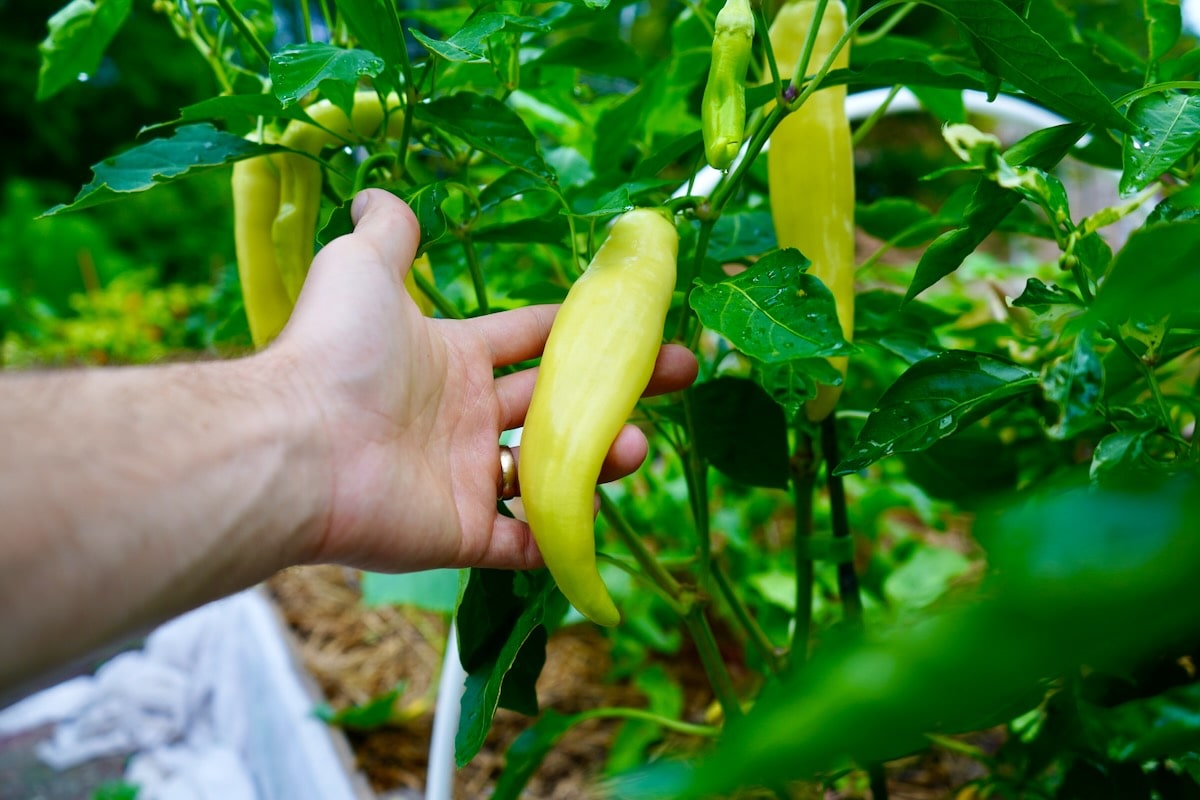
- Yellow Bell Peppers: Known for their sweet and tangy flavor, yellow bell peppers are great for fresh eating or incorporating into colorful dishes.
- Orange Bell Peppers: With a sweet and fruity taste, orange bell peppers add a burst of sunshine to meals. They are excellent for grilling, stuffing, or enjoying raw.
- Purple or Chocolate Bell Peppers: These unique varieties bring a rich and tangy flavor to your palate, making them a delightful addition to various recipes.
Consider the flavor profile you desire and the dishes you plan to use the peppers in when choosing a variety. It’s also a good idea to check the seed packet or inquire with local nurseries to ensure the variety is suitable for your climate and growing conditions.
Now that you have selected the perfect bell pepper variety, it’s time to move on to the next step – preparing the soil.
Step 2: Preparing the Soil
Before planting your bell pepper seeds, it’s essential to prepare the soil to provide an optimal growing environment for your plants. Here’s how:
- Choose a sunny location: Bell peppers thrive in full sunlight, so select a spot in your garden that receives at least 6-8 hours of direct sunlight every day.
- Improve drainage: Bell peppers prefer well-draining soil to prevent waterlogging, which can lead to root rot. If your soil is heavy and prone to retaining water, amend it with organic matter such as compost, peat moss, or perlite to improve drainage.
- Test the soil pH: Bell peppers prefer a slightly acidic to neutral soil pH between 6.0 and 7.0. You can test the soil using a pH testing kit available at gardening stores or contact your local cooperative extension office for a soil test.
- Adjust soil fertility: Bell peppers require fertile soil for optimal growth and production. Prior to planting, you can incorporate organic fertilizers such as compost, well-rotted manure, or balanced granular fertilizer into the soil to improve its fertility.
- Remove weeds: Clear the planting area of weeds, as they can compete with bell pepper plants for nutrients and water. Take care not to disturb the soil structure while doing so.
Once the soil preparation is complete, make sure it is adequately moist. Avoid planting in soggy soil, as it can hinder seed germination and lead to fungal diseases. Now, let’s move on to the exciting part – planting the bell pepper seeds!
Step 3: Planting the Seeds
Now that the soil is prepared, it’s time to plant your bell pepper seeds. Here’s how to do it:
- Start indoors: Bell peppers are warm-season crops, so it’s best to start them indoors 8-10 weeks before the last frost date in your area. Fill seedling trays or small containers with a good quality seed-starting mix.
- Sow the seeds: Plant two to three seeds in each container, placing them about 1/4 inch deep. Gently cover the seeds with soil and lightly press down to ensure good seed-to-soil contact.
- Provide warmth: Bell peppers require warm temperatures to germinate. Place the seed trays or containers in a warm location or use a seed starting heat mat to provide a consistent temperature of around 75°F (24°C).
- Maintain moisture: Keep the soil consistently moist, but not waterlogged, by misting with water or using a spray bottle. Avoid overwatering, as it can lead to fungal diseases.
- Provide adequate light: Once the seeds have germinated and the seedlings emerge, place them in a location that receives bright, indirect light. If natural light is limited, you can use fluorescent grow lights positioned about 6 inches above the seedlings.
- Thin out seedlings: After about 2-3 weeks, the seedlings will start to grow. If you planted multiple seeds in each container, thin them out by removing the weaker seedlings, leaving only the strongest one to grow.
- Harden off: About a week before transplanting the seedlings outdoors, gradually expose them to outdoor conditions by placing them outside for a few hours each day. Start with a sheltered location and gradually increase the exposure time.
Remember to label your containers to keep track of the different bell pepper varieties. Once the seedlings are around 8-10 inches tall and the danger of frost has passed, they are ready to be transplanted into their permanent outdoor home. But before we get to that, let’s dive into step four – providing proper watering to your bell pepper plants.
Step 4: Providing Proper Watering
Water is essential for the healthy growth of bell pepper plants, but it’s crucial to find the right balance. Overwatering or underwatering can negatively affect the plants’ health and productivity. Here’s how to provide proper watering for your bell pepper plants:
- Monitor soil moisture: Check the moisture level of the soil regularly by sticking your finger about an inch deep into the soil. If it feels dry at that depth, it’s time to water.
- Water deeply: When watering, ensure that the water reaches the root zone. Avoid shallow watering, as it promotes shallow root growth. Water the plants thoroughly until the top 6-8 inches of soil are evenly moist.
- Water consistently: Bell peppers prefer consistent moisture, so aim to water them deeply but infrequently. Watering once or twice a week, depending on the weather and soil conditions, is generally sufficient.
- Provide drip irrigation or soaker hoses: To minimize water loss through evaporation and ensure efficient water distribution, consider using drip irrigation or soaker hoses. These systems deliver water directly to the base of the plants, reducing water waste.
- Avoid wetting the foliage: Water at the base of the plants, avoiding wetting the leaves. Wet foliage can promote the development of fungal diseases such as leaf spot or powdery mildew.
- Water in the morning: Watering in the morning allows the foliage to dry quickly and reduces the risk of fungal diseases. It also helps the plants absorb water and nutrients more effectively throughout the day.
Remember, the watering needs of bell pepper plants may vary depending on various factors, including temperature, humidity, and soil type. Keep a close eye on the plant’s overall health and adjust your watering routine accordingly. Now that your bell pepper plants are well-hydrated, let’s move on to step five – providing adequate sunlight.
Read more: How To Grow Peppers From Seed
Step 5: Providing Adequate Sunlight
Just like all plants, bell peppers need an ample amount of sunlight to thrive and produce a bountiful harvest. Here’s how you can ensure your bell pepper plants receive adequate sunlight:
- Choose a sunny location: Select a spot in your garden that receives at least 6-8 hours of direct sunlight each day. Bell peppers are sun-loving plants and require abundant sunlight to grow healthy.
- Plant spacing: When transplanting your bell pepper seedlings, make sure to provide enough space between each plant. This allows for proper air circulation and prevents overcrowding, ensuring that each plant receives enough sunlight.
- Utilize reflective surfaces: If you have limited garden space or are growing bell peppers in containers, you can maximize sunlight exposure by placing reflective surfaces, such as mirrors or aluminum foil, around the plants. These surfaces will help redirect sunlight onto the plants.
- Monitor for shade: As the sun moves throughout the day, it’s essential to monitor your garden to ensure that your bell pepper plants are not cast into shade by nearby structures, trees, or taller plants. Make adjustments if necessary to maintain consistent sun exposure.
- Protect from excessive heat: While bell peppers require sunlight, they can also suffer from excessively hot temperatures. If you live in an area with scorching summers, consider providing some shade to your plants during the hottest part of the day to prevent heat stress.
Remember, providing adequate sunlight is crucial for the photosynthesis process, which helps the bell pepper plants produce energy and develop healthy foliage and fruits. Now that your bell pepper plants are soaking up the sun, let’s move on to step six – fertilizing the plants to ensure optimal growth and productivity.
To grow bell peppers from seeds, start them indoors 8-10 weeks before the last frost. Use a seed starting mix, keep them warm and moist, and transplant them outdoors after the last frost. Provide full sun and well-drained soil for best results.
Step 6: Fertilizing the Plants
Fertilizing your bell pepper plants is essential to provide them with the nutrients they need for robust growth and productive yields. Here’s how to properly fertilize your plants:
- Test the soil: Before fertilizing, it’s a good idea to test your soil to determine its nutrient content. You can do this by using a home soil testing kit or by sending a soil sample to a local agricultural extension office. This will help you understand which nutrients may be deficient in your soil.
- Choose the right fertilizer: Depending on the soil test results, choose a balanced fertilizer with an NPK ratio (nitrogen, phosphorus, and potassium) that suits your bell pepper plants’ needs. A general-purpose, well-balanced fertilizer with equal NPK ratios, such as a 10-10-10 or 14-14-14, can work well for bell peppers.
- Apply organic matter: Incorporating organic matter, such as compost or well-rotted manure, into the soil before planting can improve its fertility and provide a slow-release source of nutrients. This is especially beneficial if your soil is lacking in organic matter.
- Follow a fertilization schedule: Bell peppers benefit from regular fertilization throughout the growing season. Start by applying a slow-release granular fertilizer at planting time and follow up with additional applications every 4-6 weeks, or as recommended by the fertilizer package instructions.
- Avoid over-fertilization: While fertilizer is important for plant growth, it’s crucial not to over-fertilize. Excessive fertilizer can lead to imbalances, excess vegetative growth, and reduced fruit production. Always follow the recommended application rates and avoid applying fertilizer directly to the plant’s stem or leaves.
- Consider additional nutrients: In addition to the primary macronutrients (nitrogen, phosphorus, and potassium), bell peppers require secondary macronutrients (calcium, magnesium, and sulfur) and micronutrients (iron, manganese, zinc, copper, boron, and molybdenum) for optimal growth. If your soil test indicates deficiencies, consider adding a balanced micronutrient fertilizer or using foliar sprays to supplement these nutrients.
Remember to water your bell pepper plants before fertilizer application to prevent root burn and to ensure proper nutrient absorption. Fertilizing your plants according to their specific needs will promote healthy growth, strong root development, and abundant fruit production. With the plants well-nourished, let’s move on to step seven – taking care of the seedlings as they grow.
Step 7: Taking Care of the Seedlings
Now that your bell pepper seedlings have been transplanted, it’s important to provide them with proper care to ensure their healthy growth and development. Here are some essential tips for taking care of your bell pepper seedlings:
- Water regularly: Keep the soil consistently moist but not waterlogged. Water the seedlings deeply when the top inch of the soil feels dry to the touch. Avoid overwatering, as it can lead to root rot.
- Provide support: As the bell pepper plants grow taller, they may require support to prevent them from bending or breaking. You can use stakes or cages to help support the plants and keep them upright.
- Monitor temperature: Bell peppers prefer daytime temperatures between 70-85°F (21-29°C) and nighttime temperatures above 60°F (15°C). Protect the seedlings from sudden temperature drops or frost by covering them with row covers or plastic sheets.
- Remove weeds: Regularly inspect the planting area and remove any weeds that may compete with your bell pepper plants for nutrients and water. Be careful not to disturb the roots of the seedlings while weeding.
- Prune and pinch: Once your bell pepper plants develop several sets of true leaves, you can pinch or prune off the topmost growth to encourage bushier growth and more lateral branches. This can lead to a higher yield of peppers.
- Thin out fruits if necessary: If your bell pepper plants produce an abundance of fruits, thin them out by removing the smaller or misshapen ones. This allows the remaining peppers to grow larger and promotes better air circulation around the plant.
- Monitor pests and diseases: Keep a close eye on your bell pepper seedlings for any signs of pest infestations or diseases. Common pests include aphids, caterpillars, and spider mites. If detected, employ appropriate pest control methods such as insecticidal soaps or natural predators. Should any diseases appear, consult with your local extension office or a gardening expert for proper diagnosis and treatment.
By providing proper care to your bell pepper seedlings, you are setting them up for success as they continue to grow and mature. With the seedlings thriving, it’s time to move on to step eight – transplanting them into their permanent outdoor home.
Step 8: Transplanting the Seedlings
Once your bell pepper seedlings are strong and have a few sets of leaves, it’s time to transplant them into their permanent outdoor home. Follow these steps for successful transplanting:
- Choose the right time: Wait until all threat of frost has passed and the soil has warmed up before transplanting the seedlings. This is typically a few weeks after the last frost date in your area.
- Prepare the planting holes: Dig holes in your garden that are slightly larger than the root ball of the seedlings. Space the holes at least 18-24 inches apart to give the bell pepper plants enough room to grow.
- Amend the soil: Before placing the seedlings in the holes, amend the soil with compost or organic matter to improve its fertility and drainage. This will provide the seedlings with a nutrient-rich environment to thrive in.
- Carefully remove the seedlings: Gently loosen the soil around the seedlings, then carefully lift them out of their containers or seedling trays. Be cautious not to damage the delicate roots.
- Place the seedlings in the holes: Set each seedling in its respective hole, ensuring that the top of the root ball is level with or slightly above the ground surface. Backfill the soil around the seedlings, tamping it gently to remove air pockets.
- Water thoroughly: Once the seedlings are transplanted, give them a good watering to settle the soil and help the roots establish. Water at the base of the plants, avoiding wetting the foliage.
- Provide temporary shade: To help the seedlings adjust to their new outdoor environment, you can provide temporary shade or cover them with row covers for a few days. This will protect them from intense sunlight and reduce transplant shock.
- Mulch around the plants: Apply a layer of mulch, such as straw or wood chips, around the base of the bell pepper plants. This will help retain moisture, suppress weed growth, and maintain a more consistent soil temperature.
With the bell pepper seedlings now transplanted into their permanent outdoor location, they will continue to grow and thrive. Be sure to provide them with the necessary care, including water, sunlight, and occasional fertilization, as described in the earlier steps. Now, it’s time to move on to step nine – protecting the plants from pests and diseases to ensure a healthy crop.
Read more: How To Grow Pepper Plants From Seeds
Step 9: Protecting the Plants from Pests and Diseases
Keeping your bell pepper plants protected from pests and diseases is crucial to ensure a successful and healthy harvest. Here are some important steps to take to safeguard your plants:
- Inspect regularly: Regularly inspect your bell pepper plants for any signs of pests or diseases. Look for damage to leaves, holes in fruits, or discolored foliage. Early detection is key to preventing further damage.
- Practice good garden hygiene: Maintain a clean and tidy garden by removing fallen leaves, weeds, and any plant debris around your bell pepper plants. This helps eliminate hiding places for pests and reduces the risk of disease development.
- Employ cultural controls: Encourage natural predators and beneficial insects, such as ladybugs, lacewings, and parasitic wasps, to keep pest populations in check. Additionally, practicing crop rotation and avoiding overcrowding can help prevent the spread of diseases.
- Use physical barriers: Protect your bell pepper plants by using physical barriers like insect netting or row covers. These coverings help prevent pests from reaching the plants while still allowing sunlight, water, and air to pass through.
- Apply organic pest control methods: If pests become a persistent problem, use organic pest control methods. This can include using insecticidal soaps, neem oil, or homemade remedies like garlic or chili pepper sprays. Follow product instructions carefully and apply during the recommended times.
- Monitor and manage diseases: Keep an eye out for common bell pepper diseases such as bacterial spot, blossom end rot, or powdery mildew. If you notice any symptoms, promptly remove affected plant parts, and consider using fungicides labeled for vegetable crops, if necessary.
- Water at the base: Avoid wetting the foliage when watering your bell pepper plants. Wet leaves provide a favorable environment for diseases to develop. Direct your watering at the base of the plants to keep the foliage dry.
- Practice proper crop rotation: Rotate the location of your bell pepper plants each year to prevent the buildup of pests and diseases in the soil. This helps break their life cycle and reduces the likelihood of future problems.
By taking proactive measures to protect your bell pepper plants from pests and diseases, you can ensure that they remain healthy and productive throughout the growing season. Now, let’s move on to step ten – the much-anticipated harvesting of your bell peppers!
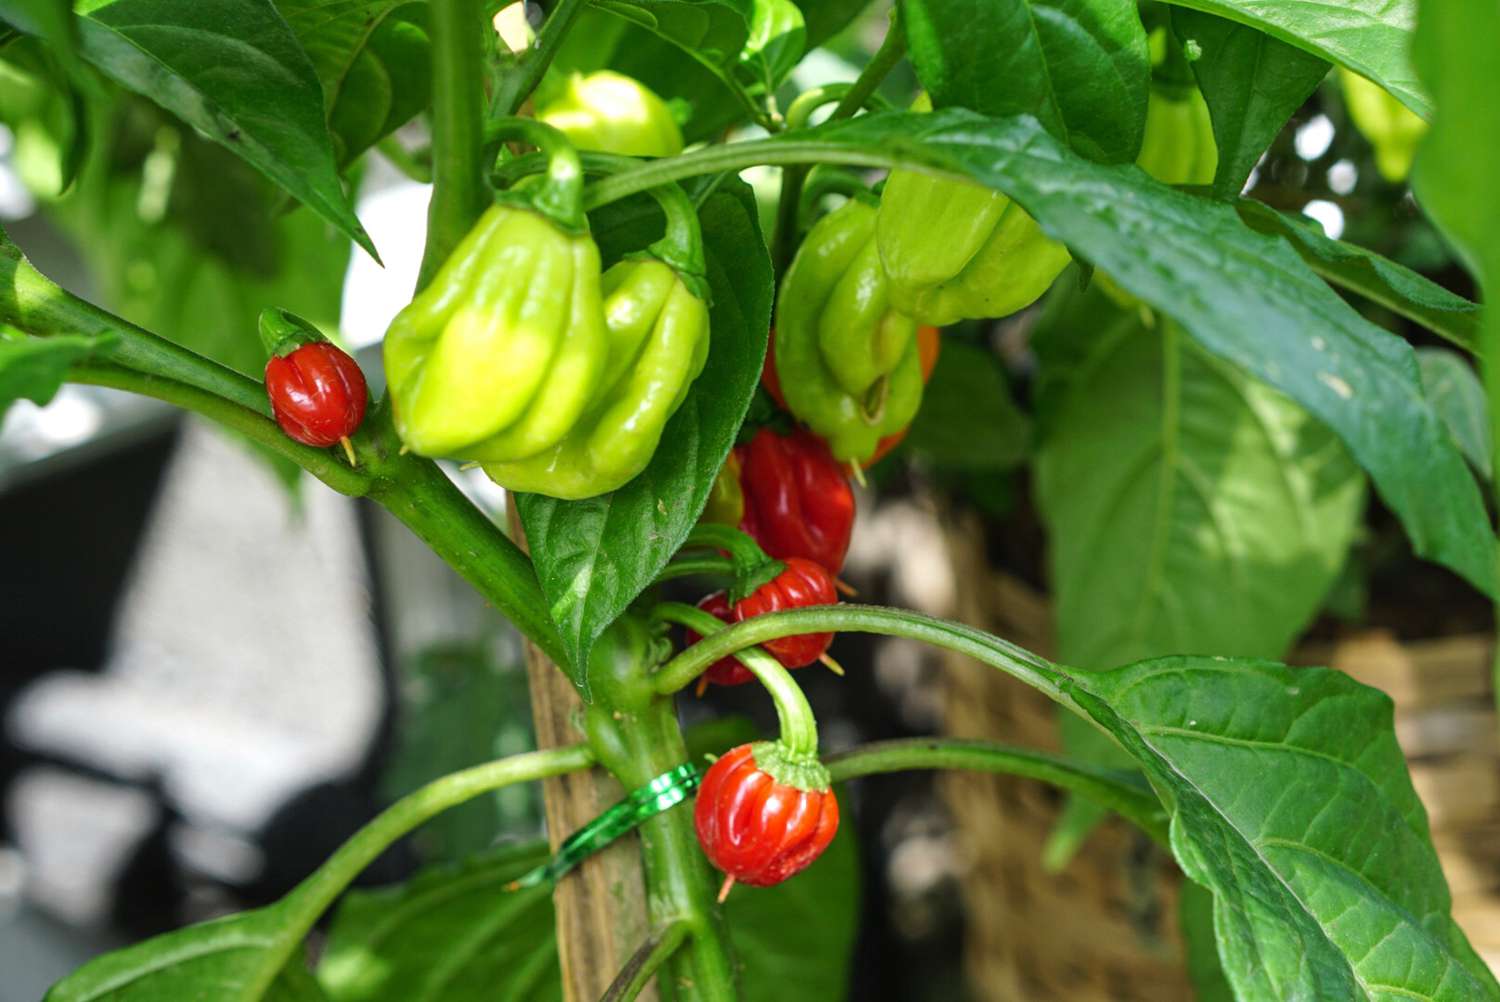
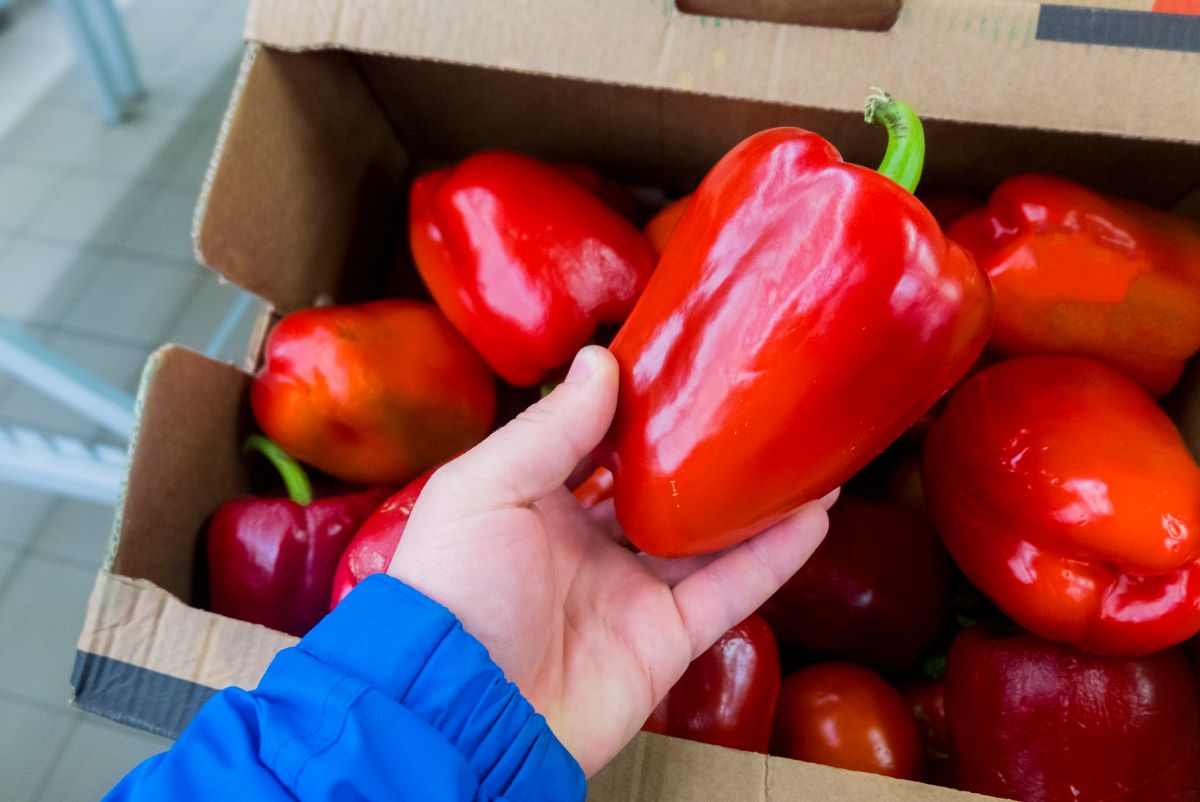
Step 10: Harvesting the Bell Peppers
It’s time to reap the rewards of your hard work and enjoy the delicious, homegrown bell peppers. Harvesting at the right time ensures the best flavor and texture. Here’s how to harvest your bell peppers:
- Observe maturity: Bell peppers can be harvested at different stages of maturity, depending on your preference. For green bell peppers, you can start harvesting when they reach a fully grown size, typically 3-4 inches in length and firm to the touch. If you prefer sweeter and riper peppers, wait until they turn red, yellow, or orange.
- Use sharp pruning shears or scissors: To harvest the bell peppers, use clean and sharp pruning shears or scissors. Gently cut the pepper stem about 1/2 inch above the fruit without damaging the plant.
- Avoid pulling or twisting the peppers: It’s important to avoid pulling or twisting the peppers off the plant, as that can damage the branches or cause the plant to become unbalanced.
- Cut off any damaged peppers: Discard any bell peppers that show signs of disease or damage. Removing them helps prevent the spread of diseases and ensures that the plant directs its energy towards producing healthy peppers.
- Harvest regularly: Continue harvesting bell peppers regularly as they mature to encourage more fruit production. Leaving mature peppers on the plant can slow down its productivity.
- Store properly: After harvest, store bell peppers in a cool, dry place. They can be stored in the refrigerator for up to two weeks, but it’s best to use them as soon as possible for maximum freshness and flavor.
- Save seeds (optional): If you want to save bell pepper seeds for future planting, allow the mature peppers to fully ripen on the plant. Cut open the pepper, remove the seeds, and dry them in a cool, well-ventilated area for a week or two before storing them in a labeled, airtight container.
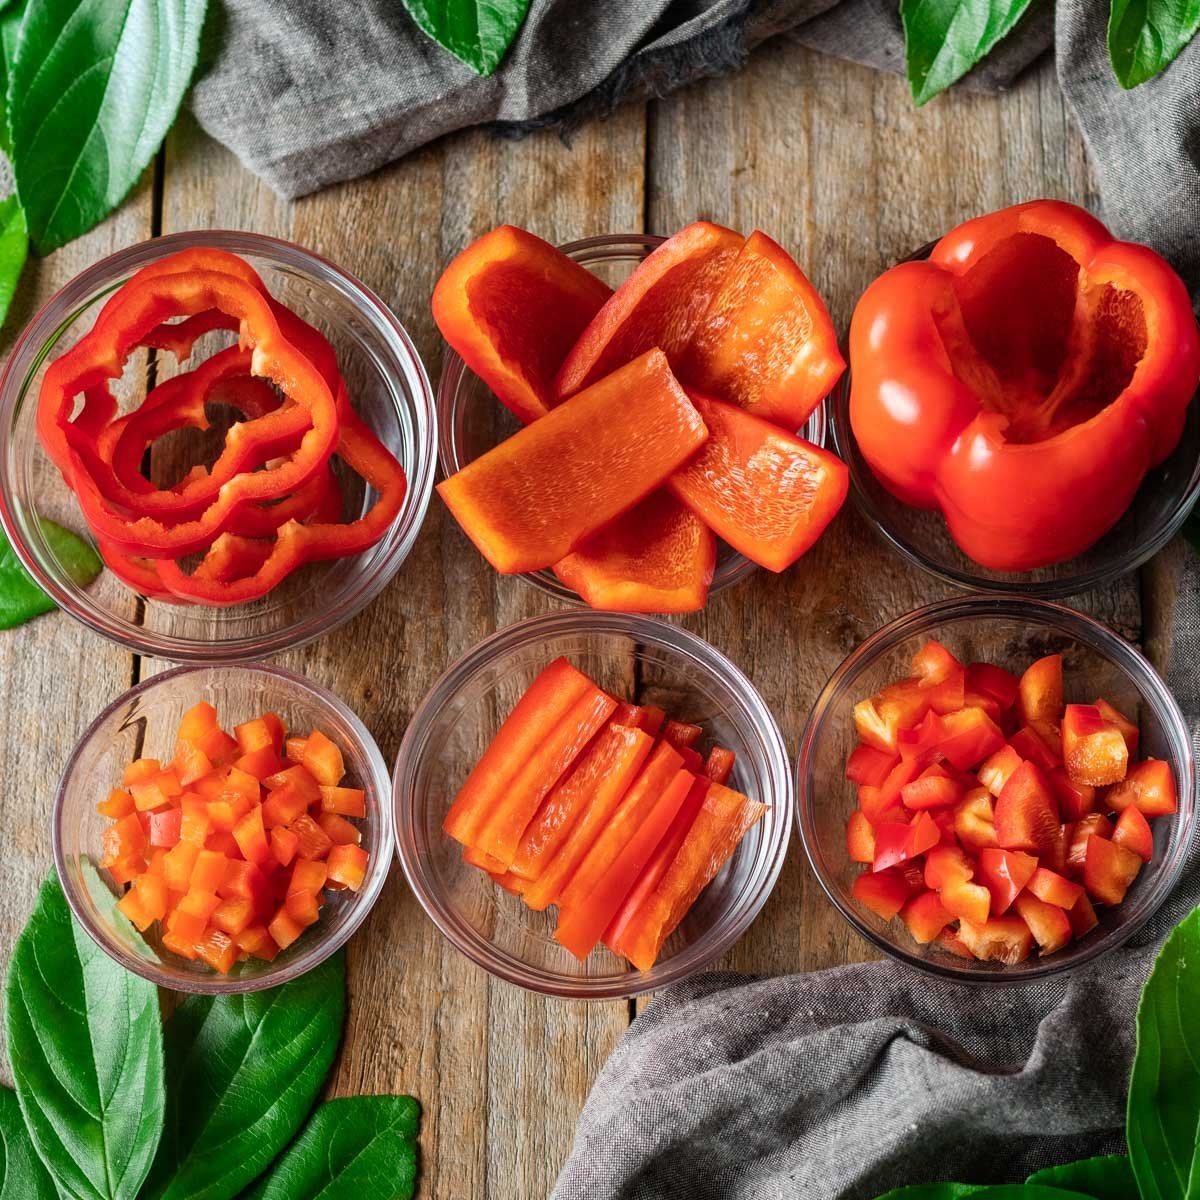
Harvesting homegrown bell peppers is a rewarding experience that allows you to enjoy the fruits of your labor. Whether you use them in salads, stir-fries, sauces, or stuffed recipes, the vibrant colors and delicious flavors of freshly harvested bell peppers will enhance your culinary creations. Remember to save some seeds for next year’s garden if you wish. Congratulations on successfully growing and harvesting your own bell peppers!
As we conclude this guide, we hope that you found these steps helpful in your journey of growing bell peppers from seeds. Enjoy your homegrown bounty and the satisfaction of knowing that you played a part in bringing these vibrant and nutritious vegetables to your table!
Conclusion
Growing bell peppers from seeds is a rewarding endeavor that allows you to experience the joy of nurturing plants from start to finish. With the right variety selection, careful soil preparation, proper watering, adequate sunlight, regular fertilization, and vigilant pest and disease management, you can cultivate healthy bell pepper plants that yield a bountiful harvest of vibrant and flavorful peppers.
Throughout this guide, we’ve walked you through ten essential steps to successfully grow bell peppers from seeds. From choosing the right pepper variety to transplanting the seedlings, we’ve provided you with detailed instructions and tips to ensure your plants thrive in the garden. By following these steps and incorporating your own gardening knowledge and skills, you can create an optimal environment for your bell pepper plants to flourish.
Remember to stay attentive to your plants’ needs, monitoring for any signs of pests, diseases, or nutrient deficiencies. Prompt action and proper care will help maintain the health of your bell pepper plants, improving their overall productivity and yield.
As you savor the sweet, tangy flavors of your homegrown peppers in a variety of culinary creations, you will appreciate the time and effort you invested in growing them. The satisfaction that comes with growing your own food and enjoying the fruits of your labor is truly unparalleled.
So, whether you’re a seasoned gardener or just starting out, don’t hesitate to dive into the world of bell pepper cultivation from seeds. With a bit of patience, knowledge, and a green thumb, you’ll soon be harvesting a colorful assortment of bell peppers that will bring freshness, flavor, and nutrition to your table.
Happy gardening, and may your bell pepper plants thrive and delight you with a plentiful harvest!
Frequently Asked Questions about How To Grow Bell Pepper From Seeds
Was this page helpful?
At Storables.com, we guarantee accurate and reliable information. Our content, validated by Expert Board Contributors, is crafted following stringent Editorial Policies. We're committed to providing you with well-researched, expert-backed insights for all your informational needs.


0 thoughts on “How To Grow Bell Pepper From Seeds”