Home>Garden Essentials>How To Plant Red Pepper Seeds
Garden Essentials
How To Plant Red Pepper Seeds
Modified: August 17, 2024
Learn how to plant red pepper seeds in your garden and enjoy a bountiful harvest. Expert tips and step-by-step instructions for successful cultivation.
(Many of the links in this article redirect to a specific reviewed product. Your purchase of these products through affiliate links helps to generate commission for Storables.com, at no extra cost. Learn more)
Introduction
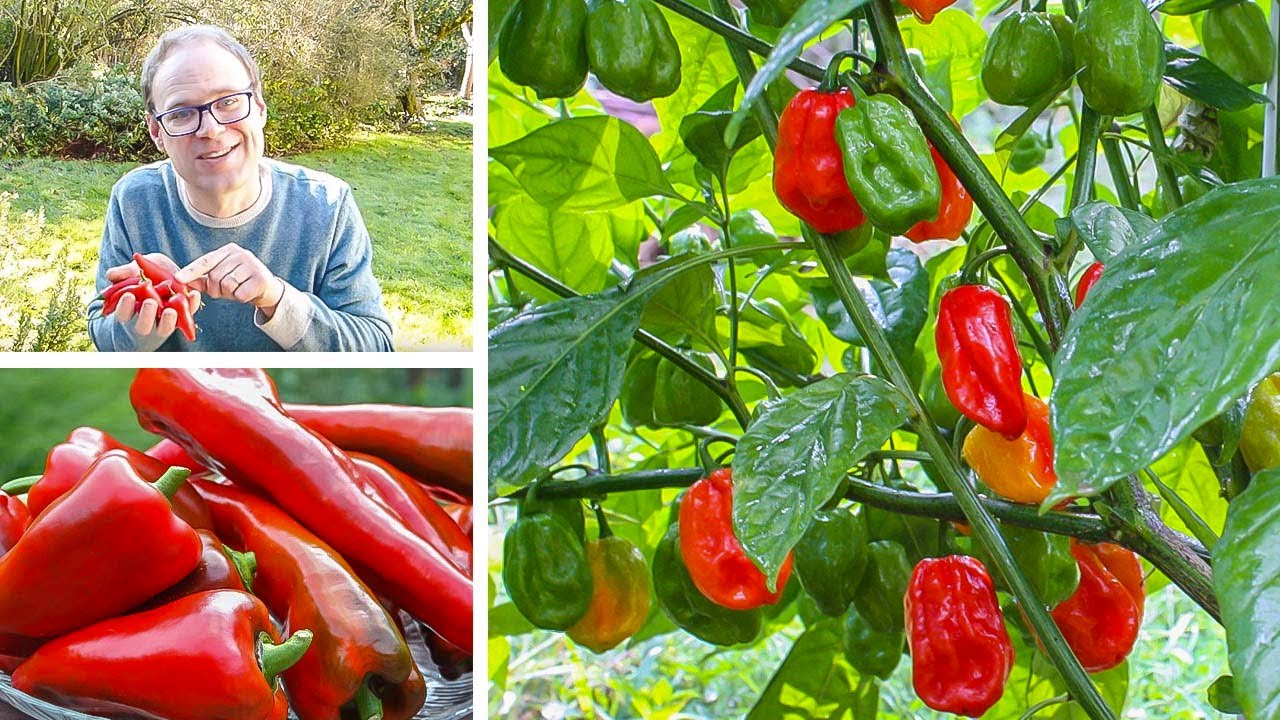
Welcome to the world of gardening! Growing your own vegetables can be a rewarding and fulfilling experience, and one vegetable that adds a burst of color and flavor to your garden is red peppers. Whether you are a seasoned gardener or a beginner, planting red pepper seeds is a great way to kickstart your gardening journey. Not only do they add a vibrant touch to your garden, but they also pack a punch when it comes to taste and nutritional value.
In this article, we will guide you through the process of planting red pepper seeds, from preparing the soil to harvesting your own delicious red peppers. So, put on your gardening gloves and let’s get started!
Key Takeaways:
- Get ready to grow vibrant red peppers by preparing sunny, well-drained soil and choosing the right seeds. With warmth, care, and patience, you’ll soon enjoy a bountiful harvest of delicious homegrown peppers!
- From planting seeds indoors to providing proper care, your red pepper plants will thrive with attention and love. Harvest vibrant, flavorful peppers and savor the joy of growing your own produce!
Read more: How To Plant Bell Pepper Seeds
Step 1: Prepare the soil
The first step in successfully growing red pepper seeds is to prepare the soil. Red peppers thrive in well-drained soil that is rich in organic matter. Here are a few tips on how to prepare the soil:
- Choose the right location: Find a sunny spot in your garden that receives at least 6-8 hours of direct sunlight every day. Red peppers love warmth and sunlight, so selecting the right location is essential for their growth.
- Clear the area: Remove any weeds or debris from the planting area. Weeds can compete with the red pepper plants for nutrients and water, so it’s important to clear them out.
- Loosen the soil: Use a garden fork or a tiller to loosen the soil. This will improve drainage and allow the roots to penetrate easily. Avoid compacted soil, as it can hinder the growth of the red pepper plants.
- Amend the soil: Red peppers prefer a slightly acidic soil with a pH range of 6.0-6.8. Test the soil’s pH level using a testing kit, and if necessary, amend the soil by adding organic matter, such as compost or well-rotted manure, to adjust the pH. This will provide the plants with the necessary nutrients for healthy growth.
Once the soil is prepared, you are now ready to move on to the next step – choosing the right red pepper seeds.
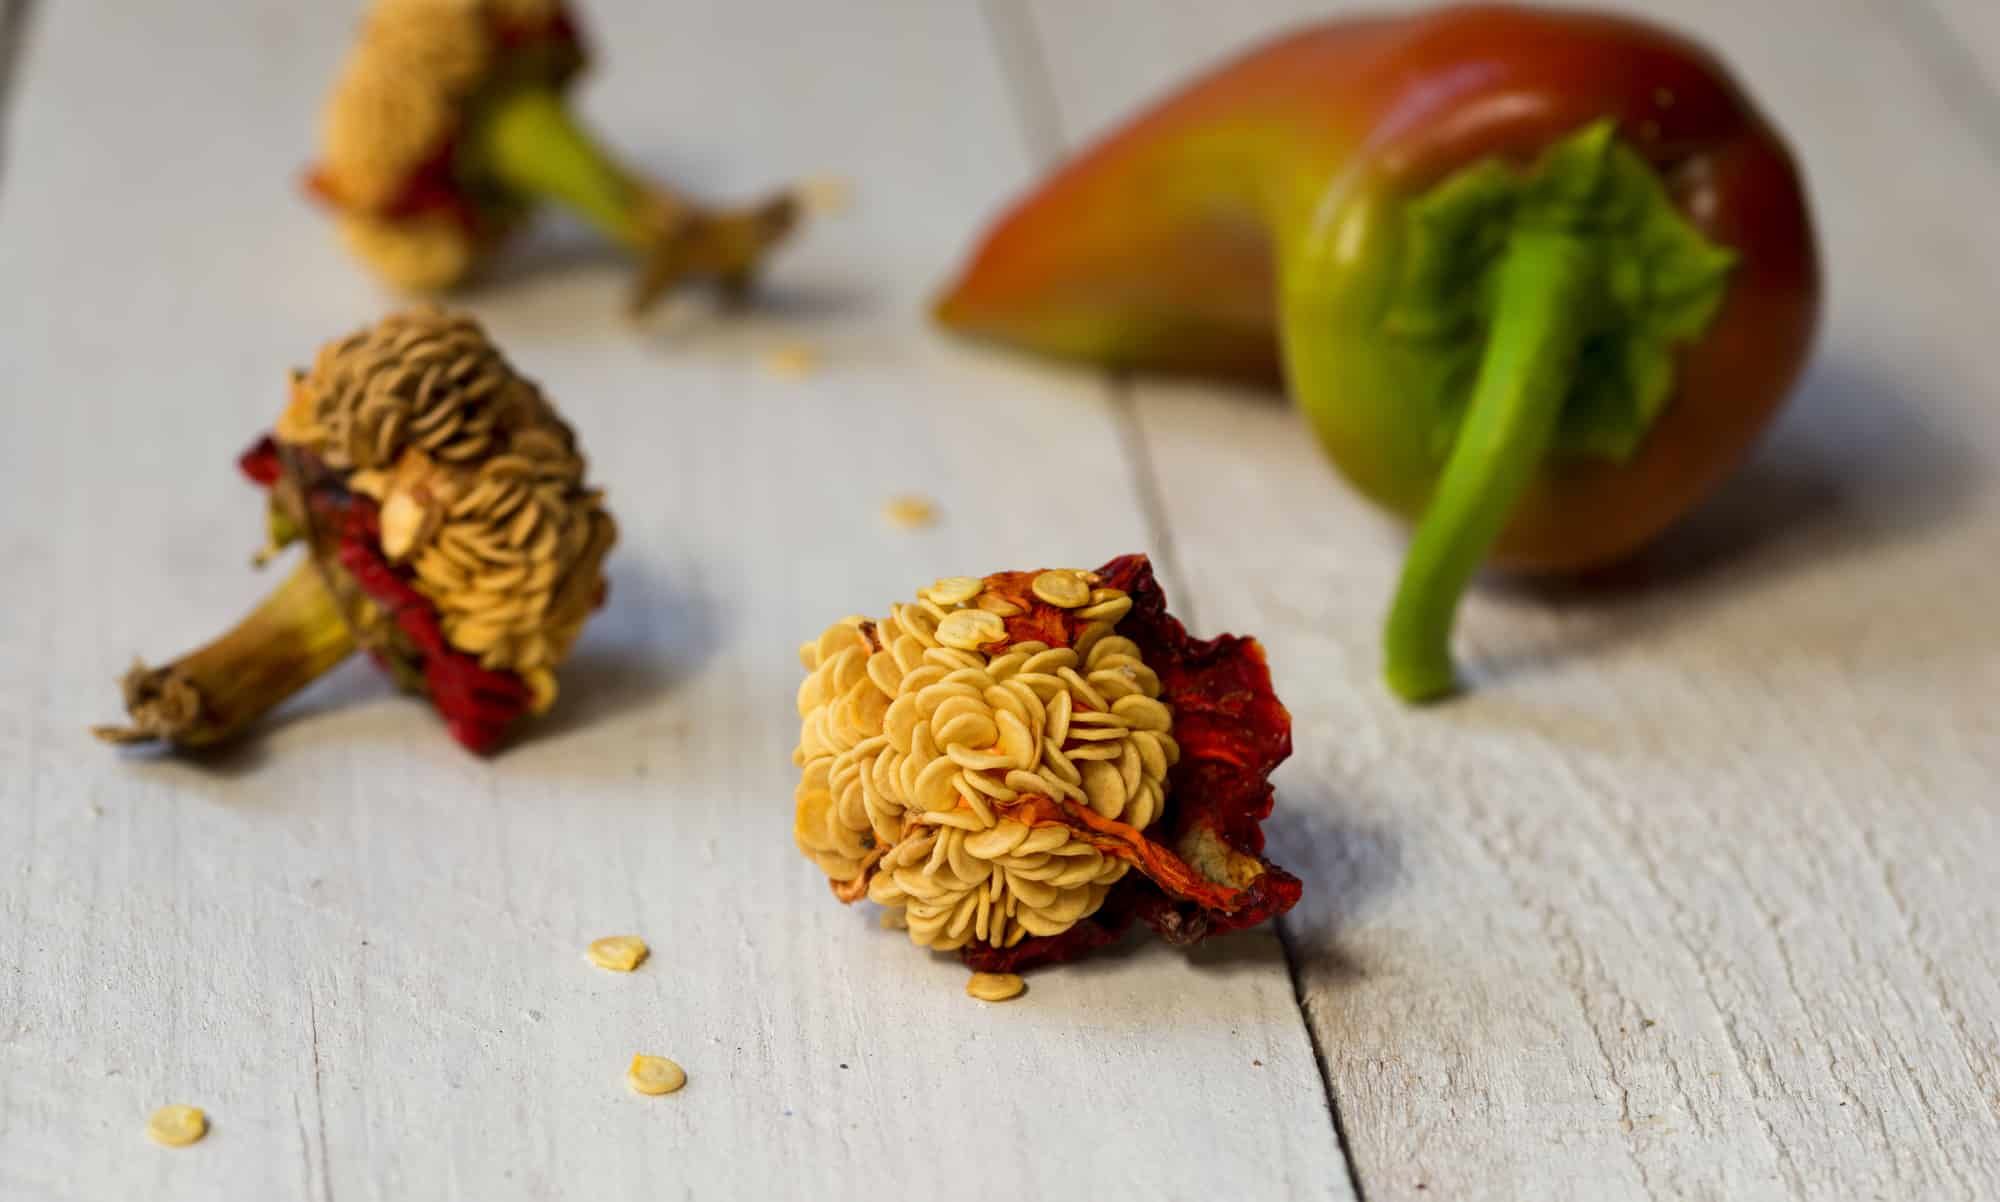
Step 2: Choose the right red pepper seeds
Choosing the right red pepper seeds is crucial for a successful and bountiful harvest. Here are some factors to consider when selecting the seeds:
- Variety: Red peppers come in a variety of shapes, sizes, and heat levels. Determine your preference and purpose for growing red peppers. Are you looking for a mild and sweet variety for salads, or a spicier variety for cooking? Consider factors such as taste, size, and heat level when choosing the variety.
- Hybrid or heirloom: You have a choice between hybrid and heirloom red pepper seeds. Hybrid seeds are a cross between different varieties, offering specific traits such as disease resistance or higher yield. Heirloom seeds, on the other hand, are open-pollinated and have been passed down through generations, often prized for their unique flavors. Decide which type suits your preferences and gardening goals.
- Source: Purchase seeds from a reputable source, ensuring that they are fresh and of high quality. Look for trusted seed companies or local nurseries that specialize in vegetable seeds. Consider organic seeds if you prefer to grow your red peppers organically.
- Packaging: Pay attention to the seed packaging. Check the expiration date and look for clear instructions on sowing and care. Some seed packets provide additional information about the variety, growth habits, and days to maturity, helping you make an informed choice.
Once you have selected the red pepper seeds that best fit your preferences, it’s time to start planting them indoors. This will give them a head start before transferring them to an outdoor location.
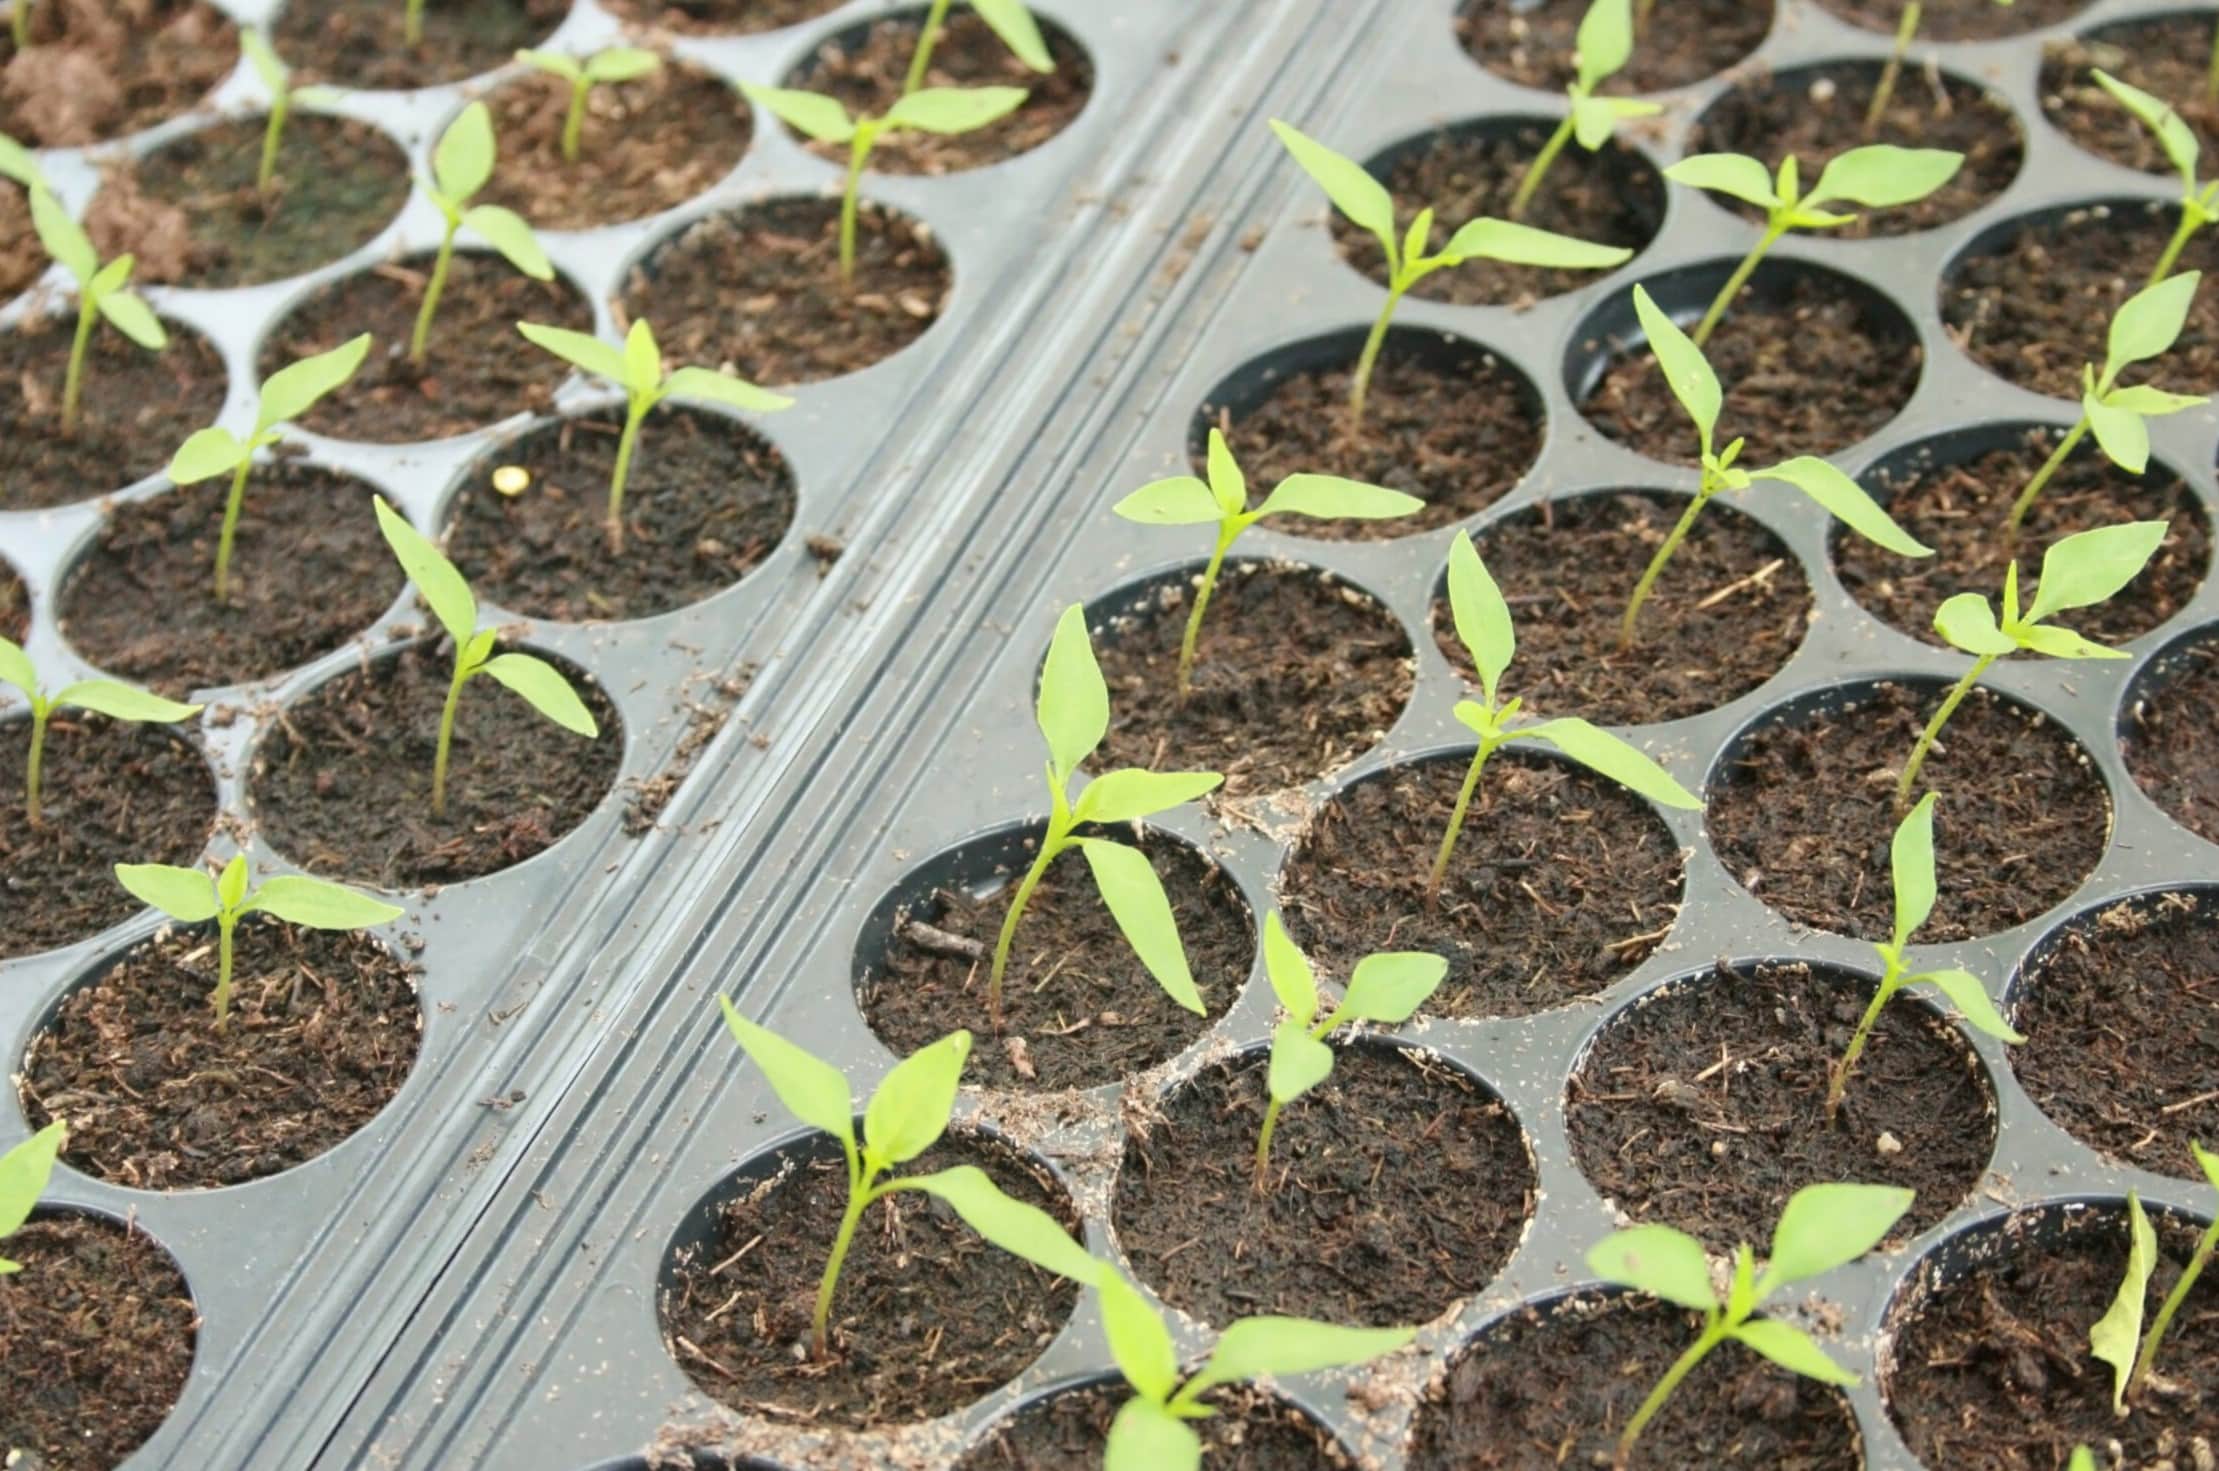
Step 3: Plant the seeds indoors
Planting red pepper seeds indoors is a great way to provide them with a warm and controlled environment for optimal germination. Follow these steps to ensure successful seed planting:
- Select containers: Choose small pots or trays with drainage holes to sow the red pepper seeds. You can also use seedling trays or peat pellets for convenience. Make sure the containers are clean to prevent diseases.
- Fill with seed starting mix: Fill the containers with a moistened seed starting mix. This lightweight medium provides good drainage and aeration for the seeds to develop strong roots.
- Sow the seeds: Make small holes in the soil with your finger or a pencil, about ¼ inch deep. Gently place one or two red pepper seeds in each hole. Cover the seeds with soil and lightly firm it down.
- Provide warmth and moisture: Red pepper seeds require warmth to germinate. Place the containers in a warm location, preferably around 70-80°F (21-27°C). You can use a seedling heat mat to maintain the desired temperature. Mist the soil lightly with water or cover the containers with plastic wrap to retain moisture.
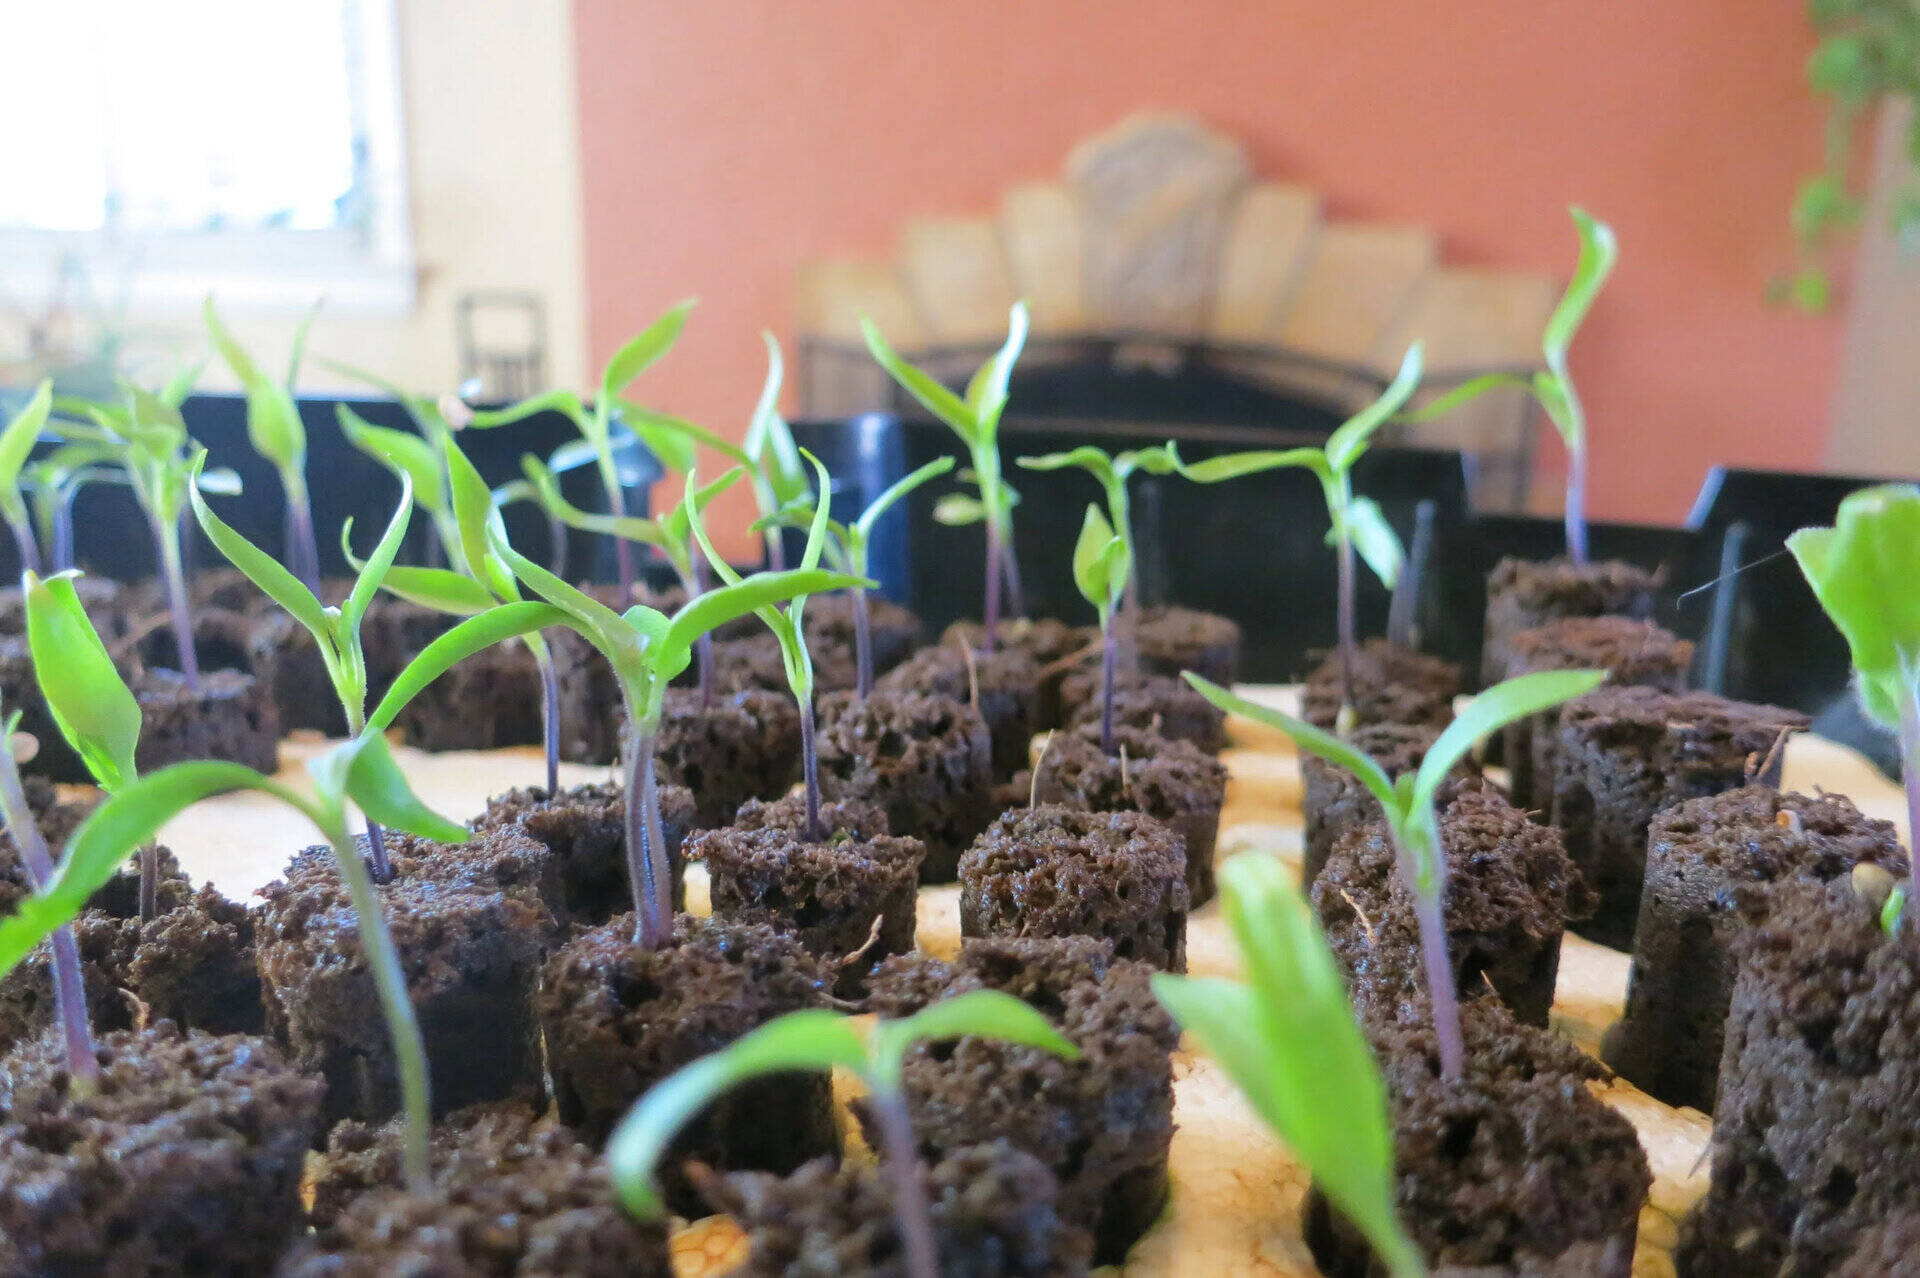
- Ensure adequate light: Once the seeds germinate and sprouts emerge, they need sufficient light. Place the containers near a bright window or use grow lights to provide 12-14 hours of light per day. Adjust the height of the lights to prevent leggy growth.
- Water carefully: Keep the soil consistently moist but not soggy. Water the seedlings from the bottom by placing the containers in a tray filled with water and allowing the soil to absorb the water. Avoid overhead watering, as it can lead to fungal diseases.
As the red pepper seedlings grow and develop their second set of leaves, they are ready to be transplanted to an outdoor location. This brings us to the next step in the process – transferring the seedlings.
Plant red pepper seeds in well-draining soil, 1/4 inch deep, and keep them moist. Place in a warm, sunny spot and transplant outdoors after the last frost.
Step 4: Transfer seedlings to outdoor location
Transferring the seedlings to an outdoor location is a critical step in the journey of growing red peppers. Follow these guidelines to ensure a smooth transition and healthy growth:
- Timing: Wait until all danger of frost has passed and the soil has warmed up before transplanting the seedlings. Red peppers are sensitive to cold temperatures, so it is essential to time the transfer accordingly.
- Prepare the planting area: Choose a well-drained area in your garden with full sun exposure. Dig a hole large enough to accommodate the root ball of the seedling.
- Acclimate the seedlings: Gradually expose the indoor seedlings to the outdoor environment. Start by placing them outside for a few hours each day, gradually increasing the duration over the course of a week. This helps the plants adjust to the outdoor conditions.
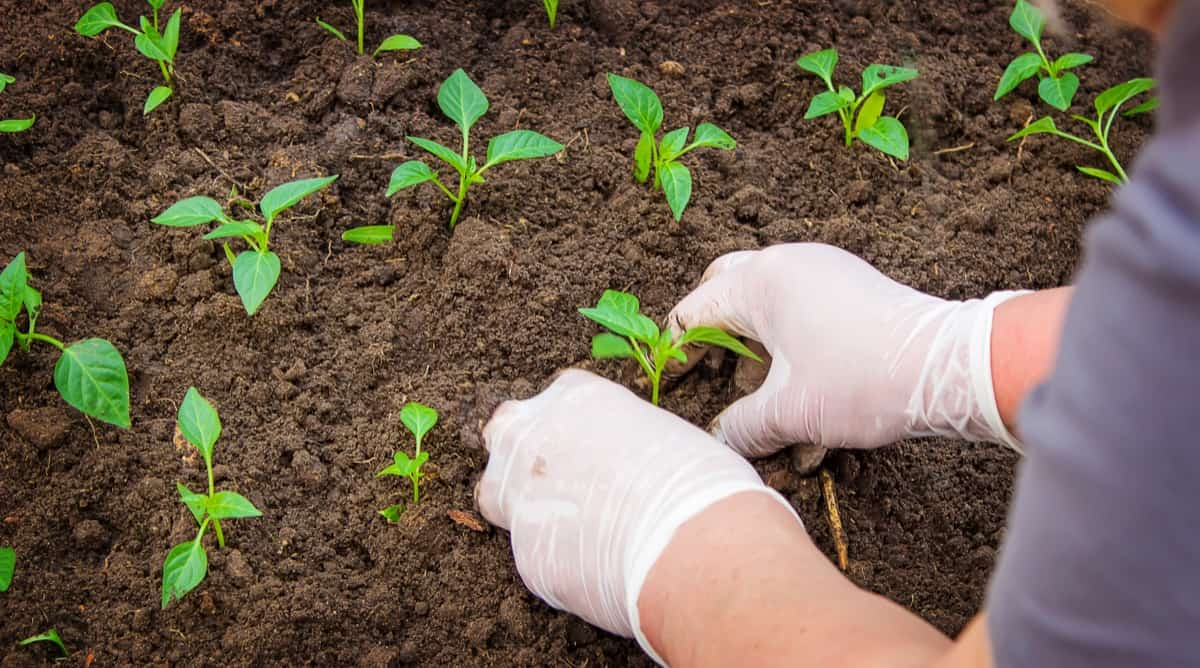
- Planting: Gently remove the seedlings from their containers, being careful not to damage the delicate roots. Place each seedling in the prepared hole and cover the roots with soil. Space the plants at least 18-24 inches apart to allow for proper air circulation and growth.
- Watering: After transplanting, give the seedlings a good drink of water. Ensure that the soil is moist, but not waterlogged, to promote root establishment. Water regularly, keeping the soil evenly moist throughout the growing season.
- Protect from pests: Red pepper plants can be susceptible to pests such as aphids, snails, and slugs. Implement protective measures such as applying organic insecticides or setting up physical barriers to keep pests at bay.
- Mulching: Apply a layer of organic mulch, such as straw or shredded leaves, around the base of the plants. Mulching helps retain moisture, suppresses weeds, and regulates soil temperature.
By following these steps, your red pepper seedlings will establish themselves in their new outdoor home and continue to grow and thrive. The next step involves providing proper care and maintenance to ensure a successful harvest.
Read more: How To Plant Red Clover Seed
Step 5: Provide proper care and maintenance
Proper care and maintenance are essential for the healthy growth and productivity of red pepper plants. Here are some important steps to follow:
- Watering: Red pepper plants require consistent moisture, especially during hot and dry periods. Water the plants deeply, ensuring that the soil is evenly moist. Avoid overwatering, as it can lead to root rot. Mulching around the plants helps retain soil moisture.
- Fertilization: Red peppers benefit from regular feeding to promote healthy growth and fruit production. Apply a balanced vegetable fertilizer according to the manufacturer’s instructions. You can also use organic fertilizers, such as compost or well-rotted manure, to enrich the soil.
- Support and training: As the plants grow, they may need support to prevent them from falling over. Stake or cage the plants to provide support and keep the branches and fruits off the ground. This also helps improve air circulation and reduces the risk of diseases.
- Pruning: Pruning is not always necessary for red pepper plants, but it can help improve airflow and prevent overcrowding. Remove any damaged or diseased branches, as well as any suckers that emerge from the leaf axils. This encourages the plant’s energy to focus on fruit production.
- Pest and disease control: Monitor the plants regularly for signs of pests and diseases. Common pests that can affect red pepper plants include aphids, caterpillars, and whiteflies. Use organic pest control methods or insecticides if necessary. Proper spacing, good ventilation, and maintaining a clean garden can help prevent diseases.
- Weed control: Keep the area around the red pepper plants free from weeds, as they compete for nutrients and water. Regularly remove any weeds that emerge near the plants to reduce competition and improve overall plant health.
By providing the proper care and maintenance, your red pepper plants will flourish and reward you with a bountiful harvest of vibrant and flavorful peppers. The final step in this journey is harvesting.
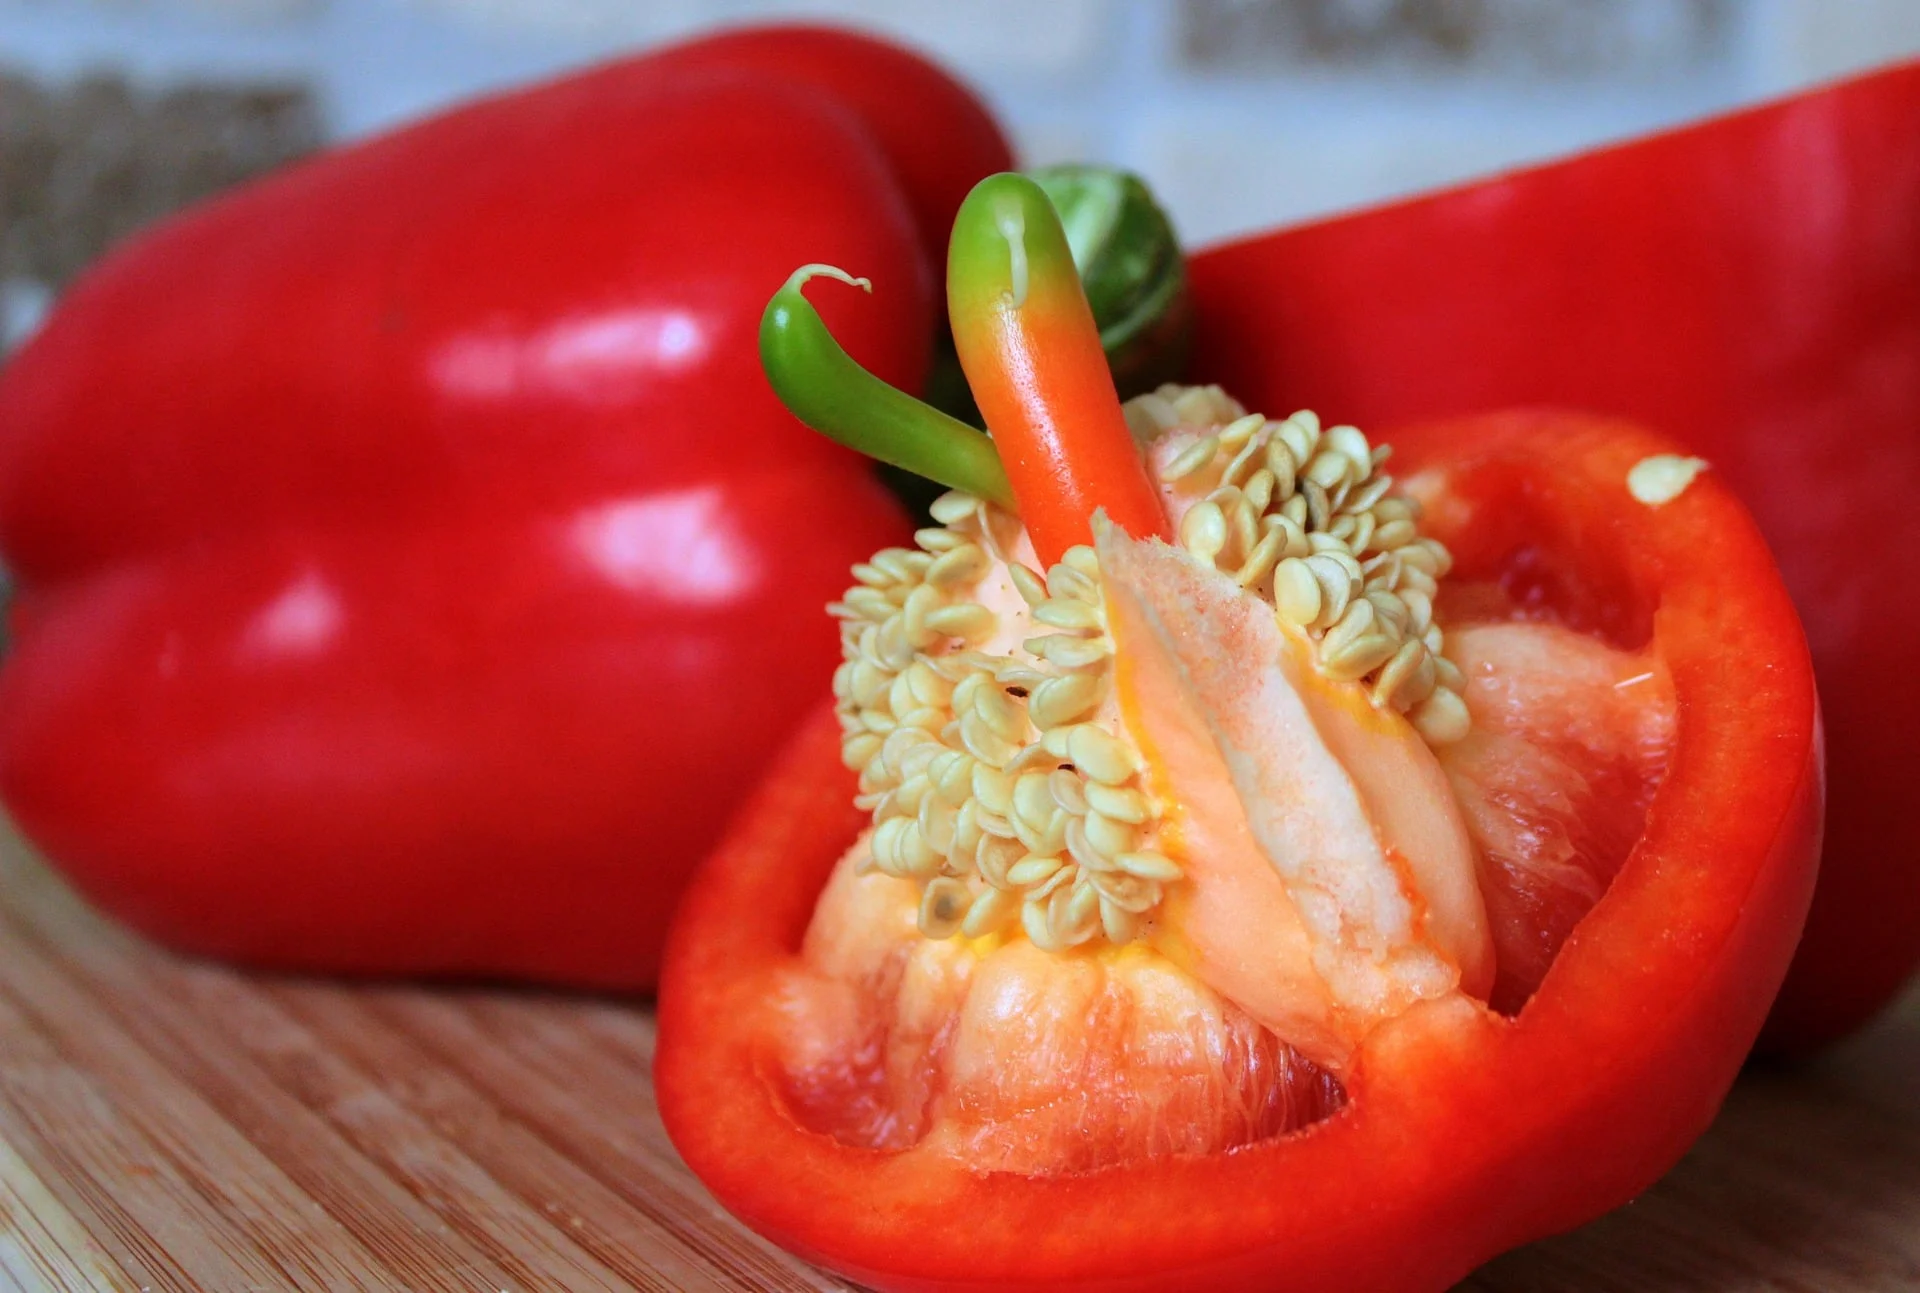
Step 6: Harvesting red peppers
Harvesting red peppers is an exciting and rewarding moment, as you get to enjoy the fruits of your labor. Here are some tips for harvesting your red peppers:
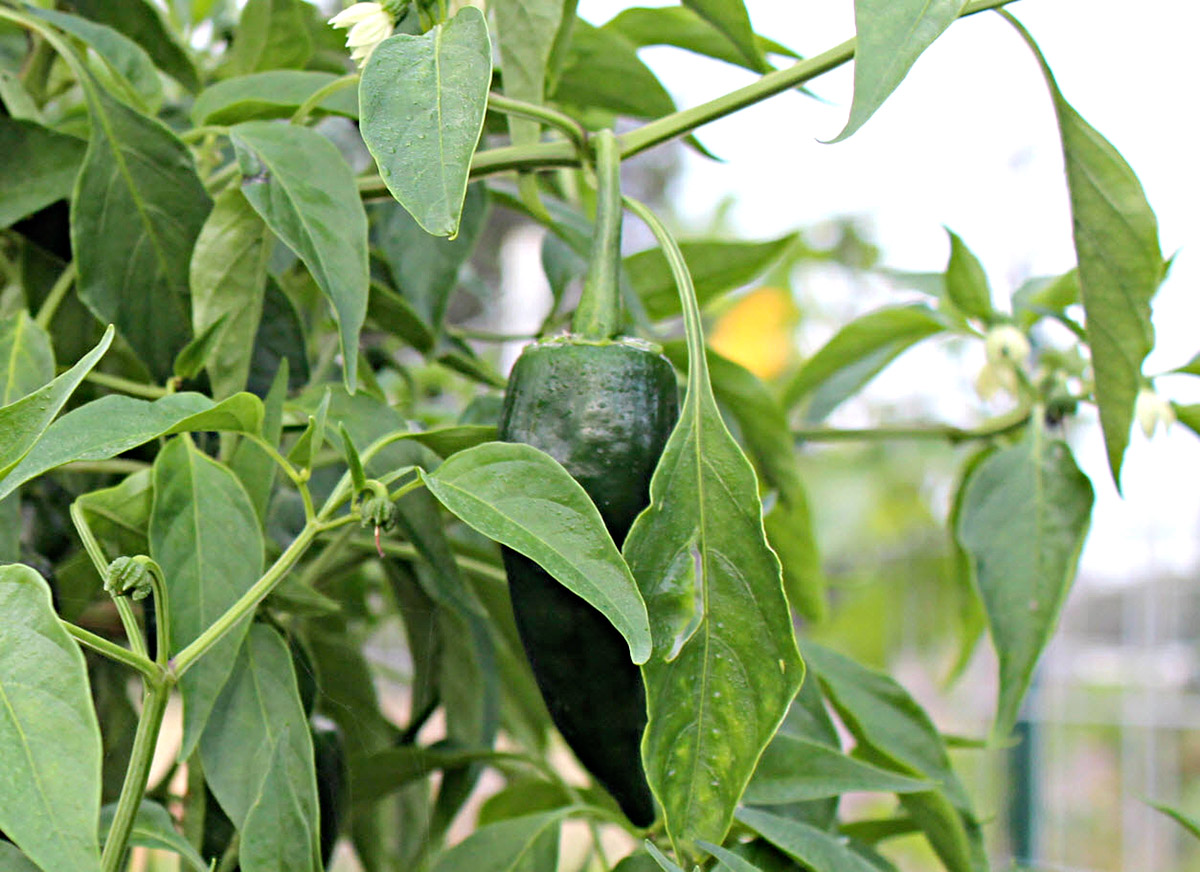
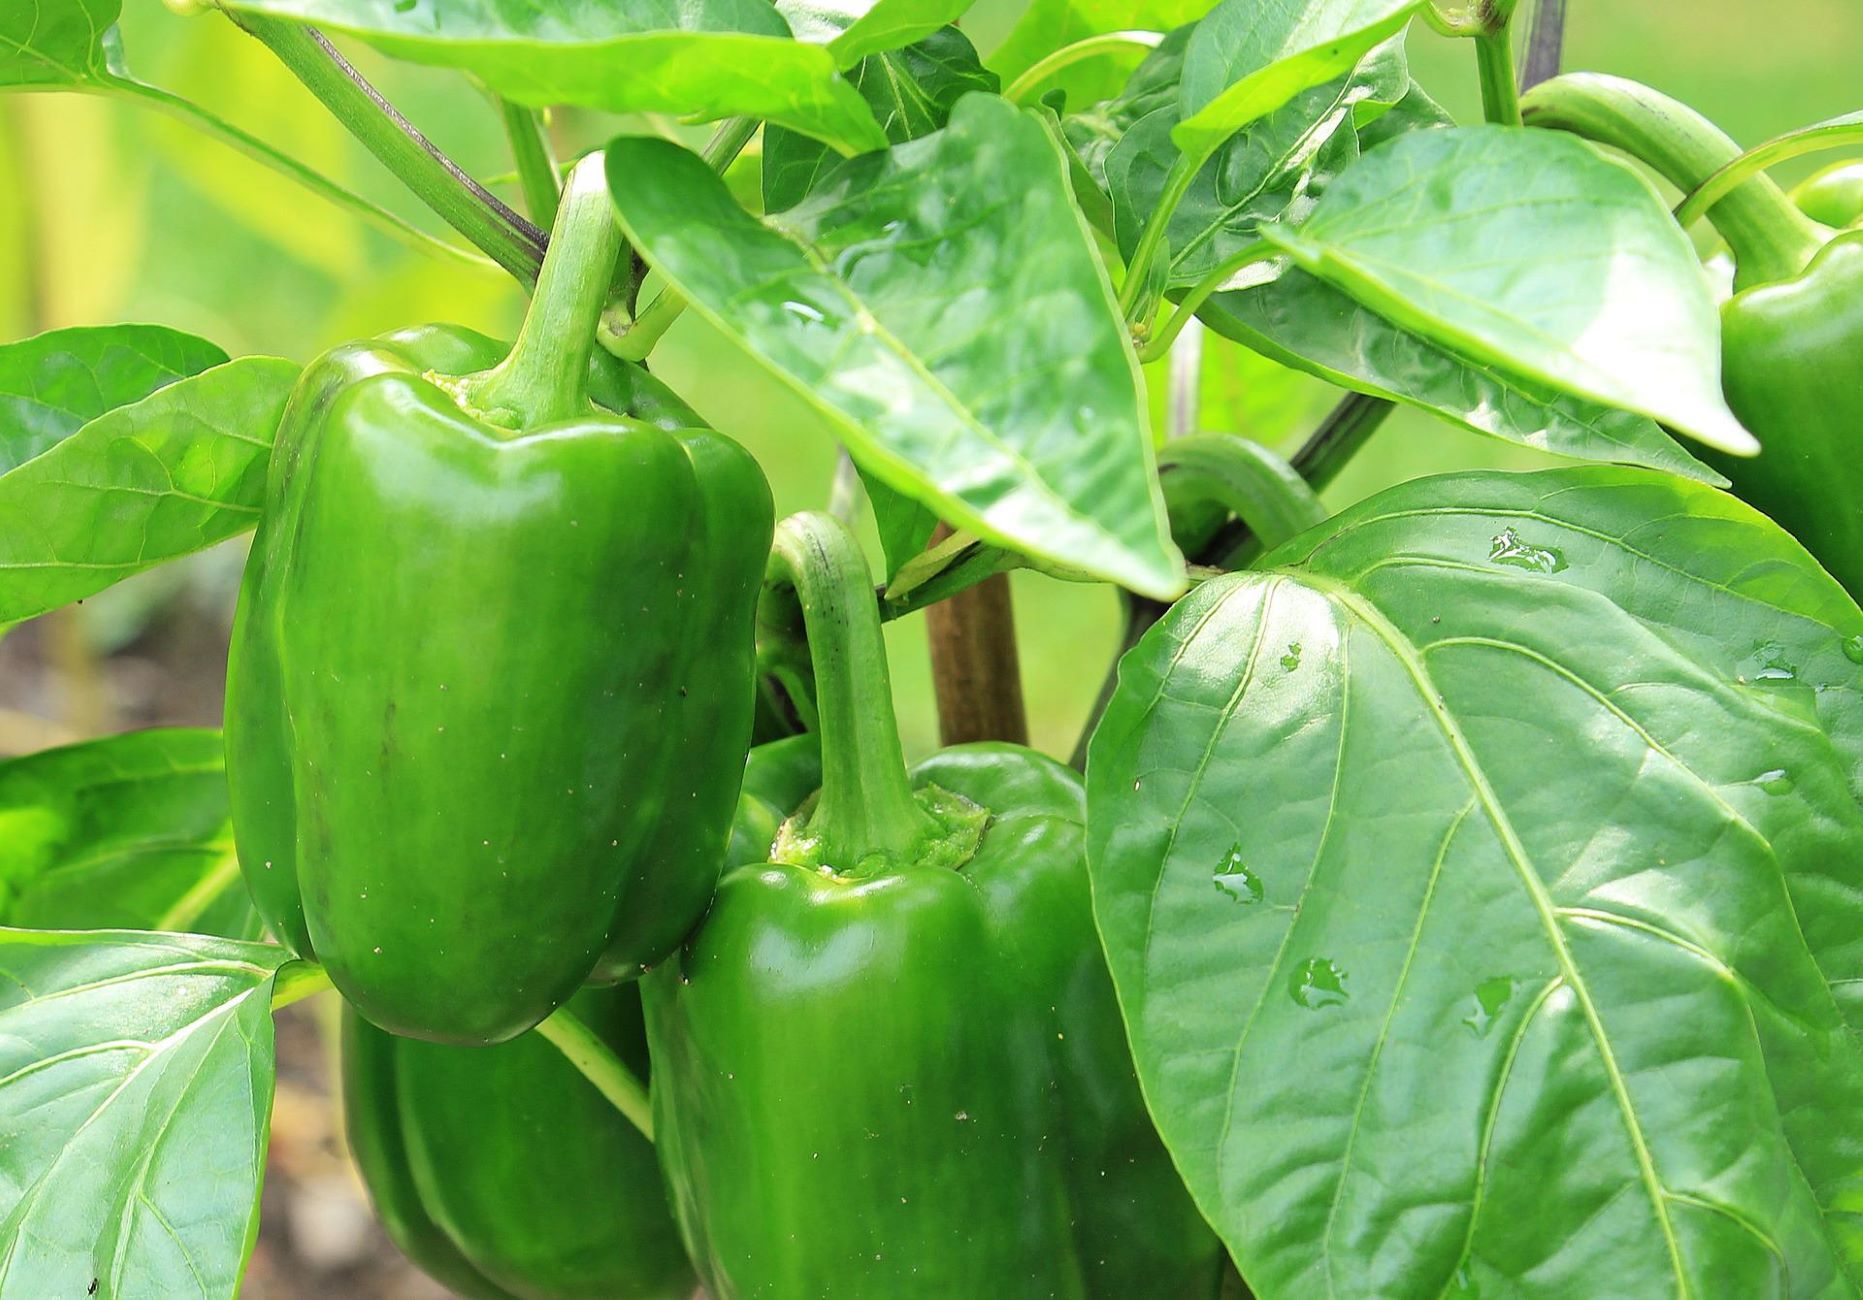
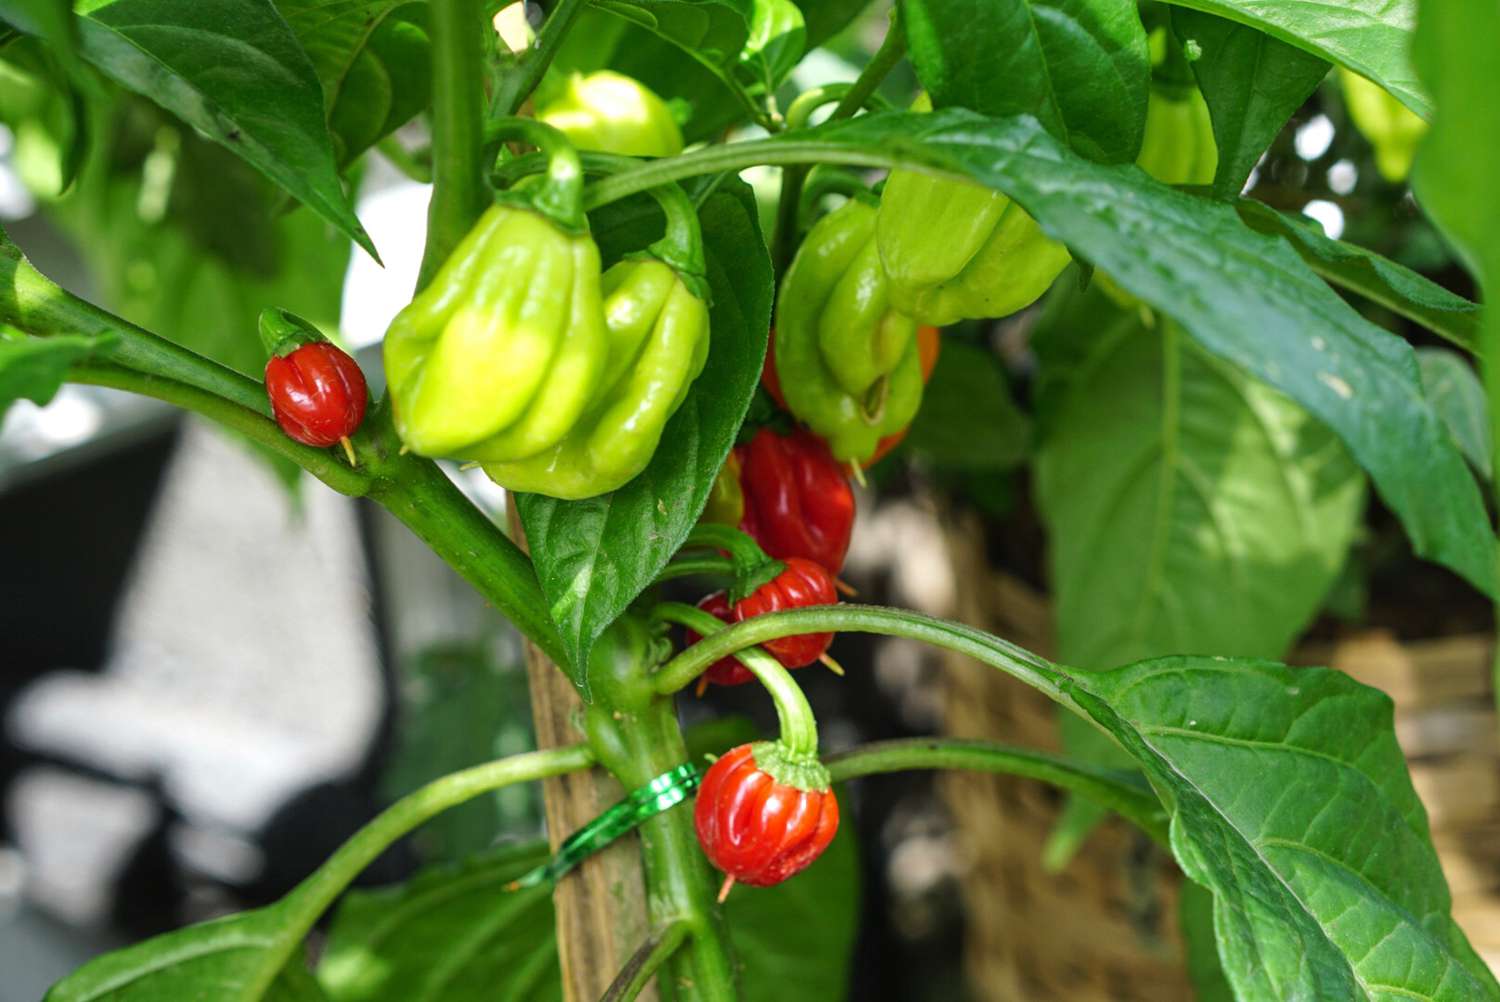
- Timing: Red peppers can be harvested at different stages of ripeness, depending on your preference. They can be picked when they are green, partially ripened, or fully ripened to a vibrant red color. Green peppers tend to have a milder flavor, while red peppers are sweeter and more flavorful.
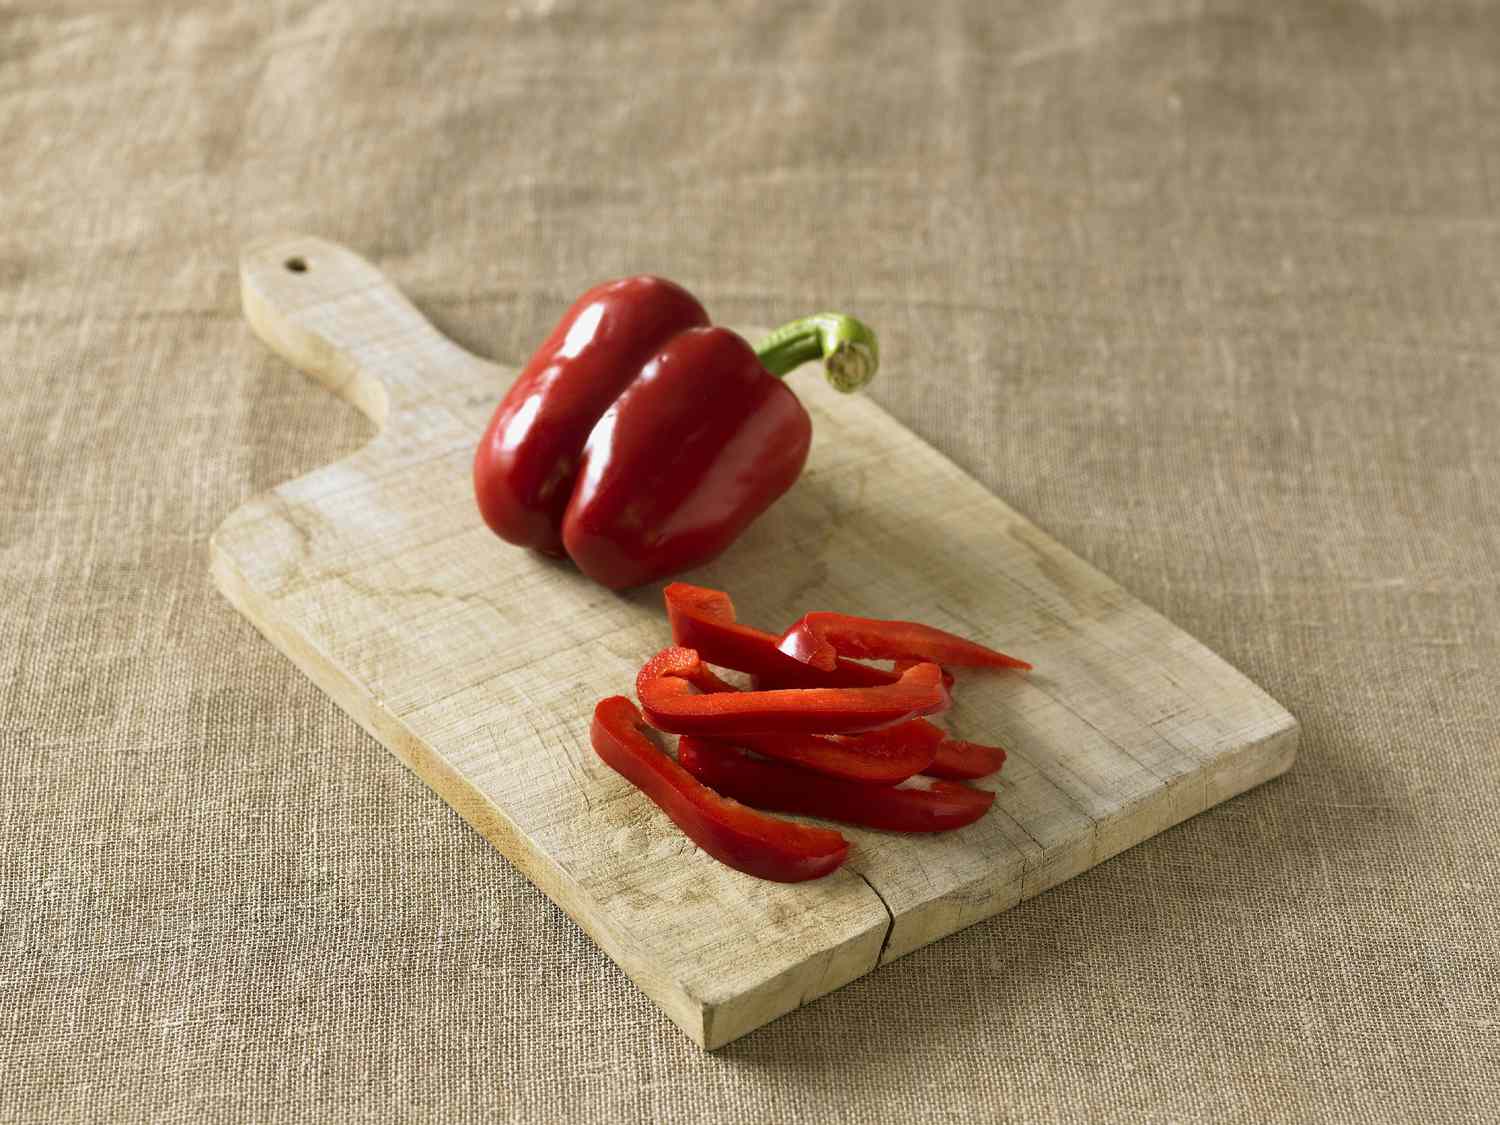
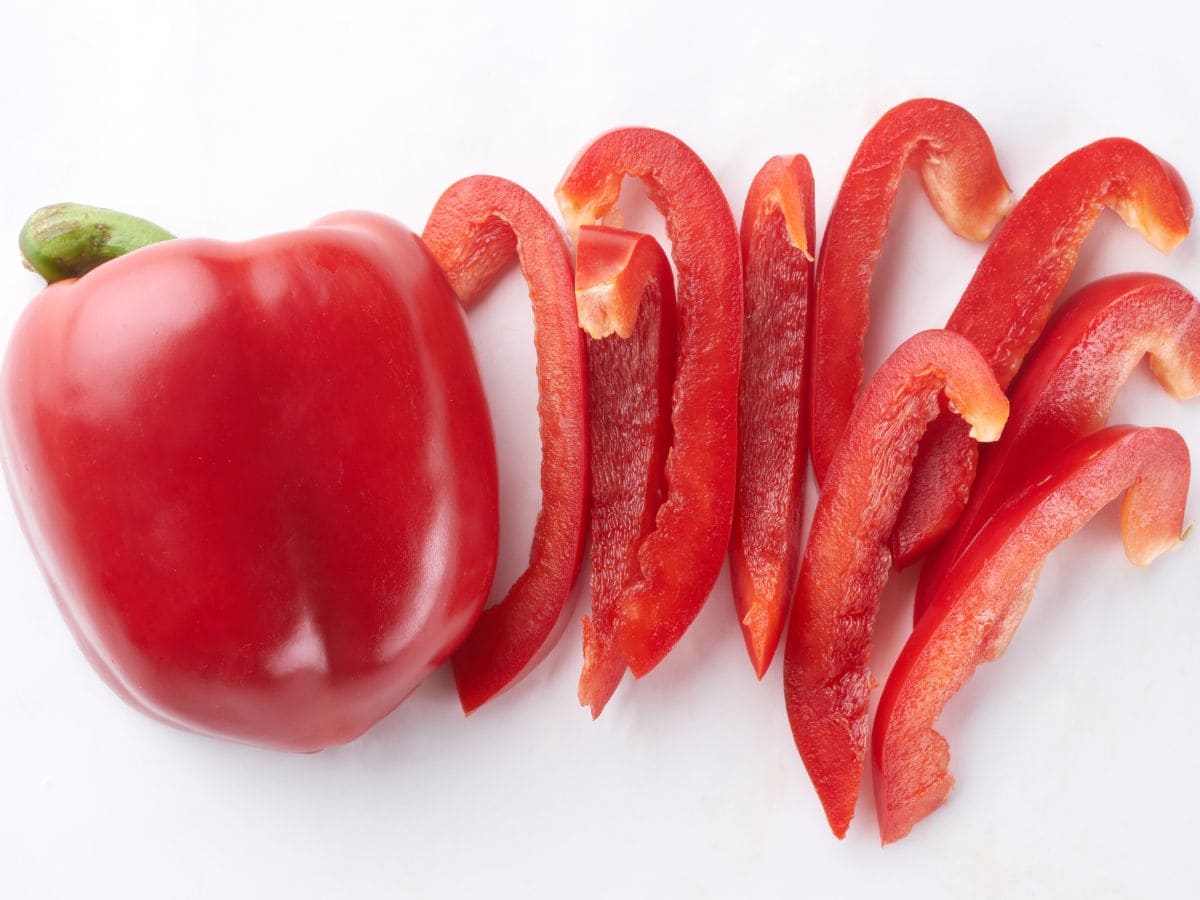
- Size and texture: Look for red peppers that have reached their desired size and have a firm and glossy texture. Avoid peppers that are soft or wrinkled, as they may be overripe or damaged.
- Pruning shears or knife: Use clean pruning shears or a sharp knife to cut the red peppers from the plant. Leave a short stem attached to the pepper to prevent damage to the plant.
- Harvesting techniques: Gently hold the pepper with one hand while cutting the stem with the other. Be careful not to damage any nearby fruits or the plant itself. Harvest peppers regularly to encourage continuous production.
- Storage: Use harvested red peppers immediately for fresh consumption, or store them in a cool and dry place. They can be refrigerated for up to a week or preserved by freezing or canning for longer-term storage.
Enjoy the fruits of your labor by incorporating fresh red peppers into your favorite recipes. Whether you choose to use them in salads, stir-fries, sauces, or roasted dishes, the vibrant color and delicious flavor of your homegrown red peppers will add a tasty touch to your culinary creations.
Remember, the process of growing and harvesting red peppers requires patience, care, and attention. Embrace the journey and enjoy the satisfaction of cultivating your own delicious and nutritious produce.
With these six steps, you are now equipped with the knowledge to successfully plant, care for, and harvest red peppers. Happy gardening and bon appétit!
Conclusion
Congratulations on completing your journey of planting and growing red peppers from seed to harvest! By following the six steps outlined in this article, you have now gained the knowledge and skills to successfully cultivate your own flavorful and vibrant red peppers.
Starting with preparing the soil and selecting the right red pepper seeds, you embarked on a journey of nurturing your plants from their early stages indoors to their final home in the outdoor garden. Throughout the process, you provided them with proper care and maintenance, ensuring they received adequate water, nutrients, and protection from pests and diseases.
Now, as you delight in the harvest of your red peppers, remember to enjoy their fresh taste and versatility in various culinary creations. From salads to stir-fries, sauces to roasted dishes, these homegrown red peppers will undoubtedly elevate the flavors of your favorite recipes.
Gardening is a continuous learning experience, and with each successful harvest, you will gain more confidence and insight into the art of growing vegetables. Don’t be afraid to experiment with different varieties of red peppers and discover your personal favorites.
As you continue your gardening journey, keep in mind the importance of patience, observation, and adaptability. Each growing season brings its unique challenges and rewards, and staying attuned to the needs of your red pepper plants will contribute to their thriving growth and productivity.
Remember to share your knowledge and experiences with fellow gardeners, as the joy of gardening extends beyond your own plot of land. Whether it’s through community gardens, online forums, or conversations with friends and family, your expertise can inspire and support others in their own gardening endeavors.
So, keep your green thumbs busy and your gardening spirit alive. Whether you’re growing red peppers or exploring other vegetables and fruits, the world of gardening is a never-ending adventure and a gratifying pursuit of cultivating nature’s bounty right in your own backyard.
Happy gardening and enjoy the fruits of your labor!
Frequently Asked Questions about How To Plant Red Pepper Seeds
Was this page helpful?
At Storables.com, we guarantee accurate and reliable information. Our content, validated by Expert Board Contributors, is crafted following stringent Editorial Policies. We're committed to providing you with well-researched, expert-backed insights for all your informational needs.


0 thoughts on “How To Plant Red Pepper Seeds”