Home>Garden Essentials>How To Put Ag Piping Under Turf Grass

Garden Essentials
How To Put Ag Piping Under Turf Grass
Modified: March 7, 2024
Learn how to install ag piping under your turf grass in your garden with our step-by-step guide. Enhance drainage and prevent water logging.
(Many of the links in this article redirect to a specific reviewed product. Your purchase of these products through affiliate links helps to generate commission for Storables.com, at no extra cost. Learn more)
Introduction
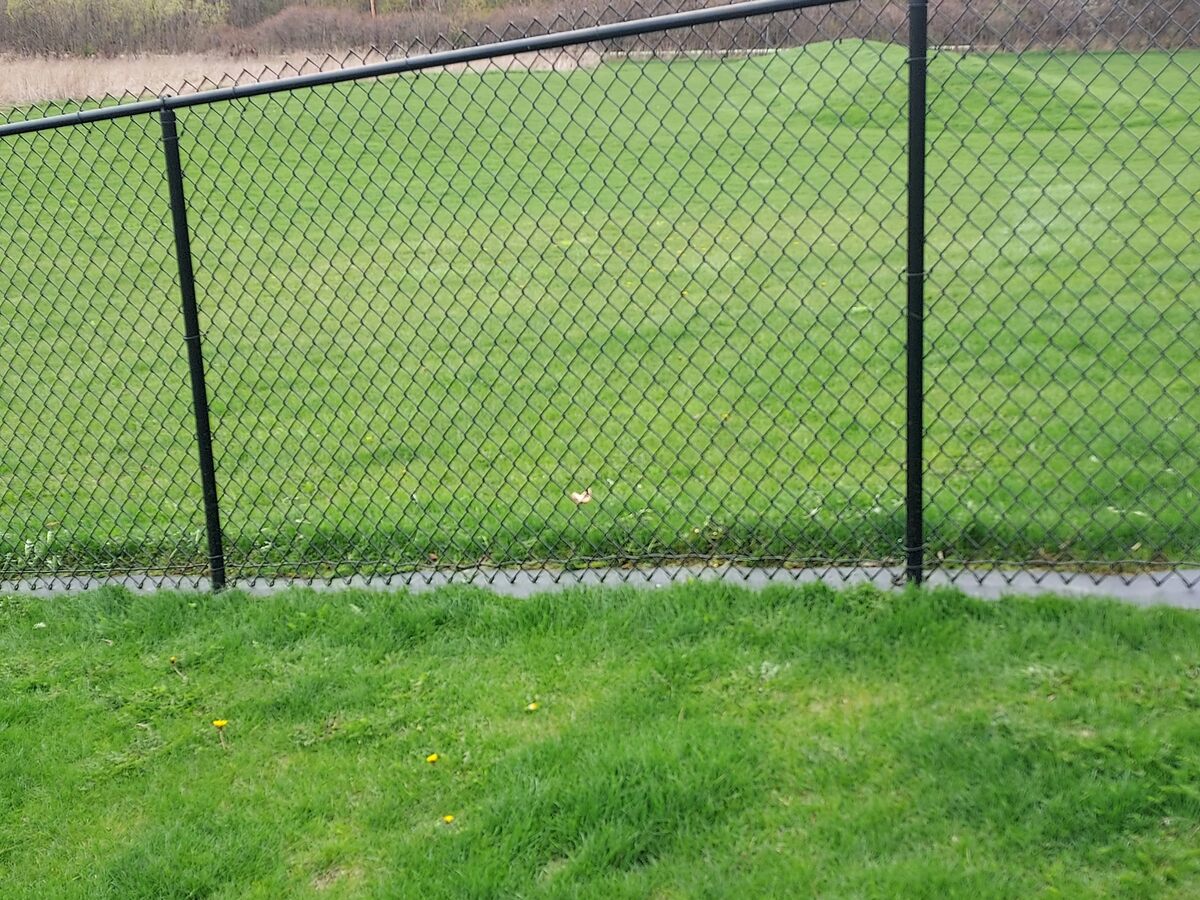
Welcome to the world of beautiful and vibrant gardens! Whether you’re an avid gardener or a homeowner looking to enhance the look of your outdoor space, having a lush and healthy lawn is undoubtedly a top priority. One essential aspect of maintaining a thriving garden is ensuring optimal irrigation. While traditional sprinkler systems are commonly used, advanced techniques such as installing ag piping under turf grass provide an efficient and sustainable irrigation solution.
Ag piping, also known as agricultural drainage piping, is a perforated pipe system that allows water to flow through evenly distributed holes. This underground irrigation method delivers water directly to the roots of the turf grass, promoting better water absorption and minimizing wastage. The result: a greener and healthier lawn with less effort and water usage.
In this article, we will guide you through the step-by-step process of installing ag piping under turf grass. We will cover everything from preparing the ground to connecting the system and completing the installation. So, let’s roll up our sleeves and get started!
Key Takeaways:
- Installing ag piping under turf grass ensures healthier and greener lawns with minimal water usage. It’s an efficient and sustainable irrigation method that benefits both your garden and the environment.
- Proper planning, attention to detail, and regular maintenance are essential for maintaining the effectiveness and longevity of your underground irrigation system. With ag piping, you can achieve a well-nourished lawn that thrives with minimal effort.
Read more: What Do You Put Under Astro Turf
Step 1: Preparing the Ground
Before you begin the installation of ag piping under your turf grass, it’s essential to make sure that the ground is properly prepared. This step will ensure a smooth and efficient installation process, as well as provide a solid foundation for your irrigation system.
The first thing you need to do is clear the area where you plan to install the ag piping. Remove any existing grass, plants, debris, rocks, or other obstacles from the designated area. A clean and level surface will make it easier to dig the trenches and lay the piping.
Next, you’ll want to evaluate the soil type and condition. Sandy soil, for example, drains water more quickly than clay soil. Understanding the soil composition will help determine the spacing and depth of your ag piping installation. It’s also important to ensure proper drainage to avoid water pooling in your lawn.
Once you have assessed the soil, it’s time to dig the trenches. The trenches should be wide enough to accommodate the piping and deep enough to provide proper drainage. A depth of 6 to 8 inches is usually sufficient, but this may vary depending on your specific lawn and soil conditions.
Keep in mind that the trenches should slope gently to allow for water flow. A slope of 1 to 2 inches per 10 feet is recommended to ensure proper drainage. Use a level or a string line to maintain a consistent slope throughout the trench.
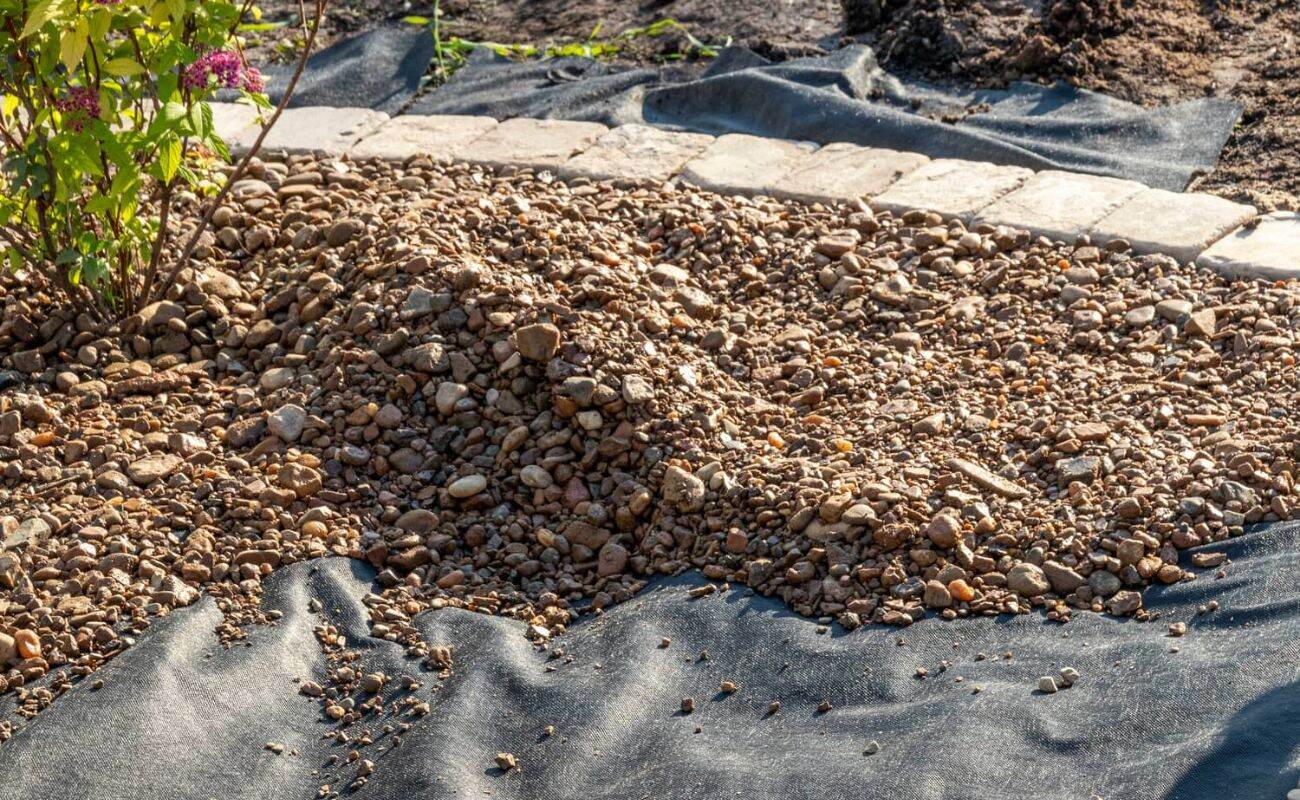
Finally, consider installing a weed barrier or landscape fabric to prevent weeds and roots from infiltrating the piping system. This will help maintain the efficiency and longevity of your irrigation system.
By taking the time to adequately prepare the ground, you’ll create a solid foundation for the ag piping installation. This will ensure that your turf grass receives the proper irrigation it needs to thrive.
Step 2: Measuring and Planning
Now that you have prepared the ground, it’s time to measure and plan the layout for your ag piping installation. This step is crucial in determining the spacing and placement of the piping to ensure optimal water distribution across your lawn.
Start by measuring the dimensions of the area where you’ll be installing the ag piping. This includes both length and width. Use a measuring tape or a wheel and mark the boundaries of the designated area to get accurate measurements. This information will help you determine the amount of piping needed.
Next, consider the water source for your irrigation system. Whether it’s a tap or a dedicated water line, you’ll need to plan the location of the connection point. This will guide the route of the piping from the water source to the designated area. Ensure that the connection point is easily accessible and allows for easy maintenance and future adjustments.
Now it’s time to plan the layout of the ag piping. Take into account the slope of your lawn and the desired water distribution. Generally, laying the piping in a grid-like pattern with evenly spaced lines is a recommended approach. The spacing between the lines may vary depending on the soil type and the water requirements of your turf grass.
Consider the size and flow rate of the ag piping when determining the spacing. A larger pipe diameter will allow for more water flow, while a smaller diameter provides more precision in water distribution. Additionally, placing the perforations of the piping facing downwards will help prevent clogging and maintain proper water flow.
Take note of any obstacles such as trees, shrubs, or existing structures in the area. Plan the layout to ensure that the piping goes around these obstacles or provides adequate watering for them. It’s also important to leave enough space between the piping and the edges of your lawn to avoid damage during lawn maintenance activities.
Once you have measured and planned the layout, you can proceed to the next step of actually digging the trenches for the ag piping installation. Taking the time to carefully plan ensures that you install the piping correctly and efficiently irrigate your turf grass.
Step 3: Digging Trenches
With the measurements and layout in place, it’s time to start digging the trenches for your ag piping installation. This step requires careful precision to ensure that the trenches are deep enough and properly sloped for efficient water flow.
Begin by using a shovel or a trenching tool to dig the first trench along the planned path of the ag piping. Follow the measurements and layout you determined in the previous step. Make sure the trench is wide enough to accommodate the piping and deep enough for proper water drainage.
As you dig the trench, keep in mind the desired slope for water flow. The trench should have a gentle slope of around 1 to 2 inches per 10 feet. Use a level or a string line to ensure that the trench remains consistently sloped throughout its length.
If you encounter any tree roots or other obstacles while digging, carefully work around them or consider adjusting the layout of the piping to avoid damaging the roots. It’s important to maintain the health of your existing landscaping while installing the irrigation system.
Continue digging the trenches, following the layout and measurements you planned. Keep the trenches straight and level, ensuring that they align properly with the overall design. Take your time to dig a neat and precise trench to facilitate easy installation of the ag piping.
As you dig the trenches, remove any rocks, debris, or excess soil that may hinder the installation of the piping. This will provide a clean and obstacle-free path for the ag piping to be laid in the next step.
Remember to take breaks and stay hydrated during the process, especially if the weather is hot. Digging trenches can be physically demanding, so it’s important to pace yourself and take care of your well-being.
Once all the trenches are dug to the required depth and slope, you’re ready to move on to the next step of installing the ag piping. The trenches you’ve dug will serve as the pathways for the water to reach your turf grass and ensure adequate irrigation.
Step 4: Installing the Ag Piping
Now that the trenches are ready, it’s time to move on to the installation of the ag piping. This step involves placing the perforated pipes into the trenches, ensuring proper alignment and connection.
Start by unrolling the ag piping along the length of the first trench. Make sure the perforations in the piping are facing downwards to allow water to seep into the soil. Trim the piping as needed to fit the length of the trench, ensuring a proper fit without any excessive bends or kinks.
As you lay the ag piping, ensure that it is positioned at the desired depth within the trench. Generally, a depth of 6 to 8 inches below the surface is recommended for optimal irrigation. This depth ensures that the water reaches the root zone of the turf grass efficiently.
Once the first line of piping is in place, move on to the next trench and repeat the process. Use connectors or fittings to join the piping together as you progress along the trenches. Make sure the connections are secure to prevent any leaks or disconnections.
It’s important to maintain a consistent spacing between the lines of ag piping. This ensures even water distribution across your lawn. Adjust the positioning and spacing of the piping as necessary, keeping in mind the layout and measurements you planned in the earlier steps.
As you lay the ag piping, backfill the trenches with soil to secure the pipes in place. Make sure the soil is packed lightly to prevent any shifting or movement of the piping. Take care not to damage the piping or its connections while backfilling the trenches.
If your lawn has different zones with varying water requirements, consider installing control valves or adjustable emitters along the ag piping. This will allow you to customize the water distribution for each zone, ensuring that every area of your lawn receives the appropriate amount of irrigation.
Continue installing the ag piping along the remaining trenches, following the same process of unrolling, connecting, and backfilling the trenches. Take your time to ensure that the pipes are installed accurately and securely.
With the ag piping installed, you’ve successfully completed a major step in setting up your underground irrigation system. The next step involves connecting the piping to a water source for proper functioning and distribution of water throughout your lawn.
Before installing AG piping under turf grass, make sure to properly prepare the soil by removing any rocks or debris. Use a trenching shovel to create a trench for the piping, making sure it is at least 6 inches deep. Then, carefully lay the piping in the trench, making sure it is level and properly sloped for drainage. Finally, cover the piping with soil and lay the turf grass over the top, being careful not to damage the piping.
Read more: What Do You Put Under Turf Grass
Step 5: Connecting the Ag Piping
Once the ag piping is installed in the trenches, it’s time to connect it to a water source for proper irrigation. This step involves connecting the piping to a main water supply or an existing irrigation system.
The first step is to locate the connection point for the ag piping. This can be a tap, a dedicated irrigation line, or another water source. Ensure that the connection point is easily accessible and in close proximity to the start of the ag piping.
If you’re connecting the ag piping to an existing irrigation system, make sure that the system is turned off before making any connections. This will help prevent any accidental water flow during the installation process.
Once you’ve identified the connection point, use connectors and fittings to link the ag piping to the water source. Make sure that the connections are secure and watertight to avoid any leaks or water wastage.
If you’re connecting the ag piping to a tap, consider installing a backflow prevention device to protect your water supply from any potential contamination. This device ensures that water flows only in one direction, preventing any backflow of contaminated water into the main water supply.
After connecting the ag piping to the water source, turn on the water supply to test the system. Check for any leaks or irregularities in the water flow. Make any necessary adjustments or repairs to ensure that the system is functioning properly.
If your irrigation system includes control valves or adjustable emitters, now is the time to adjust them according to the watering needs of your lawn. This will allow you to control the water distribution and ensure that each area of your lawn receives the appropriate amount of irrigation.
Once you’ve completed the connections and tested the system, carefully cover the connection points with soil or mulch to protect them and ensure a neat appearance. Be cautious not to disrupt the connections while covering them.
With the ag piping connected to the water source, you’re one step closer to having a well-irrigated lawn. The final steps involve backfilling the trenches and finalizing the installation process.
Step 6: Backfilling the Trenches
With the ag piping connected and the system tested, it’s time to move on to the next step: backfilling the trenches. Backfilling involves filling the trenches with soil to cover the ag piping and restore your lawn’s appearance.
Start by using a shovel or a rake to gently distribute the soil back into the trenches. Take care not to damage the piping or disrupt the connections while backfilling. Gradually fill the trenches until they are level with the surrounding ground.
As you backfill the trenches, lightly pack the soil to ensure stability and prevent any sinking or shifting of the ground. Use your foot or a hand tamper to gently compact the soil, but avoid applying excessive force that might damage the ag piping.
If you encounter any rocks, debris, or excess soil while backfilling, remove them to maintain the proper alignment and functionality of the ag piping. Additionally, make sure there are no air pockets or voids in the soil that could hinder water flow or cause uneven irrigation.
Take the time to ensure that the backfilled soil is level and even across the entire lawn. This will help maintain the visual appeal and usability of your outdoor space. Use a level or a straight edge tool to check for any uneven areas and make necessary adjustments.
Once the trenches are properly backfilled, water the area to settle the soil and further compact it. This will help eliminate any remaining air pockets and ensure a sturdy foundation for your lawn. Avoid over-watering, as excessive moisture can lead to soil erosion or pooling.
After watering, check the entire system for any signs of leaks or malfunctions. Inspect the connections, valves, and emitters to ensure they are properly sealed and functioning as intended. Make any necessary adjustments or repairs before proceeding to the final step.
With the trenches backfilled and the soil settled, your underground irrigation system is almost complete. Just a few final touches remain to finalize the installation and ensure that your lawn receives optimal irrigation for healthy growth.
Step 7: Finalizing the Installation
Congratulations! You’re now at the final step of installing your ag piping under turf grass. This step involves some essential tasks to ensure the proper functioning and longevity of your irrigation system.
First, check all the connections and joints of the ag piping system. Make sure they are secure and watertight. Inspect the entire system for any signs of leakage or water wastage. Address any issues promptly to prevent water loss and damage to your lawn.
Next, adjust the water flow and distribution according to the needs of your turf grass and the specific areas of your lawn. This may involve fine-tuning the control valves or adjusting the emitters to ensure each zone receives the appropriate amount of water.
Consider adding additional features such as a timer or a rain sensor to automate the irrigation process and conserve water. These devices can help optimize the watering schedule based on the weather conditions, reducing water usage and promoting water efficiency.
Once you have made any necessary adjustments and added any desired features, perform a final test of the system. Turn on the water supply and observe the irrigation process. Check for even water distribution across your lawn and monitor the efficiency of the ag piping system.
Take the time to familiarize yourself with the maintenance requirements of your underground irrigation system. Regularly inspect the ag piping for any signs of clogging or damage. Clear any debris or obstructions that may hinder water flow. Consider scheduling periodic maintenance and servicing to keep your system in optimal condition.
Finally, step back and enjoy your beautifully irrigated turf grass! Take pride in the hard work and effort you put into installing the ag piping system. Your lawn will now benefit from efficient and precise irrigation, resulting in healthier and greener turf grass.
Remember, proper maintenance and care are key to maximizing the longevity and effectiveness of your underground irrigation system. Stay vigilant and address any issues promptly to ensure your lawn remains vibrant and thriving for years to come.
With the installation of the ag piping under turf grass complete, you have successfully created a sustainable and efficient irrigation solution for your garden. Sit back, relax, and enjoy the beauty of your well-nourished lawn!
Conclusion
Installing ag piping under turf grass is a wise choice for homeowners and garden enthusiasts looking to achieve efficient and sustainable irrigation. By following the step-by-step process outlined in this article, you can create a well-irrigated lawn that thrives with minimal water usage and effort.
From preparing the ground and measuring the area to digging trenches and installing the ag piping, each step plays a crucial role in ensuring the effectiveness and longevity of your underground irrigation system. Connect the piping to a water source, backfill the trenches, and finalize the installation to complete the process.
Proper planning, attention to detail, and regular maintenance are essential to maintaining the efficiency and functionality of your ag piping system. Regularly inspect the system, monitor water distribution, and address any issues promptly to ensure optimal irrigation and prevent water wastage.
Installing ag piping under your turf grass offers numerous benefits. It promotes healthier and greener turf grass, reduces water consumption, minimizes evaporation, and allows for precise water distribution directly to the root zone. Additionally, incorporating automated features like timers and rain sensors can further optimize water efficiency.
By implementing an underground irrigation system, you not only improve the aesthetic appeal of your lawn but also contribute to water conservation efforts. With proper care and maintenance, your well-irrigated turf grass will serve as a beautiful centerpiece for your garden while being environmentally responsible.
So, get ready to enjoy the benefits of efficient and sustainable irrigation in your garden. Install ag piping under your turf grass and take pride in a lush, green lawn that enhances the beauty of your outdoor space.
Frequently Asked Questions about How To Put Ag Piping Under Turf Grass
Was this page helpful?
At Storables.com, we guarantee accurate and reliable information. Our content, validated by Expert Board Contributors, is crafted following stringent Editorial Policies. We're committed to providing you with well-researched, expert-backed insights for all your informational needs.


0 thoughts on “How To Put Ag Piping Under Turf Grass”