
Articles
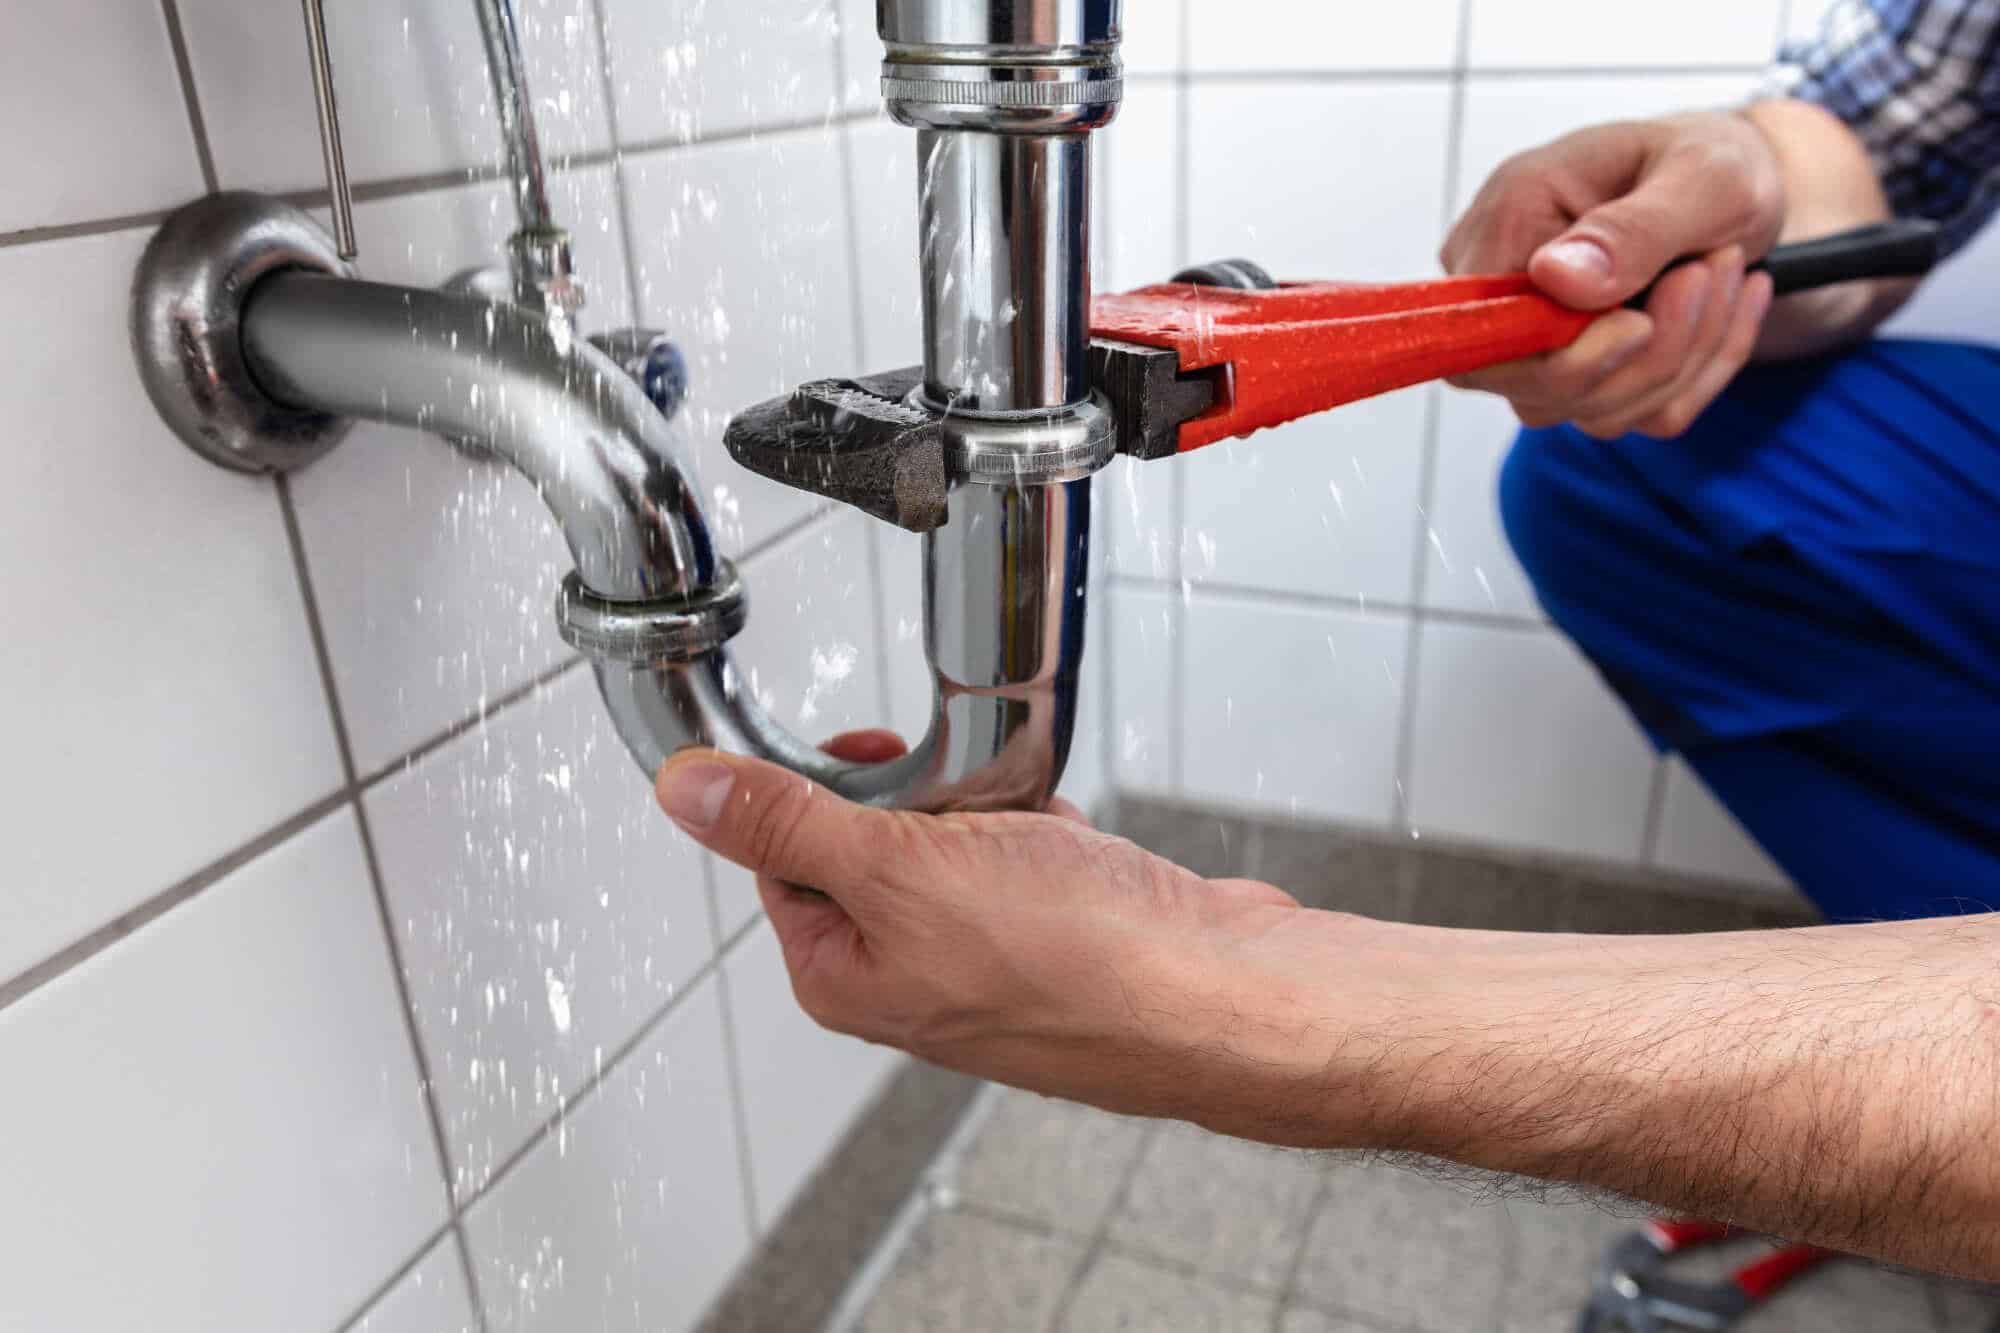
How To Fix Leaking Pipe Under Sink
Modified: October 20, 2024
Learn how to fix a leaking pipe under your sink with these helpful articles. Fix the problem quickly and effectively with step-by-step instructions and expert tips.
(Many of the links in this article redirect to a specific reviewed product. Your purchase of these products through affiliate links helps to generate commission for Storables.com, at no extra cost. Learn more)
Introduction
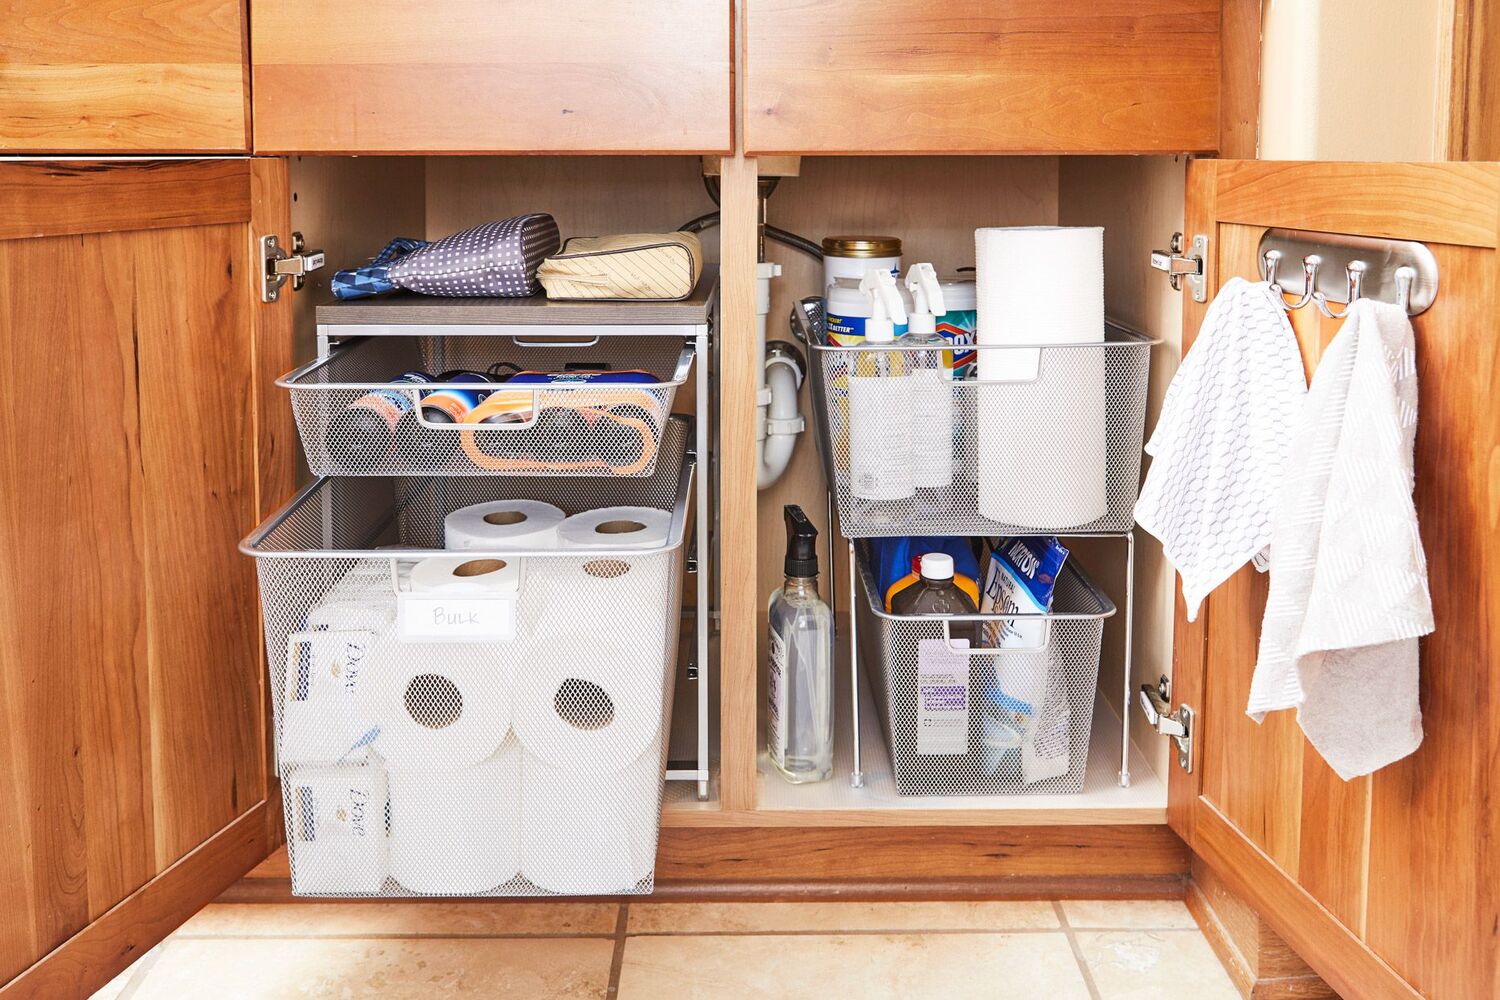
Dealing with a leaking pipe under your sink can be a frustrating and potentially damaging issue. Whether it’s a small drip or a steady stream of water, it’s essential to address the problem promptly to prevent further damage to your sink and surrounding areas.
Fixing a leaking pipe under your sink might seem like a daunting task, but with the right tools and a little know-how, it can be a manageable DIY project. In this article, we will guide you through the steps to fix a leaking pipe under your sink, helping you restore functionality and peace of mind.
Before we dive into the steps, it’s important to remember that safety is crucial when dealing with any plumbing issue. Be sure to turn off the water supply before starting any work, and if needed, enlist the help of a professional plumber for more complex repairs.
Now, let’s get started on fixing that pesky leaking pipe!
Key Takeaways:
- Safety first! Always shut off the water supply before fixing a leaking pipe under your sink. Gather the right tools and materials, identify the source of the leak, and follow the step-by-step process to ensure a successful repair.
- Draining the sink, disconnecting and inspecting the pipes, and testing for leaks are crucial steps in fixing a leaking pipe. By following these steps and prioritizing safety, you can restore functionality and peace of mind to your sink.
Read more: How To Replace Pipe Under Kitchen Sink
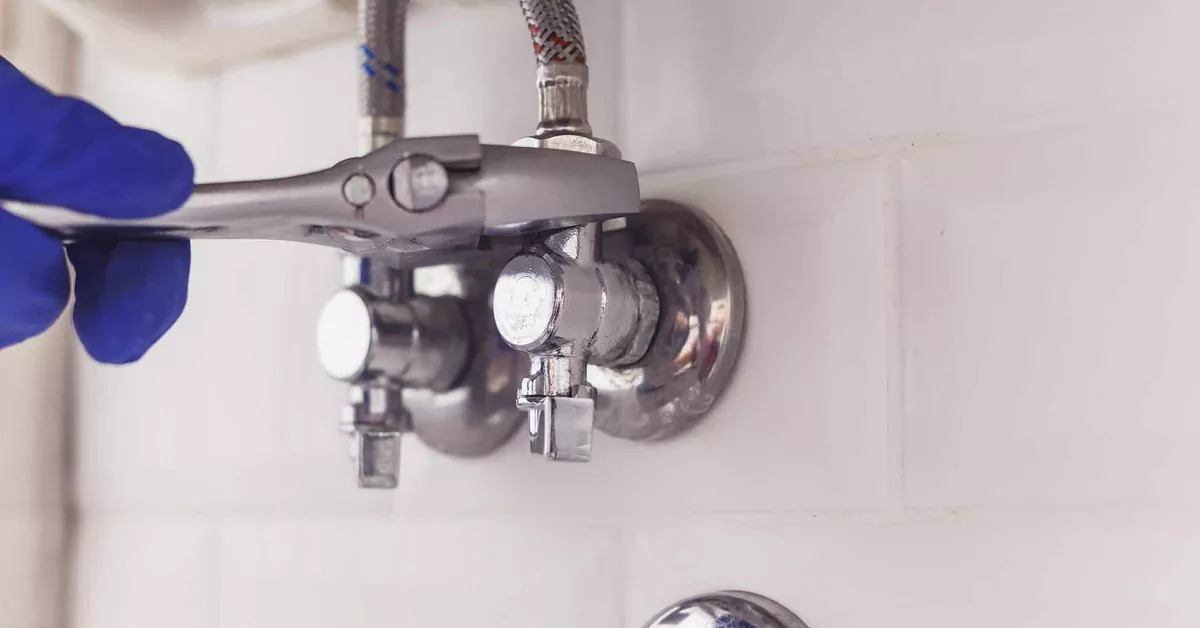
Step 1: Shut off the Water Supply
The first and most important step in fixing a leaking pipe under your sink is to shut off the water supply. This is crucial to ensure your safety and prevent any further water damage.
Locate the shut-off valve for the sink or, if it’s not directly accessible, find the main water shut-off valve for your home. This valve is typically located near the water meter or in the basement. Once you’ve found the valve, turn it clockwise to shut off the water supply.
If you’re unsure about the location of the shut-off valve, you can also turn off the water supply to your entire home. This will ensure that no water is flowing to any part of your plumbing system, including the sink.
After shutting off the water supply, turn on the faucet to release any remaining water in the pipes. This will help prevent any accidental leaks or spills when you disconnect the pipes.
Remember to take necessary precautions and wear protective gloves and eyewear while working on the plumbing under your sink. Water and debris may be present, so it’s important to stay safe throughout the process.
Now that the water supply is shut off, we can move on to the next step: gathering the required tools and materials.
Step 2: Gather Required Tools and Materials
Before you begin fixing the leaking pipe under your sink, it’s important to gather all the necessary tools and materials. Having everything you need on hand will help streamline the repair process and prevent any unnecessary delays.
Here are some essential tools and materials you’ll need:
- Adjustable wrench or pipe wrench
- Plumber’s tape
- Plumber’s putty
- Pipe cutter or hacksaw
- New pipe or fittings (if necessary)
- Towel or bucket to catch water
The adjustable wrench or pipe wrench is essential for loosening and tightening the pipe connections. It’s important to use the correct size wrench to avoid damaging the pipes or fittings.
Plumber’s tape, also known as Teflon tape, is used to create a tight seal between threaded pipe connections. This helps prevent leaks from occurring at the joints.
Plumber’s putty is a soft, pliable material used to seal gaps or cracks in sink drains and other plumbing fixtures. It’s particularly useful when replacing or resealing the sink drain connection.
A pipe cutter or hacksaw will come in handy if you need to remove and replace a section of the pipe. It’s important to measure and cut the pipe accurately to ensure a proper fit.
Depending on the severity of the leak and the condition of the pipes, you may also need to have a replacement pipe or fittings on hand. It’s important to identify the source of the leak before determining if any components need to be replaced.
Lastly, having a towel or bucket nearby will help catch any water that may spill during the repair process. This will help keep your work area clean and prevent further water damage.
Now that you have all the necessary tools and materials, you’re ready to move on to the next step: identifying the source of the leak.
Step 3: Identify the Source of the Leak
Once you have gathered the required tools and materials, the next step in fixing a leaking pipe under your sink is to identify the source of the leak. This will help you determine the best course of action and ensure that you address the root cause of the problem.
Here are a few common areas where leaks may occur:
- Sink Drain: The drainpipe located below the sink is a common area for leaks. Check for any visible signs of water dripping or pooling near the drain. It’s also important to inspect the connections between the drainpipe and the sink basin.
- Supply Lines: The supply lines are the pipes that connect the water source to the faucet. They can sometimes develop leaks due to wear and tear or loose connections. Examine the supply lines for any signs of moisture or drips.
- Trap: The trap is a curved piece of pipe that prevents sewer gases from entering your home. Leaks can occur at the connections between the trap and other pipes. Look for any signs of water around the trap area.
- Pipe Joints: The various pipe joints and connections under the sink can also be potential areas for leaks. Inspect each joint carefully for any signs of water or moisture.
Once you have identified the source of the leak, you’ll have a better idea of the specific area you need to focus on for repairs. Keep in mind that there may be multiple leaks or issues, so it’s important to thoroughly inspect the entire plumbing system under the sink.
If you’re having trouble identifying the source of the leak or if you’re unsure about how to proceed, it’s always a good idea to consult a professional plumber. They have the expertise and experience to quickly diagnose the problem and recommend the best solution.
Now that you know where the leak is coming from, it’s time to move on to the next step: draining the sink and surrounding area.
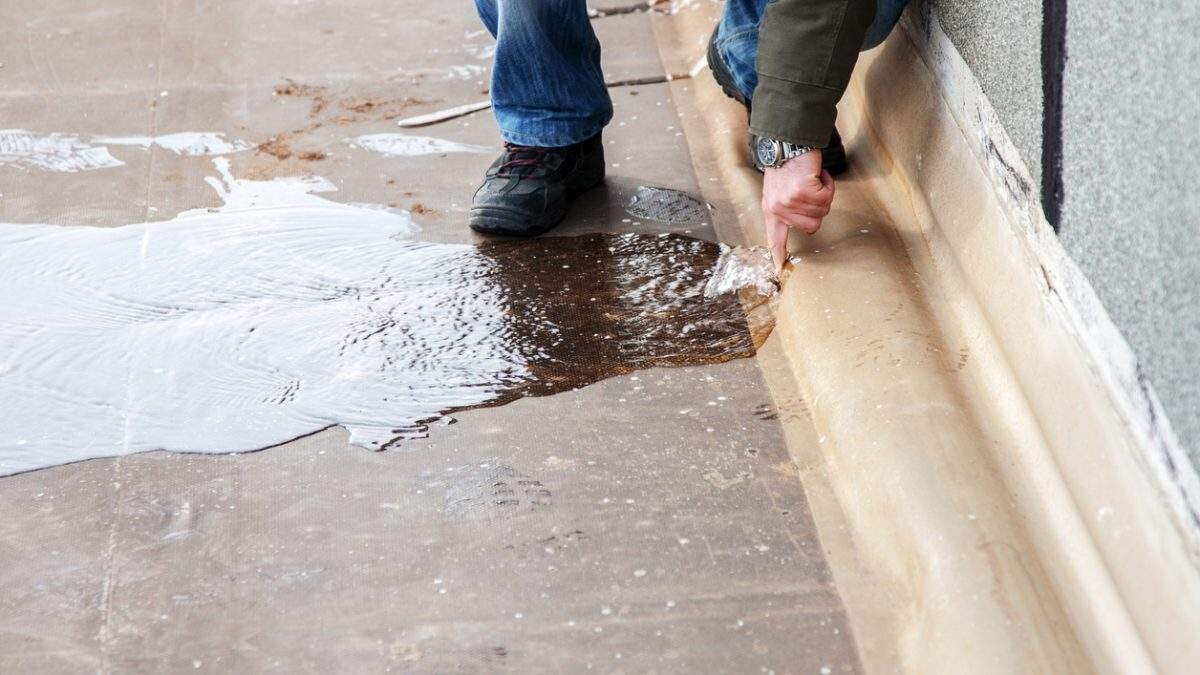
Step 4: Drain the Sink and Surrounding Area
Before you begin working on the leaking pipe under your sink, it’s important to drain the sink and surrounding area to minimize the amount of water you’ll be dealing with during the repair process.
Here’s how to drain the sink and surrounding area:
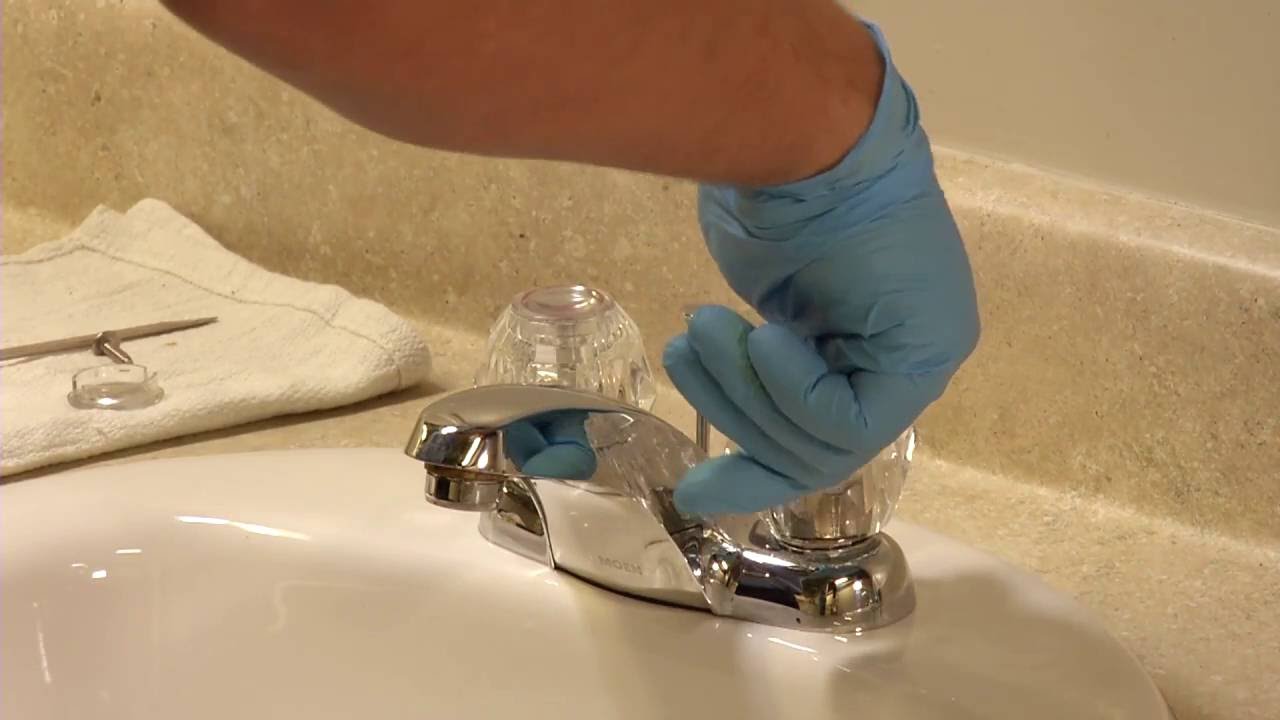
- Turn off the Faucet: Make sure the faucet is in the closed position to prevent any additional water from flowing into the sink.
- Remove Excess Water: Use a cup or bucket to remove any standing water in the sink. Empty it into a nearby drain or bucket.
- Place Towels or a Bucket: Line the bottom of the sink cabinet with towels or place a bucket on the floor underneath the pipes. This will catch any water that may leak or spill during the repair process.
- Open the Drain Plug: If your sink has a drain plug, open it to allow any remaining water to drain out. You can also use a pipe wrench or pair of pliers to loosen and remove the trap to drain the water completely.
By draining the sink and having measures in place to catch any water, you can work more comfortably and efficiently without the risk of water damage or unnecessary mess.
Remember to dispose of the water properly and minimize any potential water damage to your home or surrounding areas.
With the sink drained, you’re now ready to move on to the next step: disconnecting the pipes.
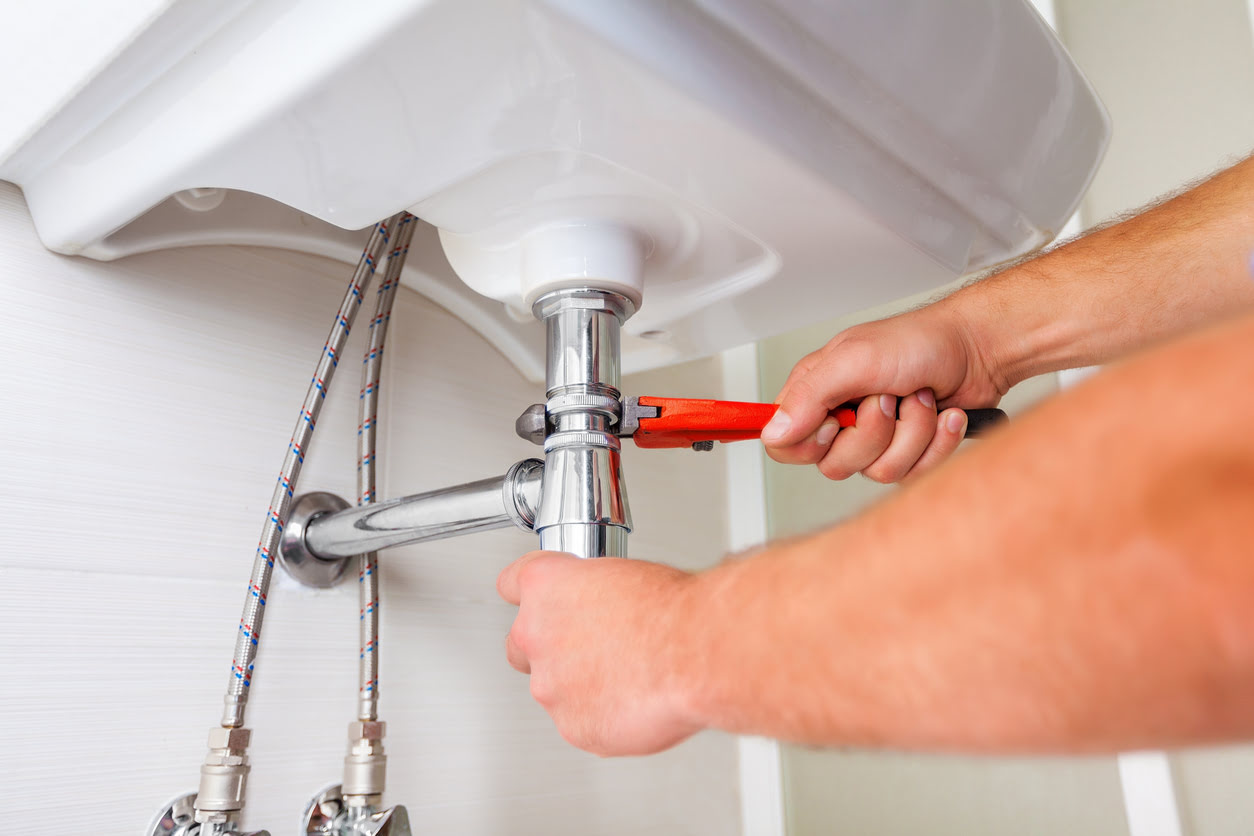
If you have a leaking pipe under the sink, start by turning off the water supply to the affected area. Then, use a pipe wrench to tighten any loose fittings or replace damaged pipes or connectors. Finally, check for any additional leaks before turning the water supply back on.
Read more: How To Loosen Pvc Pipe Under Sink
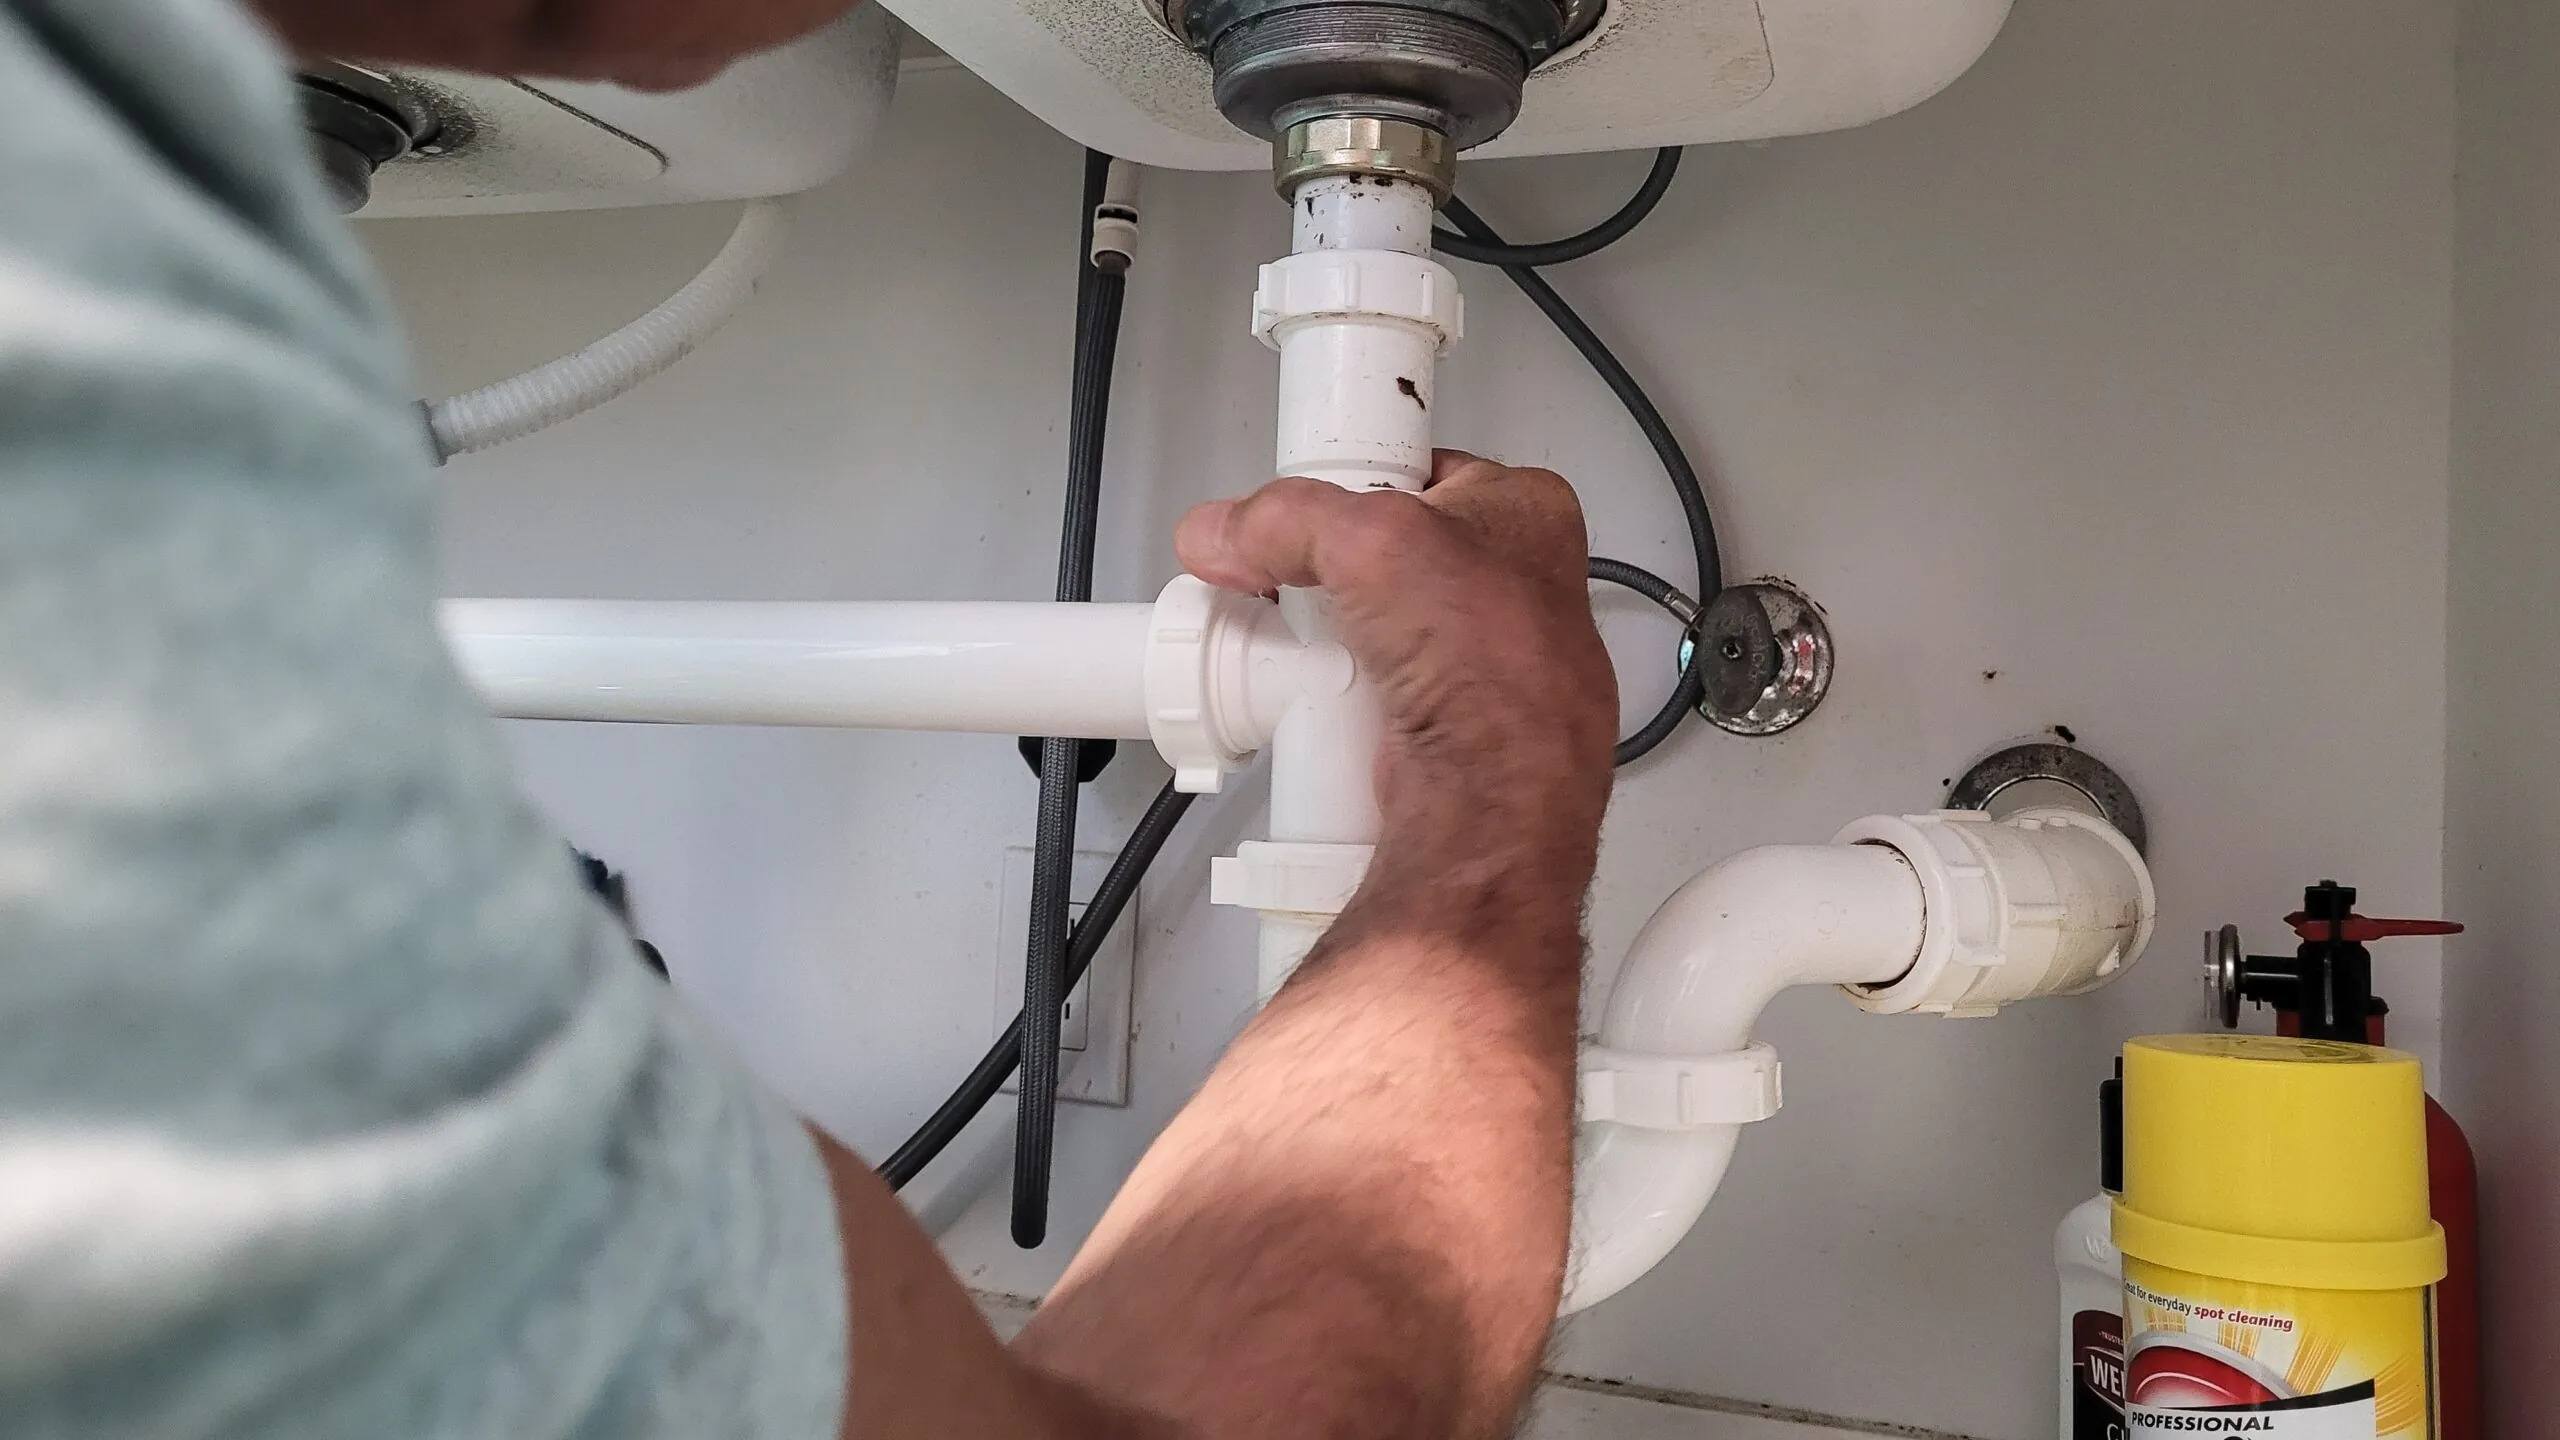
Step 5: Disconnect the Pipes
Now that the sink and surrounding area are drained, it’s time to disconnect the pipes to gain access to the leaking section and make the necessary repairs.
Follow these steps to disconnect the pipes:
- Loosen Slip Nuts: Locate the slip nuts that connect the pipes under the sink. These are usually located at the joints, such as where the trap meets the drainpipe or where the supply lines connect to the faucet. Use an adjustable wrench or pliers to loosen the slip nuts by turning them counterclockwise.
- Disconnect the Connections: Once the slip nuts are loose, gently pull the pipes apart to disconnect the connections. You may need to give them a slight twist or wiggle to free them from each other.
- Remove the Pipes: Carefully remove the disconnected pipes from under the sink and set them aside. Keep track of the order in which they were connected, as this will make reassembling them easier later on.
As you disconnect the pipes, it’s important to be cautious and avoid using excessive force. If a connection is stubborn and won’t budge, try spraying it with a lubricant, such as WD-40, and let it sit for a few minutes before attempting to disconnect it again.
Remember to place a towel or a bucket underneath the pipes to catch any water that may still be trapped inside.
With the pipes disconnected, you’re ready to move on to the next step: inspecting and replacing the damaged pipe or fittings.
Step 6: Inspect and Replace the Damaged Pipe or Fittings
Now that the pipes are disconnected, it’s time to inspect the damaged pipe or fittings that are causing the leak. Identifying the source of the leak earlier will help guide you in determining which components require replacement.
Here’s how to inspect and replace the damaged pipe or fittings:
- Inspect the Pipes: Carefully examine the pipes for any signs of cracks, corrosion, or damage. Pay close attention to the area where the leak was originating from. If the damage is minimal and localized, you may be able to repair it using plumber’s putty or pipe wrap. However, if the damage is severe or widespread, it is generally best to replace the affected section of the pipe.
- Replace the Damaged Pipe or Fittings: If you need to replace a section of the pipe, use a pipe cutter or hacksaw to cut out the damaged portion. Measure the length accurately and cut a new section of pipe to size. You can then use compression fittings, soldering, or push-fit connectors to attach the new pipe to the existing plumbing system. If the issue is with a fitting, such as a leaky elbow or connector, replace it with a new one.
- Apply Pipe Sealant: Before reassembling the pipes, apply plumber’s tape or pipe sealant to the threaded ends of the pipe joints. This helps create a tight seal and prevents future leaks.
It’s important to use the correct type and size of pipes and fittings for your plumbing system. If you’re uncertain, consult a professional plumber or check with your local hardware store for guidance.
By inspecting and replacing the damaged components, you’ll ensure a proper and reliable repair that minimizes the risk of future leaks.
Once the damaged pipe or fittings have been replaced, it’s time to move on to the next step: reconnecting the pipes.
Step 7: Reconnect the Pipes
Now that you have replaced the damaged pipe or fittings, it’s time to reconnect the pipes under your sink. Properly reconnecting the pipes ensures a secure and leak-free plumbing system.
Follow these steps to reconnect the pipes:
- Apply Pipe Sealant: Before reassembling the pipes, apply plumber’s tape or pipe sealant to the threaded ends of the pipe joints. This helps create a tight seal and prevents leaks.
- Align the Pipes: Carefully align the pipes to ensure a proper fit. Make sure the pipes are fully inserted into the fittings and that the threads align correctly.
- Tighten the Slip Nuts: Once the pipes are properly aligned, use an adjustable wrench or pliers to tighten the slip nuts. Be careful not to overtighten, as this can damage the pipes or fittings. Use just enough force to create a snug and watertight connection.
As you reconnect the pipes, double-check the alignment and ensure that all connections are secure. Gently test the connections by giving them a slight tug to ensure they are properly tightened.
Take your time to ensure that all fittings are securely attached and that there are no visible gaps or leaks.
Now that the pipes are reconnected, you’re almost done! The next step is to test for leaks and ensure that your repair job is successful.
Step 8: Test for Leaks
With the pipes reconnected, it’s important to test for leaks to ensure that your repair job is successful and there are no further issues. It’s always better to catch any leaks early on before they can cause more damage.
Follow these steps to test for leaks:
- Turn on the Water Supply: Turn the water supply back on by opening the shut-off valve. Slowly turn on the faucet and let the water run through the newly repaired pipes. Start with a low flow and gradually increase the water pressure.
- Inspect for Leaks: Carefully inspect all the pipe connections and joints for any signs of leaks, including drips, water spilling, or wet spots. Pay close attention to the areas you repaired or replaced.
- Listen and Feel: Listen for any unusual sounds, such as hissing or spraying water, which may indicate a leak. Feel the pipes with your hand to check for any water seepage or moisture.
- Use Tissues or Paper Towels: If you suspect a small leak, you can use tissues or paper towels to wipe the connections and pipes. Any moisture or discoloration on the tissue may indicate a leak.
If you notice any leaks during the testing phase, immediately shut off the water supply and assess the situation. Double-check the tightness of the connections and make any necessary adjustments or repairs.
It’s important to fix any leaks before continuing to use the sink regularly. Even small leaks can worsen over time and lead to extensive water damage and costly repairs.
Once you have thoroughly tested for leaks and are confident that your repair is successful, you can now enjoy a fully functional and leak-free sink!
Congratulations on fixing the leaking pipe under your sink! By following these steps and taking the necessary precautions, you have resolved the issue and prevented further damage to your sink and surrounding areas.
If you encounter any difficulties or feel uncertain about tackling the repair on your own, it is always a good idea to seek the assistance of a professional plumber to ensure a proper and long-lasting fix.
Remember, regular maintenance and inspections can help prevent future leaks from occurring. It’s important to keep an eye out for any signs of water damage, rust, or deterioration in your plumbing system to address potential issues before they escalate.
Thank you for following this guide, and we hope it has been helpful in resolving your leaking pipe issue. Cheers to a dry and functional sink!
Conclusion
Dealing with a leaking pipe under your sink can be a frustrating problem, but with the right knowledge and tools, you can successfully fix the issue and prevent further damage. By following the steps outlined in this guide to shut off the water supply, gather the necessary tools and materials, identify the source of the leak, drain the sink and surrounding area, disconnect and inspect the pipes, replace any damaged components, reconnect the pipes, and finally, test for leaks, you can restore functionality and peace of mind to your sink.
Throughout the repair process, it’s important to prioritize safety by wearing protective gear and shutting off the water supply before starting any work. If you encounter any difficulties or are unsure about any steps, it’s always recommended to consult a professional plumber for assistance.
Remember, taking the time to address a leaking pipe can save you from potential water damage and costly repairs down the line. Regular maintenance and inspections of your plumbing system can also help prevent future leaks and extend the lifespan of your pipes and fittings.
By following the steps outlined in this guide and staying proactive in your plumbing maintenance, you can keep your sink and plumbing system in excellent working condition for years to come.
We hope this guide has been helpful in guiding you through the process of fixing a leaking pipe under your sink. With the right tools, knowledge, and a bit of patience, you can successfully tackle this DIY project and enjoy a functional, leak-free sink once again.
Remember, if you’re ever unsure or uncomfortable with handling the repair yourself, it’s always best to seek the assistance of a qualified professional plumber. They have the expertise and experience to handle any plumbing issue efficiently and effectively.
Thank you for taking the time to read this guide, and we wish you the best of luck in your repair endeavors!
Frequently Asked Questions about How To Fix Leaking Pipe Under Sink
Was this page helpful?
At Storables.com, we guarantee accurate and reliable information. Our content, validated by Expert Board Contributors, is crafted following stringent Editorial Policies. We're committed to providing you with well-researched, expert-backed insights for all your informational needs.


0 thoughts on “How To Fix Leaking Pipe Under Sink”