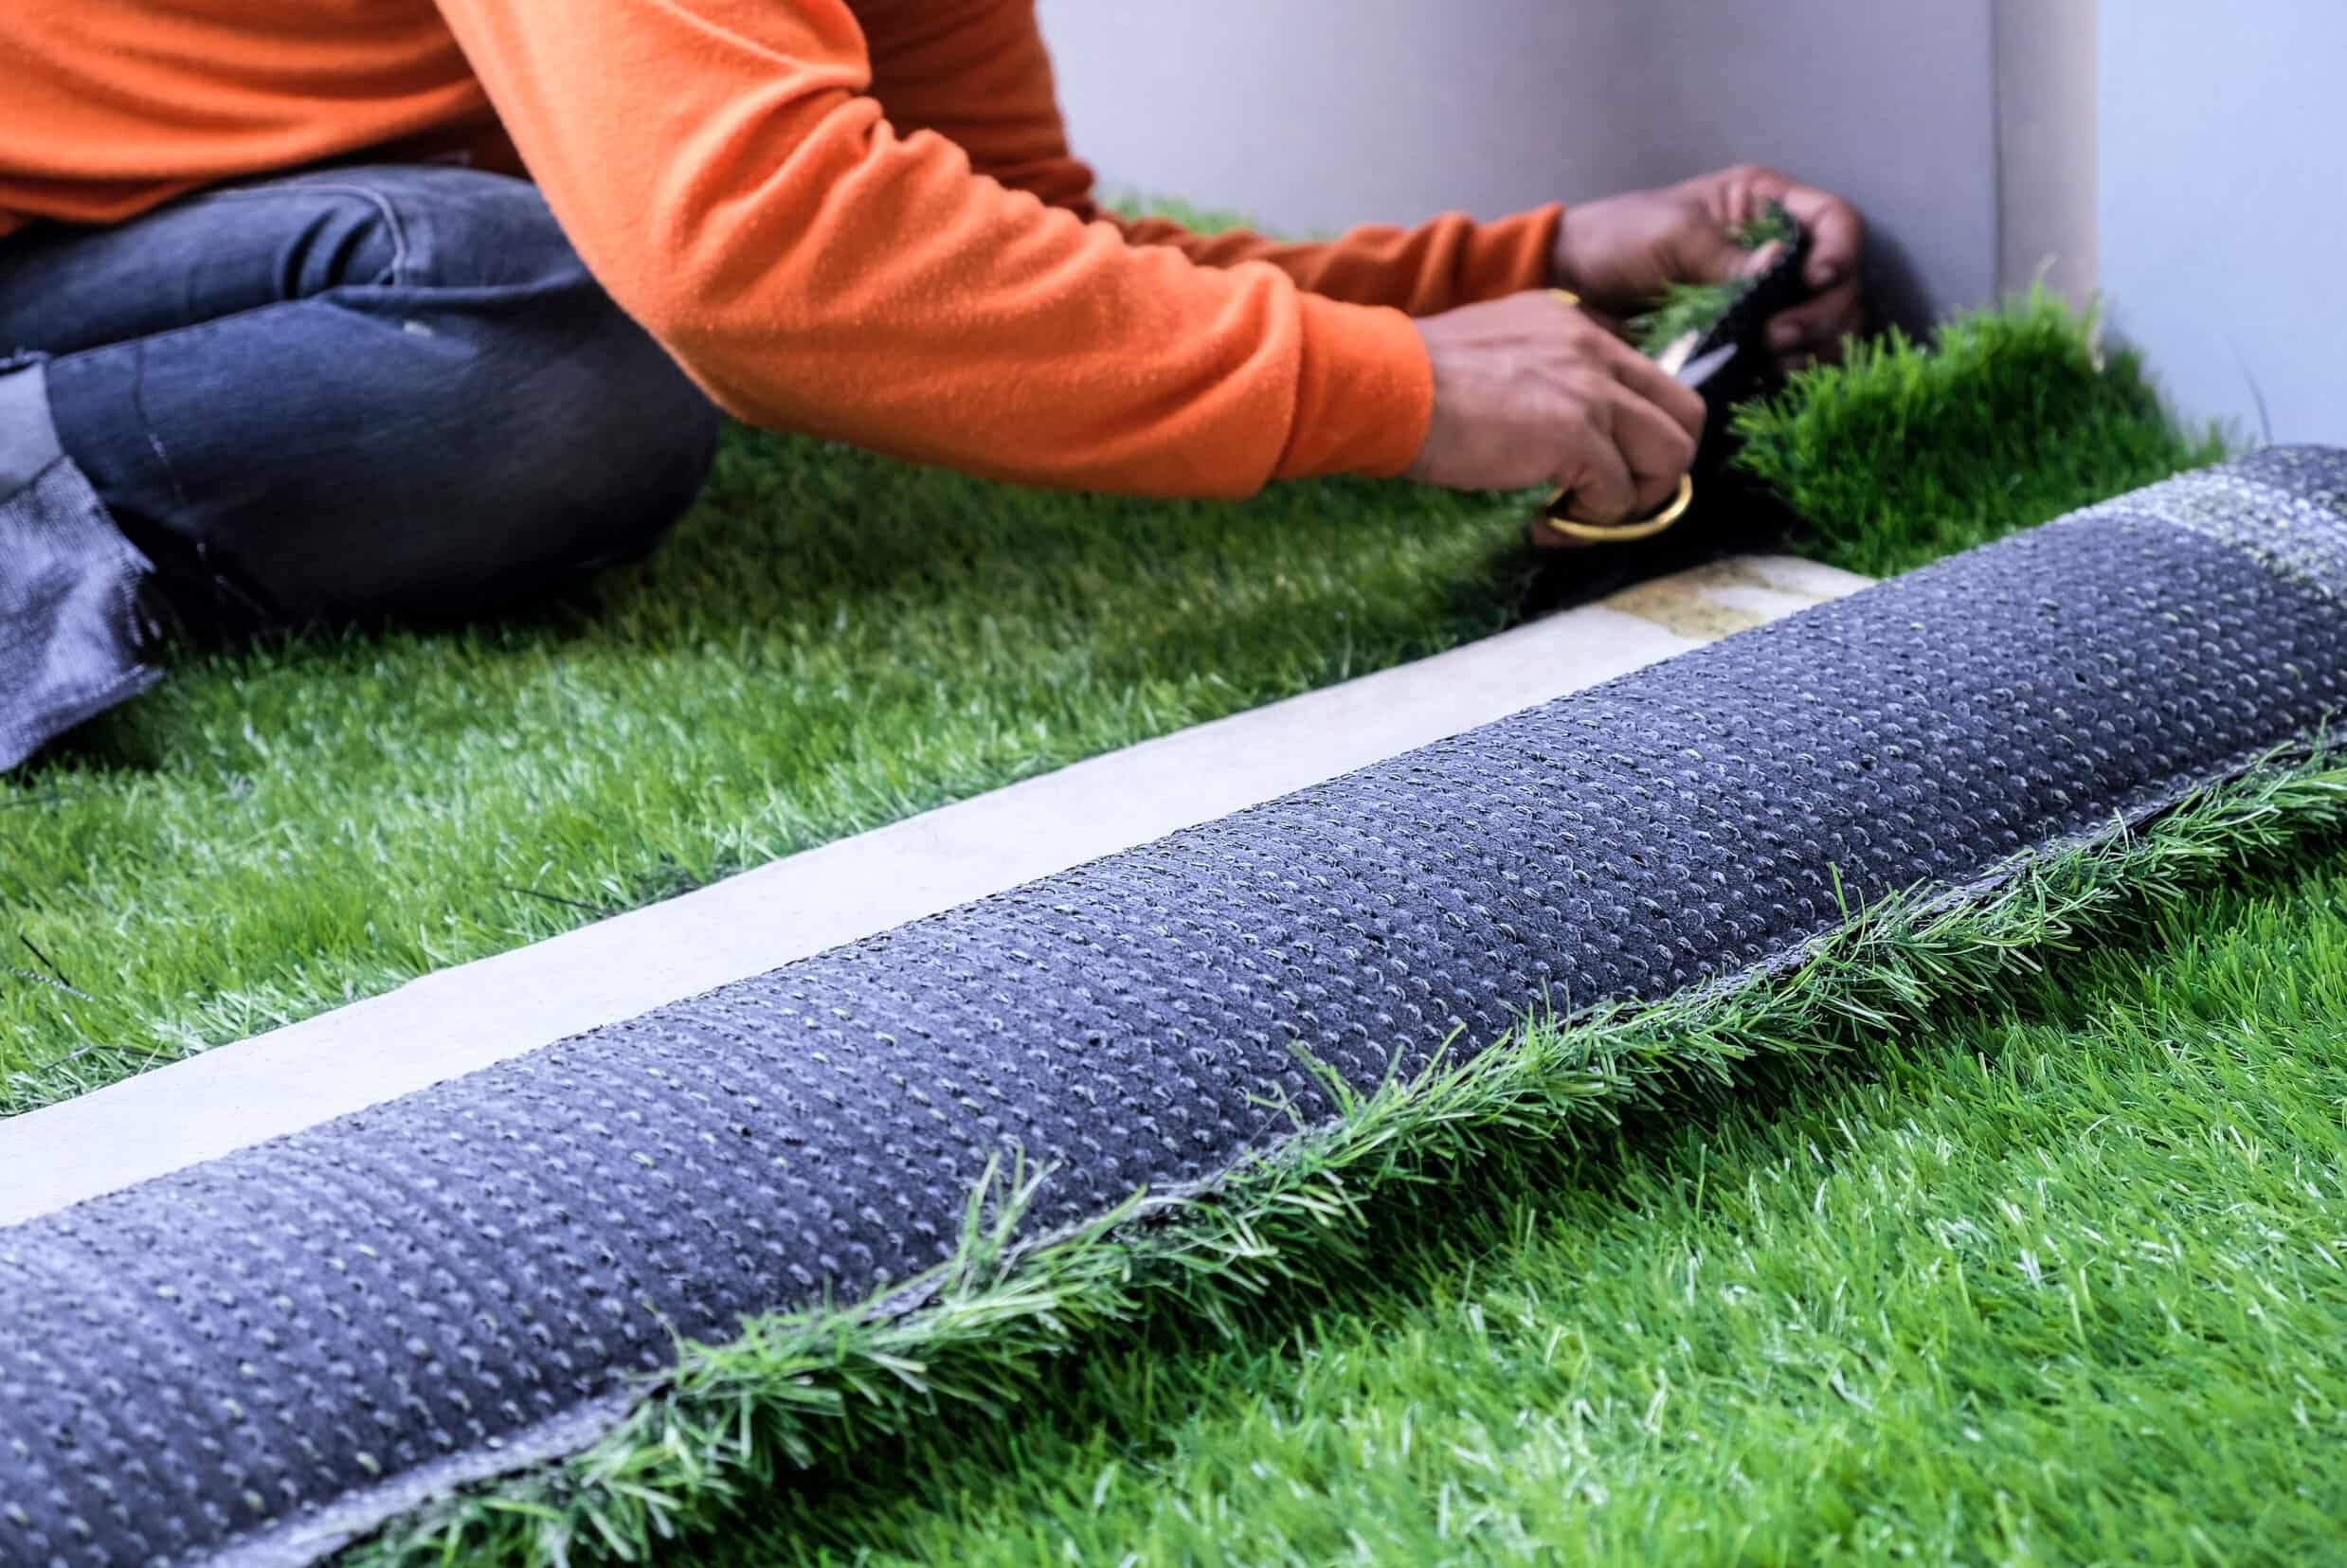
Home>Garden Essentials>How To Remove Turf Grass
Garden Essentials
How To Remove Turf Grass
Modified: September 2, 2024
Learn how to easily remove turf grass from your garden and create a fresh canvas for new landscaping projects. Discover effective methods and tips now!
(Many of the links in this article redirect to a specific reviewed product. Your purchase of these products through affiliate links helps to generate commission for Storables.com, at no extra cost. Learn more)
Introduction
Removing turf grass from your garden can be a challenging but rewarding endeavor. Whether you want to replace it with a different type of landscaping, create a vegetable garden, or have a blank canvas for a new design, removing the turf grass is the first step.
In this guide, we will take you through the process of removing turf grass step by step. We will cover everything from gathering the necessary materials to disposing of the grass and preparing the soil for future landscaping. So, let’s get started!
Key Takeaways:
- Transform your garden by removing turf grass and preparing the soil for new landscaping. Gather materials, cut and dispose of the grass, and create a plan for your dream garden.
- Prepare the soil, evaluate its nutrient content, and decide on the next landscaping option. With patience and effort, create a beautiful and personalized outdoor space.
Read more: How To Remove Lawn Turf
Step 1: Gather Materials
Before you begin removing the turf grass, it’s important to gather all the necessary materials. Here’s a list of items you’ll need:
- Garden gloves
- Shovel or spade
- Garden rake
- Lawn edger
- Wheelbarrow
- Tarp or large plastic sheets
- Watering can or hose
Garden gloves will protect your hands from blisters and cuts while working with the grass and tools. A shovel or spade will help you cut through the turf grass, while a garden rake is essential for leveling the soil.
A lawn edger can be helpful in creating a clean boundary between the grass and other areas of your garden. A wheelbarrow will make it easier to transport the removed grass and debris. Finally, you’ll need a tarp or large plastic sheets to collect the grass and protect the surrounding area.
Additionally, make sure you have access to a watering can or hose to moisten the soil, as this will make it easier to remove the grass.
With all these materials gathered and ready, you’re now prepared to tackle the task of removing the turf grass!
Step 2: Prepare the Area
Before you start removing the turf grass, it’s important to properly prepare the area. Here are the steps to follow:
- Clear the area: Remove any obstacles such as rocks, branches, or garden ornaments that may hinder your progress.
- Mow the grass: If the grass is particularly long, it’s a good idea to mow it to a manageable height before starting the removal process.
- Water the soil: Moistening the soil will make it easier to cut and remove the grass. Water the area thoroughly, making sure the soil is damp but not overly saturated.
- Mark the boundaries: Use a lawn edger to create clear boundaries between the grass area and any adjacent borders, flower beds, or walkways.
By following these preparation steps, you’ll ensure a smooth and efficient process when it comes to removing the turf grass.
Now that you’ve prepared the area, it’s time to move on to the next step: cutting the turf grass.
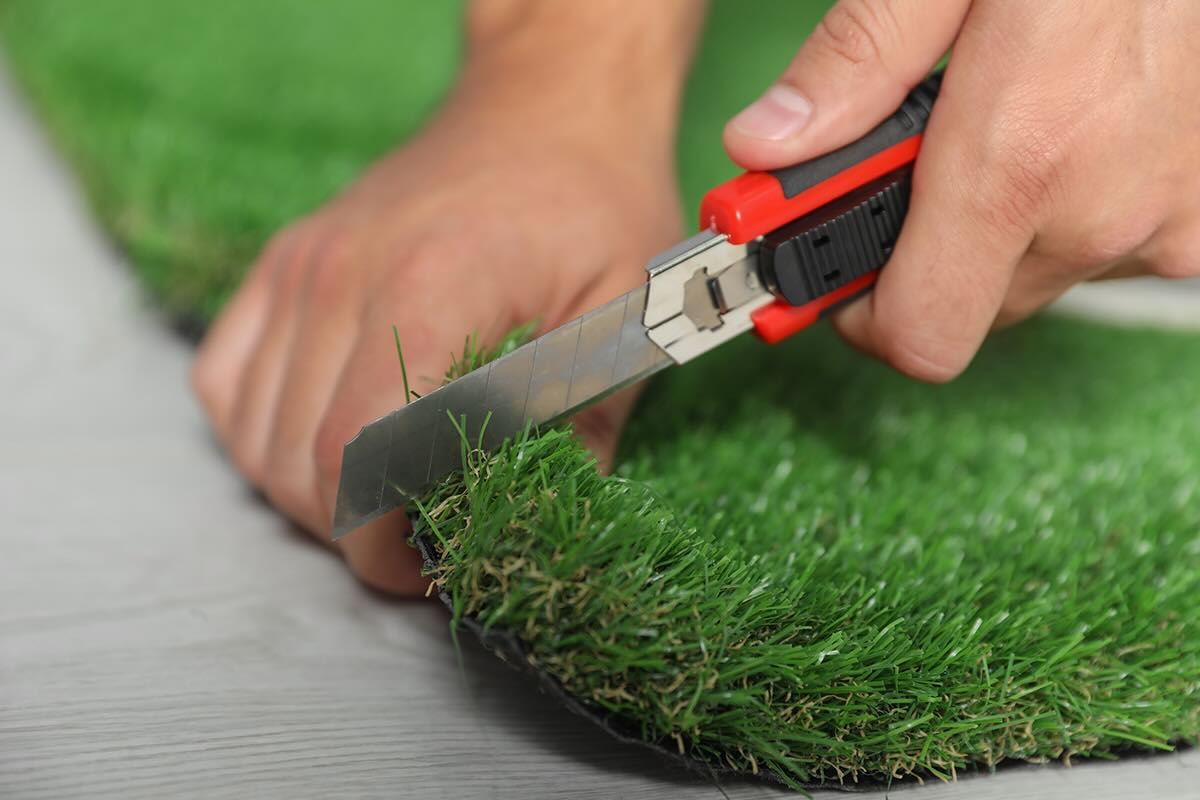
Step 3: Cut the Turf Grass
Now that you have prepared the area, it’s time to cut the turf grass. Here’s how you can do it:
- Start at one corner: Choose a corner of the grass area to begin. This will allow you to work methodically and ensure that you don’t miss any patches.
- Insert the shovel: Insert the shovel or spade into the soil at a slight angle, about 3-4 inches away from the edge of the grass area.
- Cut through the roots: Push the shovel into the ground, cutting through the roots of the grass. Use your foot to apply downward pressure if needed.
- Repeat the process: Continue to cut through the grass in straight lines, working your way across the entire area. You may need to make multiple passes to fully separate the grass from the soil.
Remember to take breaks as needed and pace yourself to avoid any unnecessary strain. It’s also a good idea to have a wheelbarrow nearby to collect the cut grass for easy disposal later.
By following these steps, you’ll effectively cut the turf grass and be ready to move on to the next step: removing the grass from the area.
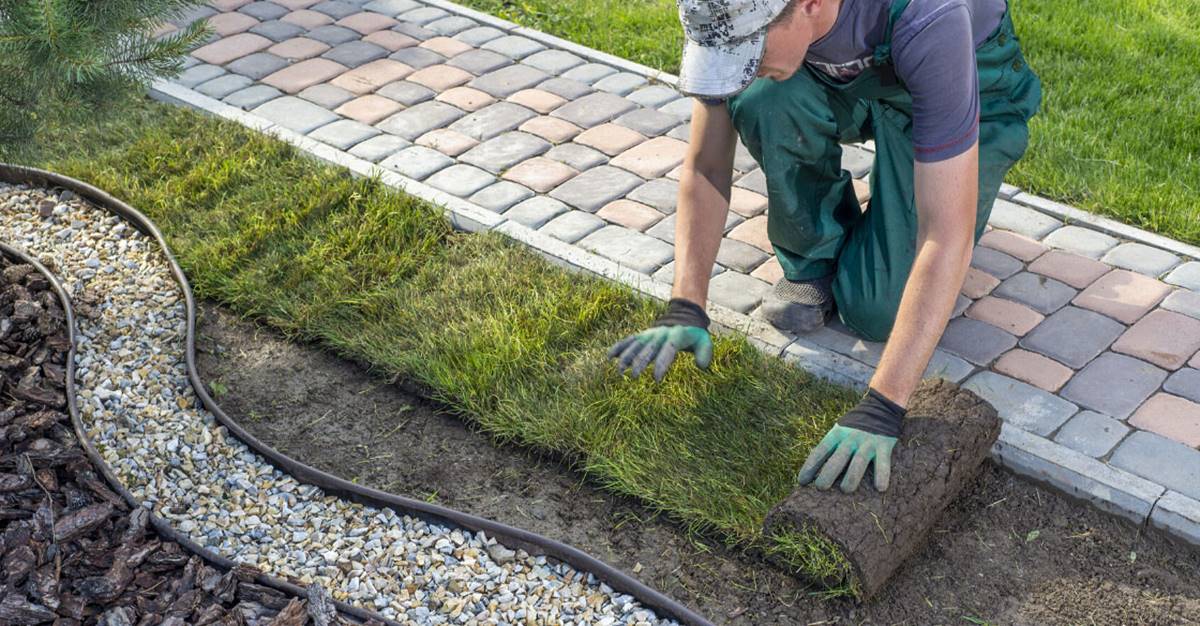
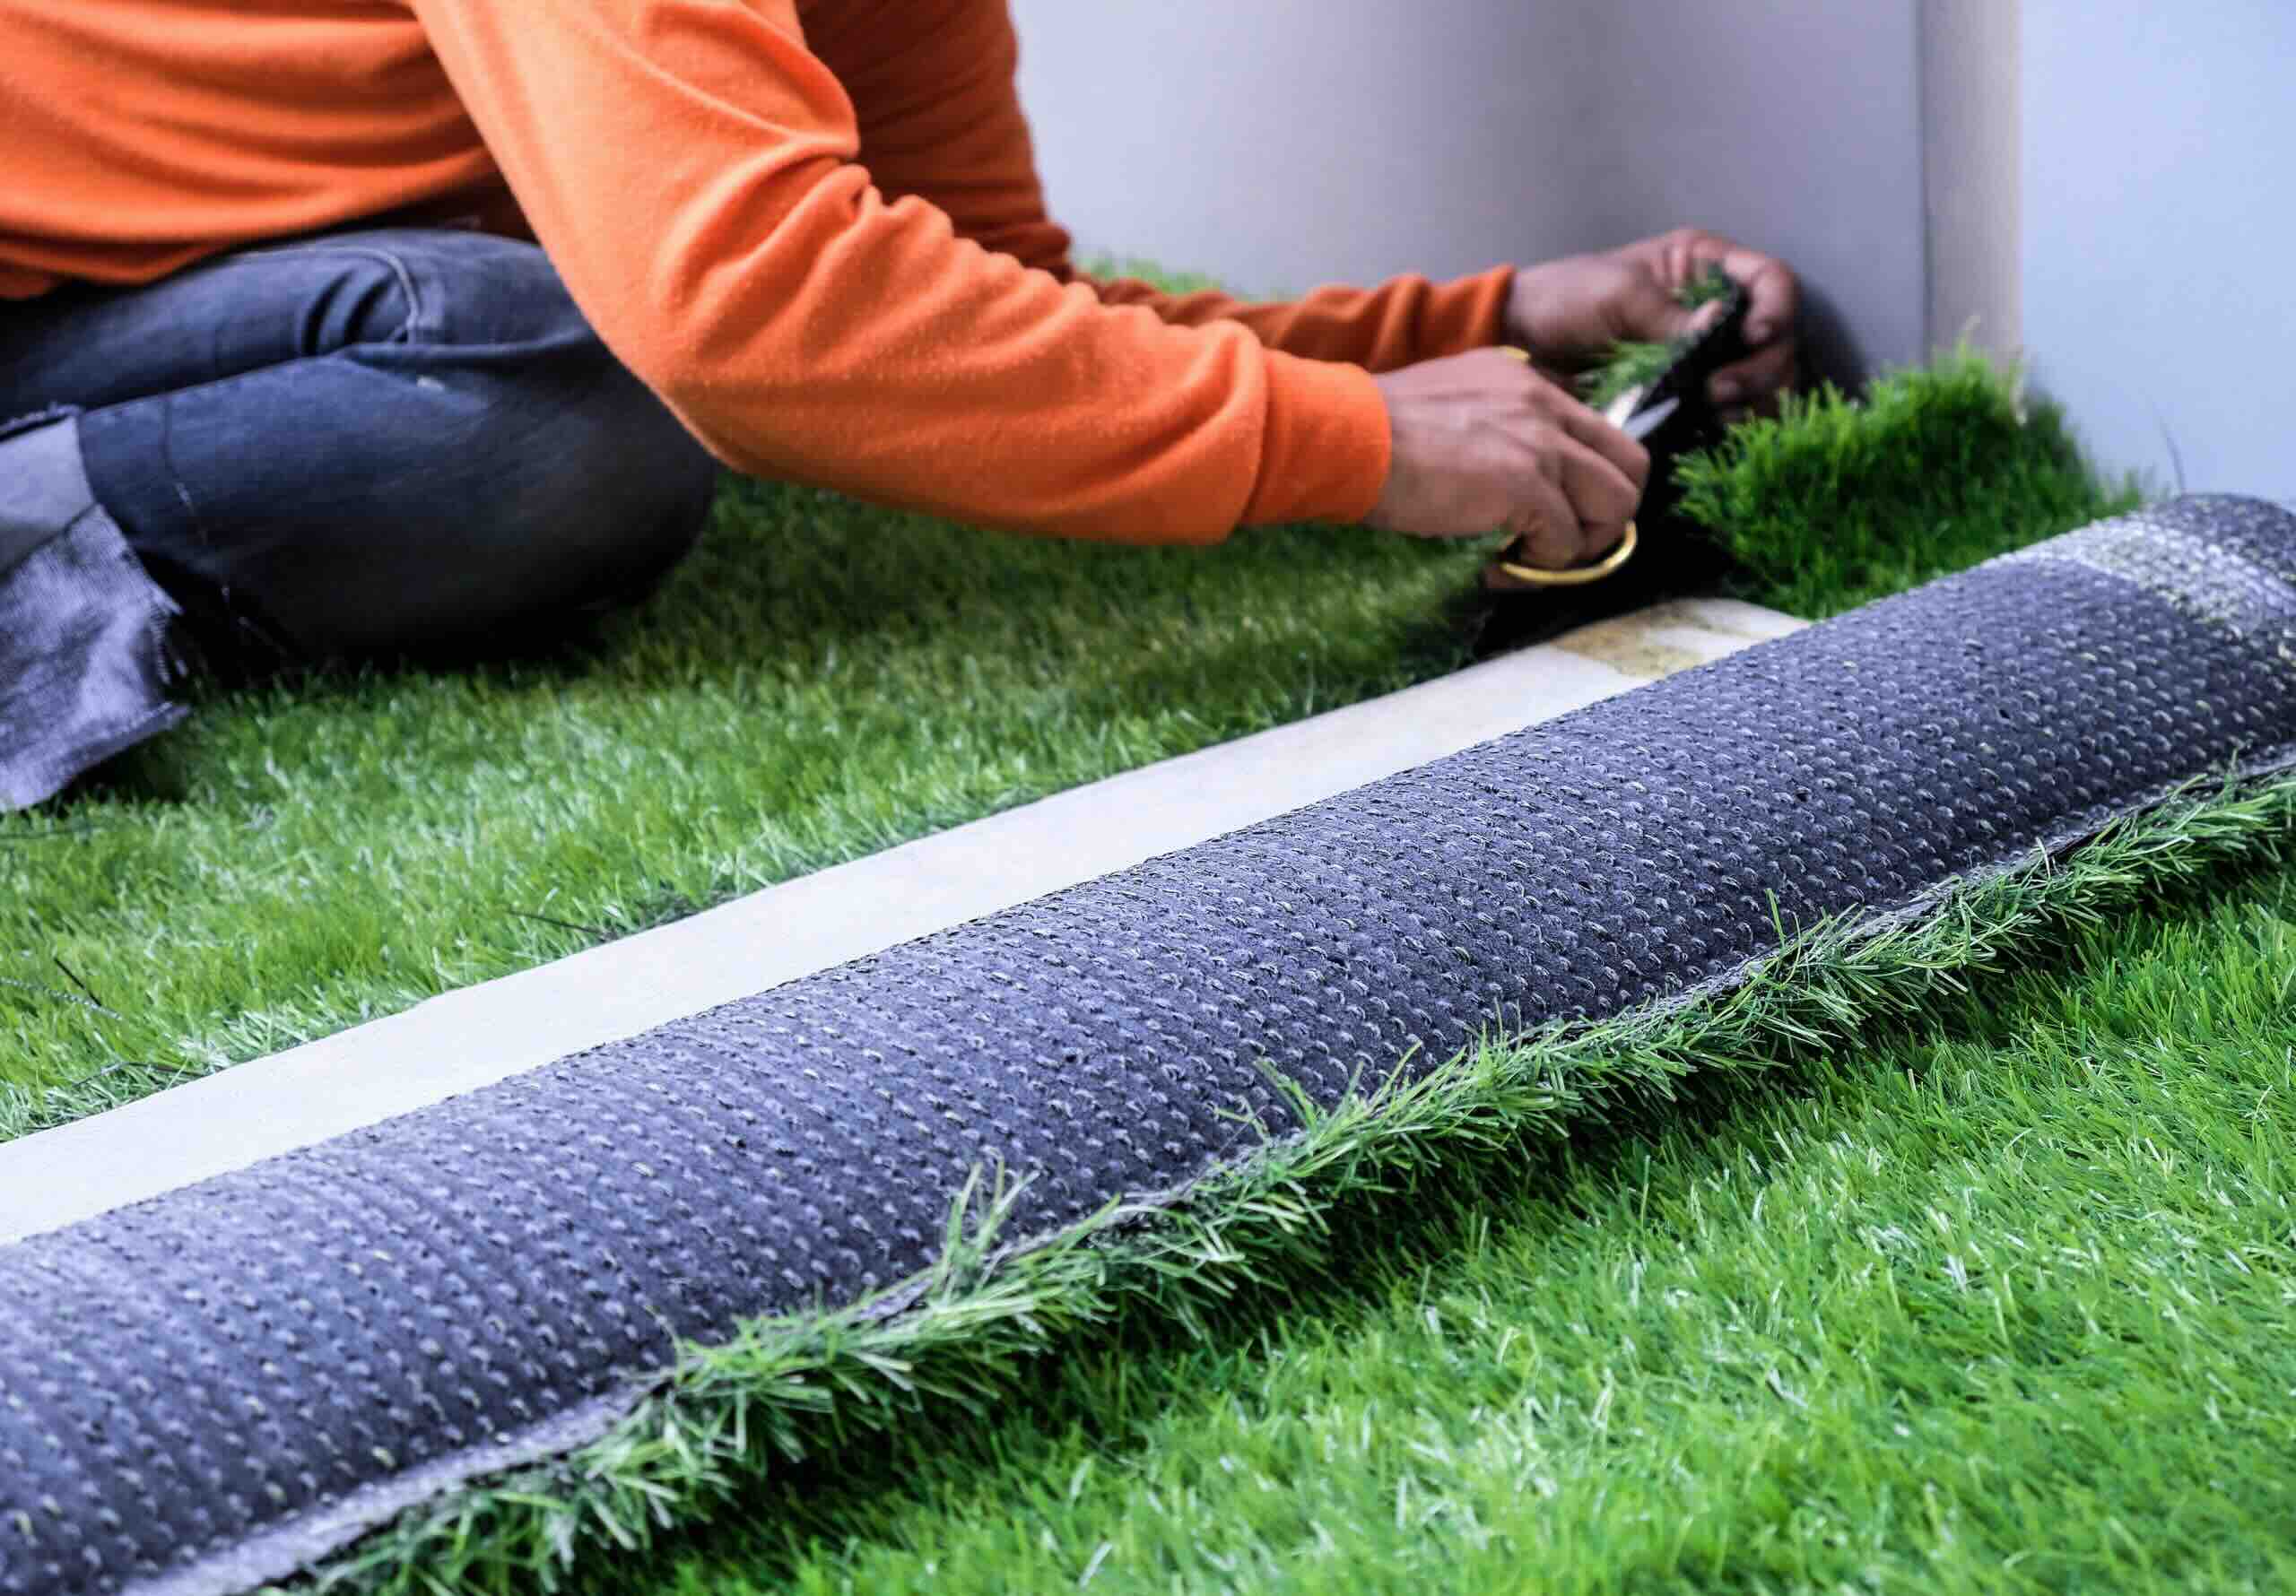
Step 4: Remove the Turf Grass
After cutting the turf grass, it’s time to remove it from the area. Here’s how you can do it:
- Use your shovel: With the grass cut, gently insert the shovel or spade under the cut grass and lift it up. Be careful not to damage the surrounding soil.
- Roll the grass: If the grass is long and intact, you can roll it up like a carpet. Start from one end and roll it tightly, making it easier to transport and dispose of.
- Transfer to a wheelbarrow: Once you have a section of grass lifted or rolled, transfer it to a wheelbarrow for easier transportation. Repeat this process across the entire grass area.
- Dispose of the grass: Depending on local regulations, you may be able to compost the grass if it’s free from any pesticides or herbicides. Otherwise, check with your local waste management facilities for the proper disposal methods.
It’s important to note that removing the grass can be labor-intensive, especially if you have a large area to clear. Pace yourself, take breaks, and enlist the help of friends or family if needed.
Once all of the grass is removed, you can proceed to the next step: preparing the soil for future landscaping or gardening.
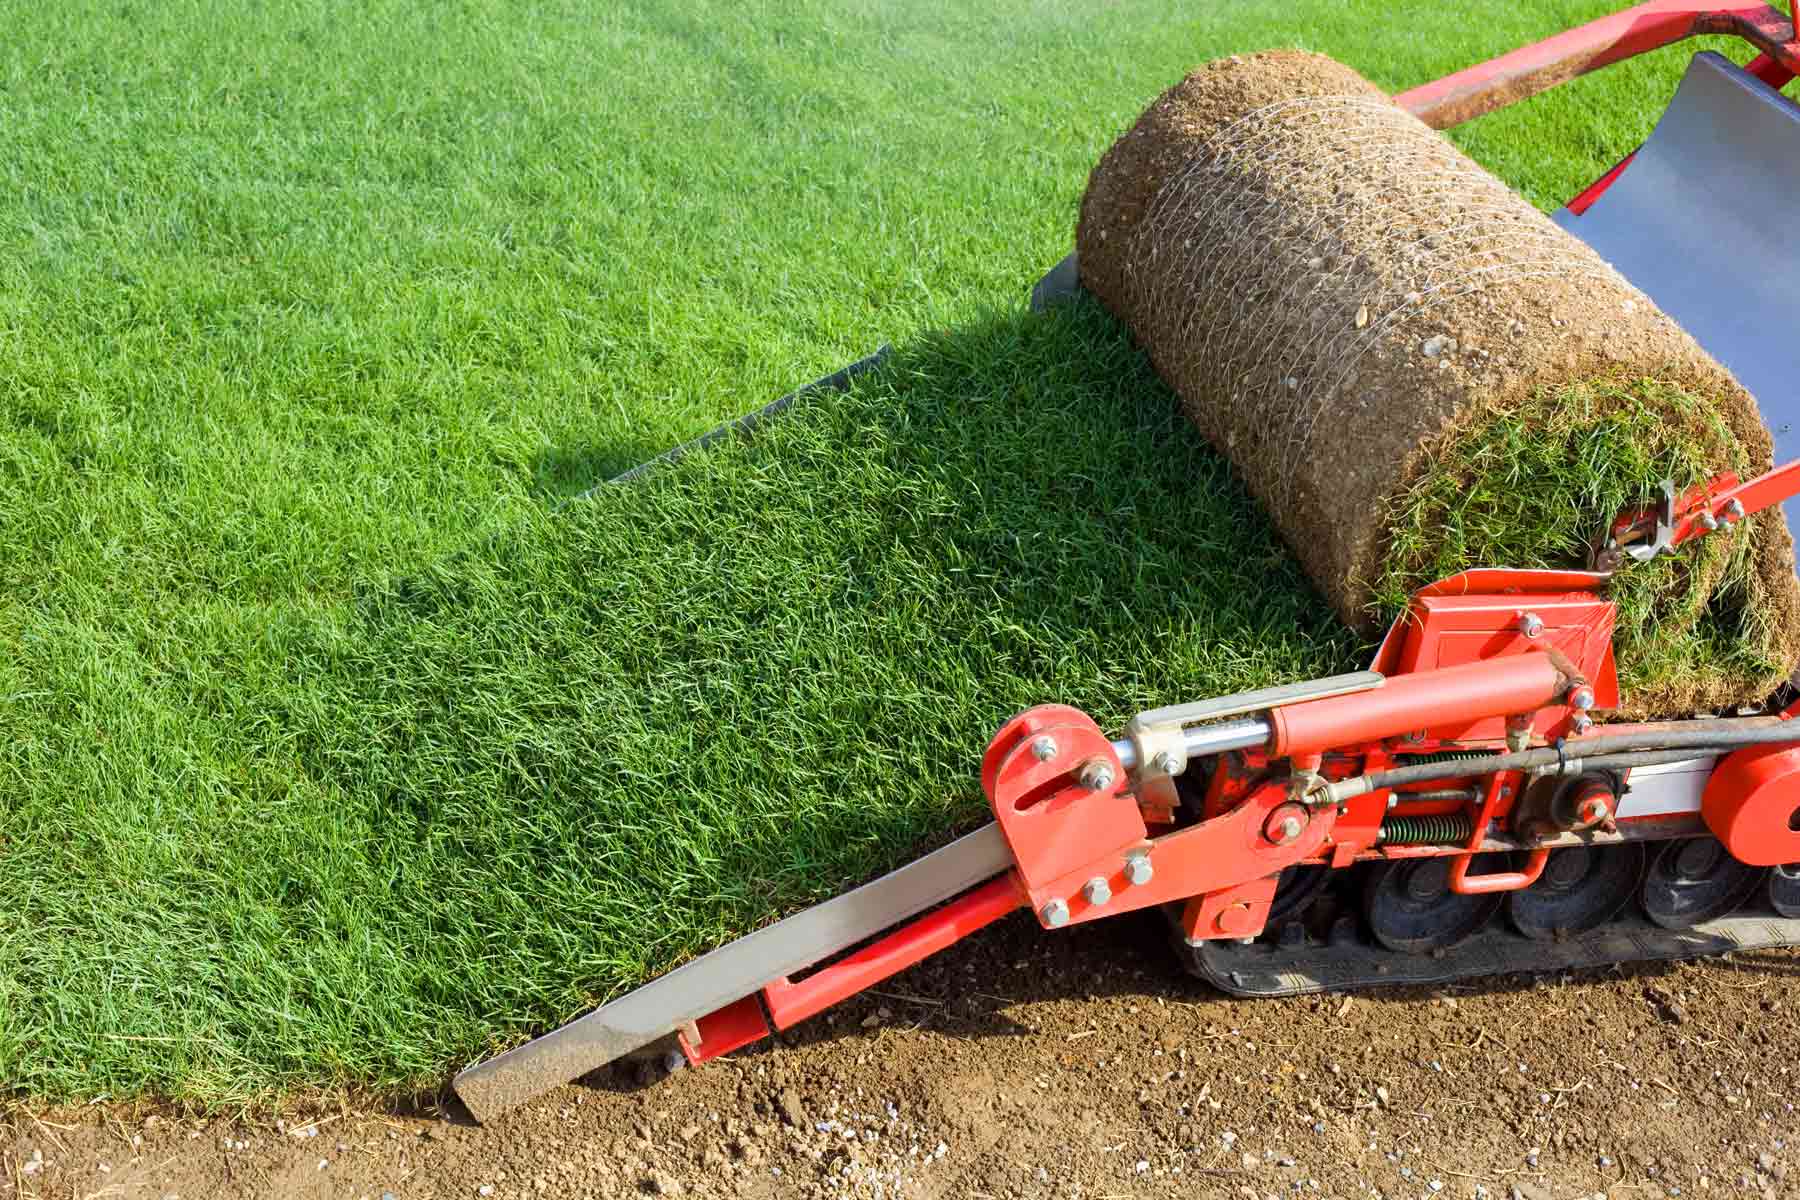
One way to remove turf grass is by using a sod cutter to cut and remove the top layer of grass and roots. This can make it easier to replant or lay new landscaping.
Read more: How To Remove Astro Turf Stains From Socks
Step 5: Dispose of the Turf Grass
Once you have removed the turf grass from your garden, it’s time to properly dispose of it. Here are some options for disposing of the grass:
- Composting: If the grass is free from any pesticides or herbicides, you can consider composting it. Grass clippings can be a valuable addition to your compost pile, providing nitrogen and organic matter. Make sure to mix the grass with other compostable materials and turn the pile regularly to ensure proper decomposition.
- Local green waste facility: Check with your local waste management facilities for green waste recycling programs. Some areas have dedicated facilities that accept grass and other organic materials for composting or mulching.
- Mulching: If you have a garden or flower beds, you can use the grass as a natural mulch. Spread a layer of grass clippings around your plants to help retain moisture, suppress weeds, and enrich the soil as it breaks down.
- Curbside pickup: In some areas, you may be able to leave the grass clippings on the curb for regular yard waste collection. Check with your local waste collection agency for guidelines on grass clippings disposal.
It’s important to dispose of the grass responsibly to minimize waste and avoid potential environmental impact. Choose the method that best suits your needs and aligns with local regulations.
With the turf grass properly disposed of, you can now move on to the next step: preparing the soil for future landscaping or gardening.
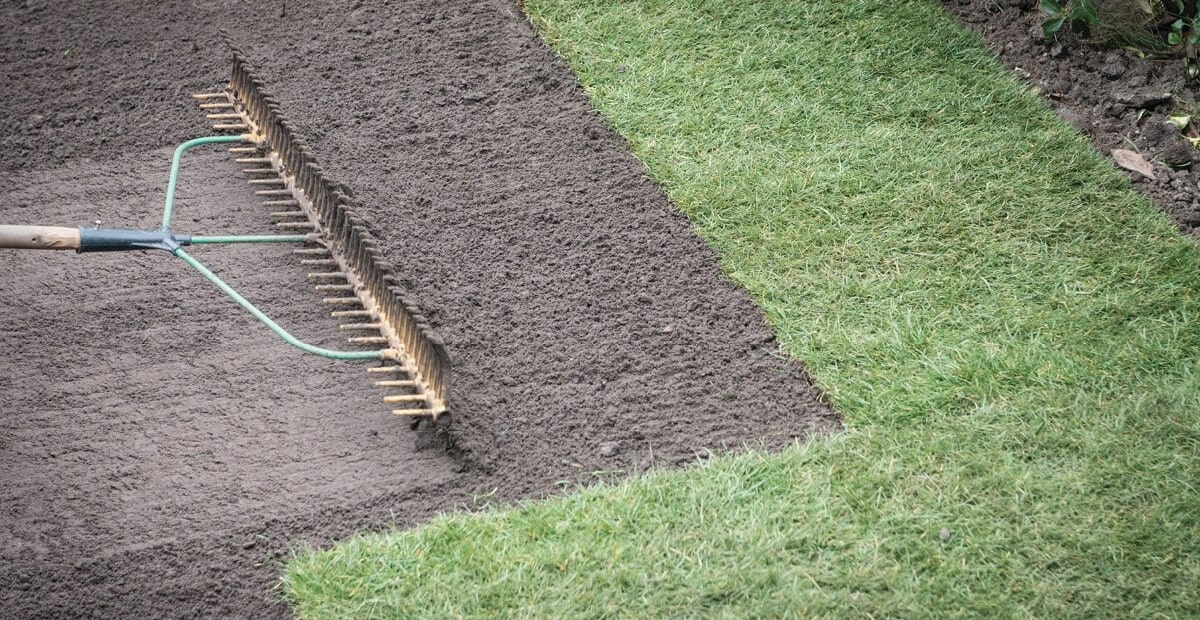
Step 6: Prepare the Soil for Next Steps
With the turf grass removed, it’s important to prepare the soil for whatever landscaping or gardening plans you have in mind. Follow these steps to properly prepare the soil:
- Remove any remaining debris: Inspect the area for any leftover grass roots, weeds, or rocks. Remove them to create a clean and even surface.
- Loosen the soil: Use a garden rake or a garden tiller to break up the soil. This will improve drainage and aeration, making it easier for plants to establish roots.
- Add organic matter: Incorporate organic matter such as compost, well-rotted manure, or peat moss into the soil. This will enrich the soil and provide essential nutrients for future plants.
- Level the soil: Use the garden rake to level the soil surface. Remove any high spots and fill in any low areas. This will create a smooth and even surface for planting or laying new sod.
- Water the soil: Before proceeding with your next landscaping steps, water the soil thoroughly to ensure it is moisturized. This will help promote healthy plant growth.
By properly preparing the soil, you are setting a solid foundation for the success of your future landscaping or gardening endeavors. Take your time with this step to ensure the best possible results.
Once the soil is prepared, you can move on to the next step: evaluating the soil for its nutrient content and pH levels.
Step 7: Evaluate the Soil
After preparing the soil, it’s important to evaluate its nutrient content and pH levels. This will help you determine if any amendments are necessary to create optimal growing conditions for your plants. Here’s how you can evaluate the soil:
- Perform a soil test: Soil testing kits are readily available at garden centers or through your local agricultural extension office. Use the kit to collect soil samples from different areas of your garden and follow the instructions provided to conduct the test.
- Analyze the results: Once you’ve completed the soil test, analyze the results to determine the nutrient levels and pH of your soil. The test will typically indicate the levels of essential nutrients such as nitrogen, phosphorus, and potassium, as well as the soil pH.
- Adjust nutrient levels: If the soil test reveals deficiencies in certain nutrients, you can adjust them by adding appropriate amendments. For example, if your soil lacks nitrogen, you can apply a nitrogen-rich fertilizer. Likewise, if the pH is too high or too low, you can amend it using additives like lime or sulfur.
- Follow recommended guidelines: Use the soil test results and recommended guidelines to make informed decisions about the type and amount of amendments needed. It’s important to follow the instructions carefully to avoid over-fertilization or pH imbalance, which can harm your plants.
By evaluating the soil and adjusting its nutrient levels and pH, you’ll create an optimal environment for your plants to thrive. Taking this step ensures that your future landscaping or gardening endeavors will have a strong foundation for success.
With the soil evaluated and amendments made, you can now move on to the next step: deciding on the next landscaping option.
Step 8: Decide on the Next Landscaping Option
Now that you have prepared the soil and evaluated its nutrient content, it’s time to decide on the next landscaping option for your garden. Consider the following factors to help you make an informed decision:
- Consider your needs and preferences: Think about what you want to achieve with your garden. Do you want to create a low-maintenance landscape, a vibrant flower garden, a vegetable patch, or maybe a serene outdoor oasis? Consider your lifestyle, interests, and priorities to guide your decision.
- Assess environmental conditions: Take note of the environmental conditions in your garden, such as sunlight exposure, soil drainage, and climate. Different plants have different requirements, so choose options that are well-suited to your site’s conditions.
- Research plant options: Explore various plant options that are compatible with your garden’s conditions. Consider factors like plant size, growth habit, bloom time, and maintenance requirements. Make a list of plants that appeal to you and align with your goals.
- Consult with professionals: If you’re unsure or need expert guidance, reach out to local garden centers, horticulturists, or landscape architects. They can provide valuable insights and recommendations based on their knowledge and experience.
- Create a plan: Once you have a clear idea of your desired landscaping option, create a plan that includes the placement of plants, pathways, focal points, and any other design elements. This will help you visualize the final result and guide your implementation.
- Start implementing your plan: Depending on your chosen landscaping option, start implementing your plan by planting new vegetation, installing hardscaping features, or creating designated areas for different purposes. Follow best practices for planting and maintenance to ensure the long-term success of your garden.
Remember to be patient and enjoy the process of transforming your garden. Landscaping takes time and effort, but with careful planning and execution, you can create a beautiful and enjoyable outdoor space.
With the next landscaping option decided and your plan in place, you’re on your way to creating the garden of your dreams!
Conclusion
Removing turf grass from your garden can be a transformative journey that opens up new possibilities for your outdoor space. By following the step-by-step process outlined in this guide, you can successfully remove the turf grass and prepare the soil for your future landscaping or gardening endeavors.
Starting with gathering the necessary materials, preparing the area, cutting the turf grass, and removing it, you have taken important steps to create a clean slate for your garden. Properly disposing of the grass and evaluating the soil’s nutrient content and pH levels ensures that you provide the best conditions for your plants to thrive.
Once the soil is prepared, it’s time to decide on the next landscaping option that aligns with your needs, preferences, and garden conditions. By researching plant options, seeking professional advice if needed, and creating a well-thought-out plan, you can bring your vision to life and create a stunning, functional, and personalized outdoor space.
Remember, the process of transforming your garden takes time, patience, and effort. Enjoy the journey and embrace the opportunity to connect with nature as you create the garden of your dreams.
So, take the first step, gather your materials, and embark on this rewarding adventure of removing turf grass and creating a beautiful, thriving garden that you can enjoy for years to come!
Frequently Asked Questions about How To Remove Turf Grass
Was this page helpful?
At Storables.com, we guarantee accurate and reliable information. Our content, validated by Expert Board Contributors, is crafted following stringent Editorial Policies. We're committed to providing you with well-researched, expert-backed insights for all your informational needs.


0 thoughts on “How To Remove Turf Grass”