Home>Garden Essentials>How To Install Turf Around Pool
Garden Essentials
How To Install Turf Around Pool
Modified: October 21, 2024
Learn how to install garden turf around your pool to create a beautiful and low-maintenance outdoor space. Enhance the aesthetics and functionality of your pool area with our step-by-step guide.
(Many of the links in this article redirect to a specific reviewed product. Your purchase of these products through affiliate links helps to generate commission for Storables.com, at no extra cost. Learn more)
Introduction
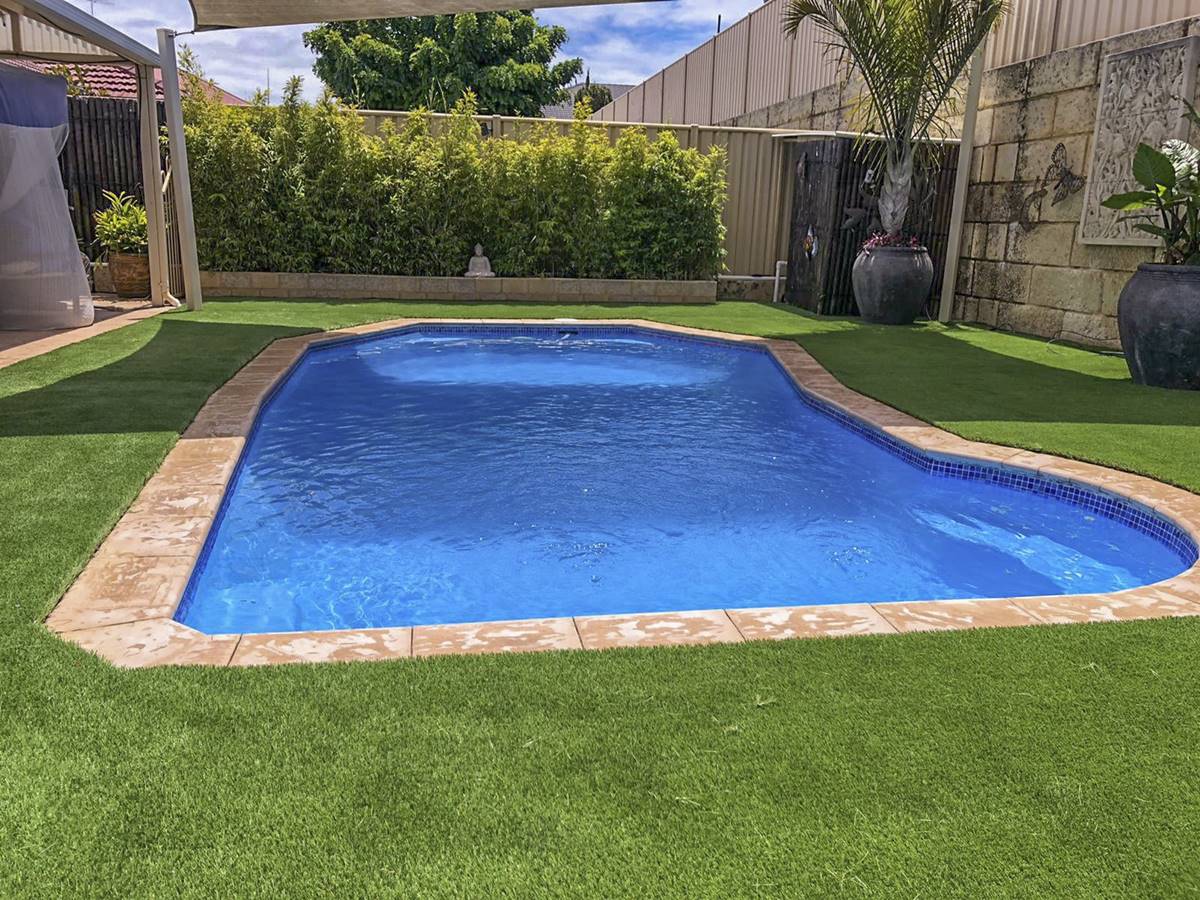
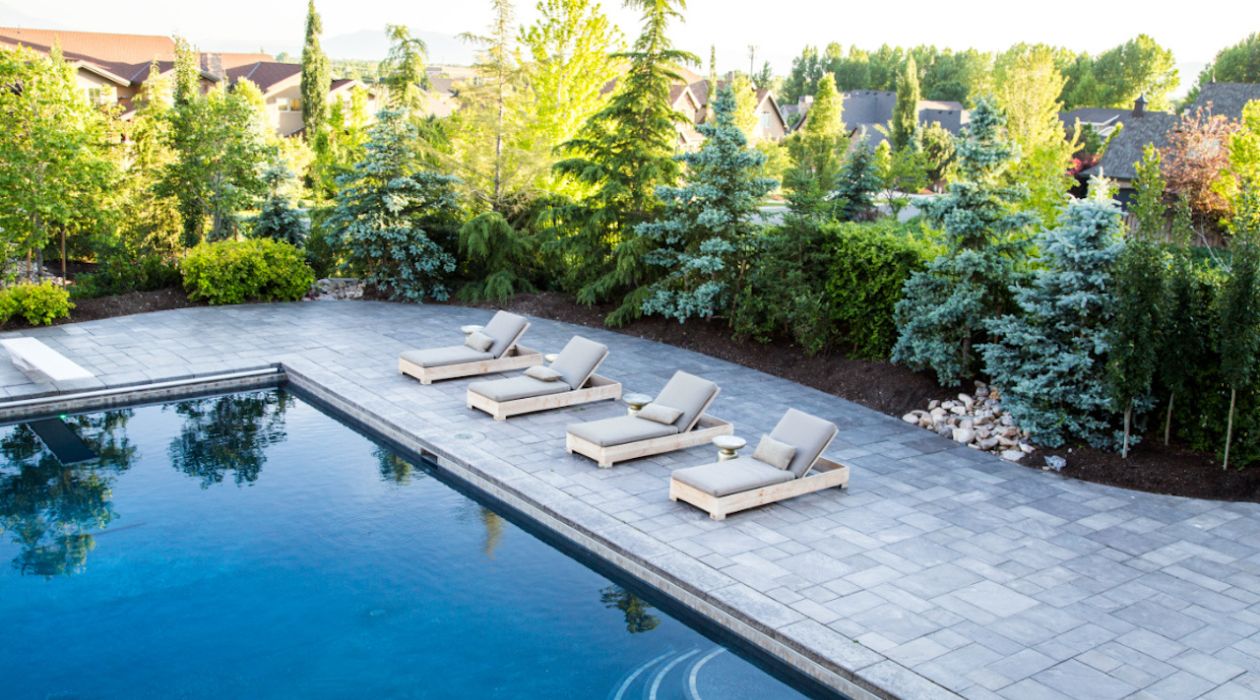
Welcome to our guide on how to install turf around a pool! Adding turf around your pool area can not only enhance the visual appeal but also provide a comfortable and safe surface for lounging and playing. Whether you’re looking to replace existing landscaping or starting from scratch, this article will provide you with step-by-step instructions on how to install turf around your pool.
Before we dive into the installation process, it’s important to note that turf, also known as artificial grass or synthetic turf, has become increasingly popular due to its low maintenance requirements, durability, and aesthetic appeal. It not only saves water but also eliminates the need for mowing, fertilizing, and other time-consuming tasks associated with natural grass.
Now, let’s get started with the installation process!
Key Takeaways:
- Installing turf around a pool involves measuring, preparing the area, removing existing vegetation, leveling the ground, laying the turf rolls, and securing the edges. Proper maintenance ensures a vibrant and long-lasting artificial grass surface.
- Artificial turf offers benefits such as water conservation, minimal maintenance, durability, and a visually appealing aesthetic. Following the installation steps and caring for the turf creates a stunning and hassle-free pool area.
Read more: How To Install Lawn Turf On A Concrete Pool
Step 1: Measure and prepare the area
The first step in installing turf around your pool is to accurately measure and prepare the area. This will ensure that you have the right amount of turf and materials for the project. Here’s how to do it:
- Measure the area: Begin by measuring the length and width of the pool area where you plan to install the turf. Use a tape measure to get precise measurements, and add a few extra inches to account for any curves or irregularities in the shape of the pool.
- Clear the area: Remove any obstacles, such as furniture, plants, or debris, from the pool area. It’s important to have a clean and level surface for the turf installation.
- Grade the area: If the ground is not level, you may need to grade the area to create a smooth and even base for the turf. Use a shovel or a rake to remove any high spots and fill in any low areas with soil or sand. Ensure that the area is properly graded to allow for proper drainage.
- Consider drainage: Assess the drainage system around your pool area. It’s essential to have proper drainage to avoid water pooling and potential damage to the turf. If needed, install a drainage system or make adjustments to existing drainage to ensure water flows away from the pool area.
By taking these steps to measure and prepare the area, you are setting the foundation for a successful turf installation. Now that you have a clear understanding of the pool area’s dimensions, cleared any obstacles, graded the ground, and considered drainage, you’re ready to proceed to the next step – removing existing vegetation and debris.
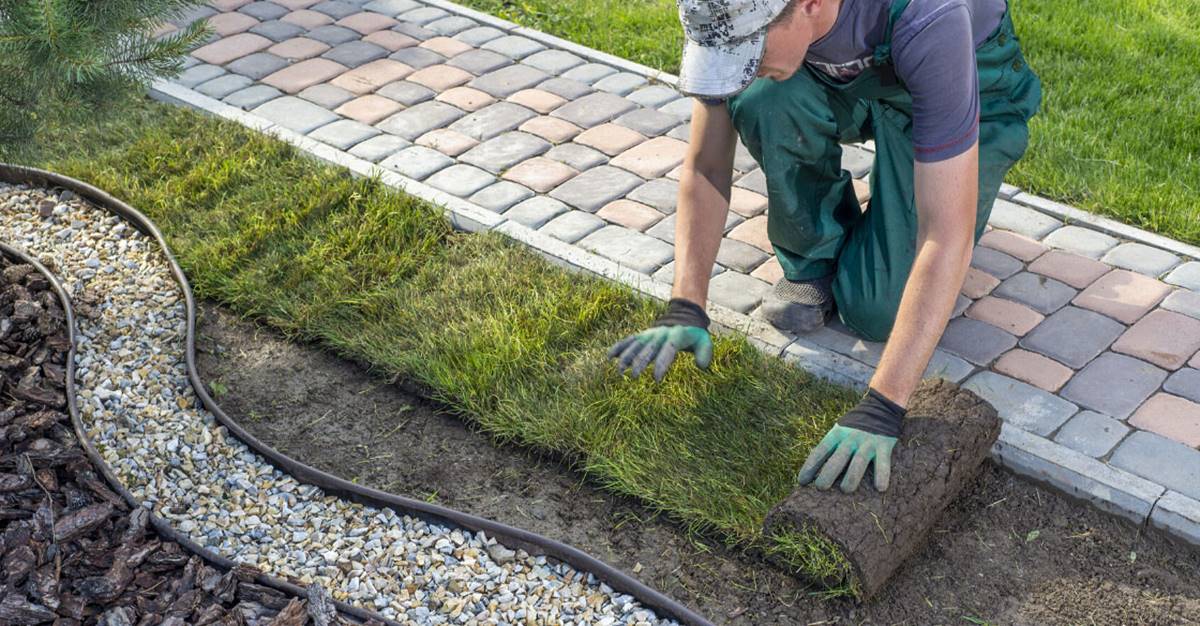
Step 2: Remove existing vegetation and debris
Now that you have measured and prepared the area, the next step is to remove any existing vegetation and debris from the pool area. This is important to ensure a clean and smooth surface for the turf installation. Here’s how to do it:
- Cut and remove grass: If there is natural grass present, use a sharp lawn mower or a grass trimmer to cut it as close to the ground as possible. Remove the cut grass and dispose of it properly.
- Remove weeds and plants: Inspect the area for any weeds, plants, or roots. Use a garden spade or a weed removal tool to dig them out completely. Be thorough in removing all roots to prevent any regrowth.
- Clear debris: Remove any rocks, stones, sticks, or other debris from the pool area. These can create lumps or uneven patches on the ground, which may affect the turf installation. Use a rake or a broom to thoroughly clean the area, ensuring a smooth and debris-free surface.
- Check for pests: Take a close look at the cleared area for any signs of pests or insects. If necessary, apply suitable pest control measures to ensure that your turf installation remains pest-free.
By removing existing vegetation and debris, you are creating a clean slate for the turf installation. This step is crucial to ensure that the turf lays flat and looks visually appealing. Once the area is clear and free from any obstacles, you can move on to the next step – leveling the ground.
Step 3: Level the ground
After removing existing vegetation and debris from the pool area, it’s important to level the ground to create a smooth and even surface for the turf installation. This step ensures that the turf will be properly installed and provide a seamless appearance. Follow these steps to level the ground:
- Inspect the area: Walk around the pool area and carefully observe the ground for any uneven spots or dips. These can be identified by visually inspecting or feeling for variations in the ground’s level. Mark these areas with stakes or flags to indicate where adjustments are needed.
- Fill the low areas: Using a garden rake or shovel, add fill material such as soil or sand to the marked low areas. Spread and level the fill material until it is flush with the surrounding ground. Compact the fill material gently with a tamper or the back of a shovel to ensure stability.
- Remove high spots: If there are any high spots identified during the inspection, use a shovel or rake to remove excess soil or sand from these areas. Smooth out the ground to match the surrounding level.
- Check for evenness: Walk across the leveled ground and feel for any areas that may still feel uneven. Use a level or a straight board to verify the ground’s evenness. Adjust as necessary until the entire area is uniformly level.
Leveling the ground is crucial to prevent any lumps, bumps, or uneven surfaces in the finished turf installation. By taking the time to carefully level the ground, you are ensuring a professional-looking result that will be both visually appealing and safe for use around the pool.
Once you have successfully leveled the ground, you can move on to the next step – installing edge restraints to secure the turf in place.
Step 4: Install edge restraints
Installing edge restraints is an essential step in the turf installation process. Edge restraints help to secure the turf in place, prevent it from shifting or moving, and give it a clean and defined border. Follow these steps to install edge restraints:
- Select the right materials: Choose suitable edge restraint materials such as plastic or metal landscape edging, concrete pavers, or treated lumber. Consider factors like durability, aesthetics, and compatibility with your pool area.
- Measure and mark the edges: Use a tape measure to determine the length of the edges where you’ll install the restraints. Mark these points with stakes or flags to indicate the positions. Ensure the marks are level and evenly spaced.
- Prepare the ground: Dig a shallow trench along the marked edge, slightly wider and deeper than the chosen edge restraint material. This trench will accommodate the edge restraint and hold it securely in place.
- Position the edge restraints: Place the chosen edge restraint material into the trench, ensuring it is level and properly aligned with the pool area. Use a rubber mallet or a hammer to tap the restraints into the ground, securing them firmly.
- Secure the restraints: Once the edge restraints are in position, use landscape spikes or screws to further secure them to the ground. Space the spikes or screws evenly along the restraints, ensuring a strong and stable hold.
- Check for alignment: Double-check the alignment and levelness of the edge restraints using a straight board or a level. Make any necessary adjustments to ensure that the restraints create a straight and consistent boundary.
Installing edge restraints not only adds a clean and finished look to the turf installation but also helps to prevent the turf from shifting or spreading over time. By following these steps, your edge restraints will provide stability and a neat border around your pool area.
With the edge restraints securely in place, you can now move on to the exciting step of laying the turf rolls!
Read more: How To Install Turf Grass
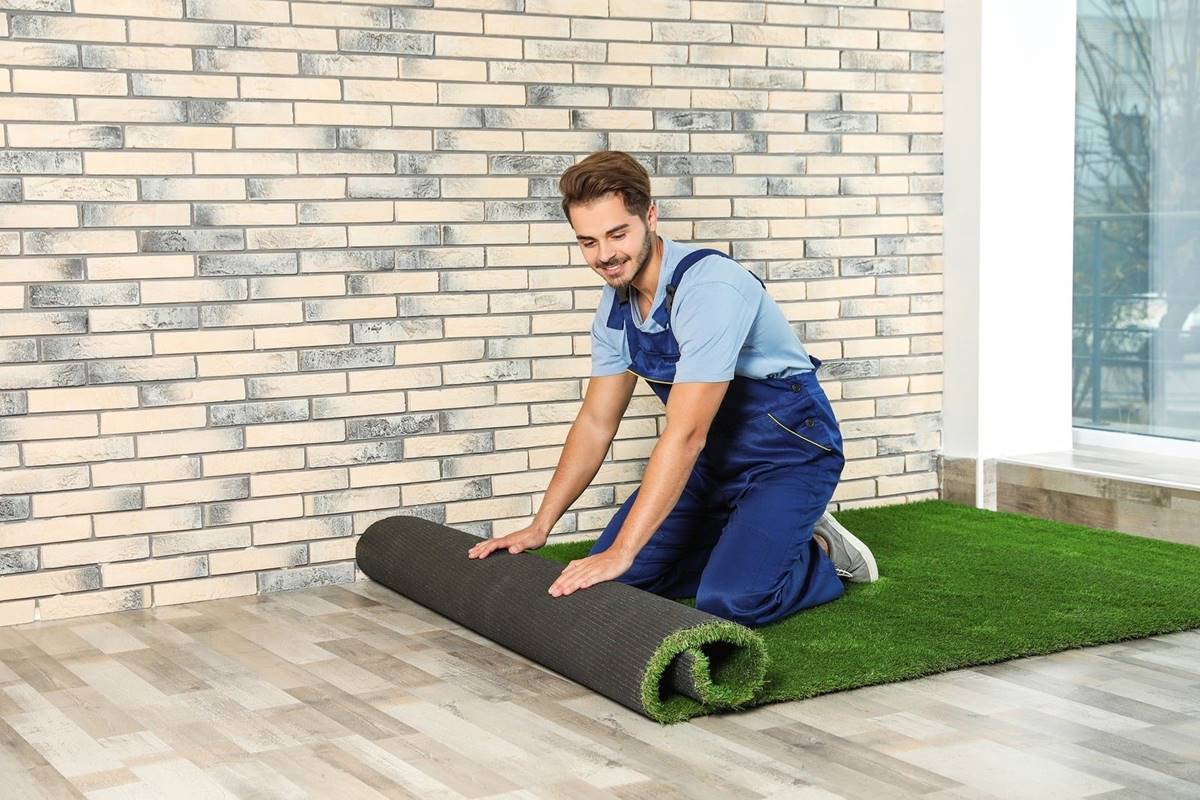
Step 5: Lay the turf rolls
Now that you have prepared the ground and installed edge restraints, it’s time to lay the turf rolls. This step brings your pool area one step closer to having a lush and vibrant artificial grass surface. Follow these steps to properly lay the turf rolls:
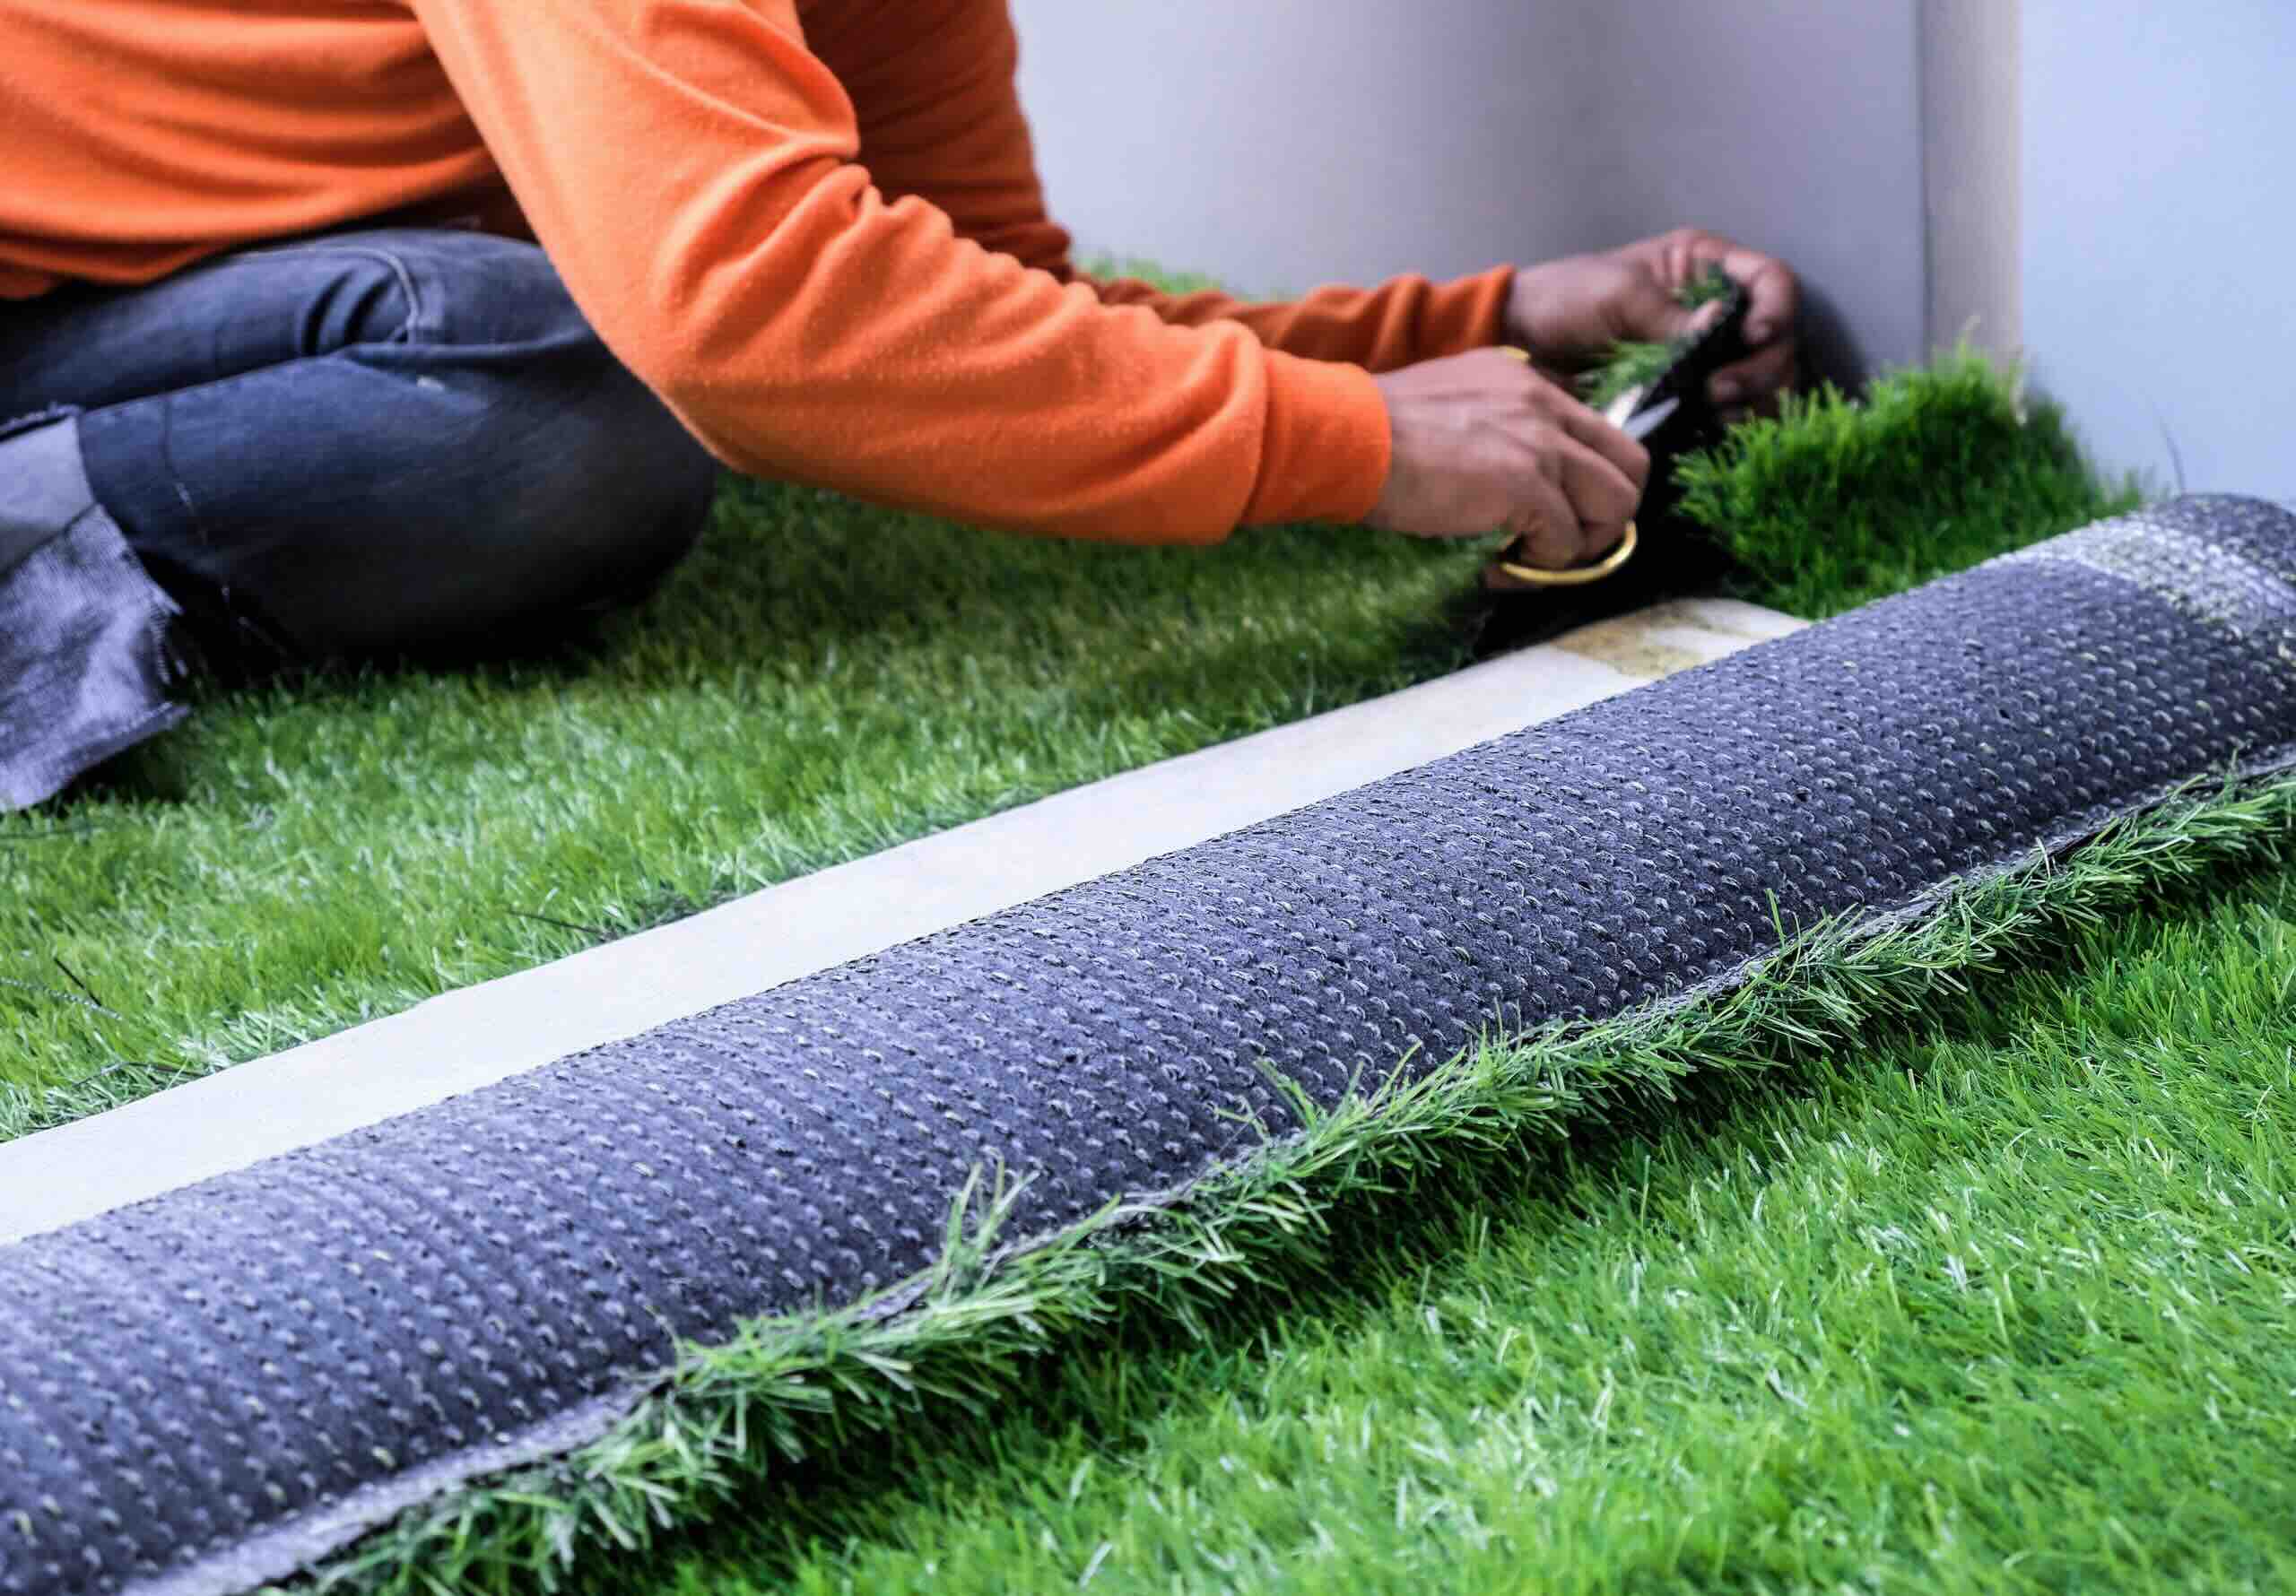
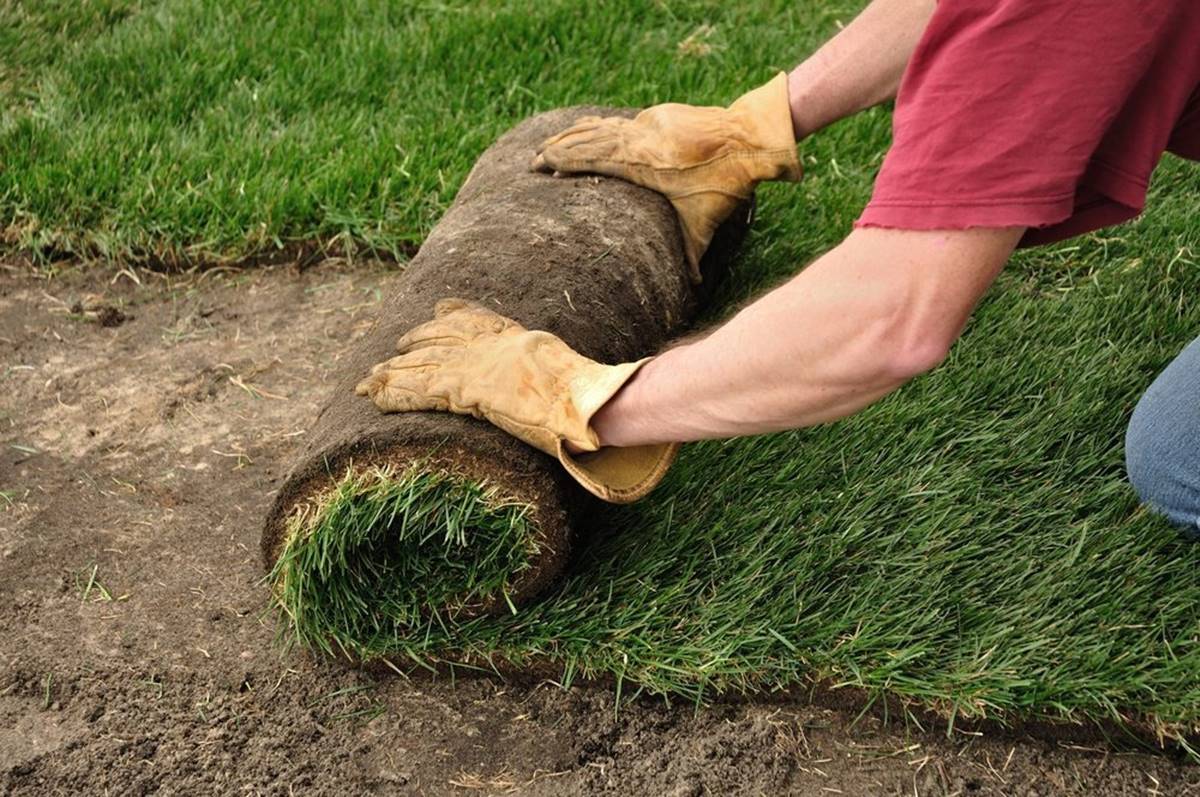
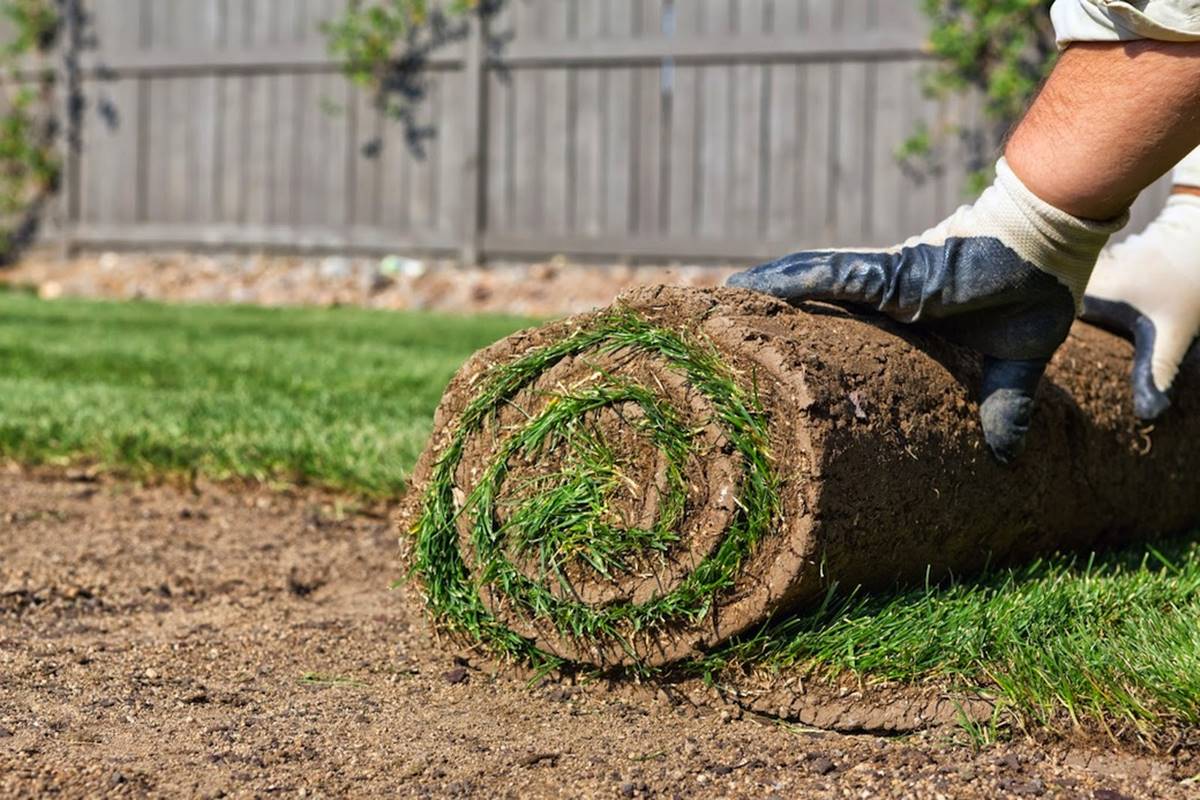
- Prepare the turf rolls: If your turf rolls have been stored rolled up, unroll them and allow them to sit in the sun for a few hours. This will help the turf fibers relax and make it easier to work with.
- Start with the longest straight edge: Begin laying the turf along the longest straight edge of your pool area. This will ensure a clean and even starting point for the installation.
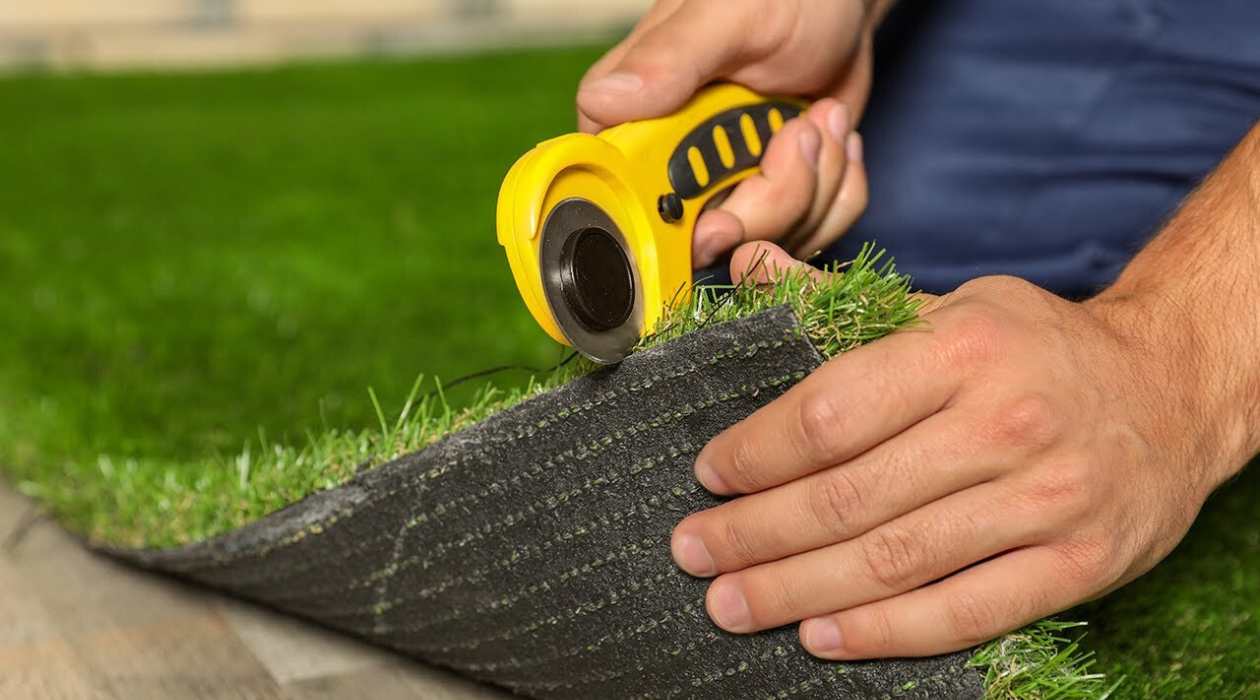
- Trim if necessary: Use a sharp utility knife to trim any excess length or width from the turf rolls. Ensure that the edges fit snugly against the edge restraints without overlapping or leaving gaps.
- Fit the rolls together: Lay each subsequent turf roll next to the previous one, ensuring that the blades of grass are facing the same direction. Butt the edges of the rolls tightly together without overlapping to create a seamless appearance.
- Trim around obstacles: Cut openings in the turf rolls to accommodate any pool fixtures, such as ladders or drain covers. Take precise measurements and use a utility knife to carefully trim the turf, ensuring a neat and custom fit around these obstacles.
- Smooth out wrinkles: As you lay the turf rolls, periodically smooth out any wrinkles or creases that may form. Use your hands or a wide, heavy object to gently press down on the turf rolls and eliminate any unevenness.
By following these steps, you can ensure a proper and professional installation of the turf rolls. Take your time to align the rolls correctly and make necessary adjustments for a seamless and visually appealing result. With the turf rolls laid out, you’re almost done! The next step involves securing the turf edges.
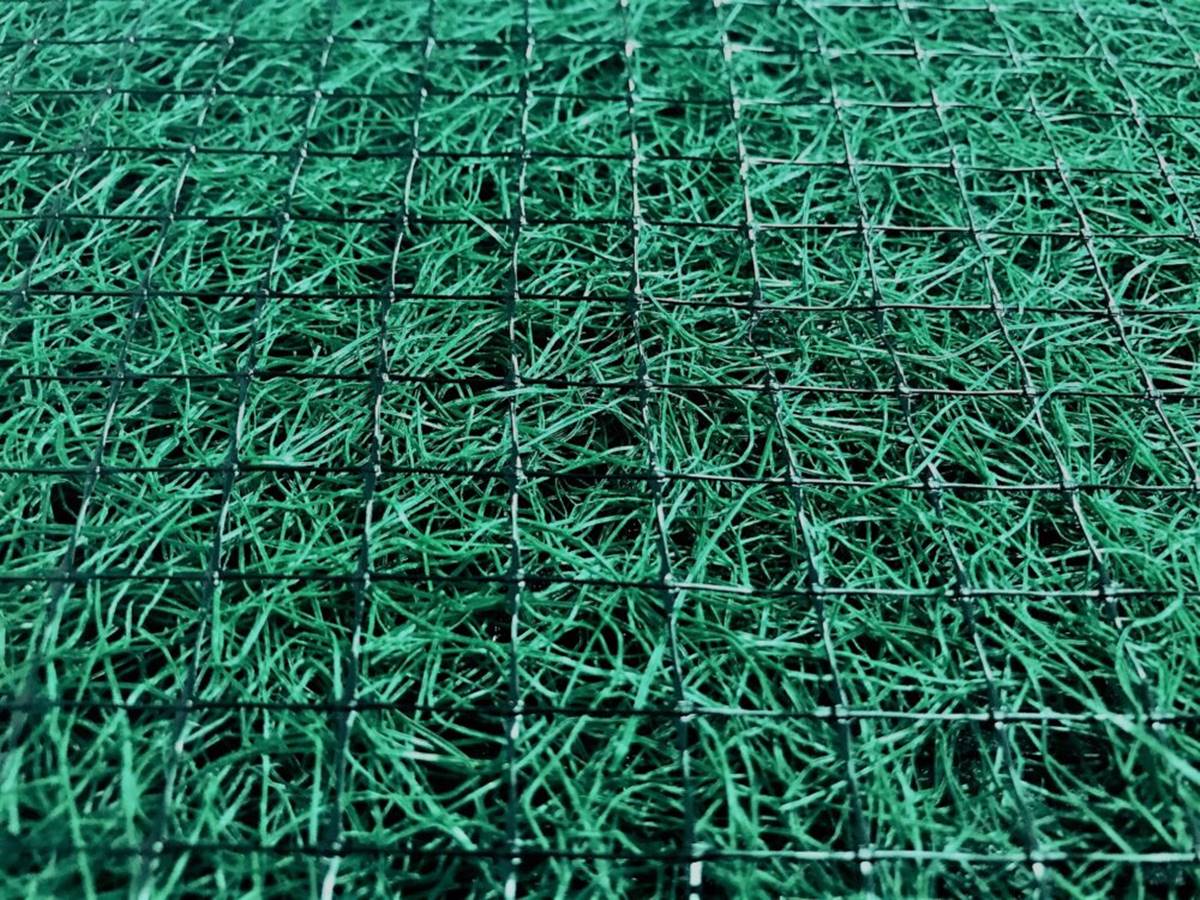
Before installing turf around a pool, make sure to properly prepare the area by removing any existing grass or debris, leveling the ground, and installing a weed barrier. This will help ensure a smooth and long-lasting turf installation.
Step 6: Secure the turf edges
Securing the edges of the turf is an essential step to ensure the longevity and stability of the installation. By properly securing the edges, you can prevent the turf from shifting or becoming loose over time. Follow these steps to securely fasten the turf edges:
- Fold back the edges: Gently fold back the edges of the turf along the outer perimeter, exposing the base and creating a clean edge.
- Install landscape spikes or nails: Space landscape spikes or nails approximately every 6 to 8 inches along the folded edge of the turf. Insert them at a slight angle, driving them into the base material beneath the turf.
- Use adhesive or turf tape: Apply adhesive or use turf tape specifically designed for securing edges. Apply a thin, even layer along the folded edge of the turf. Press the turf firmly against the base material to create a strong bond.
- Secure with landscape staples: For added stability, you can also use landscape staples. Place them every few feet along the folded edge of the turf, driving them into the base material beneath.
- Smooth out the edges: After securing the edges, use your hands or a wide, heavy object to smooth out any wrinkles or bumps along the folded edge. This will create a seamless transition between the turf and the secure edge.
- Trim excess turf: If there is any excess turf along the secured edges, use a sharp utility knife to trim it off, ensuring a neat and tidy finish.
By following these steps, you can make sure that the edges of your turf are firmly secured and will not shift or come loose with time. This will contribute to the overall durability and longevity of your turf installation.
With the edges securely fastened, you’re ready to move on to the next step – trimming and shaping the turf.
Step 7: Trim and shape the turf
Trimming and shaping the turf is a crucial step in achieving a polished and professional look for your pool area. This step involves fine-tuning the edges and contours of the turf to create a clean and well-defined appearance. Follow these steps to trim and shape the turf:
- Mark the desired shape: Use stakes or flags to mark the desired edges and contours of the turf. This will serve as a guide for trimming and shaping.
- Use a sharp utility knife: With the markings in place, carefully use a sharp utility knife to trim the excess turf along the edges. Follow the marked lines, making smooth and controlled cuts to create clean and precise edges.
- Trim around obstacles: Pay special attention to trimming around pool fixtures, such as steps, handrails, or water features. Take accurate measurements and use the utility knife to carefully shape the turf around these obstacles for a seamless integration.
- Shape curves or corners: If you have any curved or angled edges, make small, incremental cuts to shape the turf accordingly. Take your time and be patient to achieve smooth and natural-looking curves or corners.
- Smooth out the trimmed edges: After trimming, carefully review the edges for any rough or jagged spots. Use your hands or a brush to gently smooth out any imperfections to create a seamless transition between the trimmed turf and the surrounding area.
- Clean up: As you trim and shape the turf, periodically clean up any excess turf clippings or debris. This will help maintain a clean and tidy work area throughout the process.
By following these steps, your trimmed and shaped turf will have a professional and finished look. Take your time during this step to ensure precision and attention to detail. With the turf now trimmed and shaped, it’s time to move on to the next step – wetting and compacting the turf.
Step 8: Wet and compact the turf
Wetting and compacting the turf is a crucial step to ensure proper settling and stability of the installation. This step helps the turf fibers to stand upright, removes any remaining air pockets, and creates a firm and uniform surface. Follow these steps to wet and compact the turf:
- Lightly sprinkle with water: Begin by lightly sprinkling the turf with water. Use a hose with a fine mist setting to evenly distribute water over the entire surface. Avoid excessive saturation, as this can create a muddy or slippery surface.
- Use a power broom or brush: Once the turf is lightly damp, use a power broom or brush to gently brush the tufted fibers. This will help the fibers stand upright and create a more natural appearance. Brush in different directions to ensure even coverage.
- Compact the turf: Once the turf is brushed, use a lawn roller or a plate compactor to further compact the turf. This step helps to ensure a secure and stable surface. Pass the roller or compactor over the entire area multiple times, applying even pressure.
- Inspect for any uneven spots: After compacting, carefully inspect the turf for any areas that may appear uneven or require further attention. Use the broom or brush to make any adjustments by gently brushing the fibers into place.
- Reapply infill if necessary: If you are using an infill material like sand or rubber granules, check the turf’s infill level. If needed, apply additional infill to achieve the desired thickness and support for the fibers.
- Allow time to settle: After wetting and compacting, allow the turf to settle for at least 24 hours. This will give it time to adjust and fully set in place.
By following these steps, you can ensure that your turf is properly wetted, compacted, and settled. This will result in a stable and visually appealing surface that is ready to be enjoyed around your pool area.
With the turf wetted and compacted, it’s important to properly maintain and care for it. Let’s move on to the final step – maintaining and caring for the turf.
Read more: What Is Cool Decking Around A Pool
Step 9: Maintain and care for the turf
Proper maintenance and care are essential to keep your newly installed turf around the pool looking its best and ensuring its longevity. By following some simple guidelines, you can maintain a vibrant and healthy artificial grass surface. Here’s how to maintain and care for the turf:
- Regularly remove debris: Clean the turf regularly by removing any leaves, twigs, or other debris that may accumulate on its surface. Use a leaf blower, plastic rake, or a gentle brush to sweep away the debris.
- Spot clean as needed: If any spills or stains occur on the turf, address them promptly. Use a mild detergent mixed with water to spot clean the affected areas. Avoid using harsh chemicals or abrasive materials, as these can damage the turf fibers.
- Brush and fluff the fibers: Periodically brush and fluff the turf fibers to keep them standing upright and maintain the natural appearance. Use a stiff-bristle brush or a power broom and brush against the grain of the fibers for optimal results.
- Control weed growth: Although artificial turf minimizes weed growth, occasional weed seeds may find their way onto the surface. Regularly inspect and remove any weeds that may appear. Use a weed killer specifically designed for use on artificial turf if necessary.
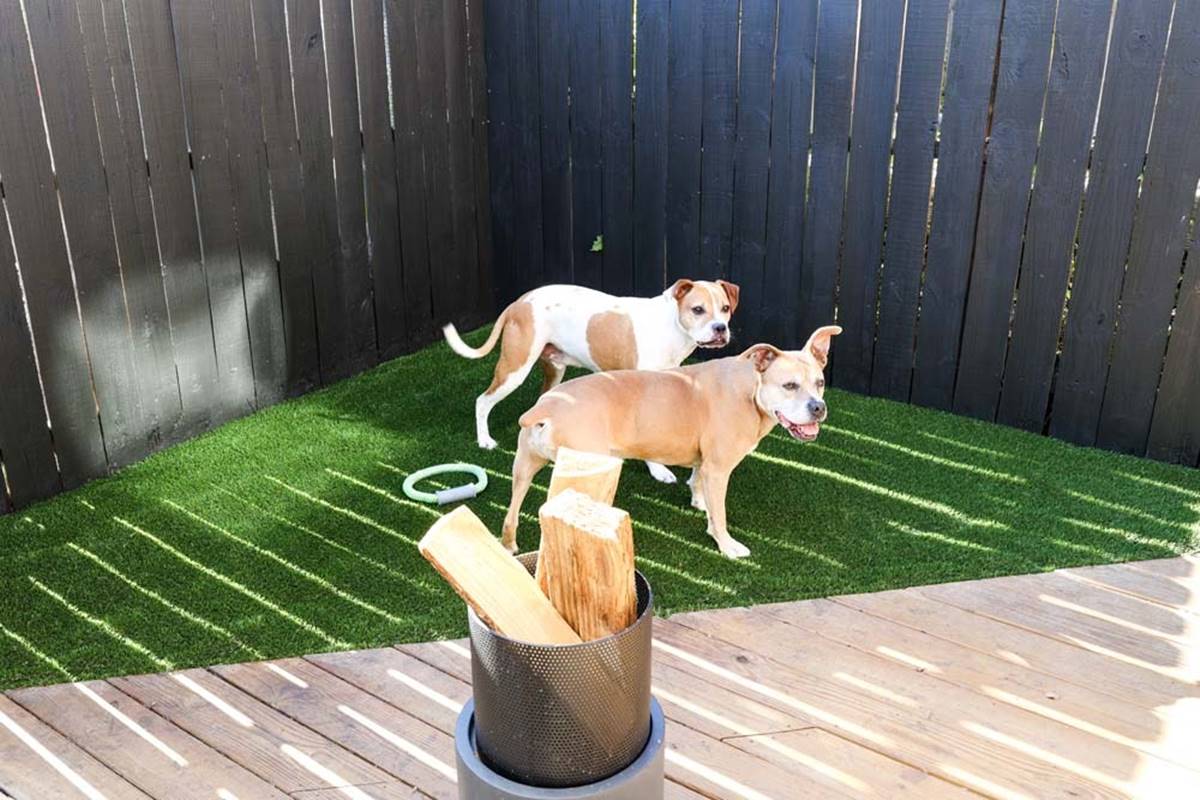
- Properly manage pet waste: If you have pets, promptly clean up any solid waste and rinse the affected area with water. Diluted vinegar can be used as a natural deodorizer to minimize any odors that may occur.
- Monitor and address drainage: Keep an eye on the drainage system to ensure it remains clear and functional. Remove any potential blockages, such as leaves or debris, to prevent water pooling on the turf surface.
- Protection from sharp objects: Avoid placing sharp objects directly on the turf to prevent damage. Be cautious when moving furniture or heavy items to avoid tearing or puncturing the turf.
- Professional maintenance as recommended: Consider scheduling periodic professional maintenance for your turf, especially regarding infill distribution, deep cleaning, and overall assessment of the turf’s condition. Follow the manufacturer’s recommendations for maintenance frequency and specific care instructions.
By following these maintenance and care practices, you can keep your turf looking lush and vibrant for years to come. Regular attention and care will help preserve the integrity and appearance of the turf around your pool area.
With these maintenance tips in mind, you have successfully completed the nine steps to install and care for turf around your pool. Enjoy the beauty and convenience of your artificial grass as you lounge and relax by the pool!
Conclusion
Congratulations! You have reached the end of our comprehensive guide on how to install turf around a pool. By following the nine steps outlined in this article, you are well on your way to creating a beautiful and low-maintenance artificial grass landscape surrounding your pool.
From measuring and preparing the area to laying the turf rolls, securing the edges, and providing proper maintenance and care, each step plays a crucial role in ensuring a successful installation and a long-lasting turf surface.
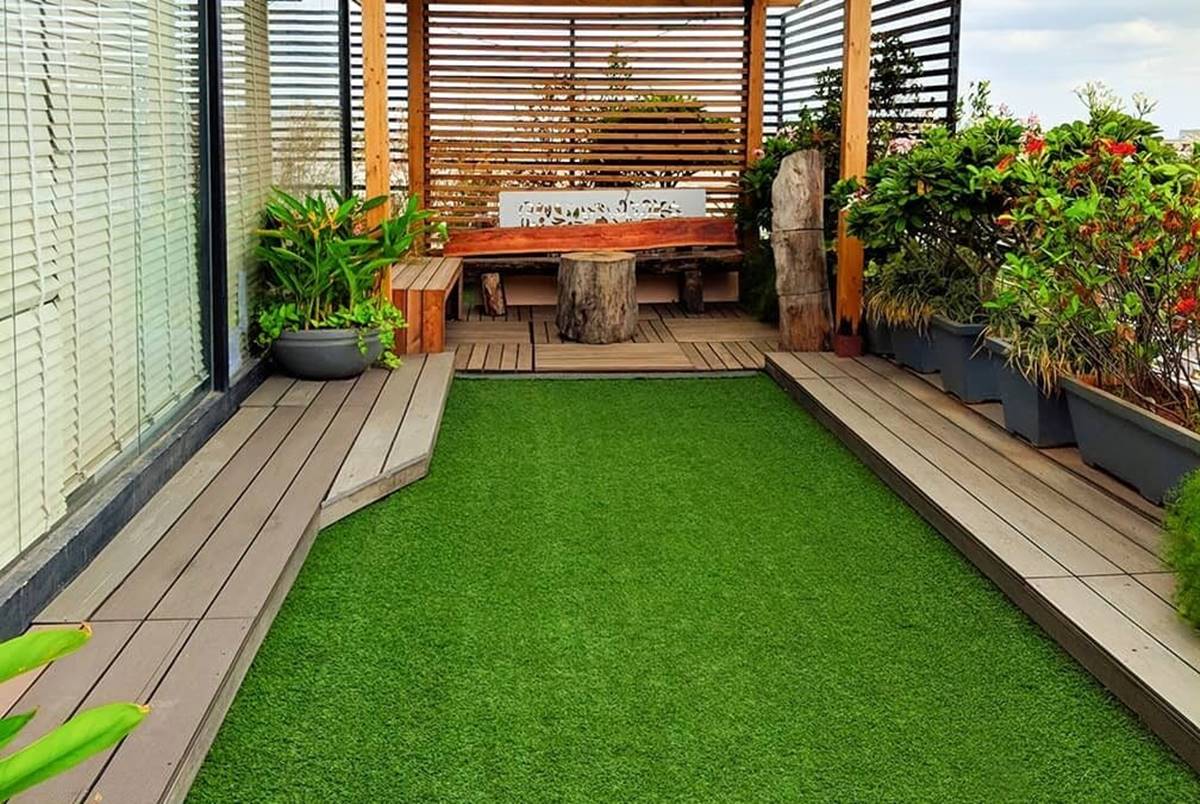
Artificial turf offers numerous benefits for pool areas, including water conservation, minimal maintenance, durability, and a visually appealing aesthetic. Say goodbye to mowing, watering, and dealing with bare patches— artificial grass provides a consistent and lush surface that can withstand heavy pool traffic and the elements.
Remember, as you embark on your turf installation journey, be sure to measure accurately, remove existing vegetation and debris, level the ground, install edge restraints, lay the turf rolls, secure the turf edges, trim and shape the turf, wet and compact the turf, and maintain and care for it properly.
By following these steps and paying attention to detail, you can create a stunning and functional pool area that will impress your friends and family for years to come.
Now it’s time to sit back, relax, and enjoy your new artificial grass around your pool. Say hello to a beautiful and hassle-free outdoor space!
Frequently Asked Questions about How To Install Turf Around Pool
Was this page helpful?
At Storables.com, we guarantee accurate and reliable information. Our content, validated by Expert Board Contributors, is crafted following stringent Editorial Policies. We're committed to providing you with well-researched, expert-backed insights for all your informational needs.

0 thoughts on “How To Install Turf Around Pool”