Home>Garden Essentials>How To Install Turf Reinforcement Mats
Garden Essentials
How To Install Turf Reinforcement Mats
Modified: October 18, 2024
Looking for a durable solution for your garden? Learn how to install turf reinforcement mats to protect your lawn and prevent erosion. Enhance the beauty and sustainability of your garden today!
(Many of the links in this article redirect to a specific reviewed product. Your purchase of these products through affiliate links helps to generate commission for Storables.com, at no extra cost. Learn more)
Introduction
Welcome to our comprehensive guide on how to install turf reinforcement mats. If you’re looking to improve the stability and durability of your garden or outdoor space, turf reinforcement mats are a fantastic option. These mats are designed to protect the soil, prevent erosion, and promote the growth of healthy grass or vegetation.
Whether you have a slope, a driveway, or a high-traffic area that needs extra support, turf reinforcement mats can provide the solution you’re looking for. In this article, we will walk you through the step-by-step process of installing these mats, ensuring that you achieve long-lasting results and a visually appealing landscape.
Before we dive into the installation process, let’s go over the materials you’ll need to have on hand:
Materials Needed
- Turf reinforcement mats
- Rake
- Garden hose
- Stakes
- Hammer
- Scissors or utility knife
- Measuring tape
- Optional: landscape fabric
Now that you have your materials ready, let’s get started with the installation process.
Key Takeaways:
- Properly installing turf reinforcement mats involves preparing the ground, unrolling and securing the mats, and regular watering and maintenance. This ensures a stable, erosion-free, and visually appealing outdoor space.
- Turf reinforcement mats are a great investment for areas with slopes, driveways, or high-traffic areas. By following the installation guide, you can enjoy the benefits of a durable and beautiful landscape.
Materials Needed
- Turf reinforcement mats
- Rake
- Garden hose
- Stakes
- Hammer
- Scissors or utility knife
- Measuring tape
- Optional: landscape fabric
Now that you have your materials ready, let’s get started with the installation process.
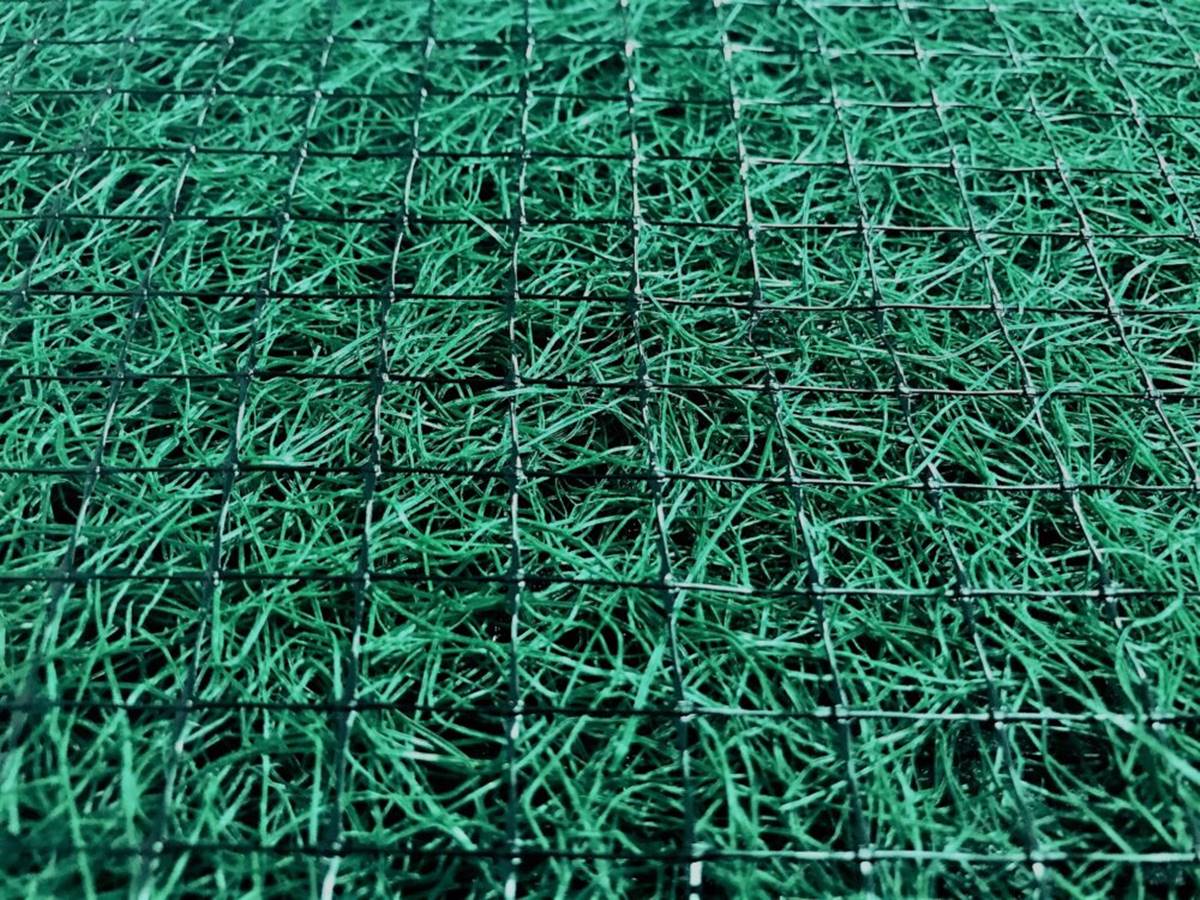
Turf reinforcement mats come in various sizes and materials, depending on your specific needs. They are typically made from materials like plastic, geotextile fabric, or natural fibers. These mats are designed to provide stability, prevent erosion, and promote the growth of grass or vegetation.
When choosing your turf reinforcement mats, consider factors such as the slope of the area, the type of soil, and the intended use. Make sure to measure the area accurately to determine the amount of matting you’ll need. It’s always a good idea to add a little extra to account for any trimming or overlapping that may be necessary.
A rake will be needed to prepare the ground before laying the mats. This will help remove any debris, rocks, or unevenness on the surface, ensuring a smooth installation.
A garden hose will be essential for watering the mats after installation. This will help settle and secure the mats in place, promoting proper growth and stability.
Stakes and a hammer are necessary for securing the mats to the ground. These will anchor the mats and prevent them from shifting or moving during heavy rainfall or strong winds.
A scissors or utility knife will come in handy for trimming the excess matting or making adjustments as necessary. This will ensure a clean and neat installation.
Lastly, a measuring tape can be useful for accurate measurements, especially if you have specific dimensions or areas you need to cover.
Optional: If you want to further enhance weed control, consider using landscape fabric under your turf reinforcement mats. This will provide an additional barrier against weed growth while still allowing water and nutrients to reach the soil.
With all these materials gathered, you’re now ready to proceed with the installation process.
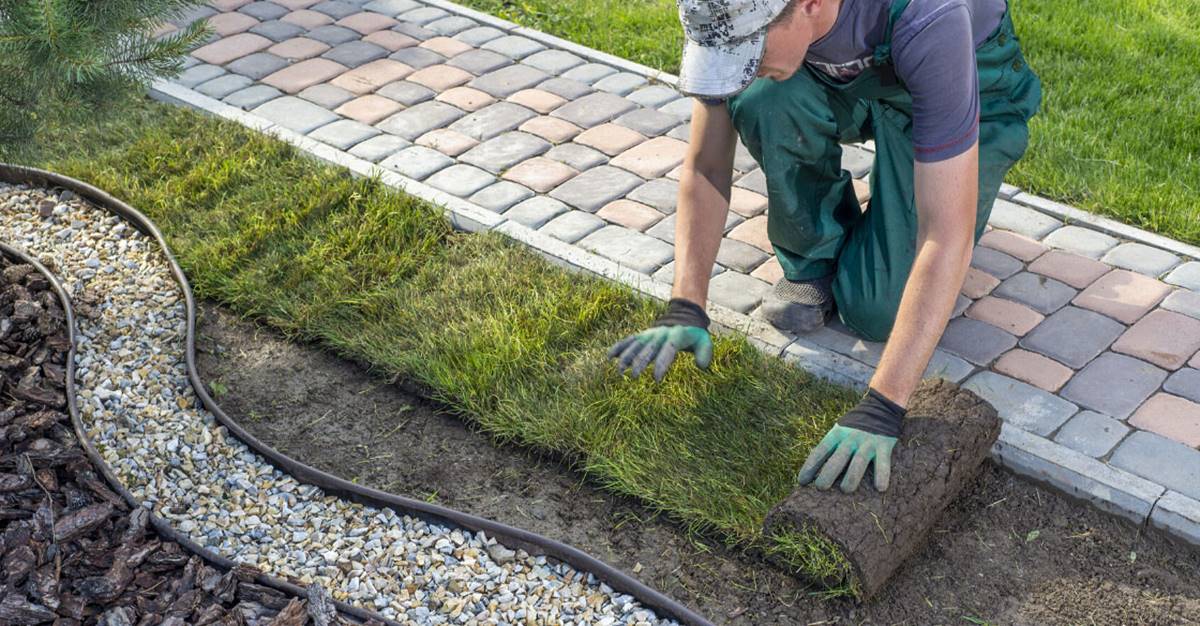
Step 1: Preparing the Ground
Before installing turf reinforcement mats, it’s crucial to prepare the ground properly to ensure a successful and long-lasting installation. Follow these steps to prepare the ground:
- Clear the area: Start by removing any vegetation, rocks, or debris from the area where you plan to install the mats. Use a rake to loosen and remove any roots or grass that may interfere with the installation process. This will provide a clean and level surface for the mats.
- Level the ground: Use the rake to level the ground and remove any noticeable bumps or unevenness. Creating a smooth surface will ensure proper installation and prevent any gaps or lumps in the mats.
- Water the ground: Before laying down the mats, it’s beneficial to moisten the ground slightly with a garden hose. This will help the initial bonding process and provide better stability for the mats.
- Consider landscape fabric: If you’re concerned about weed growth, you can lay landscape fabric over the prepared ground before installing the mats. This additional layer will help suppress weed germination while still allowing water and nutrients to penetrate the soil.
By properly preparing the ground, you’ll create an ideal foundation for your turf reinforcement mats. This will ensure the best results in terms of stability, erosion control, and overall growth of vegetation.
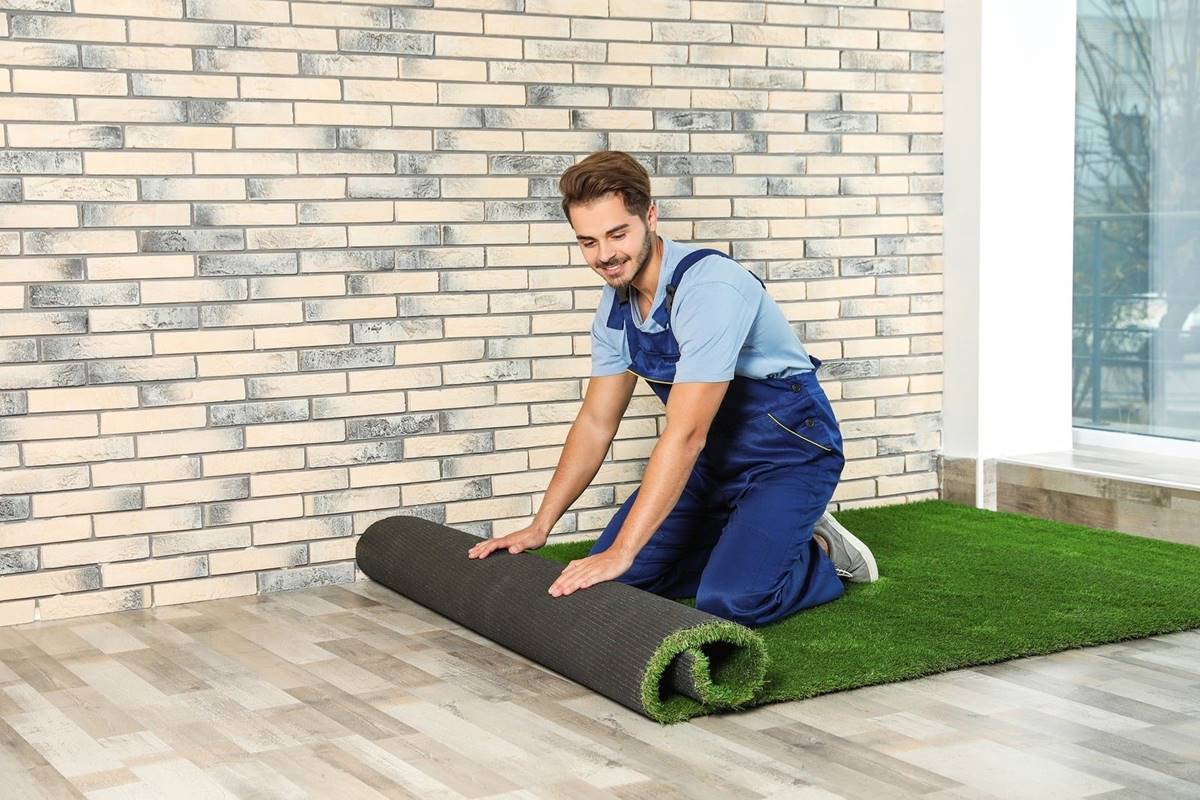
Step 2: Unrolling the Turf Reinforcement Mats
Once you have prepared the ground, it’s time to start the installation process by unrolling the turf reinforcement mats. Follow these steps to effectively unroll the mats:
- Start at one end: Begin unrolling the mats at one end of the prepared area. Align the edge of the mat with the desired starting point, ensuring that it is straight and properly positioned.
- Smooth out the mat: As you unroll the mat, use your hands or a rake to smooth out any wrinkles or folds that may occur. This will help to ensure a flat and even surface throughout the installation.
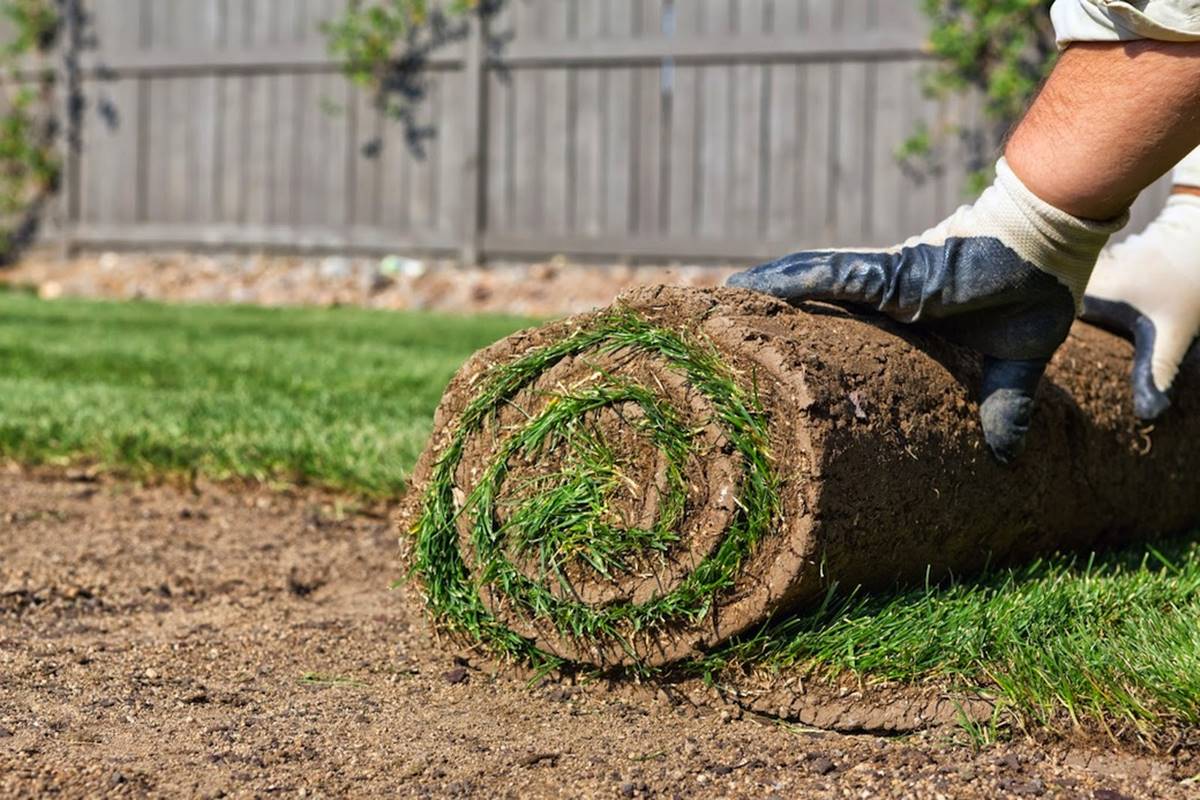
- Overlap the mats: If you need to cover a larger area, it may be necessary to overlap the mats. When overlapping, make sure that the mats are aligned properly and that there are no gaps between them. This will help maintain the integrity and effectiveness of the reinforcement.
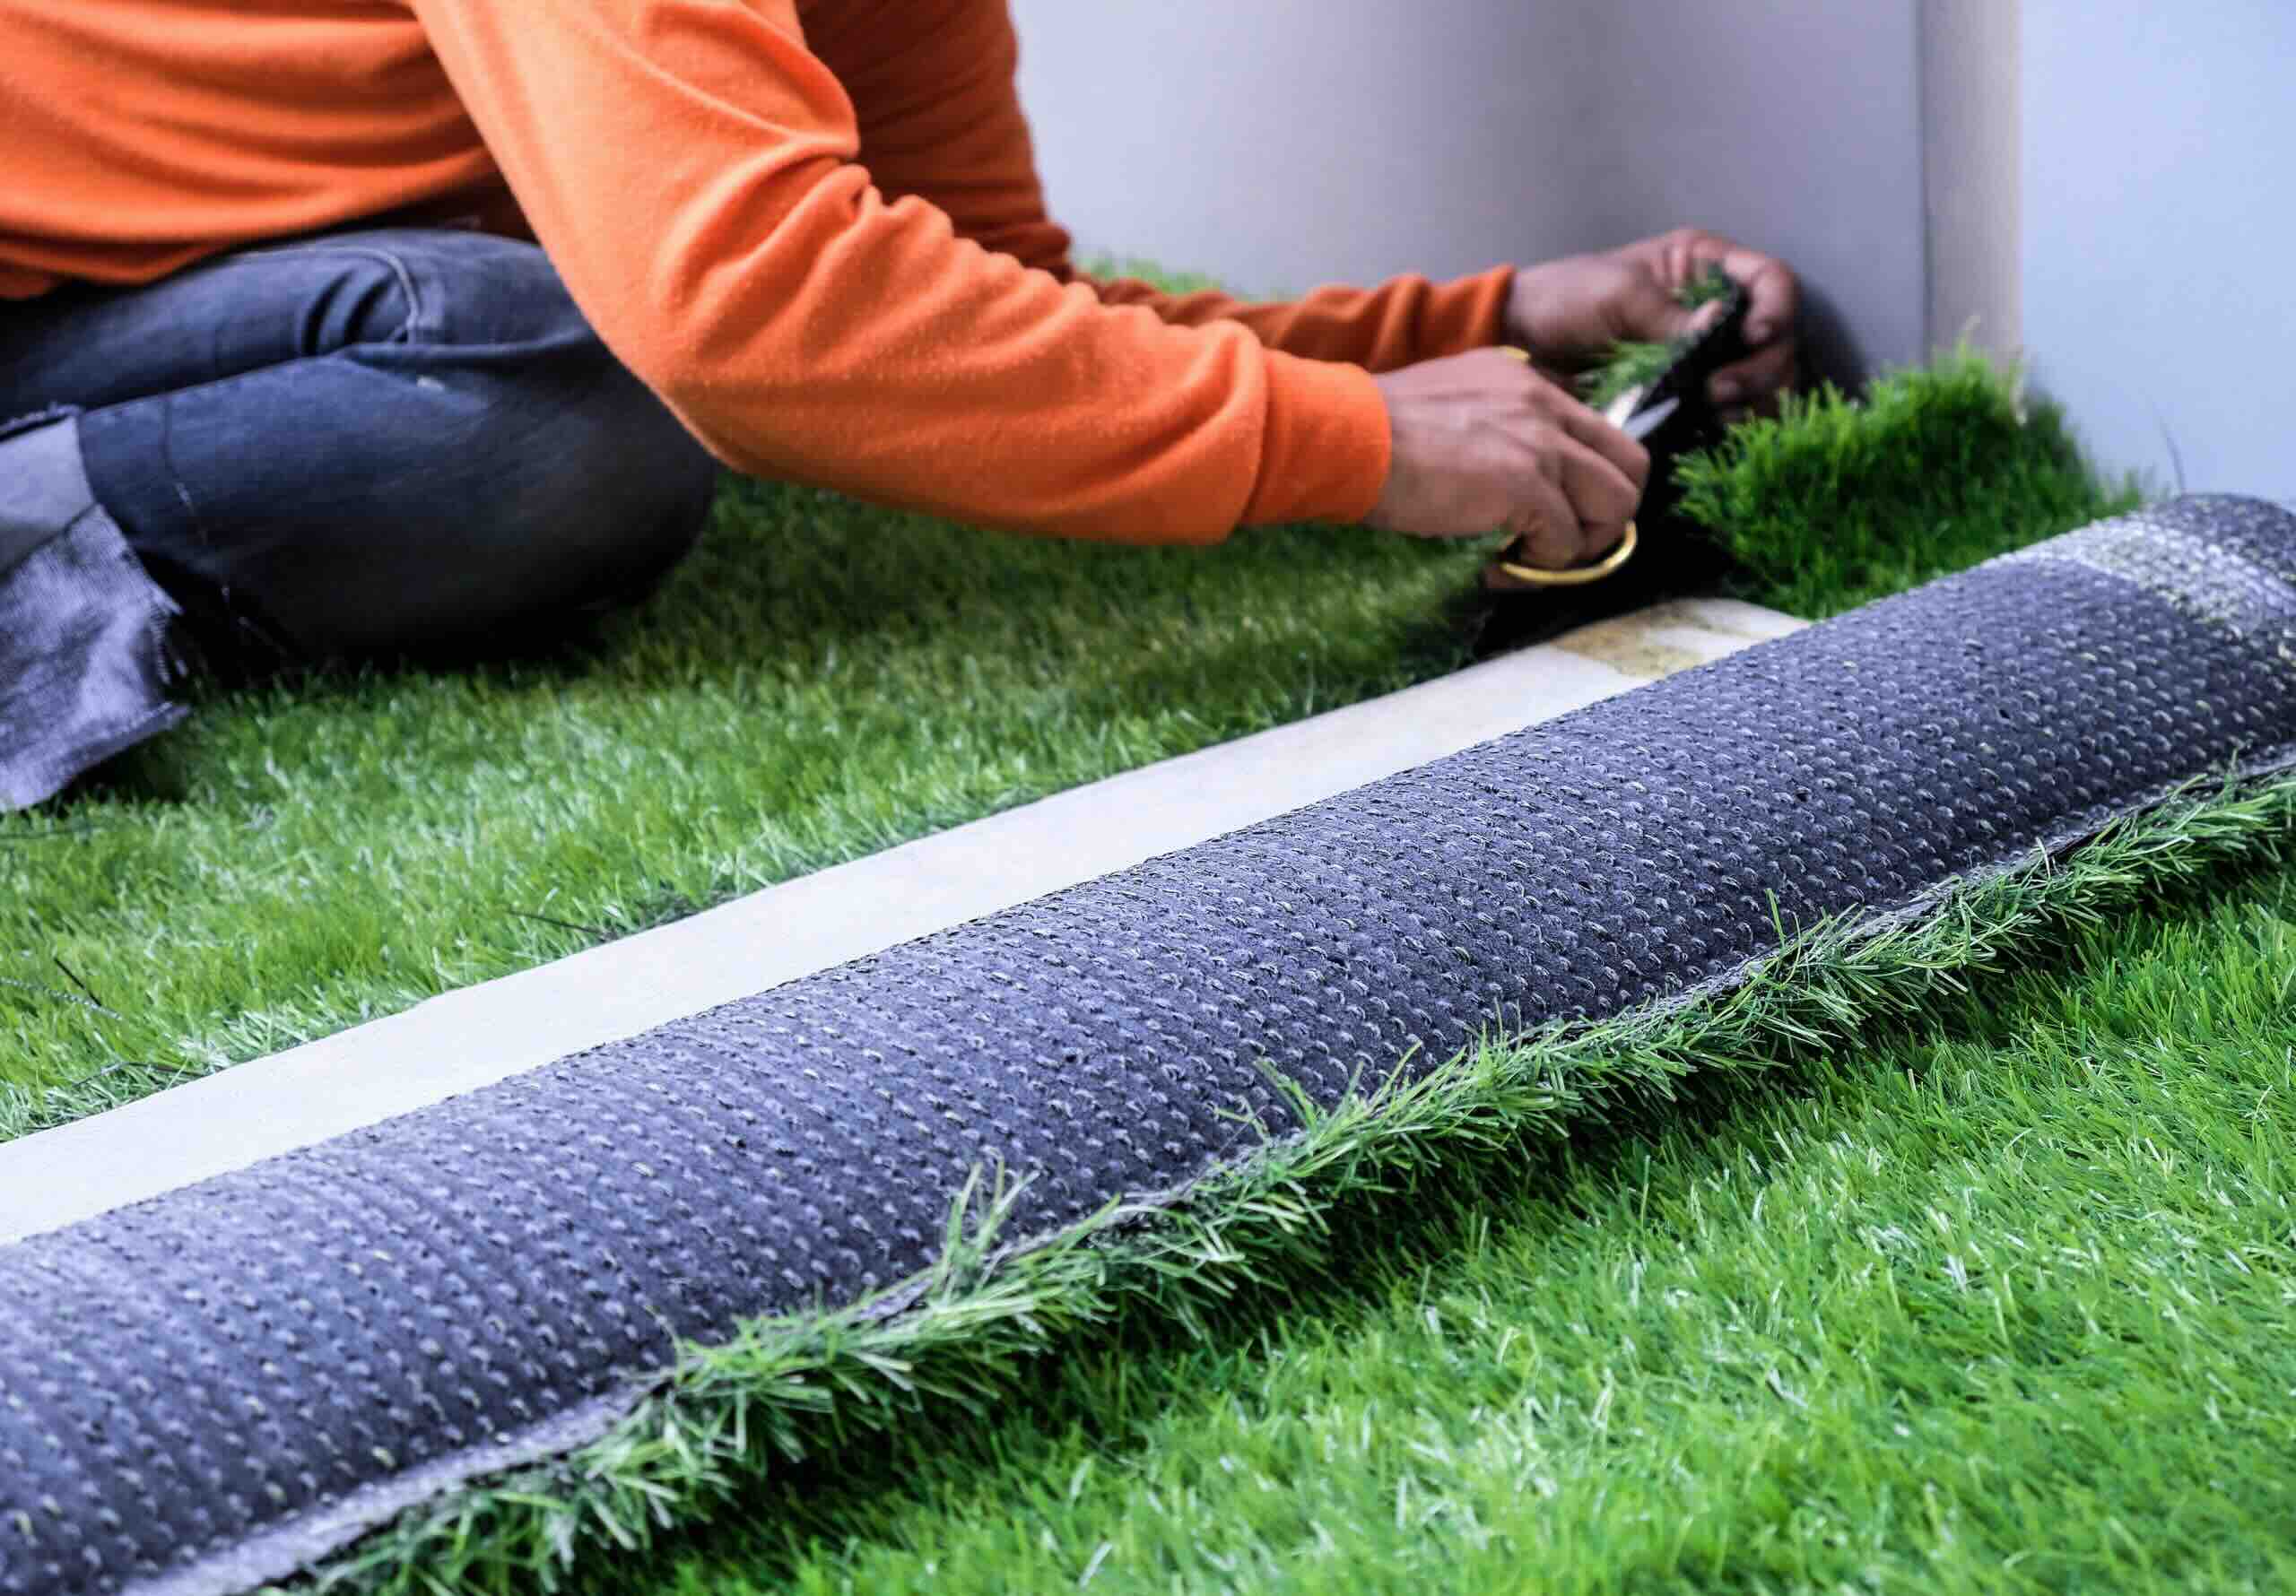
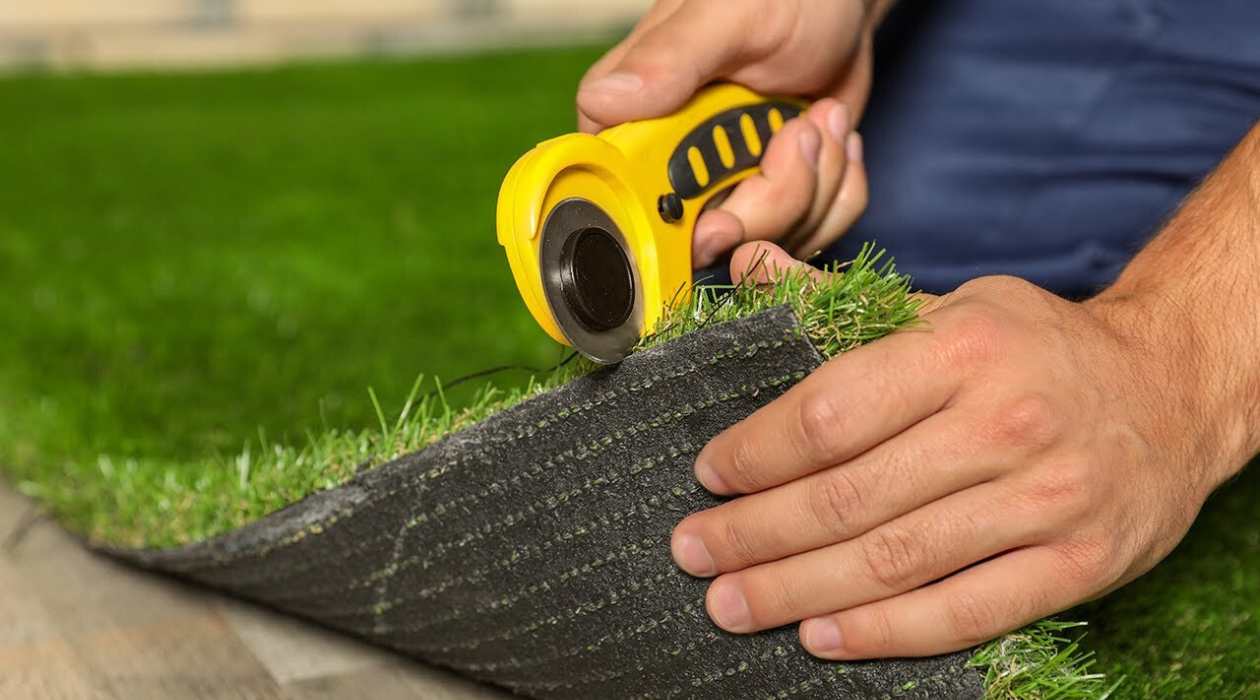
- Trim as needed: If the mats are longer than the area you are covering, use a pair of scissors or a utility knife to trim the excess material. Make clean and precise cuts to ensure a professional finish.
During the unrolling process, it’s important to keep the mats taut and properly aligned. This will help ensure that they are installed securely and provide the necessary support and reinforcement for the ground beneath.
Continue unrolling and overlapping the mats until the entire area is covered. Take your time to ensure that the mats are smoothly laid out and any overlapping is done correctly. This will contribute to the overall effectiveness and longevity of the installation.
Once the mats are unrolled and properly positioned, it’s time to move on to securing them in place, which we will cover in the next step.
Step 3: Securing the Mats in Place
After unrolling the turf reinforcement mats, the next step is to secure them in place to ensure they stay put. This will help prevent shifting or movement, especially during heavy rain or strong winds. Follow these steps to effectively secure the mats:
- Insert stakes: Using a hammer, insert stakes along the edges of the mats, around 12-18 inches apart. Drive the stakes into the ground at an angle, ensuring they are tightly secured.
- Secure the mats with stakes: Once the stakes are in place, use them to secure the edges of the mats. Push the edges of the mats toward the stakes and hook them onto the stakes to create a tight hold. This will prevent any movement or lifting of the mats.
- Additional stake placement: For larger installations or areas prone to high foot traffic, consider adding additional stakes in the middle of the mats for added stability. This extra anchoring will provide greater reinforcement and durability.
- Ensure proper tension: As you secure the mats, make sure they are taut and evenly tensioned. This will help maintain their stability and prevent any sagging or loosening over time.
Properly securing the turf reinforcement mats is essential for their effectiveness in preventing soil erosion and maintaining the stability of the area. The stakes will act as anchors, keeping the mats firmly in place and providing the necessary support.
Take your time when inserting the stakes and securing the mats to ensure a secure and long-lasting installation. Careful attention to this step will greatly contribute to the overall effectiveness and durability of the turf reinforcement mats.
With the mats now securely in place, we can move on to the next step, which involves establishing anchoring points for added stability.
Before installing turf reinforcement mats, make sure the ground is properly prepared by removing any existing vegetation and smoothing the surface. This will ensure a strong and stable foundation for the mats.
Read more: How To Install Turf Grass
Step 4: Establishing Anchoring Points
Establishing anchoring points is an important step in ensuring the stability and longevity of your turf reinforcement mats. These anchoring points will provide additional support, particularly in areas with high soil erosion or heavy foot traffic. Follow these steps to effectively establish anchoring points:
- Identify key areas: Assess the area where you have installed the mats and identify spots that may require additional support. These could include areas near the edges, corners, or where the mats overlap.
- Insert stakes at anchoring points: Using a hammer, insert strong stakes vertically into the ground at the identified anchoring points. Drive the stakes deep enough to ensure stability and resistance against movement.
- Secure the mats to the stakes: Once the stakes are in place, secure the mats to them by using zip ties or rope. Attach the ties or rope to the stakes and thread them through the holes or loops in the mats. Pull them tight to create tension and ensure a secure attachment.
- Space out anchoring points: Depending on the size of the area and the condition of the ground, determine the appropriate spacing between anchoring points. Generally, it is recommended to have anchoring points every 2-4 feet along the edges and overlaps.
Establishing anchoring points will provide extra reinforcement to the turf reinforcement mats, keeping them securely in place. This is particularly important in areas that are prone to heavy traffic, erosion, or potential movement.
By strategically placing stakes and securing the mats, you will enhance the overall stability and performance of the installation. This step will help ensure that the mats effectively protect the soil and provide a safe and durable surface.
With anchoring points in place, we can now move on to the next step, which involves joining multiple mats if necessary.
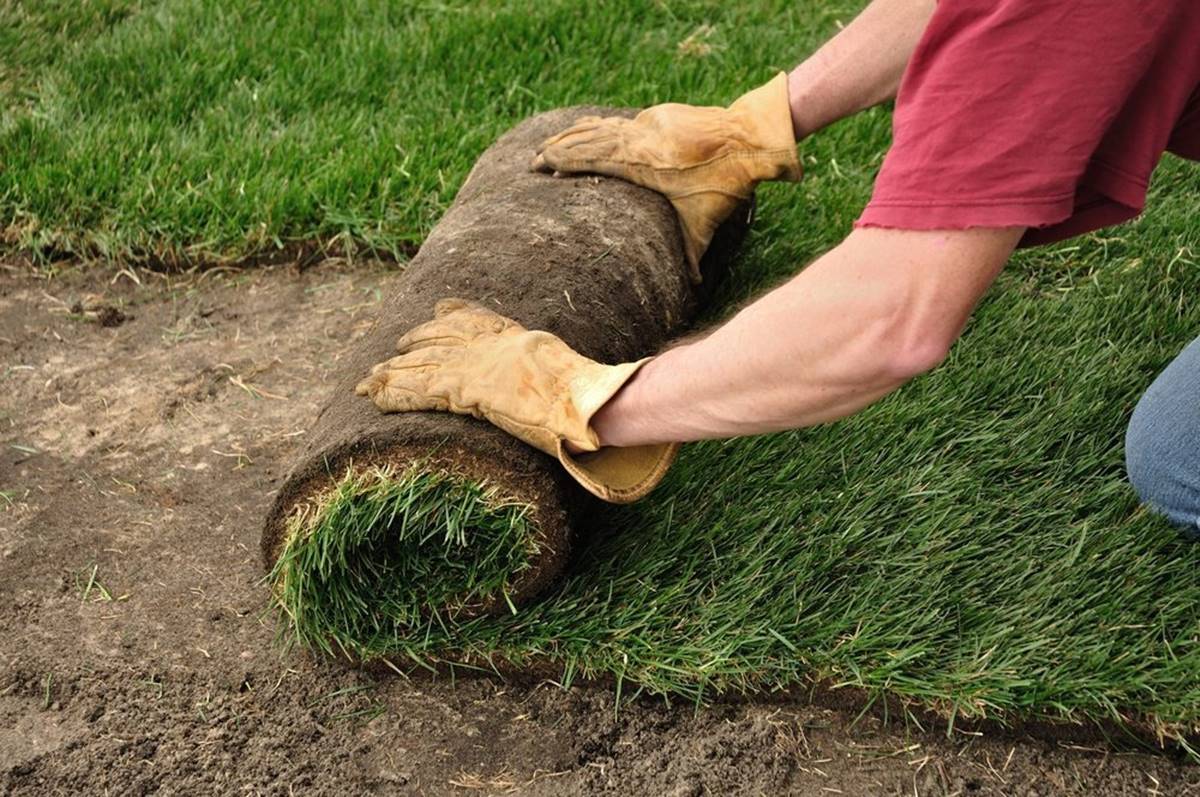
Step 5: Joining Multiple Mats (if applicable)
If you are covering a larger area, it may be necessary to join multiple turf reinforcement mats together. Joining mats ensures a seamless and continuous surface, providing maximum protection and stability. Follow these steps to effectively join multiple mats:
- Overlap the mats: Lay out the first mat and position the second mat alongside it, overlapping the edges by about 4-6 inches. Make sure the overlap is consistent and uniform throughout the length of the mats.
- Secure the mats: Place stakes along the overlapping section of the mats to secure them together. Hammer the stakes into the ground, ensuring they penetrate both mats and create a tight and stable connection.
- Use connectors (optional): Some turf reinforcement mats come with connectors specifically designed to join mats together. If your mats include connectors, follow the manufacturer’s instructions to attach them to the overlapping edges. This will provide an additional secure connection and prevent any separation between the mats.
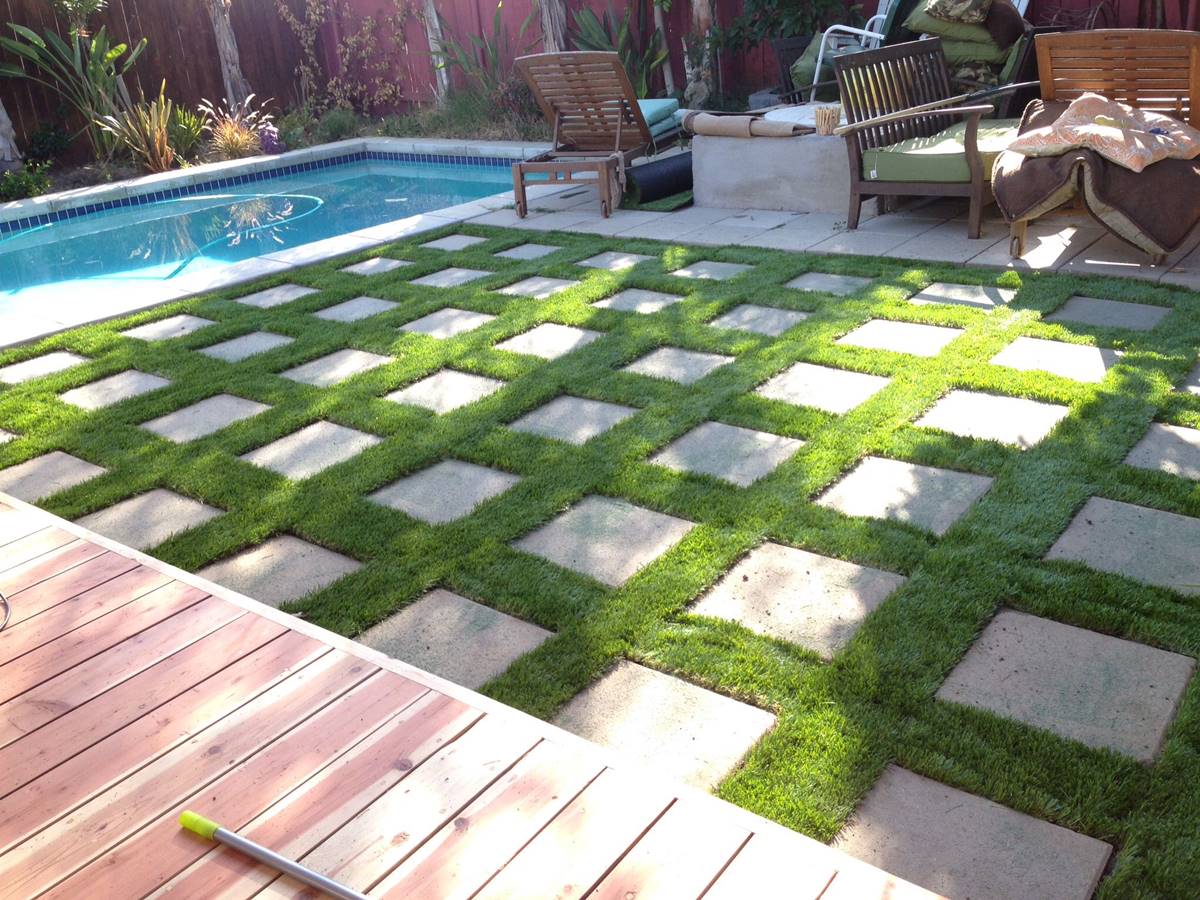
Joining multiple mats guarantees a continuous and uniform reinforcement surface, reducing the risk of erosion and improving the overall stability of the installation. It also creates a visually cohesive appearance, enhancing the overall aesthetic appeal of the area.
Remember to make sure that the overlapping section is properly secured and tightly connected. This will prevent any movement or separation between the mats, maintaining their functionality and effectiveness.
If you have successfully joined multiple mats, we can move on to the next step, which involves trimming the excess matting.
Step 6: Trimming the Excess Mat
Trimming the excess matting is an important final step in the installation process. This ensures a neat and professional finish, providing a clean and visually appealing appearance. Follow these steps to effectively trim the excess mat:
- Evaluate the edges: Take a close look at the perimeter of the installed mats and identify any areas where excess matting needs to be trimmed. This could include the outer edges of the installation or areas where the mats overlap.
- Mark the cutting line: Using a measuring tape and a marker, mark a cutting line along the excess matting that you wish to remove. Ensure that the line is straight and that it follows the desired shape or contour of the installation area.
- Cut the mat: With a pair of scissors or a utility knife, carefully cut along the marked line to remove the excess mat. Make clean and precise cuts to achieve a professional finish. Take your time to avoid damaging the remaining mats or any surrounding vegetation.
Trimming the excess matting not only enhances the overall appearance of your installation but also ensures that there are no loose or uneven edges that may pose a tripping hazard or detract from the functionality of the mats.
When cutting the mat, it’s important to maintain a steady hand and use sharp cutting tools. This will help you achieve clean and accurate cuts, resulting in a neat and visually pleasing final result.
With the excess matting trimmed, we can move on to the final step, which involves watering and maintenance to ensure the best results.
Step 7: Watering and Maintenance
Watering and regular maintenance are essential to ensuring the long-term success and durability of your turf reinforcement mats. Follow these steps to properly water and maintain your installation:
- Water the mats: Immediately after the installation, thoroughly water the mats using a garden hose. This will help settle the mats in place and promote better root establishment. Ensure that the water penetrates through the mats and reaches the underlying soil.
- Follow a watering schedule: Establish a watering schedule based on the needs of the specific vegetation or grass you have planted. Water the mats regularly, especially during dry periods or hot weather. Aim for deep watering, allowing the water to reach the roots and promote healthy growth.
- Monitor mat condition: Regularly inspect the condition of the mats to ensure they are securely in place and free from any damage or shifting. Look for signs of erosion, wear, or areas that may require additional securing. Address any issues promptly to prevent further damage.
- Remove debris: Periodically remove any debris, leaves, or organic matter that may accumulate on the surface of the mats. This will prevent moisture build-up, weed growth, and potential issues with drainage and stability.
- Perform maintenance as needed: As your turf reinforcement mats age, they may require occasional adjustments or repairs. If you notice any loose edges, re-secure them using stakes or additional connectors. Replace any damaged mats promptly to maintain the effectiveness of the installation.
Proper watering and regular maintenance are key to the overall success and longevity of your turf reinforcement mats. By providing adequate hydration and promptly addressing any issues, you can ensure that your installation remains stable, visually appealing, and effective in preventing soil erosion.
With consistent care and maintenance, your turf reinforcement mats will continue to provide the desired protection, stability, and aesthetic appeal for years to come.
Congratulations! You have now successfully completed the installation of your turf reinforcement mats and are ready to enjoy the benefits of a stable and durable outdoor space.
Read more: How To Install A Trampoline Mat
Conclusion
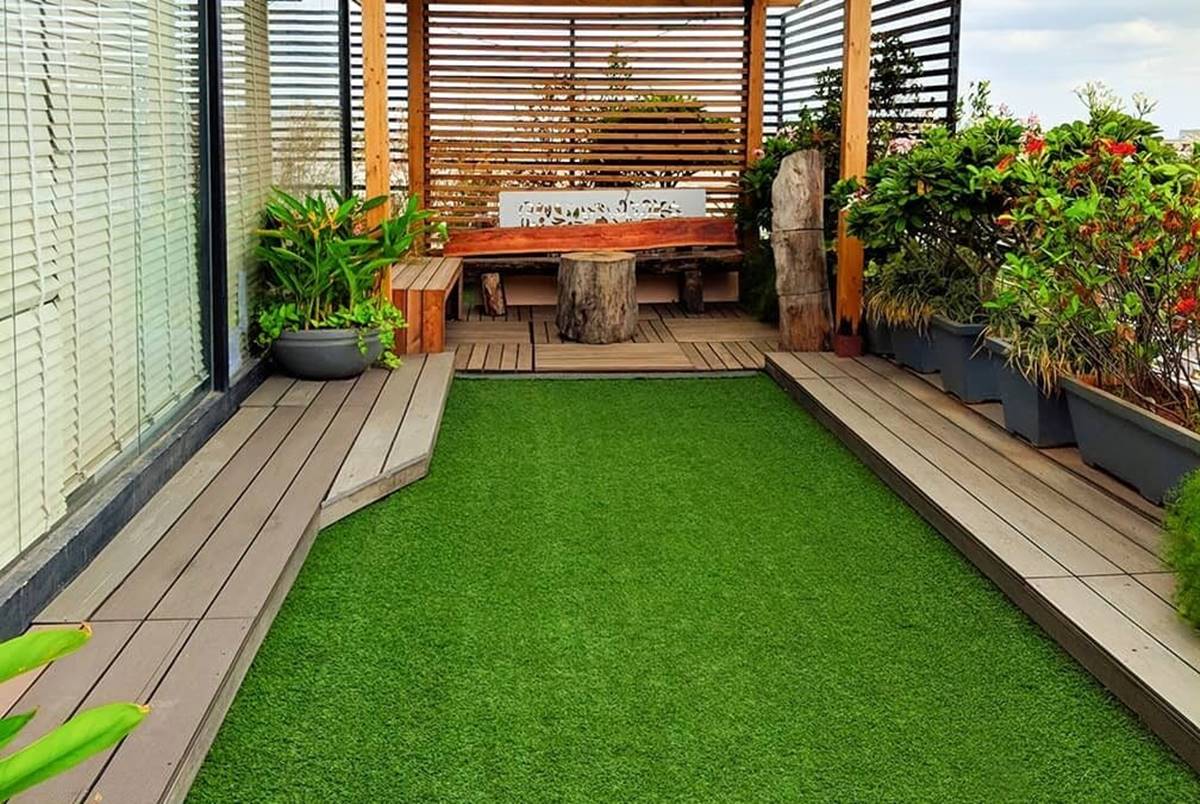
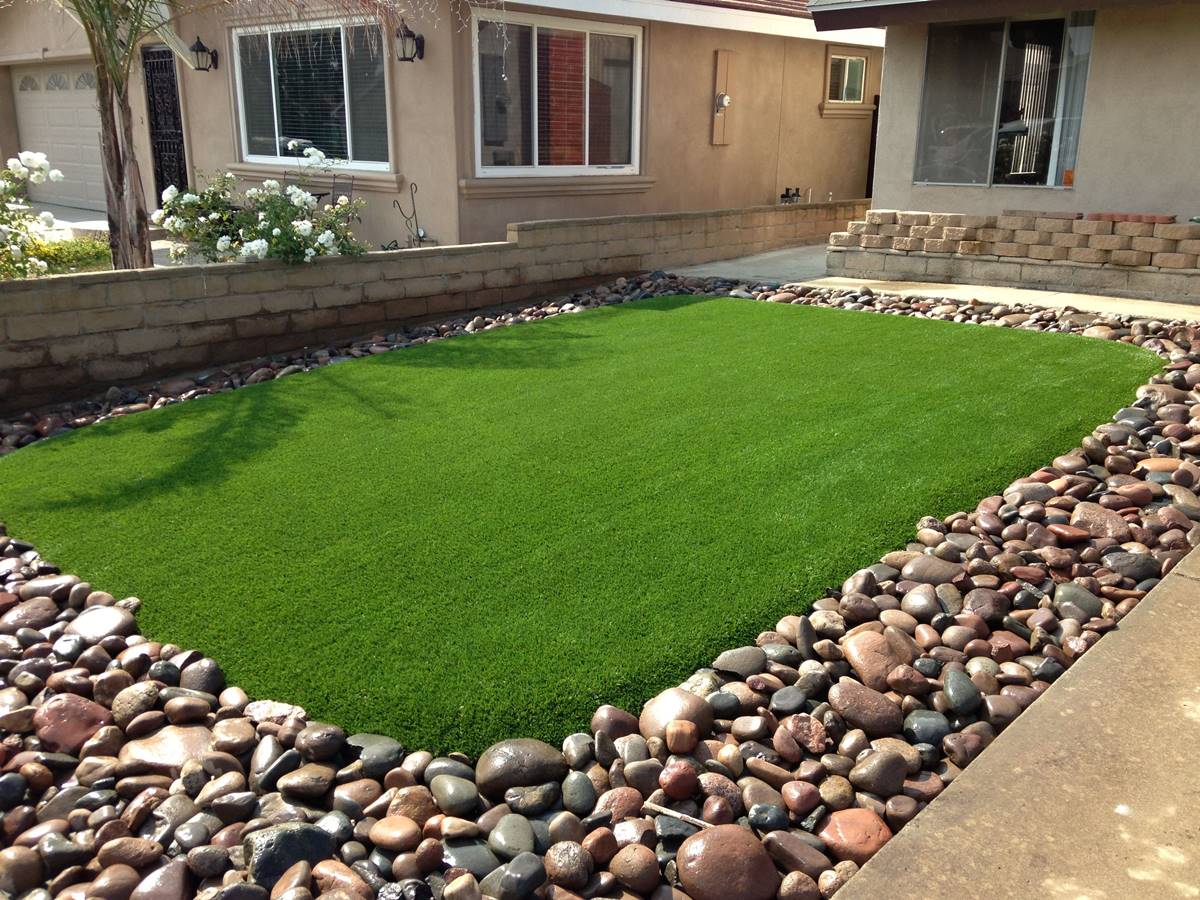
Congratulations on completing the installation of your turf reinforcement mats! By following the step-by-step process outlined in this guide, you have taken the necessary steps to enhance the stability and durability of your garden or outdoor space. These mats are designed to protect against soil erosion, promote healthy growth, and provide a visually appealing landscape.
Remember, proper preparation of the ground, unrolling and securing the mats, establishing anchoring points, joining multiple mats if necessary, trimming the excess matting, and regular watering and maintenance are crucial for the long-term success of your installation.
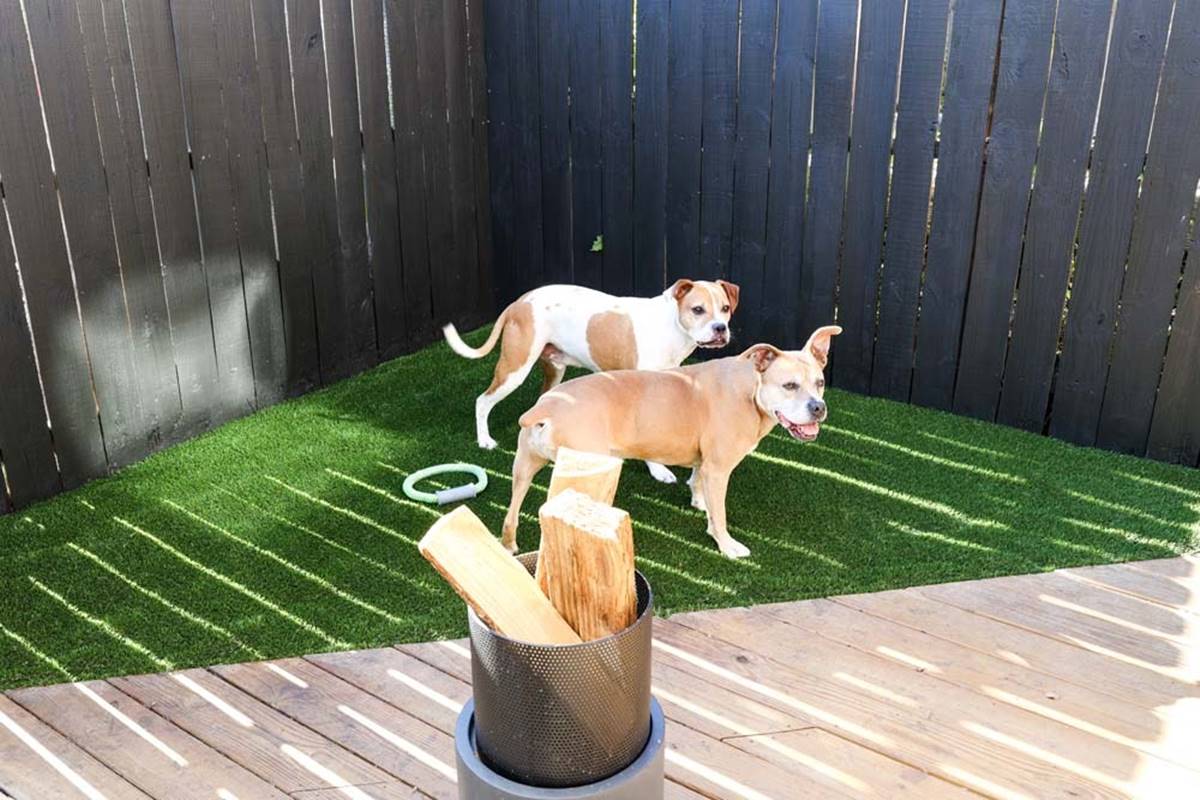
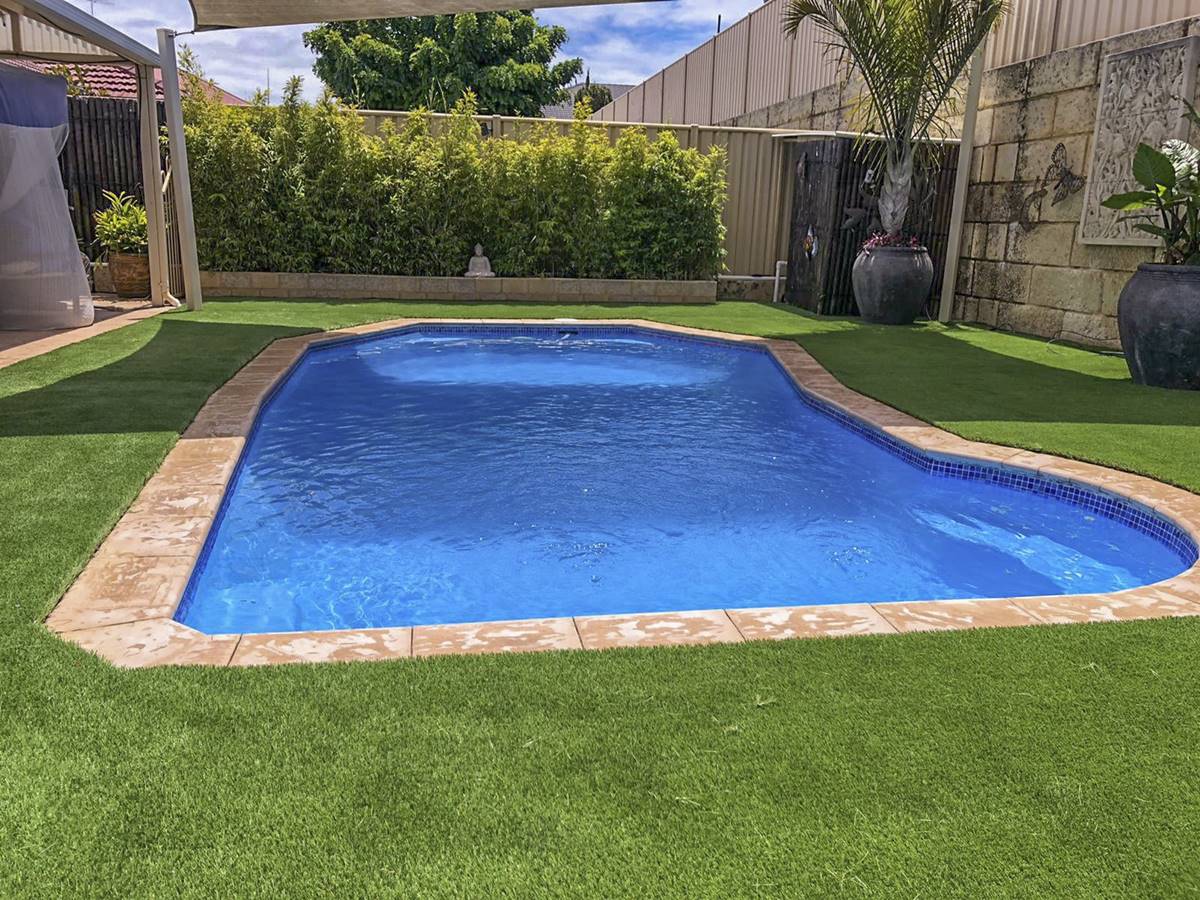
By taking the time to properly install and maintain your turf reinforcement mats, you ensure that your outdoor space remains stable, erosion-free, and visually pleasing. These mats are an excellent investment for areas with slopes, driveways, or high-traffic areas that require extra support.
As you continue to enjoy the benefits of your turf reinforcement mats, stay vigilant in monitoring for any signs of wear, damage, or shifting. Addressing any issues promptly will help maintain the effectiveness of the mats and prolong their lifespan.
We hope that this comprehensive installation guide has provided you with the knowledge and confidence to achieve a successful and long-lasting installation. Enjoy the stability, beauty, and functionality that your turf reinforcement mats bring to your outdoor space!
Frequently Asked Questions about How To Install Turf Reinforcement Mats
Was this page helpful?
At Storables.com, we guarantee accurate and reliable information. Our content, validated by Expert Board Contributors, is crafted following stringent Editorial Policies. We're committed to providing you with well-researched, expert-backed insights for all your informational needs.
0 thoughts on “How To Install Turf Reinforcement Mats”