Home>Garden Essentials>How To Install Turf On Deck
Garden Essentials
How To Install Turf On Deck
Modified: March 7, 2024
Learn how to transform your deck into a lush garden oasis with our step-by-step guide to installing turf. Create a beautiful outdoor space with ease.
(Many of the links in this article redirect to a specific reviewed product. Your purchase of these products through affiliate links helps to generate commission for Storables.com, at no extra cost. Learn more)
Introduction
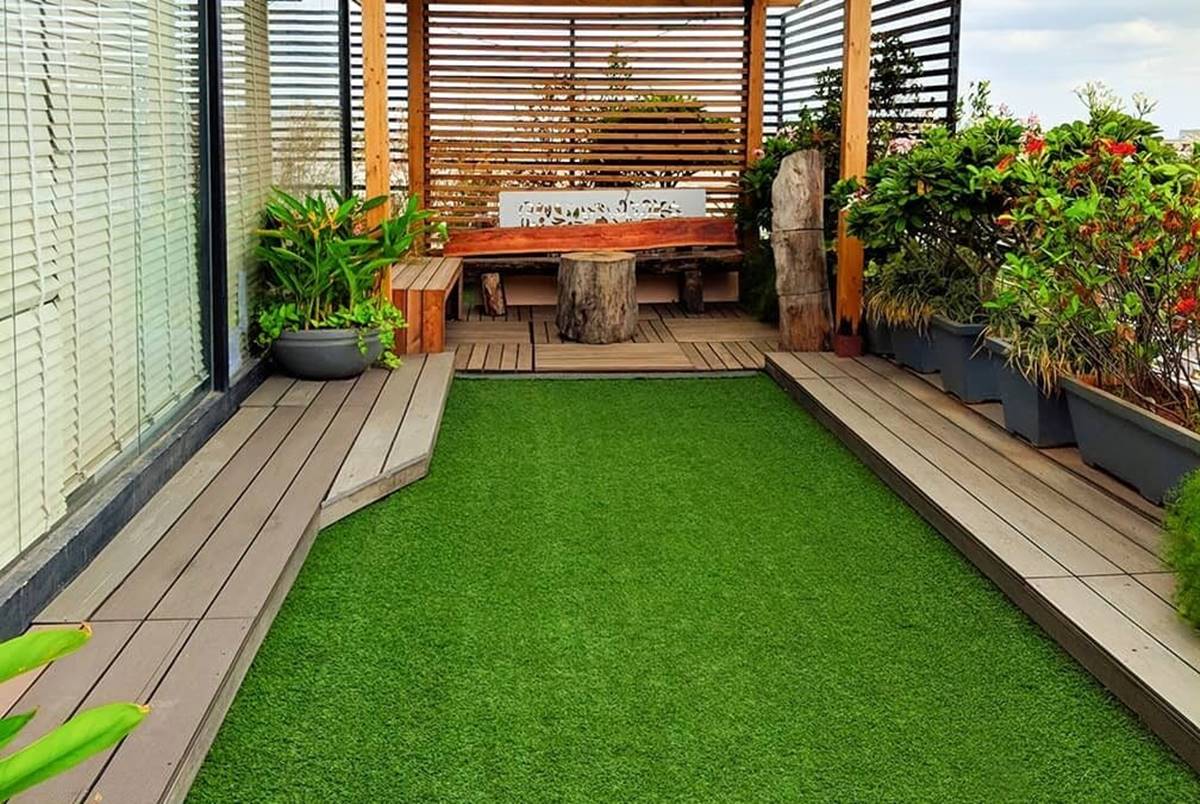
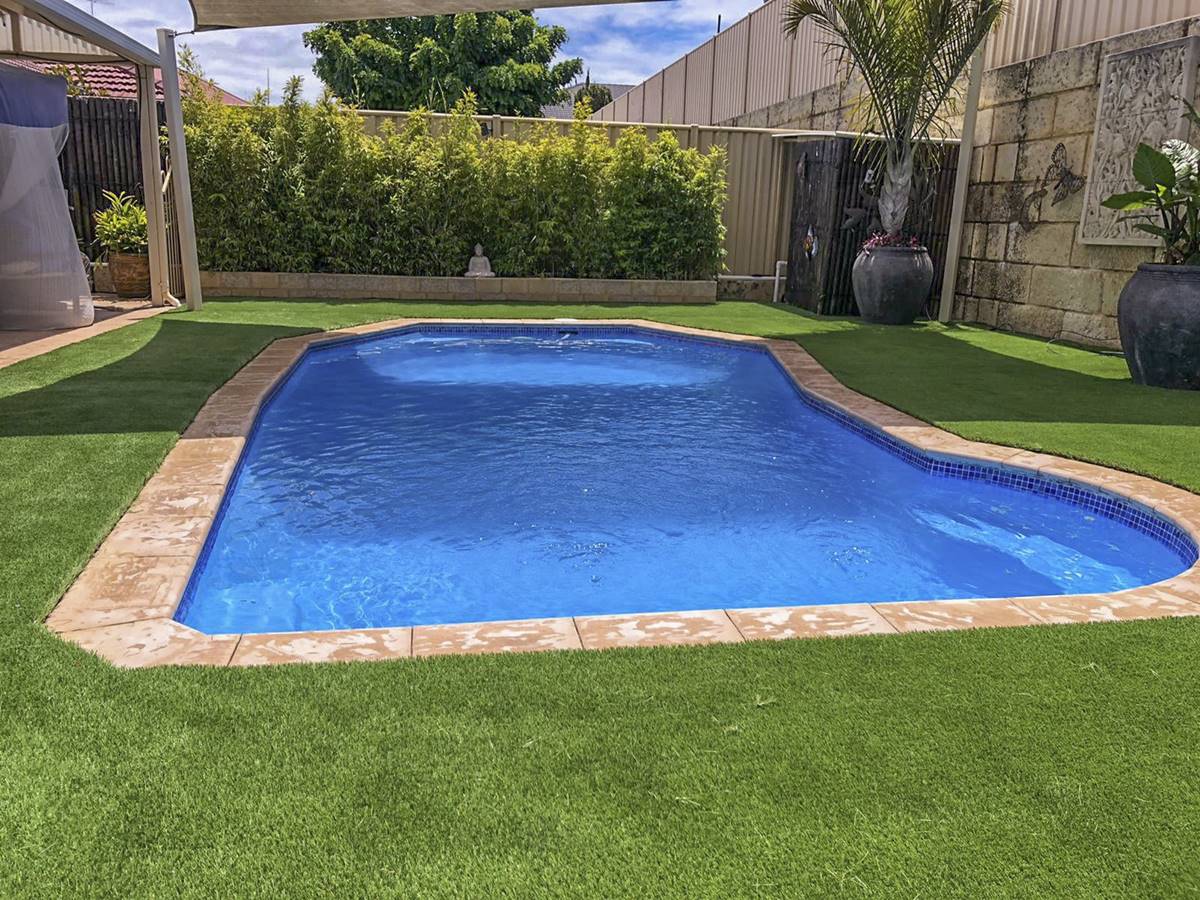
Having a deck is a wonderful addition to any home. It provides a space for relaxation, entertainment, and enjoying the outdoors. If you’re looking to enhance the aesthetics and functionality of your deck, installing turf can be a great option.
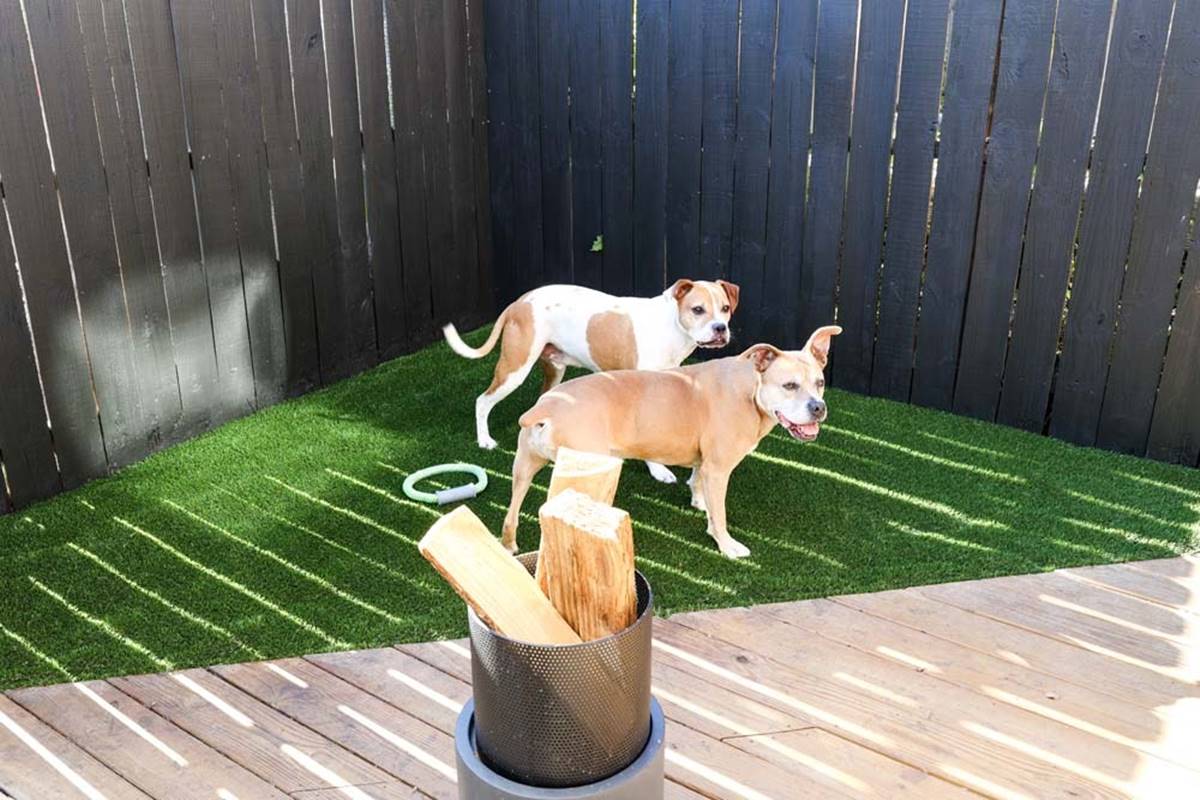
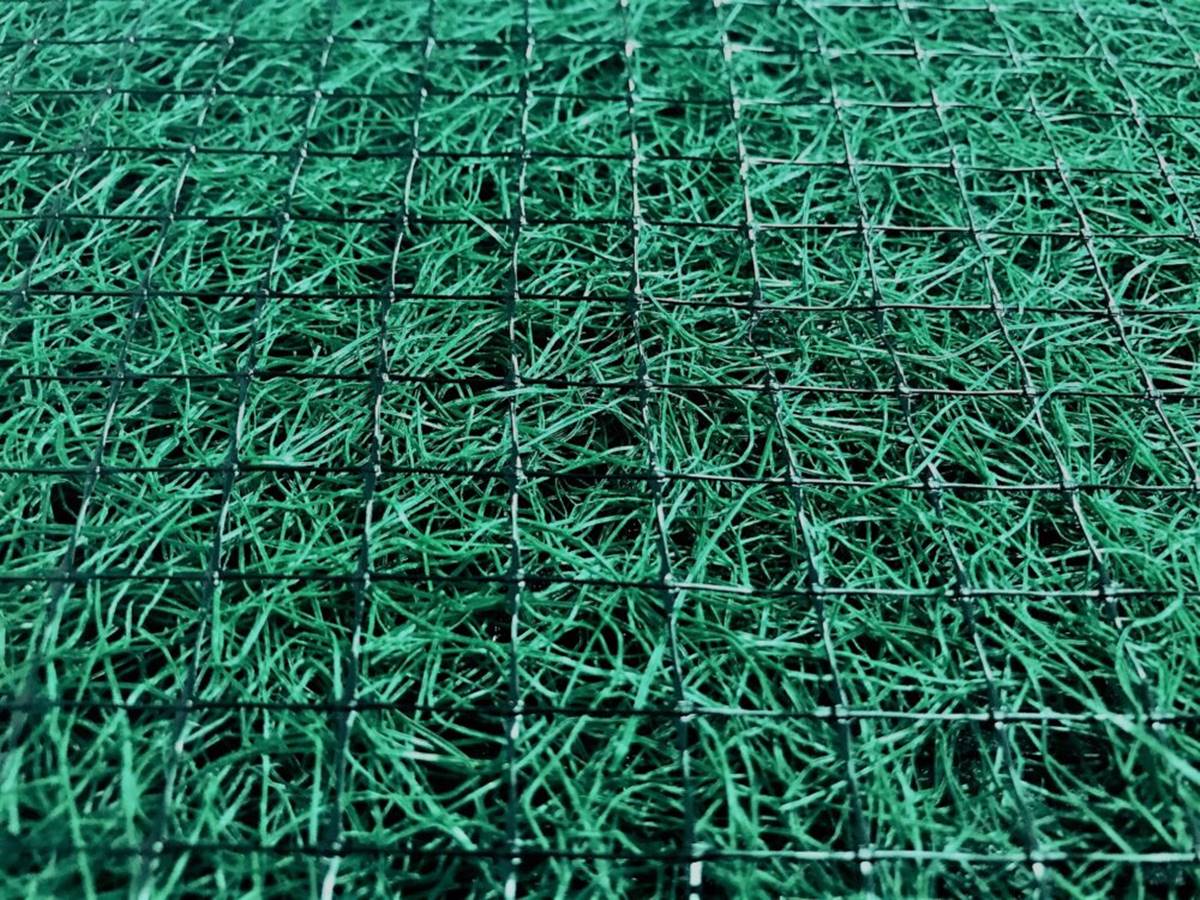
Turf, also known as artificial grass, offers a low-maintenance solution for creating a lush and green outdoor space without the need for constant watering and mowing. Whether you want to transform your deck into a play area for your kids, a pet-friendly space, or simply a visually appealing retreat, installing turf can help you achieve that.
In this article, we will guide you through the process of installing turf on your deck. By following these steps, you’ll be able to create a beautiful and durable outdoor space that you can enjoy year-round.
Key Takeaways:
- Transform your deck into a low-maintenance, lush outdoor space by installing turf. Follow the steps to create a visually appealing and durable area for relaxation and entertainment.
- Properly measure, clean, and secure the turf to ensure a seamless installation. Maintain and care for the turf to keep it looking vibrant and beautiful for years to come.
Read more: How To Lay Astro Turf On Decking
Step 1: Clear and Prepare the Deck
Before you begin the installation process, it’s important to clear the deck of any existing items or debris. Remove any furniture, planters, or other objects that may obstruct the installation of the turf. This will provide a clean and level surface for the turf to be laid on.
Inspect the deck for any loose or damaged boards. Secure any loose boards and replace any damaged ones to ensure a sturdy foundation for the turf. Additionally, check for any protruding nails or screws and make sure they are flush with the surface.
Next, sweep the deck thoroughly to remove any dirt, leaves, or other debris. Use a power washer or hose with a high-pressure nozzle to clean the deck and remove any stubborn dirt or grime. Allow the deck to dry completely before moving on to the next step.
Once the deck is clean and dry, it’s important to address any drainage issues. Proper drainage is crucial to prevent water accumulation and potential damage to the turf. If your deck doesn’t have adequate drainage, consider installing a drain system or creating slopes to redirect water away from the deck.
Lastly, inspect the deck’s railing and ensure it is secure and in good condition. This is important for safety and to prevent any accidents once the turf is installed.
By clearing and preparing your deck, you’re setting the foundation for a successful turf installation and ensuring that your deck is in optimal condition for the long term.
Step 2: Measure and Order the Turf
Accurate measurements are crucial when it comes to ordering the right amount of turf for your deck. Take precise measurements of the deck’s width and length, including any irregular or angled areas.
Once you have the measurements, consider the pile height, density, and color of the turf that will best suit your needs and preferences. Keep in mind the intended use of the deck and any specific requirements, such as pet-friendly or child-friendly options.
When ordering the turf, it’s always a good idea to add a little extra to account for any cutting or shaping that may be required during the installation process. Consult with the turf supplier or manufacturer for their recommendations on the amount of turf you should order based on your deck’s measurements and any specific installation requirements.
Before placing your order, inquire about the warranty and maintenance instructions provided by the turf manufacturer. Understanding the warranty terms and proper care procedures will help you make an informed decision and ensure that your turf remains in good condition over time.
If you’re unsure about which type of turf to choose or how much to order, consider reaching out to a professional installer or landscape designer who can provide guidance based on their expertise and experience. They can help you select the right turf for your deck and ensure a seamless installation process.
By accurately measuring your deck and ordering the appropriate amount of turf, you’ll be one step closer to creating a beautiful and functional outdoor space.
Step 3: Clean and Treat the Deck Surface
Before installing the turf, it’s essential to clean and treat the deck surface to ensure optimal adhesion and longevity of the turf. Follow these steps to prepare the deck surface:
- Inspect the deck for any mildew, mold, or stains. Use a deck cleaner and a stiff brush to scrub away any dirt or debris. Rinse the deck thoroughly with water to remove the cleaning solution.
- If there are any stubborn stains or discoloration, you may need to use a specialized deck cleaner or a mild bleach solution. Be sure to read the instructions and follow the recommended safety precautions when working with bleach.
- Once the deck is clean, allow it to dry completely. This may take a few days, depending on the weather conditions.
- If your deck has any rough or uneven areas, you may need to sand them down to create a smooth surface. This will help prevent any bumps or lumps from showing through the turf.
- If you’re concerned about weed growth, you can apply a weed barrier or weed killer on the deck surface before installing the turf. This will help prevent any unwanted plants from sprouting through the turf.
- Consider applying a deck sealer or waterproofing solution to protect the deck surface from moisture and extend its lifespan. Follow the manufacturer’s instructions for application and drying times.
By cleaning and treating the deck surface, you’re ensuring that the turf will adhere properly and that the deck will remain in good condition for years to come.
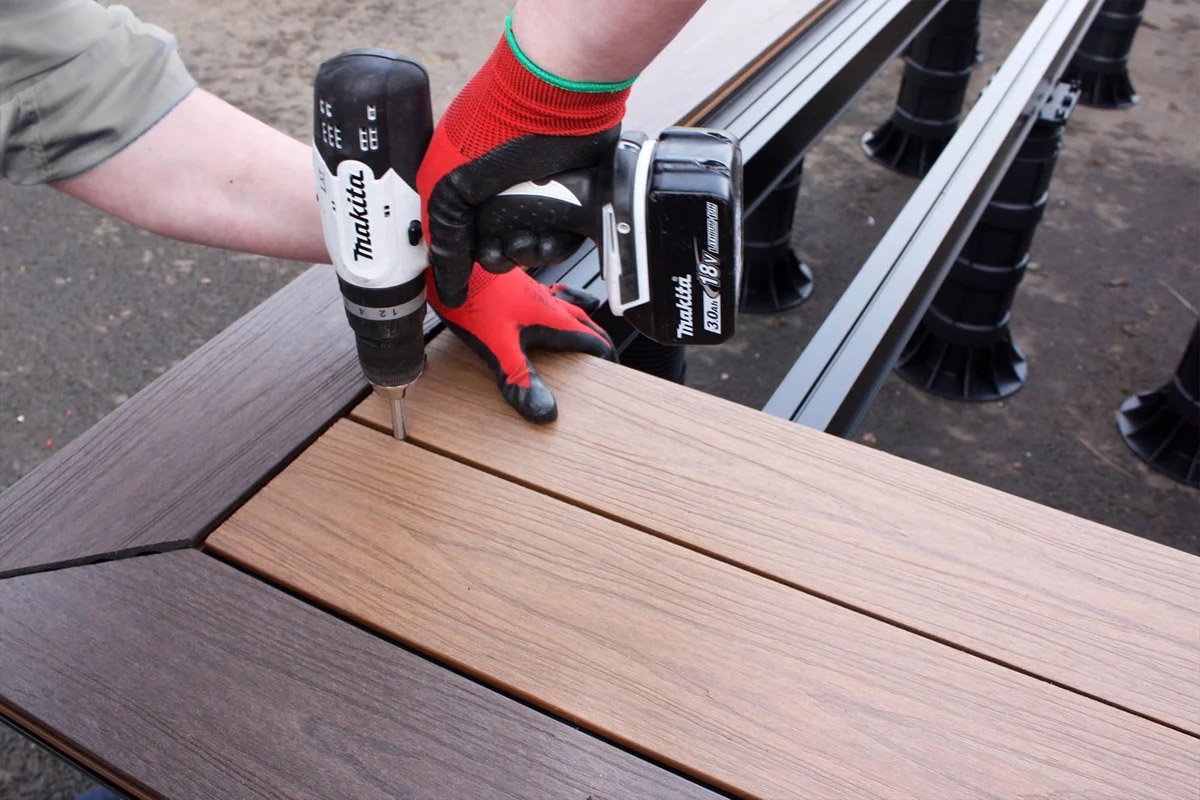
Before installing turf on a deck, make sure the surface is clean and smooth. Use adhesive specifically designed for outdoor turf to secure it in place, and trim any excess material for a neat finish.
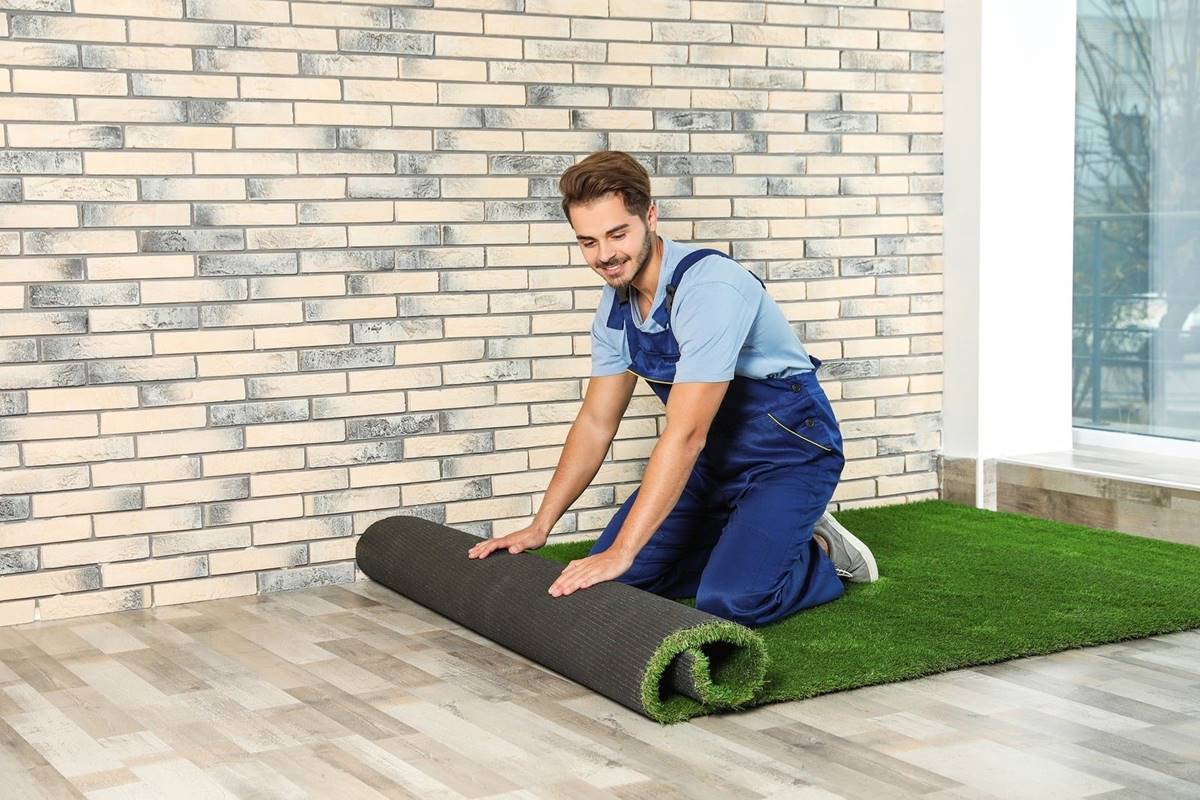
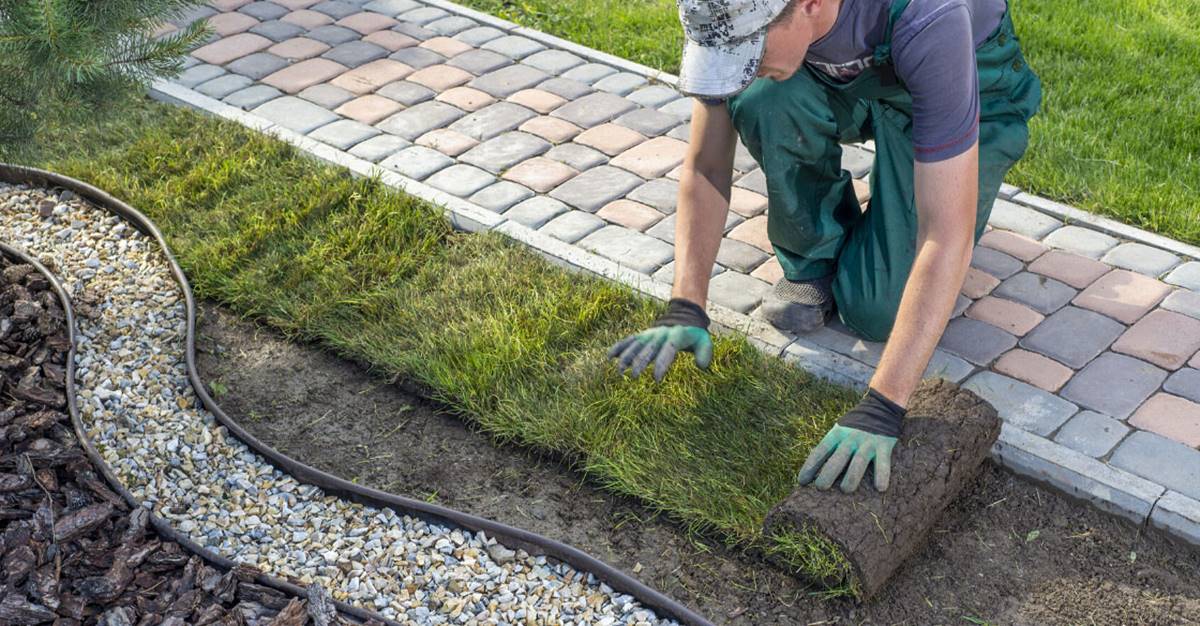
Step 4: Lay the Turf on the Deck
Now that you have prepared the deck surface, it’s time to start laying the turf. Follow these steps to ensure a smooth installation process:
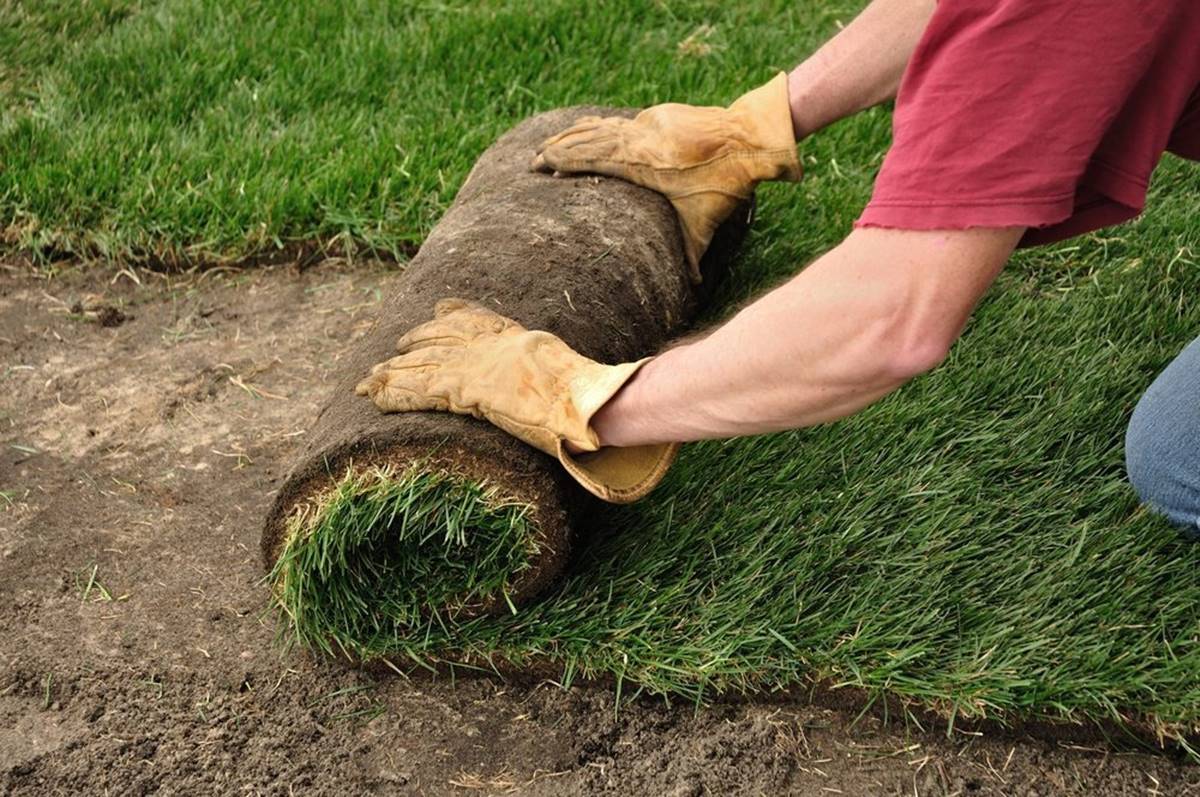
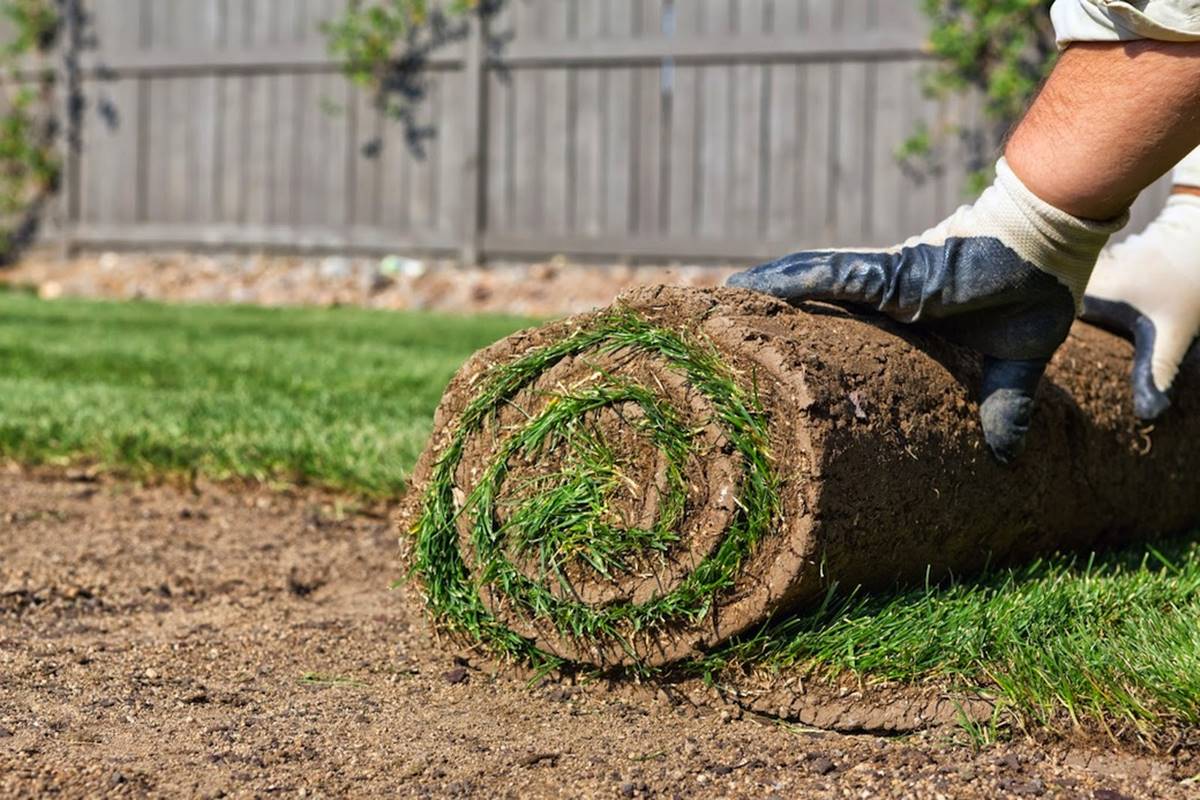
- Start by unrolling the turf rolls along the edge of the deck. Make sure the turf fibers are facing in the same direction for a consistent appearance.
- Allow the turf to acclimate to the outdoor temperature for at least 1-2 hours. This will help prevent any shrinkage or expansion once it’s installed.
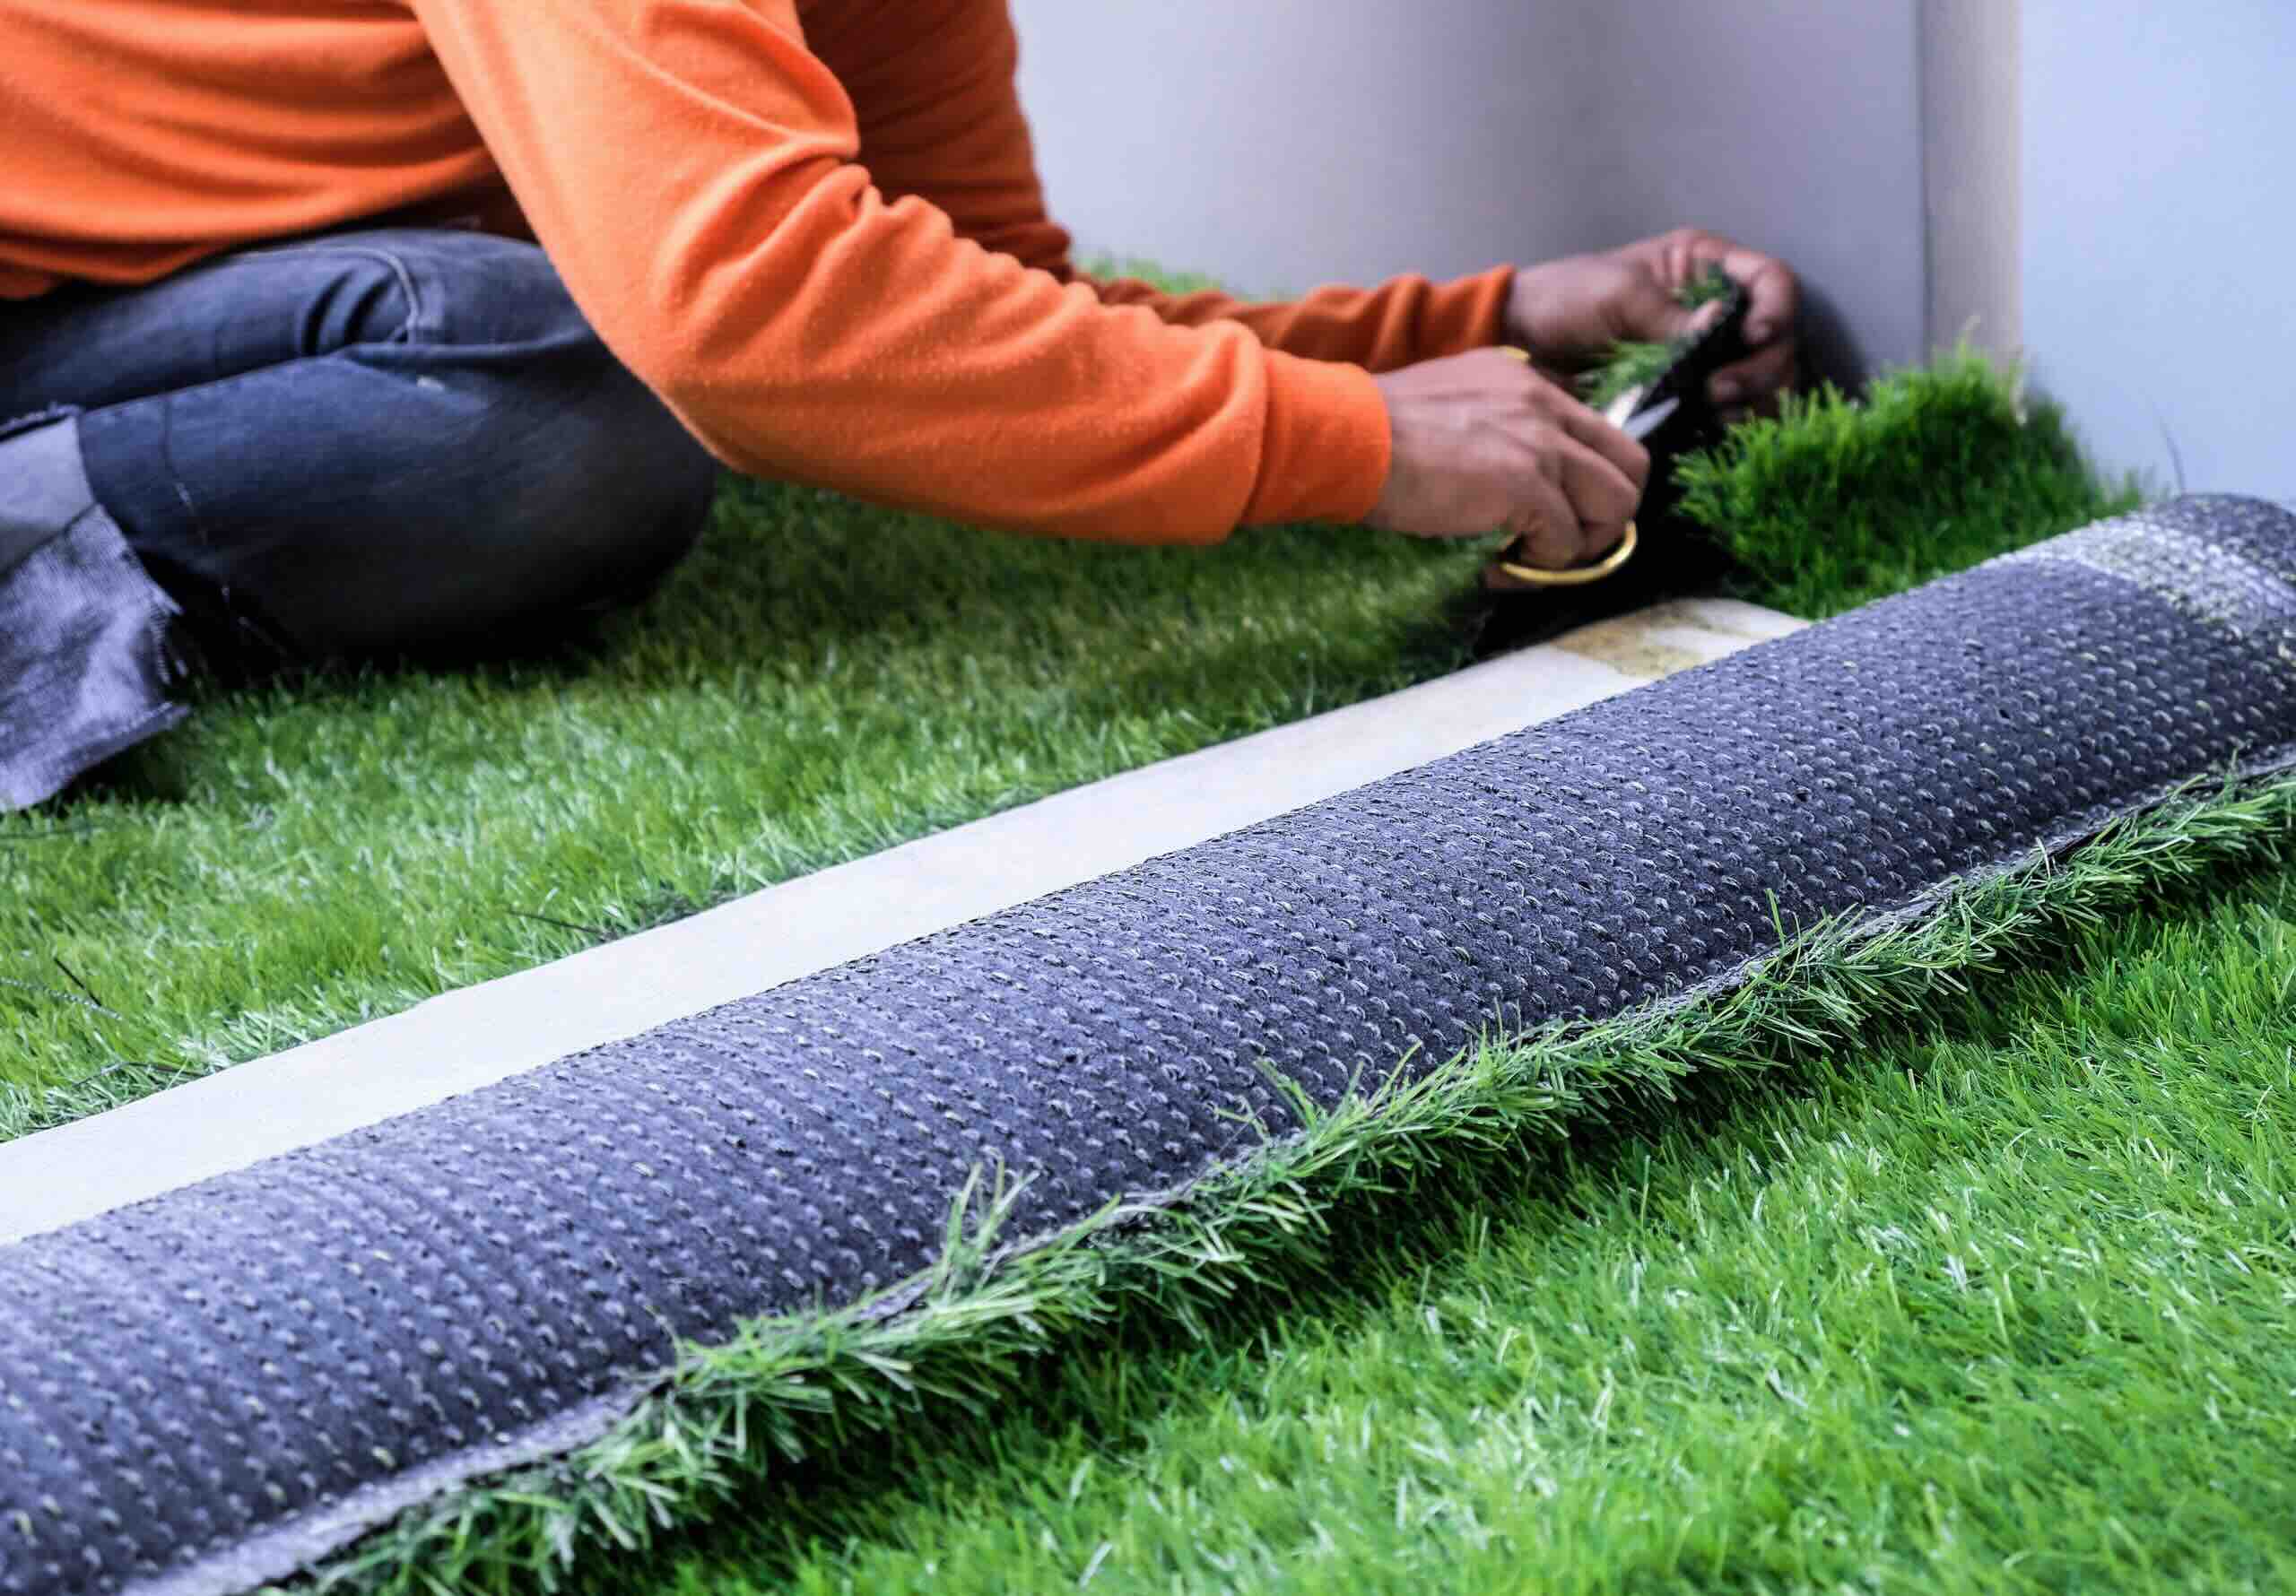
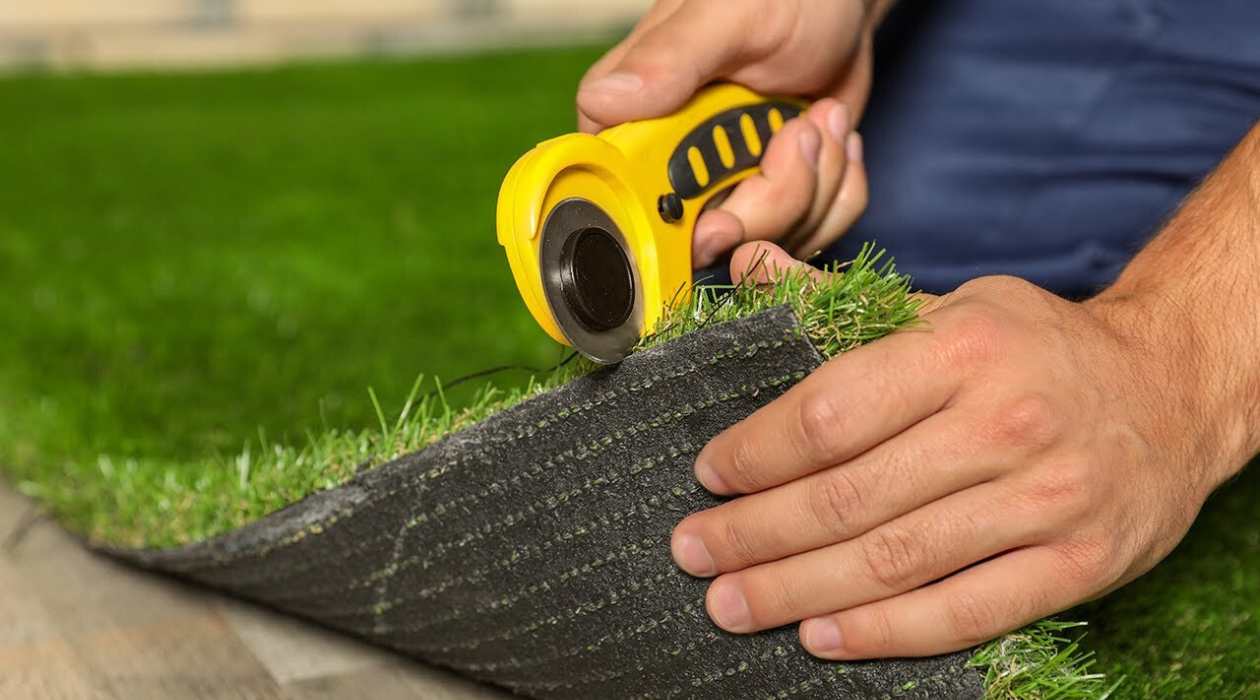
- Continue unrolling the turf across the deck, making sure it aligns with the previous piece. Trim any excess turf using a utility knife or scissors to fit around any obstacles or edges.
- As you lay each section of turf, press it firmly against the deck surface to ensure good contact and adhesion.
- To avoid visible seams, overlap each piece of turf by about 1-2 inches. This will create a seamless look once the turf is fully installed.
- If your deck has any corners or angles, make diagonal cuts on the turf to fit the shape. Trim any excess turf as needed.
- Once all the turf sections are laid out, use a power brush or broom to brush the turf fibers in one direction. This will help the turf fibers stand up and give it a more natural appearance.
- Inspect the entire deck to ensure that the turf is properly aligned and securely attached to the surface.
Take your time during this step to ensure that the turf is laid out smoothly and evenly. Proper installation of the turf will contribute to its long-term durability and visual appeal.
Read more: How To Install Turf Grass
Step 5: Secure the Turf
Securing the turf is an important step to ensure that it remains in place and doesn’t shift or buckle over time. Follow these steps to properly secure the turf on your deck:
- Use landscape fabric pins or staples to secure the edges of the turf around the perimeter of the deck. Place the pins or staples every few inches to ensure a secure hold.
- If your deck has any seams where the turf sections meet, use adhesive or turf seam tape to join them together. Apply the adhesive or tape according to the manufacturer’s instructions, ensuring that the seams are smooth and well-connected.
- If your deck has any moving parts, such as hinges or sliding mechanisms, consider using hook and loop fasteners to secure the turf. This will allow for easy access to those areas while keeping the turf in place.
- For added stability, you can also apply a specialized turf adhesive or double-sided carpet tape to the deck surface. Apply the adhesive or tape in a grid pattern, ensuring that it covers the entire surface beneath the turf.
- Once the turf is securely attached, use a roller or heavy object to apply pressure evenly across the deck surface. This will help the adhesive or tape bond to the turf and the deck.
By properly securing the turf, you can minimize the risk of it shifting or lifting, especially in high-traffic areas or during extreme weather conditions. This will ensure that your turf remains in place and maintains its appearance for years to come.
Step 6: Trim and Shape the Turf
After securing the turf, you may need to trim and shape it to fit the contours of your deck and achieve a polished look. Follow these steps to effectively trim and shape the turf:
- Start by using a sharp utility knife or scissors to trim any excess turf along the edges of the deck. Take care to make clean, straight cuts to ensure a neat finish.
- If your deck has any posts or pillars, make vertical cuts in the turf to create openings around them. Trim the turf carefully to fit the exact dimensions of the posts or pillars.
- If there are any objects or obstacles on your deck, such as flower pots or railing supports, carefully cut and shape the turf to accommodate them. Take precise measurements to ensure a proper fit.
- For curved or irregular edges, use a utility knife or scissors to make small, incremental cuts along the edge of the turf. This will help you shape the turf smoothly around the edges.
- Take your time while trimming and shaping the turf to ensure accuracy and precision. Double-check your measurements and make small adjustments as needed.
- After trimming and shaping the turf, use a soft brush or broom to brush the fibers and remove any excess debris or trimmings.
Trimming and shaping the turf will give your deck a polished and professional appearance. By taking care and attention to detail during this step, you’ll achieve a clean and seamless transition between the turf and the edges of your deck.
Step 7: Maintain and Care for the Turf
Once the turf is installed on your deck, proper maintenance and care are essential to keep it looking its best. Follow these guidelines to maintain and care for your turf:
- Regularly remove leaves, debris, and any other loose particles from the turf surface. This can be done with a broom, leaf blower, or a gentle rinse with a garden hose.
- If you have pets, promptly remove any solid waste and clean any urine spots. Rinse the affected area with water to ensure proper sanitation and prevent odors.
- Depending on the level of foot traffic and usage, you may need to brush the turf fibers occasionally with a stiff-bristled brush. This will help the fibers stand up and maintain their natural appearance.
- If your deck is in an area with limited sunlight, consider using a leaf blower or gently rinsing the turf periodically to prevent any moss or algae growth.
- Avoid placing hot objects, such as grills or fire pits, directly on the turf as it may cause melting or damage. Use heat-resistant mats or pads as a protective barrier.
- If you notice any stubborn stains or spots on the turf, follow the manufacturer’s instructions for spot cleaning or consider using a mild detergent and warm water solution.
- Inspect the deck and turf regularly for any signs of damage or wear. Address any issues promptly to prevent further damage and ensure the longevity of your turf.
By following these maintenance and care tips, you can extend the lifespan of your turf and keep it looking lush and vibrant for years to come.
Installing turf on your deck can transform it into a beautiful and functional outdoor space. By following these steps and taking proper care of your turf, you can enjoy a low-maintenance and visually appealing deck that enhances your home’s aesthetic and provides a comfortable area for relaxation and entertainment.
Frequently Asked Questions about How To Install Turf On Deck
Was this page helpful?
At Storables.com, we guarantee accurate and reliable information. Our content, validated by Expert Board Contributors, is crafted following stringent Editorial Policies. We're committed to providing you with well-researched, expert-backed insights for all your informational needs.
0 thoughts on “How To Install Turf On Deck”