Home>Garden Essentials>How To Cut Astro Turf
Garden Essentials
How To Cut Astro Turf
Modified: October 18, 2024
Learn the best techniques for cutting Astro Turf in your garden with our comprehensive guide. Achieve flawless results with these step-by-step instructions.
(Many of the links in this article redirect to a specific reviewed product. Your purchase of these products through affiliate links helps to generate commission for Storables.com, at no extra cost. Learn more)
Introduction
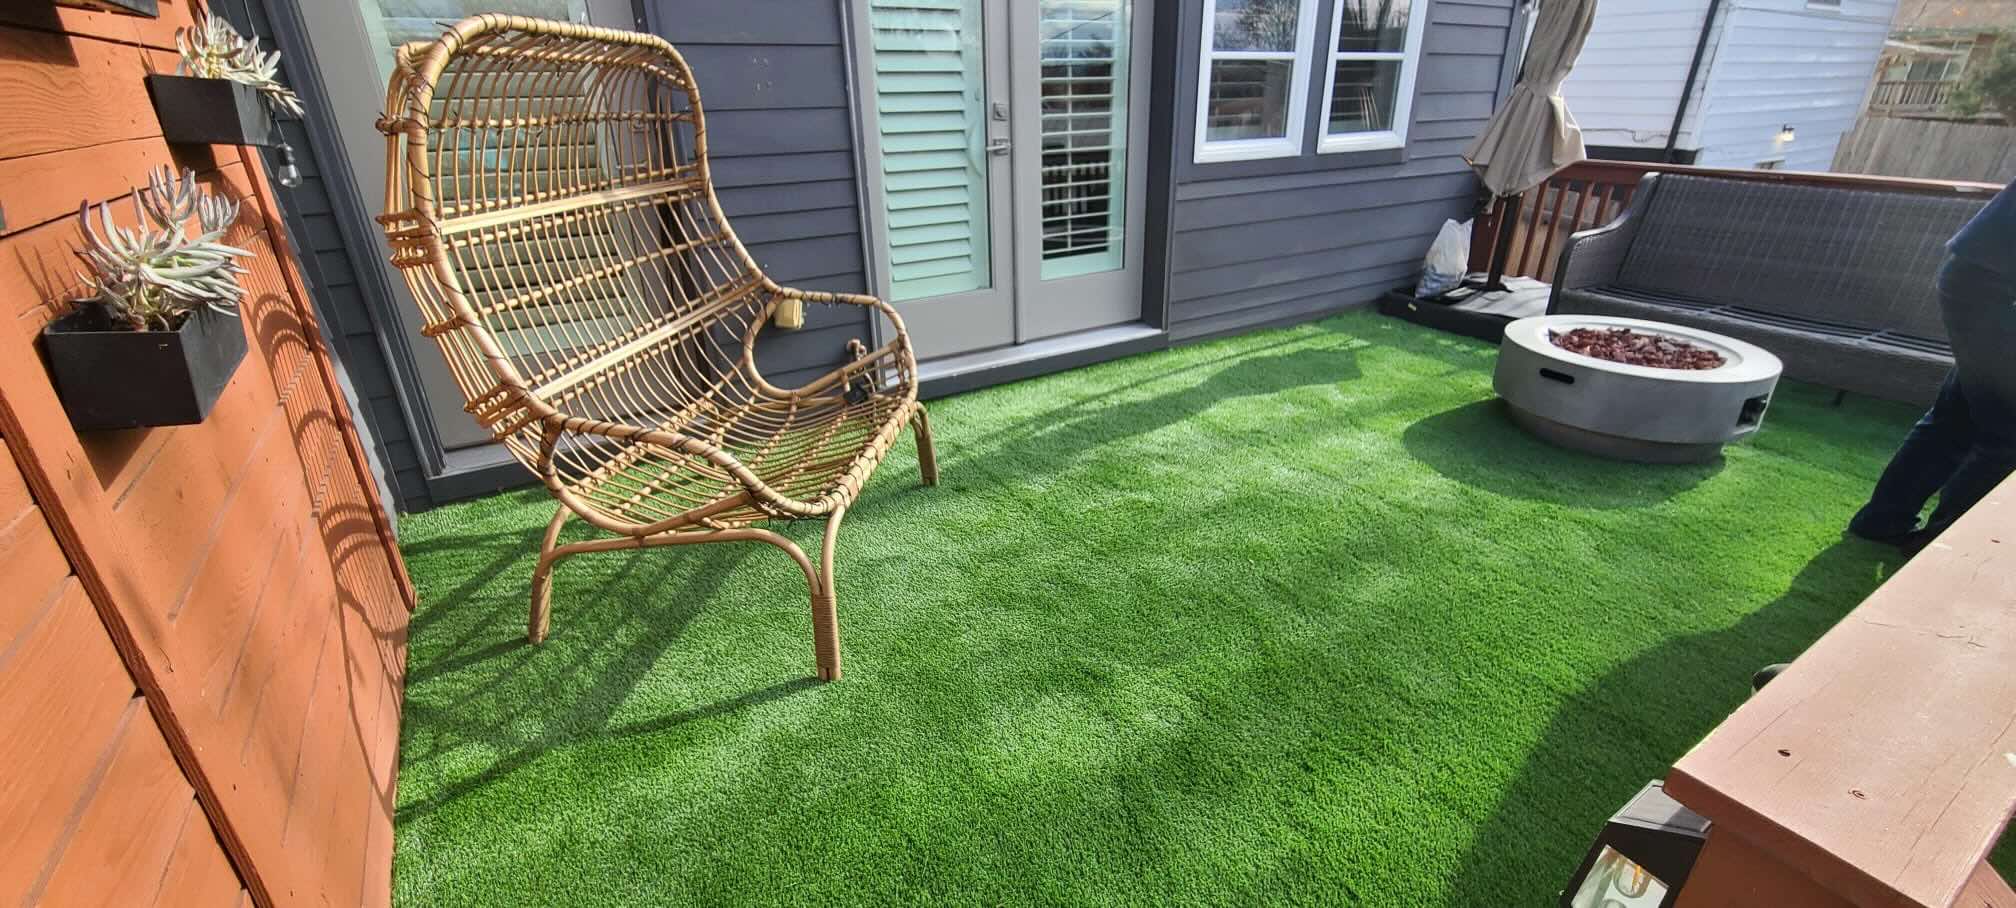
When it comes to creating the perfect outdoor space, astro turf can be a game-changer. Its realistic appearance and low maintenance make it a popular choice for many homeowners. However, installing astro turf requires precise cutting to ensure a seamless and professional-looking finish. In this article, we will guide you through the step-by-step process of cutting astro turf, allowing you to achieve a flawless installation.
Before we dive into the details, let’s briefly discuss the tools and materials you will need:
- Measuring tape
- Utility knife
- Straightedge or a level
- Gloves
- Protective eyewear
These tools will enable you to make accurate measurements, achieve clean cuts, and ensure your safety throughout the process.
Now, let’s get started with the first step of cutting astro turf.
Key Takeaways:
- Cutting astro turf requires precise measurements, clean cuts, and proper preparation. With the right tools and attention to detail, you can achieve a flawless and professional-looking installation.
- After cutting and installing astro turf, add the final touches for a visually striking outdoor space. Enjoy the low-maintenance beauty of astro turf and relax in your transformed garden oasis!
Read more: How Was Astro Turf Named
Tools and Materials Needed
Before you begin cutting astro turf, make sure you have the following tools and materials at your disposal:
- Measuring tape: You’ll need a measuring tape to accurately measure the area where you plan to install the astro turf. This will ensure you cut the turf to the correct size.
- Utility knife: A sharp utility knife is essential for cutting through the astro turf. Make sure the blade is sharp to ensure clean and precise cuts.
- Straightedge or a level: A straightedge or a level will serve as a guide to create straight and even cuts. This will help you achieve a professional-looking result.
- Gloves: It’s always a good idea to protect your hands while working with sharp tools. Wearing gloves will provide added safety and prevent any accidental cuts or injuries.
- Protective eyewear: Cutting astro turf involves working with small particles and debris. Wearing protective eyewear will keep your eyes safe from any potential hazards.
By gathering these tools and materials in advance, you’ll be well-prepared to begin the cutting process without any interruptions or delays.
Step 1: Gather the Necessary Tools
Before you begin cutting astro turf, it’s essential to gather all the necessary tools. Having everything you need at hand will streamline the process and ensure a smooth installation. Here are the tools you’ll need:
- Measuring tape: Start by grabbing a reliable measuring tape. This tool will enable you to measure the area accurately, ensuring that the astro turf fits perfectly.
- Utility knife: A sharp utility knife is crucial for cutting through the astro turf. Choose a blade that is specifically designed for cutting synthetic materials to achieve clean, precise cuts.
- Straightedge or a level: To ensure straight and even cuts, you’ll need a straightedge or a level. This tool will serve as a guide, giving you the confidence to cut along a straight line.
- Gloves: Protect your hands by wearing gloves while working with sharp tools. Gloves will offer an extra layer of safety, preventing any accidental cuts or injuries.
- Protective eyewear: Don’t forget to put on protective eyewear. Cutting astro turf can create debris and small particles that may pose a risk to your eyes. By wearing protective eyewear, you’ll ensure your safety throughout the process.
Once you’ve gathered these tools, make sure they are in good condition and easily accessible. Having them ready and within reach will save you time and make the cutting process much more efficient.
With all the necessary tools at your disposal, you’re now ready to move on to the next step: preparing the area for cutting the astro turf.
Step 2: Prepare the Area
Before you start cutting the astro turf, it’s crucial to properly prepare the area where it will be installed. Follow these steps to ensure a smooth and hassle-free cutting process:
- Clean the area: Begin by thoroughly cleaning the area where the astro turf will be laid. Remove any debris, dirt, or existing grass. A clean surface will provide a solid foundation for the astro turf and prevent any lumps or bumps from appearing after installation.
- Level the ground: Next, make sure the ground is level. Use a shovel or a rake to remove any unevenness and create a smooth surface. This step is important to ensure that the astro turf lays flat and looks uniform.
- Add a weed barrier: To prevent weeds from growing through the astro turf, consider adding a weed barrier. This can be a layer of landscape fabric or a geotextile mat. Install it over the prepared area to create an extra barrier against unwanted growth.
- Compact the soil: Use a hand tamper or a plate compactor to compact the soil. This will further stabilize the ground and create a firm base for the astro turf.
By thoroughly preparing the area, you’ll ensure that the astro turf installation goes smoothly and the final result is visually appealing. Once the area is properly prepped, it’s time to move on to the next step: measuring and marking the astro turf.
Step 3: Measure and Mark
Now that the area is clean and prepared, it’s time to measure and mark where the astro turf will be cut. This step is crucial to ensure the turf fits perfectly and provides a seamless finish. Follow these steps to measure and mark accurately:
- Start by measuring the length and width of the area where the astro turf will be installed. Use a measuring tape and record the dimensions.
- Based on the measurements, calculate the size of the astro turf needed. Keep in mind that it’s better to have slightly more material than not enough, as it can easily be trimmed down later.
- Lay out the astro turf on a flat surface. Using the measurements, mark the dimensions on the back of the turf with a pen or chalk. Double-check the measurements to ensure accuracy.
- Using a straightedge or a level, draw straight lines between the marks to indicate where the cuts will be made.
- If your area has curves or irregular shapes, use a flexible measuring tape or string to outline the shape of the area on the back of the astro turf. This will serve as a guide for making precise curved cuts.
By measuring and marking the astro turf accurately, you’ll avoid any unnecessary mistakes or wasted materials. Take your time with this step to ensure that your cuts are precise and align with the dimensions of your installation area.
Now that you’ve measured and marked the astro turf, it’s time to move on to the next step: cutting the turf itself.
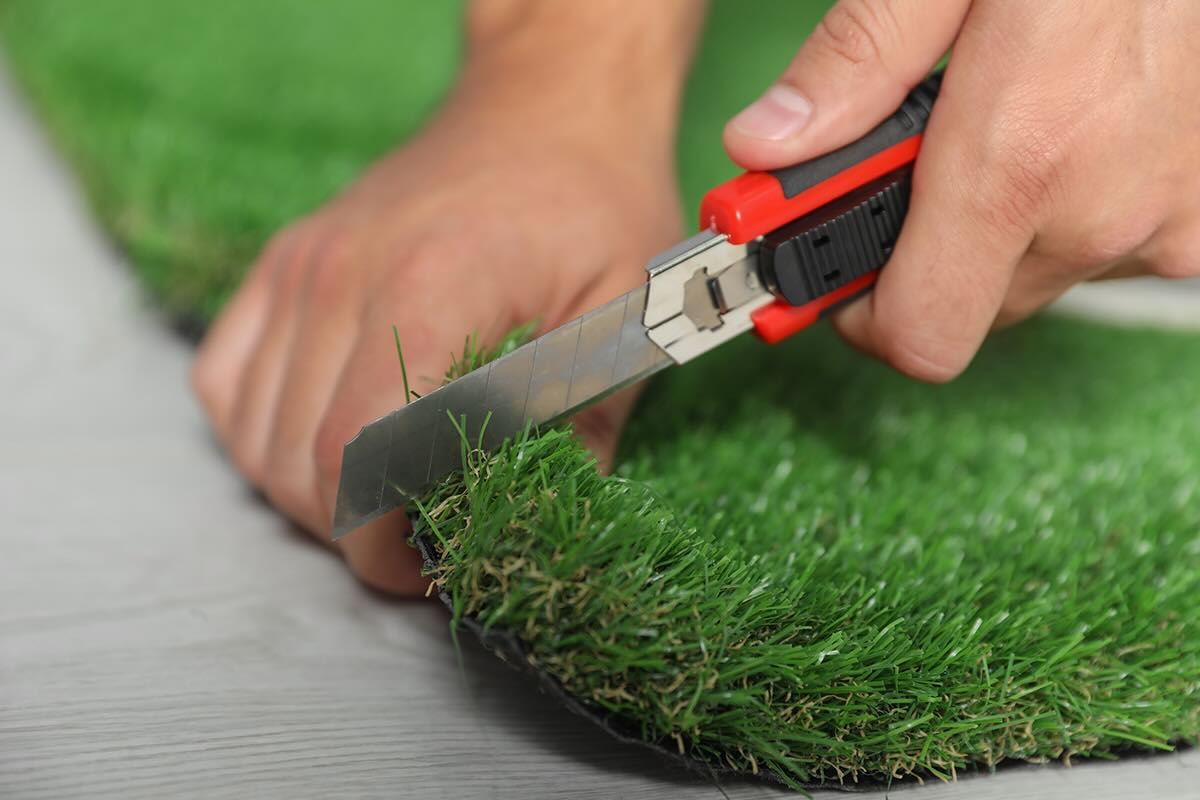
When cutting astro turf, use a sharp utility knife and a straight edge to make clean, precise cuts. Score the turf first, then go over the cut multiple times for best results.
Read more: How To Install Astro Turf On Dirt
Step 4: Cut the Astro Turf
Now that you have measured and marked the astro turf, it’s time to make the cuts. Follow these steps to cut the astro turf accurately and cleanly:
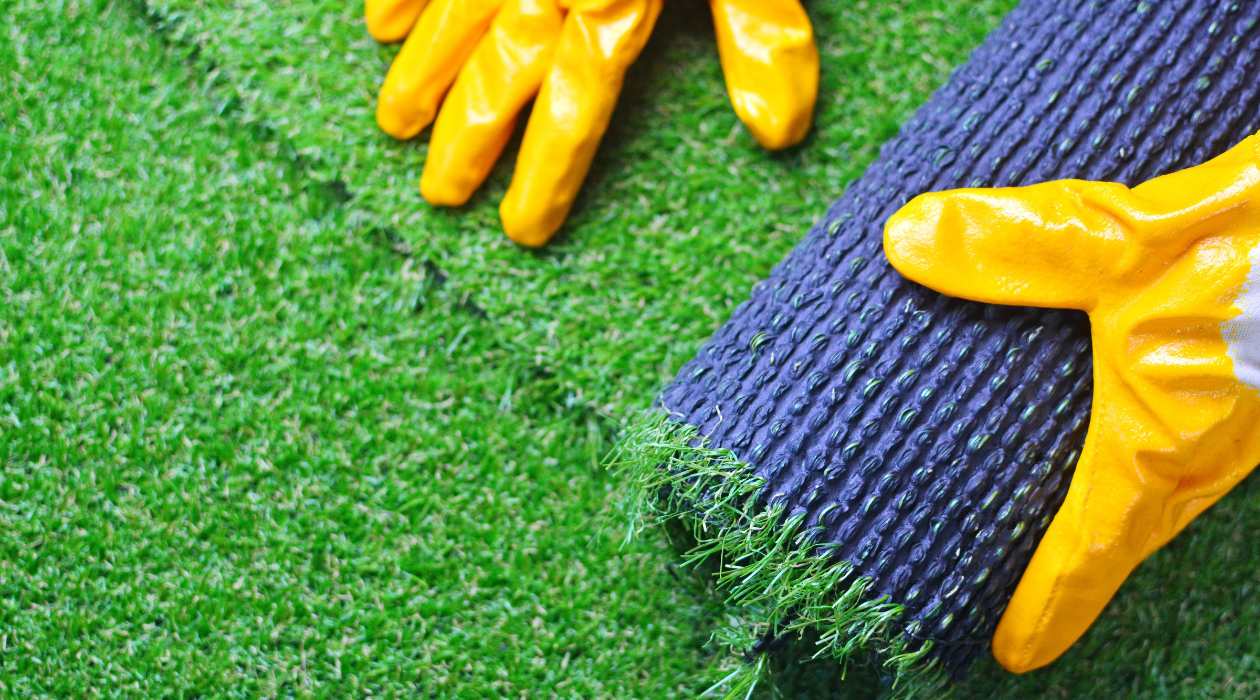
- Put on your gloves and protective eyewear to ensure your safety throughout the cutting process.
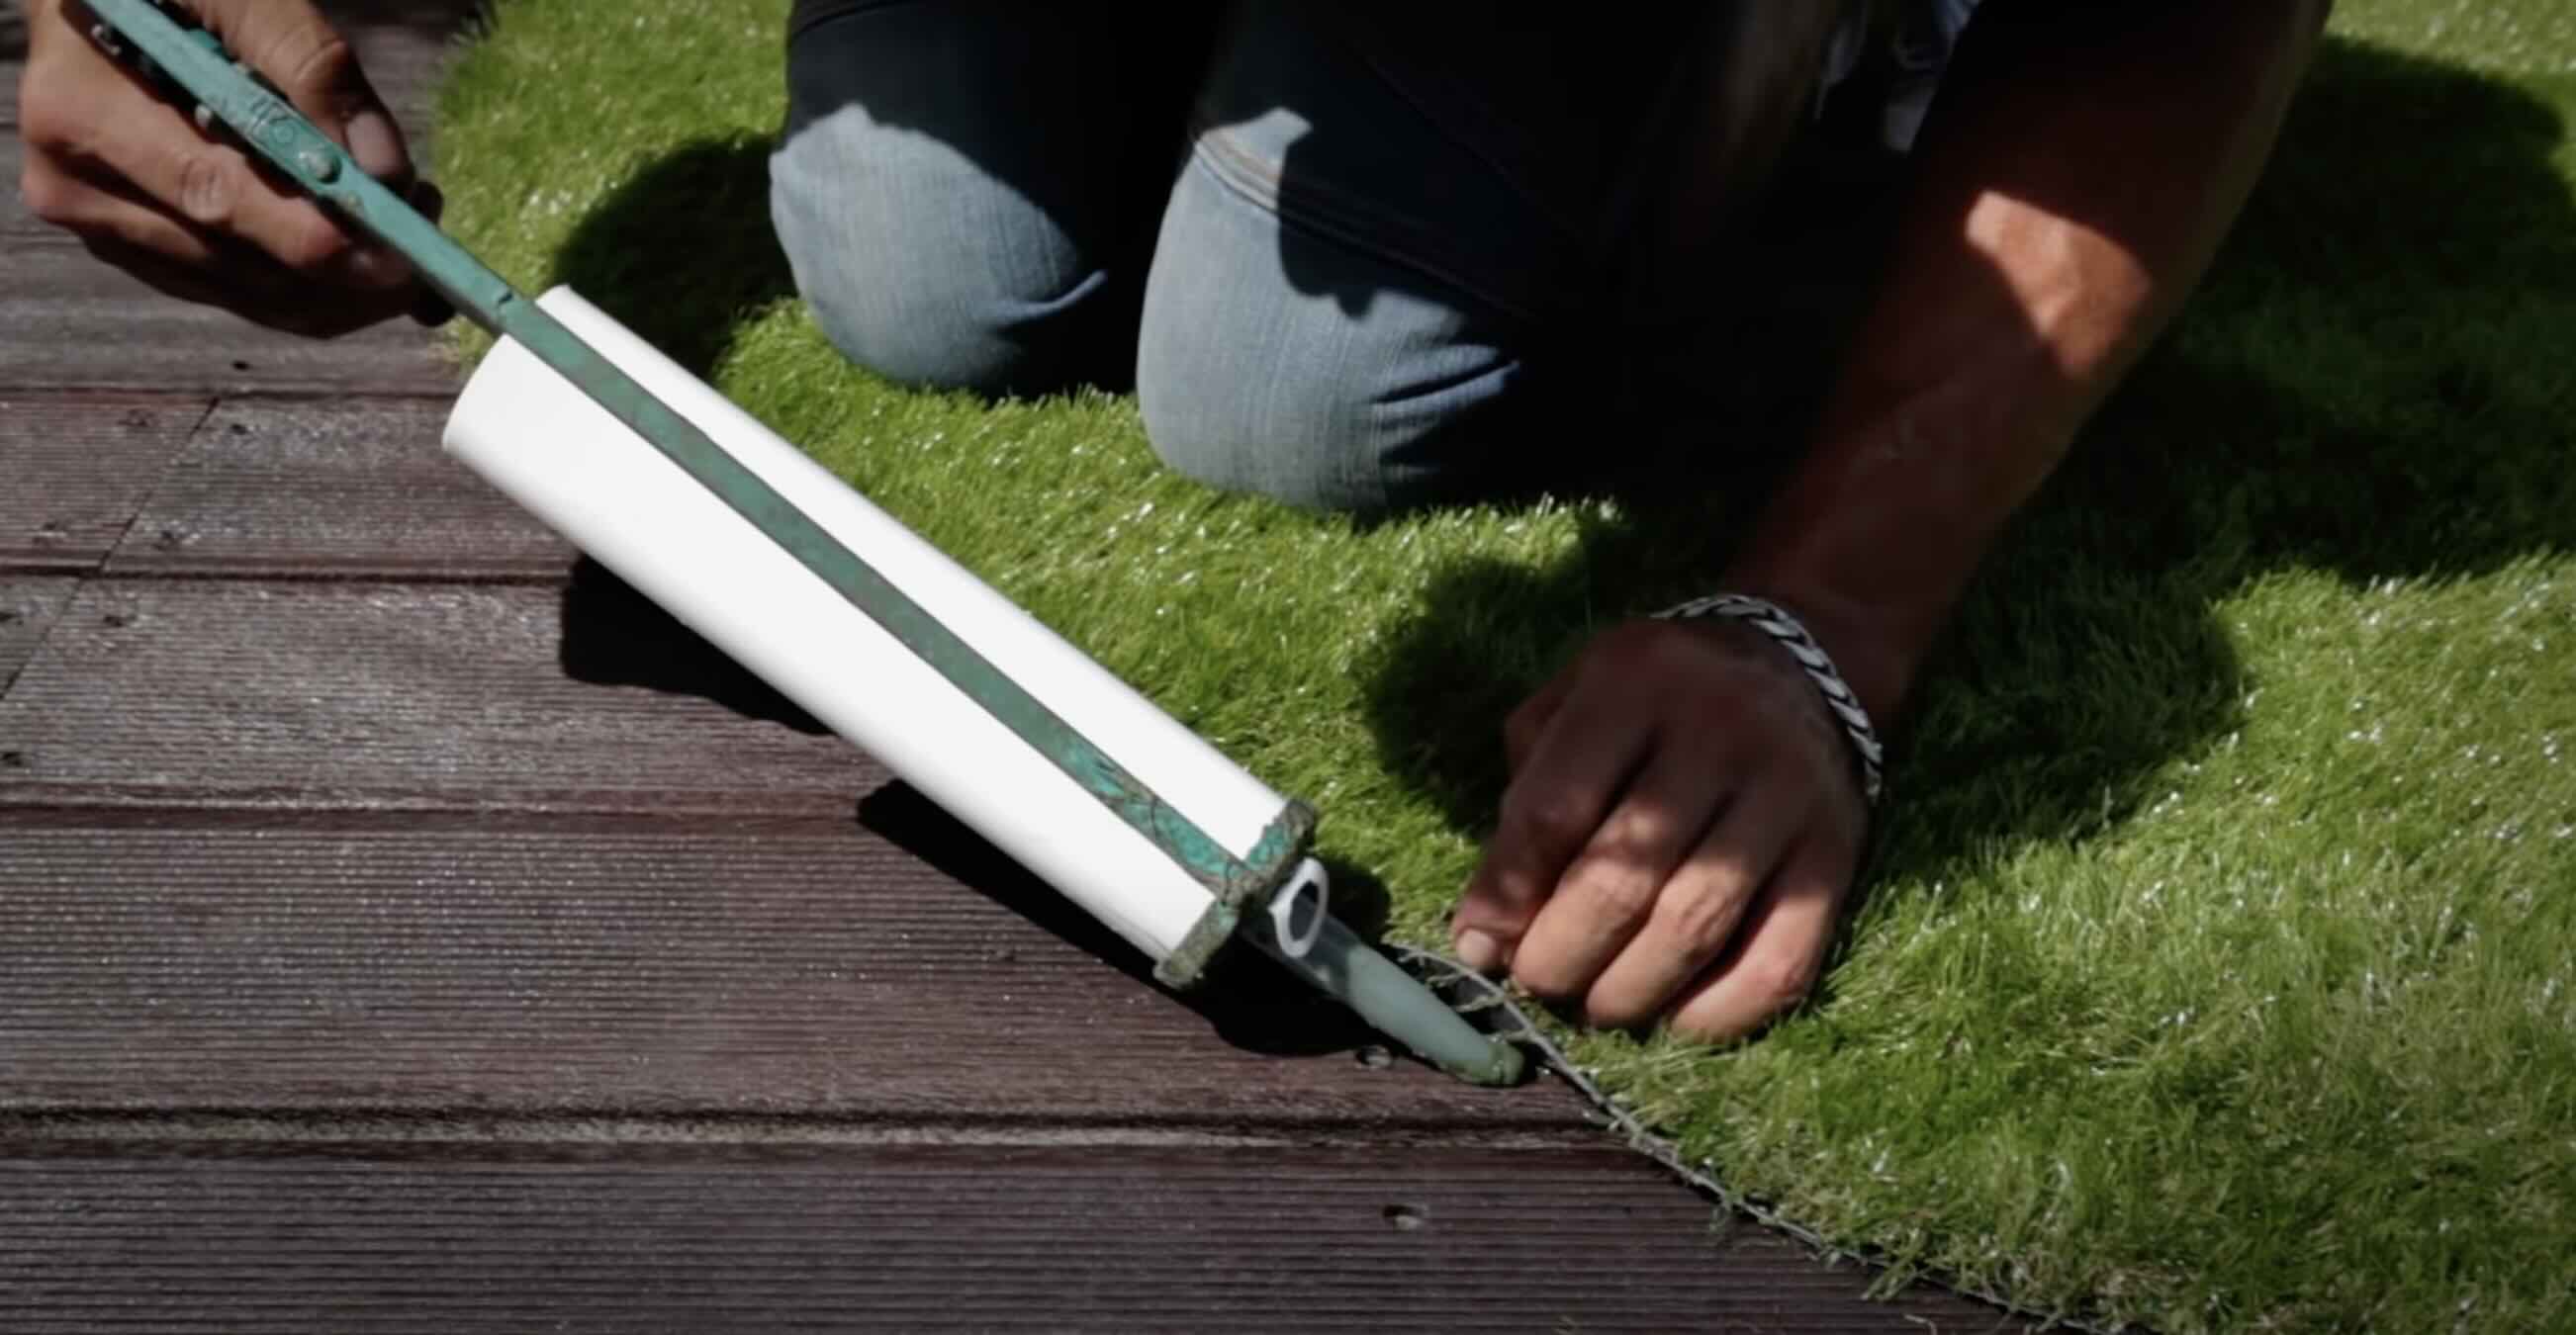
- Using a utility knife, carefully cut along the marked lines on the back of the astro turf. Apply gentle and even pressure to avoid tearing or damaging the turf.
- Maintain a steady hand and follow the lines closely to achieve clean and precise cuts. Take your time and make multiple passes if necessary.
- If your cutting lines are curved, make small cuts along the curve while gradually bending the astro turf. This will help maintain the shape and prevent any jagged edges.
- If you have multiple pieces of astro turf, label each piece accordingly to keep track of which section goes where during installation.
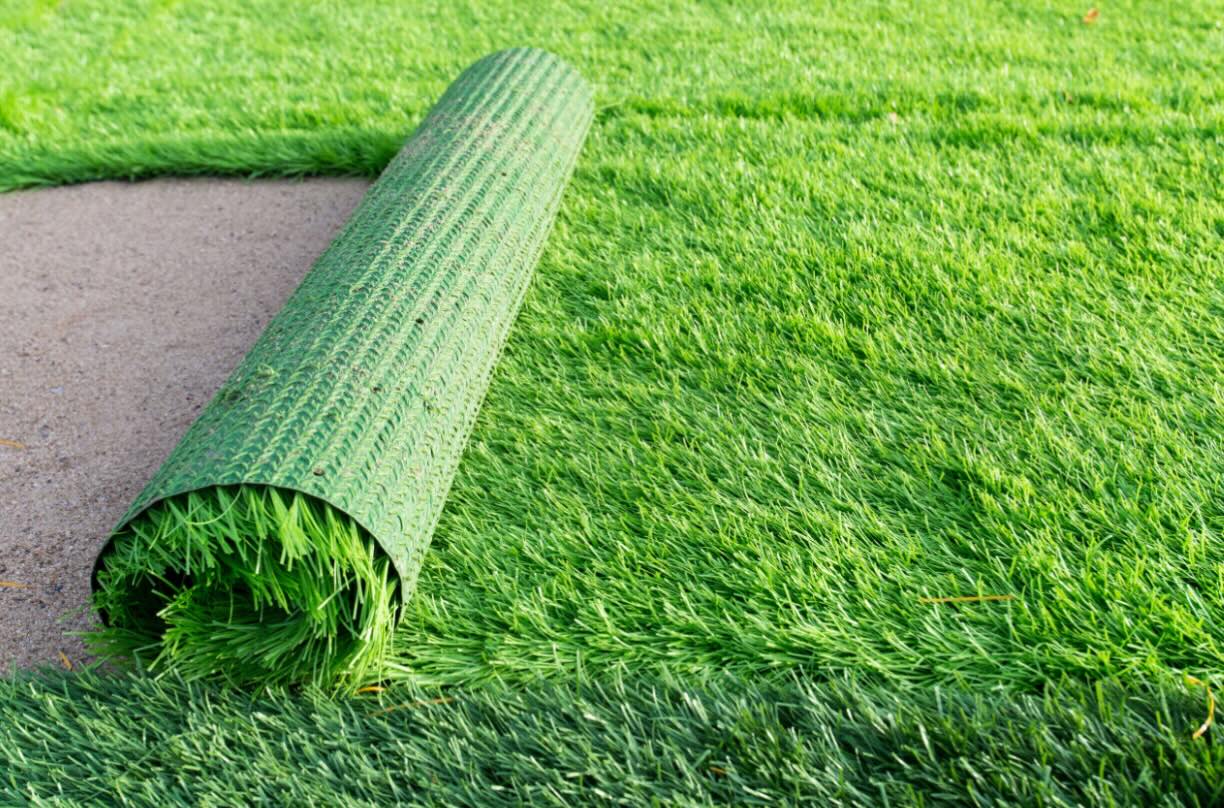
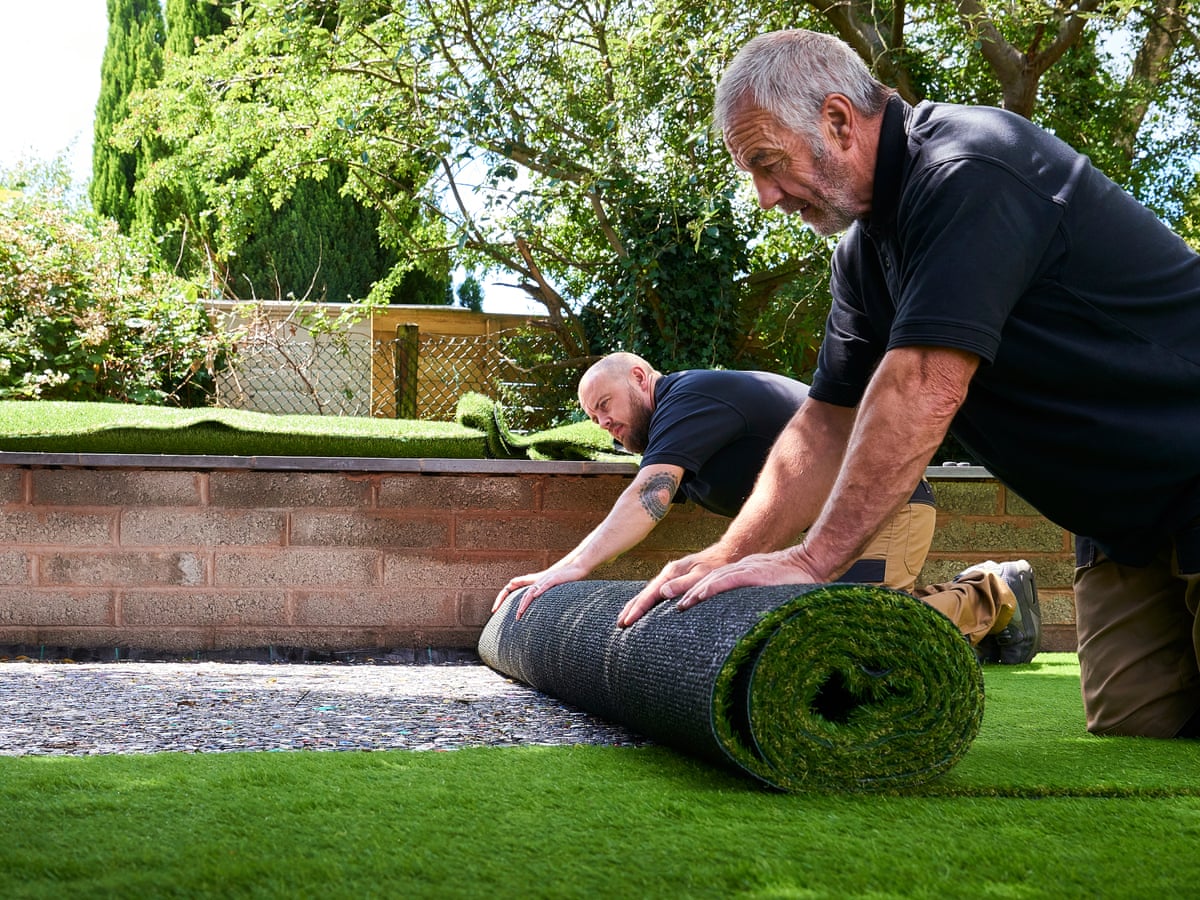
- After cutting all the sections, carefully roll up the astro turf for easy transportation to the installation site.
Remember to take breaks as needed and stay focused to maintain accuracy during the cutting process. Keep an extra blade handy in case the utility knife starts to dull, as a sharp blade will produce cleaner cuts.
Now that you have successfully cut the astro turf, it’s time to move on to the next step: trimming the edges for a seamless finish.
Step 5: Trim the Edges
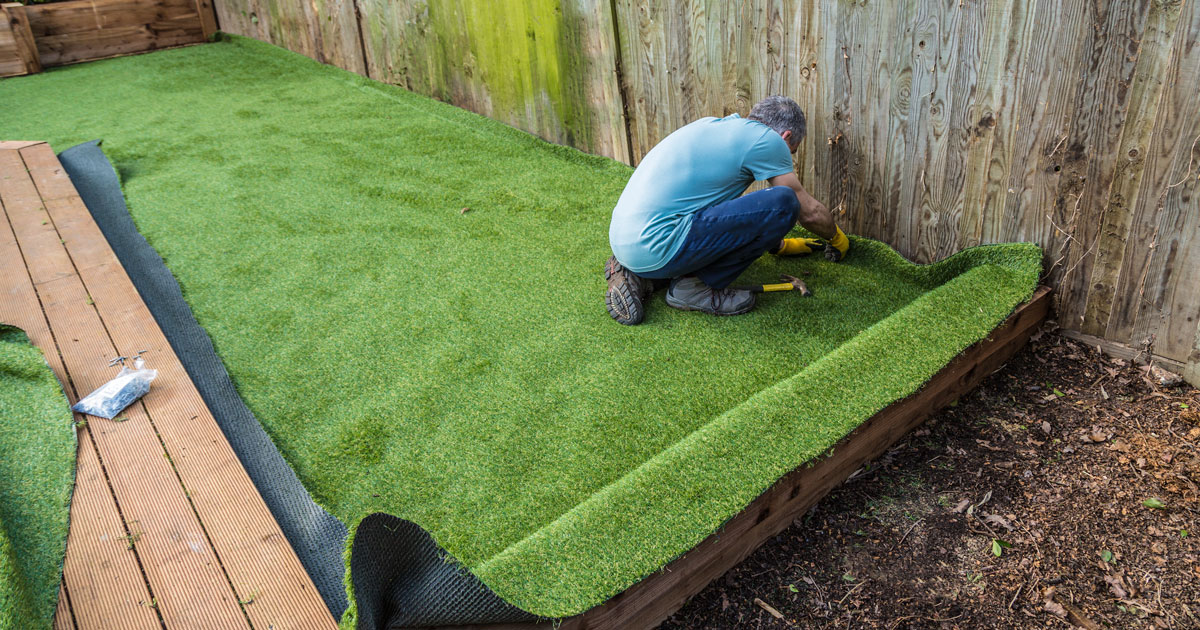
Once you have cut the astro turf to the desired dimensions, it’s important to trim the edges for a neat and professional look. Follow these steps to effectively trim the edges:
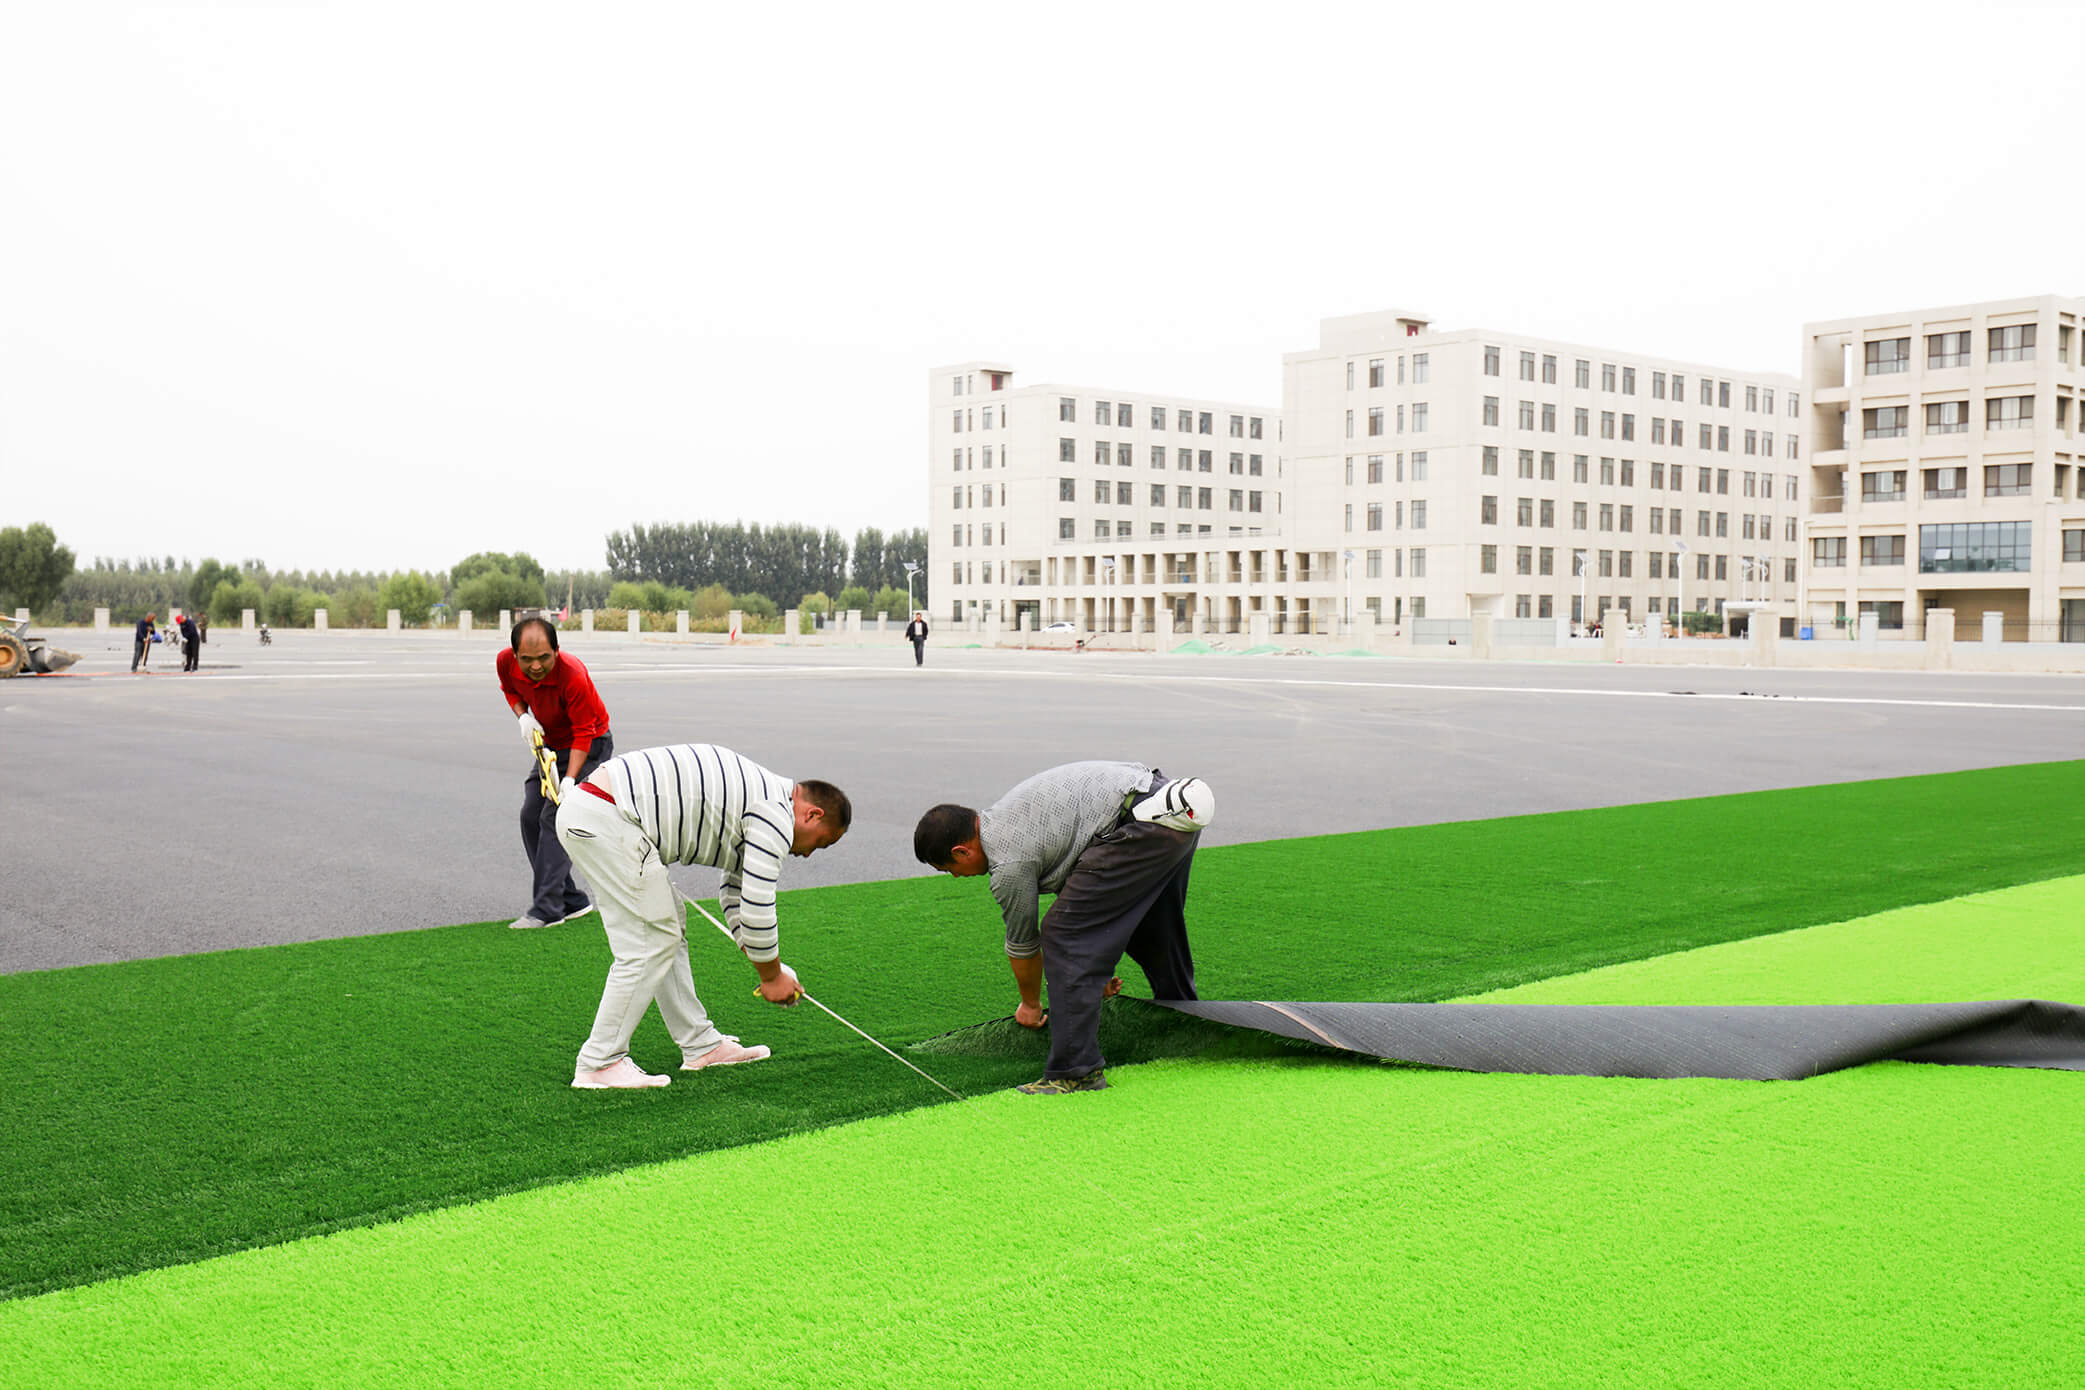
- Unroll the astro turf onto the designated installation area.
- Using a straightedge or a level, align it with the edge of the turf that needs to be trimmed.
- Hold the straightedge firmly in place and carefully cut along the edge with a sharp utility knife. Apply even pressure to ensure clean and straight cuts.
- Repeat this process for all the edges of the astro turf, ensuring that they are trimmed to the desired length.
- If there are any excess pieces of turf sticking out, trim them off as well.
While trimming the edges, make sure to maintain a steady hand and follow the contours of the area. Take your time and make small adjustments if necessary to achieve a seamless finish.
Once you have trimmed all the edges, congratulate yourself on a job well done! The astro turf is now cut to the correct size and the edges are neatly trimmed, giving your installation a polished and professional appearance.
Now, let’s move on to the final step: cleaning up and adding some finishing touches.
Step 6: Clean Up and Final Touches
With the astro turf cut and the edges trimmed, it’s time to clean up any debris and add some final touches to complete the installation. Follow these steps for the finishing touches:
- Remove any leftover grass, dirt, or debris from the installation area. Use a broom or a leaf blower to sweep away any loose particles.
- Inspect the astro turf for any loose threads or uneven sections. Trim any stray fibers or edges to achieve a clean and uniform appearance.
- Secure the astro turf in place using landscape staples or adhesive, following the manufacturer’s instructions. This will ensure that the turf stays in place even during heavy use.
- Gently brush the astro turf with a stiff-bristled broom or a power broom. This will help fluff up the blades and give the turf a more natural and vibrant look.
- Give the entire installation a final inspection to ensure everything is in place and looks seamless. Make any necessary adjustments or touch-ups as needed.
By cleaning up and adding these final touches, you’ll enhance the overall appearance of the astro turf and ensure a visually striking and long-lasting installation.
Congratulations on successfully cutting and installing your astro turf! Your hard work and attention to detail have paid off, resulting in a beautiful outdoor space that is low maintenance and visually appealing. Now you can sit back, relax, and enjoy your new astro turf for years to come!
Thank you for following our step-by-step guide. We hope this article has been helpful in guiding you through the process of cutting astro turf. Happy gardening!
Conclusion
Installing astro turf can transform your outdoor space into a beautiful and low-maintenance oasis. By following the step-by-step guide on cutting astro turf, you can achieve a professional-looking installation that will last for years to come.
Remember to gather the necessary tools and materials, prepare the area beforehand, measure and mark accurately, and make clean and precise cuts. Trim the edges for a seamless finish and add those final touches to complete the installation.
Throughout the process, ensure your safety by wearing gloves and protective eyewear. Take your time and pay attention to detail to achieve the best results.
Once the astro turf is installed, sit back and enjoy your transformed outdoor space. With its realistic appearance and minimal upkeep, astro turf provides a hassle-free solution for a lush and green lawn.
So, roll up your sleeves, gather your tools, and get ready to cut astro turf like a pro. Your beautifully landscaped outdoor space awaits!
Thank you for reading our comprehensive guide on cutting astro turf. We hope you found it helpful and informative. Happy gardening!
Frequently Asked Questions about How To Cut Astro Turf
Was this page helpful?
At Storables.com, we guarantee accurate and reliable information. Our content, validated by Expert Board Contributors, is crafted following stringent Editorial Policies. We're committed to providing you with well-researched, expert-backed insights for all your informational needs.


0 thoughts on “How To Cut Astro Turf”