Home>Garden Essentials>Garden Plants>How To Grow Thyme Seeds

Garden Plants
How To Grow Thyme Seeds
Modified: October 28, 2024
Discover the Secrets of Growing Thyme Seeds and Cultivating Thriving Plants. Find Step-by-Step Tips, Techniques, and Expert Advice to Nurture Your Thyme Plants for a Bountiful Harvest.
(Many of the links in this article redirect to a specific reviewed product. Your purchase of these products through affiliate links helps to generate commission for Storables.com, at no extra cost. Learn more)
Introduction
Welcome to the wonderful world of growing thyme seeds! Whether you’re a seasoned gardener or a beginner looking to explore the joys of planting, thyme is a versatile herb that can add a delightful touch to your garden and culinary creations. In this comprehensive guide, we will walk you through the step-by-step process of growing thyme seeds successfully.
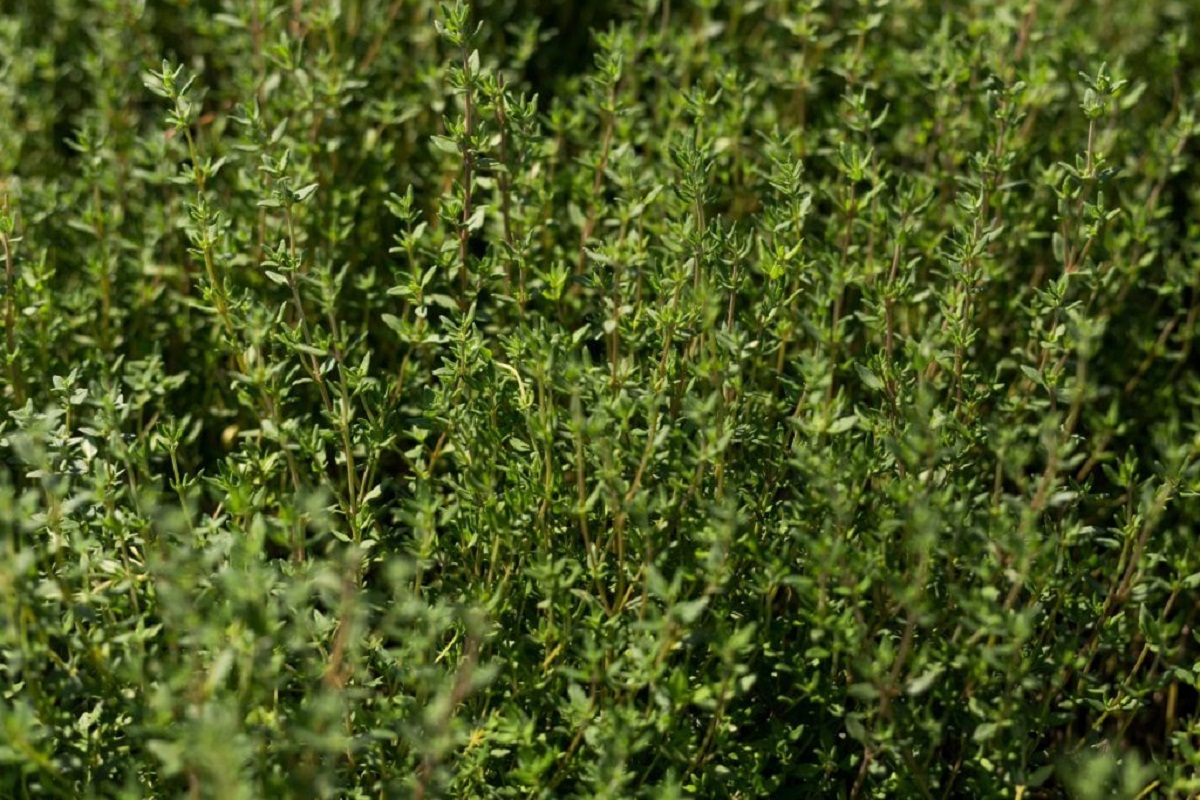
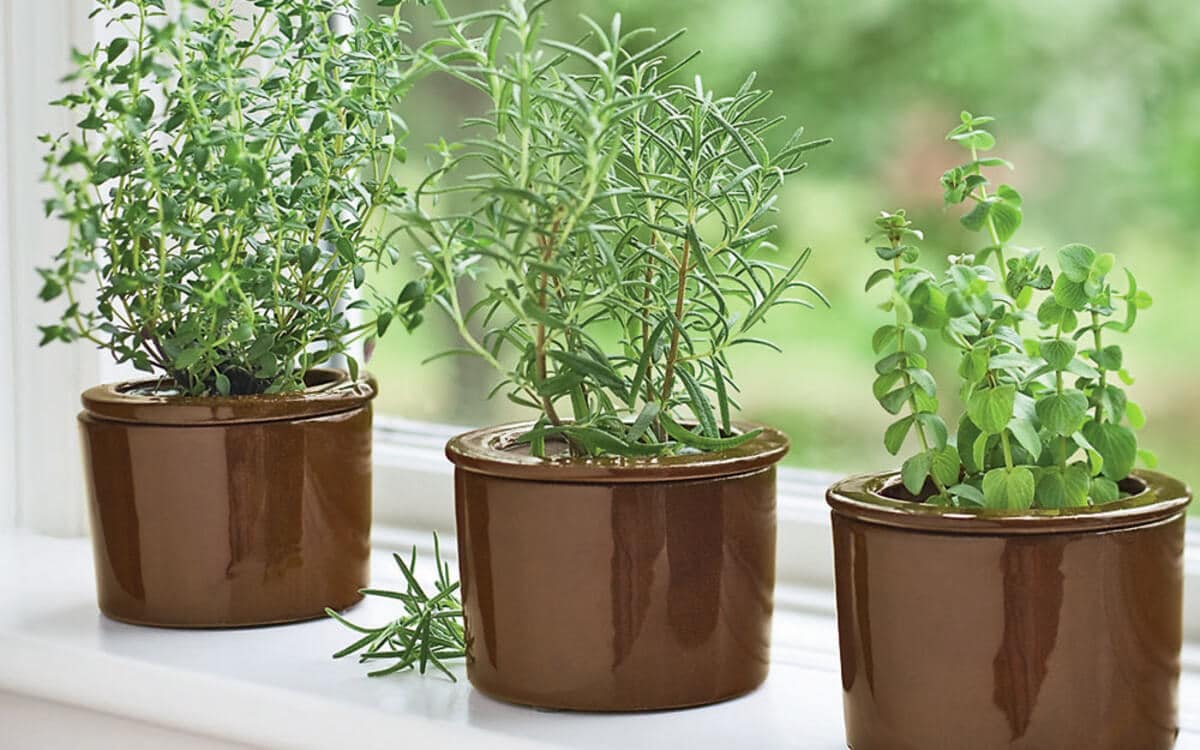
Thyme, scientifically known as Thymus vulgaris, is a perennial herb that belongs to the mint family. It is native to the Mediterranean region and has been used for centuries in culinary, medicinal, and aromatic applications.
Thyme is not only renowned for its distinct and savory flavor but also for its numerous health benefits. It is rich in essential oils, vitamins, minerals, and antioxidants that promote digestive health, boost the immune system, and have antimicrobial properties.
With its low maintenance requirements and ability to thrive in a variety of growing conditions, thyme is an excellent choice for both indoor and outdoor gardens. Whether you have a small balcony, a sunny patio, or a spacious backyard, you can easily grow thyme to enhance your culinary creations, create aromatic blends, or simply enjoy the beauty of its delicate foliage.
Throughout this guide, we will provide you with valuable tips and insights to ensure that your thyme seeds germinate successfully, grow into healthy plants, and produce an abundance of fragrant leaves. From choosing the right thyme seeds to harvesting your very own homegrown herb, we will cover all the essential steps to make your thyme-growing journey a rewarding and enjoyable experience.
So, roll up your sleeves, grab your gardening tools, and let’s dive into the fascinating world of growing thyme seeds!
Key Takeaways:
- Choose the right thyme variety based on your preferences and gardening conditions. Consider factors like flavor, growth habits, and intended use to ensure a successful and rewarding thyme-growing experience.
- Provide proper care for your thyme plants, including soil preparation, watering, sunlight, fertilizing, and pest management. Regular pruning and harvesting will maintain plant health and yield flavorful leaves for culinary enjoyment.
Read more: How To Grow Thyme In Texas
Step 1: Choosing the Right Thyme Seeds
The first step in growing thyme seeds successfully is selecting the right variety for your specific needs. Thyme comes in various cultivars, each with its own unique characteristics. Here are a few key considerations when choosing your thyme seeds:
- Common Thyme (Thymus vulgaris): This is the most common and widely available thyme variety. It has a strong, earthy flavor and is commonly used in culinary applications.
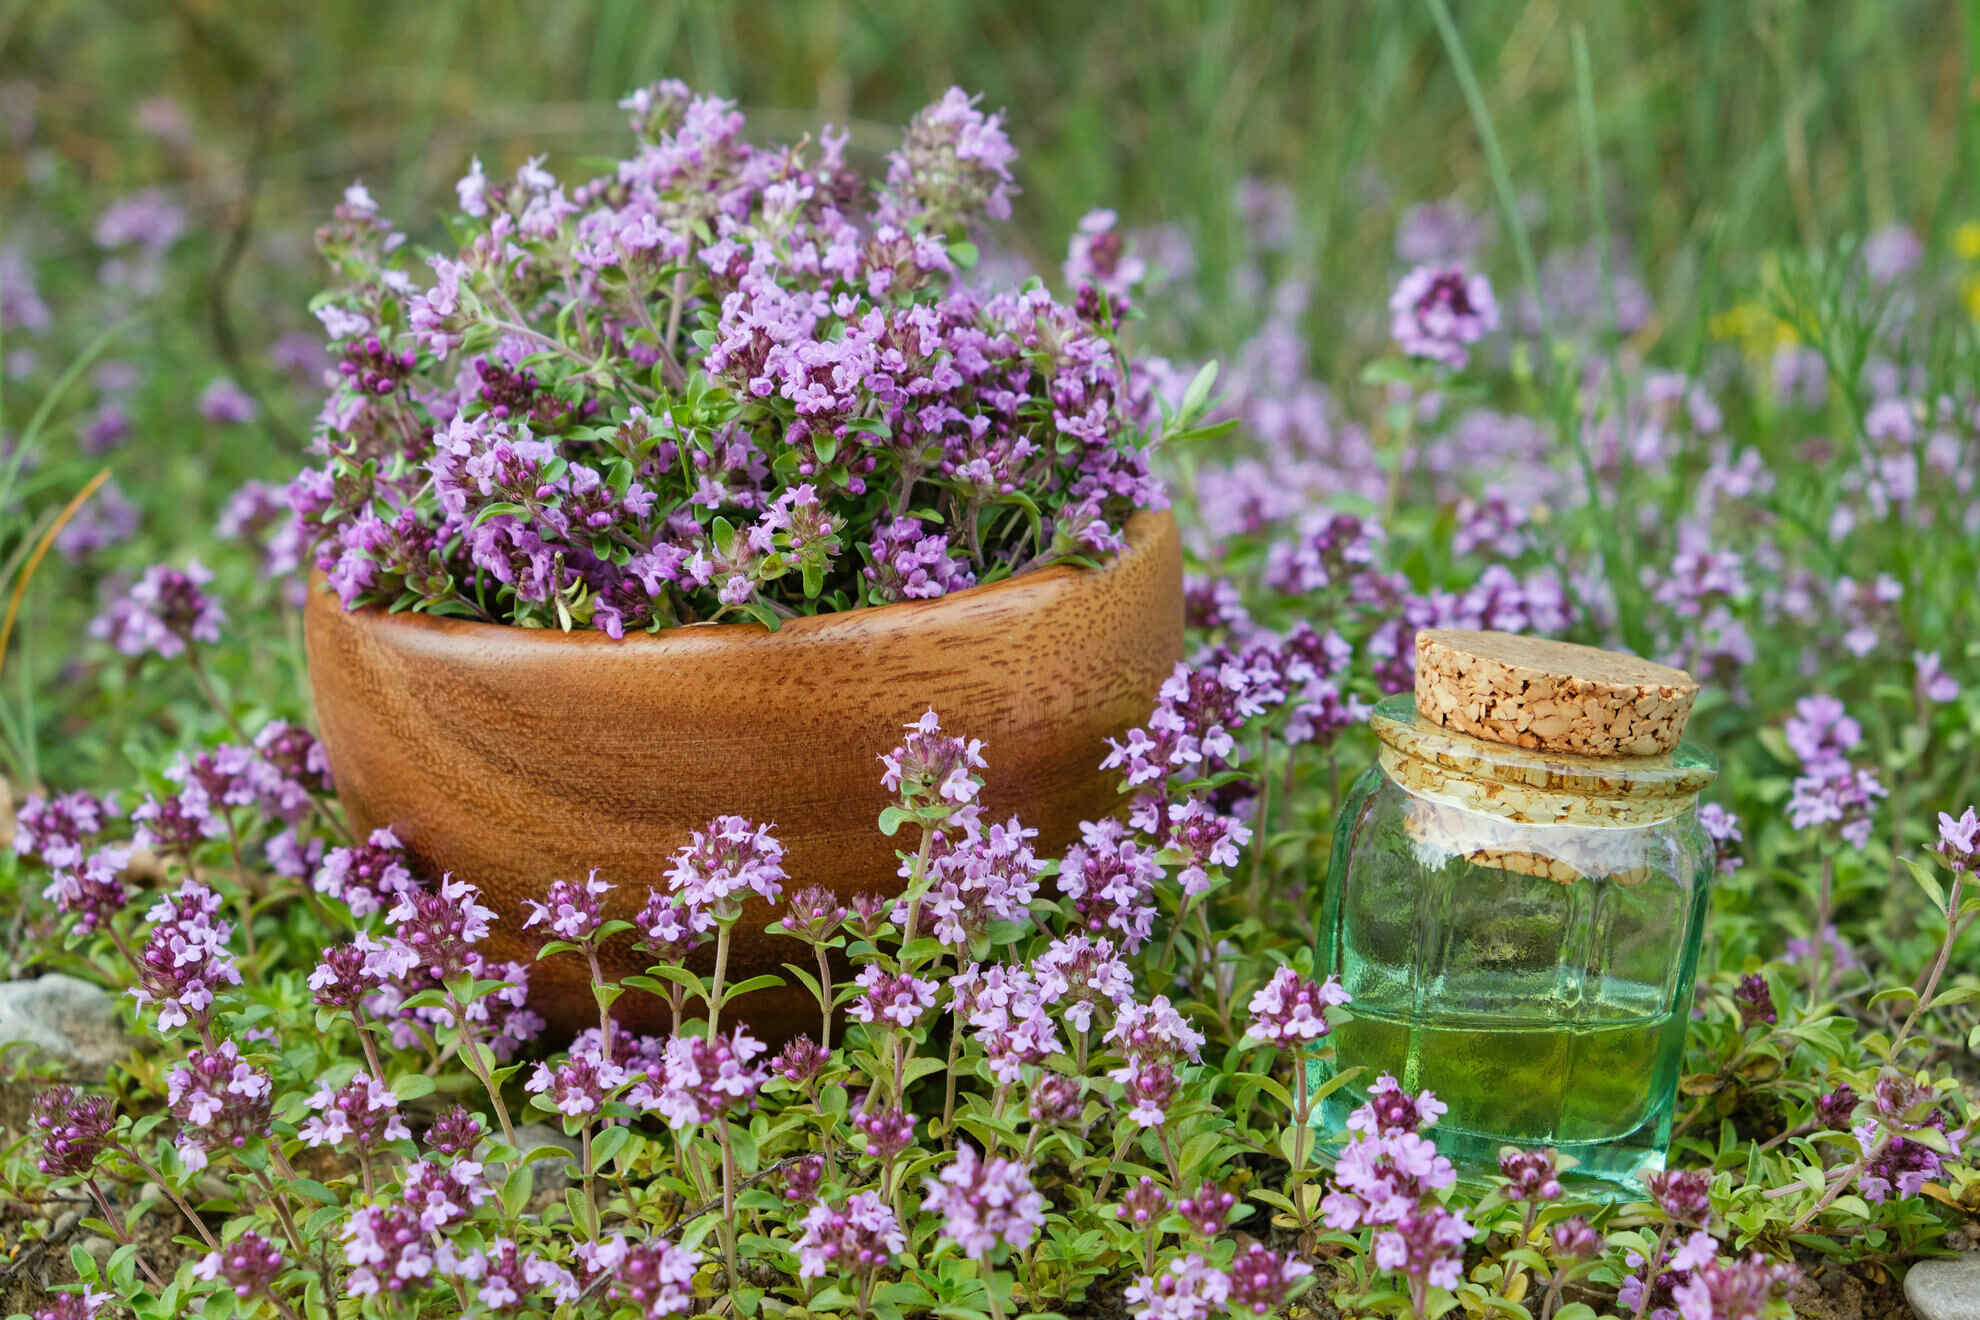
- Lemon Thyme (Thymus citriodorus): As the name suggests, lemon thyme has a refreshing citrus aroma and flavor. It adds a zesty twist to dishes and is perfect for flavoring seafood, marinades, and dressings.
- Creeping Thyme (Thymus praecox): If you’re looking to create ground cover or fill in gaps in your garden, creeping thyme is an excellent choice. It forms a dense mat of low-growing foliage and produces delicate pink or purple flowers.
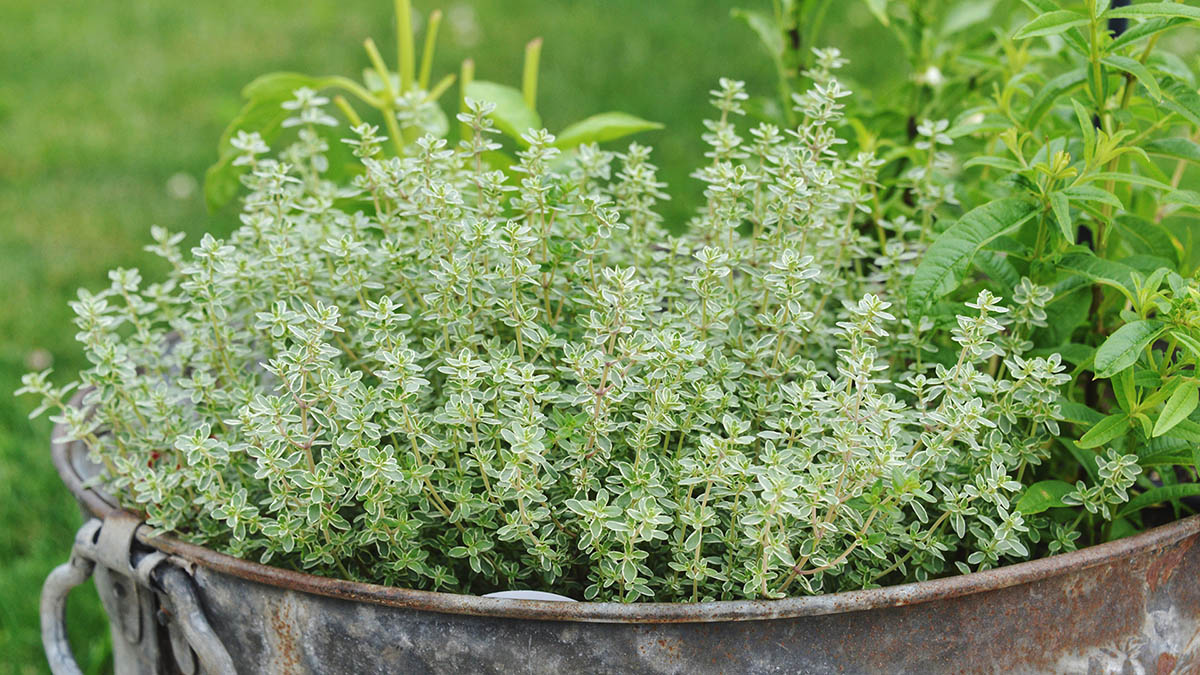
- Variegated Thyme (Thymus vulgaris ‘Variegatus’): This variety features attractive variegated leaves with cream or yellow edges. It adds visual interest to your garden and can be used in culinary applications like its common thyme counterpart.
- Wild Thyme (Thymus serpyllum): Wild thyme is a hardy, low-growing variety that is well-suited for rock gardens or areas with poor soil conditions. It has a slightly sweeter and milder flavor compared to common thyme.
Consider your intended use for thyme and select a variety that best suits your preferences and gardening conditions. You can find thyme seeds at local nurseries, garden centers, or online seed suppliers. Make sure to choose reputable sources to ensure good quality seeds.
Once you have chosen your preferred thyme variety, it’s time to move on to the next step: preparing the soil.
Step 2: Preparing the Soil
Preparing the soil is a crucial step in ensuring the success of your thyme seedlings. Thyme thrives in well-draining soil that is slightly alkaline with a pH level of 6.0 to 8.0. Follow these steps to prepare the soil for planting:
- Choose the right location: Thyme loves full sun, so select a location in your garden that receives at least 6-8 hours of direct sunlight per day. It is also important to consider the soil type. Thyme prefers sandy or loamy soil that is well-draining.
- Clear the area: Remove any weeds, rocks, or debris from the planting area. Thyme doesn’t tolerate competition from weeds, so it’s essential to create a clean and weed-free environment for your seedlings.
- Improve drainage: If your soil tends to retain water, you can add some organic matter like compost or well-rotted manure to improve drainage. Thyme doesn’t like sitting in soggy soil, so ensuring proper drainage is crucial.
- Test the soil pH: Thyme prefers slightly alkaline soil, so it’s a good idea to test the pH level of your soil. You can use a soil testing kit or send a sample to a local agricultural extension office for analysis. If the pH level is below 6.0, you can add lime to raise it to the desired range.
- Amend the soil: If your soil is heavy clay or lacks nutrients, you can amend it with organic matter like compost or well-rotted manure. Mix in the amendments thoroughly to improve the soil structure and fertility. This will provide a favorable environment for the thyme plants to develop strong roots.
By taking the time to prepare the soil properly, you are setting a solid foundation for your thyme seeds to thrive and grow into healthy plants. Once the soil is prepared, you’re ready for the next step: sowing the thyme seeds!
Step 3: Sowing the Thyme Seeds
Now that you have prepared the soil, it’s time to sow your thyme seeds. Follow these steps to ensure successful germination and healthy seedlings:
- Timing: Thyme seeds can be sown indoors or directly in the garden. If you choose to start seeds indoors, begin about 8-10 weeks before the last frost date in your area. For direct sowing outdoors, wait until after the danger of frost has passed and the soil has warmed up in the spring.
- Prepare seed trays or containers: If starting seeds indoors, use seed trays or small pots filled with well-draining potting soil. Make sure the containers have drainage holes to prevent waterlogged soil.
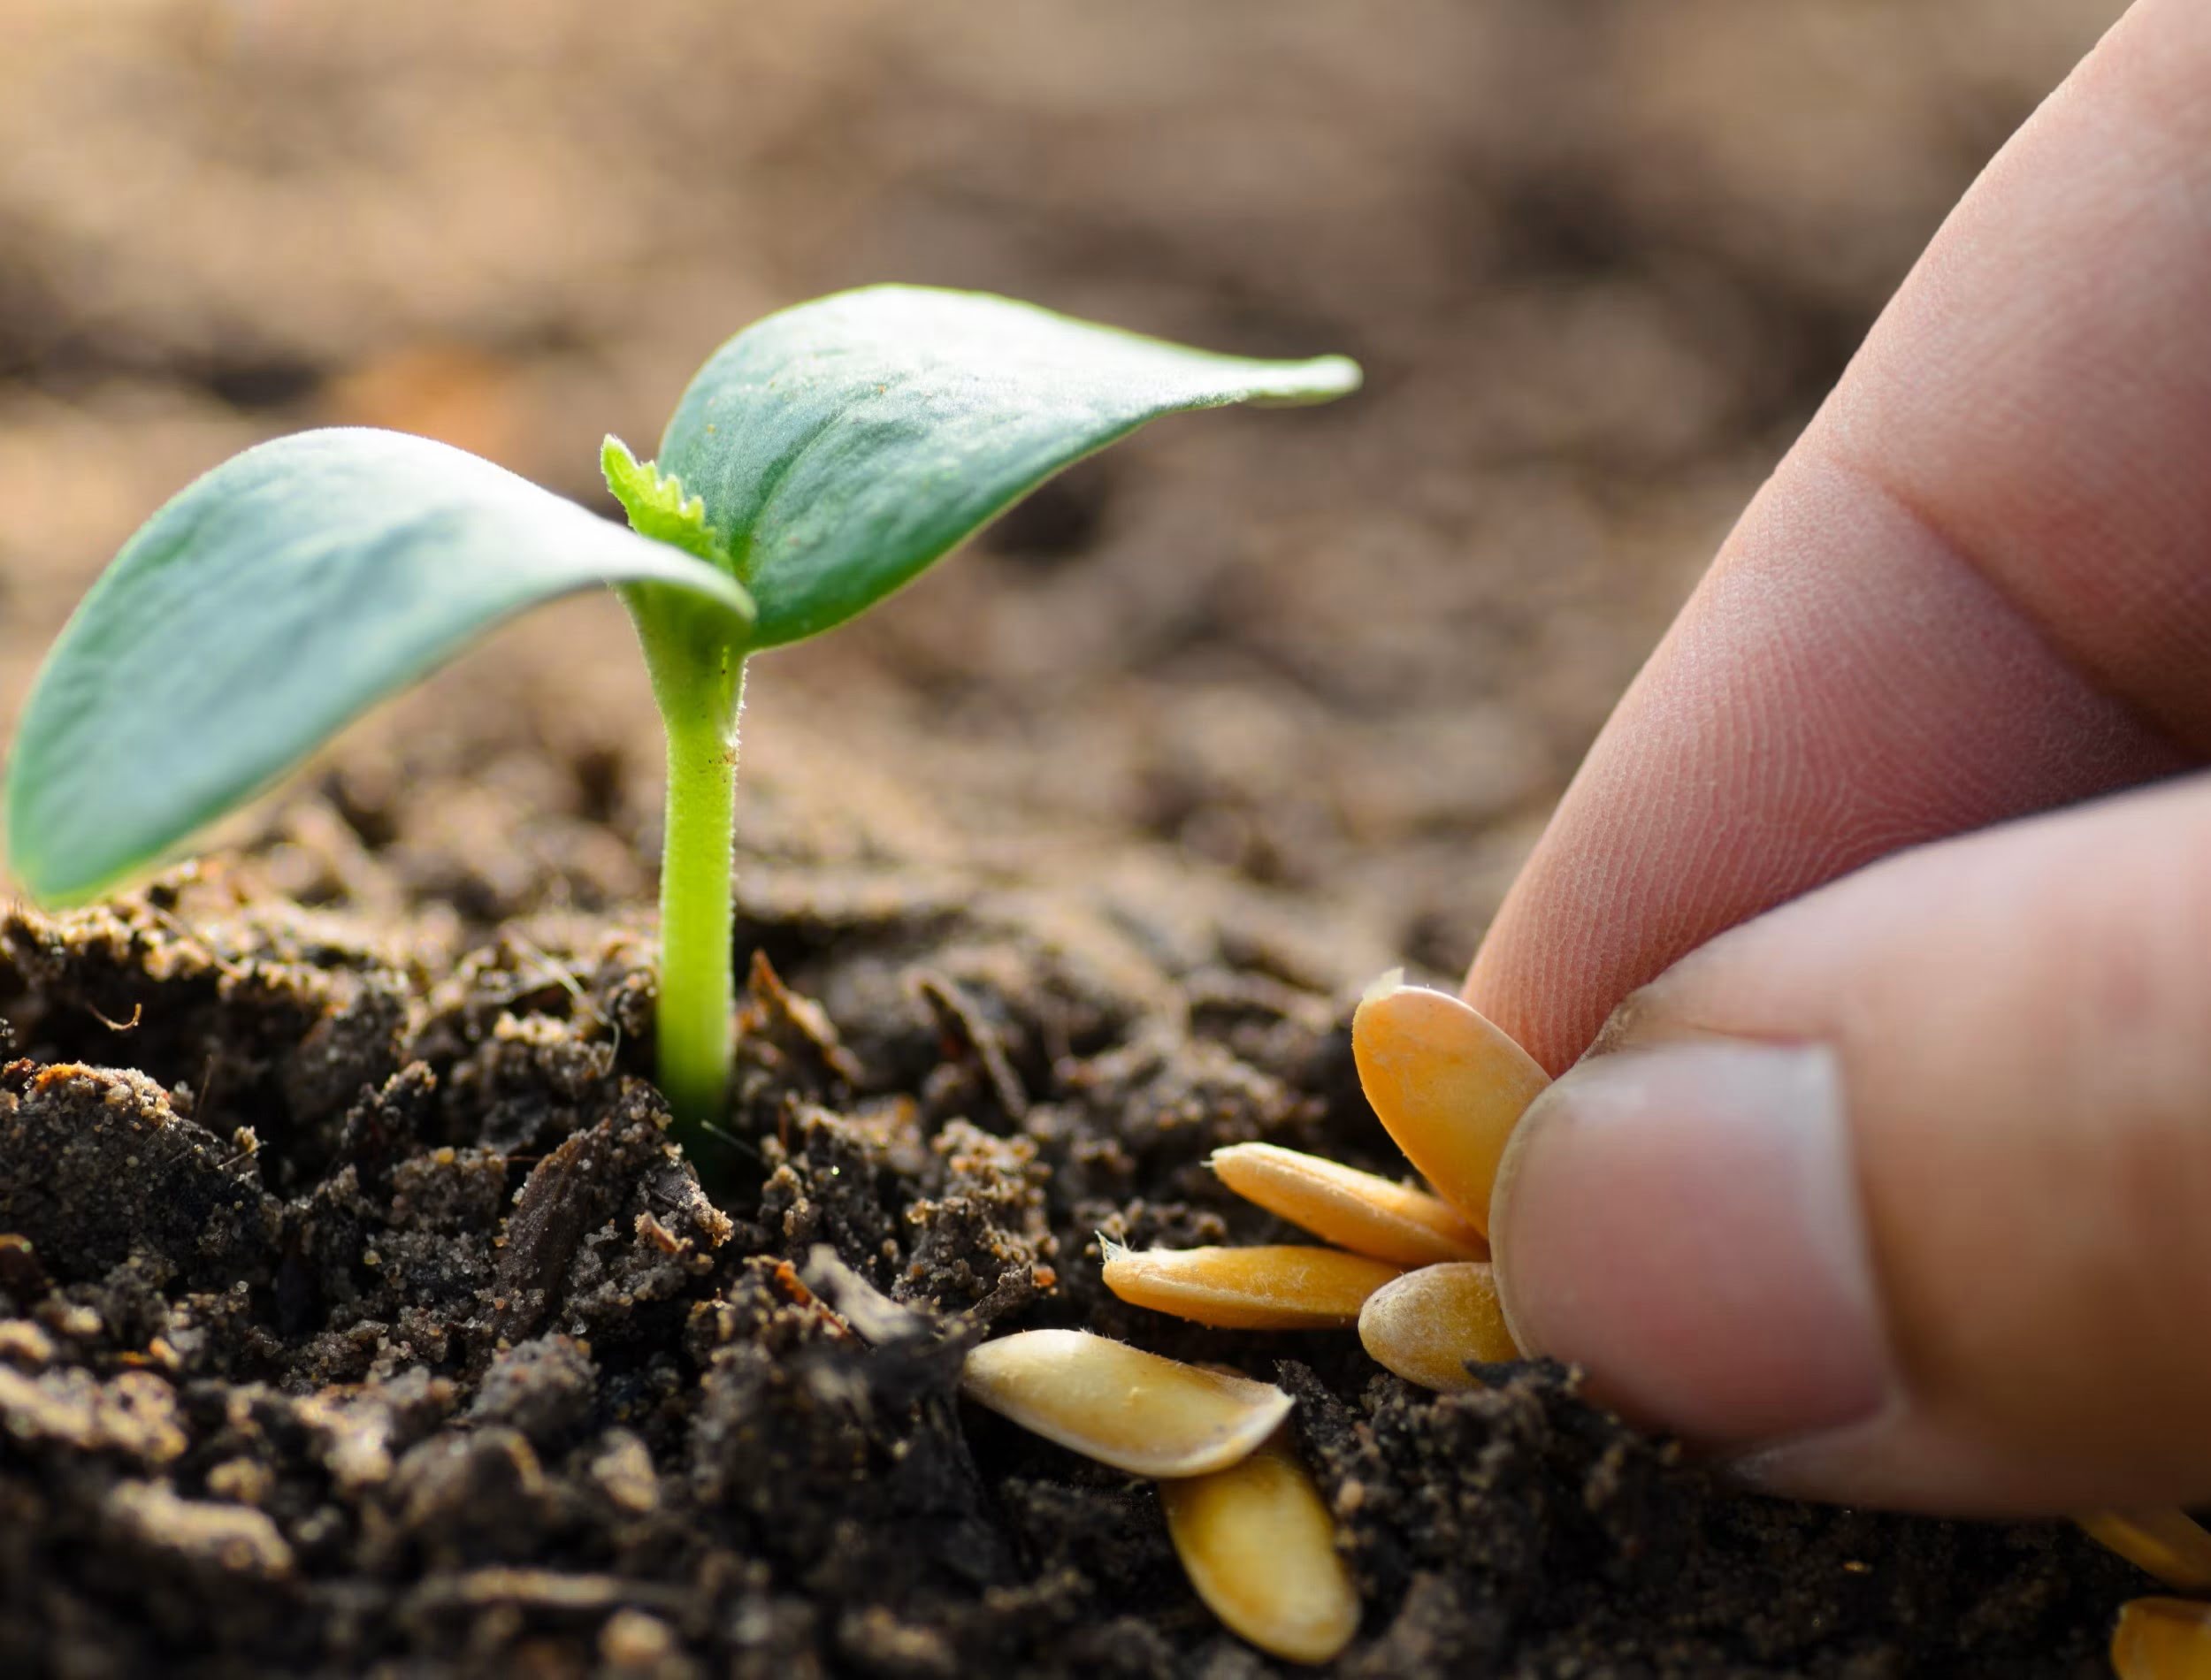
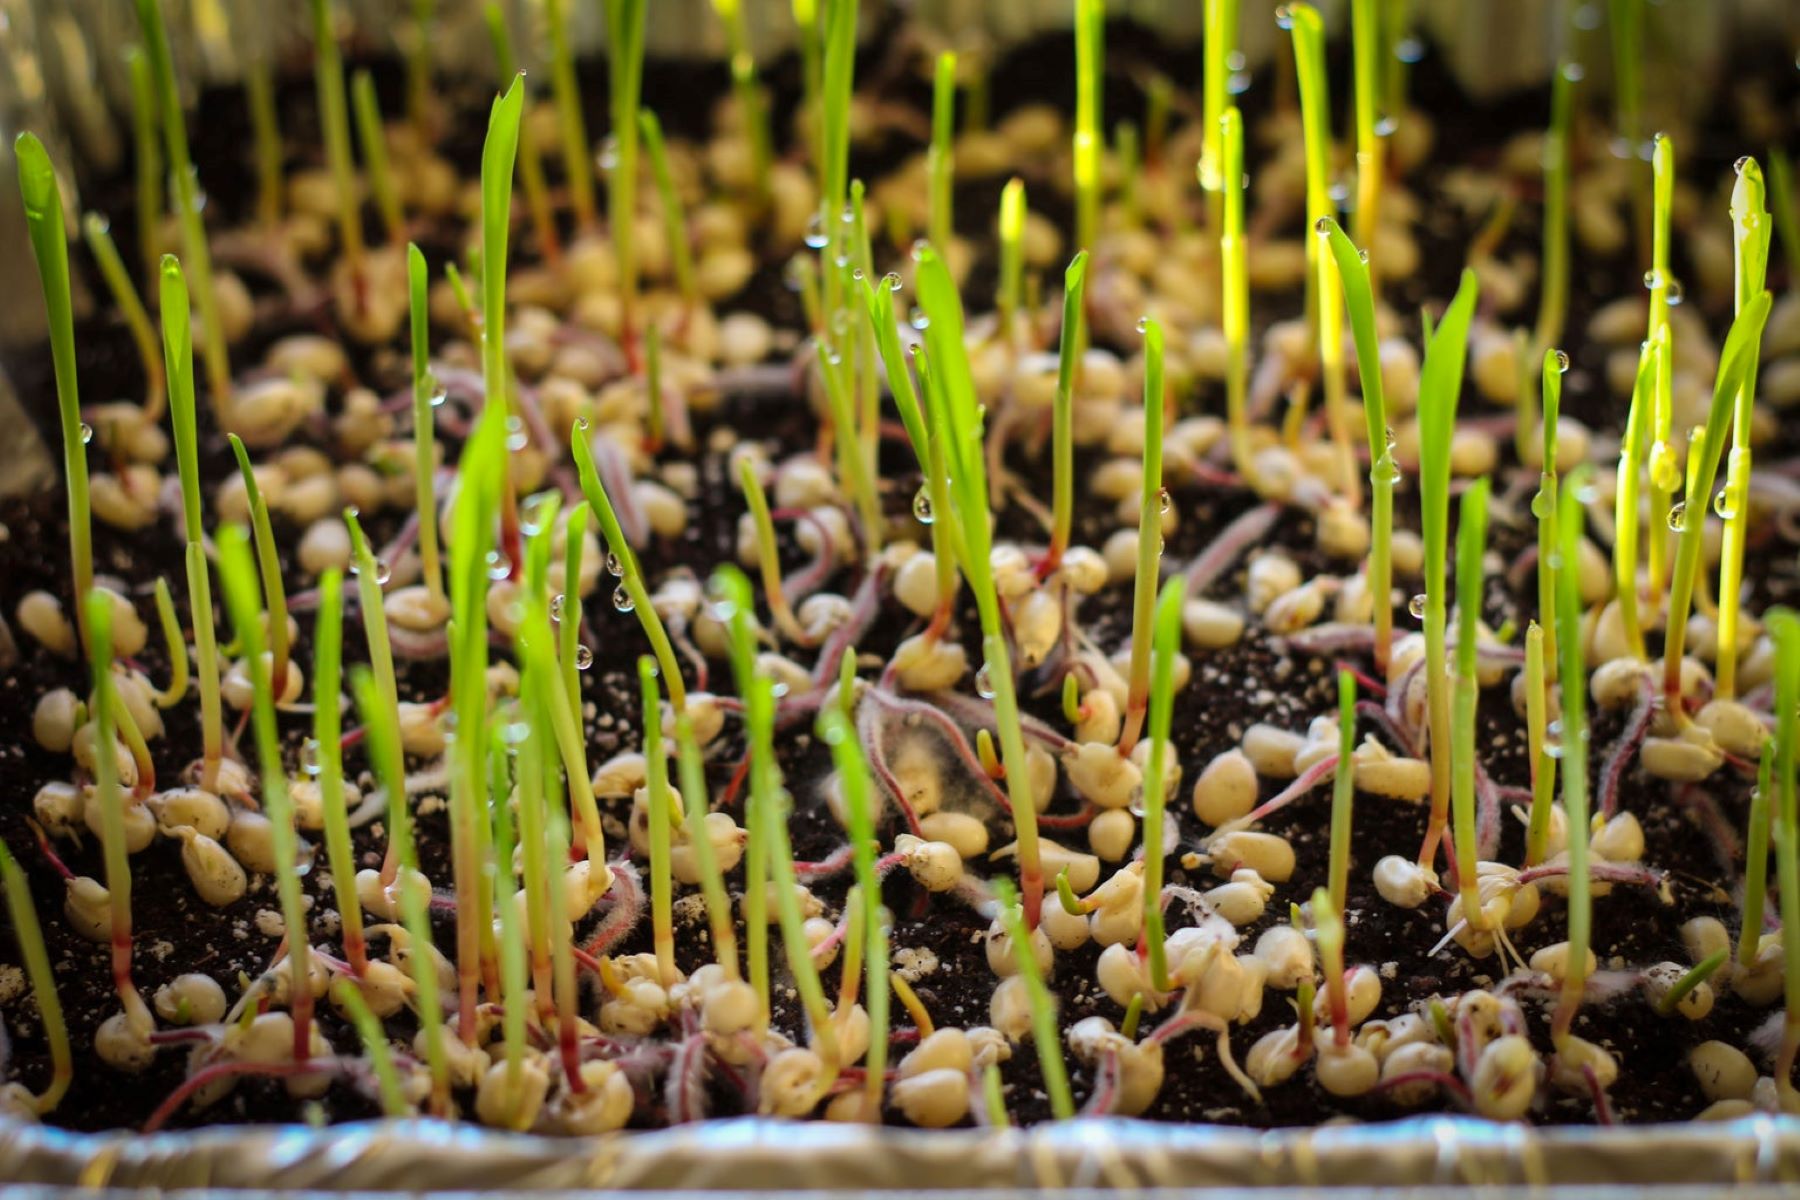
- Sow the seeds: Sprinkle thyme seeds lightly on the soil surface or press them gently into the soil. If using seed trays, space the seeds about 1 inch apart. Thyme seeds are small, so avoid burying them too deep.
- Light and moisture: Thyme seeds require light to germinate, so it’s recommended to cover the seeds with a thin layer of vermiculite or fine sand instead of soil. Keep the soil consistently moist but not soggy. Consider misting the surface with water or covering the containers with plastic wrap to maintain moisture.
- Germination: Thyme seeds typically germinate within 1-2 weeks, but it can vary depending on the temperature and conditions. Place the seed trays or containers in a warm location with temperatures around 70-75°F (21-24°C).
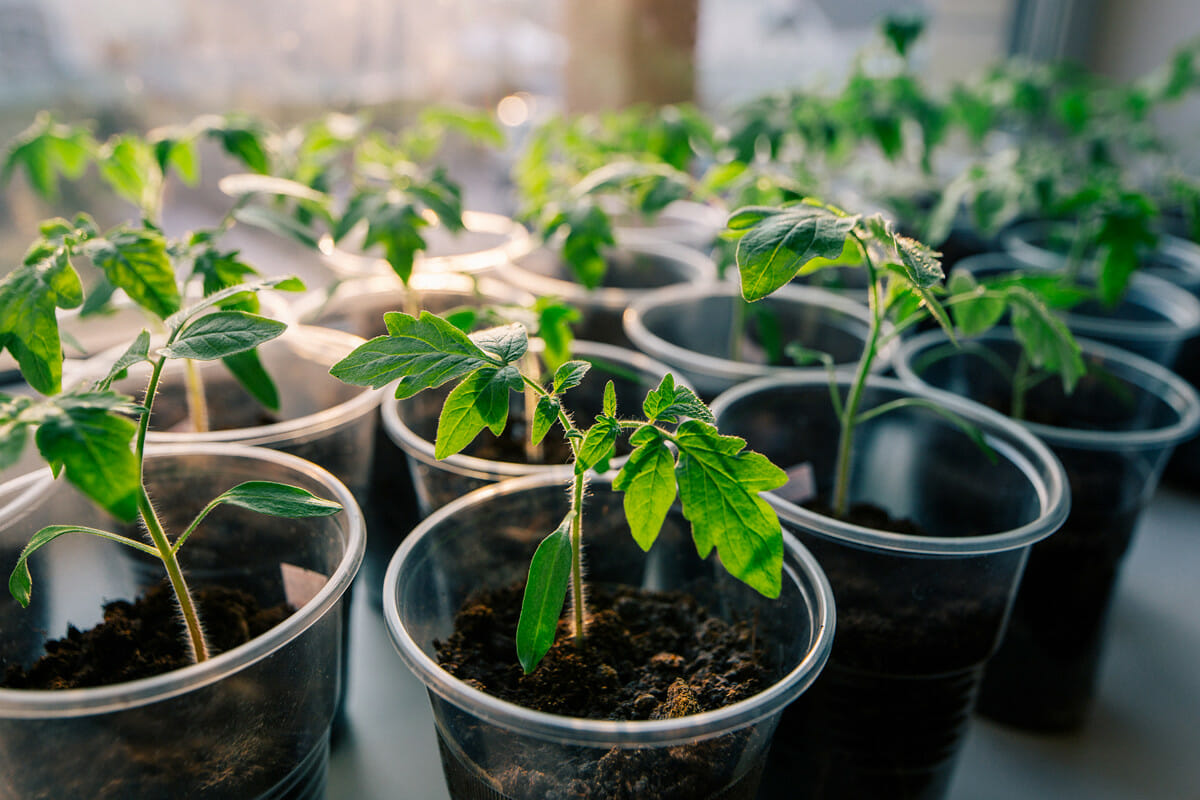
- Transplanting: Once the thyme seedlings have developed a few sets of true leaves and are sturdy enough to handle, they can be transplanted into larger pots or into the garden. Space the seedlings about 8-12 inches apart to provide enough room for growth.
Remember to label your containers or use markers in the garden to identify the different thyme varieties you have planted. This will help you keep track of the different growth habits and flavors of the thyme plants.
Now that you have sown the thyme seeds, it’s time for the next step: providing adequate water and sunlight.
Step 4: Providing Adequate Water and Sunlight
Water and sunlight are essential for the growth and development of thyme plants. Here’s how you can ensure that your thyme plants receive the proper amount of water and sunlight:
- Watering: Thyme plants prefer moderate watering. Avoid overwatering, as thyme has shallow roots and is susceptible to root rot in soggy soil. Allow the top inch of soil to dry out before watering again. Use your finger to check the moisture level in the soil, and water accordingly.
- Deep watering: When you water, aim for deep watering rather than light sprinkling. This encourages the thyme roots to grow deeper into the soil in search of water, making them more resilient to drought conditions.
- Sunlight: Thyme loves full sun and thrives in bright, direct sunlight for at least 6-8 hours a day. Place your thyme plants in a location where they can receive ample sunlight. If you’re growing thyme indoors, place them near a south-facing window or use artificial grow lights to provide sufficient light.
- Protect from extreme heat: While thyme enjoys sunny conditions, it’s important to protect them from extreme heat, especially during hot summer months. Provide some shade during the hottest part of the day to prevent stress and sunburn on the leaves.
- Dry conditions: Thyme is known for its ability to tolerate dry conditions once established. This makes it a great choice for areas with low rainfall or water restrictions. However, regular watering is still necessary, especially during the initial growth phase and in prolonged periods of drought.
By providing the right balance of water and sunlight, you’ll ensure that your thyme plants grow vigorously and produce flavorful leaves. The next step in growing thyme is fertilizing the plants to provide them with the necessary nutrients for healthy growth.
Plant thyme seeds in well-draining soil and keep them consistently moist until they germinate. Once established, thyme prefers full sun and infrequent watering to thrive.
Read more: How To Grow Lemon Thyme
Step 5: Fertilizing the Thyme Plants
To promote healthy growth and abundant foliage, it’s important to provide your thyme plants with the necessary nutrients. Here’s how you can effectively fertilize your thyme plants:
- Organic fertilizers: Opt for organic fertilizers, such as compost or well-rotted manure, to feed your thyme plants. These natural sources of nutrients not only provide essential elements but also improve the soil structure and promote beneficial microbial activity.
- Slow-release fertilizers: Alternatively, you can use slow-release granular fertilizers specifically formulated for herbs or vegetables. These fertilizers gradually release nutrients over time, providing a steady supply for the thyme plants.
- Application frequency: Apply fertilizer to your thyme plants once every 4-6 weeks during the growing season. Avoid excessive fertilization, as it can lead to excessive foliage growth at the expense of flavor.
- Application method: Sprinkle the fertilizer around the base of the plants, taking care not to let the fertilizer touch the leaves. Water the plants after fertilizing to ensure that the nutrients reach the roots.
- Organic liquid fertilizers: If you prefer liquid fertilizers, you can use diluted fish emulsion or seaweed extract. These organic liquid fertilizers provide a quick boost of nutrients and can be applied every 2-4 weeks.
- Observation and adjustment: Monitor the growth and appearance of your thyme plants. If you notice slow growth or yellowing leaves, it may indicate a nutrient deficiency. Adjust the fertilizer application accordingly to address any deficiencies.
Remember, while thyme plants appreciate the additional nutrients, they don’t require heavy feeding like some other plants. Avoid over-fertilization, as it can lead to excessive foliage growth and loss of flavor in the leaves.
Now that your thyme plants are well-fed, it’s important to address any potential weed and pest issues. Let’s move on to the next step: managing weeds and pests.
Step 6: Managing Weeds and Pests
To ensure the health and productivity of your thyme plants, it’s important to stay proactive in managing weeds and pests. Here are some strategies to effectively control weeds and protect your thyme plants from common pests:
- Weed control: Keep the area around your thyme plants free from weeds. Weeds can compete for nutrients and water, depriving your thyme plants of essential resources. Regularly remove any weeds by hand or use a small gardening tool to gently dig them out.
- Mulching: Apply a layer of organic mulch, such as straw or wood chips, around the base of your thyme plants. Mulching helps suppress weed growth, retain soil moisture, and regulate soil temperatures. Just make sure to keep the mulch a few inches away from the stems to avoid moisture buildup and potential disease issues.
- Companion planting: Planting thyme alongside other beneficial plants can help deter pests. For example, planting thyme near cabbage or tomatoes can help repel cabbage worms and whiteflies. Explore companion planting techniques to maximize the pest-repelling benefits.
- Monitoring for pests: Regularly inspect your thyme plants for signs of pest infestations. Look for chewed leaves, discolored foliage, or the presence of pests themselves. Early detection allows for prompt action and minimizes potential damage.
- Natural pest control: Use natural methods to control common thyme pests. For example, handpicking caterpillars or using a strong stream of water to dislodge aphids can be effective. Additionally, introducing beneficial insects such as ladybugs or lacewings can help keep pest populations in check.
- Organic pest control products: If pest infestations become severe, consider using organic pest control products that are safe for edible plants. Options include insecticidal soaps, neem oil, or horticultural oils. Follow the instructions carefully and apply these products sparingly to minimize any impact on beneficial insects.
By practicing proactive weed control and staying vigilant against pests, you can keep your thyme plants healthy and thriving. Now, let’s move on to the final step: pruning and harvesting your thyme.
Step 7: Pruning and Harvesting Thyme
To maintain the health and vigor of your thyme plants and ensure a constant supply of fresh leaves, regular pruning and harvesting are essential. Follow these guidelines to properly prune and harvest your thyme:
- Pruning: Thyme plants benefit from regular pruning to maintain their shape, prevent woody growth, and encourage bushiness. You can start pruning once the plant reaches about 6-8 inches in height. Use sharp, clean pruning shears and follow these steps:
- Trim back about one-third of the plant’s growth, cutting just above a leaf node or junction. This will promote branching and bushier growth.
- Remove any dead, diseased, or damaged branches throughout the growing season.
- Avoid cutting into the woody stems, as they may not regenerate.
- Harvesting: Thyme leaves can be harvested once the plant is well-established, typically after the first growing season. Follow these tips for a successful harvest:
- Choose a dry and sunny morning to harvest thyme leaves. This is when the flavor and aroma are at their peak.
- Gently pluck the leaves from the stems, starting from the top and working your way down.
- Avoid harvesting more than one-third of the plant at a time to ensure healthy growth and continued production.
- Regularly harvest thyme to encourage new growth and maintain the plant’s overall vigor.
- For drying purposes, harvest thyme when the flowers are just beginning to open for optimal flavor and potency.
- Preserving thyme: Thyme can be used fresh, dried, or frozen for future use. To dry thyme, tie small bundles of stems together and hang them upside down in a cool, well-ventilated area. Once dry, remove the leaves from the stems and store them in airtight containers. To freeze thyme, wash and pat dry the leaves, then chop or leave them whole and store in freezer-safe bags or containers.
- Continued care: After pruning and harvesting, continue to provide appropriate care for your thyme plants. Ensure they receive sufficient sunlight, water them appropriately, and monitor for any disease or pest issues. This will help maintain the health and productivity of your thyme plants for seasons to come.
By regularly pruning and harvesting your thyme plants, you’ll not only keep them well-manicured but also enjoy a bountiful harvest of flavorful leaves for your culinary creations.
Congratulations! You’ve completed all the steps necessary to successfully grow and maintain thyme plants from seeds. With your newfound knowledge, you can continue to enjoy the aromatic and culinary delights that thyme brings to your garden and kitchen.
Conclusion
Congratulations on completing this comprehensive guide on growing thyme plants from seeds! By following the steps outlined in this article, you have gained the knowledge and skills necessary to cultivate thriving thyme plants in your garden. Let’s recap what we’ve covered:
We started by selecting the right thyme seeds, considering the flavor profiles and growth habits that best suit your needs. Then, we moved on to preparing the soil, ensuring proper drainage and a slightly alkaline pH level. Sowing the thyme seeds was the next step, whether directly in the garden or starting them indoors.
We discussed the importance of providing adequate water and sunlight, striking a balance to avoid overwatering or depriving the plants of essential light. Fertilizing with organic or slow-release options helped ensure the plants are well-nourished but not overfed.
We then discussed the need for weed control to prevent competition for resources and managing common pests through organic methods, enabling the thyme plants to grow and thrive. Pruning and harvesting were emphasized to maintain plant health, promote bushiness, and enjoy a continuous supply of flavorful leaves.
Remember, the journey doesn’t end here. As you continue to care for your thyme plants, monitor their growth, and address any issues that arise, your gardening skills will improve, and you’ll develop a deeper understanding of the intricacies of thyme cultivation.
Whether you use thyme for its culinary attributes, medicinal benefits, or simply to add beauty and fragrance to your garden, the efforts you put into growing it from seeds will be rewarding. Enjoy the satisfaction of harvesting your own homegrown thyme and enhancing your favorite dishes with its aromatic and flavorful leaves.
So, apply your newfound knowledge, put on those gardening gloves, and embark on your thyme-growing journey. May your garden be filled with the delightful fragrance and taste of this versatile herb!
Frequently Asked Questions about How To Grow Thyme Seeds
Was this page helpful?
At Storables.com, we guarantee accurate and reliable information. Our content, validated by Expert Board Contributors, is crafted following stringent Editorial Policies. We're committed to providing you with well-researched, expert-backed insights for all your informational needs.


0 thoughts on “How To Grow Thyme Seeds”