Articles
How To Store Screws
Modified: February 26, 2024
Learn the best way to store screws and keep your articles organized with our helpful guide. Find tips on sorting, labeling, and storing screws efficiently.
(Many of the links in this article redirect to a specific reviewed product. Your purchase of these products through affiliate links helps to generate commission for Storables.com, at no extra cost. Learn more)
Introduction
Proper screw storage is often an overlooked aspect of organizing your tools and workspace. However, it is of paramount importance in ensuring the longevity and usability of your screws. Whether you are a DIY enthusiast or a professional, having a well-organized system for storing your screws can save you time, money, and frustration.
When screws are not stored properly, they can become damaged, rusted, or misplaced. This can lead to difficulties when you need to find the right size and type of screw for your projects. It can also result in wasted time searching for the screws you need or spending money on replacements. By implementing the right screw storage techniques, you’ll have easy access to your screws and can keep them in optimal condition.
In this article, we will explore the different types of screws and their storage requirements. We’ll also provide practical tips for organizing your screws and discuss various screw storage solutions. Whether you have a small workshop or a large garage, there are versatile options available for every space.
Proper screw storage not only contributes to a well-organized space, but it also assists in preventing accidents. Loose screws scattered across your work area can pose safety hazards, such as trip and fall incidents. By implementing effective storage methods, you can create a safer working environment.
If you’re ready to take control of your screw storage and improve your overall efficiency and productivity, continue reading to learn about the various options and strategies available to you.
Key Takeaways:
- Proper screw storage is essential for maintaining an organized workspace, ensuring the longevity and usability of screws, and preventing accidents. Implementing effective storage techniques saves time, enhances safety, and contributes to a budget-friendly approach to projects.
- Categorizing screws by type and size, utilizing containers, and labeling storage solutions are key to efficient organization. Proper handling, maintenance, and regular rotation of screw inventory ensure optimal functionality and longevity. An organized screw storage system enhances productivity and safety in the workspace.
Read more: How To Store Nails And Screws
Importance of Proper Screw Storage
Proper screw storage plays a crucial role in maintaining the quality and usability of your screws. Here are a few key reasons why it is important to store your screws correctly:
- Preserve Screw Quality: When screws are stored haphazardly, they can become damaged or corroded, rendering them unusable. Moisture, dust, and other environmental factors can contribute to rust formation and deterioration of the screw’s threading. By storing your screws in a controlled and dry environment, you can preserve their quality and ensure they are always ready for use.
- Save Time and Effort: A well-organized screw storage system saves you valuable time and effort. Instead of rummaging through a jumbled mix of screws to find the right size and type, you can easily locate the needed screw when they are properly stored. This eliminates the frustration and delays that come with searching for the right screw, allowing you to focus more on your project.
- Prevent Loss and Misplacement: Have you ever found yourself in the middle of a project, only to realize that a crucial screw is missing? Proper screw storage helps prevent the loss and misplacement of screws. By designating specific storage areas for different types and sizes of screws, you can easily keep track of your inventory and avoid the frustration of not having the right screw when you need it most.
- Enhance Safety: Storing screws in a systematic manner enhances workplace safety. Loose screws scattered around your workspace can pose a trip hazard, increasing the risk of accidents and injuries. By keeping your screws properly stored and organized, you minimize the potential for accidents and create a safer working environment for yourself and others.
- Budget-Friendly: Proper screw storage can save you money in the long run. When screws are stored incorrectly, they are more likely to get damaged or misplaced, leading to the need for replacements. By keeping your screws in good condition through proper storage, you can reduce the need for frequent repurchases and save money.
As you can see, there are numerous advantages to implementing effective screw storage practices. By taking the time to organize and store your screws correctly, you can ensure their longevity, save time and effort, prevent loss and misplacement, enhance safety, and maintain a budget-friendly approach to your projects.
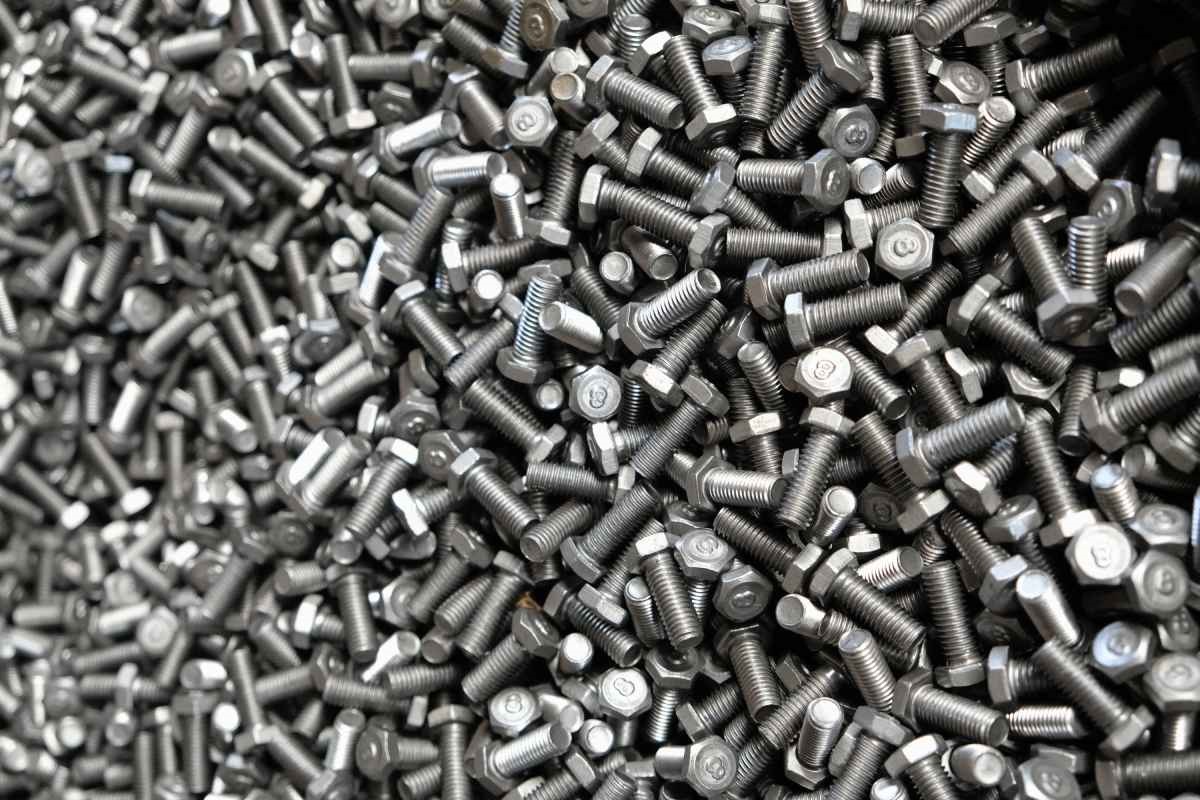
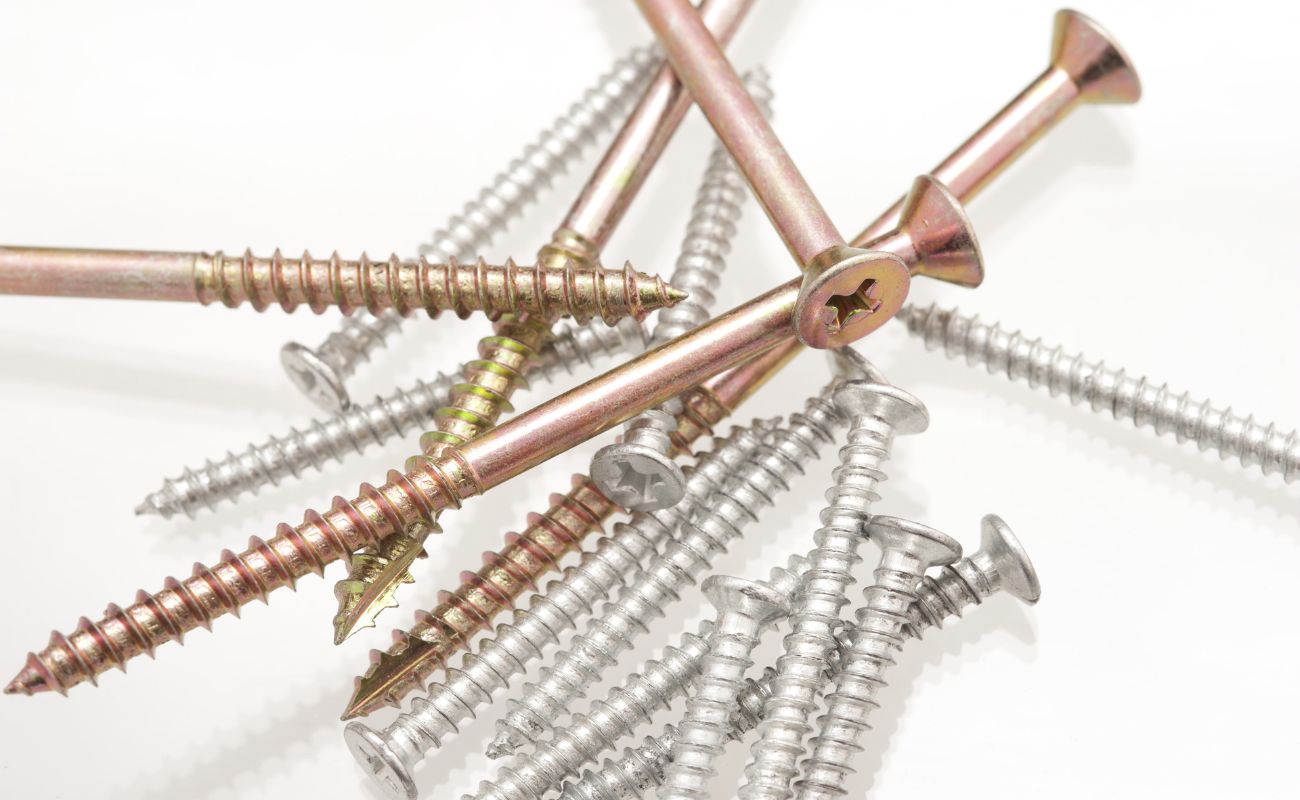
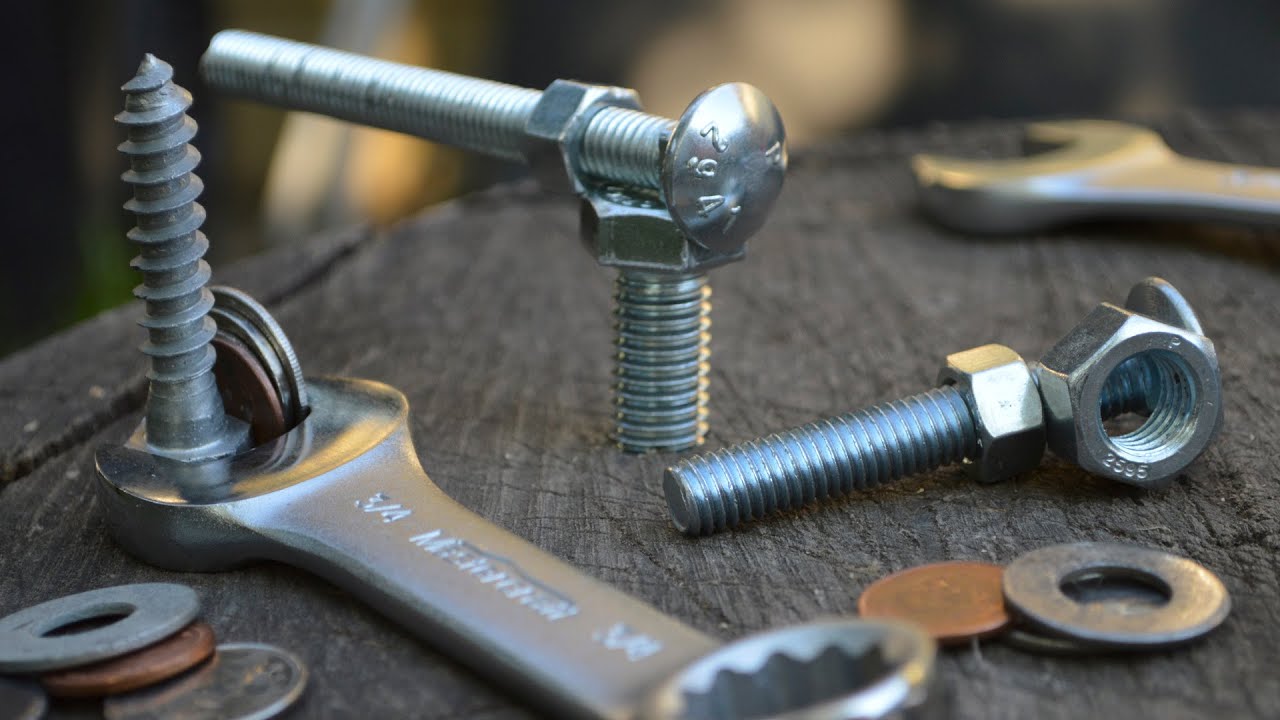
Types of Screws and Their Storage Needs
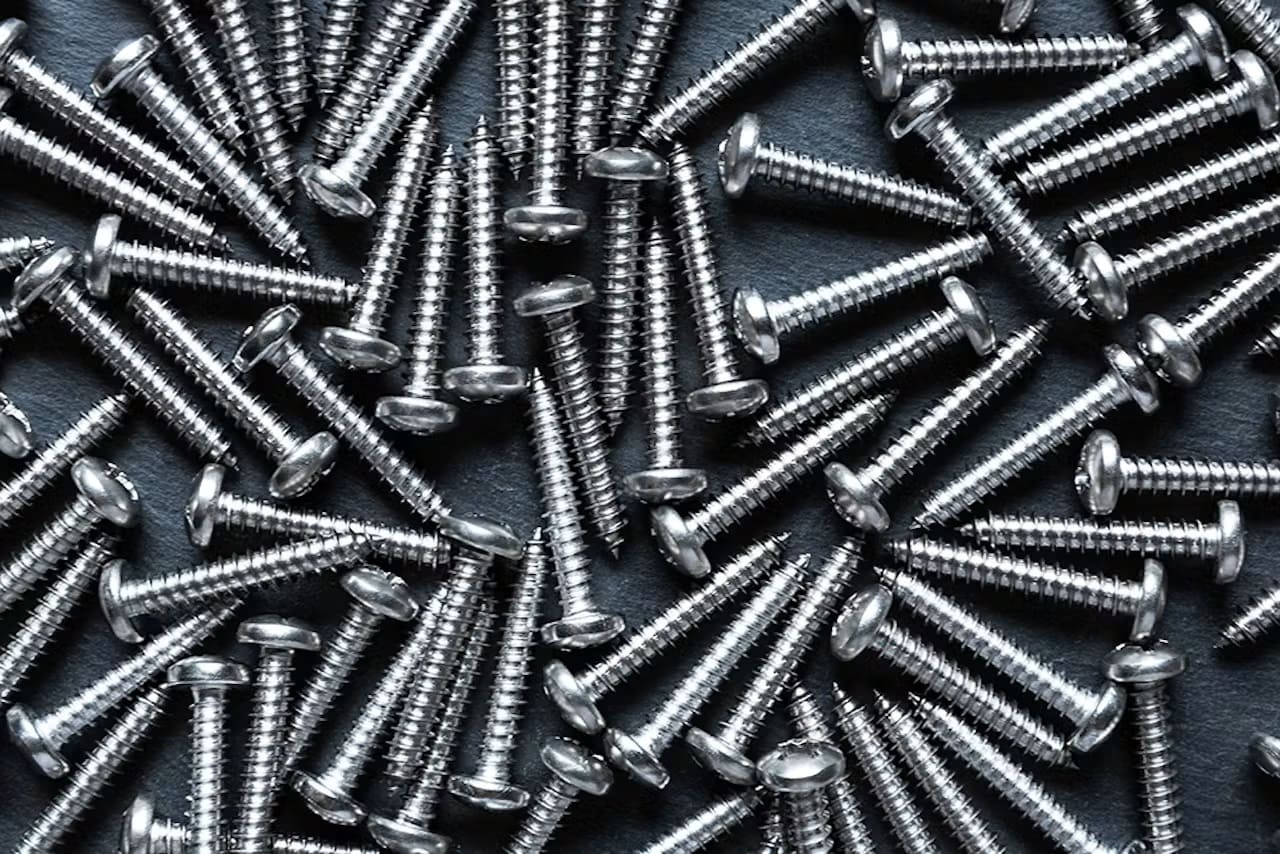
There are various types of screws available, each with its own unique features and storage requirements. Understanding the different types of screws and how to store them properly is essential for maintaining their quality and usability. Here are some common types of screws and their storage needs:
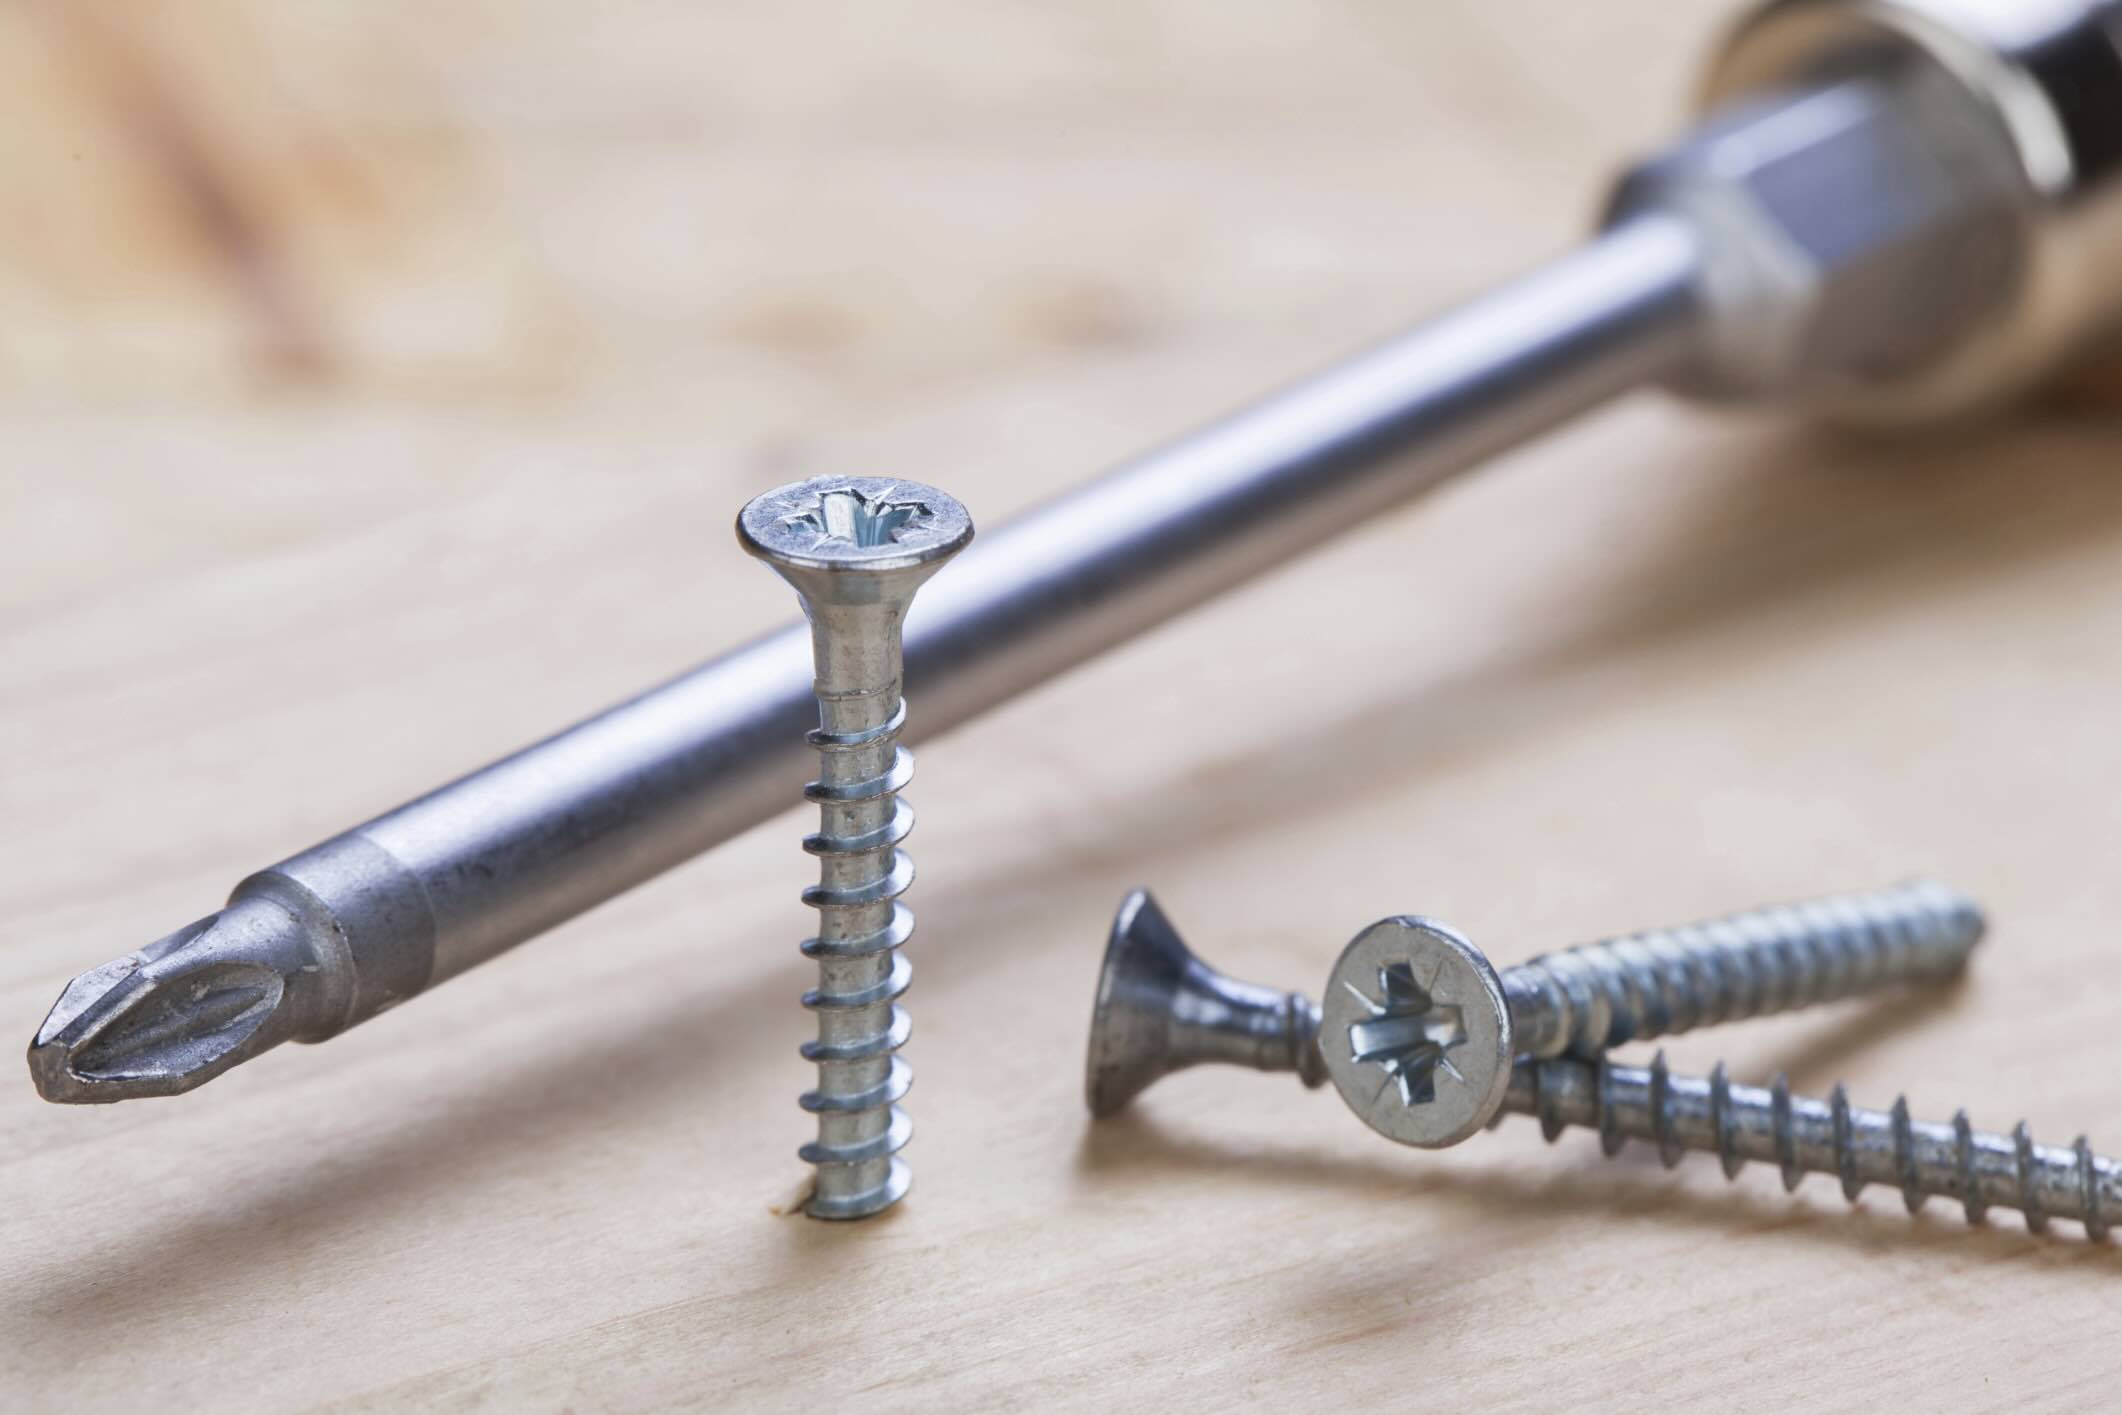
- Wood Screws: Wood screws are specifically designed for use in wood materials. They have a tapered point and coarse threading to provide a secure grip. To store wood screws, it is important to keep them in a dry environment to prevent rusting. Consider using a dedicated storage case or container with compartments to keep different sizes of wood screws organized and easily accessible.
- Sheet Metal Screws: Sheet metal screws are designed for use in metal materials, such as thin sheets of metal or metal studs. They have a sharp point and threading that is suitable for piercing and threading into metal surfaces. To store sheet metal screws, opt for a storage solution that keeps them separate from other screw types to prevent mixing. A small parts organizer with adjustable dividers can be useful for storing different sizes of sheet metal screws.
- Machine Screws: Machine screws are used in metal-to-metal applications and require a pre-drilled hole for installation. They typically have a flat or rounded head and fine threading. When storing machine screws, organize them by size and type. Consider using labeled storage drawers or trays to keep them neatly sorted.
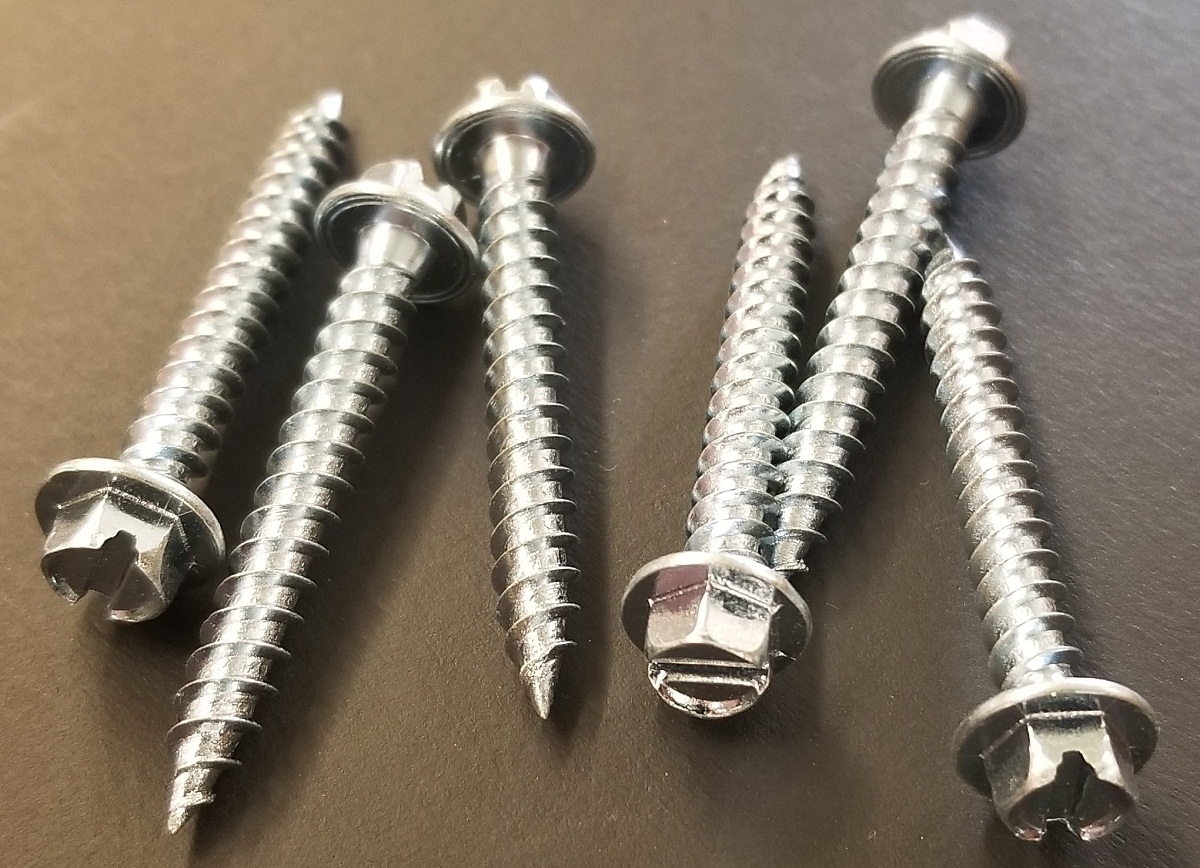
- Drywall Screws: Drywall screws are specifically designed for securing drywall to frames or studs. They have a bugle head and coarse threading. To store drywall screws, a screw organizer with compartments or storage bins labeled for different screw sizes can help keep them organized and readily accessible.
- Self-Tapping Screws: Self-tapping screws are capable of drilling their own hole as they are screwed into materials like metal or plastic. They have a sharp point and coarse threading. To store self-tapping screws, consider using a magnetic parts tray, as the magnetic surface can help keep the screws in place and prevent them from rolling around or getting mixed with other screws.
Remember, regardless of the type of screw, it is important to store them in a dry and controlled environment to prevent rust and deterioration. Using storage solutions like small parts organizers, storage cases, bins, drawers, or magnetic trays can help keep your screws organized and easily accessible.
By understanding the specific storage needs of different types of screws and implementing appropriate storage methods, you can ensure that your screws remain in good condition and ready to use for your various projects.
Tips for Organizing Screws
Proper organization is key to efficiently managing your screw storage. Here are some helpful tips for organizing your screws:
- Sort screws by type and size: Start by sorting your screws into different categories based on their type and size. This will make it easier to find the right screw when you need it. Consider using separate containers or storage compartments for each category.
- Use clear storage containers: Transparent storage containers allow you to easily see and identify the contents without having to open each container. Clear plastic bins with dividers or adjustable compartments are ideal for organizing and storing different sizes and types of screws.
- Invest in a small parts organizer: A small parts organizer with multiple removable bins or drawers is a great tool for keeping your screws organized. Label each compartment with the type and size of screws it contains for quick and easy access.
- Consider using labeled zip-top bags: Zip-top bags are an affordable and versatile option for storing screws. Place screws of the same type and size in individual bags and label them accordingly. This makes it easy to grab the bag you need without having to search through a larger container.
- Arrange screws in a logical order: Arrange your screw storage in a way that makes sense to you. This could mean organizing them by type, size, project, or any other system that works best for your needs. The key is to have a consistent organization method that allows for easy retrieval.
- Utilize a pegboard: Installing a pegboard on your wall provides a versatile and visible storage solution for your screws. Use hooks or pegs to hang storage containers or bags, allowing you to easily see and access your screws. Label each hanging container or bag for quick identification.
- Create a labeling system: Labeling is crucial for quickly finding the right screws. Use adhesive labels or printed tags to identify different screw types and sizes. Consider color-coding labels for added visual clarity.
- Keep frequently used screws within reach: If you have screws that you frequently use, designate a separate storage area for them within easy reach. This way, you can quickly grab them without having to search through your entire screw storage system.
By implementing these tips, you can transform your screw storage from a disorganized mess into a well-ordered system that saves you time and frustration. Choose the organizing methods that work best for your space and needs, and enjoy the benefits of a tidy and accessible screw storage solution.
Using Containers for Screw Storage
Containers are an excellent solution for organizing and storing screws effectively. Using containers not only keeps your screws organized but also protects them from damage and makes them easily accessible. Here are some tips for using containers for screw storage:
- Choose the right container: Select containers that are durable, sturdy, and resistant to moisture and rust. Plastic containers with adjustable compartments, clear lids, and secure closures are ideal for storing screws. Consider using containers with removable dividers to customize the compartment sizes according to your needs.
- Use separate containers for different screw types: To avoid confusion and maintain proper organization, assign separate containers for each type of screw. This will make it easier to find the specific screws you need without having to search through a mixed collection.
- Sort screws by size: Within each container, sort screws by size for easier identification. Consider using dividers or adjustable compartments to keep the different sizes separated and prevent them from mixing together.
- Label containers: Labeling the containers is essential for quickly identifying the contents. Use adhesive labels, or if the container has an area for labeling, write directly on it. Clearly mark the type and size of screws stored in each container to avoid confusion.
- Keep containers in a specific location: Designate a specific area or shelf for your screw storage containers. This ensures that your screws are always in the same place and easy to find. Avoid overcrowding the storage area to maximize accessibility.
- Consider portable storage options: If you frequently move your screws between different work areas or job sites, consider using portable storage options. Compact cases with handles or small toolboxes with removable trays are convenient for transporting your screws while keeping them organized and secure.
- Stackable containers: Utilize stackable containers to save space and make the most of your storage area. Stackable containers are particularly beneficial if you have a large collection of screws or limited storage space.
- Regularly assess and declutter: Periodically go through your screw storage containers and assess if you have screws that you no longer need or that are damaged. Remove any unnecessary or damaged screws to keep your storage system streamlined and efficient.
By using containers for your screw storage, you can maintain organization, protect your screws from damage, and have easy access to the screws you need. Choose containers that suit your requirements and ensure you label them clearly for efficient identification. With the right container system in place, you’ll always have your screws at your fingertips when you need them.
Read more: How To Store Screws And Nails
Labeling and Categorizing Screw Storage Containers
Labeling and categorizing your screw storage containers is a crucial step in maintaining an organized and efficient system. Proper labeling and categorization make it easier to locate and identify the specific screws you need for your projects. Here are some tips to help you effectively label and categorize your screw storage containers:
- Create a labeling system: Develop a consistent labeling system that works for you. Use clear and legible labels that prominently display the type and size of screws contained in each container. Consider using adhesive labels, label holders, or directly writing on the containers depending on their material and design.
- Use color-coding: Incorporate color-coding into your labeling system for added organization and visual clarity. Assign different colors to indicate different screw types or sizes. For example, you can use blue labels for wood screws, red labels for sheet metal screws, and green labels for machine screws. Make sure to create a key or index that explains the color codes for easy reference.
- Group screws by type: Categorize your screw storage containers by type to further streamline your organization. Each container can be dedicated to a specific type of screw, such as wood screws, sheet metal screws, or drywall screws. This categorization helps you quickly locate the appropriate container and find the screws you need for a particular project.
- Sort screws by size: Within each category, organize the screws by size. Use dividers or separate compartments within the container to keep screws of different sizes separated and easily accessible. Clearly label each section or compartment with the corresponding screw size for effortless identification.
- Consider a numbering system: If you have an extensive collection of screws, consider using a numbering system in addition to labels. Assign unique numbers to each container and create a corresponding inventory list that outlines the type and size of screws housed in each numbered container. This system can be especially helpful when dealing with a large variety of screws.
- Review and update labels regularly: Periodically review your labeling and categorization system to ensure it remains accurate and up to date. Remove any containers that are no longer needed or have undergone changes. Update labels as necessary to reflect any additions or modifications to your screw collection.
- Maintain consistency: Consistency is key when labeling and categorizing your screw storage containers. Use the same format, font size, and style for all labels to create a cohesive and professional appearance. This consistency makes it easier for you and others to quickly understand and navigate your screw storage system.
By implementing a clear and consistent labeling and categorization system, you can easily locate and identify the specific screws you need. Whether you choose to use color-coded labels, a numbering system, or a combination of methods, the goal is to create an efficient system that helps you access the right screws with ease.
Store screws in a plastic organizer with separate compartments for different sizes. Label each compartment for easy identification. Keep the organizer in a cool, dry place to prevent rust.
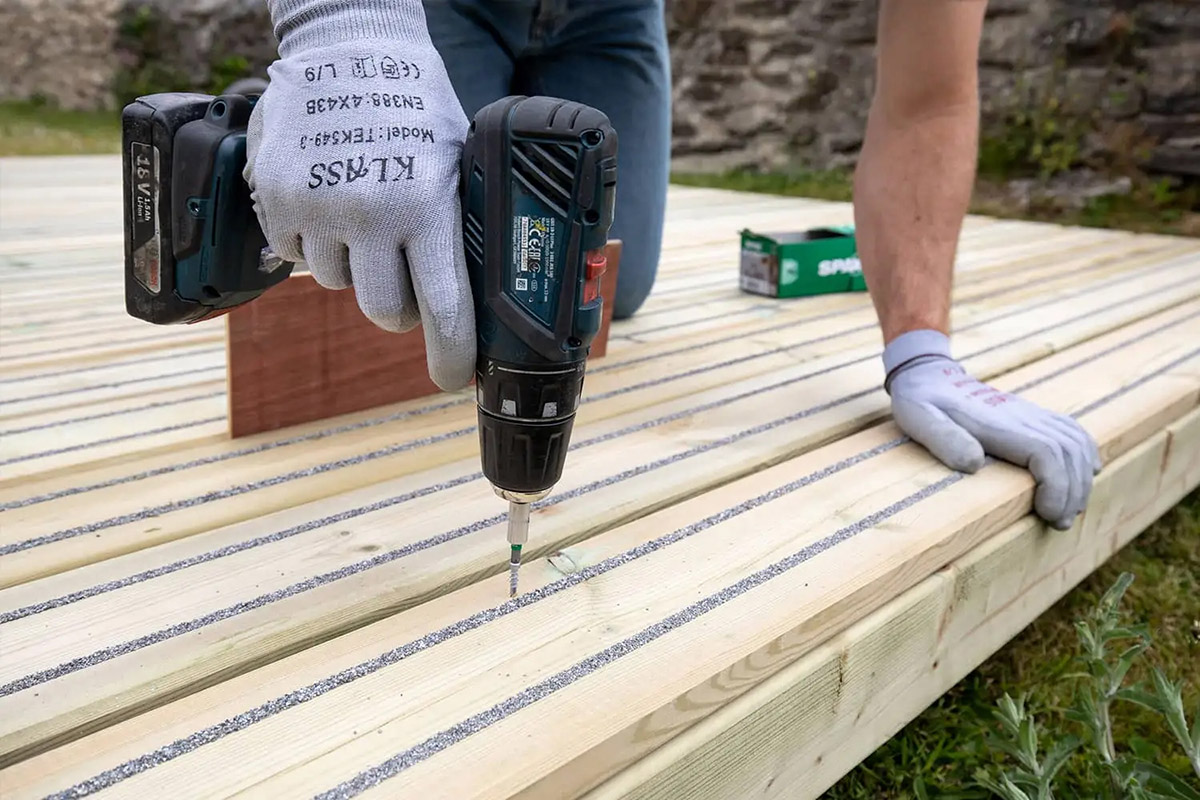
Storing Screws in Toolbox or Workbench Drawers
Toolboxes and workbench drawers are commonly used storage options for screws, providing a compact and easily accessible solution. Here are some tips for effectively storing screws in toolbox or workbench drawers:
- Organize by type and size: Just like with other storage methods, sort your screws by type and size. This makes it easier to locate the specific screw you need when working on a project. Separate your screws into different compartments or containers within the toolbox or drawers.
- Use dividers or organizers: Utilize dividers or organizers within the toolbox or drawers to create separate sections for different sizes or types of screws. This helps to prevent mixing and keeps your screws neatly organized.
- Label compartments: Label each compartment or organizer within the toolbox or drawers to clearly indicate the contents. Use adhesive labels or label holders for a professional and organized look. This makes it quick and easy to find the right screw when needed.
- Arrange screws vertically: Store screws vertically, with the heads facing upward, to maximize space and visibility. This allows you to easily see and access each screw without having to sift through a pile of screws.
- Consider using small containers or bags: To further organize your screws within the toolbox or drawers, place them in small containers or zip-top bags. This prevents individual screws from rolling around or getting mixed up with others. Label the containers or bags for easy identification.
- Optimize drawer space: Make the most of your drawer space by using drawer organizers or custom-built compartments. These can be inserted or attached to the drawer to create multiple sections for different types and sizes of screws.
- Keep frequently used screws easily accessible: Reserve the top or front drawers of your toolbox or workbench for screws that you use most frequently. This ensures that the screws you need for everyday tasks are within arm’s reach, saving you time and effort.
- Secure loose screws: If you have loose screws that aren’t in containers or organizers, consider using small magnetic trays or cups within the toolbox or drawers to keep them in place. The magnetic surface will prevent them from rolling around or getting lost.
Storing screws in toolbox or workbench drawers offers a convenient and space-saving solution. By carefully organizing and labeling your screws within these drawers, you can quickly locate the screws you need for your projects without the need for extensive searching or sorting.
Wall-mounted Screw Storage Solutions
Wall-mounted storage solutions are an excellent way to keep your screws organized, easily accessible, and visible in your workspace. Here are some popular wall-mounted screw storage solutions:
- Pegboard: Installing a pegboard on your wall provides a versatile and customizable storage solution. Attach various hooks, pegs, and baskets to the pegboard to hang and store your screws. Arrange them by type, size, or any other system that works best for you. The advantage of a pegboard is that it allows for easy rearrangement as your screw collection evolves.
- Shelving with bins: Install shelves on your wall and place plastic or metal bins on them. Label the bins according to the type or size of screws they contain. This provides a neat and organized storage solution while allowing you to easily see and access your screws.
- Drawer units: Wall-mounted drawer units with multiple compartments or drawers offer an efficient way to store and organize your screws. Label each drawer or compartment for quick and easy identification. Choose a unit with clear or translucent drawers to easily see the contents inside.
- Hanging jars or containers: Hang small jars or containers with screw-on lids on the wall. Attach the jars to the wall using adhesive hooks or a mounting system. Label each jar or container to indicate the type or size of screws it contains. This method keeps your screws visible and allows for easy access.
- Magnetic strips or bars: Mount magnetic strips or bars on your wall to hold metal screws. This is a space-saving option that keeps your screws organized and easily accessible. Simply attach the screws to the magnetic strip or bar, and they will stay securely in place until you need them.
- Tool racks: Use tool racks with hooks or slots to hang screw containers or bags. Place the tool rack on the wall within reach for easy access to your screws. Keep them organized by type, size, or project to quickly locate the screws you need.
- Custom-built storage: If you have specific storage requirements or a large screw collection, consider building custom storage solutions. This could include a combination of shelves, drawers, bins, and other storage compartments that are tailored to your needs and available wall space.
Wall-mounted screw storage solutions help maximize the use of vertical space in your workshop or garage, keeping your screws organized and visible. Choose the option that best suits your preferences, available wall space, and the size of your screw collection. With a wall-mounted storage solution, you’ll have your screws at your fingertips, saving you time and enhancing your efficiency for future projects.
Using Magnetic Strips for Screw Storage
Using magnetic strips for screw storage is a simple and efficient solution that keeps your screws organized, accessible, and visible in your workspace. Magnetic strips offer several advantages for storing screws:
- Saves space: Magnetic strips provide a space-saving option for storing screws. By affixing the magnetic strip to a wall or other flat surface, you can keep your screws off the workbench or table, freeing up valuable workspace.
- Easy visibility: With magnetic strips, you can see your screws at a glance. The exposed heads of the screws are easily visible, making it quick to select the right screw for your task without the need for searching through containers or drawers.
- Convenient access: Magnetic strips make it easy to access your screws. You can simply grab the screws you need by sliding them off the magnetic surface. This eliminates the time-consuming process of unscrewing lids, opening containers, or rummaging through drawers.
- Prevents mixing and tangling: Magnetic strips keep individual screws separated, preventing them from accidentally mixing together. This avoids the hassle of untangling screws or trying to find the right one in a jumbled pile.
- Secure hold: Magnetic strips provide a secure hold for your screws. Once attached to the strip, the screws stay firmly in place until you need them. This prevents them from falling, rolling, or getting lost while you work.
- Customizable arrangement: Magnetic strips are versatile and customizable. You can cut them to the desired length or shape to fit your available space. Additionally, you can arrange multiple strips side by side to accommodate different sizes or types of screws.
- Portable option: Magnetic strips are not limited to wall-mounted storage. They can also be used in portable toolboxes or on the side of metal tool carts. The magnetic surface provides a secure attachment, ensuring that your screws stay in place even when being transported.
To utilize magnetic strips for screw storage effectively, follow these tips:
- Categorize and label: Use separate magnetic strips or sections of a strip for different types or sizes of screws. Label each section to indicate the specific screws it holds. This ensures easy identification and retrieval of the required screws.
- Arrange screws logically: Organize the screws on the magnetic strip in a logical order. You can arrange them by type, size, or any other system that works best for you. This will make it quicker to locate and select the screws you need for a particular project.
- Consider using metal containers: For added organization, place metal containers or trays below the magnetic strip to catch any dropped or loose screws. This prevents screws from rolling away and keeps your work area tidy.
- Ensure magnet strength: Choose magnetic strips with sufficient strength to securely hold your screws. This will prevent the screws from slipping or falling off the strip, ensuring their accessibility and safety.
- Regularly clean and maintain: Clean the magnetic strip periodically to remove any dust or debris that may accumulate. A clean surface will ensure optimal magnetic performance and hold for your screws.
Using magnetic strips for screw storage provides a practical and efficient solution. By keeping your screws organized and visible, magnetic strips help save space, enhance accessibility, and streamline your work process. Consider incorporating magnetic strips into your workshop or tool storage area for a convenient screw storage solution.
Proper Handling and Maintenance of Stored Screws
Proper handling and maintenance of stored screws are essential to ensure their longevity, usability, and effectiveness. By following some key practices, you can keep your screws in optimal condition. Here are some important tips for handling and maintaining stored screws:
- Handle with care: When handling screws, be mindful of how you grip and manipulate them. Avoid rough or excessive handling, as this can cause damage to the threads or heads of the screws. Handle them gently and with care to prevent any deformations or distortions.
- Keep screws clean: Regularly remove any dirt, debris, or rust from your screws. Use a small wire brush or abrasive pad to clean the threads and heads. If necessary, you can soak the screws in a rust-removing solution to get rid of stubborn rust. Ensure the screws are completely dry before returning them to storage to prevent further corrosion.
- Inspect screws before use: Before using any stored screws, inspect them for any signs of damage, such as bent or stripped threads. Discard any screws that show signs of deformation or corrosion, as they may compromise the integrity and effectiveness of your projects.
- Store in a dry environment: Moisture is a major enemy of screws. Ensure that your storage area is dry, as excessive humidity can cause screws to rust and deteriorate. Consider using moisture-absorbing packets or silica gel packs in your storage containers to maintain a dry environment.
- Avoid extreme temperature fluctuations: Screws can be sensitive to extreme temperature changes. Avoid storing them in areas that may experience drastic temperature fluctuations, as this can cause the screws to expand or contract and potentially result in damage.
- Protect against impact: Protect your stored screws from accidental impact or dropping. When transporting screws, use secure containers or keep them in a dedicated storage area within your toolbox or workspace to minimize the risk of damage from falls or heavy impacts.
- Regularly rotate your screw inventory: To prevent screws from sitting unused for extended periods, periodically rotate your screw inventory. This ensures that all screws are regularly used and inspected for damage. Consider implementing a “first in, first out” system to prioritize the use of older screws before newer ones.
- Keep screws organized and labeled: Maintain an organized system for storing screws to easily identify and access the ones you need. Proper labeling and categorization prevent mix-ups and ensure that screws are used as intended.
- Consult manufacturer specifications: If you have specialized screws, refer to the manufacturer’s specifications or recommendations for any specific storage or maintenance guidelines. Some screws may require specific handling or storage conditions to maintain their performance and longevity.
By following these tips, you can ensure the proper handling and maintenance of your stored screws. Handling them with care, keeping them clean and dry, inspecting them before use, and organizing them effectively will help maximize their lifespan and reliability for your projects. Treat your screws as valuable tools, and they will continue to serve you well for years to come.
Conclusion
Proper screw storage is crucial for maintaining an organized and efficient workspace. By implementing effective storage techniques, you can ensure the longevity, usability, and accessibility of your screws. Whether you are a DIY enthusiast or a professional, following the tips outlined in this article will help you take control of your screw storage and enhance your overall productivity.
Organizing your screws by type and size allows for easy identification and retrieval when needed. Whether you choose to use containers, toolboxes, drawers, pegboards, or magnetic strips, the key is to create a system that works best for your space and requirements. Labeling and categorizing your screw storage containers further enhance organization and efficiency, enabling you to quickly locate the right screws for your projects.
Proper handling and maintenance of stored screws are equally important. Handling them with care, keeping them clean and dry, and regularly inspecting them for any signs of damage or corrosion will ensure their optimal functionality. By following manufacturer specifications and rotating your screw inventory, you can prevent screws from sitting unused for long periods and ensure that they remain in peak condition.
Remember, an organized screw storage system not only saves you time and effort but also contributes to a safer working environment. By keeping screws properly stored and preventing trip hazards, you can create a workspace that is efficient, productive, and free from accidents.
In conclusion, take the time to invest in the proper storage and maintenance of your screws. Implementing the tips and solutions provided in this article will help you maintain an organized and accessible screw inventory, allowing you to focus on your projects and complete them with ease. With a well-organized screw storage system in place, you’ll be better equipped to tackle any task that comes your way.
Frequently Asked Questions about How To Store Screws
Was this page helpful?
At Storables.com, we guarantee accurate and reliable information. Our content, validated by Expert Board Contributors, is crafted following stringent Editorial Policies. We're committed to providing you with well-researched, expert-backed insights for all your informational needs.


0 thoughts on “How To Store Screws”