Home>Garden Essentials>When Do I Start Tomato Seeds Indoors
Garden Essentials
When Do I Start Tomato Seeds Indoors
Modified: March 15, 2024
Unsure of when to begin growing tomato seeds indoors for your garden? Find out the optimal timing and get your garden off to a great start!
(Many of the links in this article redirect to a specific reviewed product. Your purchase of these products through affiliate links helps to generate commission for Storables.com, at no extra cost. Learn more)
Introduction
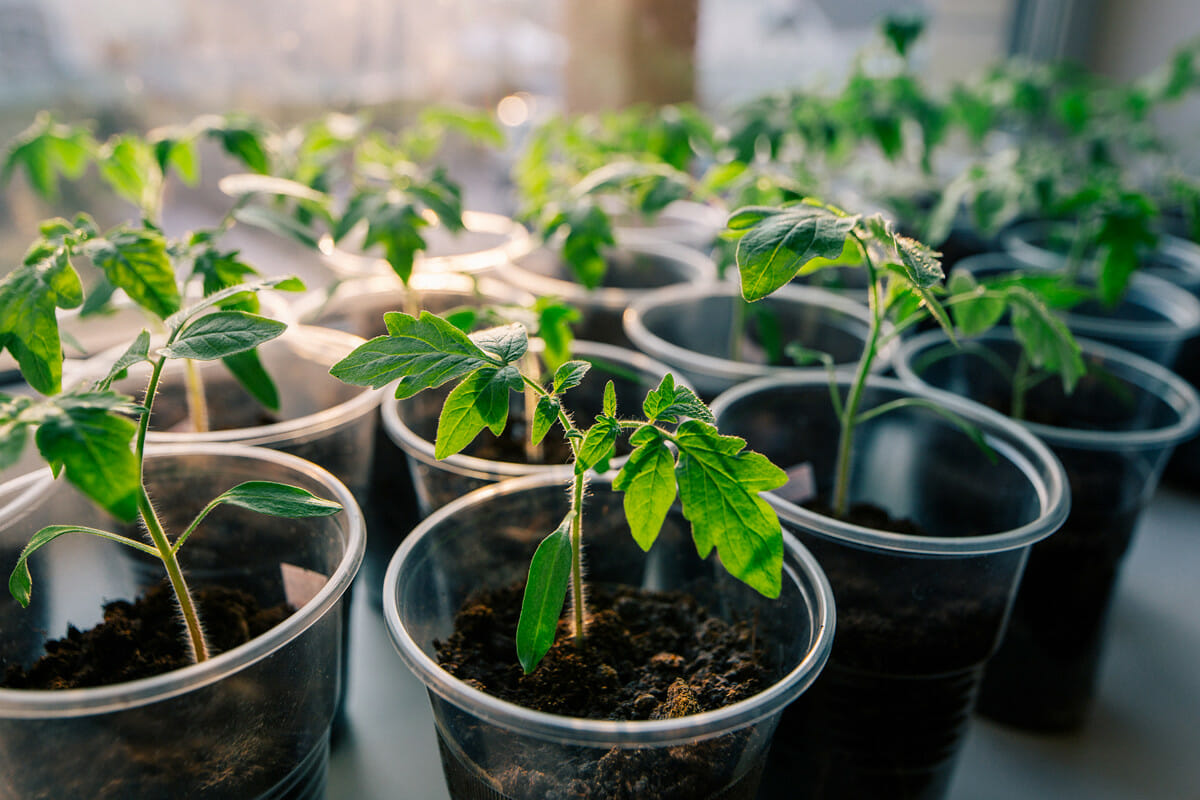
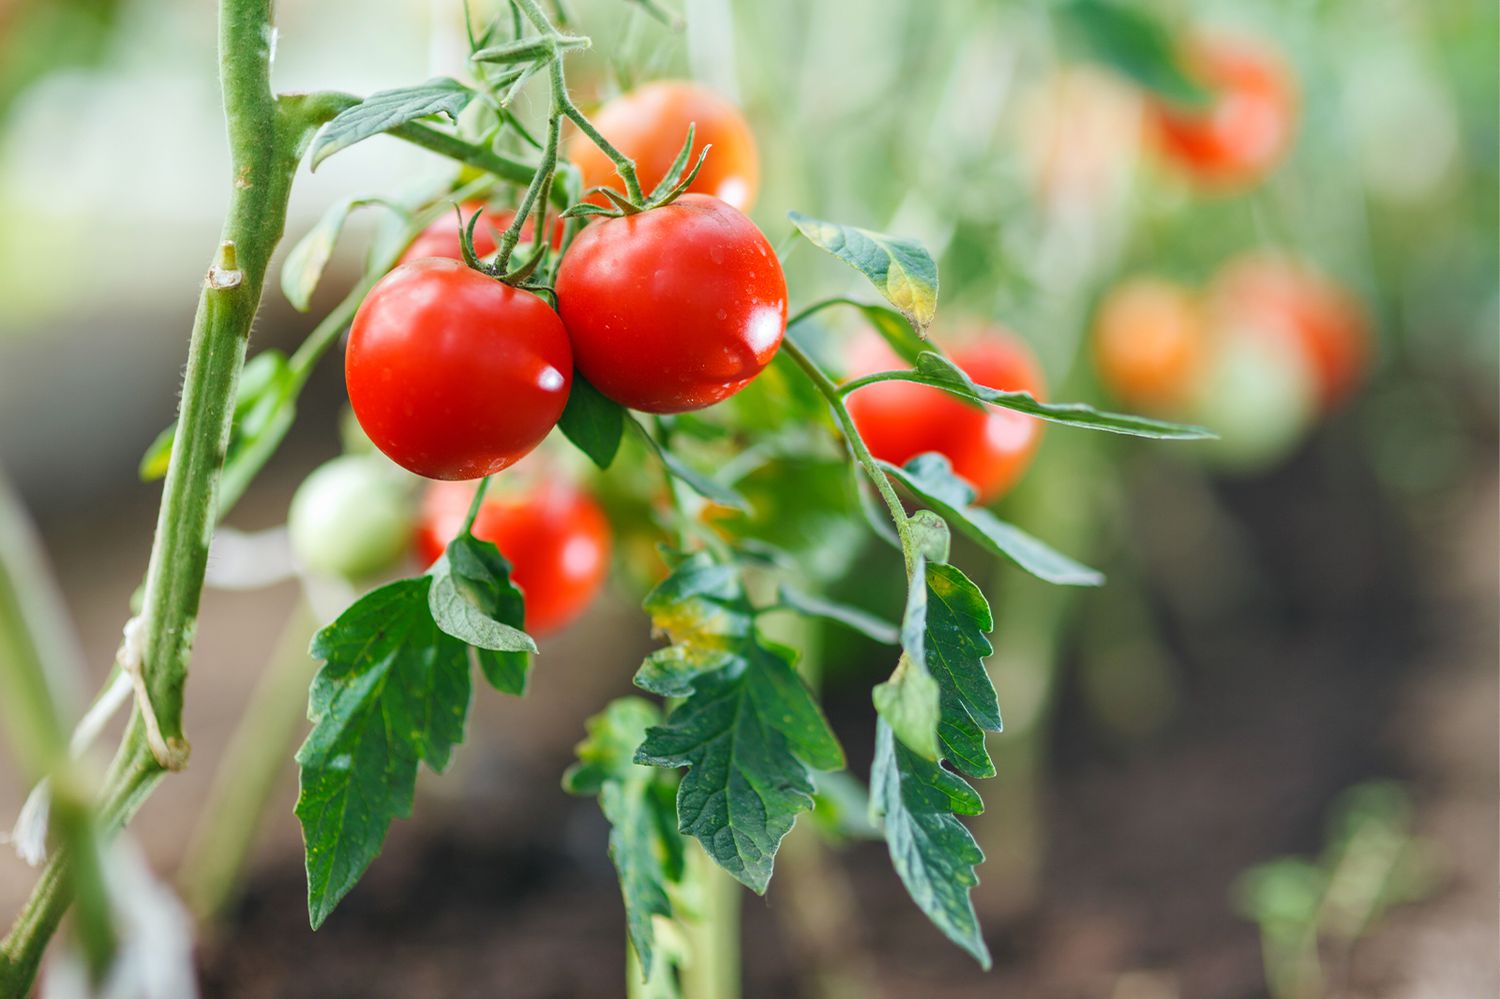
When it comes to growing your own tomatoes, starting the seeds indoors can be a rewarding and cost-effective method. Not only does it allow you to extend the growing season, but it also gives you more control over the cultivation process. By starting tomato seeds indoors, you can ensure healthier and stronger plants that are ready to thrive when transplanted outdoors.
In this article, we will explore the benefits of starting tomato seeds indoors, factors to consider before getting started, the best time to start, step-by-step instructions, and tips for caring for tomato seedlings. So, whether you’re a seasoned gardener or a newbie with a green thumb, this guide will help you kickstart your tomato-growing journey.
Key Takeaways:
- Starting tomato seeds indoors offers benefits like extended growing season, healthier plants, cost-effectiveness, and greater variety. It also provides control over pests and diseases, leading to a higher success rate.
- Before starting tomato seeds indoors, consider factors like seed quality, time and space commitment, light source, temperature, potting soil, containers, watering, and transplanting timing for successful germination and healthy growth.
Read more: When Do I Start Planting Seeds Indoors
Benefits of Starting Tomato Seeds Indoors
Starting tomato seeds indoors offers several advantages over directly sowing them in the garden. Let’s take a look at some of the key benefits:
- Extended Growing Season: By starting tomato seeds indoors, you can get a head start on the growing season. This is especially beneficial for regions with shorter summers or unpredictable weather patterns. You can start your seeds indoors weeks before the last frost date, giving your tomato plants a longer growing period to produce an abundant harvest.
- Healthier and Stronger Plants: When you start tomato seeds indoors, you have more control over the growing conditions. This allows you to provide the ideal environment for your seedlings to thrive. By maintaining optimal temperature, moisture, and light levels, you can ensure the development of robust and healthy plants.
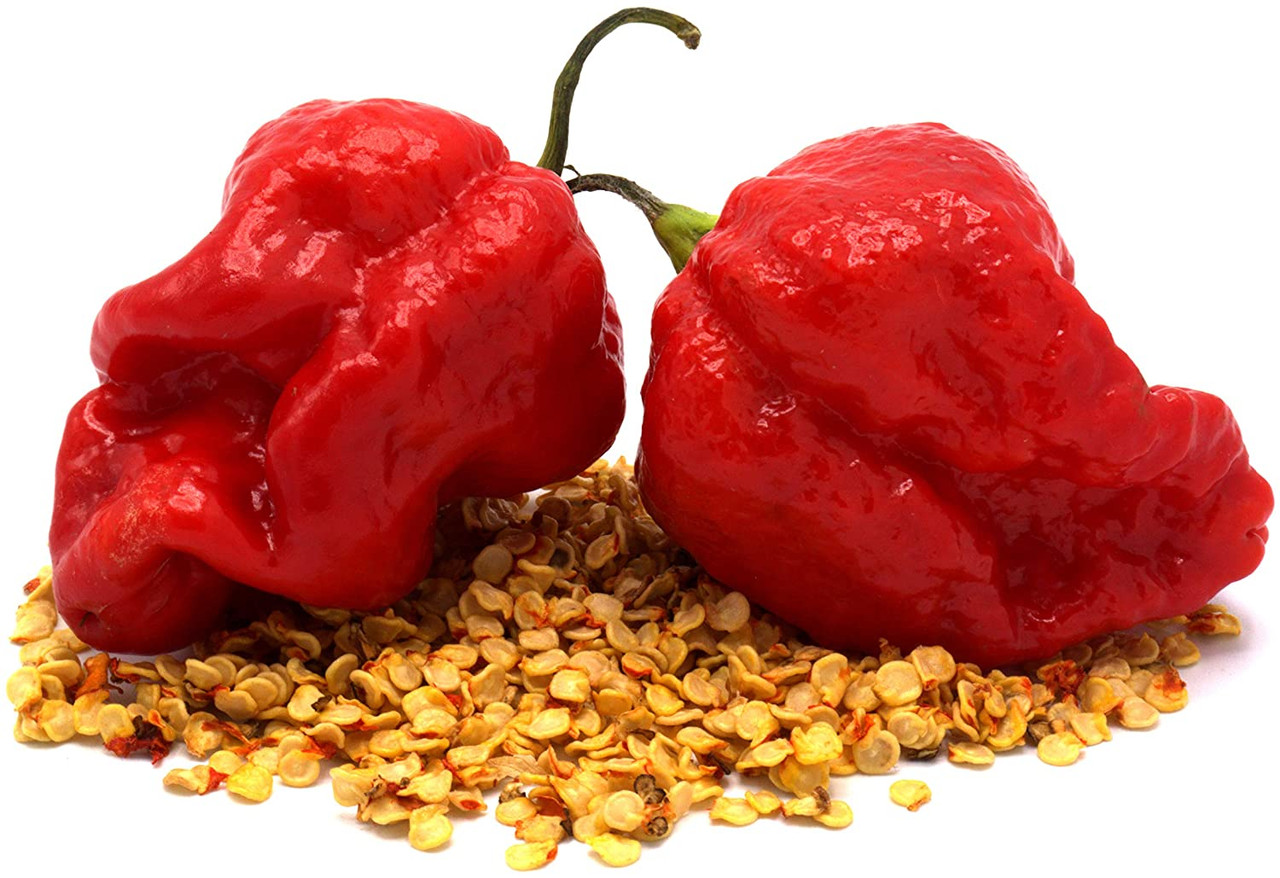
- Greater Variety: Starting tomato seeds indoors opens up a world of possibilities in terms of tomato varieties. While local nurseries may have a limited selection, starting seeds gives you access to a wider range of heirloom, hybrid, and exotic varieties. You can experiment with different flavors, colors, and sizes of tomatoes that might not be readily available in stores.
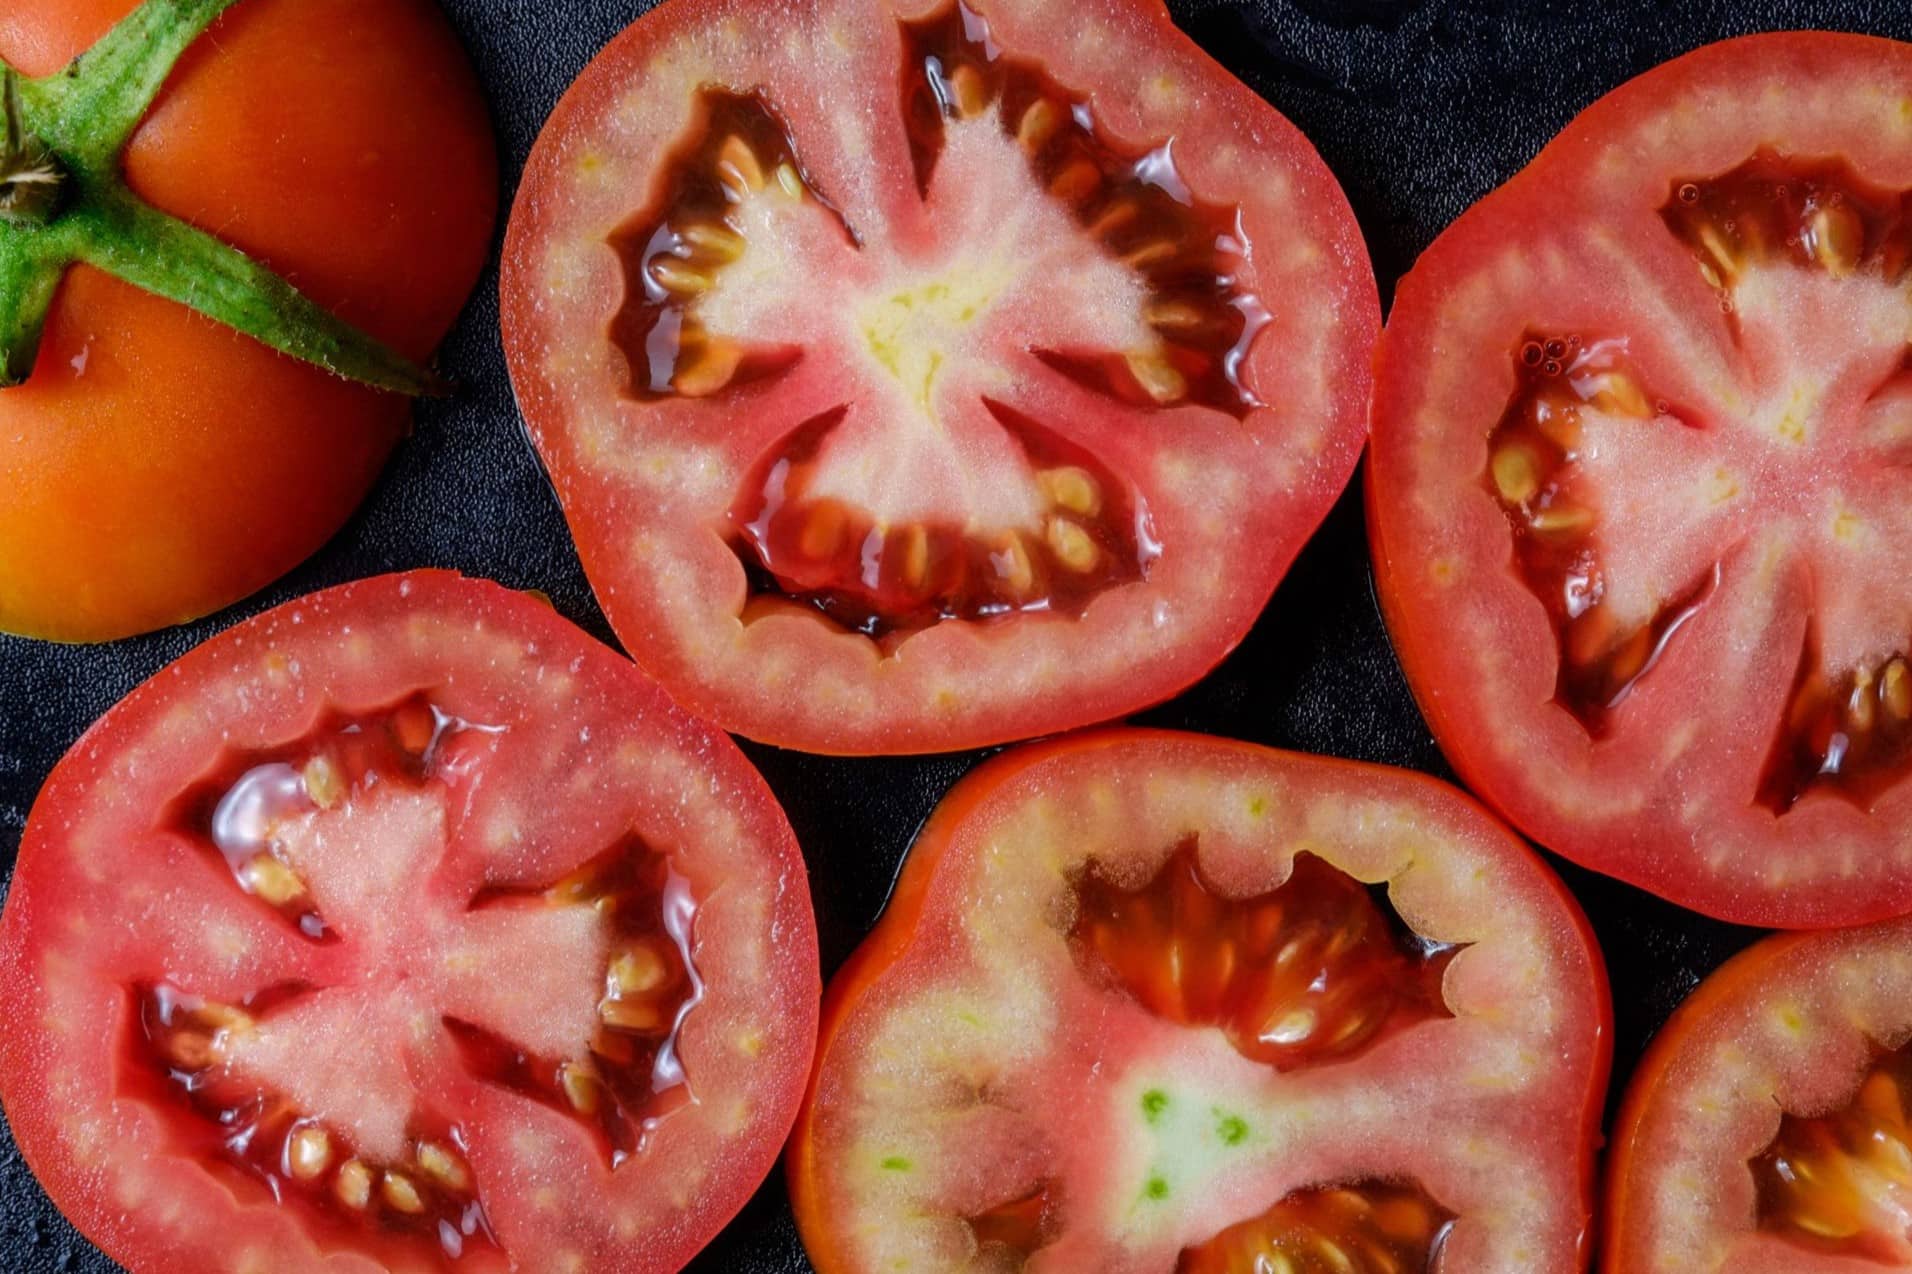
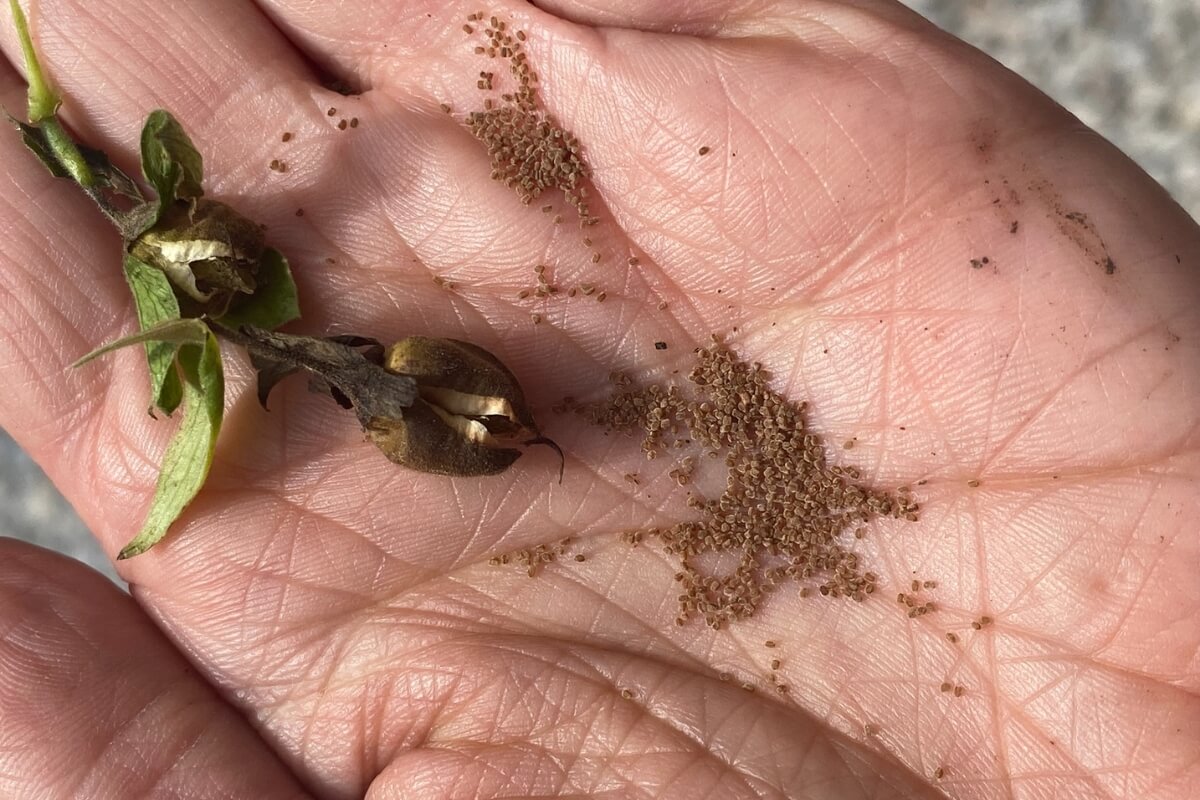
- Cost-Effective: Growing tomatoes from seeds is a cost-effective way to establish your garden. Buying seed packets is generally more affordable than purchasing seedlings. Plus, you can save even more by collecting and saving seeds from your own mature tomatoes for the next growing season.
- Control Over Pests and Diseases: Starting tomato seeds indoors provides an opportunity to minimize the risk of pests and diseases. When you start from scratch in a controlled environment, you can maintain a clean and pest-free space. This reduces the likelihood of your seedlings being attacked by common tomato pests, such as aphids, slugs, or tomato hornworms.
- Greater Success Rate: By starting tomato seeds indoors, you have a higher chance of successful germination and early growth. You can monitor the progress of your seedlings and make adjustments as needed to ensure their healthy development. This gives you a better chance of transplanting strong and vigorous plants to the garden, improving their chances of surviving and thriving.
These are just a few of the many benefits that come with starting tomato seeds indoors. Whether you’re a seasoned gardener looking to expand your tomato varieties or a beginner eager to embark on a new gardening adventure, starting seeds indoors is a rewarding endeavor that can lead to a bountiful and delicious tomato harvest.
Factors to Consider Before Starting Tomato Seeds Indoors
Before you jump into starting tomato seeds indoors, there are a few important factors to consider to ensure successful germination and healthy growth. Let’s take a look at these factors:
- Seed Quality: It’s crucial to start with high-quality seeds to maximize your chances of success. Look for reputable seed suppliers or seed packets with a high germination rate. Avoid using old or damaged seeds, as they may have a lower chance of sprouting.
- Time and Space: Starting tomato seeds indoors requires time and space commitment. Consider how many tomato plants you want to grow and ensure you have enough space to accommodate them. Additionally, make sure you have the time to dedicate to caring for the seedlings as they require regular monitoring and attention.
- Light Source: Tomato seedlings require ample light to grow strong and healthy. Consider whether you have access to sufficient natural light or if you need to invest in grow lights. A bright south-facing window is ideal, but if that’s not available, fluorescent or LED grow lights can provide the necessary light spectrum for optimal growth.
- Temperature: Tomato seeds germinate best in warm temperatures. The ideal range is between 75°F and 85°F (24°C to 29°C). If your home or growing area tends to be cooler, you may need to use a heating mat to provide consistent warmth for the seeds.
- Potting Soil: Choose a high-quality potting soil specifically designed for seed starting. Avoid using garden soil, as it may contain pests, diseases, or weed seeds that can hinder the growth of your tomato seedlings.
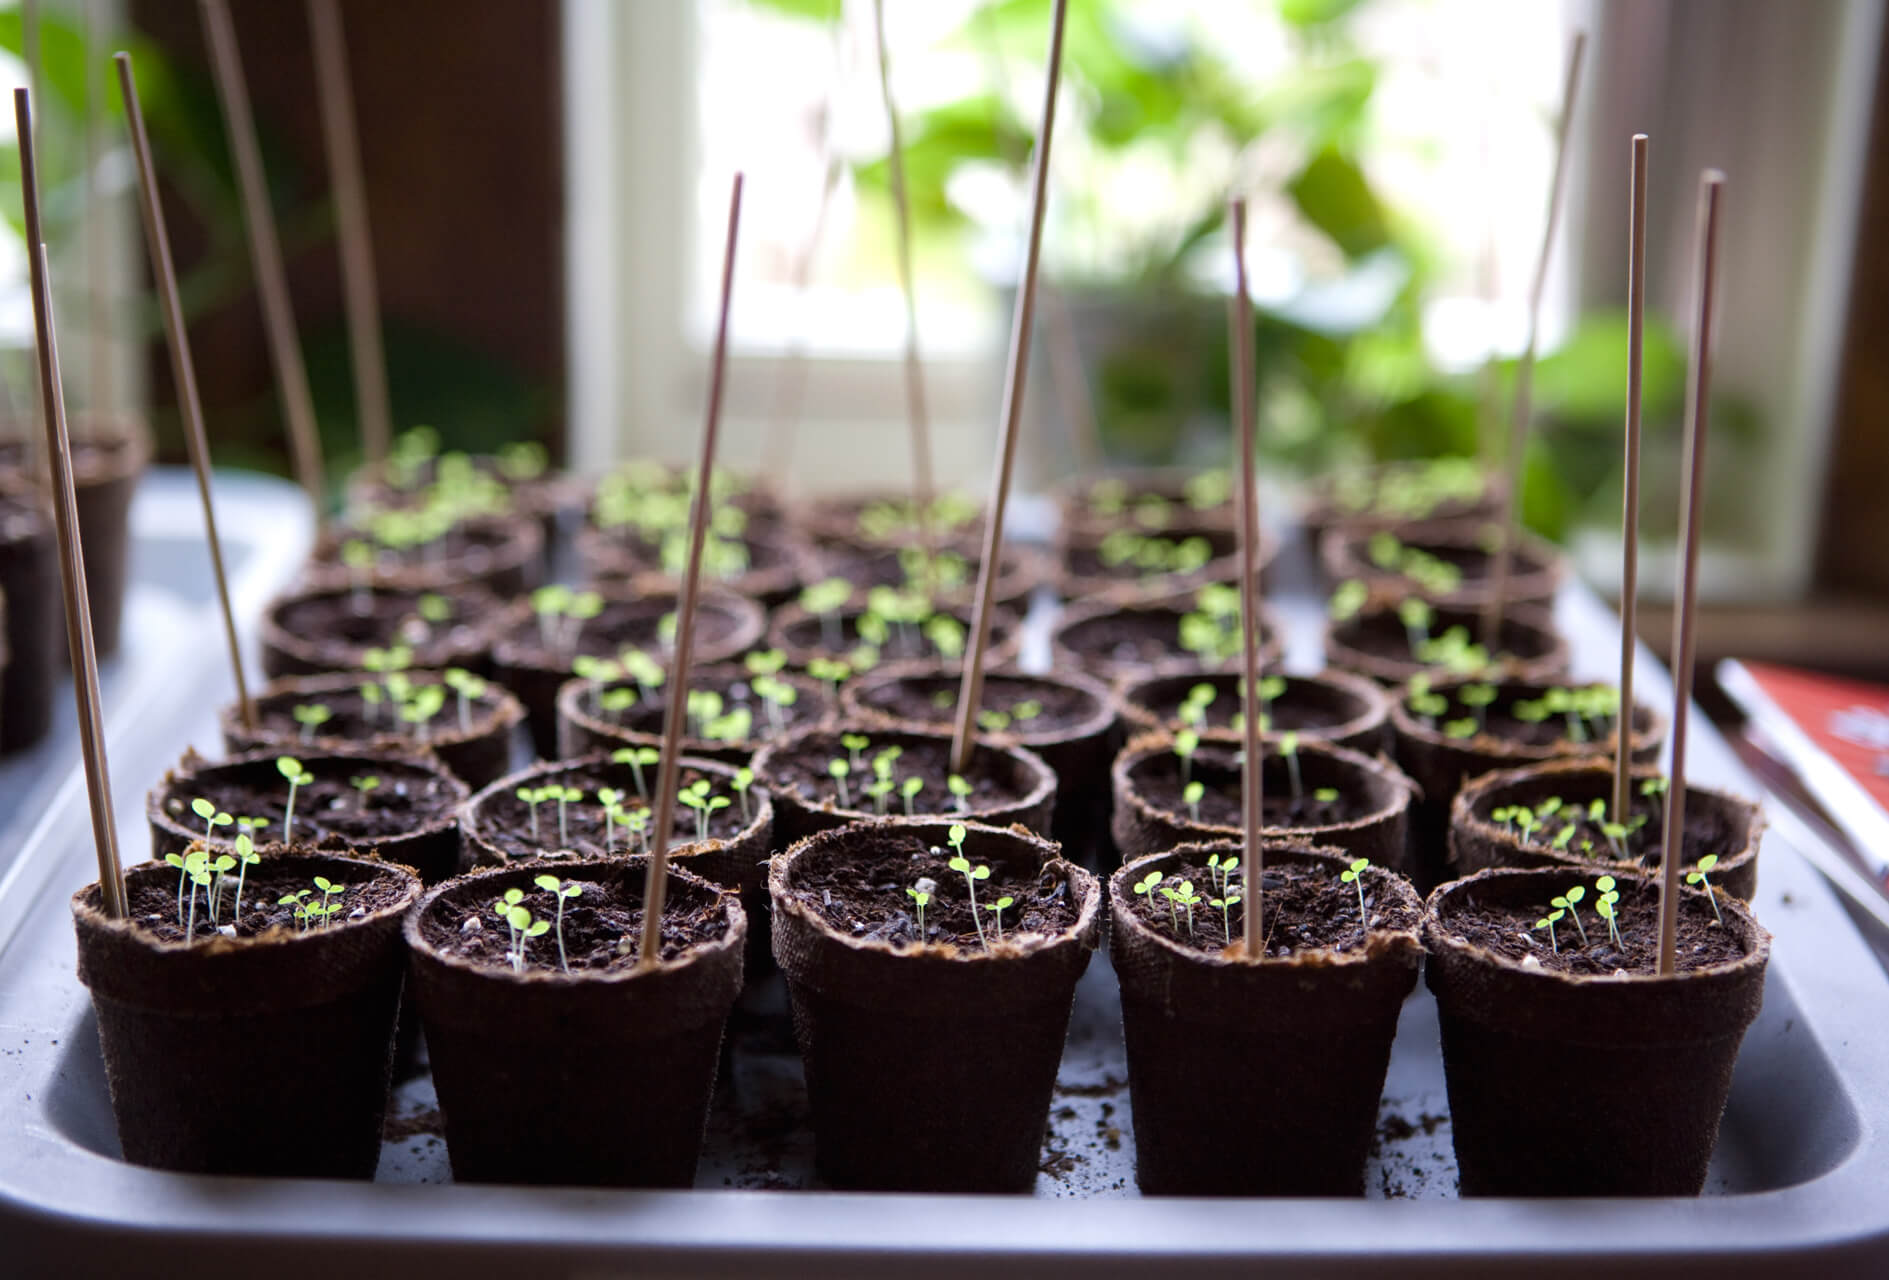
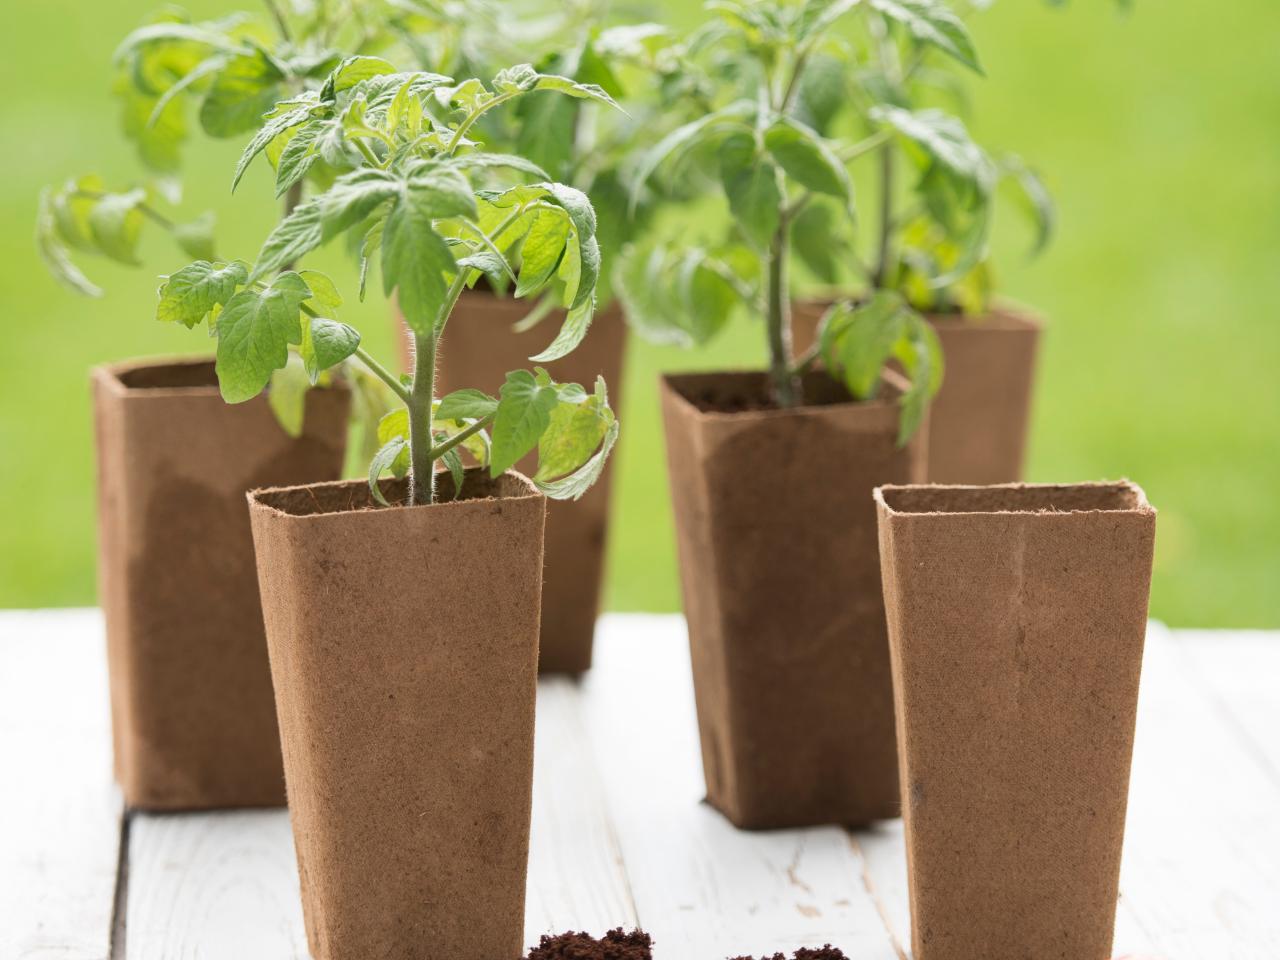
- Containers: Consider the type of containers you will use to start your tomato seeds. Options include seed trays, peat pots, or recycled containers. Ensure the containers have proper drainage to prevent waterlogging and provide enough space for the growing roots.
- Watering and Drainage: Proper watering is essential for successful seed germination and growth. Before starting your tomato seeds, ensure you have a reliable watering method in place. Avoid overwatering, as it can lead to root rot, while underwatering may result in stunted growth.
- Transplanting Timing: Think about when you plan to transplant your tomato seedlings outdoors. Consider the average last frost date in your area and calculate the number of weeks required for germination and seedling growth. It’s important to time your indoor seed starting so that your seedlings are robust and ready for transplanting when the weather is suitable.
By considering these factors before starting tomato seeds indoors, you can set yourself up for success and ensure favorable conditions for your seedlings’ growth. Taking the time to plan and prepare will greatly increase the likelihood of healthy and productive tomato plants.
Best Time to Start Tomato Seeds Indoors
The timing for starting tomato seeds indoors can vary depending on your location and the specific varieties you plan to grow. However, as a general guideline, it’s recommended to start tomato seeds indoors 6 to 8 weeks before the last expected frost date in your area. This will give your seedlings enough time to develop into strong and healthy plants to be transplanted outdoors.
To determine the ideal starting time, you need to know the average date of the last frost in your region. You can find this information from local gardening resources, agricultural extension offices, or online gardening websites specific to your area. Knowing the expected date will help you work backward to determine when to start your tomato seeds indoors.
When starting tomato seeds indoors, keep in mind that tomato plants require warm temperatures to germinate and thrive. The soil temperature should consistently be around 75°F to 85°F (24°C to 29°C) for optimal germination. If your home or growing area tends to be cooler, you may need to use a heating mat or provide additional heat to ensure a favorable germination environment.
It’s important to note that different tomato varieties have different growth rates. Determinate varieties tend to mature earlier and have a shorter growing season, while indeterminate varieties take longer to mature and continue producing fruit until the first frost. Consider the growth habit and expected maturity date of the tomato varieties you plan to plant when determining the best time to start your seeds indoors.
In addition to the last frost date, you also need to consider the expected transplanting date for your tomato seedlings. Aim to transplant your well-established and sturdy seedlings outdoors when the soil has warmed up and the danger of frost has passed. This usually occurs when daytime temperatures consistently reach 60°F (16°C) or higher.
By starting tomato seeds indoors at the appropriate time and transplanting them outdoors when the weather conditions are favorable, you can ensure a successful growing season and a bountiful harvest of delicious homegrown tomatoes.
Start tomato seeds indoors 6-8 weeks before the last frost date in your area. Use a seed starting mix, provide plenty of light, and keep the soil consistently moist. Transplant seedlings outdoors after the danger of frost has passed.
Steps to Start Tomato Seeds Indoors
Starting tomato seeds indoors is a straightforward process that can be broken down into several simple steps. By following these steps, you can ensure successful germination and healthy growth of your tomato seedlings:
- Choose the right seeds: Select the tomato varieties you want to grow and purchase high-quality tomato seeds from a reputable supplier or seed packet.
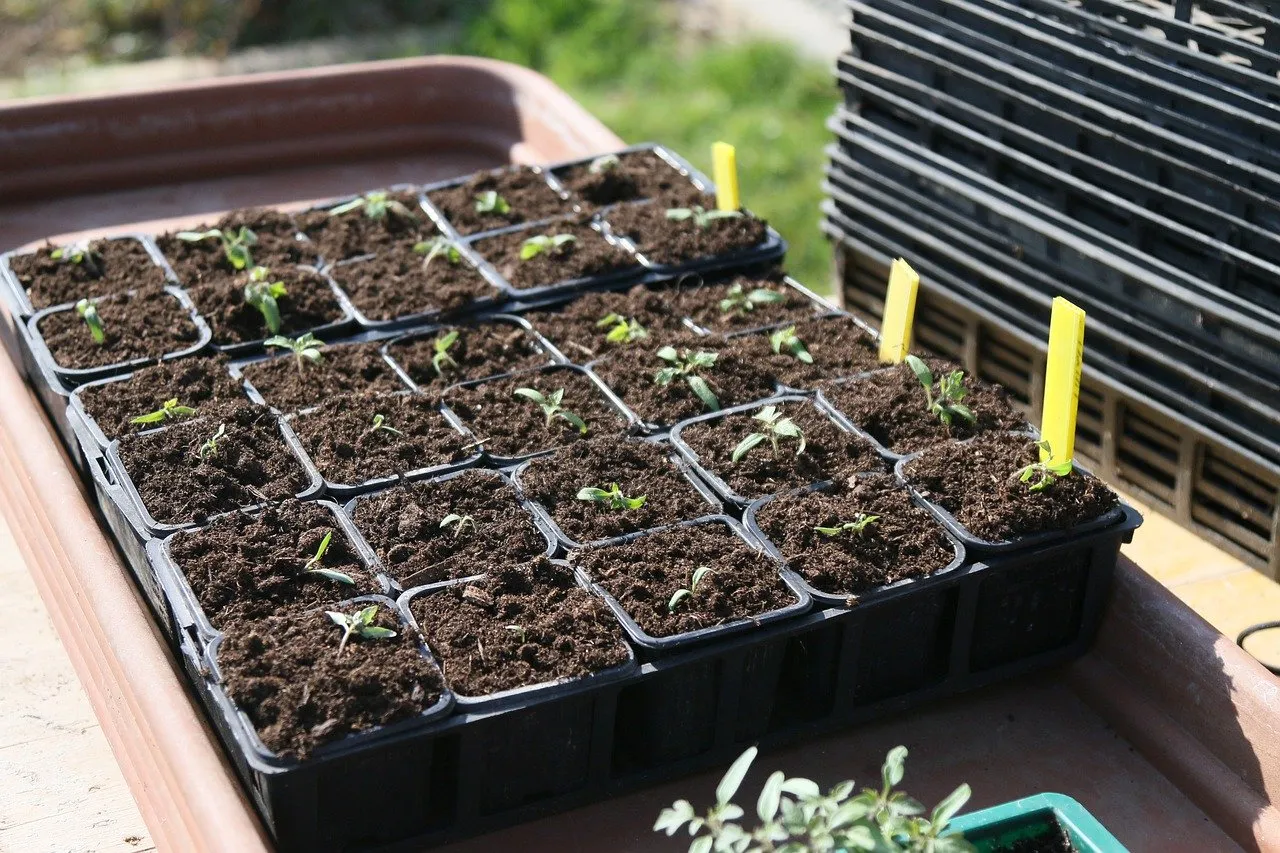
- Prepare the containers: Clean and sterilize your seed containers before use to prevent the transmission of diseases. Use seed trays, peat pots, or recycled containers with proper drainage holes.
- Fill containers with potting soil: Fill your containers with a well-draining potting soil specifically formulated for seed starting. Ensure the soil is slightly moist but not overly wet.
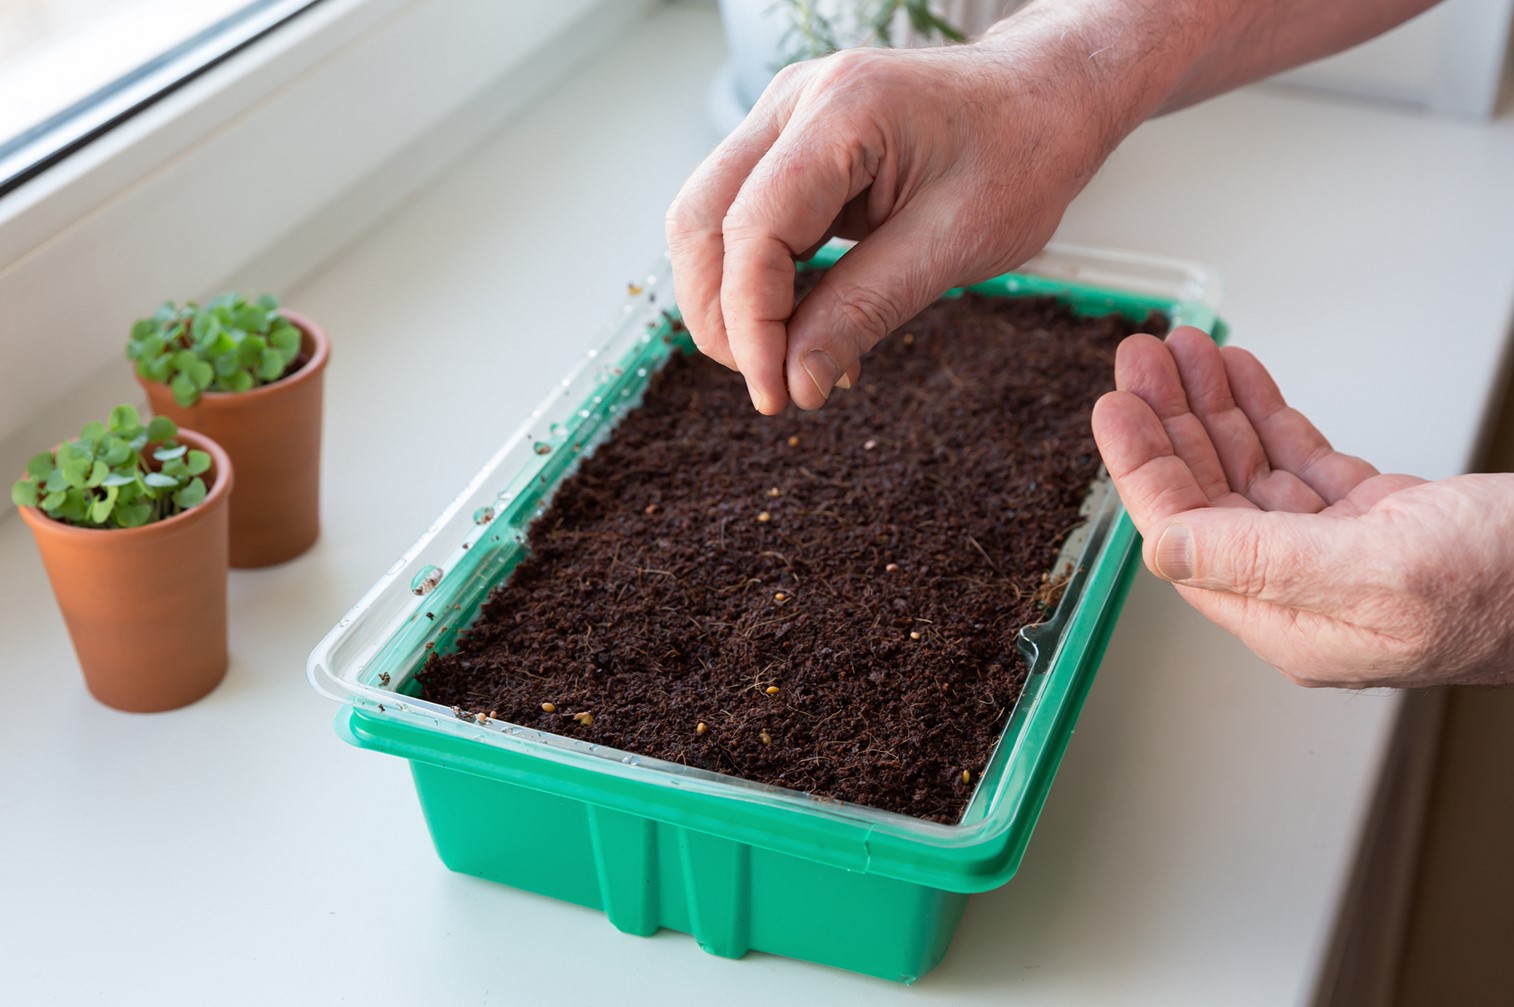
- Sow the seeds: Follow the instructions on the seed packet for proper seed depth and spacing. Generally, tomato seeds should be planted ¼ to ½ inch deep in the soil, and you can place 2-3 seeds per container. Gently cover the seeds with soil and lightly press down.
- Provide adequate moisture: After planting the seeds, thoroughly water the containers until moisture seeps out of the drainage holes. Be careful not to overwater, as it can lead to damping-off disease. Maintain consistent moisture throughout the germination process.
- Provide warmth and light: Place your containers in a warm location with adequate sunlight or provide artificial light using grow lights. Tomato seeds require temperatures between 75°F and 85°F (24°C to 29°C) for optimal germination. Consider using a heating mat to maintain a warm environment.
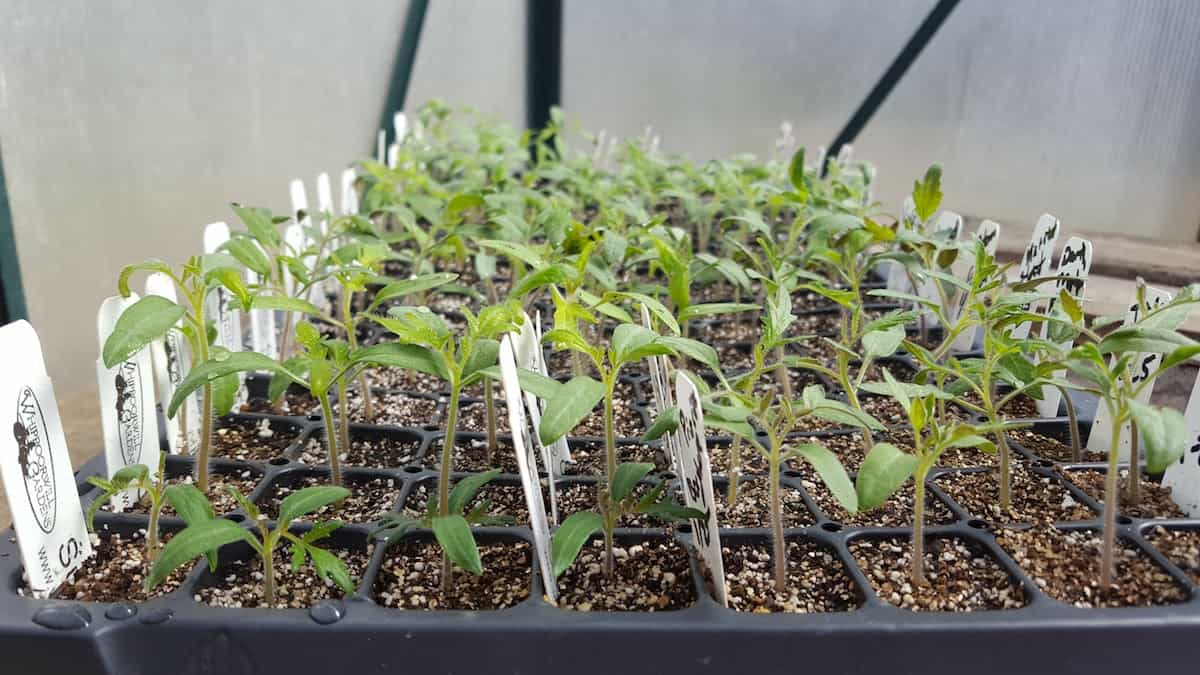
- Monitor and care for seedlings: Keep an eye on your containers and ensure the soil remains consistently moist but not waterlogged. Remove any plastic covers or domes once the seeds have germinated to prevent excessive humidity. Rotate the containers regularly to promote even growth.
- Transplanting seedlings: Once your tomato seedlings have developed their first true leaves and are about 6-8 inches tall, they are ready for transplanting outdoors. Harden off the seedlings by gradually exposing them to outdoor conditions over a period of 7-10 days before transplanting. This helps them adjust to the temperature and sunlight levels.
- Transplant outdoors: Choose a sunny spot in your garden with well-draining soil. Dig holes slightly deeper than the root ball of each seedling and space them according to the recommended distance for the specific tomato variety. Gently remove the seedling from its container, place it in the hole, and backfill with soil. Water thoroughly after transplanting.
- Provide ongoing care: After transplanting, continue to care for your tomato plants by providing proper watering, sunlight, and regular fertilization. Monitor for pests and diseases and take appropriate measures to keep your plants healthy until it’s time to harvest your homegrown tomatoes.
By following these steps and providing the necessary care, you can successfully start tomato seeds indoors and enjoy a rewarding journey of growing your own delicious tomatoes.
Read more: When Should I Start Seeds Indoors
Caring for Tomato Seedlings Indoors
Proper care is essential for the healthy growth and development of your tomato seedlings as they grow indoors. By providing the right conditions and meeting their needs, you can ensure strong, vibrant seedlings that are ready for transplanting. Here are some important care tips for your tomato seedlings:
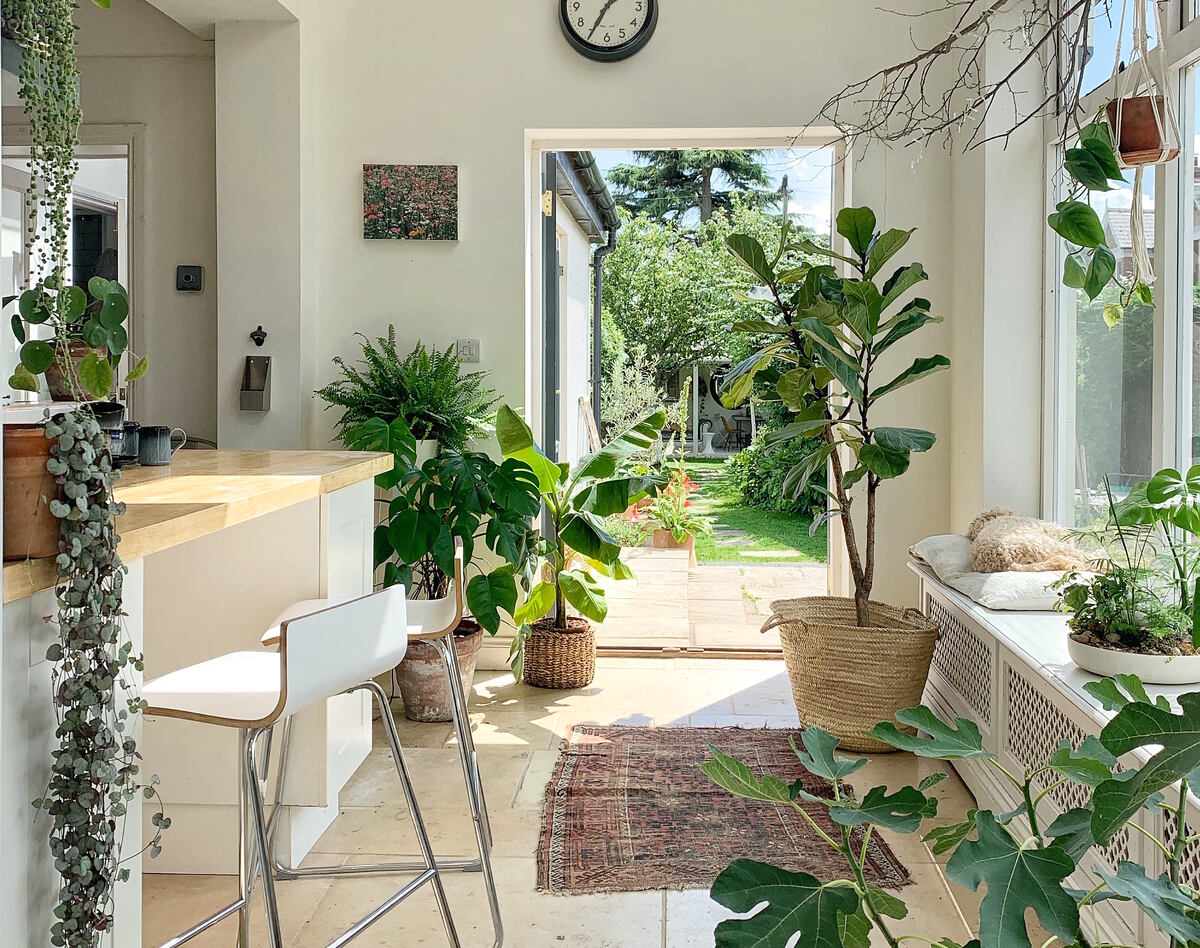
- Light: Tomato seedlings require abundant light to grow strong and prevent them from becoming leggy. Place your containers in a sunny south-facing window or use fluorescent or LED grow lights if natural light is limited. Position the lights a few inches above the seedlings and keep them on for 14-16 hours each day.
- Temperature: Maintain a consistently warm temperature for your tomato seedlings. During the daytime, aim for temperatures between 70°F and 75°F (21°C to 24°C). Nighttime temperatures can be slightly cooler, ranging from 60°F to 65°F (15°C to 18°C). Avoid exposing the seedlings to drafts, as they can cause stress and slow growth.
- Watering: Keep the soil evenly moist but not overly wet. Check the moisture level by inserting your finger about an inch into the soil. If it feels dry, water the plants until water drains out of the bottom of the containers. Avoid letting the seedlings sit in standing water, which can lead to root rot. Water from the bottom by placing the containers in a tray filled with water and allowing the soil to soak it up.
- Fertilization: Once your tomato seedlings have grown their second set of true leaves, you can start fertilizing them. Use a balanced organic fertilizer or a diluted water-soluble fertilizer every two weeks. Follow the package instructions for the appropriate dosage and ensure the fertilizer is evenly distributed to prevent burning the seedlings.
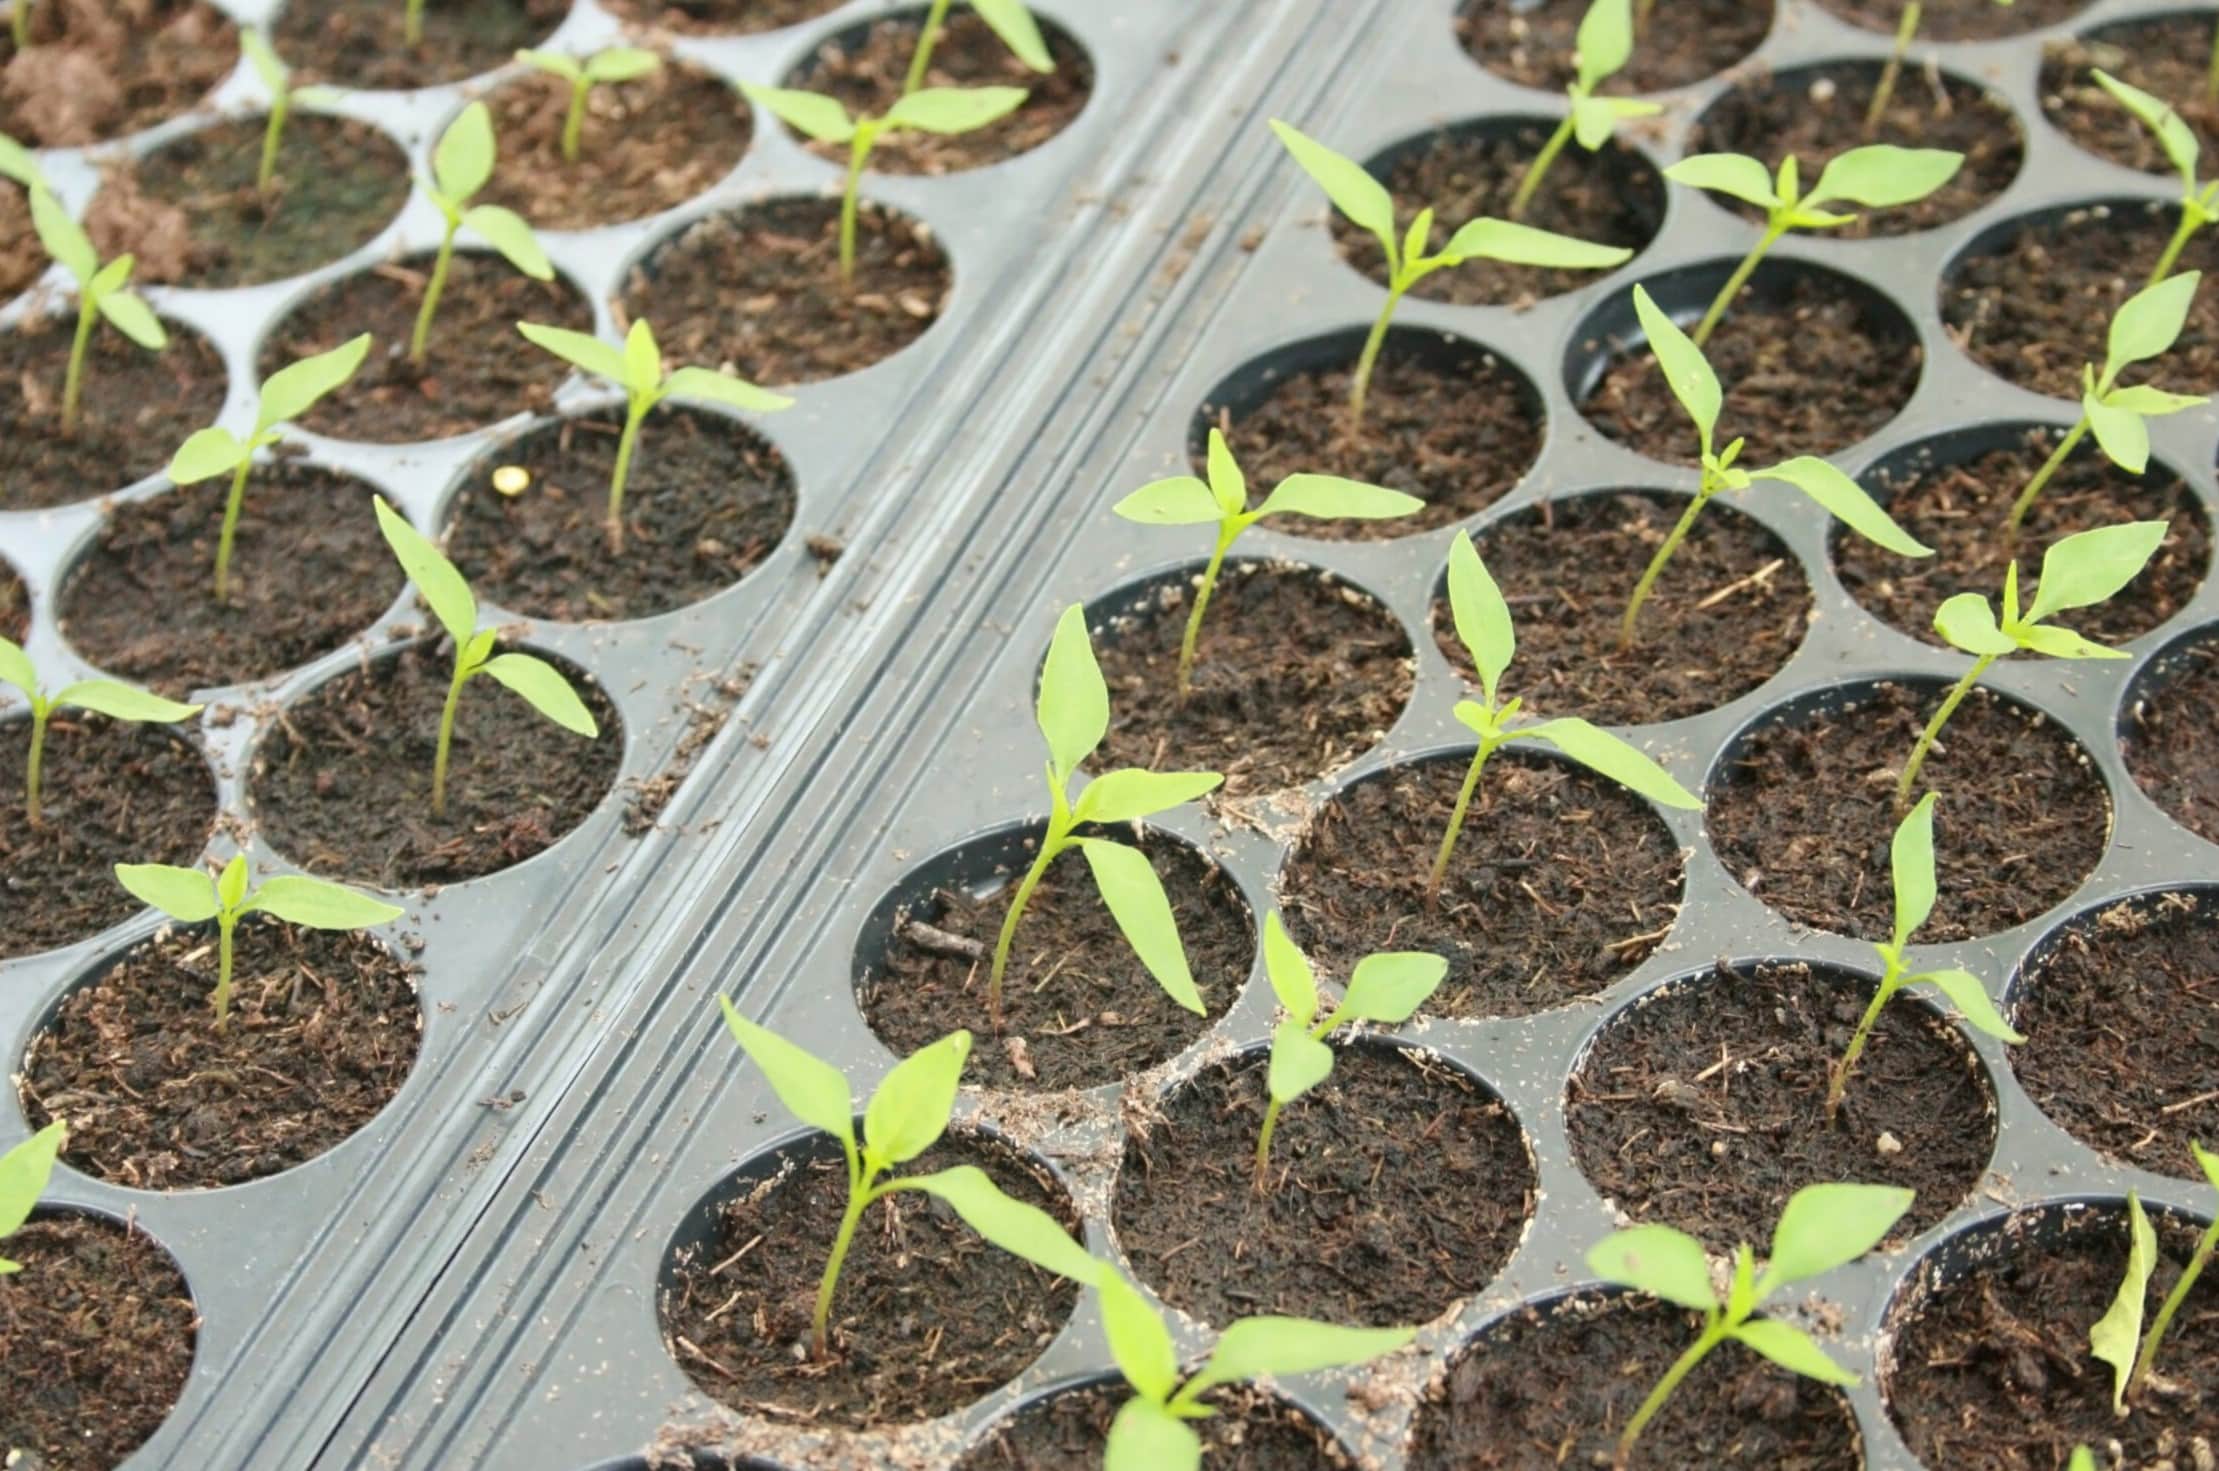
- Thinning: If multiple seeds have germinated in one container, thin them out once the seedlings have developed their true leaves. Choose the strongest and healthiest seedling and gently remove the others by carefully pulling them out at the soil level. Thinning ensures that each seedling has enough space and resources to grow properly.
- Transplanting to larger containers: As your tomato seedlings grow, they will outgrow the initial seed containers. Once they have developed a substantial root system and are about 3-4 inches tall, transplant them into larger containers. Use 4-inch pots or individual peat pots filled with well-draining potting soil. This will provide more space for root development and prevent overcrowding.
- Pruning: When the tomato seedlings have grown their first set of true leaves, you can begin pruning them. Pinch off the small shoots that develop in the leaf axils, known as suckers. This helps redirect the plant’s energy towards the main stem and encourages better growth and fruit production.
- Hardening off: Before transplanting your tomato seedlings outdoors, it is essential to gradually acclimate them to outdoor conditions. This process, known as hardening off, involves exposing the seedlings to outdoor elements gradually. Start by placing them outside in a sheltered location for a few hours each day, gradually increasing the time and exposure over a period of 7-10 days.
By implementing these care practices, you can foster healthy and robust tomato seedlings that will thrive and produce a bountiful harvest when transplanted outdoors. Be attentive to their needs and adjust care practices as necessary to ensure the best possible start for your tomato plants.
Transplanting Tomato Seedlings Outdoors
Transplanting tomato seedlings from indoor containers to the outdoors is a crucial step in their growth journey. Proper transplanting techniques help ensure that the seedlings adapt well to their new environment and continue to thrive. Here are the steps to successfully transplant your tomato seedlings outdoors:
- Choose the right time: Wait until all danger of frost has passed and the soil has warmed up before transplanting your tomato seedlings. The recommended soil temperature for transplanting is above 60°F (16°C) to encourage healthy root growth and minimize transplant shock.
- Prepare the planting area: Select a sunny spot in your garden with well-draining soil. Remove any weeds or debris and enrich the soil with organic matter, such as compost or aged manure, to improve fertility and drainage.
- Harden off the seedlings: Gradually acclimate your tomato seedlings to outdoor conditions in a process known as hardening off. Start by placing them outdoors in a sheltered location for a few hours each day, gradually increasing the exposure time over a period of 7-10 days. This helps the seedlings adjust to the differences in temperature, sunlight, and wind.
- Transplanting: Dig a hole in the prepared planting area that is slightly deeper than the root ball of the seedling. Gently remove the seedling from its container, being careful not to disturb the roots too much. Place the seedling in the hole and backfill with soil, firming it gently around the base of the plant. Space each seedling according to the recommended distance for the specific tomato variety.
- Watering: After transplanting, thoroughly water the seedlings to help settle the soil around their roots. This promotes good root-to-soil contact and reduces transplant shock. Water the plants at ground level to avoid wetting the leaves. Provide a deep watering to encourage the seedlings to establish their roots in the new location.
- Stake or support the plants: Tomato plants require support as they grow, especially indeterminate varieties that continue to grow throughout the season. Install stakes or cages near each tomato plant at the time of transplanting to provide support and prevent sprawling. This helps keep the plants upright, encourages proper airflow, and makes it easier to care for and harvest the fruit.
- Mulching: Apply a layer of organic mulch, such as straw or wood chips, around the base of the tomato plants. Mulching helps conserve moisture, suppress weed growth, and maintain more consistent soil temperatures. It also protects the plant’s roots and reduces the risk of soil splashing onto the leaves, which can spread diseases.
- Ongoing care: Once your tomato seedlings are transplanted outdoors, continue to provide them with proper care. Water the plants regularly, ensuring they receive about 1-1.5 inches of water per week. Monitor for pests and diseases, and take appropriate measures, such as applying organic insecticides or using companion planting techniques, to protect your plants.
- Fertilization: As your tomato plants grow, provide them with regular feeding to encourage healthy growth and fruit production. Use a balanced organic fertilizer or a tomato-specific fertilizer following the package instructions. Apply the fertilizer according to the recommended frequency, usually every 2-3 weeks.
By following these steps and providing ongoing care, you can successfully transplant your tomato seedlings outdoors and set them up for a productive growing season. Enjoy the process as you watch your plants thrive and eventually harvest the delicious fruits of your labor.
Conclusion
Starting tomato seeds indoors can be a rewarding and enjoyable experience for gardeners of all levels. By carefully considering the factors involved, such as seed quality, timing, and proper care, you can successfully grow healthy tomato seedlings that will flourish when transplanted outdoors.
The benefits of starting tomato seeds indoors are numerous. It allows you to extend the growing season, have greater control over the cultivation process, and enjoy a wider variety of tomato options. Additionally, starting seeds indoors is cost-effective, provides protection against pests and diseases, and increases your chances of success by ensuring robust and well-established seedlings.
When embarking on the journey of starting tomato seeds indoors, remember to choose high-quality seeds, provide the right environmental conditions, and closely monitor the watering, lighting, and temperature requirements of your seedlings. Carefully transplant them outdoors, ensuring proper spacing and support for their growth. Ongoing care, including regular watering, fertilization, and pest management, is crucial for the success of your tomato plants.
As you nurture your tomato plants from seedlings to maturity, the reward of harvesting your own homegrown tomatoes will be incredibly satisfying. The taste and freshness of these tomatoes will far surpass anything you can find in stores, enhancing your culinary creations and bringing you closer to nature.
So whether you’re a seasoned gardener or a beginner with a green thumb, starting tomato seeds indoors is a wonderful way to take control of your garden and grow delicious, juicy tomatoes. Embrace the process, learn from each growing season, and watch your garden flourish with vibrant tomato plants that yield a plentiful harvest.
Frequently Asked Questions about When Do I Start Tomato Seeds Indoors
Was this page helpful?
At Storables.com, we guarantee accurate and reliable information. Our content, validated by Expert Board Contributors, is crafted following stringent Editorial Policies. We're committed to providing you with well-researched, expert-backed insights for all your informational needs.

0 thoughts on “When Do I Start Tomato Seeds Indoors”