Home>Garden Essentials>How To Plant Tomatoes From Seed

Garden Essentials
How To Plant Tomatoes From Seed
Modified: October 20, 2024
Learn how to plant tomatoes from seed in your garden and enjoy a bountiful harvest. Follow our step-by-step guide for successful tomato cultivation.
(Many of the links in this article redirect to a specific reviewed product. Your purchase of these products through affiliate links helps to generate commission for Storables.com, at no extra cost. Learn more)
Introduction
Welcome to the exciting world of gardening! If you’re a gardening enthusiast or a beginner looking to flex your green thumb, planting tomatoes from seed is a rewarding and fulfilling experience. Not only does it offer a wide range of tomato varieties to choose from, but it also gives you the satisfaction of nurturing the plants from the very beginning.
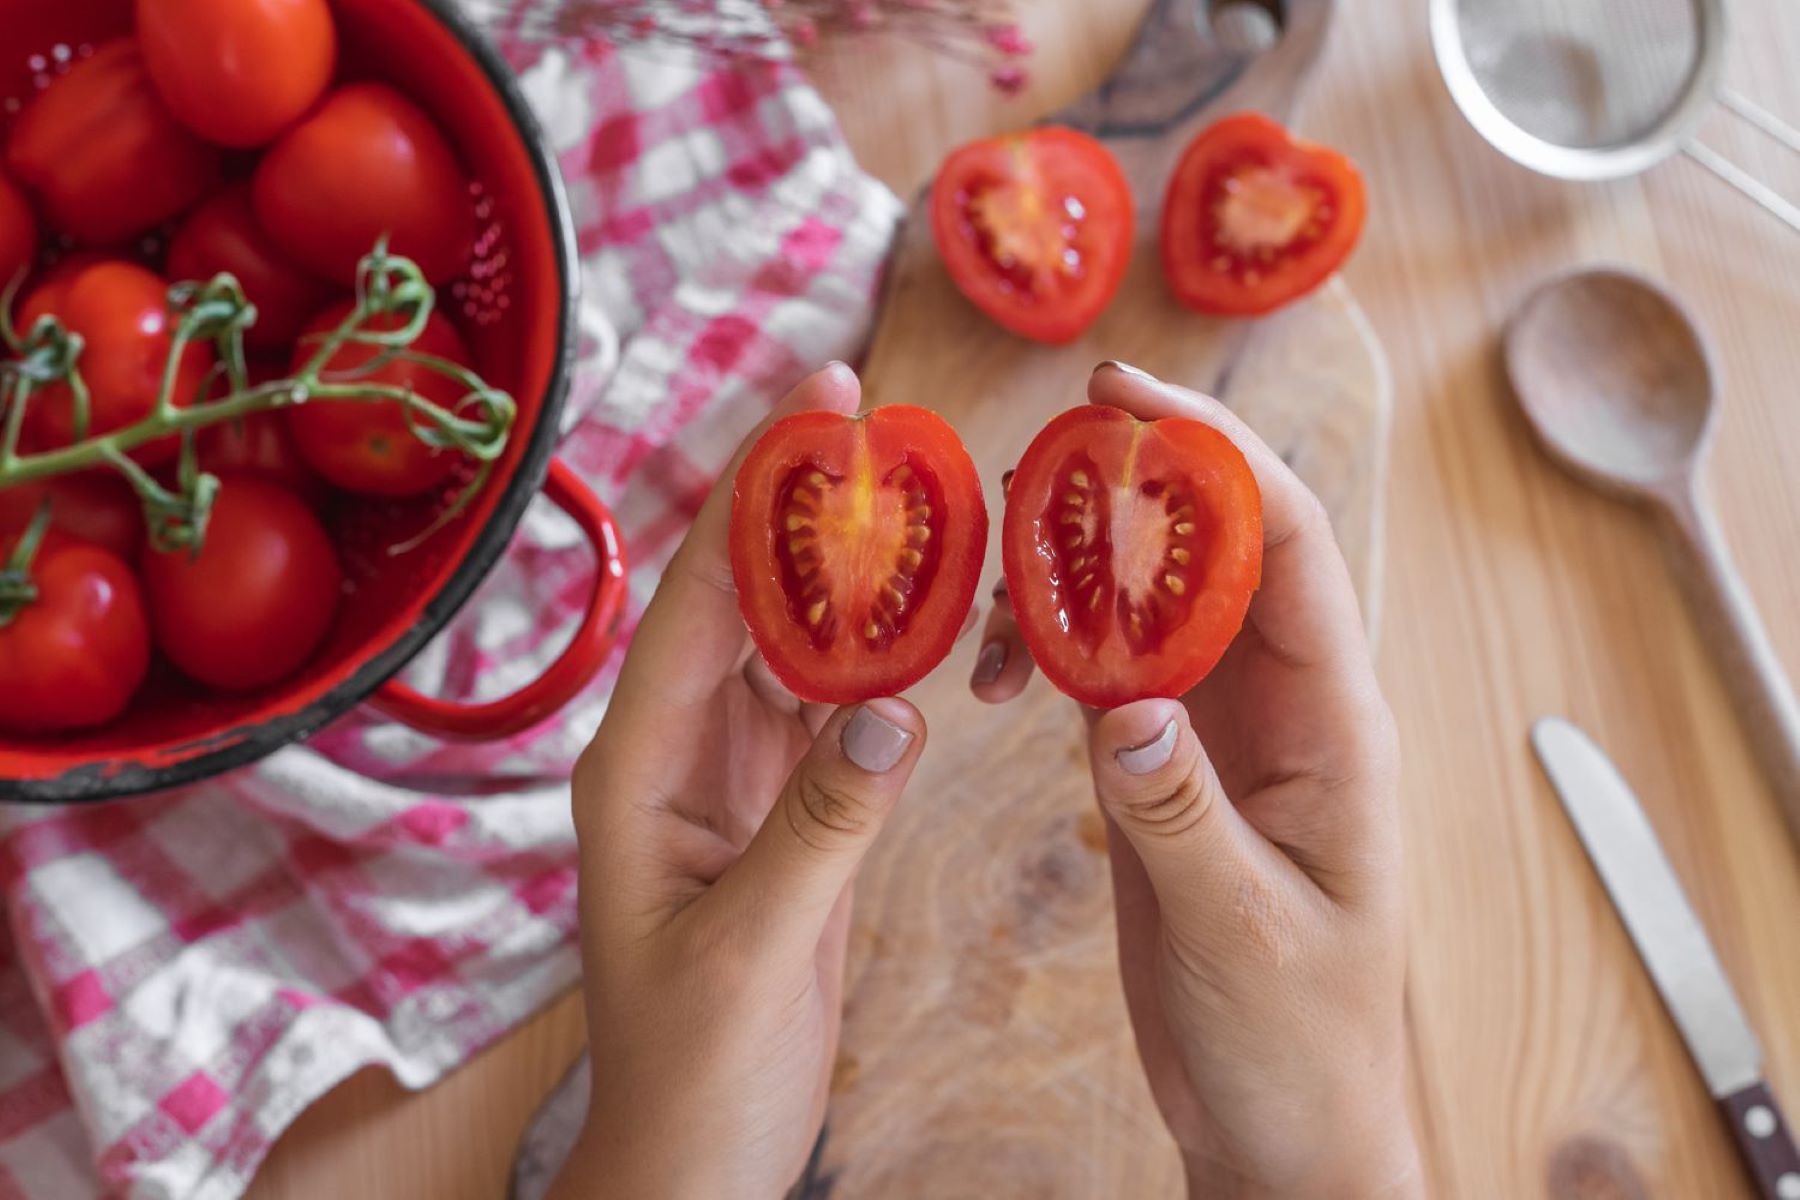
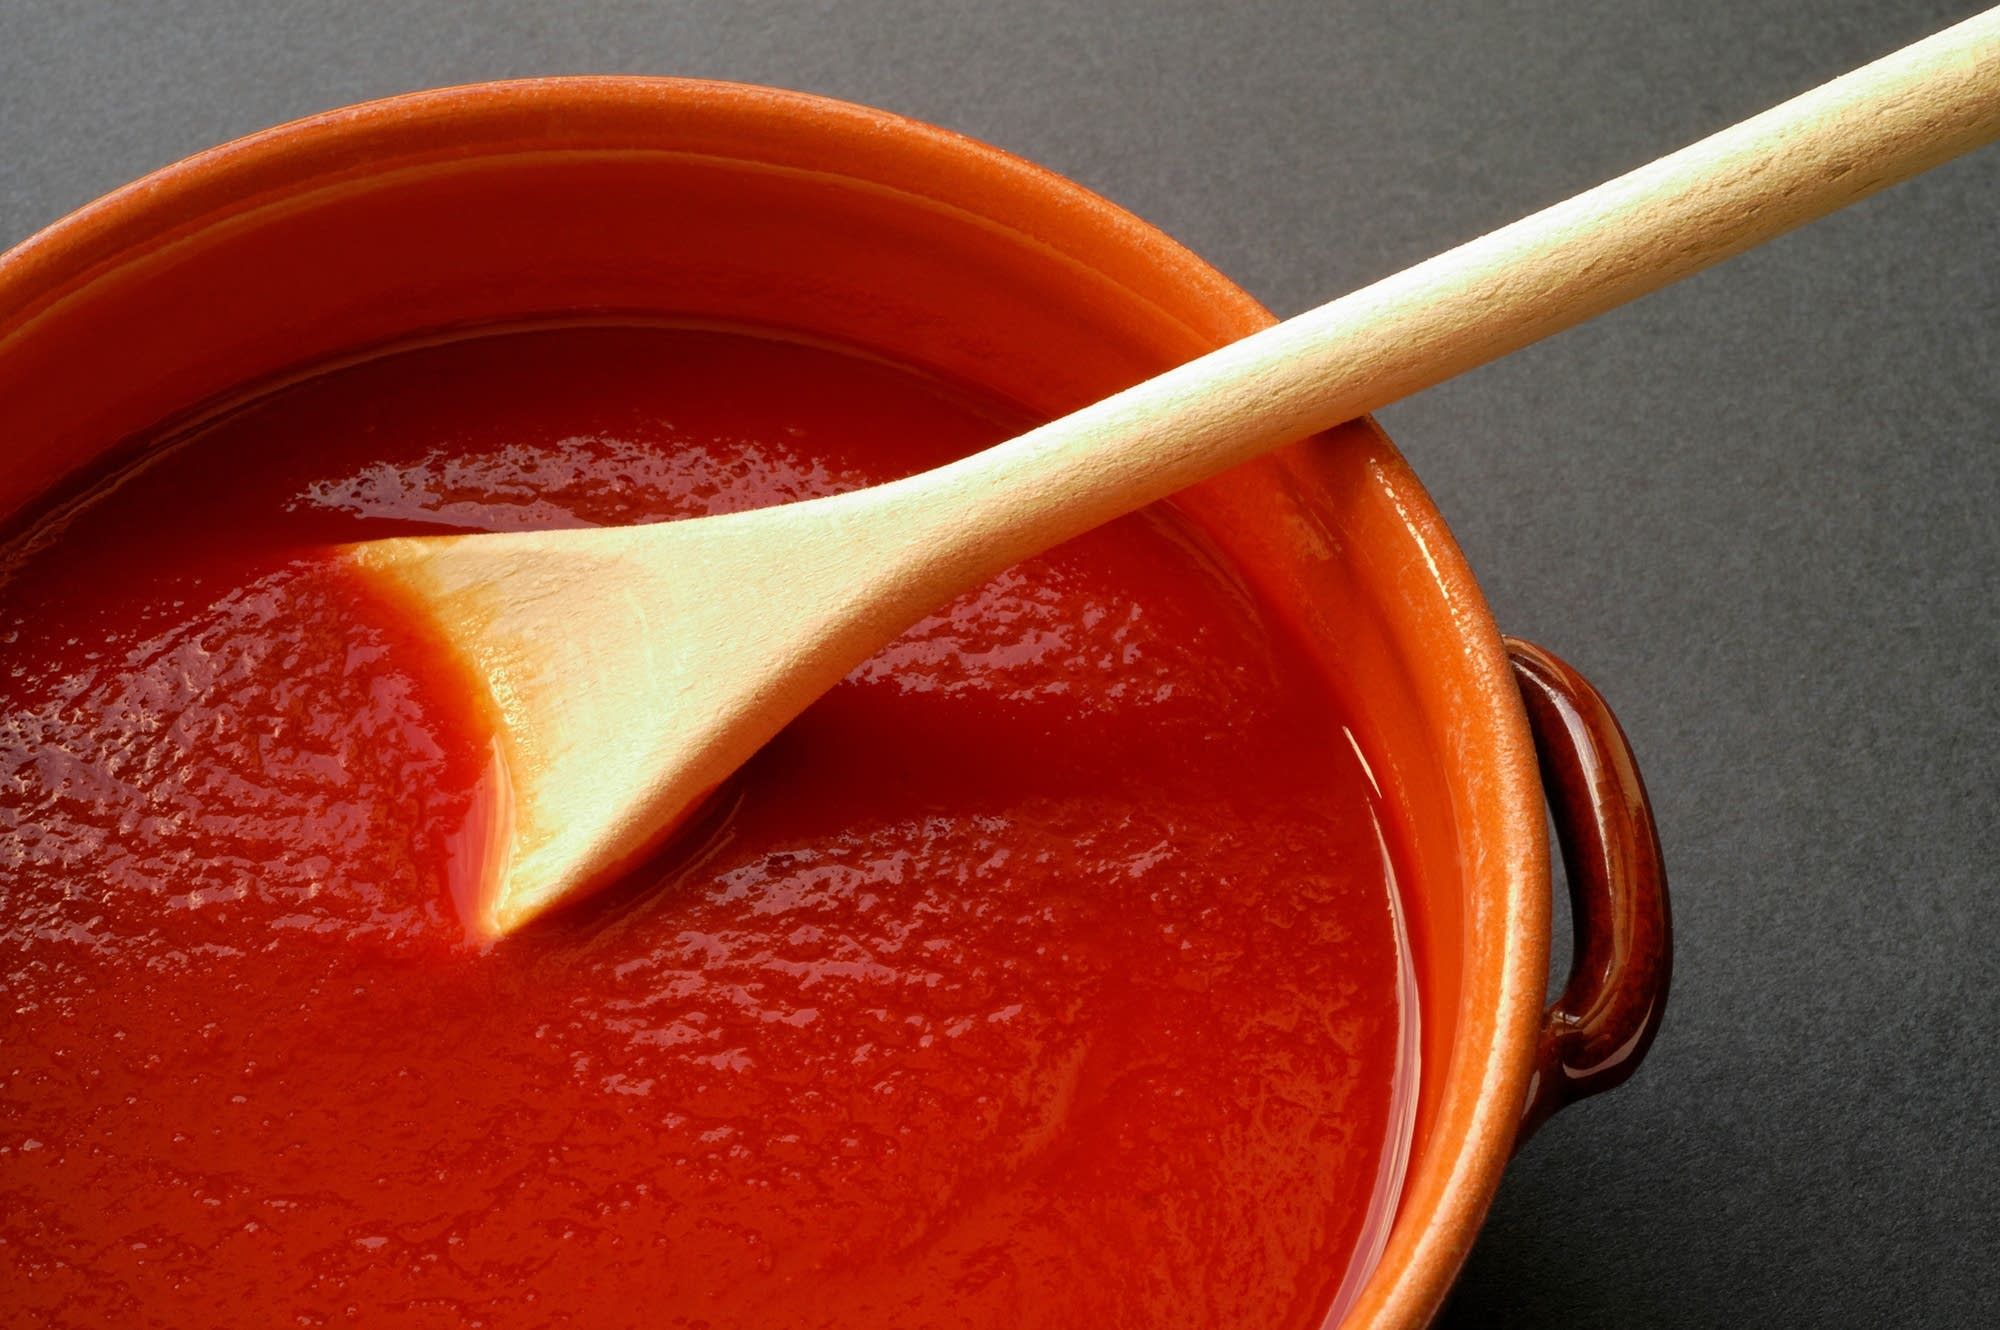
Tomatoes are one of the most popular vegetables (or fruit, scientifically speaking) to grow in home gardens. They are versatile, delicious, and packed with vitamins and antioxidants. Whether you want to enjoy juicy slices in salads, make flavorful sauces, or simply snack on cherry tomatoes, growing your own tomatoes from seed allows you to have the freshest and most flavorful produce right at your fingertips.
In this article, we will guide you through the process of planting tomatoes from seed, from choosing the right seeds to caring for the plants until harvest time. So, let’s get started and dive into the wonderful world of tomato cultivation!
Key Takeaways:
- Choosing the right tomato seeds is crucial for a successful harvest. Consider factors like variety, growing season, disease resistance, and whether the seeds are open-pollinated or hybrid to ensure a bountiful and flavorful tomato crop.
- Providing proper care for your tomato plants, including watering, support, fertilization, and disease control, is essential for healthy growth and a plentiful harvest of juicy, flavorful tomatoes.
Read more: How To Plant Tomatoes From Seeds
Choosing the Right Tomato Seeds
When it comes to selecting tomato seeds, the options can be overwhelming. There are hundreds of tomato varieties available, each with its own unique characteristics and flavor profiles. To help you narrow down your choices, here are a few factors to consider:
- Variety: Determine what type of tomatoes you want to grow. Do you prefer large beefsteak tomatoes, cherry tomatoes, or something in between? Consider the size, shape, color, and taste that you desire.
- Growing Season: Pay attention to the days to maturity listed on the seed packets. This indicates the average number of days it takes for the plant to produce ripe fruit. Choose varieties that have a growing season suitable for your region to ensure successful growth.
- Disease Resistance: Some tomato varieties are bred to be resistant to common diseases like blight, wilt, or viruses. Check the seed packet labels or descriptions to see if the variety you’re interested in has any disease resistance.
- Open-Pollinated or Hybrid: Open-pollinated varieties are true-to-type, meaning the seeds you save from these plants will produce the same characteristics. Hybrid varieties, on the other hand, are created through controlled cross-pollination and often exhibit improved traits like disease resistance or higher yields.
One popular option is to choose a mix of different tomato varieties to add variety to your harvest. This will bring a range of flavors, colors, and sizes to your garden. Experimenting with different varieties can be a fun and educational experience.
Once you have made your selection, it’s time to move on to the next step: preparing the seed starting mix.
Preparing the Seed Starting Mix
The seed starting mix is a crucial component in successfully germinating tomato seeds. It provides the right balance of nutrients, moisture retention, and drainage for the seeds to develop into healthy seedlings. Here’s how to prepare the seed starting mix:
- Choose a container: Select a seed tray, peat pots, or small individual pots to start your tomato seeds. Make sure the container has drainage holes to prevent waterlogging.
- Prepare the mix: You can purchase a premixed seed starting mix from a garden center or make your own. A common homemade mix includes a combination of peat moss, vermiculite, and perlite. Mix them in equal parts to create a light and well-draining medium.
- Moisten the mix: Moisten the seed starting mix before filling it into the containers. Add water gradually while mixing until the mixture feels moist but not soggy. Excessive moisture can lead to damping off, a fungal disease that affects seedlings.
It’s important to sterilize the containers and the seed starting mix before sowing the seeds. This helps eliminate any harmful pathogens and increases the chances of successful seed germination.
Once your seed starting mix is ready, it’s time to sow the tomato seeds.
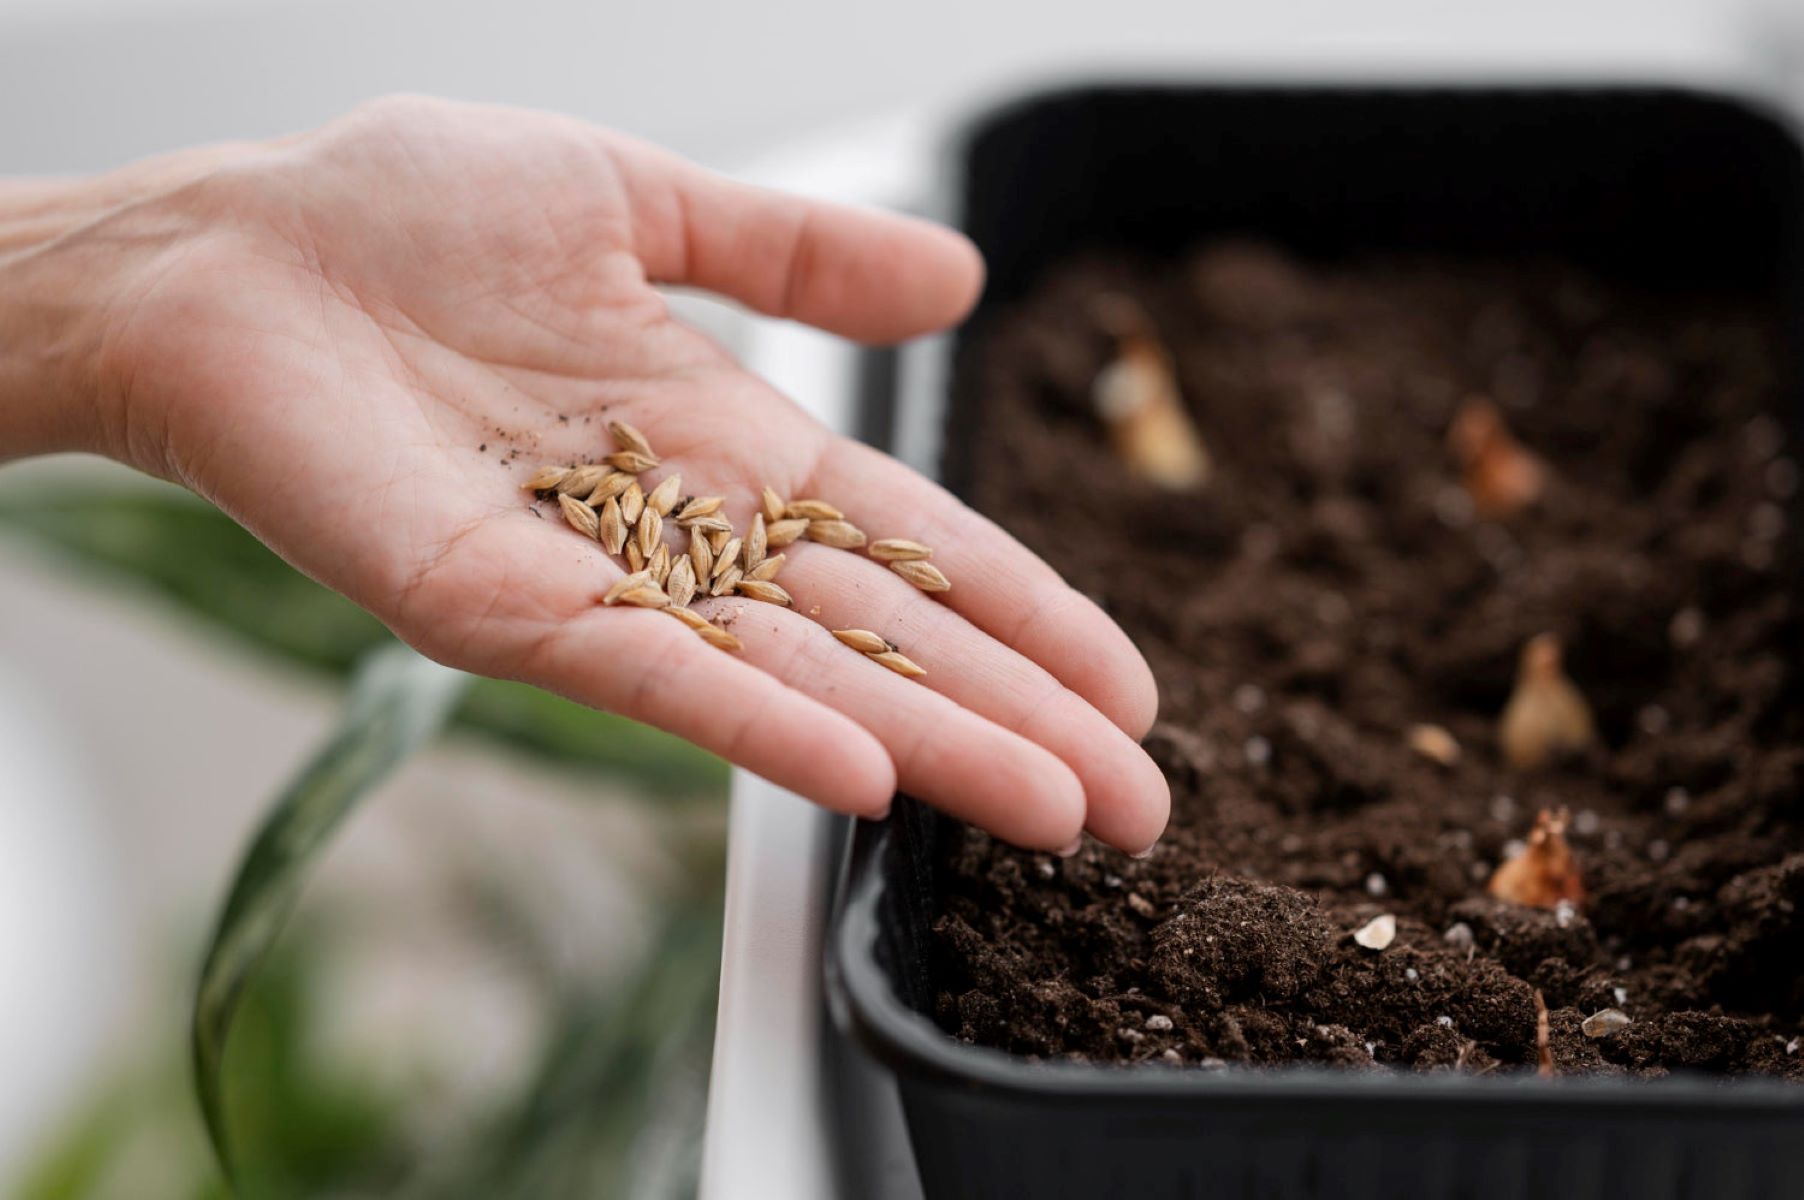
Sowing Tomato Seeds
Sowing tomato seeds is an exciting step in the process of growing your own tomatoes. Here’s a step-by-step guide to help you sow your tomato seeds:
- Fill the containers: Fill the seed trays or pots with the prepared seed starting mix. Make sure to leave a small gap at the top to allow for watering.
- Sow the seeds: Place two or three tomato seeds on top of the seed starting mix in each container. Press them gently into the soil, about 1/4 to 1/2 inch deep. If you’re using individual pots, place one seed per pot.
- Cover the seeds: Lightly sprinkle a thin layer of the seed starting mix over the seeds to cover them. Do not bury them too deep, as this can hinder germination.
- Moisten the soil: Use a spray bottle or a gentle watering can to moisten the soil. Avoid soaking the soil as it may dislodge the seeds or lead to overwatering.
- Provide warmth and moisture: Cover the containers with a plastic dome or place them in a plastic bag to create a humid environment. Keep the containers in a warm location, ideally around 70-80°F (21-27°C).
- Monitor and water: Check the moisture levels regularly and water as needed to keep the soil lightly moist. Be careful not to overwater, as it can lead to damping off.
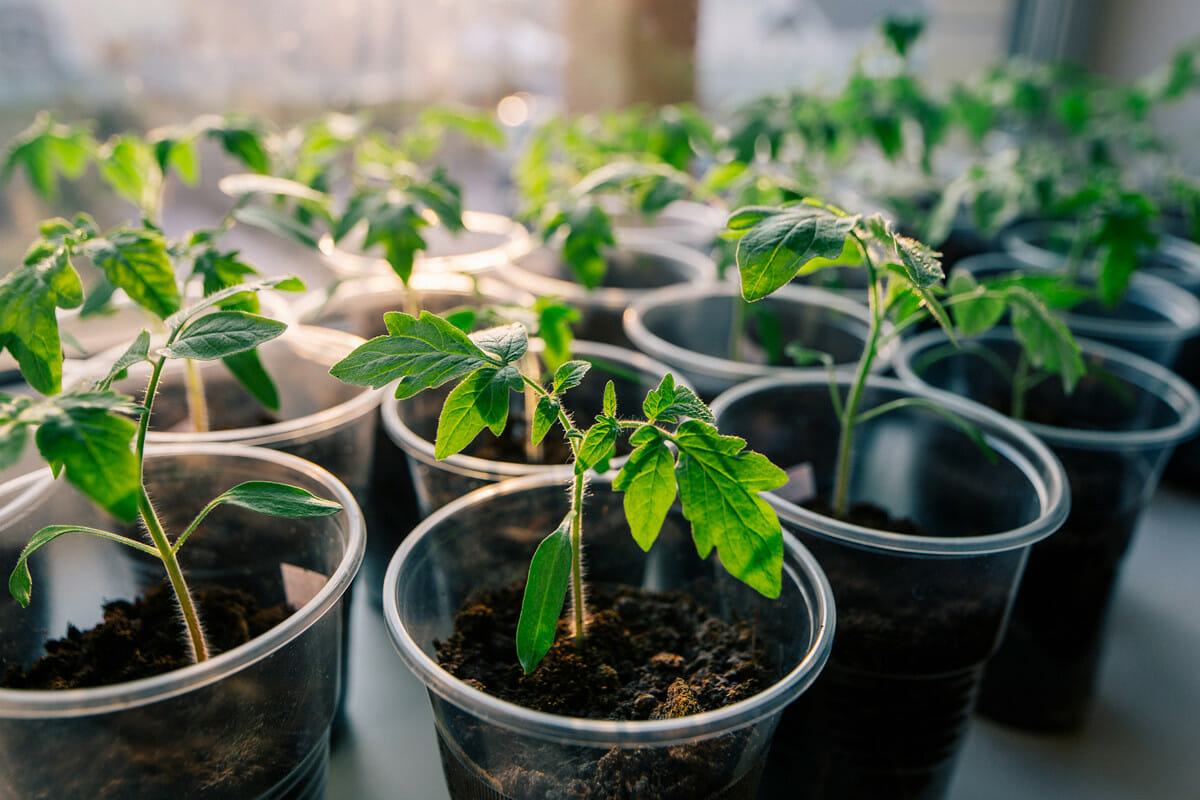
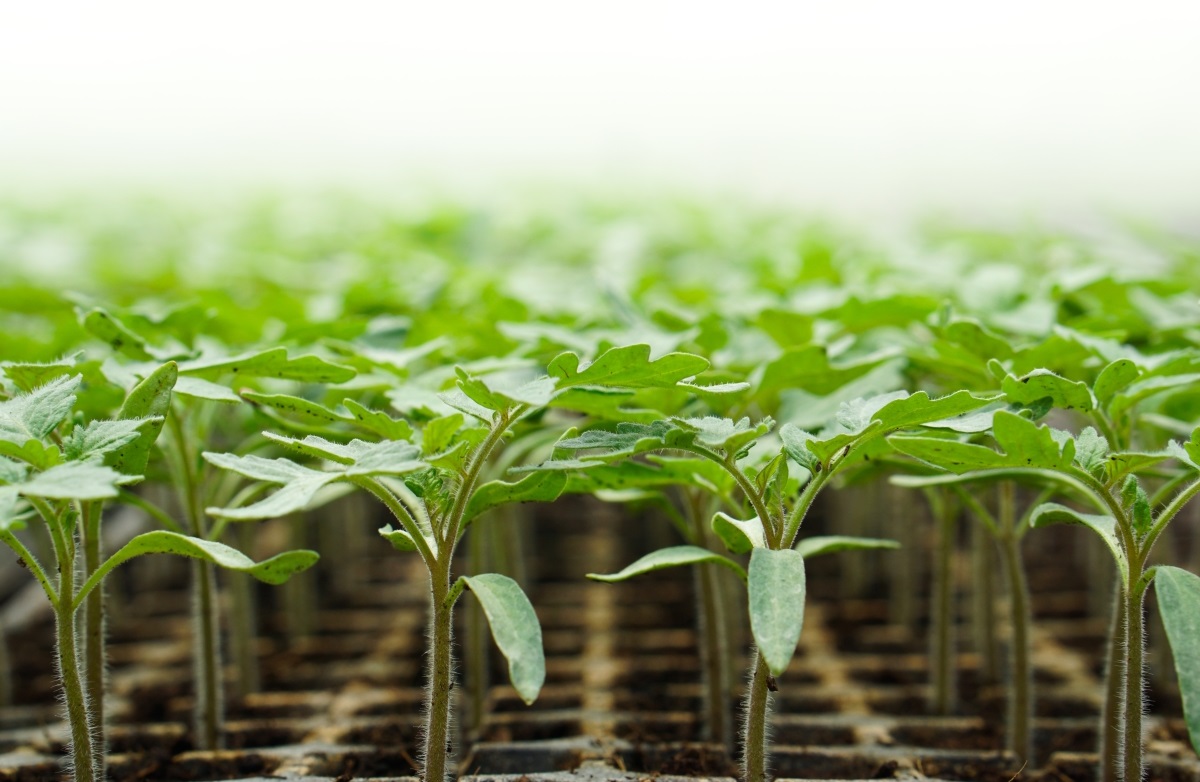
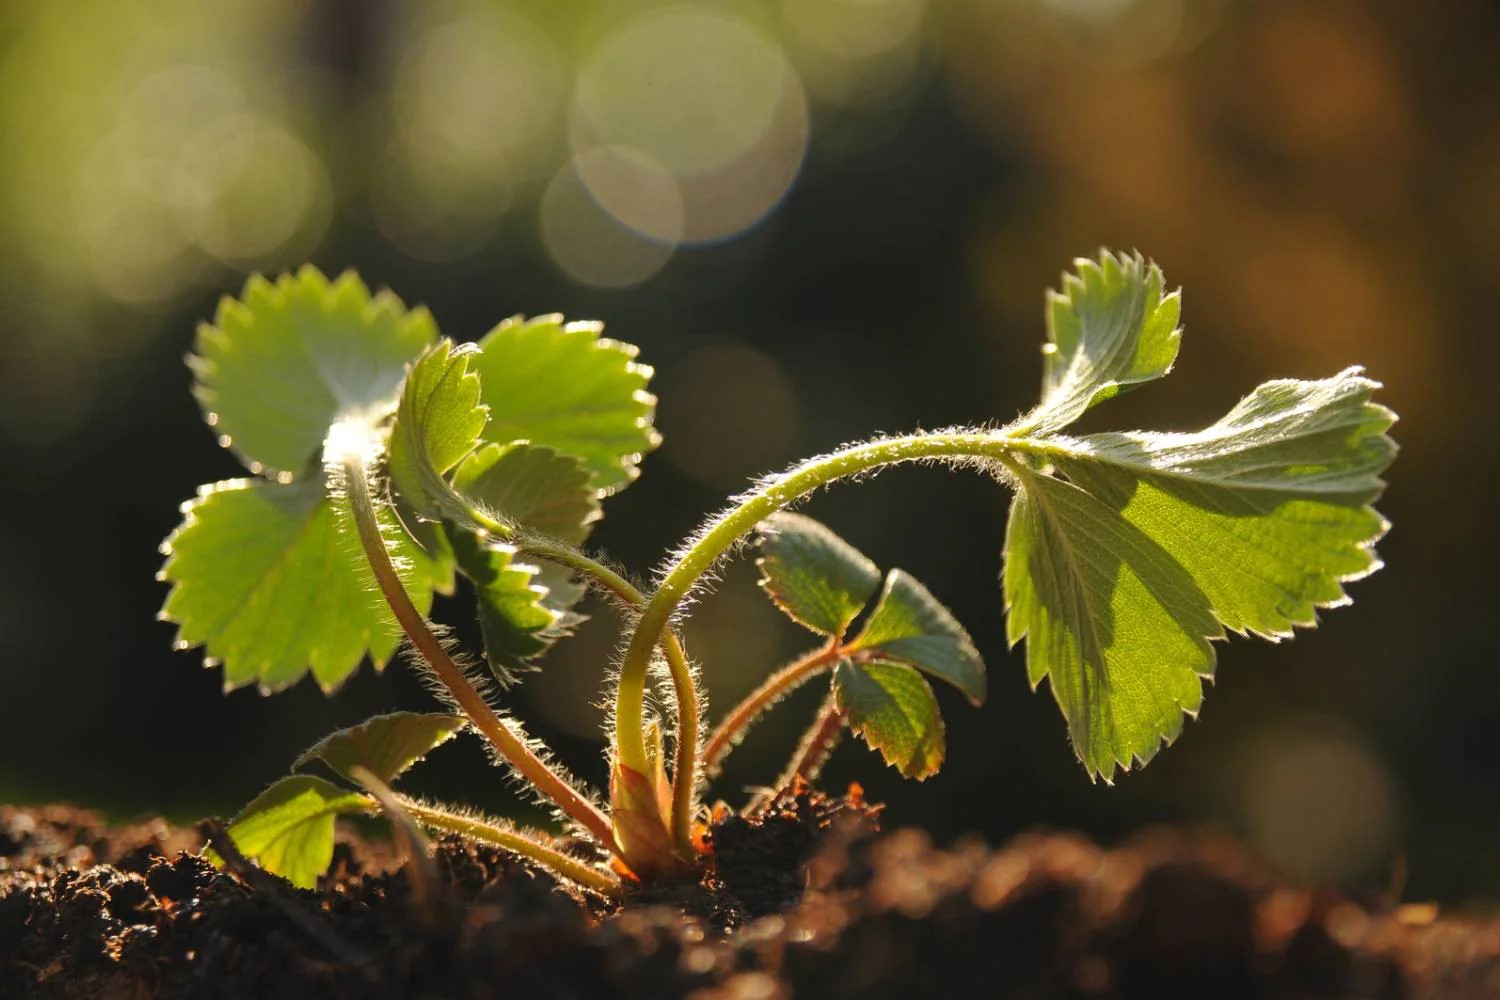
Within a week or two, you should start to see tiny sprouts emerging from the soil. Once the seedlings have grown a couple of inches tall and have developed their first true leaves, it’s time to transplant them to larger containers.
Next, let’s explore the proper growing conditions for tomato seedlings.
Start tomato seeds indoors 6-8 weeks before the last frost. Use a seed starting mix, keep the soil moist, and provide plenty of light. Transplant seedlings into larger pots once they have 2 sets of true leaves.
Providing Proper Growing Conditions
Creating the right growing conditions for your tomato seedlings is essential for their healthy development. Here are some key factors to consider when providing the ideal environment:
- Light: Tomato seedlings require bright, indirect sunlight to grow strong and sturdy. Place them in a location where they can receive at least 8 hours of sunlight a day. If natural light is not sufficient, you can use fluorescent grow lights placed a few inches above the seedlings for 12-16 hours a day.
- Temperature: Tomatoes thrive in warm temperatures. Maintain a temperature range of 65-85°F (18-29°C) during the day and slightly cooler temperatures at night. Avoid extreme temperature fluctuations, as it can stress the seedlings.
- Air circulation: Good air circulation helps prevent diseases and strengthens the seedlings. Use a small fan set on the lowest speed or gently brush your hand over the seedlings a few times a day to simulate a breeze.
- Watering: Keep the soil evenly moist, but not waterlogged. Water the seedlings at the base rather than spraying them from above to avoid fungal diseases. Aim to water when the top inch of soil feels dry to the touch. Remember, it’s better to slightly underwater than overwater.
- Fertilization: Once the seedlings have developed their first true leaves, you can begin fertilizing them. Use a balanced liquid fertilizer diluted to half strength every two weeks. This will provide the necessary nutrients for healthy growth.
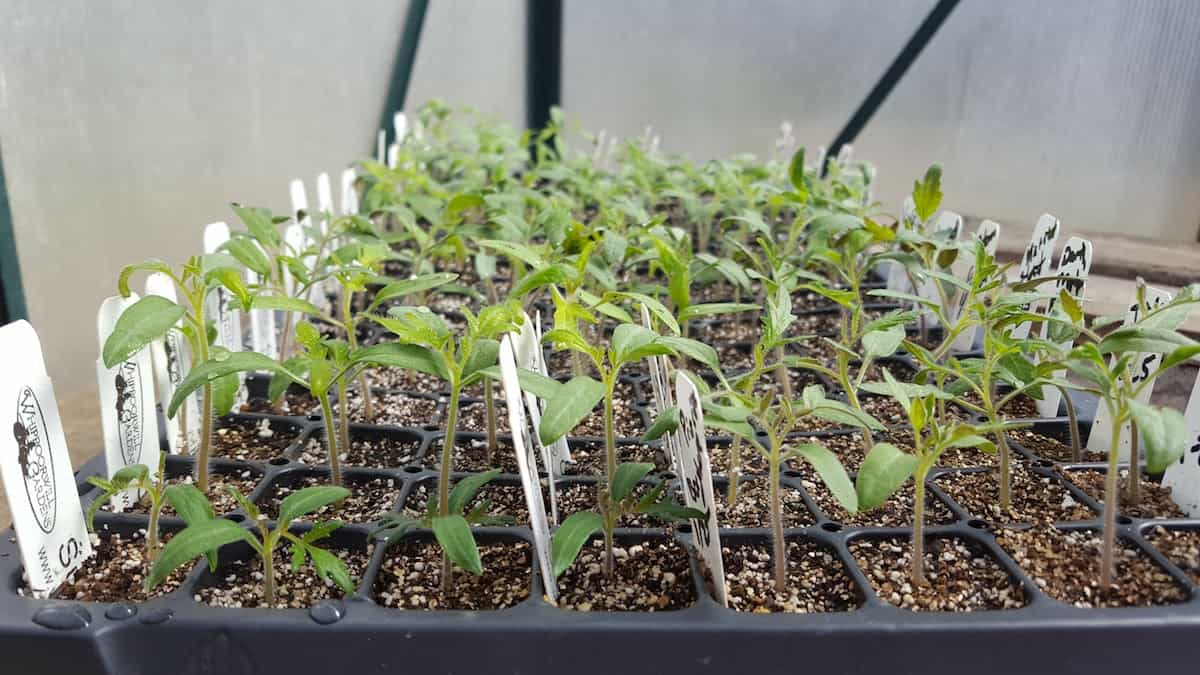
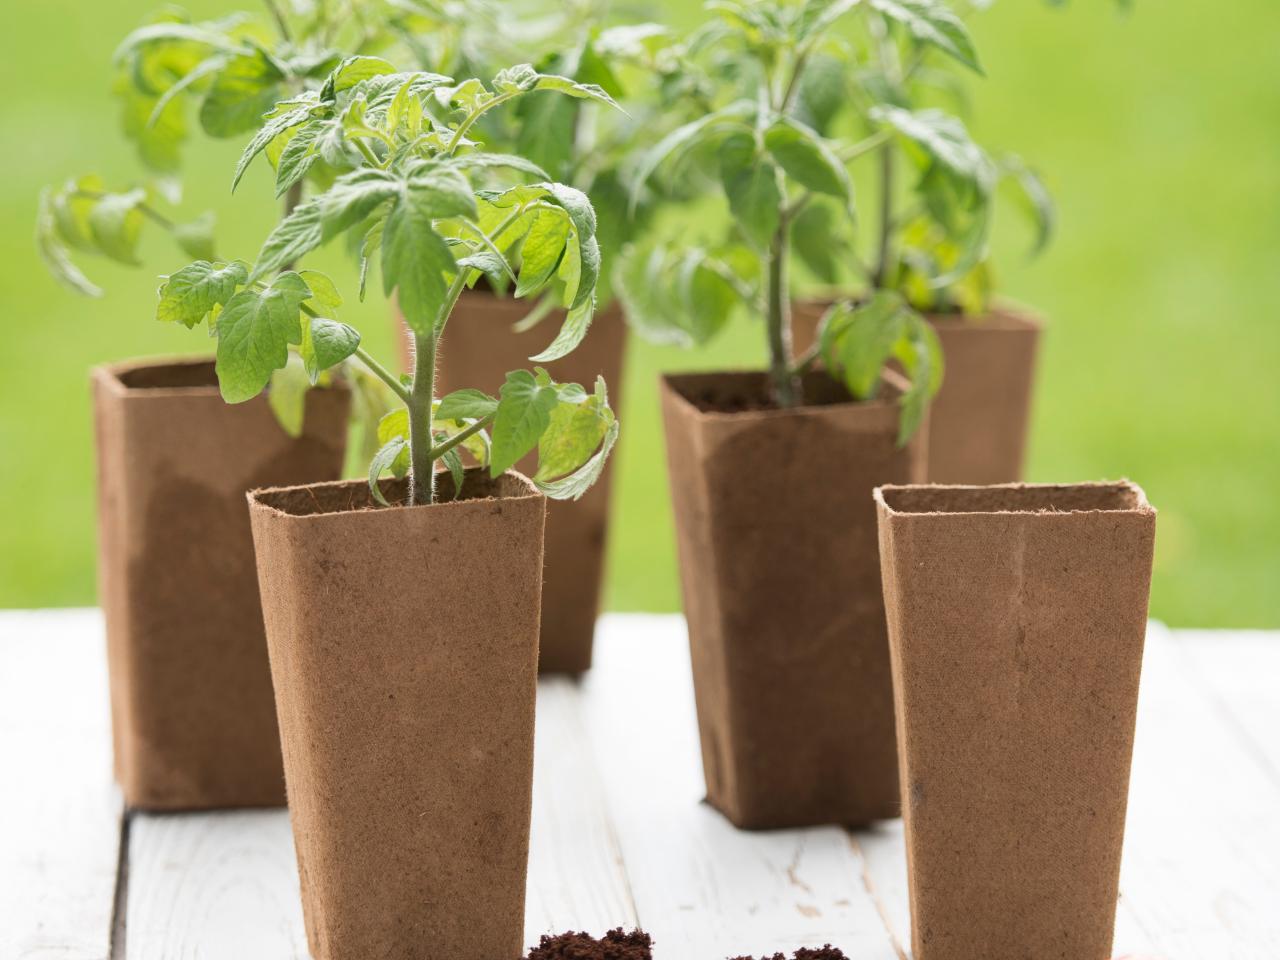
- Transplanting: When the seedlings have grown to about 6-8 inches tall and have several sets of leaves, they are ready to be transplanted into larger containers or the garden. Handle the seedlings gently by the leaves to avoid damage to the delicate stems.
By providing adequate light, maintaining optimal temperatures, ensuring air circulation, proper watering, and timely fertilization, you will create an environment where your tomato seedlings can thrive and prepare for their journey to the garden.
Next, let’s explore the process of transplanting tomato seedlings.
Read more: How To Plant Cherry Tomato Seeds
Transplanting Tomato Seedlings
As your tomato seedlings grow and mature, they will eventually need to be transplanted into larger containers or directly into the garden. Transplanting provides the seedlings with more space to spread their roots and allows them to establish themselves for optimal growth. Here’s how to transplant tomato seedlings:
- Choose the right time: Wait until the last frost date has passed and the soil has warmed up before transplanting your tomato seedlings. This is typically around 2-3 weeks after the seedlings have emerged.
- Prepare the soil: If you are transplanting your seedlings in the garden, prepare the soil by removing any weeds and loosening it with a garden fork or a tiller. Mix in compost or organic matter to enrich the soil and ensure good drainage.
- Dig the holes: Dig holes in the garden or select appropriately sized containers for each seedling. The depth of the hole or container should be such that it allows for the first set of leaves to be just above the soil surface.
- Transplant the seedlings: Gently remove the seedlings from their original containers, being careful not to disturb the root system. Place each seedling in a hole or container and fill around it with soil, gently pressing it down to eliminate air pockets.
- Water thoroughly: After transplanting, give the seedlings a thorough watering to settle the soil and help them adjust. Keep the soil consistently moist in the days following transplanting to support root establishment.
- Provide support: If you are transplanting indeterminate tomato varieties that will grow tall and require support, install stakes or cages to provide support as the plants grow.
It is important to transplant tomato seedlings carefully to minimize transplant shock. Transplant shock is the stress and temporary setback that plants experience when their roots are disturbed during the transplanting process.
Once the seedlings are successfully transplanted, it’s time to focus on caring for your tomato plants to ensure healthy growth and a bountiful harvest. Let’s explore the essential aspects of tomato plant care next.
Caring for Tomato Plants
Caring for your tomato plants is vital for their growth, health, and productivity. By providing the right care, you can ensure strong plants, prevent diseases, and maximize your tomato harvest. Here are some essential aspects to consider when caring for your tomato plants:
- Watering: Tomatoes need consistent moisture to thrive, especially during hot and dry periods. Water deeply and evenly, aiming to keep the soil consistently moist but not waterlogged. Avoid overhead watering, as it can promote the spread of fungal diseases. Water at the base of the plant, and consider using mulch to help retain moisture and prevent weeds.
- Support and Pruning: Indeterminate tomato varieties, which grow tall and produce fruit throughout the season, often require support in the form of stakes or cages. As the plants grow, gently tie the main stems to the supports to prevent toppling. Additionally, remove any suckers that emerge from the leaf axils (the junction between the leaf and stem) to direct the plant’s energy into fruit production.
- Fertilization: Tomatoes are heavy feeders and require regular fertilization for optimal growth and fruit production. Apply a balanced fertilizer or incorporate compost or well-rotted manure into the soil before planting. Additionally, side-dress the plants with fertilizer or compost once the first fruit sets, following the package instructions for application rates.
- Disease and Pest Control: Tomatoes are susceptible to various diseases, such as blight, wilt, and fungal infections. Monitor your plants regularly for any signs of disease or pest infestation, such as yellowing leaves, spots, or chewed foliage. Consider using organic or chemical controls as necessary, and practice good garden hygiene by cleaning up fallen leaves and debris to prevent disease transmission.
- Weeding and Mulching: Keep your tomato garden weed-free by regularly removing any weeds that compete for nutrients and water. Mulching around the plants with organic matter, such as straw or shredded leaves, helps suppress weeds, maintain soil moisture, and regulate soil temperature.
- Pruning and Suckering: To encourage proper airflow and reduce the risk of disease, prune off any lower leaves that touch the ground. Additionally, remove any suckers that emerge in the leaf axils, as they divert energy from fruit production. Focus on maintaining a healthy, open canopy of leaves.
Regularly monitor your tomato plants for any signs of stress, disease, or nutrient deficiencies. Promptly address any issues that arise to maintain plant health and productivity. With proper care, your tomato plants will reward you with a bountiful harvest of juicy, flavorful tomatoes.
Now, let’s move on to the final step in the tomato growing journey: harvesting your tomatoes.
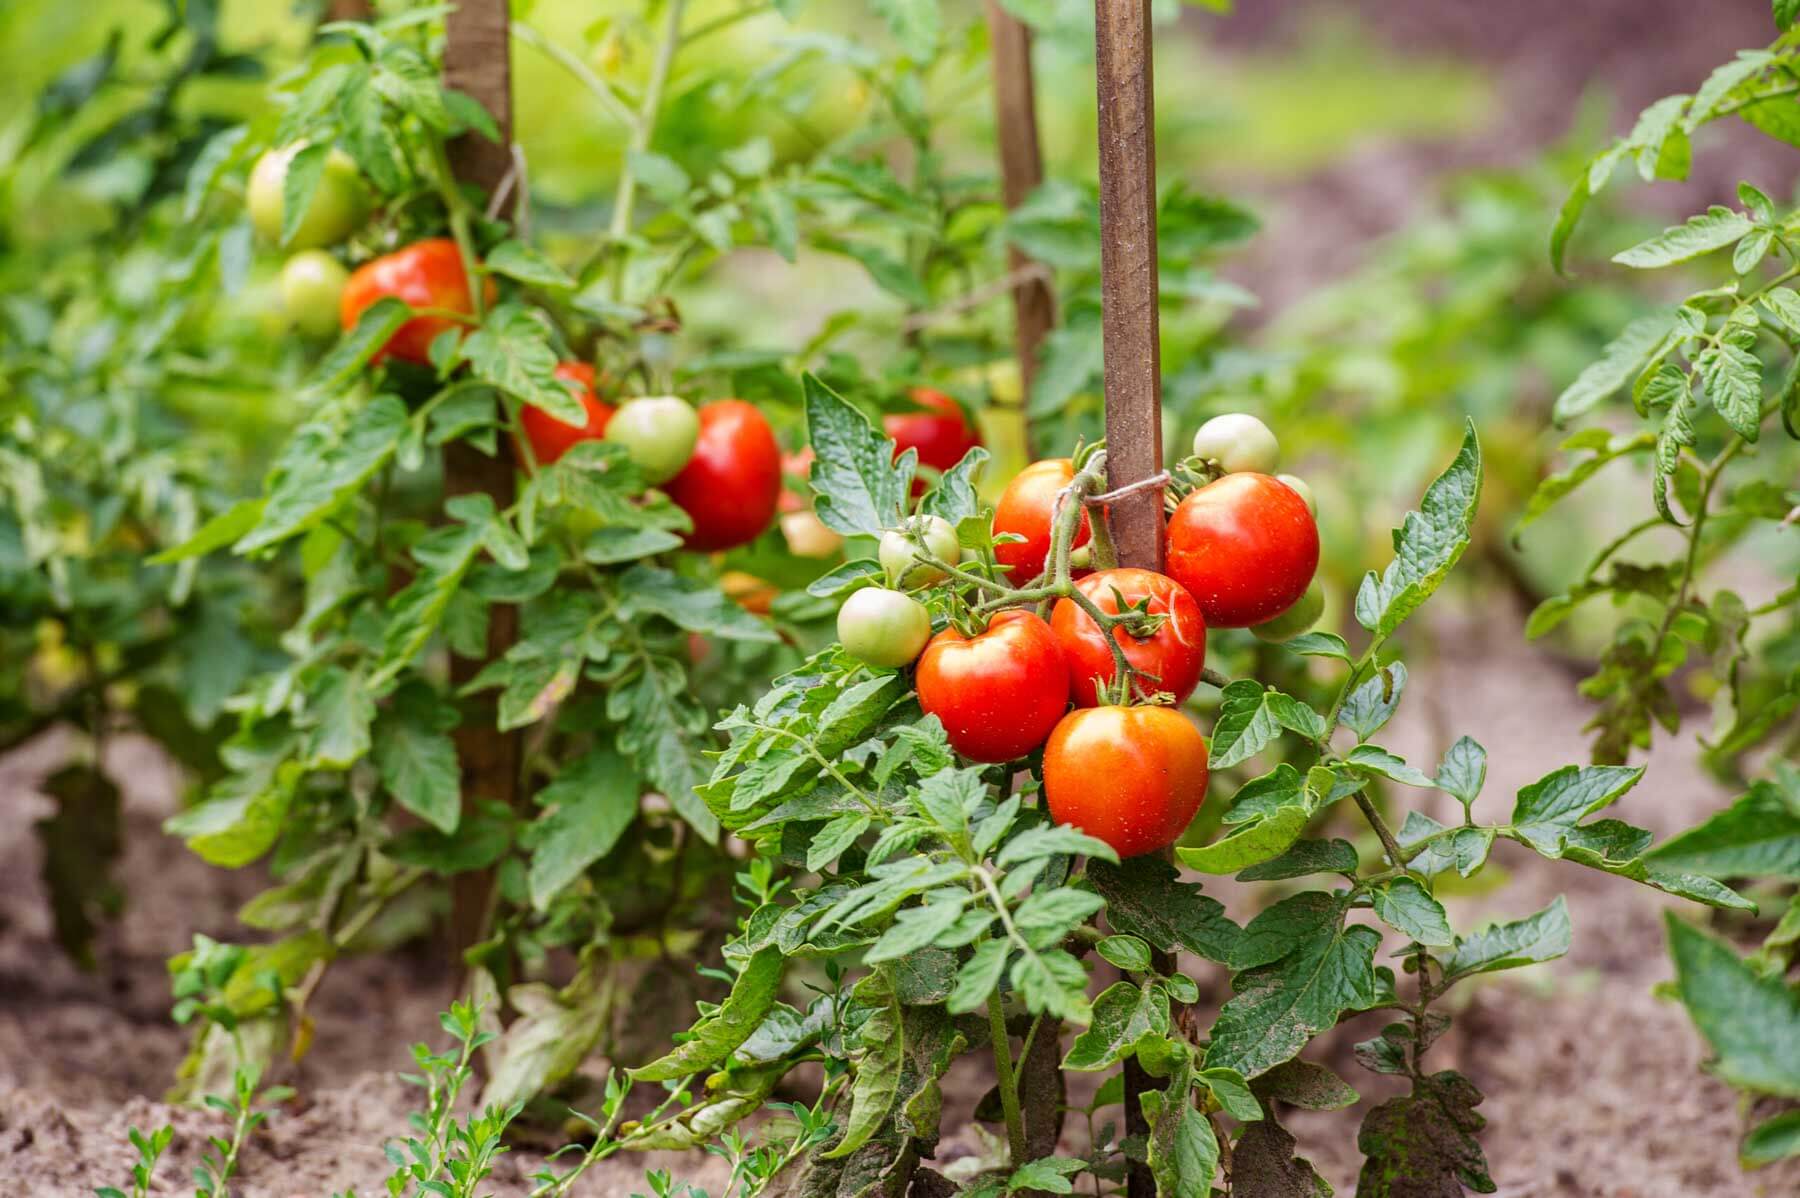
Harvesting Your Tomatoes
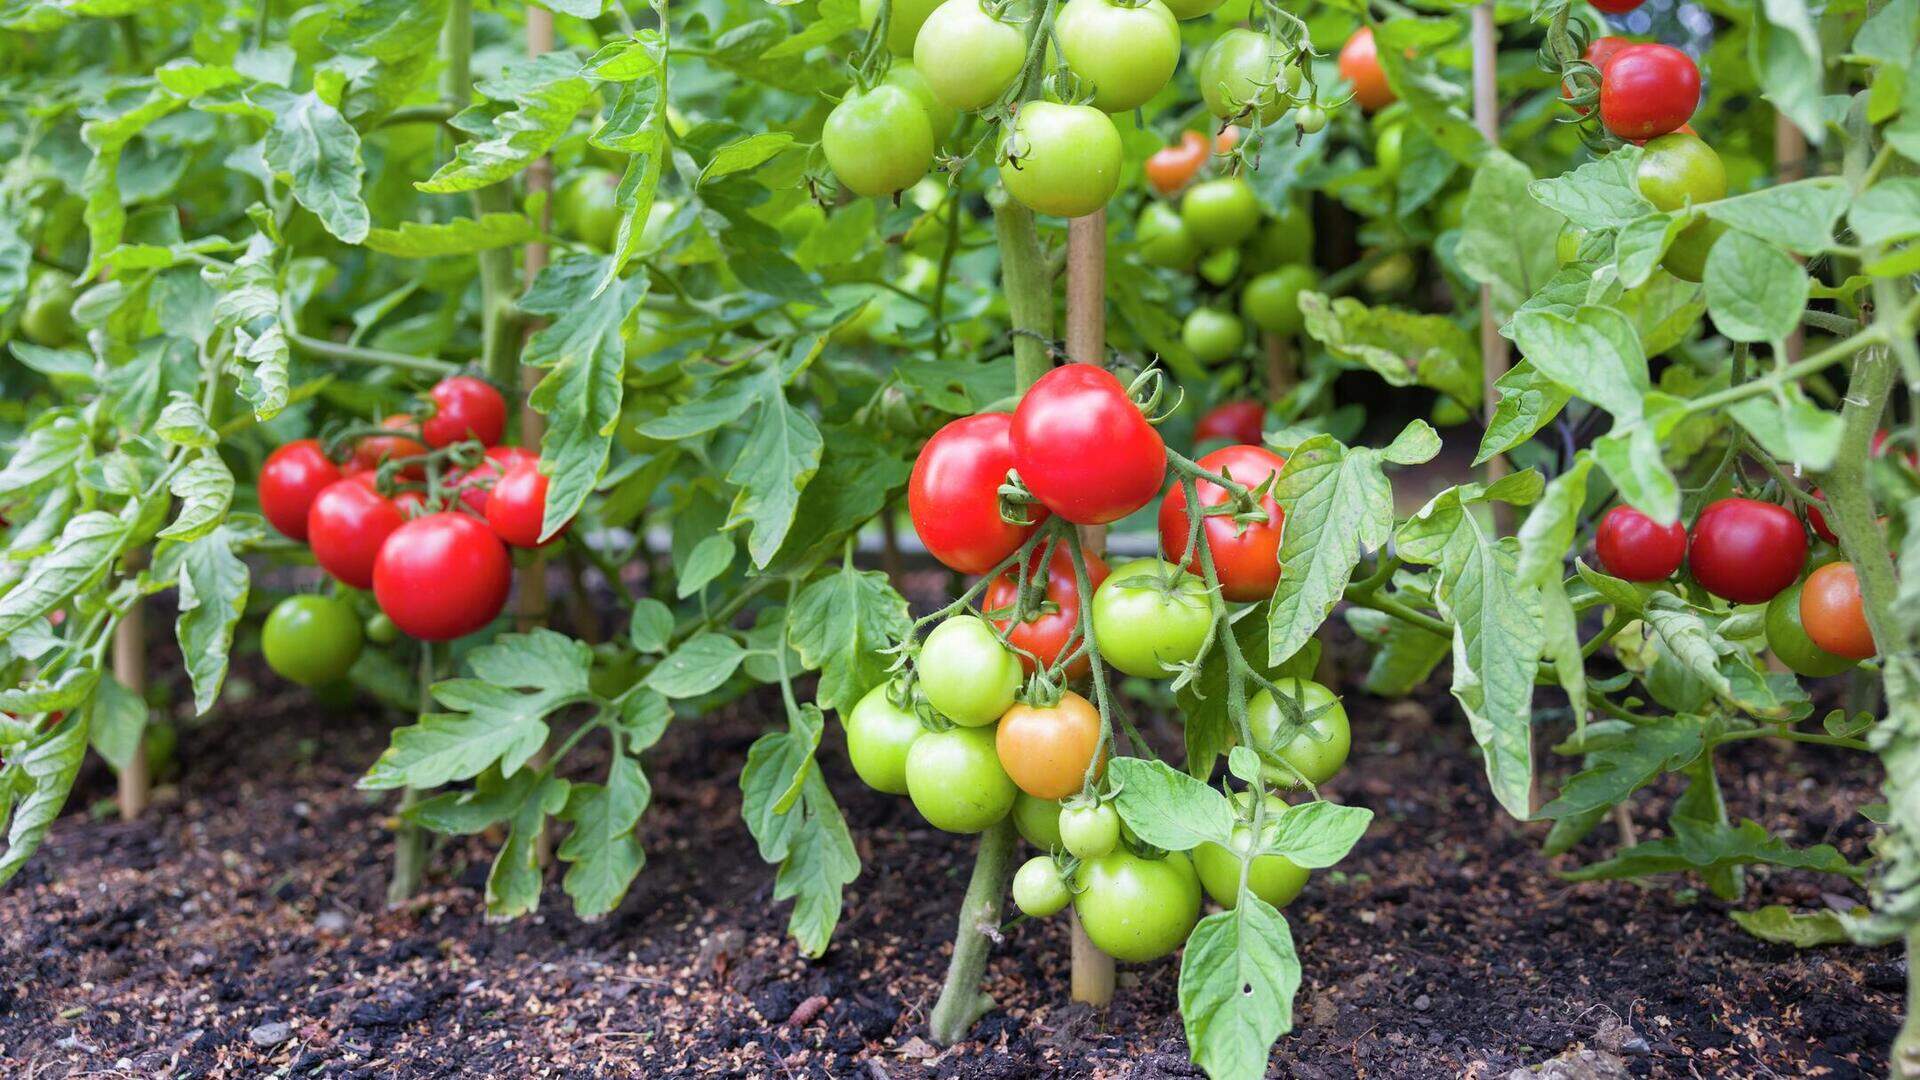
Harvesting ripe, juicy tomatoes from your garden is the pinnacle of a rewarding gardening journey. Here are some tips to ensure that you harvest your tomatoes at the peak of ripeness:
- Observe color and firmness: Most tomato varieties change color when they ripen. Take note of the typical color of the variety you are growing and wait until the tomatoes reach that color. Gently squeeze the tomatoes; they should feel firm but not hard. Avoid picking tomatoes that are still green and firm, as they will need more time to ripen.
- Timing matters: It’s best to harvest tomatoes in the morning when the temperatures are cooler. This helps preserve the quality and flavor of the fruit. Avoid harvesting during the hottest part of the day, as the heat can cause the tomatoes to become soft and lose their firmness.
- Use snips or shears: To avoid damaging the plant, use garden snips or shears to cut the tomatoes from the vine. Leave a short stem attached to the tomato, about 1 inch long. This helps prevent moisture loss and extends the shelf life of the fruit.
- Handle with care: Tomatoes are delicate and can bruise easily. Handle them gently to avoid any damage while harvesting. Place them into a shallow container or basket to prevent stacking and crushing.
- Ripening off the vine: If you have harvested tomatoes that are slightly under-ripe, you can ripen them off the vine. Place them in a single layer in a warm, well-ventilated area, away from direct sunlight. Check them regularly and use any ripe tomatoes promptly, as overripe tomatoes can spoil quickly.
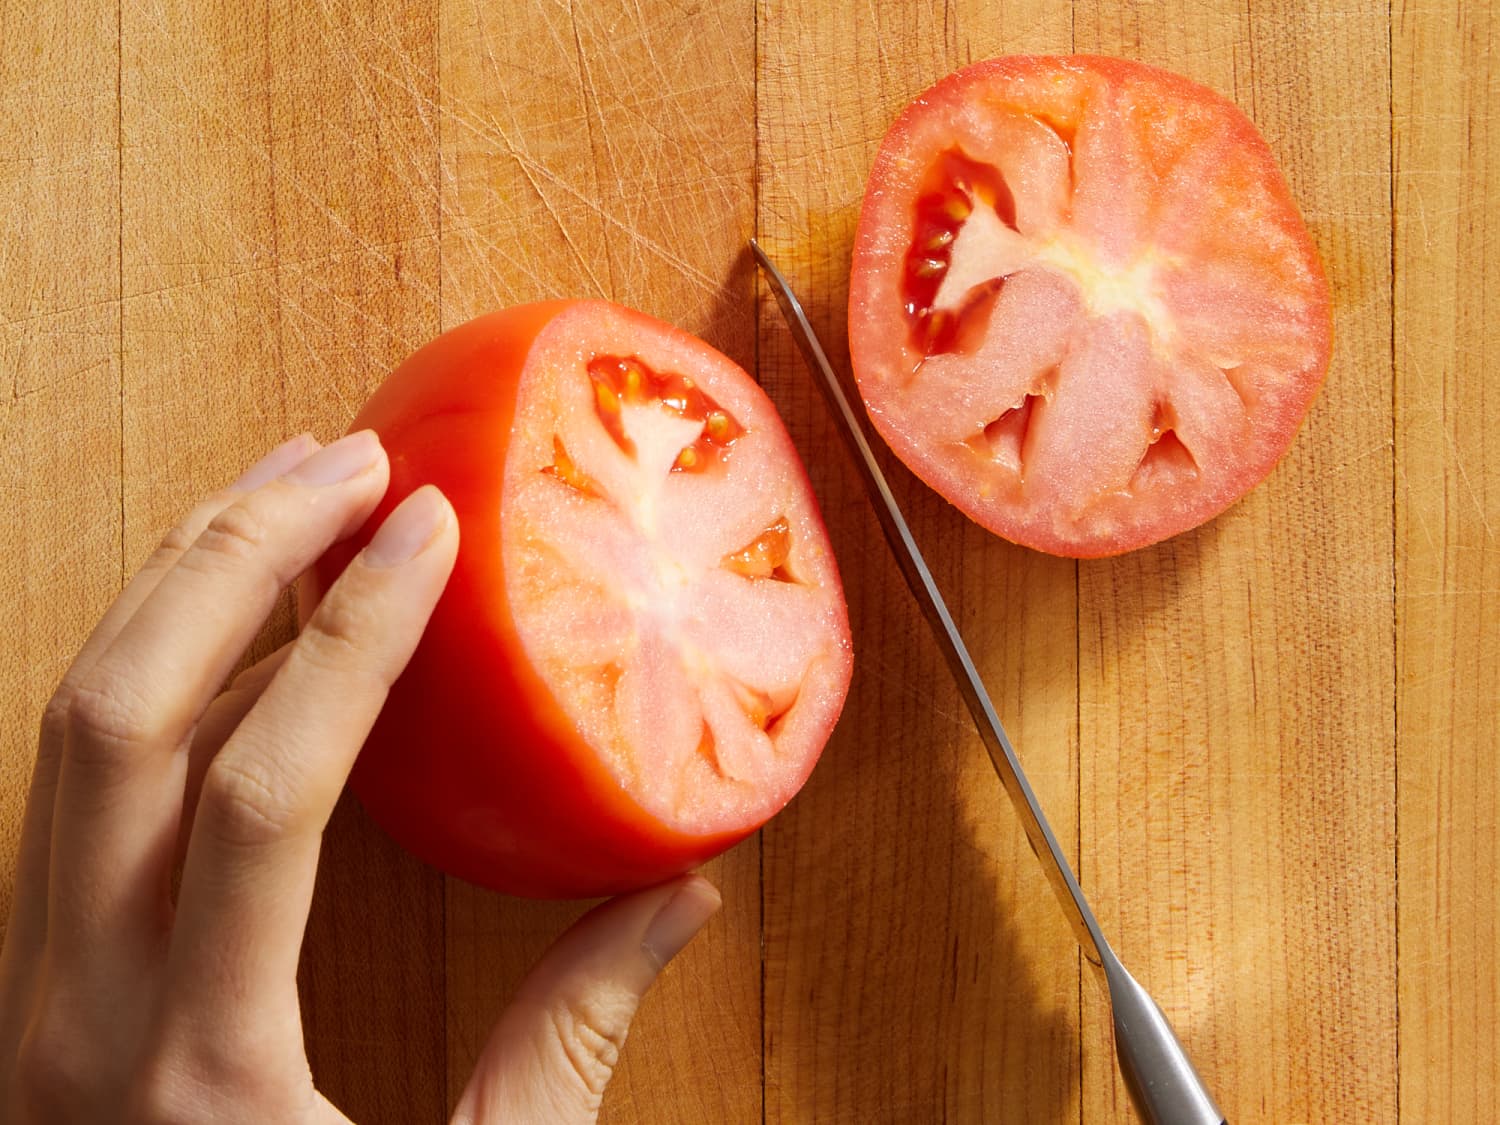
Enjoy the fruits of your labor by incorporating fresh tomatoes into your favorite recipes. From savory sauces to refreshing salads, there are countless delicious ways to savor the vibrant flavors of homegrown tomatoes.
Remember, the taste and texture of vine-ripened tomatoes are unmatched, so resist the temptation to pick them too early. By exercising patience and following these harvesting guidelines, you’ll be rewarded with the most flavorful and satisfying tomatoes.
Congratulations on successfully growing your own tomatoes from seed! May your future gardening endeavors continue to flourish and fill your plates with nature’s bounty.
Frequently Asked Questions about How To Plant Tomatoes From Seed
Was this page helpful?
At Storables.com, we guarantee accurate and reliable information. Our content, validated by Expert Board Contributors, is crafted following stringent Editorial Policies. We're committed to providing you with well-researched, expert-backed insights for all your informational needs.
0 thoughts on “How To Plant Tomatoes From Seed”