Home>Garden Essentials>How To Plant Cherry Tomato Seeds
Garden Essentials
How To Plant Cherry Tomato Seeds
Modified: August 17, 2024
Learn how to plant cherry tomato seeds in your garden and enjoy a fruitful harvest. Follow our step-by-step guide for successful gardening.
(Many of the links in this article redirect to a specific reviewed product. Your purchase of these products through affiliate links helps to generate commission for Storables.com, at no extra cost. Learn more)
Introduction
Are you a tomato lover with a green thumb? If so, growing cherry tomatoes from seeds can be a rewarding and enjoyable experience. These miniature bursts of flavor are perfect for salads, snacking, and adding a pop of color to your garden.
In this article, we will guide you through the process of planting cherry tomato seeds and provide valuable tips to ensure successful growth. From choosing the right seeds to caring for the plants, we’ve got you covered.
But before we dive into the nitty-gritty details, let’s explore why growing cherry tomatoes from seeds is a great option.
Firstly, starting from seeds allows you to have more control over the growing process. You can choose specific varieties that suit your taste, whether you prefer sweeter or tangier flavors. Additionally, growing from seeds provides a wider range of choices, as nursery-bought plants often have limited varieties.
Secondly, starting from seeds can be a more cost-effective option. While purchasing established plants may seem convenient, buying seeds is generally more budget-friendly, especially when you consider the number of plants you can grow from a single packet of seeds.
Lastly, growing cherry tomatoes from seeds is a gratifying experience. It allows you to witness the entire life cycle of a plant, from a tiny seed to a flourishing plant laden with juicy tomatoes. There’s a sense of accomplishment and pride that comes with nurturing and harvesting your own homegrown produce.
So, whether you’re a seasoned gardener or a beginner, let’s get ready to embark on a journey to grow delicious cherry tomatoes from seeds. But before we get our hands dirty, let’s take a look at how to choose the right tomato seeds.
Key Takeaways:
- Growing cherry tomatoes from seeds lets you choose your favorite varieties, save money, and experience the joy of nurturing plants from tiny seeds to delicious, homegrown tomatoes.
- To succeed, provide optimal growing conditions, transplant seedlings carefully, and enjoy the sweet rewards of harvesting and savoring your ripe and flavorful cherry tomatoes.
Choosing the Right Tomato Seeds
When it comes to selecting tomato seeds for your garden, there are a few factors to consider. Here are some tips to help you choose the right tomato seeds for growing cherry tomatoes:
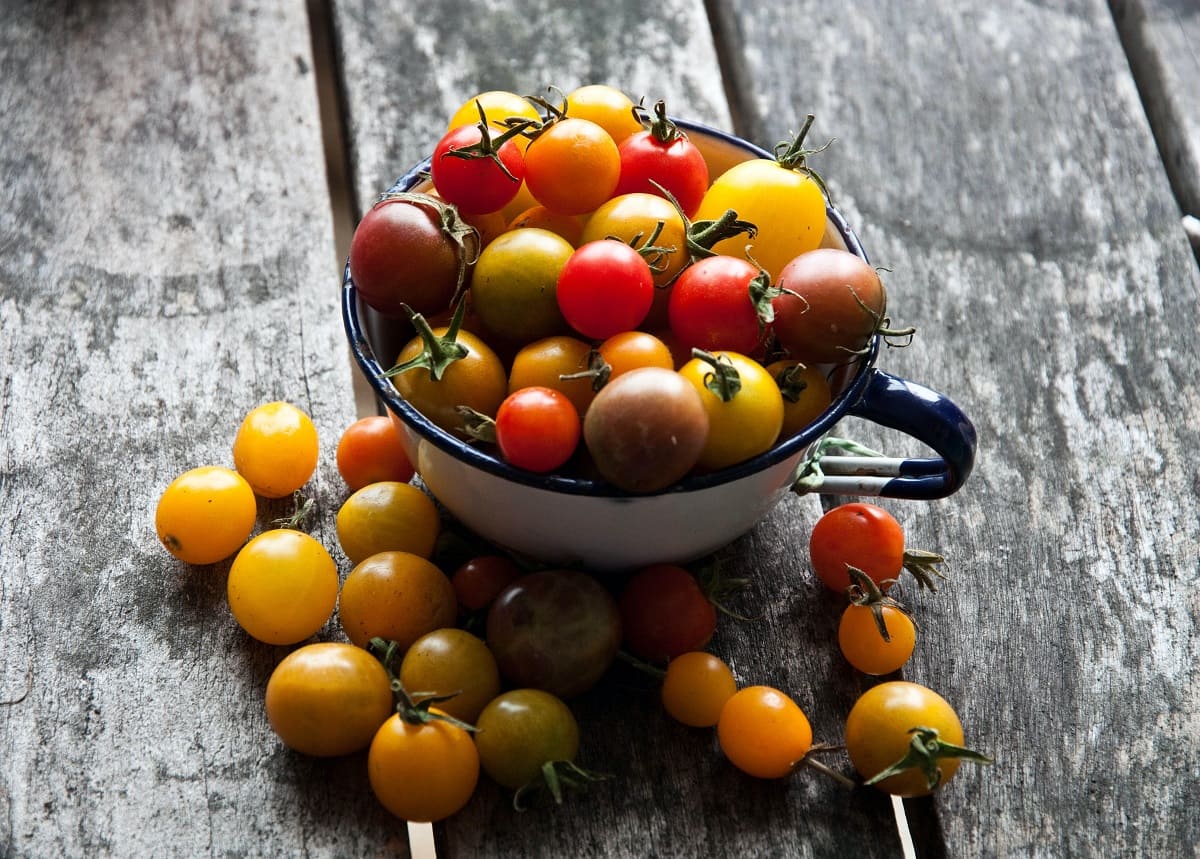
- Determining the Variety: Cherry tomatoes come in various colors, shapes, and sizes. Consider whether you prefer red, yellow, or even striped tomatoes. Additionally, decide if you want standard-sized cherries or smaller grape or cherry-sized varieties. Research different tomato varieties to find the one that suits your taste.
- Considering Growing Conditions: Take into account the climate in your area and the specific conditions of your garden. Some tomato varieties thrive in hot and dry climates, while others prefer cooler temperatures. Determine whether you have enough sunlight, space, and the right soil type for the tomato variety you have in mind.
- Reading Seed Packets: When purchasing seeds, read the information on the seed packets. Look for details about the plant’s growth habit, disease resistance, and days to maturity. This information will help you understand how the plant will perform in your garden and ensure you choose the right seeds for your needs.
- Considering Hybrid or Heirloom Seeds: Hybrid tomato seeds are bred by crossing different varieties to create specific traits such as disease resistance or improved flavor. Heirloom seeds, on the other hand, are open-pollinated and have been passed down through generations. Both options have their advantages, so consider your preferences and gardening goals when choosing between hybrid or heirloom varieties.
- Supplier Selection: Choose a reliable seed supplier to ensure the quality and viability of the seeds. Look for suppliers with a good reputation, positive reviews, and a wide selection of tomato seeds. If possible, opt for organic or non-GMO seeds to promote sustainable and healthy gardening practices.
By considering these factors, you can choose the perfect tomato seeds to start your cherry tomato growing journey. Once you have your seeds, it’s time to prepare the seed trays for planting.
Preparing the Seed Trays
Before you can plant your cherry tomato seeds, it’s important to prepare the seed trays to provide an optimal environment for germination. Here are the steps to prepare the seed trays:
- Choose the Right Seed Tray: Select a seed tray that has drainage holes at the bottom to prevent waterlogging. The tray should be shallow, around 2-3 inches deep, and have enough space to accommodate the number of seeds you plan to sow.
- Sterilize the Seed Tray: To prevent the growth of unwanted pathogens and diseases, sterilize the seed tray before use. You can do this by cleaning it with a diluted bleach solution or by using a commercial seed-starting tray sterilizer. Make sure to thoroughly rinse the tray after sterilization.
- Fill the Tray with Seed Starting Mix: Use a high-quality seed starting mix or a well-draining potting mix to fill the seed tray. This will provide a suitable medium for the seeds to germinate. Avoid using garden soil, as it may contain pathogens or be too heavy for delicate seedlings.
- Moisten the Soil: Before sowing the seeds, moisten the soil in the seed tray. Avoid soaking the soil, as excess moisture can lead to damping-off disease. A slightly damp soil is ideal for seed germination.
- Mark Rows or Sections: Divide the seed tray into rows or sections, depending on the number of seeds you have. This will help you keep track of the different varieties or planting dates. Use popsicle sticks or plant markers to label each row or section.
- Sow the Seeds: Following the instructions on the seed packet, sow the cherry tomato seeds into the prepared seed tray. Plant the seeds at the recommended depth and spacing, gently pressing them into the soil. Cover the seeds lightly with a thin layer of seed starting mix or vermiculite.
- Provide Gentle Watering: After sowing the seeds, water the tray gently to ensure the soil is evenly moist. Avoid overwatering as it can cause the seeds to rot. Use a spray bottle or a watering can with a fine rose attachment for gentle watering.
- Place the Cover or Plastic Wrap: To create a mini greenhouse effect and maintain humidity, cover the seed tray with a clear plastic lid or plastic wrap. This will help retain moisture and promote seed germination.
Once you have prepared the seed trays, it’s time to plant the cherry tomato seeds. Stay tuned for the next section to learn how to plant the seeds and provide optimal growing conditions for your cherry tomato plants.
Planting the Cherry Tomato Seeds
Now that your seed trays are prepared, it’s time to plant the cherry tomato seeds. Follow these steps to ensure successful seed germination and healthy plant growth:
- Select the Right Timing: Cherry tomato seeds should be planted indoors, 6-8 weeks before the last frost date in your area. This will give the seedlings enough time to grow before they are transplanted outdoors.
- Sow the Seeds: Gently press one or two cherry tomato seeds into each section of the seed tray, at a depth of about ¼ inch. Space the seeds evenly to allow room for growth. If using multiple varieties, make sure to keep them separate to avoid confusion later on.
- Light Requirement: Tomato seeds require light to germinate, so do not cover them with soil. Instead, lightly press them into the seed-starting mix or vermiculite to ensure good seed-to-soil contact. Place the seed trays in a warm location with plenty of natural light or use grow lights if necessary.
- Maintain Optimal Temperature: Cherry tomato seeds need consistent warmth to germinate. The ideal temperature range for germination is between 70-80°F (21-27°C). Use a heat mat or place the seed tray on top of a warm surface to provide the necessary warmth.
- Provide Adequate Moisture: Keep the seed-starting mix consistently moist but not soggy. Water the trays gently using a misting spray bottle or a watering can with a fine rose attachment. Avoid overwatering as it can lead to damping-off disease, which can be detrimental to the seedlings.
- Monitor and Adjust: Regularly check the seed trays for moisture levels and ensure that the seeds are not drying out or becoming waterlogged. Adjust the watering schedule accordingly to maintain proper moisture balance. Be patient, as germination can take anywhere from 7-14 days, depending on the variety and conditions.
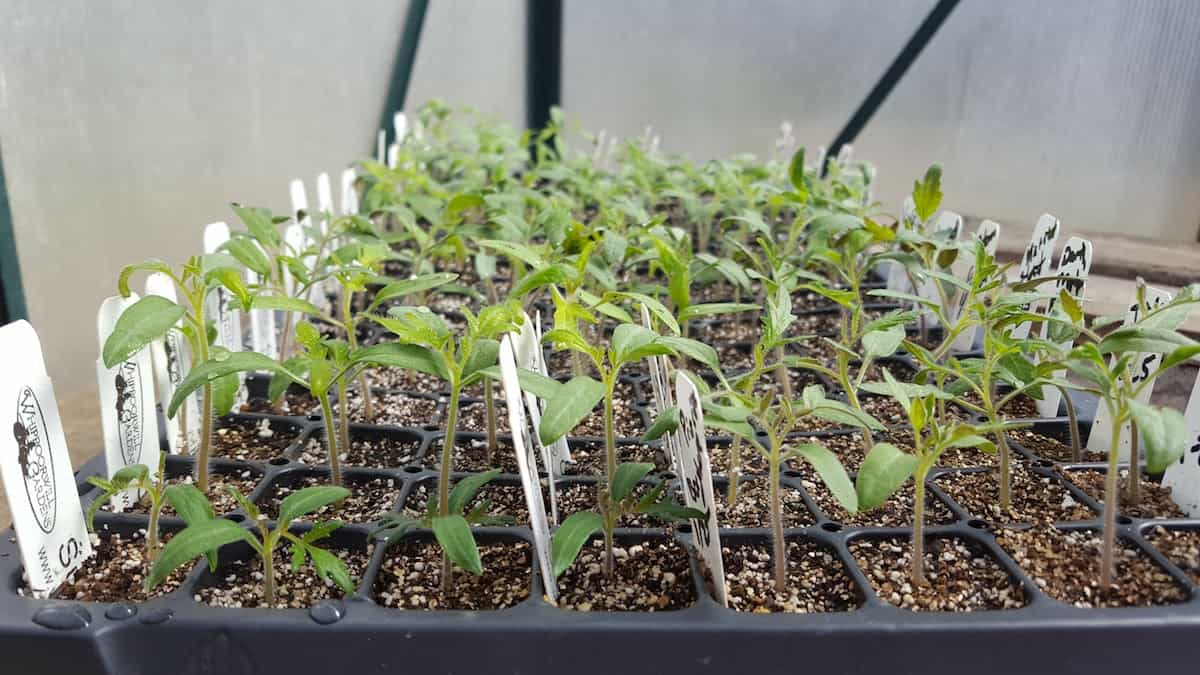
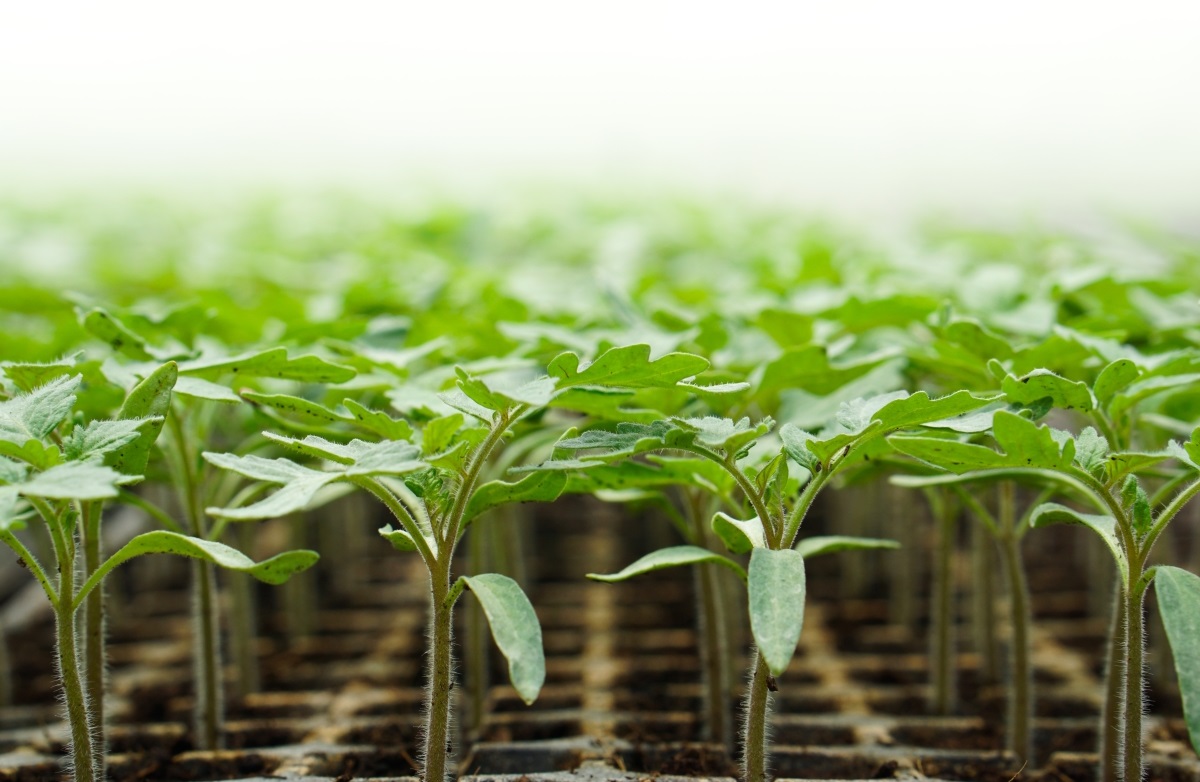
As the cherry tomato seeds germinate and seedlings begin to emerge, continue to provide them with adequate light, warmth, and moisture. This will encourage healthy growth and sturdy seedlings.
Once the seedlings have developed a few true leaves and are strong enough to handle, it’s time to transplant them into larger containers or directly into the garden. We’ll cover the process of transplanting seedlings in the next section, so stay tuned!
Providing Optimal Growing Conditions
To ensure the healthy growth and development of your cherry tomato plants, it’s crucial to provide them with optimal growing conditions. Here are some key factors to consider:
- Sunlight: Cherry tomato plants thrive in full sun, so choose a location in your garden that receives at least six to eight hours of direct sunlight each day. This will help the plants produce abundant fruit and ensure proper photosynthesis and overall plant vigor.
- Soil: The soil should be well-draining, loose, and rich in organic matter. Prior to transplanting the seedlings, amend the soil with compost or well-rotted manure to improve fertility and drainage. A slightly acidic soil with a pH level of 6.0 to 6.8 is ideal for cherry tomato plants.
- Watering: Keep the soil consistently moist but not waterlogged. Water deeply, ensuring that the water reaches the roots. Avoid overhead watering, as it can lead to the development of fungal diseases. Consider using a soaker hose or drip irrigation system to provide targeted and efficient watering.
- Support: Cherry tomato plants tend to sprawl and can benefit from proper support. Install a trellis, cage, or stake system to keep the plants upright and prevent the fruits from touching the ground. This helps improve air circulation, reduces the risk of disease, and makes harvesting easier.
- Fertilization: Apply a balanced fertilizer or organic compost to the soil before planting the seedlings. Follow the instructions on the fertilizer package for application rates and timing. Once the plants start flowering, you can provide additional doses of fertilizer to support fruit development.
- Pruning: While cherry tomato plants don’t necessarily require pruning, removing the lower leaves and suckers (the small stems that develop in the leaf axils) can help improve air circulation, reduce the risk of disease, and focus the plant’s energy on fruit production.
- Pest and Disease Management: Monitor your cherry tomato plants regularly for signs of pests and diseases. Common pests that affect tomato plants include aphids, tomato hornworms, and whiteflies. Keep an eye out for early signs of disease such as blight or powdery mildew, and take appropriate measures to control them, such as using organic insecticides or applying fungicides.
- Regular Maintenance: Regularly remove weeds and debris from around the plants to prevent competition for resources and reduce the risk of pests and diseases. Mulch around the plants to conserve moisture, suppress weed growth, and maintain stable soil temperatures.
By providing these optimal growing conditions, you will set your cherry tomato plants up for success. With proper care and attention, you can look forward to a bountiful harvest of juicy and flavorful cherry tomatoes.
In the next section, we will discuss the process of transplanting seedlings into larger containers or your garden, ensuring their healthy establishment.
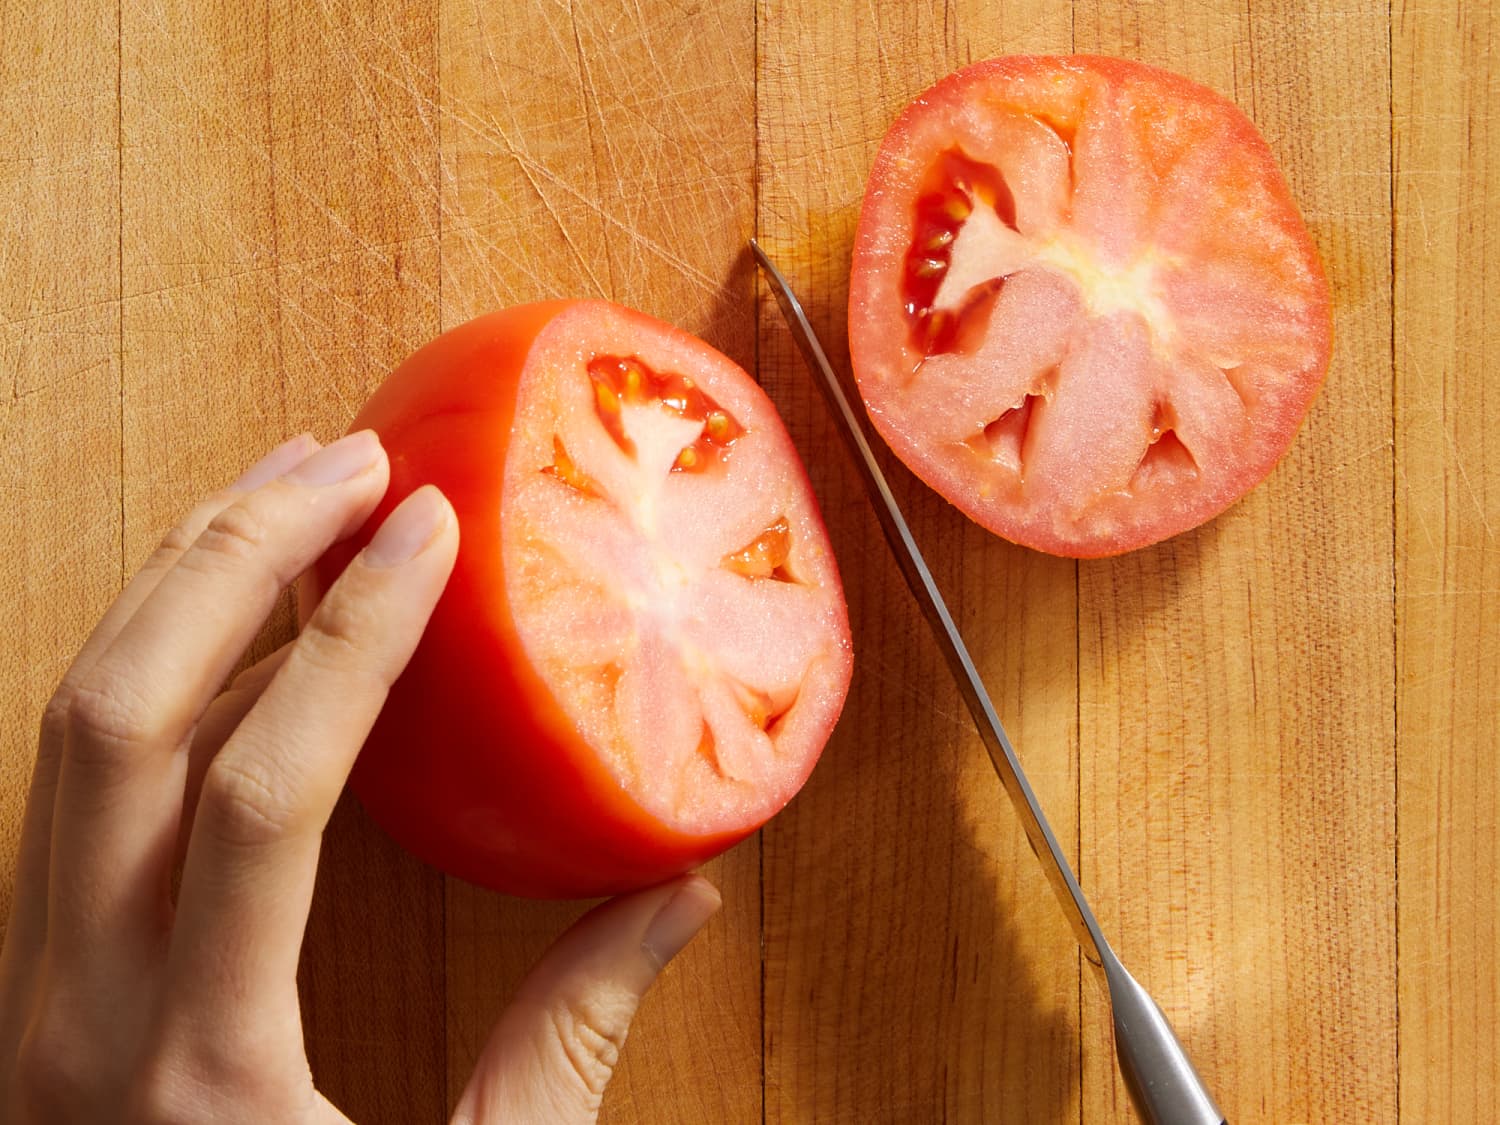
When planting cherry tomato seeds, make sure to choose a sunny spot with well-drained soil. Plant the seeds about 1/4 inch deep and keep the soil consistently moist. Once the seedlings have grown a few inches tall, transplant them to larger pots or into the garden.
Read more: How To Plant Tomatoes From Seeds
Transplanting Seedlings
As your cherry tomato seedlings grow and develop, they will eventually outgrow their seed trays and need to be transplanted into larger containers or your garden. Follow these steps to successfully transplant your seedlings:
- Timing: Wait until the seedlings have developed a strong root system and a few sets of true leaves before transplanting. This is usually around 6-8 weeks after sowing the seeds, or when the seedlings are about 4-6 inches tall.
- Preparing the Transplant Site: If transplanting outdoors, choose a sunny spot in your garden with well-draining soil. Prepare the planting holes by digging them slightly wider and deeper than the root ball of each seedling, ensuring good spacing between plants to allow for growth.
- Hardening Off: Before transplanting the seedlings directly into the garden, it is important to gradually acclimate them to outdoor conditions. This process, known as hardening off, helps the seedlings adjust to the changes in temperature, sunlight, wind, and other environmental factors. Begin by placing the seedlings outdoors in a shaded area for a few hours each day, gradually increasing their exposure to direct sunlight over the course of 7-10 days.
- Transplanting into Containers: If you choose to transplant the seedlings into containers, select pots that are at least 12-16 inches in diameter and have drainage holes. Fill the containers with well-draining potting mix and create a small hole in the center of each container that is large enough to accommodate the root ball of the seedling. Gently place the seedling into the hole, ensuring it is at the same depth as it was in the seed tray. Fill in the gaps with additional potting mix, firming it gently around the base of the seedling.
- Transplanting into the Garden: If transplanting into the garden, carefully remove the seedlings from the seed tray, being cautious not to damage the delicate roots. Place each seedling into the prepared hole and backfill with soil, gently firming it around the base of the plant. Water the newly transplanted seedlings immediately to help them settle into their new environment.
- Maintaining Care: After transplanting, provide adequate water to ensure the soil around the seedlings remains moist. Monitor the plants closely and water deeply whenever the top inch of soil feels dry. Mulch around the plants to conserve moisture and reduce weed growth. Consider adding a support system, such as a trellis or cage, to help the plants grow vertically and support the developing fruits.
- Careful Observations: Keep a close eye on the transplanted seedlings for any signs of stress or shock. If you notice wilting or yellowing leaves, provide additional shade or water, as necessary. Protect the young plants from extreme weather conditions, such as strong winds or sudden temperature drops, as they adjust to their new surroundings.
By following these steps, you can ensure a successful transition for your cherry tomato seedlings. With proper care and attention, they will continue to grow and thrive, eventually rewarding you with a bountiful harvest of delicious cherry tomatoes.
In the next section, we will explore how to care for your cherry tomato plants as they continue to grow and mature.
Caring for Cherry Tomato Plants
Once your cherry tomato plants are established, they will require regular care and attention to ensure healthy growth and a productive harvest. Here are some essential tips for caring for your cherry tomato plants:
- Watering: Keep the soil consistently moist but not waterlogged. Water deeply whenever the top inch of soil feels dry. Avoid overhead watering, as it can contribute to the development of fungal diseases. Water at the base of the plants, directing the water towards the roots.
- Fertilization: Feed your cherry tomato plants with a balanced fertilizer throughout the growing season. This will provide them with the necessary nutrients for robust growth and fruit production. Follow the instructions on the fertilizer package for application rates and frequency. Alternatively, you can use organic options such as compost or well-rotted manure.
- Support: As the cherry tomato plants grow, they may require additional support to keep them upright. Install a trellis, cage, or stake system to prevent the plants from falling over and to support the weight of the developing fruits. Regularly check the support structures and adjust them as needed.
- Pruning: While cherry tomato plants don’t necessarily need extensive pruning, removing the suckers (the small stems that develop in the leaf axils) can promote airflow and reduce the risk of disease. Prune any damaged or diseased leaves or branches and redirect the plant’s energy towards fruit production.
- Pest and Disease Management: Regularly inspect your cherry tomato plants for any signs of pests or diseases. Common pests that affect tomato plants include aphids, hornworms, and whiteflies. Monitor for early signs of diseases such as blight or powdery mildew and take appropriate measures to control them, such as using organic insecticides or fungicides.
- Mulching: Apply a layer of organic mulch around the base of the plants to help conserve moisture, suppress weed growth, and maintain more stable soil temperatures. This will also help reduce the risk of soil-borne diseases and provide additional nutrients as the mulch breaks down over time.
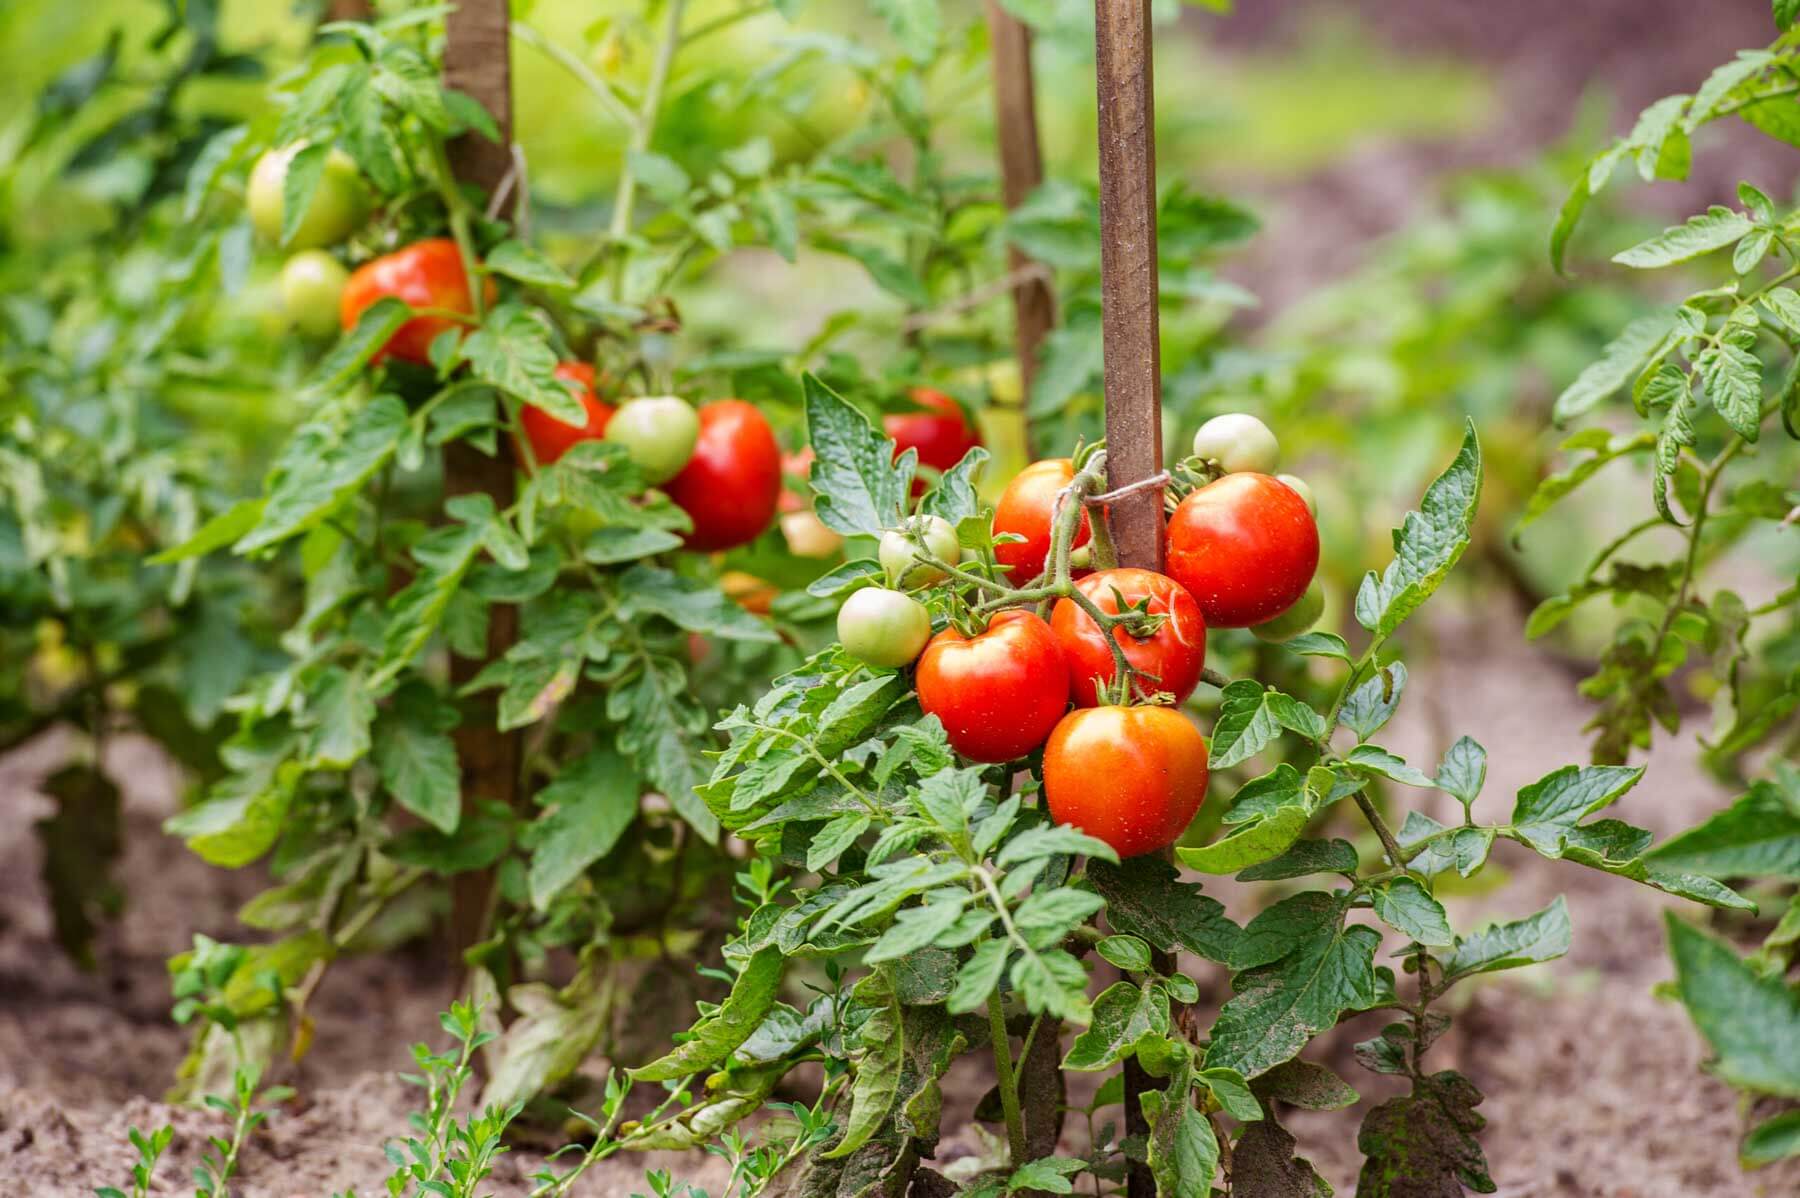
- Regular Harvesting: As the cherry tomatoes start to ripen, harvest them regularly to encourage continued fruit production. Gently twist or cut the tomatoes from the vine to avoid damaging the plant. Remember, cherry tomatoes ripen quickly, so check the plants daily during peak harvesting season.
- Continuous Care: Monitor your cherry tomato plants regularly for any signs of stress, including wilting, yellowing leaves, or stunted growth. Address any issues promptly by adjusting watering, providing shade during hot spells, or implementing pest and disease control measures. Regularly remove any weeds or grass that may compete with the plants for nutrients and water.
By providing proper care and attention, your cherry tomato plants will flourish and reward you with a plentiful harvest of juicy and flavorful tomatoes. Enjoy the satisfaction of picking and tasting your own homegrown produce!
In the final section, we will explore the joy of harvesting and enjoying your ripe and delicious cherry tomatoes.
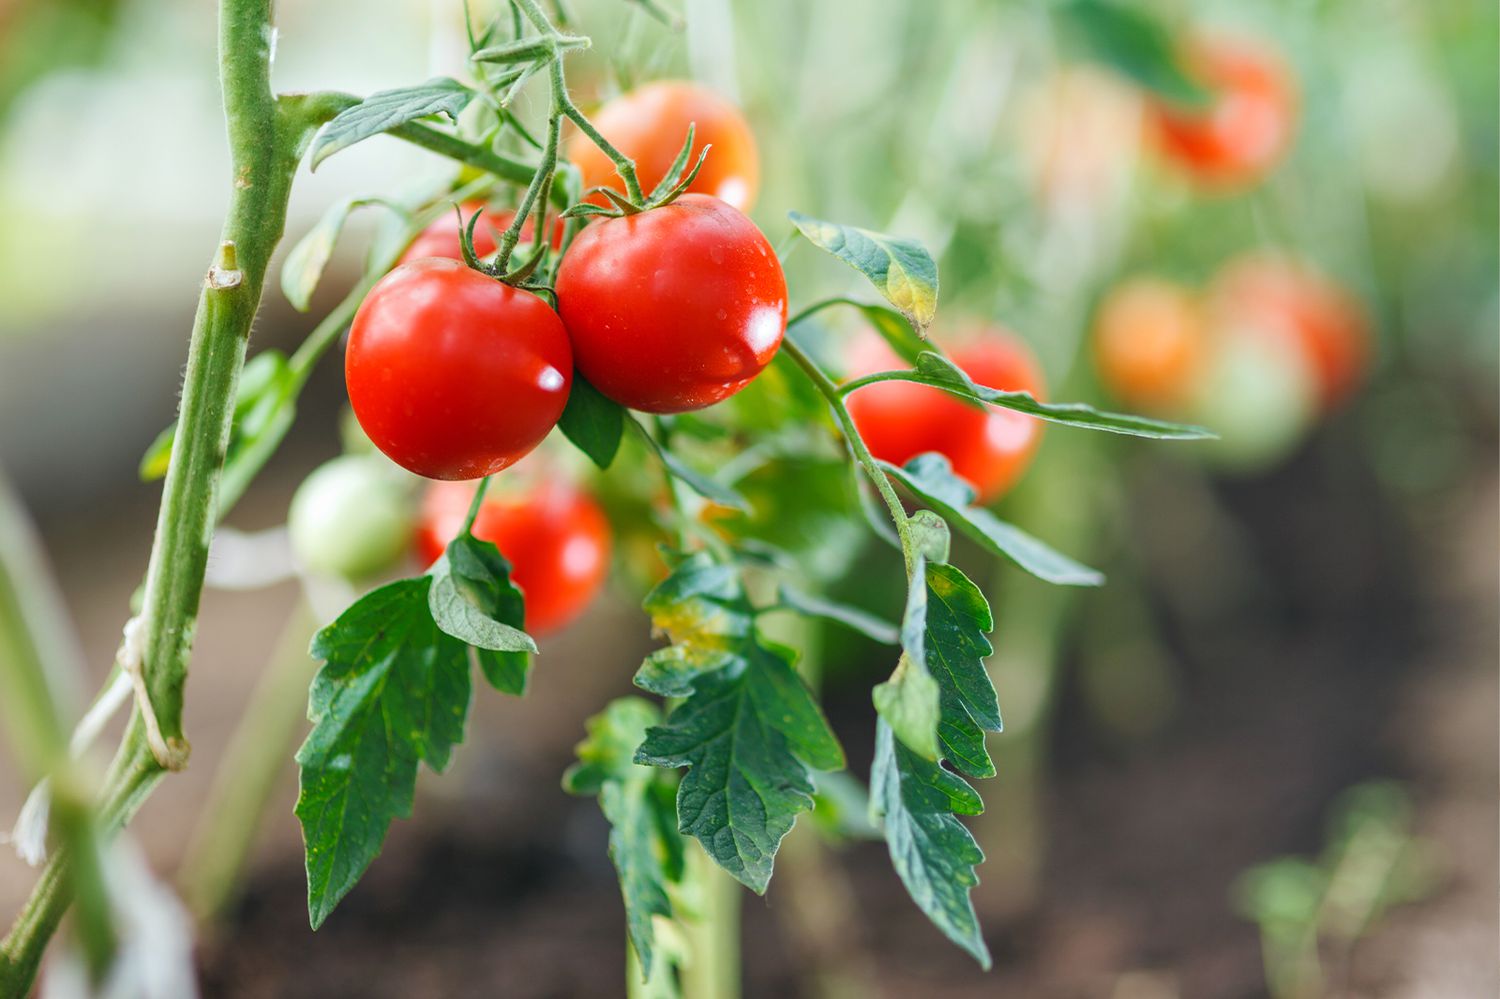
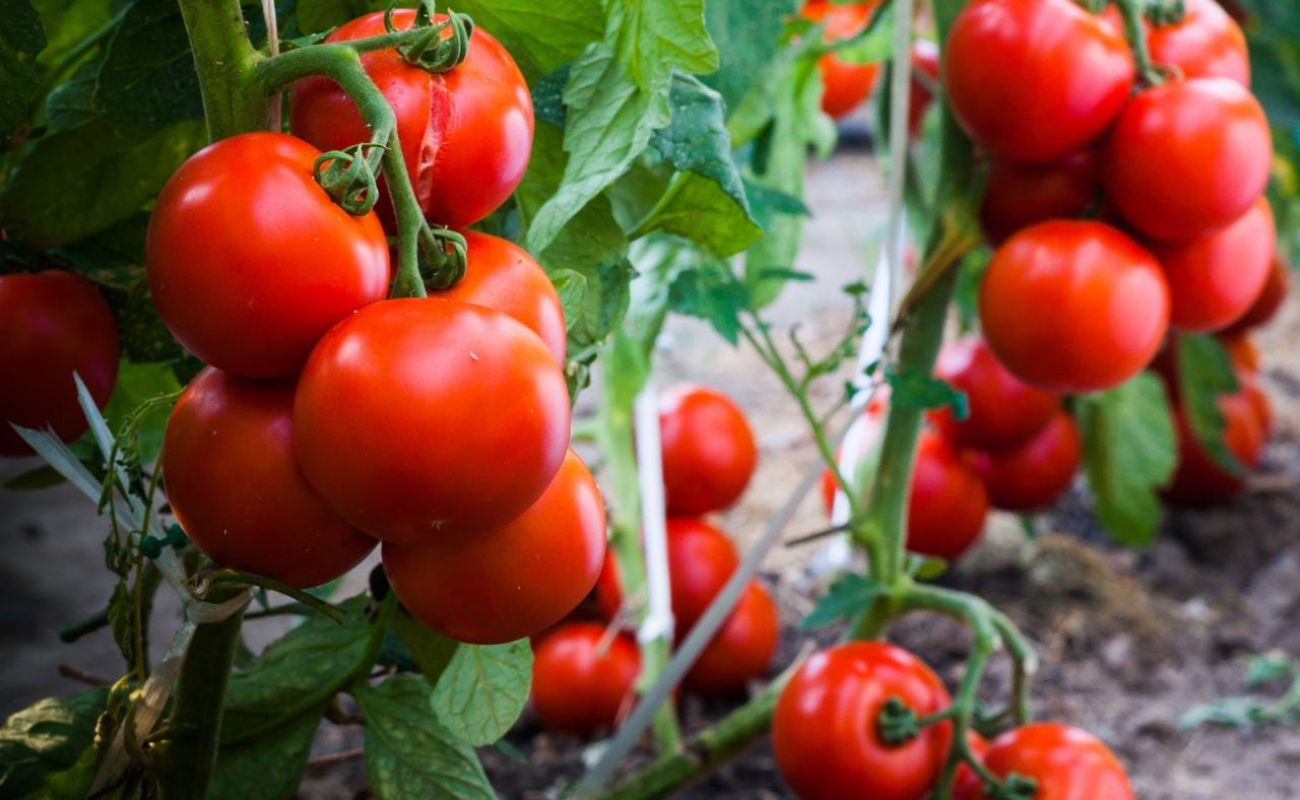
Harvesting and Enjoying Cherry Tomatoes
As the summer progresses and your cherry tomato plants reach their peak, it’s time to reap the rewards of your hard work by harvesting and enjoying the sweet and succulent fruits. Here’s how to harvest and make the most of your cherry tomatoes:
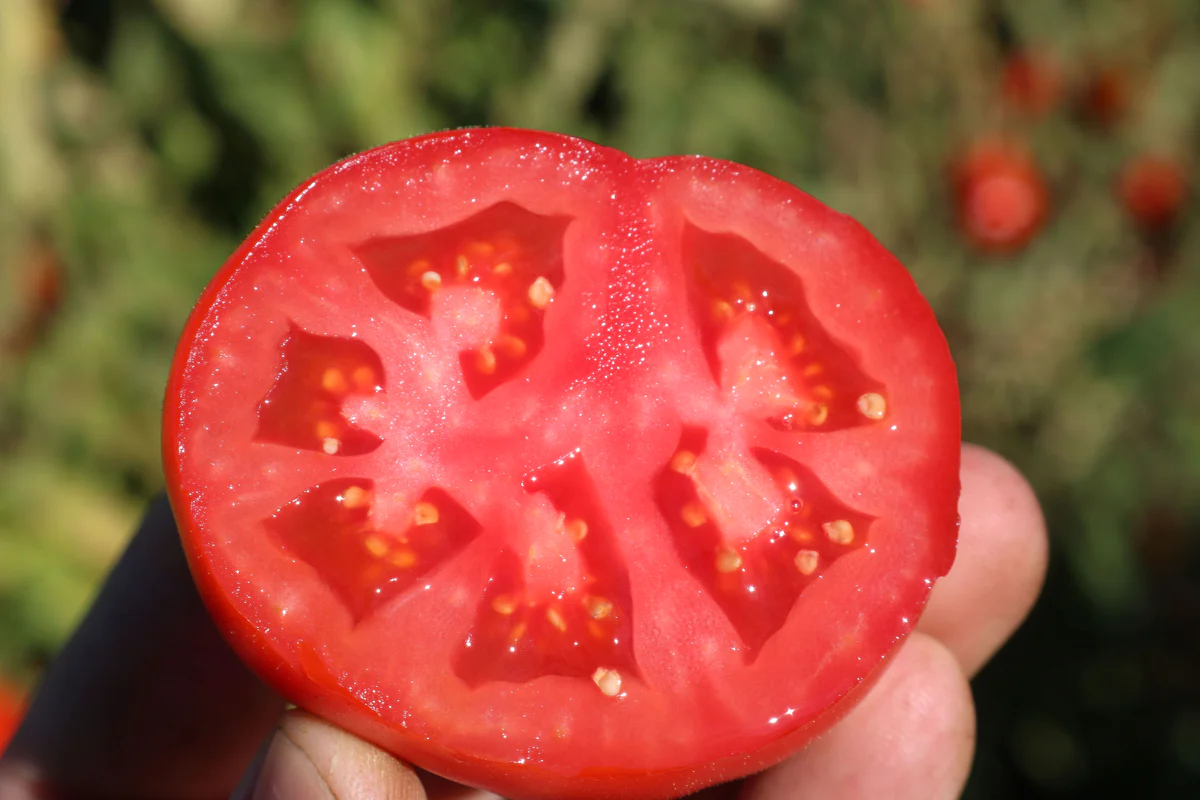
- Timing: Cherry tomatoes are ready for harvest when they reach their full color, depending on the variety. They should be firm and plump, with a vibrant color and a slight give when gently squeezed. Avoid harvesting them when they are still green and underripe.
- Harvesting: When harvesting cherry tomatoes, use pruning shears or scissors to snip the fruits from the vine, or simply twist them gently until they detach. Be careful not to damage the plant or nearby stems. Harvesting regularly and gently will encourage the plants to continue producing more tomatoes.
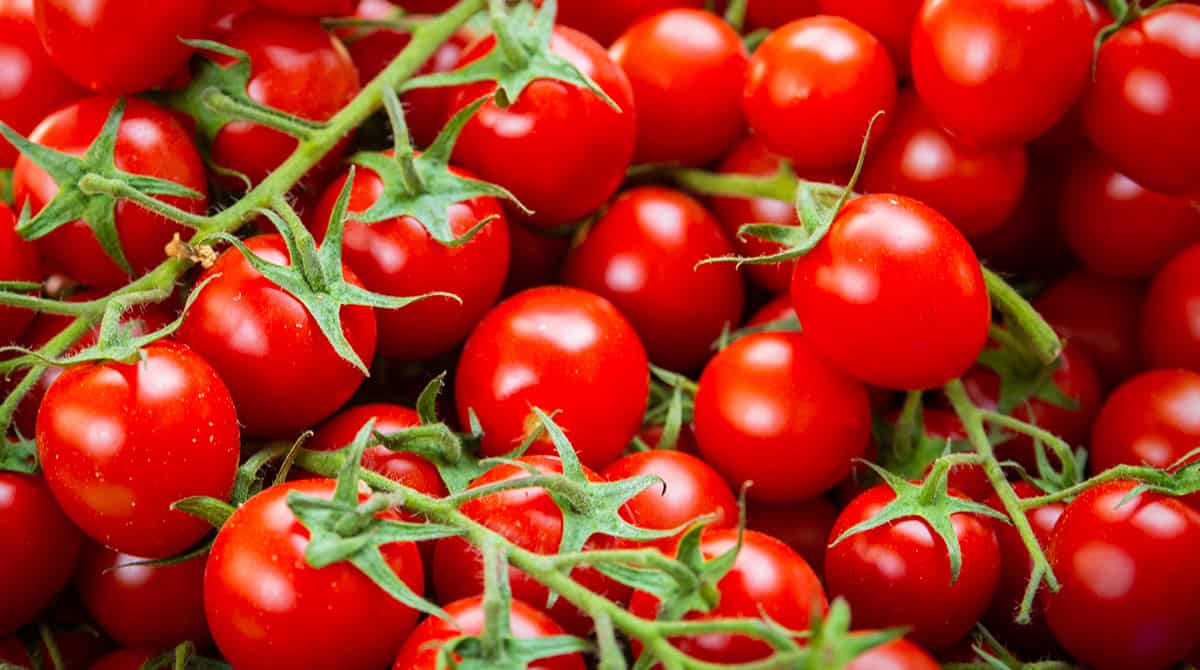
- Storing: If you have more cherry tomatoes than you can consume immediately, store them in a cool, well-ventilated place away from direct sunlight. Avoid refrigerating them, as it can affect the flavor and texture. Instead, place them in a single layer in a shallow container or on a paper towel to prevent them from touching and bruising each other. Use ripe tomatoes within a few days for optimal taste and quality.
- Enjoying Fresh: There’s nothing quite like the burst of flavor from a freshly picked cherry tomato. Enjoy them as a healthy snack straight from the vine or add them to salads, sandwiches, or wraps for a pop of color and tangy sweetness. They also pair well with cheeses, herbs, and other fresh garden produce.
- Preserving: If you have an abundance of cherry tomatoes, consider preserving them for later use. You can freeze them by washing and drying the tomatoes, then placing them in a single layer on a tray in the freezer. Once frozen, transfer them to a freezer bag for long-term storage. Cherry tomatoes can also be oven-dried, sun-dried, or used to make delicious homemade sauces, salsas, or tomato jams.
- Sharing the Bounty: If you find yourself with an abundance of cherry tomatoes, consider sharing them with friends, family, or neighbors. They will surely appreciate the fresh and flavorful treat, and it’s a wonderful way to spread the joy of homegrown produce.
Remember, cherry tomatoes are at their best when enjoyed fresh and ripe. So, savor the flavors of your homegrown harvest and take pride in the fruits of your labor.
Congratulations! You’ve now learned how to plant, care for, and enjoy your cherry tomato plants. By following these tips and techniques, you’re well on your way to a successful cherry tomato gardening experience. Happy growing and happy harvesting!
If you have any additional questions or need further assistance, feel free to reach out. Happy gardening!
Conclusion
Growing cherry tomatoes from seeds is a rewarding and enjoyable experience that allows you to indulge in the flavors of homegrown goodness. From choosing the right tomato seeds to providing optimal growing conditions, transplanting seedlings, and caring for the plants, every step of the journey is filled with anticipation and satisfaction.
By selecting the right varieties, preparing the seed trays, and sowing the seeds with care, you set the foundation for successful germination. As the seedlings grow, providing optimal growing conditions such as sunlight, well-draining soil, proper watering, and support systems will ensure robust plant growth and abundant fruit production.
Transplanting the seedlings into larger containers or your garden marks a significant milestone in their growth. From there, ongoing care, including watering, fertilizing, pest and disease management, and regular maintenance, will nurture your cherry tomato plants to their full potential.
As the summer progresses, you’ll eagerly observe the dazzling transformation of flowers to small green fruits and then the ripening of vibrant and juicy cherry tomatoes. Harvesting the fruits at their peak, either for immediate consumption or for preserving, provides a sense of fulfillment and satisfaction.
Whether you enjoy your cherry tomatoes fresh off the vine, add them to salads and dishes, or preserve them for future culinary creations, their homegrown flavor will undoubtedly elevate your meals and bring a sense of pride.
Remember to share the joy and abundance with others by sharing your homegrown cherry tomatoes with friends, family, and neighbors. There’s joy in spreading the bountiful harvest and connecting over the shared love of fresh, garden-grown produce.
Embrace the journey of growing cherry tomatoes from seeds, and let it ignite your passion for gardening. Each season will bring new learning experiences and bountiful rewards.
So, whether you’re a seasoned gardener or just starting out, dive into the world of cherry tomato cultivation and discover the joy of nurturing and harvesting your own homegrown produce. Happy gardening and happy tomato season!
Frequently Asked Questions about How To Plant Cherry Tomato Seeds
Was this page helpful?
At Storables.com, we guarantee accurate and reliable information. Our content, validated by Expert Board Contributors, is crafted following stringent Editorial Policies. We're committed to providing you with well-researched, expert-backed insights for all your informational needs.


0 thoughts on “How To Plant Cherry Tomato Seeds”