Home>Garden Essentials>When To Plant Tomato Seeds Indoors
Garden Essentials
When To Plant Tomato Seeds Indoors
Modified: October 20, 2024
Learn when is the best time to start growing tomato seeds indoors in your garden and ensure a successful harvest. Expert tips and advice for beginners!
(Many of the links in this article redirect to a specific reviewed product. Your purchase of these products through affiliate links helps to generate commission for Storables.com, at no extra cost. Learn more)
Introduction
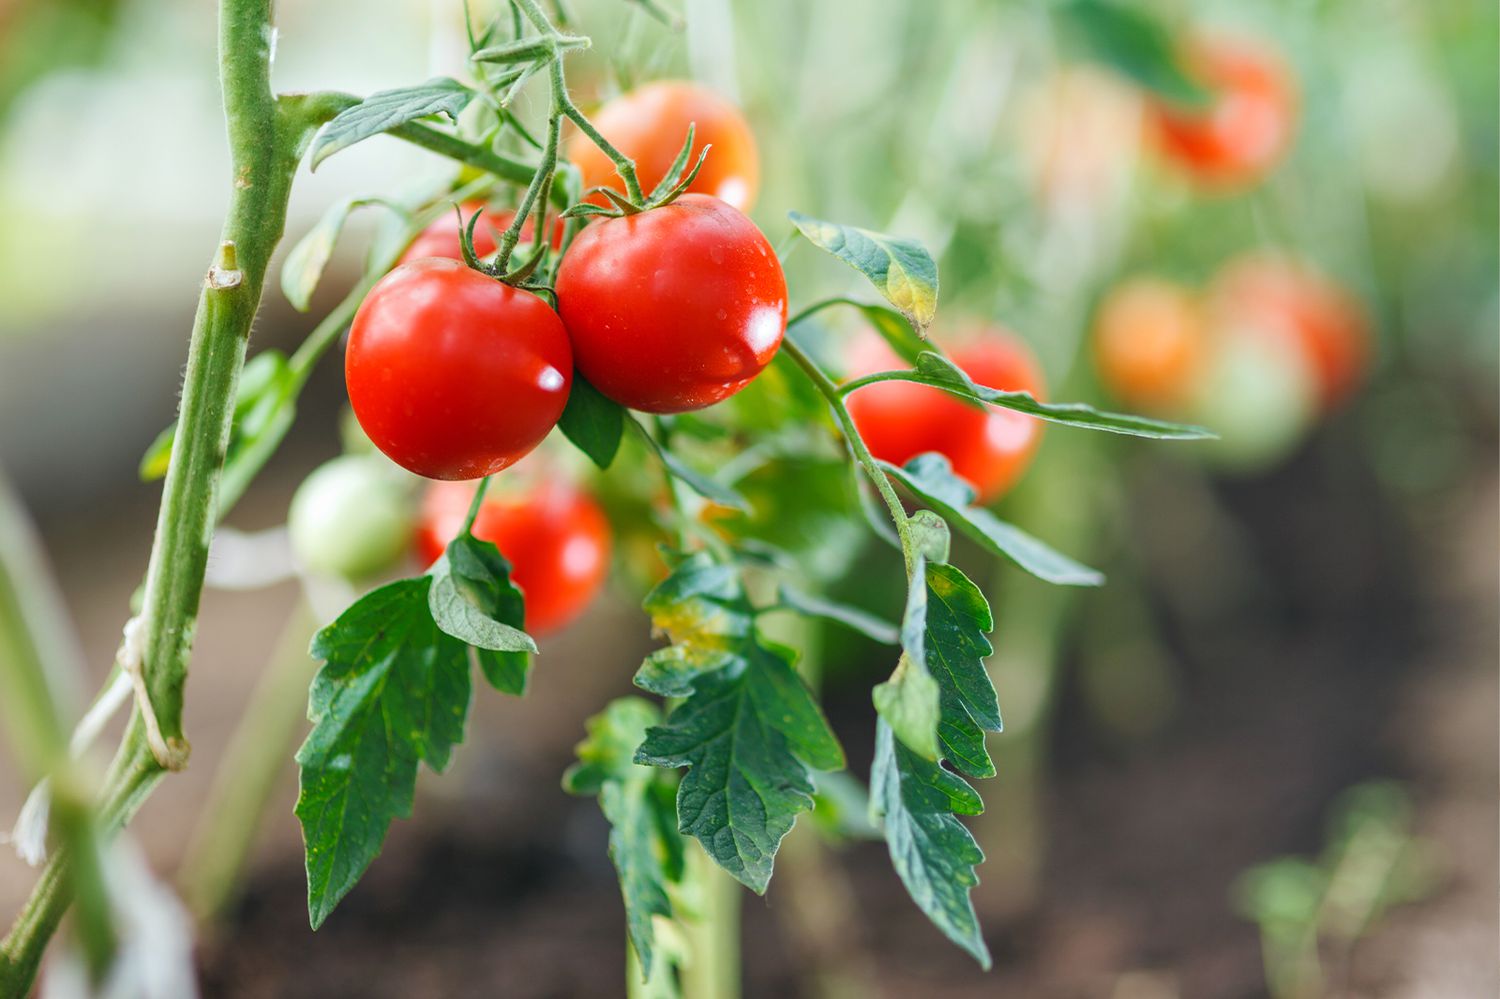
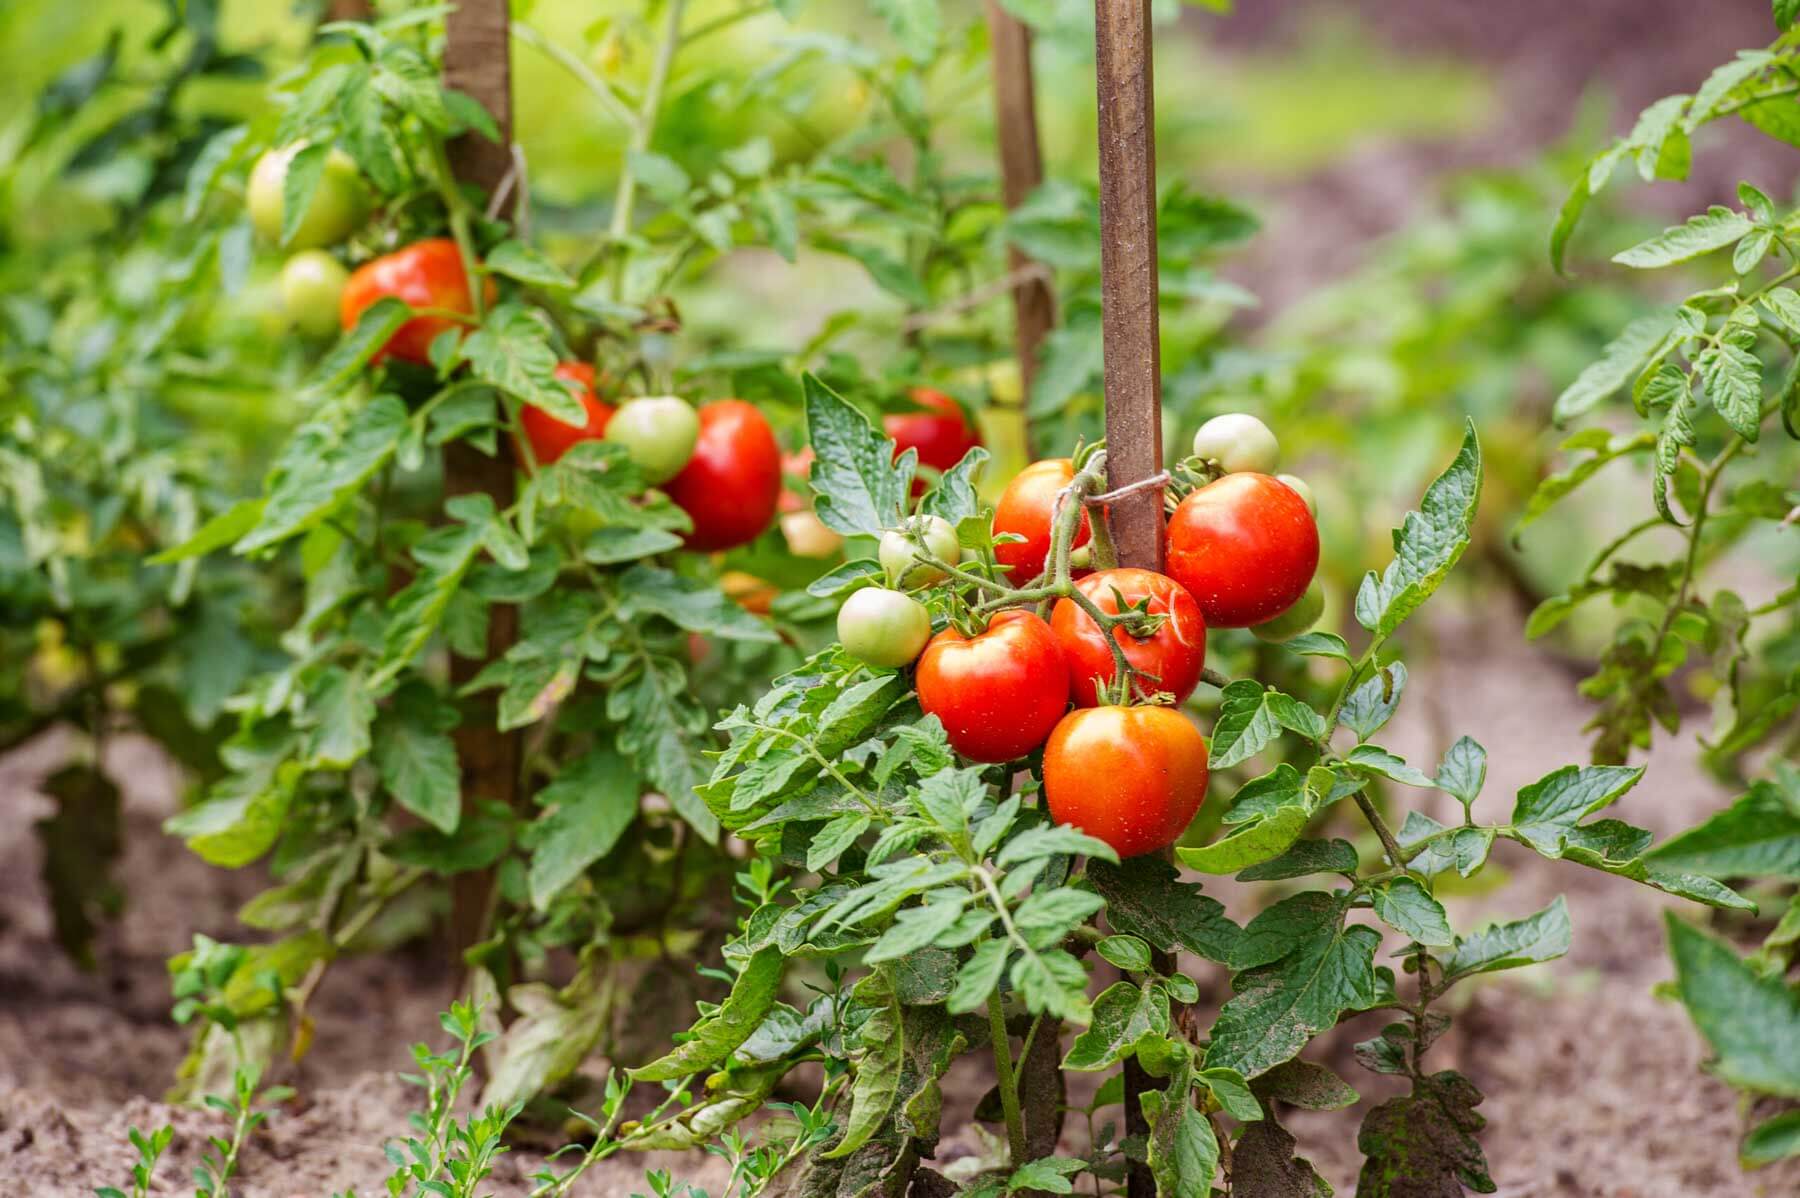
Gardening enthusiasts eagerly anticipate the arrival of spring, as it brings with it a flurry of activity and the opportunity to sow new seeds. One popular vegetable that captures the attention of many gardeners is the tomato. Known for its vibrant colors, juicy flesh, and versatile culinary uses, tomatoes are a staple in countless gardens.
While tomatoes can be directly sown into the ground, starting tomato seeds indoors has become a popular practice among gardeners. This method offers several benefits, including the ability to extend the growing season, protect young seedlings from harsh weather conditions, and gain more control over the growth and development of the plants.
In this article, we will explore the benefits of starting tomato seeds indoors, guide you on choosing the right time to start, help you gather the necessary supplies, and provide step-by-step instructions on planting and caring for tomato seedlings.
So, whether you’re a gardening novice or an experienced green thumb, let’s dive into the world of indoor tomato seed starting and discover the secrets to a successful harvest!
Key Takeaways:
- Starting tomato seeds indoors extends the growing season, offers better control over conditions, and provides a wider variety of tomatoes, leading to a bountiful harvest and cost savings.
- To successfully start tomato seeds indoors, choose the right time based on frost dates, gather necessary supplies, prepare containers, and provide optimal growing conditions for healthy, thriving seedlings.
Read more: When To Plant Nasturtium Seeds Indoors
Benefits of Starting Tomato Seeds Indoors
Starting tomato seeds indoors offers several compelling advantages that can greatly contribute to your gardening success. Here are some key benefits:
- Extended Growing Season: By starting tomato seeds indoors, you can gain a head start on the growing season. This is especially beneficial for regions with shorter summers, as it allows you to harvest ripe tomatoes earlier in the year.
- Better Control: When you start tomato seeds indoors, you have more control over the growing conditions. You can monitor temperature, humidity, and light levels to provide optimal conditions for the seedlings’ growth.
- Protection from Harsh Weather: Young tomato seedlings are vulnerable to temperature extremes, heavy rains, and strong winds. By starting seeds indoors, you can keep them protected until they are strong enough to withstand outdoor conditions.
- Greater Variety: Starting seeds indoors opens up a world of possibilities when it comes to tomato varieties. You’re not limited to the selection available at local nurseries or garden centers, giving you the opportunity to grow unique and heirloom varieties.
- Cost Savings: Starting tomato seeds indoors can be more cost-effective than buying pre-grown seedlings. A single pack of tomato seeds can yield numerous seedlings, saving you money in the long run.
Not only do these benefits enhance your gardening experience, but they also increase the chances of a bountiful tomato harvest. With careful planning and proper care, you can enjoy a longer growing season, a wider variety of tomatoes, and the satisfaction of witnessing your seeds transform into thriving plants.
Choosing the Right Time to Start Tomato Seeds Indoors
Timing is critical when it comes to starting tomato seeds indoors. Starting too early or too late can have a significant impact on the growth and productivity of your plants. Here are some factors to consider when determining the optimal time to start tomato seeds:
- Last Frost Date: The last frost date in your area is a crucial piece of information. Tomato seedlings are sensitive to frost, and planting them outdoors before the danger of frost has passed can result in stunted growth or even death. Research the average last frost date for your region and count backward to determine the appropriate time to start seeds indoors.
- Planting Out Date: Consider when you typically transplant your tomato seedlings outdoors. This will depend on your local climate and the desired maturity date. Calculate the number of weeks it takes for tomato seedlings to reach a suitable transplant size and count backward from your preferred planting out date.
- Seed Packet Recommendations: Tomato seed packets often provide guidance on when to start seeds indoors. They may suggest starting seeds a certain number of weeks before the last frost or provide specific dates for different regions. Refer to the instructions on the seed packet for specific guidance.
- Variety-specific Requirements: Different tomato varieties have varying growth rates and maturity dates. Some varieties are known for their early maturity, while others take longer to produce fruit. Take note of the specific requirements and timelines for the tomato varieties you intend to grow.
Once you have considered these factors, you can determine the appropriate time frame to start your tomato seeds indoors. Typically, it is recommended to start tomato seeds indoors 6 to 8 weeks before the expected date of the last frost in your area.
Keep in mind that these recommendations serve as general guidelines, and local conditions and personal preferences may influence the exact timing of starting tomato seeds. Experimentation and observation will help you fine-tune the best timing for your specific gardening situation.
By carefully selecting the right time to start your tomato seeds indoors, you give your seedlings the best chance of flourishing and producing a healthy crop of delicious tomatoes!
Gathering the Necessary Supplies
Before you embark on the journey of starting tomato seeds indoors, it’s essential to gather the necessary supplies. Having the right tools and materials will set you up for success and ensure that your tomato seedlings get off to a strong start. Here are some key supplies you’ll need:
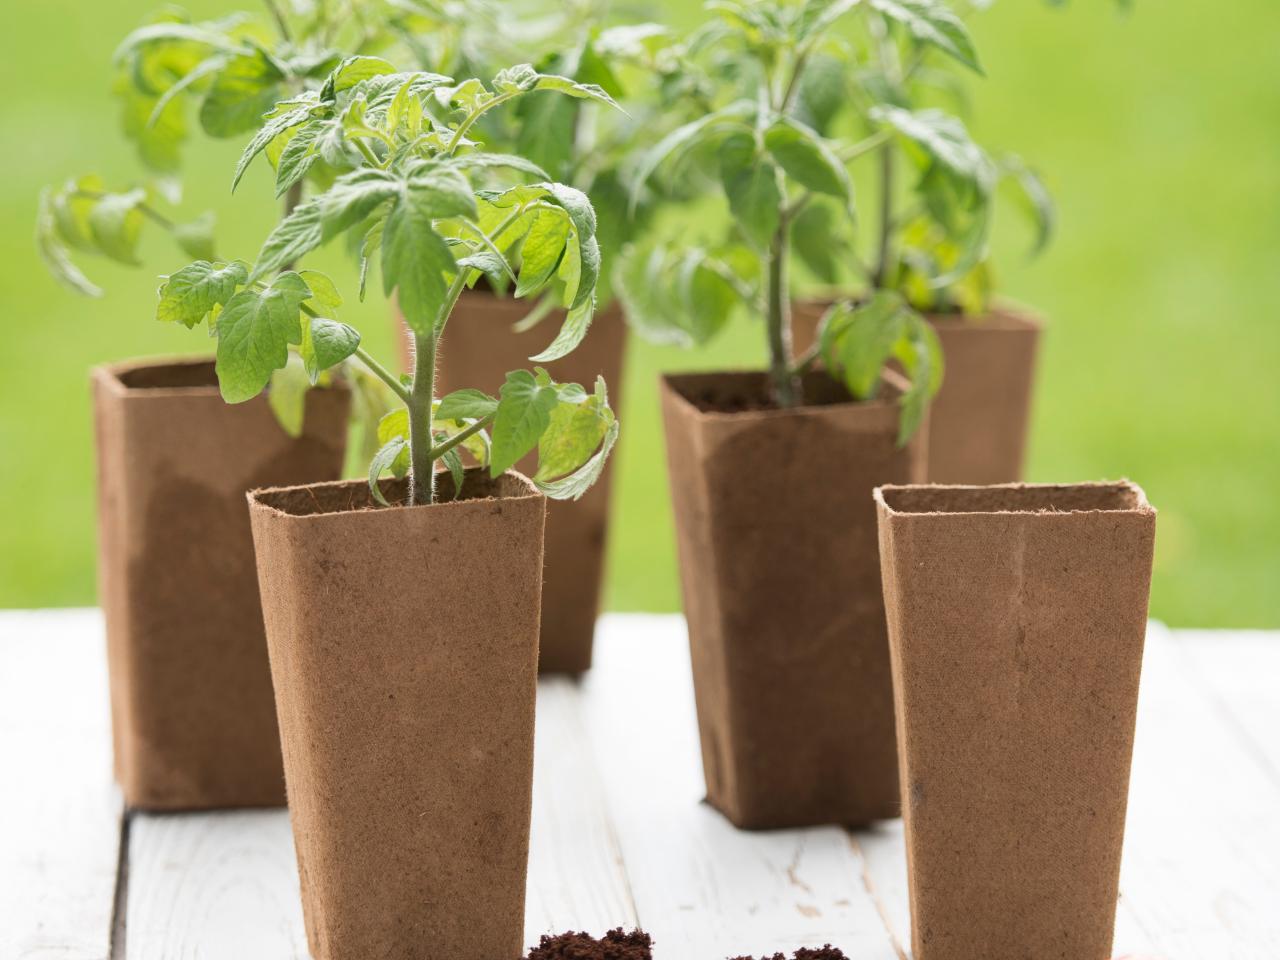
- Seed Trays or Pots: Choose trays or pots that are specifically designed for seed starting. Opt for containers that are at least 2-3 inches deep, have drainage holes, and are easy to handle. If you prefer a more sustainable option, consider using biodegradable pots made from materials like peat or coconut coir.
- Seed Starting Mix: Use a high-quality seed starting mix that is lightweight, well-draining, and sterile. Avoid using garden soil as it can contain pests and diseases that may harm your seedlings. You can purchase seed starting mix from garden centers or make your own by combining equal parts peat moss, vermiculite, and perlite.
- Tomato Seeds: Choose tomato seeds from reputable seed suppliers or trusted sources. Consider the desired characteristics of the tomato variety, such as size, flavor, disease resistance, and growth habit. It’s always a good idea to have a few extra seeds on hand in case of germination issues or wanting to grow more plants.
- Labels and Permanent Marker: It’s crucial to label your seed trays or pots to keep track of different tomato varieties. Use plant labels and a permanent marker to clearly identify each planting. This will prevent confusion when it comes time to transplant your seedlings.
- Watering Can or Spray Bottle: You’ll need a watering can or spray bottle to provide moisture to your seedlings. A fine mist spray bottle is ideal for gently watering delicate seedlings without disturbing the soil or displacing the seeds.
- Grow Lights or Natural Light: Adequate lighting is vital for the healthy growth of tomato seedlings. If you don’t have access to natural light or have limited sunlight hours, consider investing in fluorescent or LED grow lights. Place the lights a few inches above the seedlings and adjust the height as the plants grow to avoid leggy growth.
- Heat Mat (Optional): Tomato seeds germinate best when the soil temperature is consistently warm. If you live in a cooler climate or want to speed up germination, a heat mat placed under the seed trays can provide bottom heat and encourage faster and more uniform sprouting.
These supplies will ensure that you have everything you need to start tomato seeds indoors and give your seedlings a healthy and nurturing environment to grow. Make a list of the required items and gather them before you begin, ensuring a smooth and efficient seed starting process.
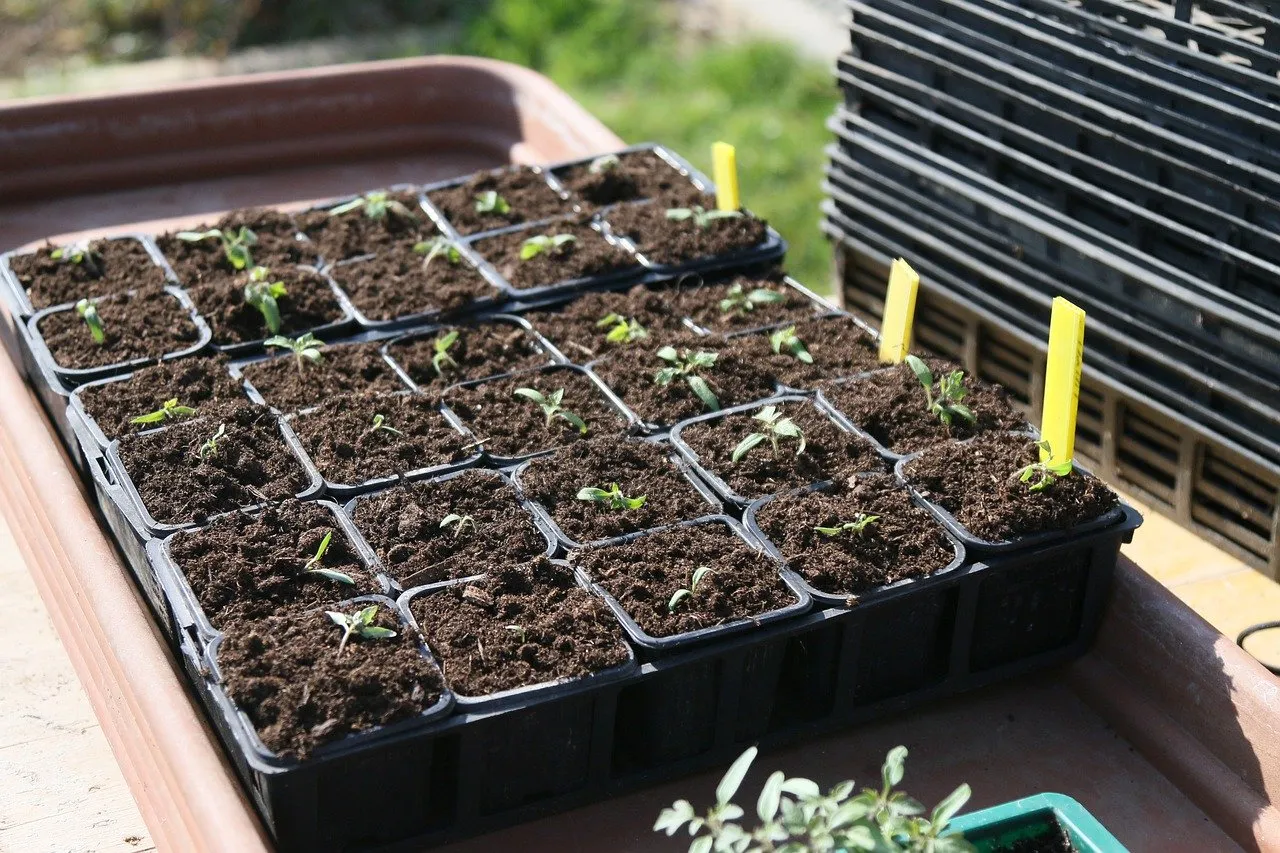
Preparing the Seed Starting Containers
Before you can start planting tomato seeds indoors, it’s important to properly prepare your seed starting containers. Taking the time to prepare the containers will create a favorable environment for seed germination and the subsequent growth of your tomato seedlings. Here’s how you can get your seed starting containers ready:
- Clean and Sterilize: Cleanliness is key when it comes to seed starting. If you’re reusing containers from previous seasons, wash them thoroughly with warm, soapy water to remove any dirt or residue. After cleaning, sterilize the containers by soaking them in a 10% bleach solution for about 10 minutes. Rinse well with water to remove any traces of bleach.
- Add Drainage Holes: Ensure that your containers have proper drainage holes to prevent waterlogged soil, which can lead to seed rot or damping-off disease. Use a drill or a heated skewer to create drainage holes at the bottom of each container.
- Fill with Seed Starting Mix: Fill the prepared containers with a high-quality seed starting mix, leaving about 1/2 inch of space at the top. Gently firm the mix down to eliminate any air pockets, but avoid compacting it too tightly.
- Moisten the Soil: Before planting your tomato seeds, moisten the seed starting mix by gently watering it. Ensure that the water is evenly distributed and that excess water is allowed to drain out. The soil should be moist but not waterlogged.
- Label the Containers: Use plant labels or popsicle sticks to clearly label each container with the tomato variety you’re planting. This will help you keep track of the different varieties and avoid confusion later on.
By properly preparing your seed starting containers, you create a clean and favorable environment for your tomato seeds to germinate and your seedlings to thrive. Following these steps will set the stage for successful growth and development as you move forward with the next stages of tomato seed starting.
Tip: Start tomato seeds indoors 6-8 weeks before the last frost date in your area. Use a seed starting mix, provide warmth, light, and keep the soil moist. Transplant seedlings outdoors after the danger of frost has passed.
Read more: When Do I Start Planting Seeds Indoors
Seed Selection and Preparation
Choosing the right tomato seeds is a crucial step in starting your indoor tomato journey. Here are some important factors to consider when selecting and preparing your tomato seeds:
- Variety Selection: There are countless tomato varieties available, each with its unique characteristics. Consider the size, shape, color, flavor, and intended use of the tomatoes. Determine if you prefer large beefsteak tomatoes, bite-sized cherry tomatoes, or something in between. Additionally, consider factors such as disease resistance and growth habit to ensure successful cultivation.
- Seed Quality: Opt for high-quality tomato seeds from reputable sources to ensure good germination rates. Make sure the seeds are fresh and have not exceeded their expiration date. Inspect the packaging for any information regarding viability or special storage instructions.
- Seed Viability Test: If you’re unsure about the viability of your tomato seeds, you can conduct a simple germination test. Take a few seeds and place them between moist paper towels or in a seed tray filled with moist seed starting mix. Keep them in a warm location and monitor their germination rate over a week or two. This will give you an idea of how many seeds are likely to sprout and help you determine if you need to purchase additional seeds.
- Seed Scarification (Optional): Some tomato varieties have hard seed coats that can slow down or hinder germination. Scarification is a process of nicking or gently scraping the seed coat to help water penetrate and encourage faster germination. This step is optional but can be beneficial for certain varieties.
- Soaking Seeds (Optional): Soaking tomato seeds in warm water for 12-24 hours before planting can help soften the seed coat and potentially improve germination rates. However, not all tomato seeds benefit from soaking, so do some research on your specific tomato variety to determine if this step is necessary.
Once you have selected and prepared your tomato seeds, you are ready to move on to the exciting process of planting them indoors. Remember to keep track of the varieties and any special instructions for each seed to ensure a successful and diverse tomato harvest!
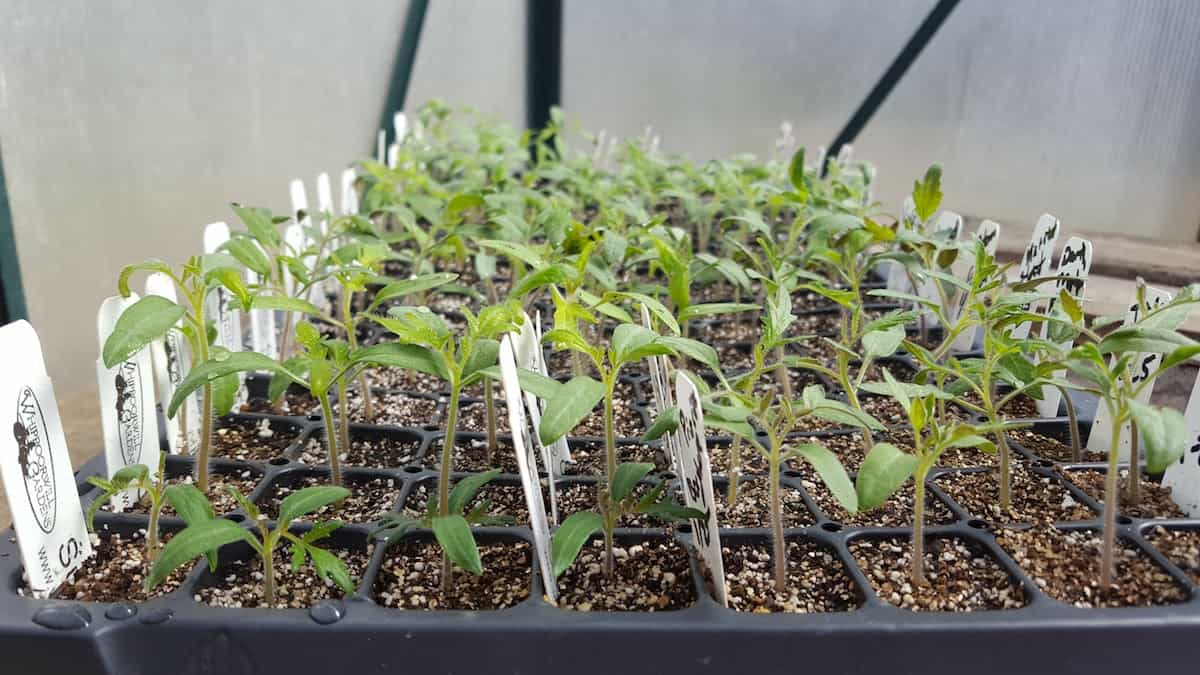
Planting Tomato Seeds Indoors
Now that you have your seed starting containers prepared and your tomato seeds ready, it’s time to plant them indoors. Follow these steps to ensure successful germination and healthy growth of your tomato seedlings:
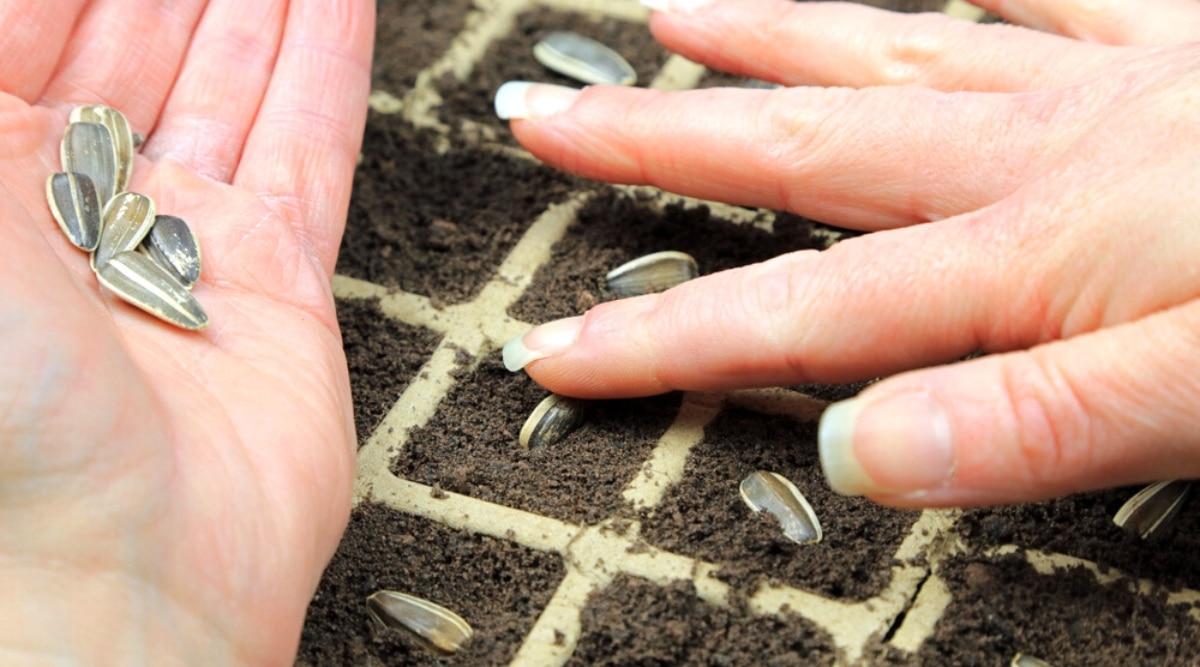
- Make Indentations: Use your finger or a small dowel to make shallow indentations in the soil of the prepared seed starting containers. Space the indentations about 1-2 inches apart.
- Sow the Seeds: Drop one or two tomato seeds into each indentation. If planting more than one seed, space them slightly apart to allow room for growth and proper air circulation.
- Cover and Firm: Gently cover the seeds with a thin layer of the seed starting mix. Press it down lightly to ensure good seed-to-soil contact and to secure the seeds in place.
- Water Gently: Use a fine mist spray bottle or a watering can with a gentle shower setting to water the newly planted seeds. Ensure that the soil is moist but not soaked. Be careful not to displace the seeds or create standing water on the surface.
- Provide Adequate Humidity and Warmth: Cover the seed trays or pots with a clear plastic dome or a plastic wrap to create a greenhouse-like environment. This increases humidity and retains moisture. Place the containers in a warm location, ideally with temperatures between 70-80°F (21-27°C).
- Monitor and Maintain: Regularly check the moisture level of the soil and mist as needed to keep it consistently moist. Monitor the seedlings for any signs of growth, such as the emergence of cotyledon leaves. Adjust the plastic covering or remove it once the seedlings start to emerge.
Remember to label your seed trays or pots with the tomato variety names to avoid any confusion. Place the containers in a well-lit area, either near a south-facing window or under grow lights, ensuring they receive around 12-16 hours of light per day.
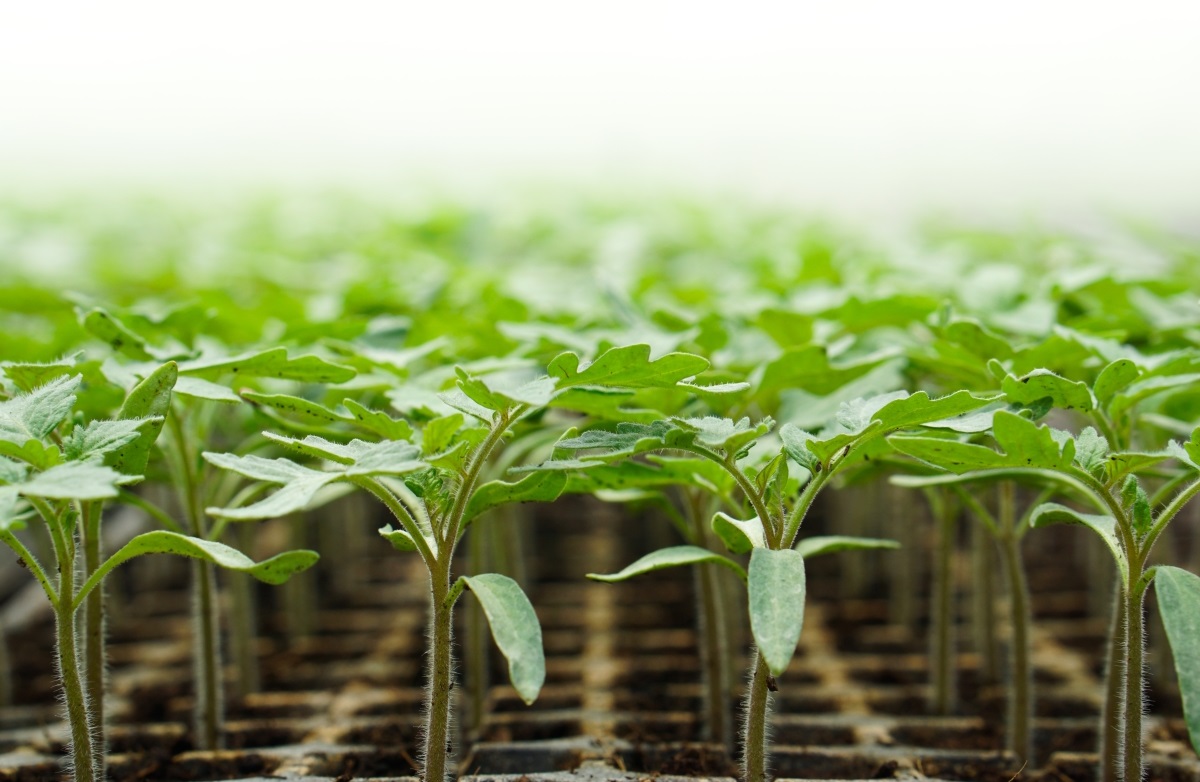
With patience and proper care, your tomato seeds will sprout and develop into healthy seedlings. As they grow, continue to provide the optimal conditions of warmth, light, and moisture to encourage growth and prepare them for the next step: transplanting the seedlings outdoors.
Providing the Optimal Growing Conditions
In order for your tomato seedlings to thrive, it is important to provide them with the optimal growing conditions. By meeting their specific needs, you can encourage healthy growth, strong root development, and robust plants. Here are key factors to consider:
- Light: Tomato seedlings require ample light to grow. If you’re growing them indoors, place them in a location where they can receive 12-16 hours of bright, indirect light each day. South-facing windows are ideal. If natural light is limited, supplement with fluorescent or LED grow lights positioned a few inches above the seedlings.
- Temperature: Tomato seedlings prefer warm temperatures for optimal growth. Maintain a consistent temperature range of 70-80°F (21-27°C) during the day and slightly cooler temperatures at night. Avoid exposing the seedlings to extreme temperature fluctuations or cold drafts.
- Humidity: Young tomato plants benefit from slightly higher humidity levels. If the air in your home is dry, consider using a humidifier or placing a tray filled with water near the seedlings to increase humidity. However, avoid excessive moisture, as it can lead to fungal diseases.
- Air Circulation: Good air circulation helps prevent fungal diseases and promotes strong stem growth. Position a small fan nearby or gently waft air around the seedlings for a few minutes each day. Be mindful of not subjecting the seedlings to strong, direct drafts.
- Watering: Provide consistent moisture to the seedlings, ensuring that the soil remains evenly moist but not overly saturated or waterlogged. Water the seedlings from the base, keeping the foliage as dry as possible. Use a watering can with a narrow spout or a spray bottle to water gently, avoiding excessive force that may disturb the delicate seedlings.
- Fertilization: At this stage, tomato seedlings do not require heavy fertilization. Wait until the seedlings develop their first true leaves before applying a diluted, balanced liquid fertilizer. Follow the instructions on the fertilizer package for proper dilution and application rates.
Regularly monitor the seedlings for any signs of stress, nutrient deficiencies, or diseases. Remove any yellowing or damaged leaves and promptly address any issues that arise. As the seedlings grow, thin out any overcrowded or weaker seedlings, leaving the healthiest and strongest individuals to thrive.
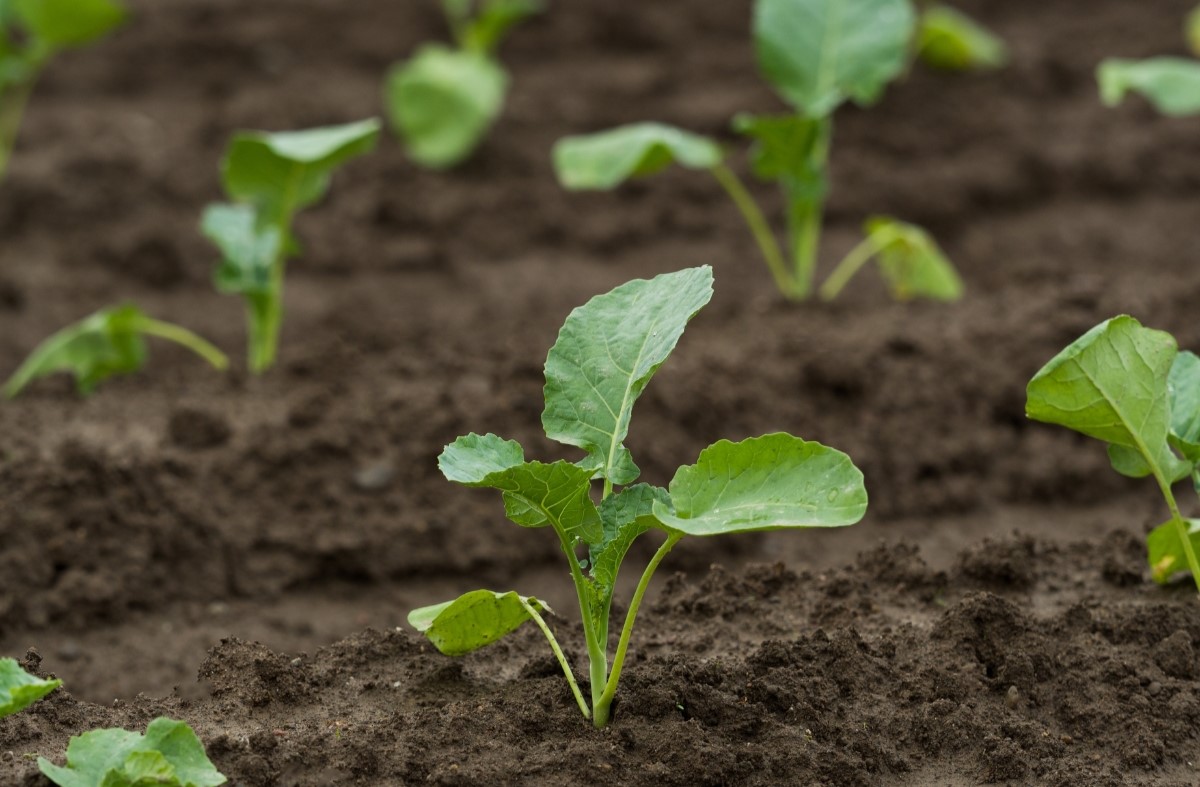
By providing the optimal growing conditions, you can give your tomato seedlings the best chance of maturing into robust, healthy plants ready for transplanting outdoors.
Transplanting Tomato Seedlings Outdoors
Once your tomato seedlings have grown strong and healthy, it’s time to transplant them outdoors. Transplanting is a critical step in the growth process, as it allows your seedlings to acclimate to their new environment and develop deeper root systems. Follow these steps for successful transplanting:
- Choose the Right Timing: Wait until all chance of frost has passed and the soil temperature has warmed up to at least 60°F (15°C). This usually occurs a few weeks after the last frost date. Transplant during a cloudy, calm day or in the late afternoon to minimize stress to the seedlings.
- Prepare the Planting Area: Select a sunny spot in your garden with well-draining soil. If necessary, amend the soil with organic matter such as compost or aged manure to improve fertility and drainage. Dig a hole that is slightly larger than the root ball of the seedling.
- Harden Off the Seedlings: Before transplanting, gradually acclimate your seedlings to outdoor conditions. Begin by placing them outdoors in a sheltered location for a few hours each day, gradually increasing the amount of time over the course of a week. This will help the seedlings adjust to fluctuations in temperature, wind, and sunlight.
- Transplant the Seedlings: Gently remove the seedlings from their containers, taking care not to damage the roots. Place each seedling into the prepared hole, ensuring that the top of the root ball is level with or slightly below the soil surface. Backfill the hole with soil, gently firming it around the seedling to eliminate air pockets. Space the tomato plants at least 18-24 inches apart to allow room for growth and proper air circulation.
- Water Thoroughly: Immediately after transplanting, water the seedlings thoroughly to settle the soil and help the roots establish. Aim to provide about an inch of water per week, either through rainfall or supplemental irrigation. Water deeply and less frequently to encourage the development of strong, deep root systems.
- Provide Support: Depending on the tomato variety, you may need to provide support for the plants as they grow taller. Install stakes, cages, or trellises near each plant to support the sprawling vines and prevent them from bending or breaking under the weight of the fruit.
- Mulch and Monitor: Apply a layer of organic mulch, such as straw or wood chips, around the base of the plants. This will help conserve moisture, suppress weed growth, and maintain more consistent soil temperatures. Regularly monitor the plants for pests, diseases, and nutrient deficiencies, and take appropriate action to intervene if necessary.
Remember, it’s normal for transplant shock to occur after moving seedlings outdoors. Pay attention to any wilting or temporary setback, but with proper care and maintenance, your tomato seedlings will quickly recover and continue their growth.
By following these transplanting guidelines, you’ll give your tomato seedlings the best chance of thriving in their new outdoor home and eventually producing a plentiful harvest of delicious tomatoes.
Read more: How To Plant Tomatoes From Seeds
Conclusion
Starting tomato seeds indoors is a rewarding and effective way to jumpstart your tomato gardening journey. By following the steps outlined in this article, you can experience the joy of watching your seeds transform into healthy seedlings and eventually into flourishing tomato plants.
The benefits of starting tomato seeds indoors, such as extending the growing season, having more control over the growing conditions, and accessing a wider variety of tomato cultivars, make it a popular choice among gardeners. By choosing the right time to start your tomato seeds, gathering the necessary supplies, preparing the seed starting containers, and properly selecting and preparing your seeds, you set yourself up for success.
Providing optimal growing conditions, including appropriate lighting, consistent temperatures, adequate humidity, and proper watering techniques, ensures that your tomato seedlings thrive. Finally, transplanting your seedlings outdoors at the right time and with proper care allows them to mature into strong, productive plants.
Remember, each step of the process requires attention to detail, patience, and regular monitoring. Observe your plants closely, address any issues that arise promptly, and provide ongoing care and maintenance to ensure a bountiful harvest of delicious, homegrown tomatoes.
So, whether you’re a seasoned gardener or just starting out, embrace the joy of starting tomato seeds indoors. Enjoy the journey, learn from your experiences, and savor the amazing flavors that homegrown tomatoes bring to your table. Happy gardening!
Frequently Asked Questions about When To Plant Tomato Seeds Indoors
Was this page helpful?
At Storables.com, we guarantee accurate and reliable information. Our content, validated by Expert Board Contributors, is crafted following stringent Editorial Policies. We're committed to providing you with well-researched, expert-backed insights for all your informational needs.


0 thoughts on “When To Plant Tomato Seeds Indoors”