Home>Garden Essentials>When To Plant Iris Seeds
Garden Essentials
When To Plant Iris Seeds
Modified: May 6, 2024
Discover the best time to plant iris seeds in your garden and ensure a beautiful blooming season with our expert gardening tips and advice.
(Many of the links in this article redirect to a specific reviewed product. Your purchase of these products through affiliate links helps to generate commission for Storables.com, at no extra cost. Learn more)
Introduction
Gardening enthusiasts understand the joy and satisfaction of watching plants grow from seeds. And when it comes to iris plants, growing them from seeds can be a rewarding endeavor. Iris seeds allow you to explore a wide variety of colors, shapes, and patterns, creating a unique and personalized garden display.
Before embarking on your journey to grow iris plants from seeds, there are several factors to consider. From understanding the ideal climate and soil conditions to learning the best practices for planting and caring for iris seeds, this article will guide you on how to successfully grow your own iris garden from scratch.
Factors to Consider Before Planting Iris Seeds
Climate and Temperature: Irises thrive in different climate zones, ranging from cold regions to warmer areas. It’s important to determine the specific type of iris you want to grow and ensure that your climate is suitable for its growth. Some irises prefer cooler temperatures, while others thrive in warmer climates.
Sunlight and Shade: Irises generally require full sun exposure to produce abundant flowers. Ensure that the planting site receives at least six hours of direct sunlight each day. However, some irises can tolerate partial shade, but they may not bloom as profusely.
Soil Type and Drainage: Irises prefer well-drained soil with a pH level between 6.0 and 7.5. Loamy or sandy soils are ideal, as they provide good drainage and prevent waterlogging. If your soil is heavy clay or compacted, consider amending it with organic matter to improve drainage.
Watering Requirements: Irises prefer moderate watering, allowing the soil to dry out between waterings. Avoid overwatering, as it can lead to root rot and other diseases. Ensure that the planting site has proper drainage to prevent waterlogged soil.
Timing and Season: The ideal time to plant iris seeds depends on your climate and the particular species you’re growing. In general, late summer or early fall is the best time to sow iris seeds, as it allows the plants to establish their root systems before winter. However, some irises, like bearded irises, can also be planted in early spring.
Now that we have covered the essential factors to consider before planting iris seeds, let’s delve into the preparation of the soil to provide optimal conditions for successful growth.
Key Takeaways:
- Planting iris seeds requires considering climate, sunlight, soil, and timing. Proper care involves watering, fertilizing, pest control, staking, and removing spent flowers. Harvest and store seeds for future plantings or sharing with others.
- Growing iris plants from seeds is a rewarding journey that requires patience and attention. By understanding the factors and providing proper care, you can create a stunning and diverse iris garden.
Read more: When To Plant Borage Seeds
Factors to Consider Before Planting Iris Seeds
Growing iris plants from seeds requires careful consideration of several factors to ensure their successful growth and development. By understanding these factors, you can create an optimal environment for your iris garden. Let’s explore the key factors to consider:
Climate and Temperature: Irises are incredibly diverse in their adaptability to different climates. Some species of iris thrive in colder regions, while others prefer warmer areas. Before planting iris seeds, determine the specific type of iris you want to grow and ensure that your climate is suitable. Consult local gardening resources or talk to experienced gardeners in your area to determine which irises are best suited for your climate and temperature conditions.
Sunlight and Shade: Irises generally require full sun exposure to produce an abundance of flowers. They need at least six hours of direct sunlight each day to thrive. Select a planting site that receives ample sunlight and minimal shade throughout the day. However, there are some iris varieties that can tolerate partial shade. Keep in mind that irises planted in shady areas may not produce as many flowers as those planted in full sun.
Soil Type and Drainage: Irises prefer well-drained soil with a pH level between 6.0 and 7.5. Loamy or sandy soils are ideal for growing irises as they promote good drainage and prevent waterlogging. If your soil is heavy clay or compacted, consider amending it with organic matter like compost or peat moss to improve drainage and create a more favorable growing environment for your iris seeds.
Watering Requirements: Proper watering is essential for the healthy growth of iris plants. Irises prefer moderate watering, allowing the soil to dry out slightly between waterings. Overwatering can lead to root rot and other diseases, so it’s important not to keep the soil overly moist. On the other hand, underwatering can hinder growth and flowering. Find a balance and water your irises regularly, ensuring that the soil is evenly moist but not saturated.
Timing and Season: The timing of planting iris seeds is crucial for their optimal growth and establishment. The specific timing may vary depending on your climate and the iris species you’re growing. In general, late summer or early fall is the best time to sow iris seeds. Planting during this period allows the plants to develop strong root systems before the winter season. However, some irises, such as bearded irises, can also be planted in early spring. Research the specific requirements of the iris variety you’re growing to determine the best timing for planting.
By considering these important factors, you can create a suitable environment for your iris seeds to thrive. Now, let’s move on to preparing the soil to provide the ideal conditions for your growing irises.
Preparing the Soil for Iris Seeds
Proper soil preparation is essential to provide the ideal growing conditions for your iris seeds. By taking the time to prepare the soil correctly, you can enhance their chances of germination and ensure healthy plant growth. Here are the key steps to preparing the soil for iris seeds:
Site Selection: Choose a suitable planting site that meets the sunlight and drainage requirements of iris plants. Look for an area that receives full sun for at least six hours a day and has well-drained soil. Avoid low-lying areas that tend to retain water, as too much moisture can cause the iris bulbs to rot.
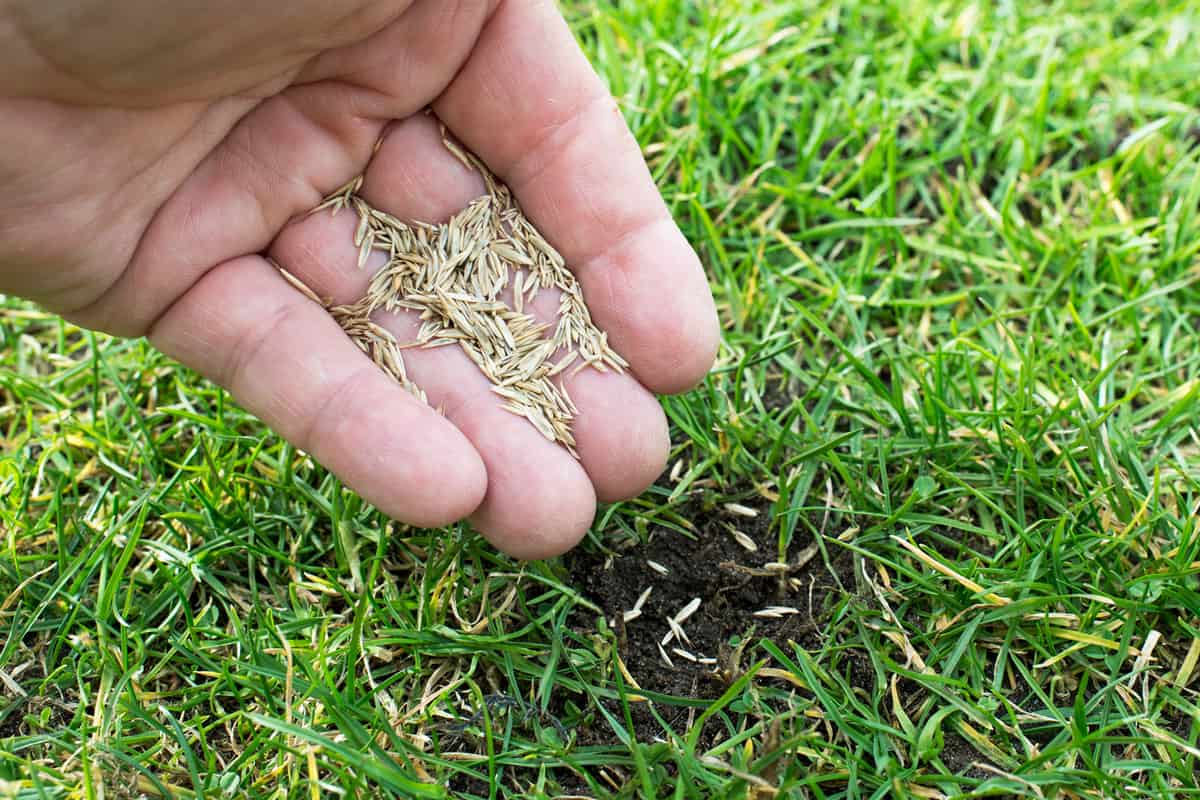
Clearing the Area: Before planting iris seeds, clear the selected area of any vegetation, weeds, or debris. Remove grass, rocks, and other plants to create a clean and open space for the iris seeds to grow. This will minimize competition for resources and provide a fresh start for your iris garden.
Soil Enrichment: To provide the necessary nutrients for your iris seeds, enrich the soil with organic matter. Prepare the soil by adding compost, well-rotted manure, or other organic amendments. These organic materials will improve the soil structure, fertility, and moisture-holding capacity, creating a favorable environment for seed germination and plant growth. Work the organic matter into the top few inches of soil using a garden fork or tiller.
pH Levels: Irises prefer slightly acidic to neutral soil with a pH level between 6.0 and 7.5. Test your soil’s pH levels using a soil testing kit available at garden centers. If the pH is too low (acidic), you can raise it by adding agricultural lime. If the pH is too high (alkaline), you can lower it by adding sulfur or peat moss. Adjusting the soil’s pH levels will create an optimal growing environment for your iris seeds.
Weed Control: Before planting iris seeds, it’s crucial to control and eliminate weeds. Weeds compete with your iris plants for nutrients, water, and space. Remove any existing weeds in the planting area by hand-pulling or using a hoe, taking care to remove the entire root system. Applying a layer of mulch can also help suppress weed growth and maintain soil moisture levels.
By following these steps to prepare the soil, you can create an optimal growing environment for your iris seeds. Once the soil is properly prepared, it’s time to move on to the next step: planting the iris seeds.
Planting Iris Seeds
Planting iris seeds is an exciting step in your journey to grow these beautiful and vibrant plants. By following the right techniques, you can maximize the chances of successful germination and healthy growth. Here are the essential steps for planting iris seeds:
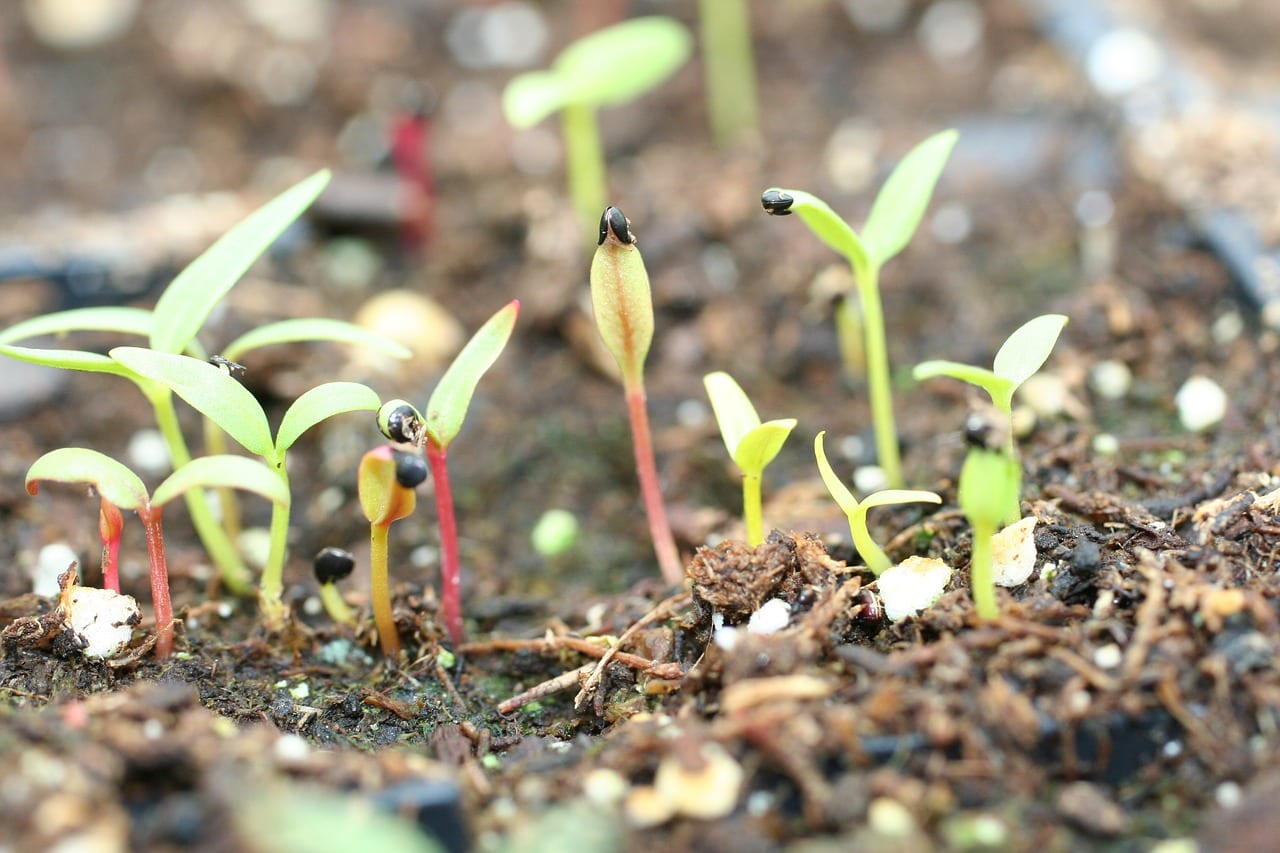
Seed Soaking: Before sowing iris seeds, it’s beneficial to soak them in water for 24 to 48 hours. This soaking process helps soften the seed coat and promotes better germination rates. Fill a container with room temperature water and place the iris seeds inside. Allow them to soak for the recommended time before moving on to the next step.
Seed Stratification: Many iris seeds require a period of cold stratification to break their natural dormancy and simulate the winter season they would experience in their natural habitat. After soaking the seeds, transfer them to a sealed plastic bag or airtight container. Place them in the refrigerator for a period of 4 to 6 weeks. This process will help trigger the germination process once the seeds are planted.
Seed Sowing: After the stratification period, it’s time to sow the iris seeds. Choose a well-prepared planting area with loose and moist soil. Make shallow furrows or small holes in the soil, spaced about 2 to 3 inches apart. Gently place the soaked and stratified iris seeds into the furrows or holes. Avoid overcrowding by leaving enough space for the plants to grow and develop.
Spacing and Depth: Proper spacing and planting depth are crucial for the healthy development of iris plants. Aim to plant the seeds about 1/4 to 1/2 inch deep in the soil. As for spacing, allow at least 6 to 12 inches between each seed or clump, depending on the specific iris variety. Providing enough space will ensure that the plants have access to adequate nutrients and adequate airflow.
Mulching: Applying a layer of mulch around the planted iris seeds can provide several benefits. Mulch helps retain soil moisture, suppresses weed growth, and regulates soil temperature. Use organic mulch such as straw, wood chips, or shredded leaves. Apply a layer about 2 to 3 inches thick, taking care to avoid direct contact with the iris seeds.
By following these steps, you can ensure that your iris seeds are properly planted and have the best chance of successful germination. Now, it’s time to move on to the next phase: caring for your growing iris plants.
Plant iris seeds in late summer or early fall, as they need a period of cold stratification to germinate. Choose a well-draining, sunny spot and sow the seeds just below the soil surface. Keep the soil consistently moist but not waterlogged.
Caring for Iris Seeds
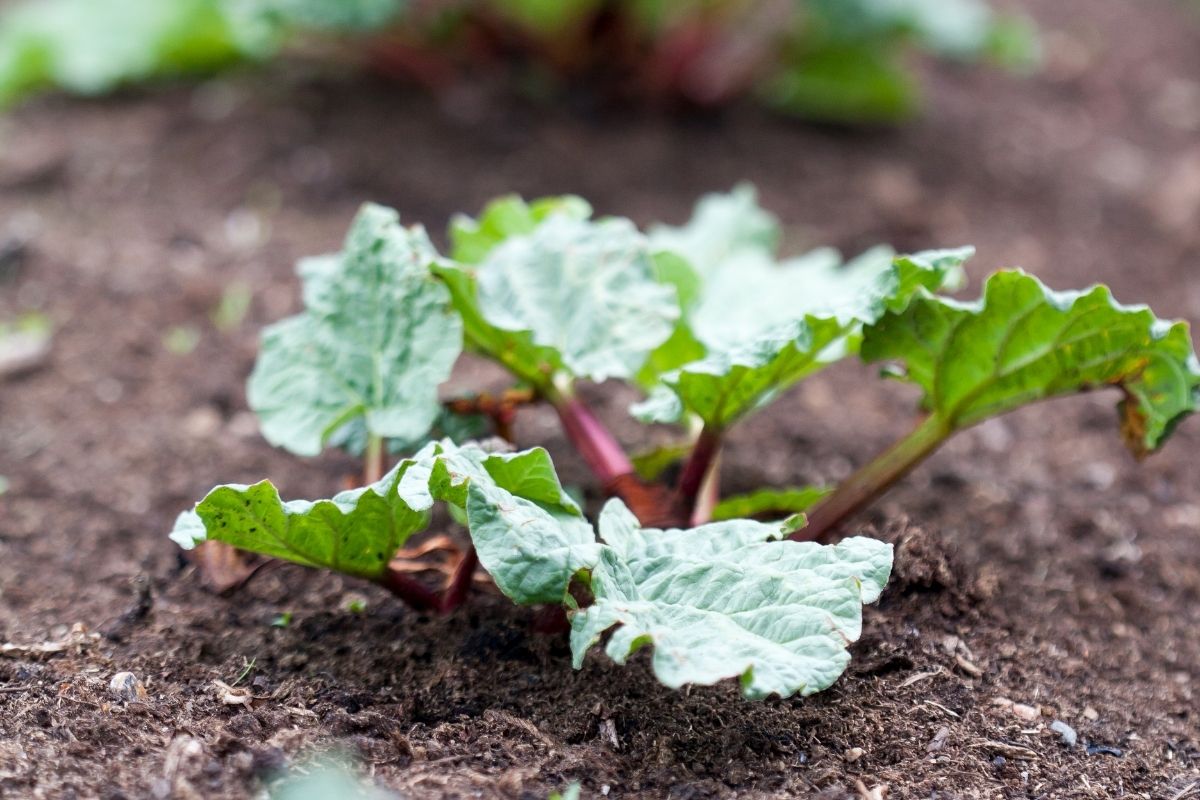
Once you have planted your iris seeds, it’s important to provide proper care to ensure their healthy growth and development. With regular attention and maintenance, you can help your iris seeds thrive and flourish. Here are the key aspects to consider when caring for iris seeds:
Watering: Proper watering is essential for the successful growth of iris plants. After planting the seeds, keep the soil consistently moist but not waterlogged. Check the soil moisture regularly and water as needed, ensuring that it doesn’t become overly dry or saturated. During hot and dry periods, you may need to increase the frequency of watering.
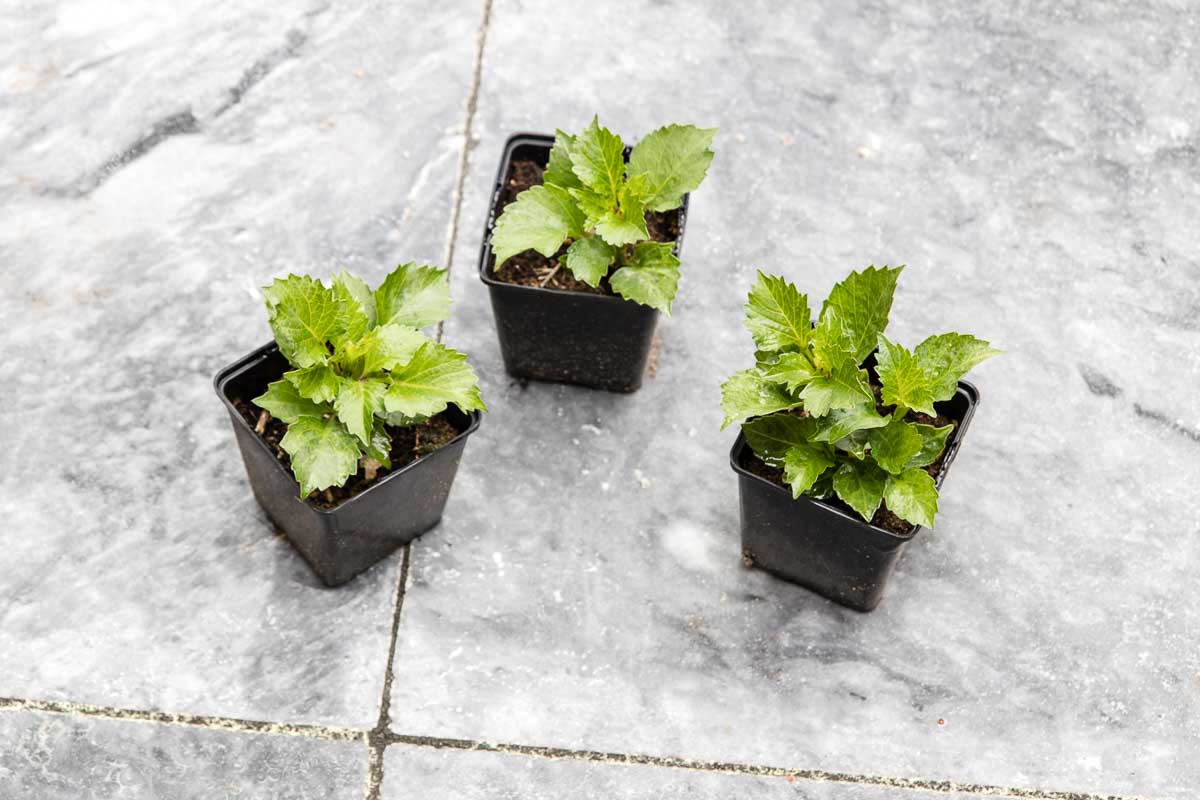
Fertilizing: Iris seeds benefit from regular feeding to provide them with essential nutrients. Once the seedlings have emerged, you can start applying a balanced fertilizer specifically formulated for flowering plants. Follow the manufacturer’s instructions for the appropriate dosage and frequency. Avoid over-fertilizing, as this can lead to excessive leaf growth without a significant increase in flower production.
Pest and Disease Control: Regular monitoring and proactive pest control measures are necessary to keep your iris seeds healthy. Common pests that affect irises include iris borer, aphids, snails, and slugs. Use organic or chemical insecticides, following the instructions carefully, to control pests. Additionally, practice proper sanitation and remove any diseased or damaged foliage promptly to prevent the spread of diseases.
Staking or Supports: As your iris plants grow, some varieties may require staking or support to prevent them from flopping over due to their top-heavy blooms. Stake the plants early on using bamboo stakes or plant supports. Gently tie the stems to the supports, giving them the necessary support to stand tall and prevent breakage during heavy winds or rain.
Removing Spent Flowers: Deadheading or removing spent flowers on your iris plants not only keeps the garden looking neat and tidy but also encourages the plants to focus their energy on producing new blooms rather than seed production. Once a flower has wilted, trim the stem down to the base of the plant. This practice also reduces the likelihood of diseases and pests being attracted to decaying flowers.
By following these care instructions, you can ensure that your iris seeds receive the attention and care they need for optimal growth and flower production. With time and patience, you will be rewarded with a stunning iris garden full of vibrant colors and graceful blooms.
Read more: When To Plant Vinca Seeds
Harvesting and Storing Iris Seeds
Harvesting and storing iris seeds is a rewarding process that allows you to continue growing beautiful irises in your garden or share them with fellow gardening enthusiasts. When the time is right, follow these steps to harvest and store iris seeds:
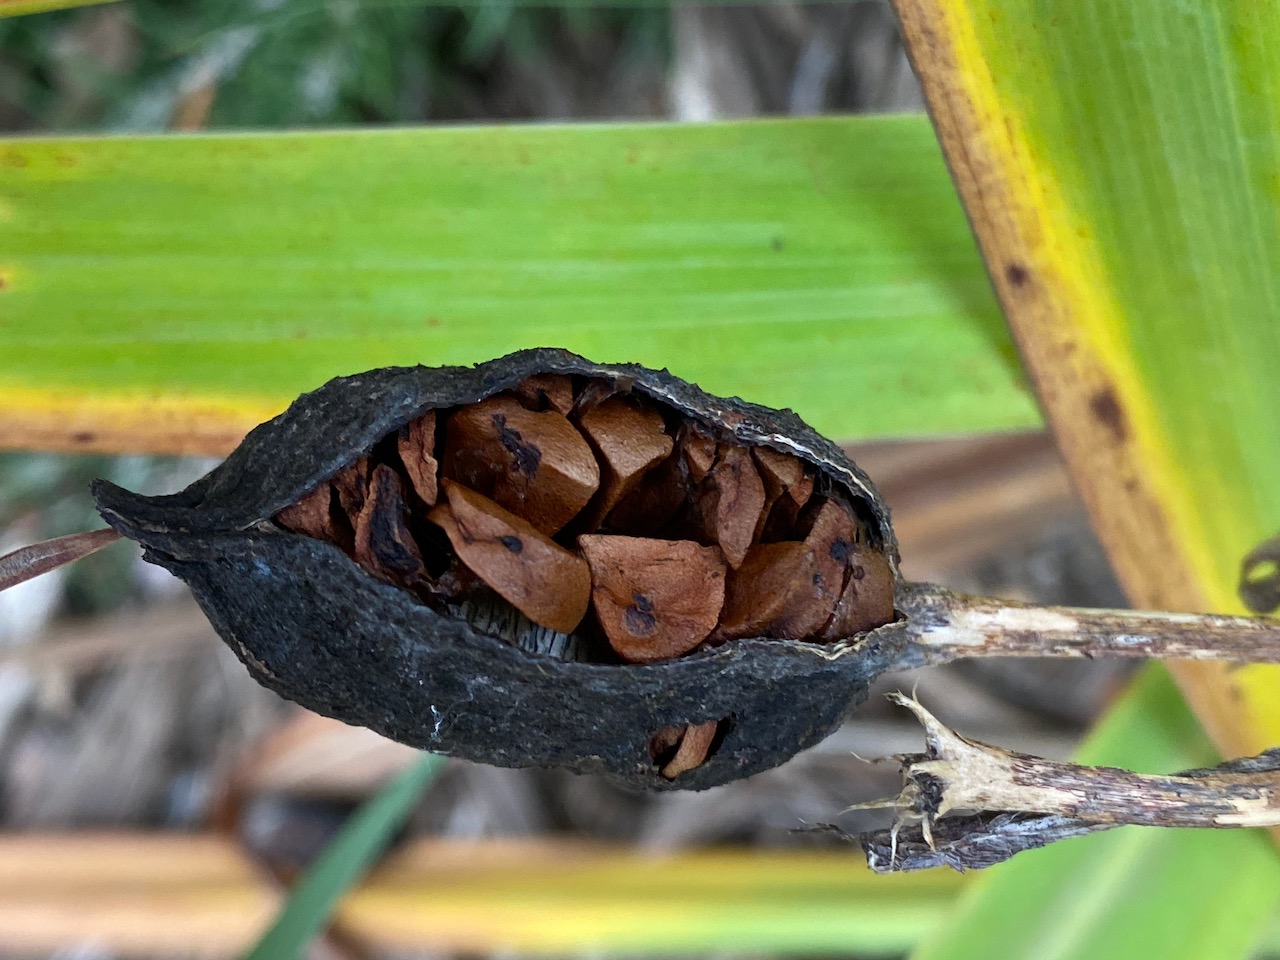
Seed Pod Development: After the iris plants have bloomed, pollination occurs, and seed pods start to develop. The seed pods will begin to turn brown and dry out as the seeds inside mature. This is the indication that they are ready for harvesting. Allow the seed pods to remain on the plant until they have fully developed and are easily detached when lightly touched.
Harvesting the Seed Pods: Gently twist or cut the seed pods from the plant using clean, sharp scissors or pruners. Place the harvested seed pods in a clean container or paper bag. It’s important to label the container with the iris variety and the date of harvest, as this information will be useful for future reference or seed sharing/trading.
Seed Cleaning and Storage: Remove the seeds from the dry seed pods by gently breaking them open. The seeds are typically dark brown or black, and they have a hard, shiny coating. Separate the seeds from any chaff or debris using a sieve or strainer. Once cleaned, transfer the seeds to a breathable container such as a paper envelope or a mesh bag. Store the seeds in a cool, dry place away from direct sunlight. A refrigerator can provide the ideal conditions for storing iris seeds until you are ready to plant them.
Sharing or Trading Iris Seeds: If you have an abundance of iris seeds and would like to share or trade them with other gardeners, consider participating in seed exchanges or reaching out to local gardening communities. Packaging the seeds in small envelopes or containers and including the variety name, planting instructions, and any other relevant information can enhance the experience for the recipient. Sharing seeds not only spreads the joy of gardening but also promotes diversity in iris gardens.
By following these steps, you can successfully harvest and store iris seeds for future plantings or sharing with other gardening enthusiasts. Remember to keep the seeds in a cool and dry environment to maintain their viability. With each new planting, you have the opportunity to create a unique and diverse iris garden filled with beauty and wonder.
Conclusion
Growing iris plants from seeds is a fascinating and rewarding experience that allows you to unleash your creativity and create a unique garden filled with vibrant blooms. By considering the crucial factors such as climate, sunlight, soil, watering, and timing, you can provide the optimal conditions for your iris seeds to flourish.
Through careful soil preparation and proper planting techniques, you lay the foundation for successful germination and healthy growth. Caring for your iris seeds involves regular watering, fertilizing, pest control, staking, and removing spent flowers to maintain their health and vigor.
When the time comes, harvesting and storing iris seeds extend the journey into future plantings and allow you to share the beauty of irises with other gardening enthusiasts. Properly cleaning and storing the seeds ensure their viability until you are ready to propagate them.
As you embark on your iris seed-growing adventure, remember to enjoy the process. Gardening is a journey that teaches patience, persistence, and an appreciation for the wonders of nature. Observe the growth of your iris plants, revel in their stunning blooms, and take pride in the unique garden you have created.
Whether you are a seasoned gardener or just starting your green-thumb journey, growing iris plants from seeds opens up a world of possibilities. With a little knowledge, creativity, and a touch of patience, you can cultivate a breathtaking garden filled with these magnificent and captivating flowers.
So go ahead, grab your seeds, prepare the soil, and watch as your iris garden comes to life from the humble beginnings of tiny seeds. Happy gardening!
Now that you've mastered when to plant iris seeds, why not spruce up your garden's boundaries with some creative enclosures? Our guide on garden fence ideas offers a myriad of styles that could transform your outdoor space into an inviting haven. And if you're eager to add more blooms alongside your irises, our step-by-step tutorial on planting a flower garden will help you cultivate a vibrant and colorful patch with ease. Each article is packed with practical tips to enhance your gardening journey!
Frequently Asked Questions about When To Plant Iris Seeds
Was this page helpful?
At Storables.com, we guarantee accurate and reliable information. Our content, validated by Expert Board Contributors, is crafted following stringent Editorial Policies. We're committed to providing you with well-researched, expert-backed insights for all your informational needs.


0 thoughts on “When To Plant Iris Seeds”