Home>Furniture>Outdoor Furniture>How To Dig For A Patio
Outdoor Furniture
How To Dig For A Patio
Modified: October 20, 2024
Learn how to dig for a patio and create the perfect outdoor furniture area. Get expert tips and guidance to transform your backyard into a stylish and functional space.
(Many of the links in this article redirect to a specific reviewed product. Your purchase of these products through affiliate links helps to generate commission for Storables.com, at no extra cost. Learn more)
Introduction
Welcome to the world of outdoor living and relaxation! Whether you’re hosting a backyard barbecue or simply enjoying a quiet evening under the stars, a patio is the perfect addition to your outdoor space. Not only does it provide a designated area for dining and lounging, but it also enhances the overall aesthetic appeal of your garden or yard. However, before you can start enjoying your dream patio, you need to dig the perfect foundation.
In this article, we will guide you through the process of digging for a patio, ensuring a solid and level surface for the installation of your outdoor furniture. From selecting the ideal location and gathering the necessary tools and materials to laying the patio pavers and adding finishing touches, we’ll cover everything you need to know to create a stunning outdoor space.
So, roll up your sleeves, grab your shovel, and let’s get started on this exciting outdoor project!
Key Takeaways:
- Choosing the right location for your patio is crucial for comfort and aesthetics. Consider factors like sun exposure, privacy, and proximity to your house to create a perfect outdoor space.
- Properly preparing the patio base and filling the joints between pavers are essential for a durable and visually appealing patio. Take your time and pay attention to detail for a stunning result.
Read more: How To Dig In A Trampoline
Selecting an Ideal Location
The first step in digging for a patio is choosing the perfect location in your outdoor space. Consider factors such as the size of your patio, the surrounding landscape, and how you plan to use the space.
Start by assessing the area where you want to build your patio. Look for a flat or slightly sloped surface that allows for proper water drainage. Avoid areas with significant slopes or low-lying spots where water can accumulate.
Next, consider the proximity to your house and other outdoor features. A patio that is conveniently accessible from your home, such as through a side or back door, will make it easier for you to transport food, drinks, and other items. Additionally, think about any nearby trees or plants that could provide shade or serve as natural elements to enhance the ambiance of your patio.
Another crucial point to consider is the position of the sun. If you plan to use your patio for outdoor dining, it may be more enjoyable to have it in an area that receives partial shade during the warmer parts of the day. On the other hand, if you’re seeking a sun-soaked spot for lounging and sunbathing, choose a location that gets ample sunlight.
Lastly, think about the privacy and the surrounding views. If you prefer a secluded retreat, consider positioning your patio away from neighboring properties or using privacy screens or tall plants to create a sense of intimacy. Conversely, if you have breathtaking views of mountains, a beautiful garden, or a vibrant cityscape, you may want to showcase these features by placing your patio in an area that maximizes the visual appeal.
By carefully selecting an ideal location for your patio, you can create a comfortable and visually pleasing outdoor space that perfectly complements your lifestyle and preferences.
Gathering the Necessary Tools and Materials
Before you start digging for your patio, it’s essential to gather all the necessary tools and materials. Having everything you need at hand will ensure a smooth and efficient process.
Here is a list of the primary tools and materials you will need:
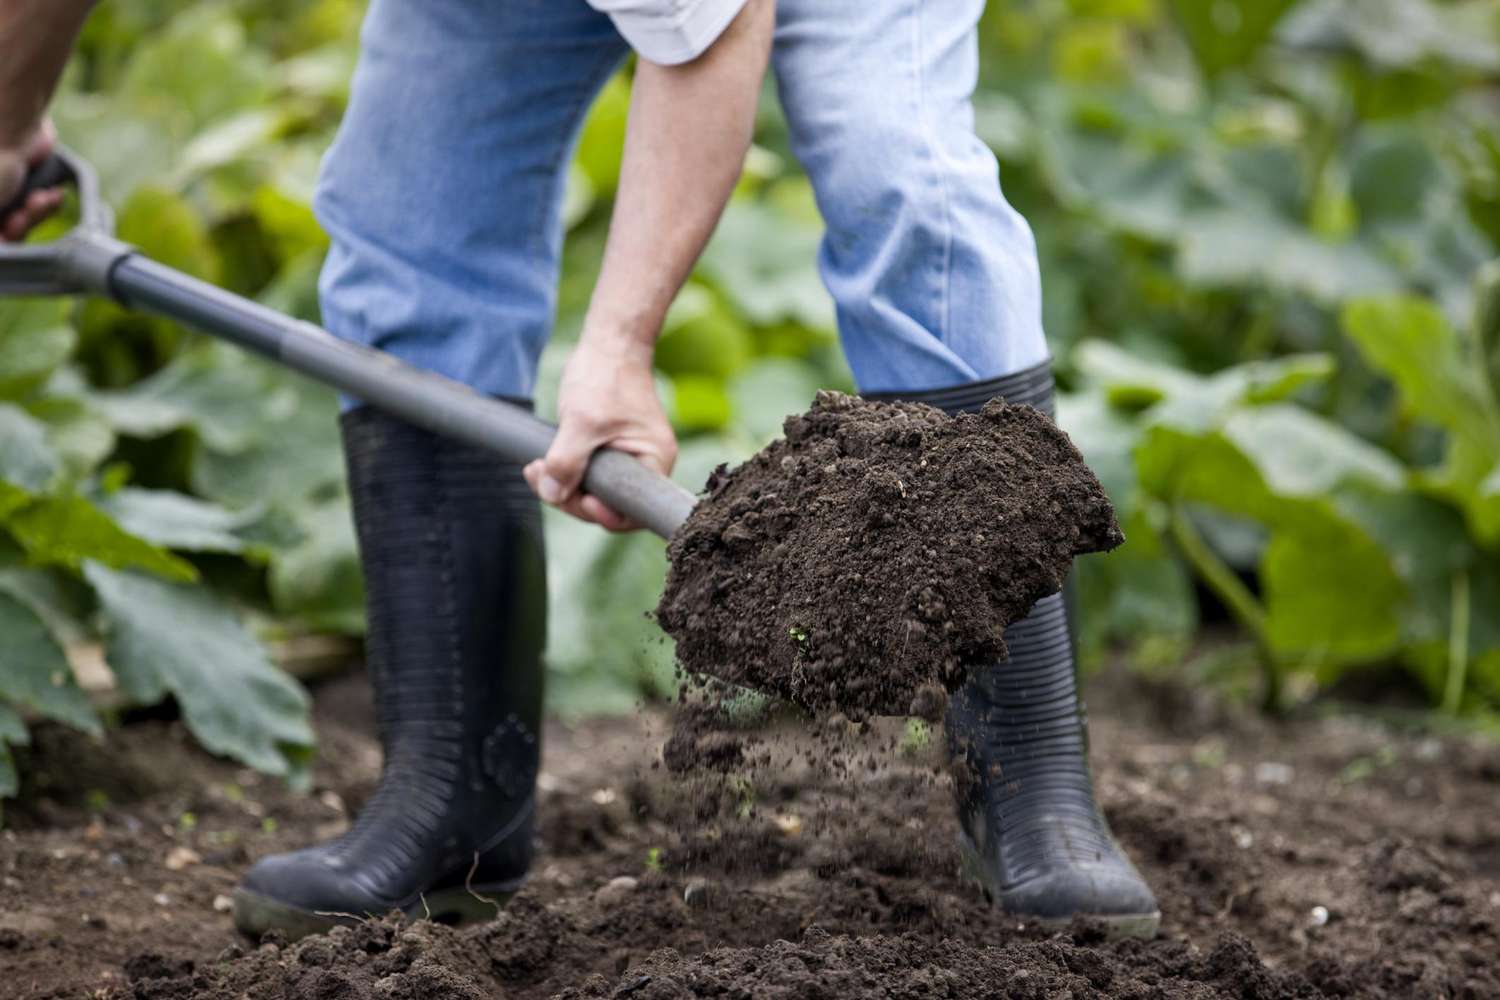
- Shovel: A sturdy shovel will be your best friend during the excavation process. Look for a shovel with a sharp, reinforced blade to dig through soil and remove debris.
- Gloves: Protect your hands with a sturdy pair of gloves. This will not only shield your hands from blisters but also offer some protection from sharp objects or rocks you may encounter while digging.
- Wheelbarrow: A wheelbarrow will come in handy for transporting large amounts of soil or other materials across your outdoor space.
- Tape Measure: Accurate measurements are crucial when planning and marking the area for your patio. Use a tape measure to ensure precision.
- Patio Pavers: Select your desired patio pavers or stones according to your style and budget. Consider the size, shape, color, and texture that will best suit your outdoor area.
- Paver Base Material: This material, often a combination of gravel and sand, provides a stable foundation for your patio. It helps with drainage and prevents shifting or settling of the pavers.
- Edging or Border Materials: Depending on your preference, you may want to install edging or border materials to define the edges of your patio and help keep the pavers in place.
- Level: A level is essential to ensure that your patio is even and properly sloped for water drainage. Use a long level to check the surface as you work.
- Compactor: A compactor, such as a hand tamper or plate compactor, will help you compact the soil and base materials to create a stable foundation.
- Safety Gear: Don’t forget to prioritize safety by wearing protective goggles, a dust mask, and sturdy footwear while working.
By gathering all the necessary tools and materials in advance, you’ll save time and ensure you have everything you need within reach during the patio construction process. Now that you’re well-equipped, it’s time to move on to the next steps and bring your patio vision to life!
Marking the Area
Once you have selected the ideal location for your patio and gathered the necessary tools and materials, it’s time to mark the area where you will dig.
Start by measuring and marking the dimensions of your desired patio space. Use a tape measure to determine the length and width of the area. Consider leaving extra space around the perimeter for any edging or border materials you plan to install.
Next, use stakes and string to outline the shape of your patio. Hammer the stakes into the ground at the corners of your desired patio area. Then, string the line from one stake to another, creating a clear boundary for your patio.
Take a step back to evaluate the shape and size of the marked area. Make any necessary adjustments to ensure it meets your desired specifications and fits well within the surrounding landscape.
As you mark the area, consider the overall flow and functionality of your outdoor space. Think about how your patio will connect to other features, such as your house or garden paths, and ensure that the layout makes sense for your intended use.
Keep in mind that for larger patios or complex designs, it may be helpful to create a detailed blueprint or diagram of the patio layout before marking the area. This can help you visualize the final result and make any necessary adjustments before you start digging.
By accurately marking the area of your patio, you will have a clear guide to follow during the excavation process. With the boundaries set, you can proceed with confidence to the next steps and begin the exciting process of digging your patio.
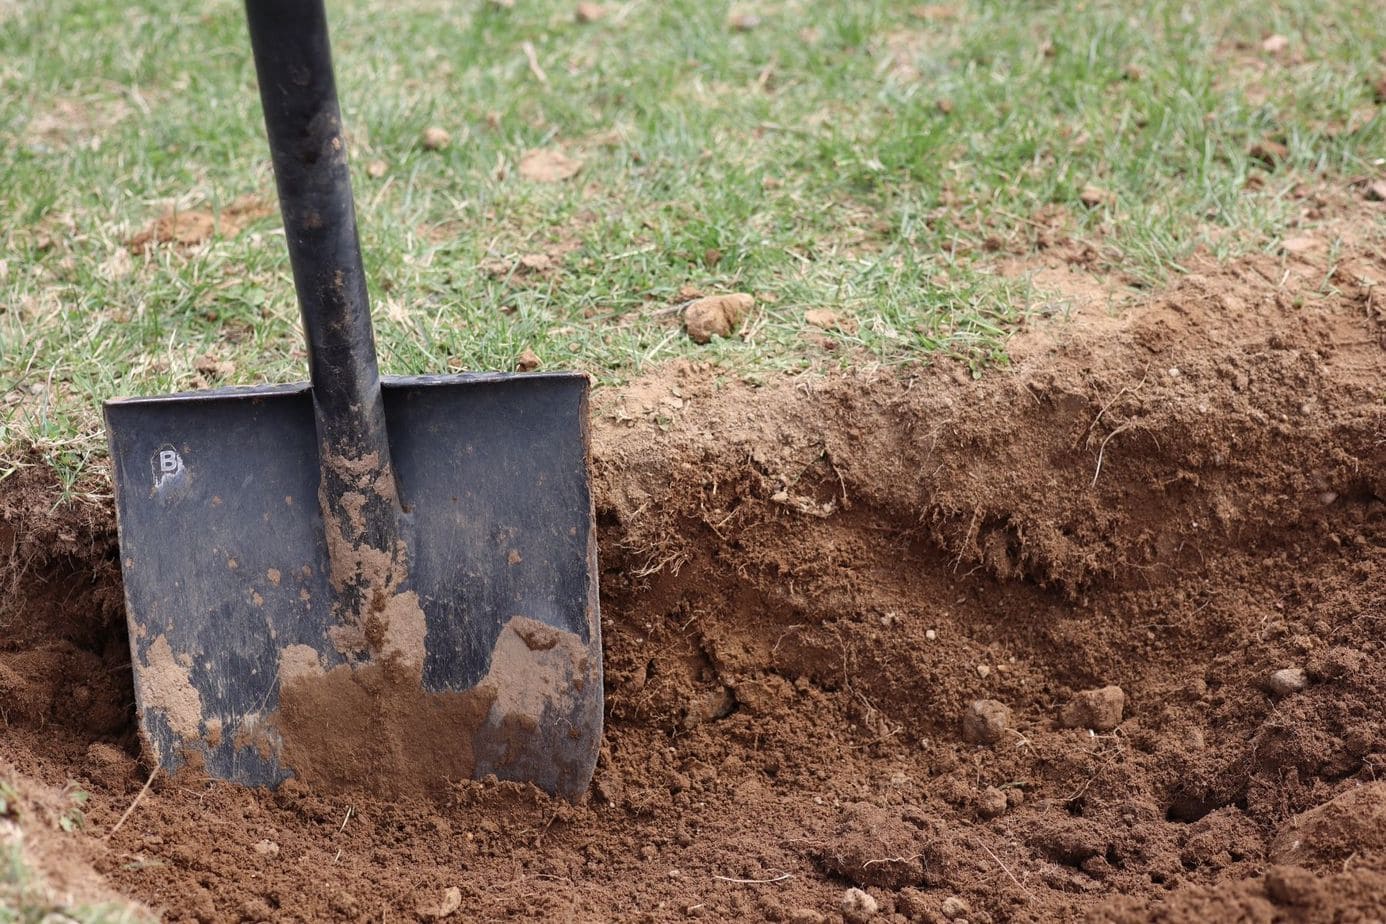
Clearing the Site
With the area for your patio marked, it’s time to clear the site and prepare it for excavation. Clearing the site involves removing any existing vegetation, debris, or obstacles that may hinder the process.
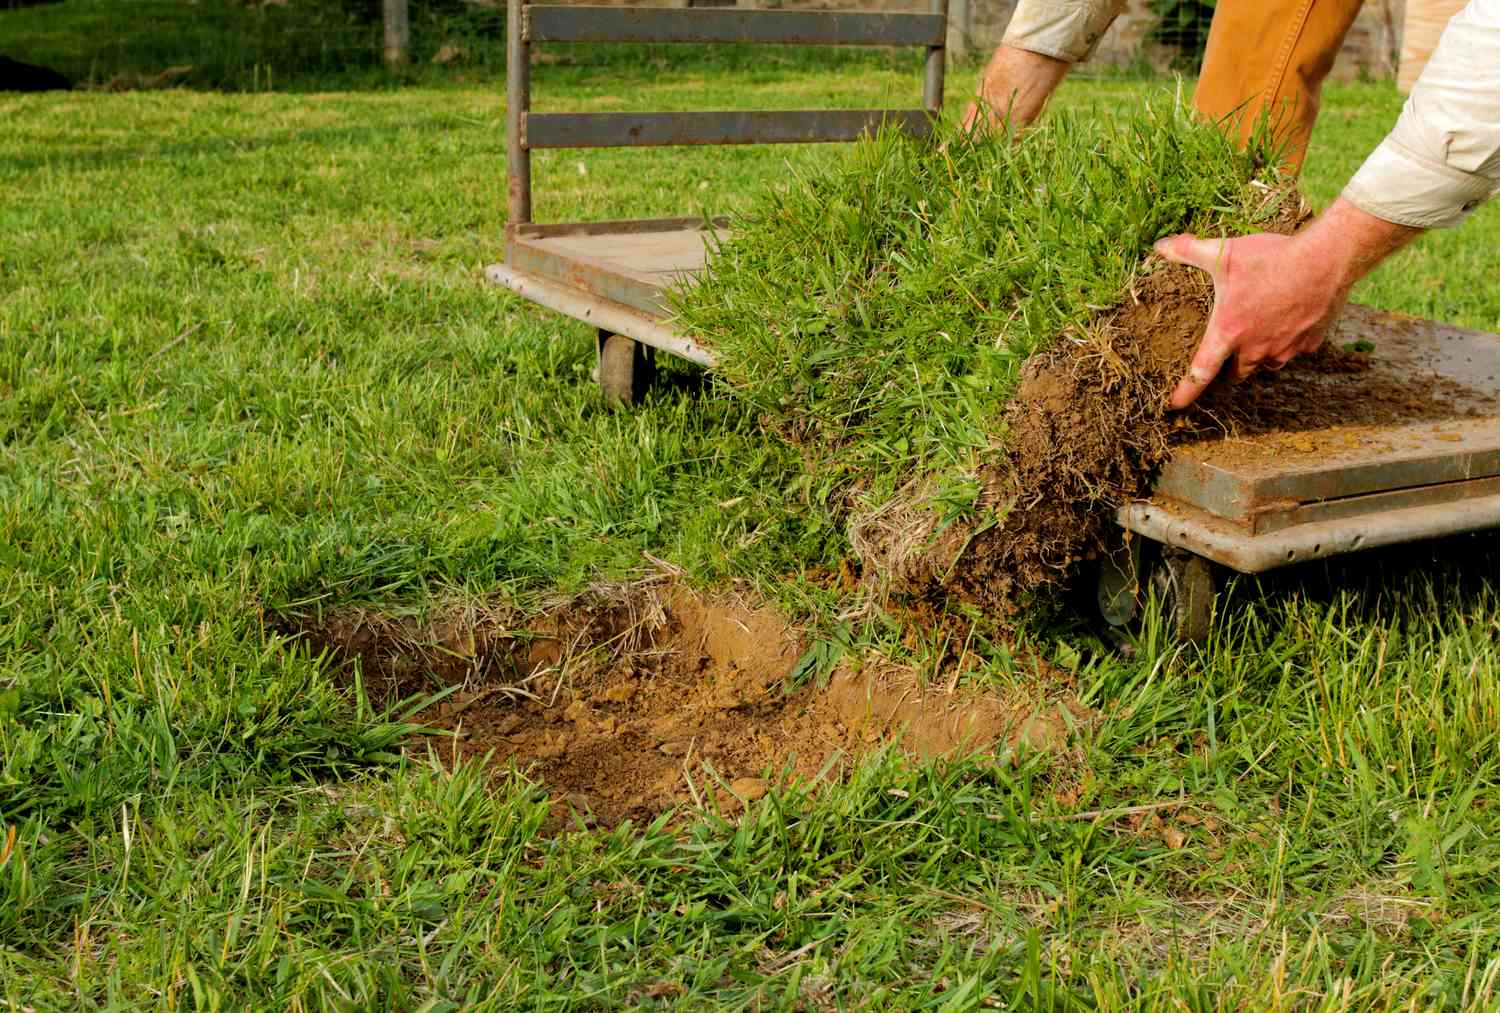
Start by removing any plants, shrubs, or grass within the marked area. Use a shovel or garden spade to dig around the root systems and carefully lift them out of the ground. If there are large trees or deep-rooted vegetation in the way, you may need to seek professional assistance to safely remove them.
Next, clear away any debris or objects on the surface of the site. This can include rocks, branches, or any other items that may interfere with the excavation process. Dispose of these materials responsibly or repurpose them for other projects if possible.
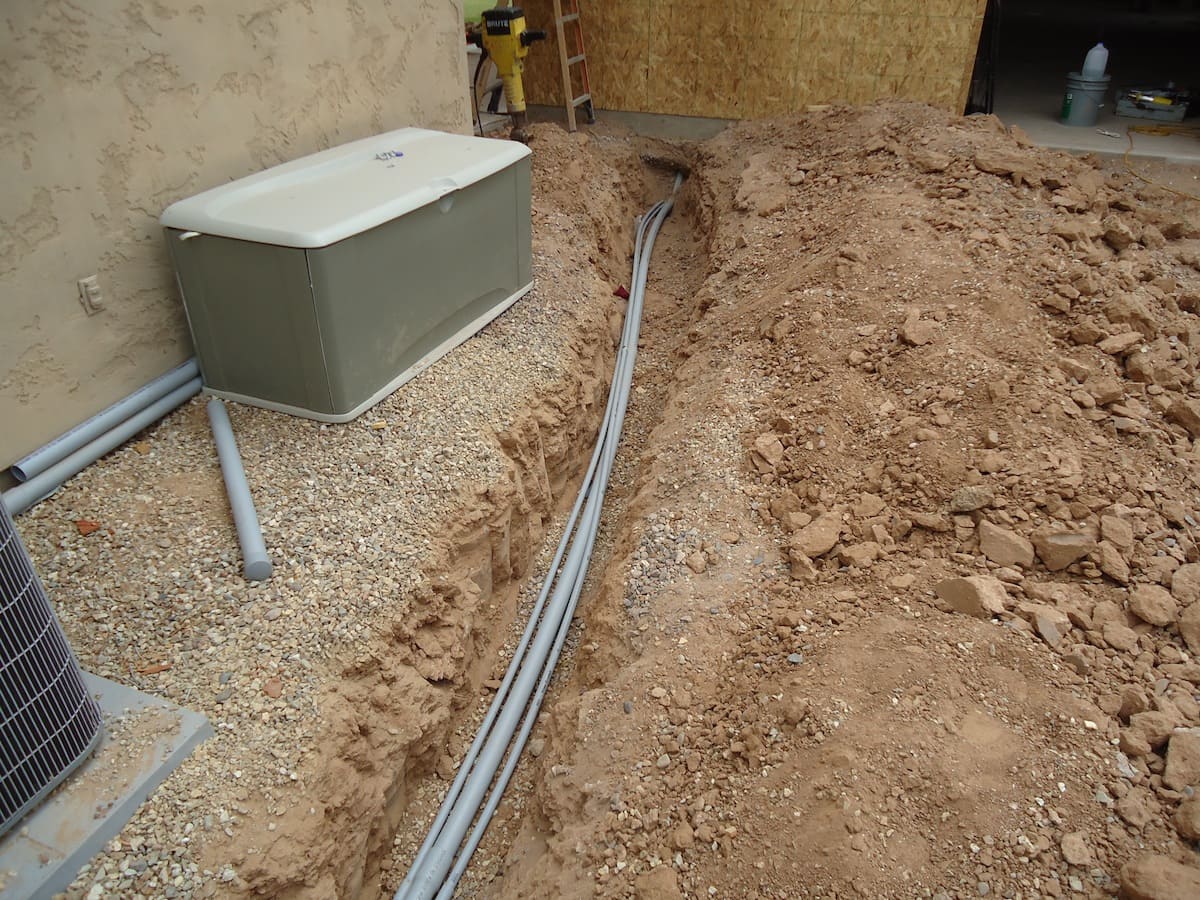
As you clear the site, keep an eye out for any underground utilities such as gas, water, or electrical lines. It’s crucial to call your utility providers and have them mark the location of these lines before you begin digging. This will help prevent accidents and ensure your safety.
Take the time to inspect the cleared area for any other potential obstacles that may need to be addressed. This could include buried pipes, old foundations, or uneven terrain. Note these obstacles and plan accordingly for their removal or adjustment during the excavation process.
Clearing the site not only provides a clean canvas for your patio but also ensures a safe and efficient working environment. By taking the time to clear away vegetation, debris, and obstacles, you set the stage for a successful and enjoyable patio construction process.
Read more: How To Install A No Dig Fence
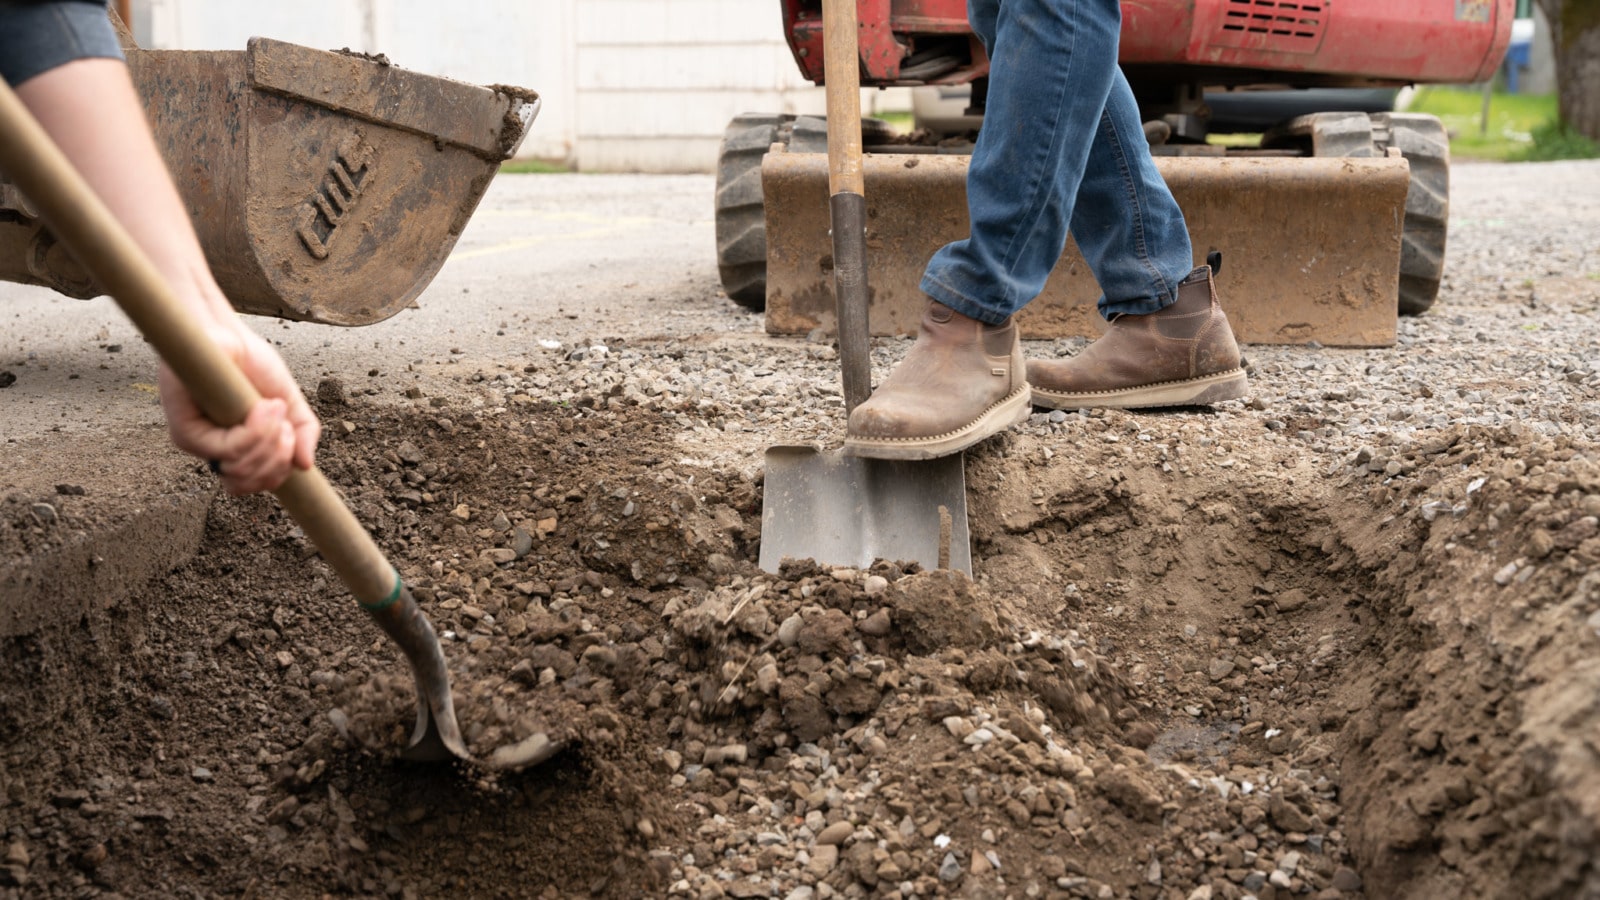
Digging the Patio
Now that the site is cleared and prepared, it’s time to move on to the exciting task of digging your patio. The depth of the excavation will depend on the type of patio you’re building and the recommended guidelines for your chosen materials. Here’s a general overview of the digging process:
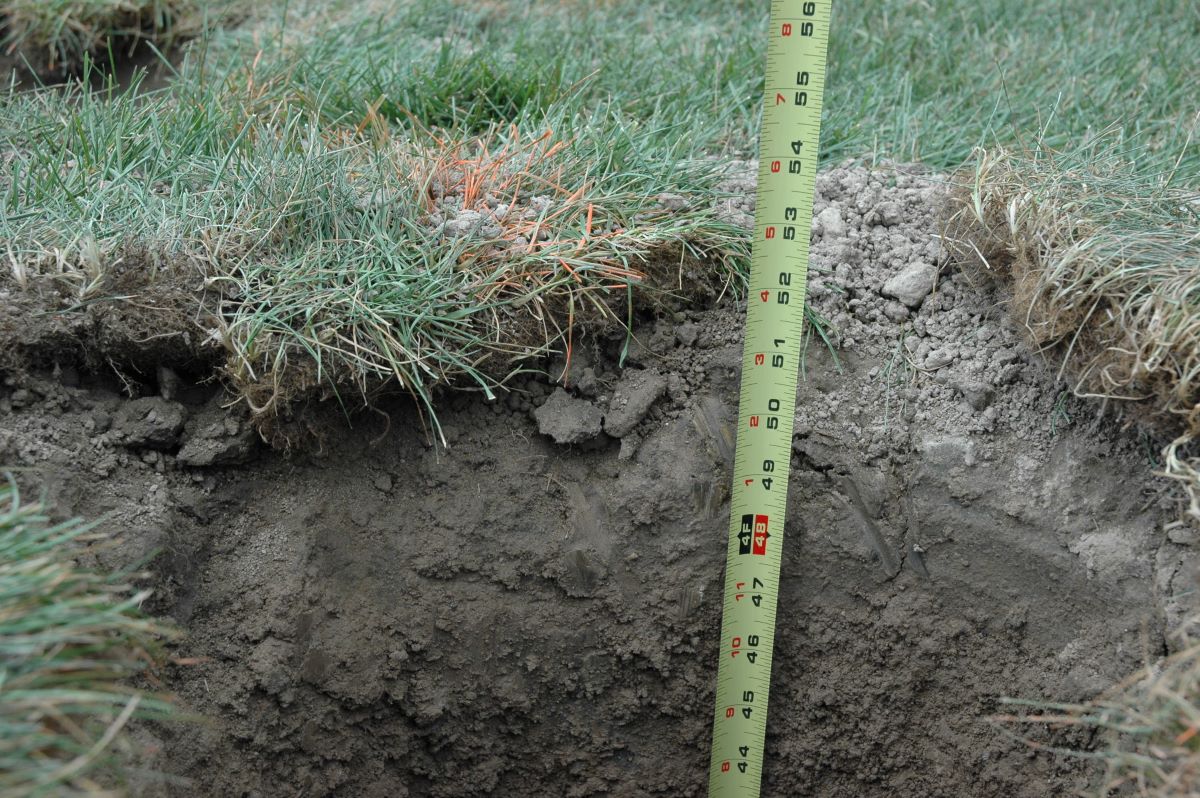
1. Start by digging down to the desired depth for your patio. This typically ranges from 6 to 8 inches for a standard patio. Use a shovel or a garden spade to break through the topsoil and begin excavating the area within the marked boundaries.
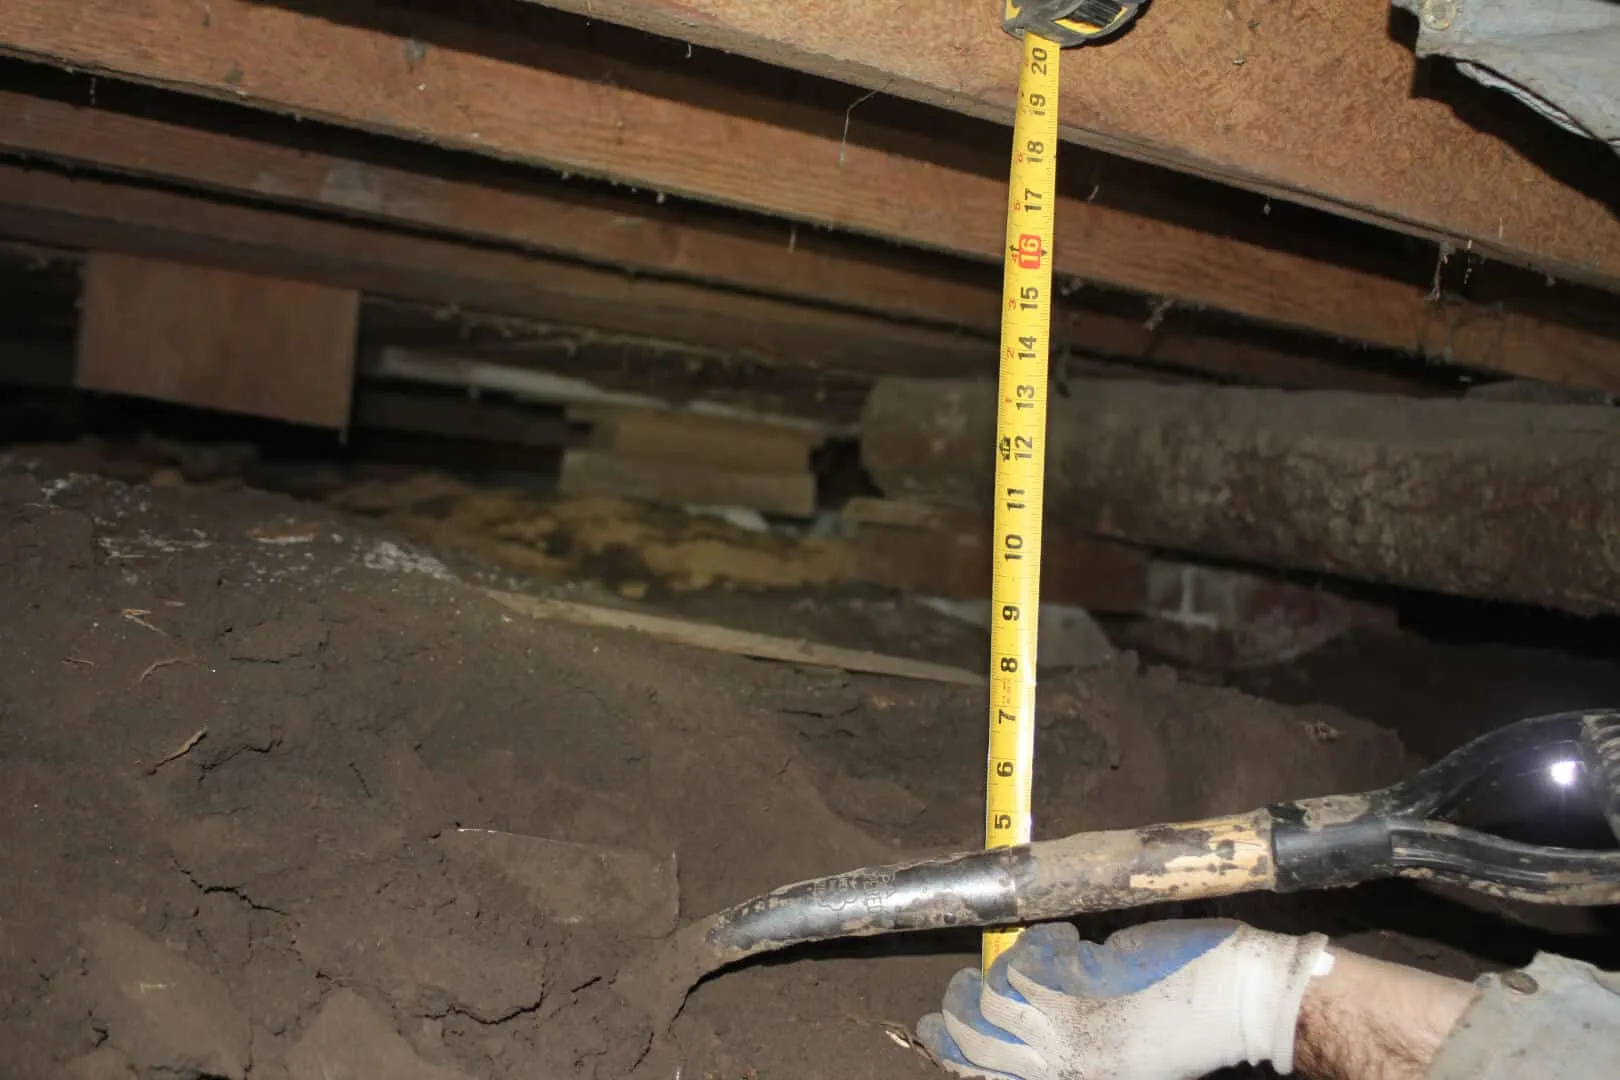
2. As you dig, periodically check the depth using a tape measure or a level. This will ensure that the excavation is consistent and level throughout the patio area.
3. Remove the excavated soil from the patio area using a wheelbarrow or buckets. You can either dispose of the soil or repurpose it for other projects in your garden.
4. As you dig, pay attention to the edge of the excavation. Ensure that it is straight and at a 90-degree angle to create clean lines for your patio’s perimeter. Use a straightedge or a level to guide you in maintaining the proper shape.
5. Keep in mind any additional depth required for your chosen base materials and pavers. Consult the manufacturer’s guidelines for the recommended depth of the paver base and adjust the excavation accordingly.
6. Take breaks as needed to rest and hydrate, especially if you’re tackling a large patio. Pace yourself and be mindful of your physical limits to avoid exhaustion or strain.
Remember, the depth and size of your patio excavation may vary based on your specific project requirements and the materials you are using. It’s always best to consult the manufacturer’s recommendations or seek the advice of a professional if you have any doubts about the digging depth for your patio.
By following these steps and taking your time to dig a proper foundation, you’re setting the stage for a sturdy and long-lasting patio that will be the envy of your friends and neighbors.
Removing Any Obstacles
During the process of digging your patio, it’s common to encounter various obstacles that may hinder the excavation or affect the stability of the patio. It’s important to address these obstacles to ensure a smooth and durable patio installation. Here are some common obstacles you may encounter and how to handle them:
1. Tree Roots: If you come across tree roots within the excavation area, it’s crucial to remove them or work around them. Tree roots can affect the stability of the patio and lead to uneven surfaces. Carefully dig around the roots, cutting them using a sharp utility knife or saw if necessary. Avoid damaging the tree itself and consult with an arborist if you’re unsure about handling large or intricate root systems.
2. Rocks and Boulders: Large rocks and boulders can be challenging to remove, but it’s important to clear them from the patio area. Use a pry bar or rock bar to loosen and lift the rocks out of the excavation. If the rocks are too heavy to lift manually, consider using a dolly or enlisting the help of others to safely remove them. Alternatively, you can adjust the patio design to incorporate the rocks as natural elements or decorative features.
3. Underground Utilities: As mentioned earlier, it’s crucial to locate and mark any underground utilities before digging. If you encounter utility lines while excavating, stop immediately and contact your utility providers for guidance. Avoid any contact with the utility lines and follow the recommended steps to ensure their protection and your safety.
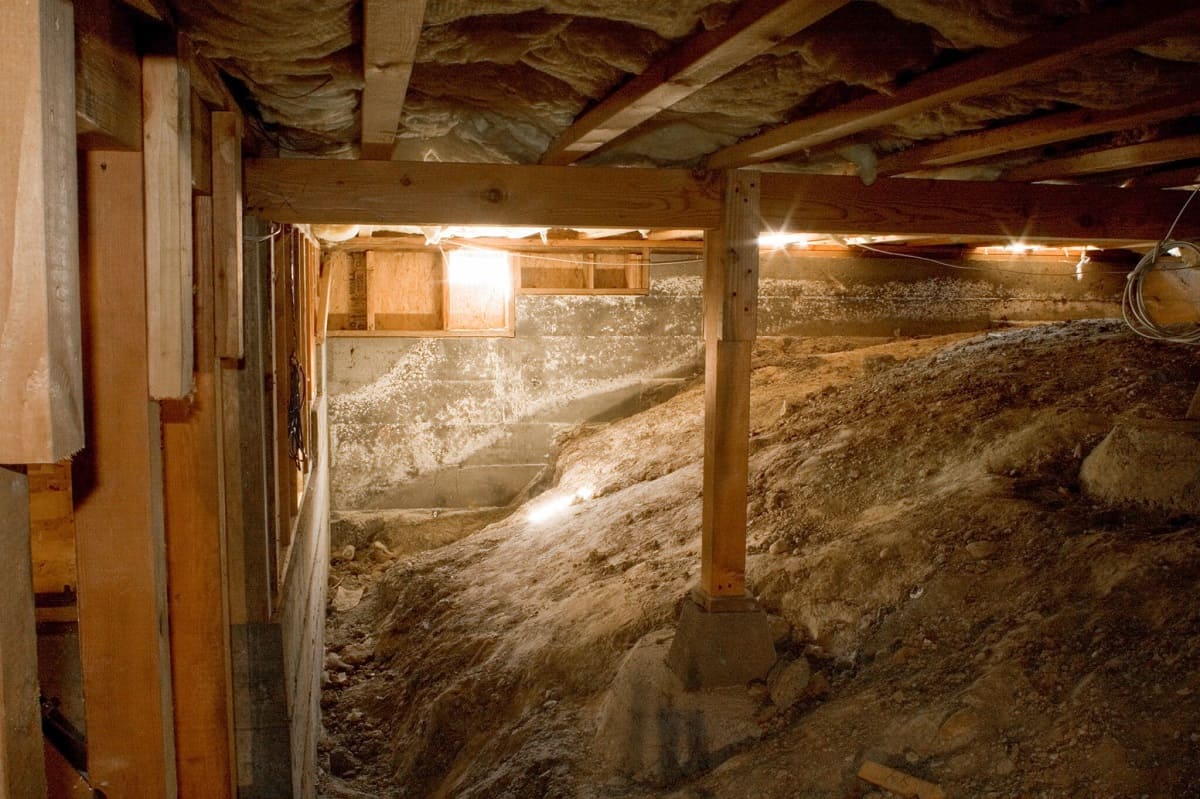
4. Old Foundations or Structures: In some cases, you may uncover old foundations, structures, or debris from previous construction projects. These can impede the excavation process and affect the stability of the patio. If feasible, remove the old foundations or structures completely. If removal is not possible or poses structural risks, consult with a professional contractor to determine the best approach for building your patio around these obstacles.
5. Moisture or Water Accumulation: If you encounter areas with excess moisture or standing water within the excavation, it’s important to address the drainage issue. Consider adding drainage systems, such as French drains or gravel trenches, to redirect water away from the patio area. This will help prevent water damage and ensure proper moisture management.
By addressing these obstacles during the excavation process, you can create a solid foundation and eliminate any potential issues that may compromise the durability and functionality of your patio. Take the time to carefully remove or work around these obstacles to ensure the success of your patio construction project.
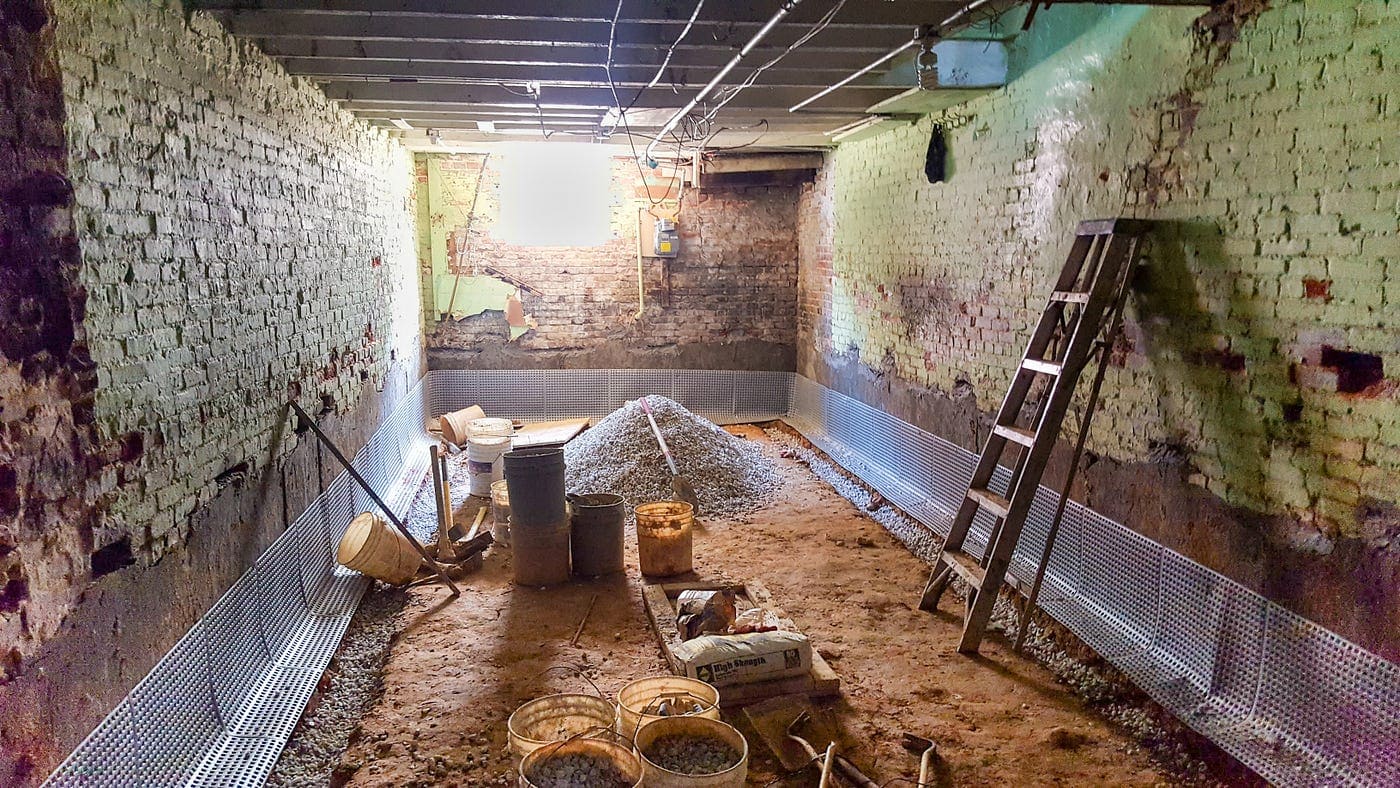
Creating a Stable Base
Once you have excavated the patio area and removed any obstacles, it’s time to focus on creating a stable base for your patio. The base provides the foundation and support for the patio pavers, ensuring a level and long-lasting surface. Here are the steps to create a stable base:
1. Evaluate the Soil: Before proceeding with the base construction, evaluate the quality of the soil in the excavation area. If the soil is loose, sandy, or prone to drainage issues, it may be necessary to improve its stability. Consider adding a layer of compacted gravel or sand to enhance the load-bearing capacity of the soil.
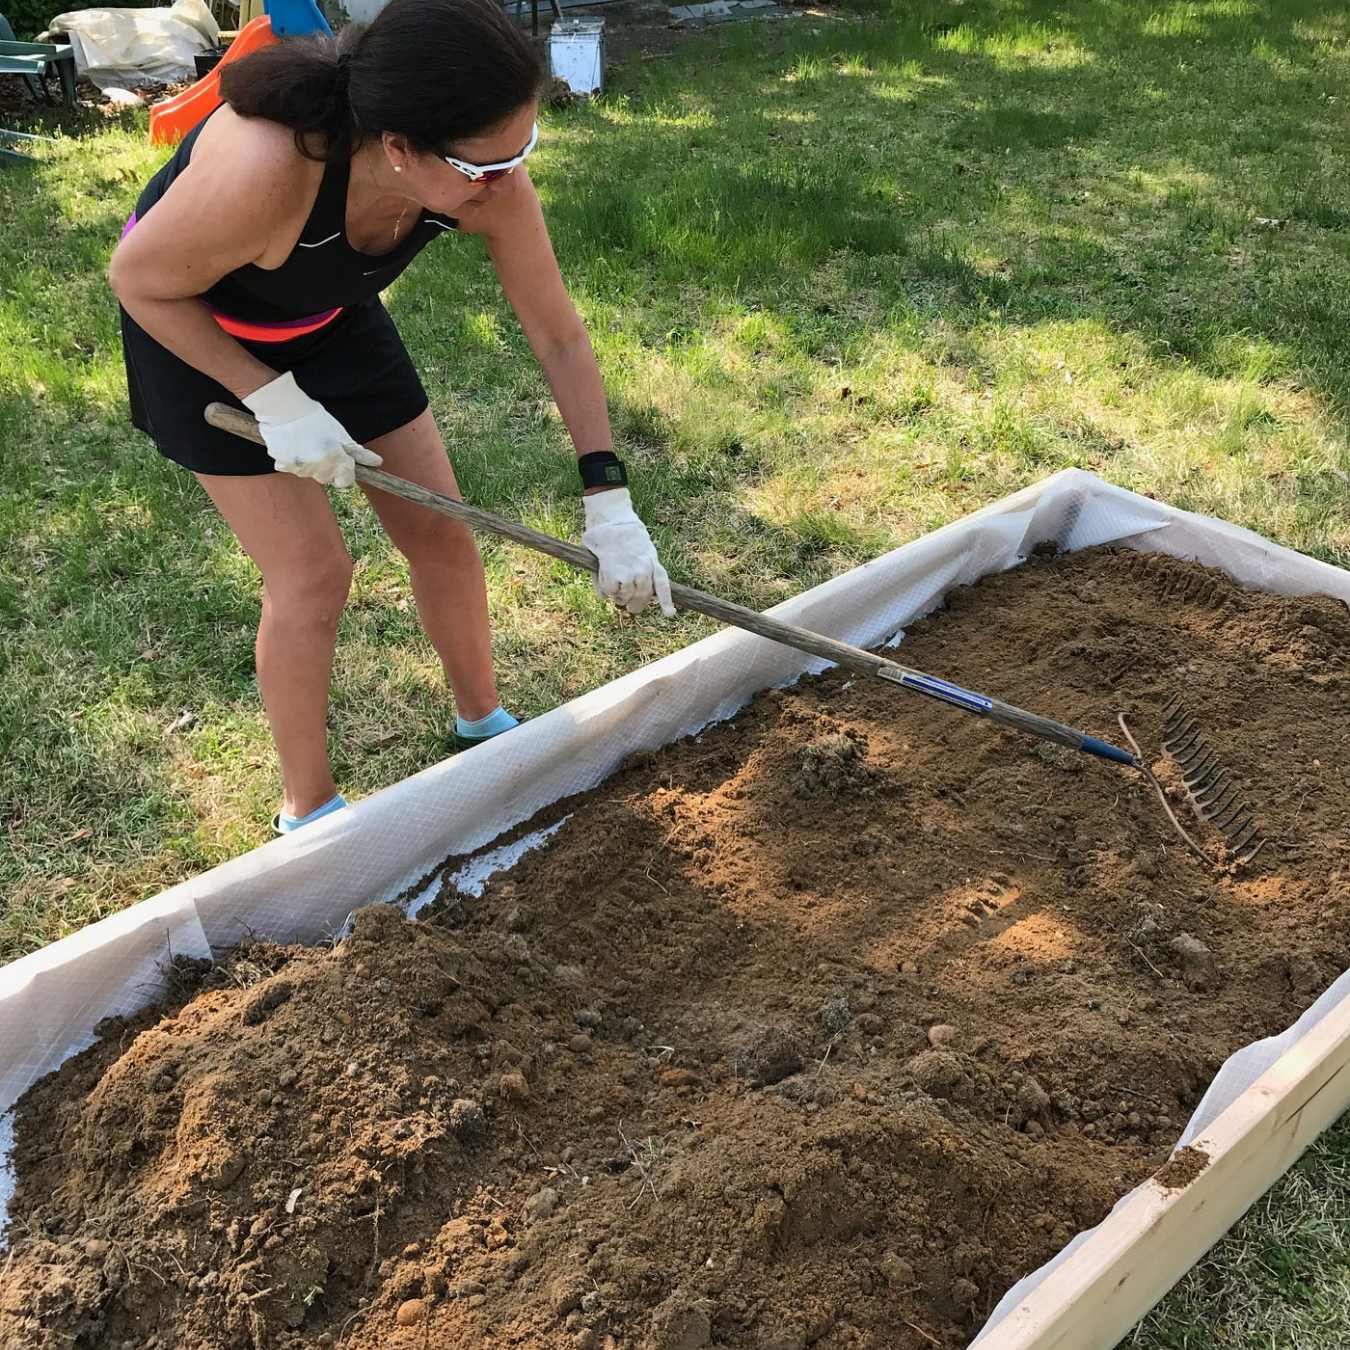
2. Add a Layer of Gravel: Start by adding a layer of compactable gravel at the bottom of the excavation. This layer acts as a base for the patio, promoting proper drainage and preventing the pavers from shifting. Use a rake to spread the gravel evenly and avoid creating high or low spots.
3. Smooth and Compact the Gravel: Use a compactor, such as a hand-tamper or plate compactor, to compress the gravel layer. This will create a solid and stable base for your patio. Start from one corner and work your way across the excavated area, ensuring even compaction throughout the surface. Repeat this process a few times to achieve the desired level of compaction.
4. Check for Proper Slope: While compacting the gravel, ensure that the surface slopes slightly away from nearby structures to allow for proper water drainage. Aim for a slope of approximately 1/8 inch per foot. This will prevent water from pooling on the patio and causing damage over time.
5. Add a Layer of Paver Base Material: On top of the compacted gravel, add a layer of paver base material. This is typically a combination of gravel and sand that provides additional stability and acts as a leveling agent for the patio pavers. Spread the paver base material evenly, ensuring a uniform thickness throughout the entire area.
6. Level the Base: Use a screed board, a long, straight board, to level the base material. Slide the screed board back and forth in a smooth motion, scraping off any excess material and filling in any low spots. This will create a level surface for your patio pavers.
7. Compact the Paver Base Material: Once the base material is leveled, use the compactor again to compact it. This will help further stabilize the base and ensure a solid foundation for the patio pavers. Remember to work in small sections and repeat the compaction process until the entire base is uniformly compacted.
By creating a stable base, you provide a solid foundation for your patio that will withstand the test of time. Take the time to properly evaluate the soil, add layers of gravel and paver base material, and ensure proper compaction and leveling. With a well-built base, your patio will be ready for the next step of installing the pavers and bringing your outdoor space to life.
Before digging for a patio, call 811 to have underground utilities marked. This will help you avoid hitting any buried lines while digging.
Adding the Necessary Foundation Materials
With the stable base in place, it’s time to add the necessary foundation materials to further enhance the durability and longevity of your patio. These foundation materials provide additional support, aid in water drainage, and help prevent shifting or settling of the patio pavers. Here are the key steps to adding the foundation materials:
1. Landscape Fabric: Consider adding a layer of landscape fabric over the compacted base material. This fabric acts as a barrier, preventing weed growth while allowing water to pass through. Cut the fabric to fit the dimensions of your patio and lay it over the base material, ensuring full coverage across the entire area.
2. Edge Restraints: Install edge restraints or border materials to define the perimeter of your patio. This can be done using plastic or metal edging, bricks, or natural stone. Place the edge restraints against the outer edges of the excavated area and secure them firmly into the ground. This will help keep the pavers in place and maintain the integrity of your patio.
3. Screeding Sand: Spread a layer of paver sand evenly over the compacted base material, filling the space between the edge restraints. Use a straight 2×4 board or a screeding tool to level the sand, creating a smooth and even surface. The sand should be approximately 1 inch deep, providing a sturdy bedding for the patio pavers.
4. Compact the Sand: Use the compactor to lightly compact the paver sand. This will help settle the sand and create a solid bedding for the pavers. Be cautious not to over-compact, as this can lead to an uneven surface or damage the edge restraints.
5. Check for Proper Slope: While compacting the sand, ensure that the surface maintains the proper slope to allow for water drainage. Use a level or a long straight edge to visually check the slope. Make any necessary adjustments to maintain the recommended slope of approximately 1/8 inch per foot.
By adding these foundation materials, you enhance the stability and reliability of your patio. The landscape fabric helps prevent weed growth, the edge restraints keep the pavers in place, the screeding sand provides a smooth bedding, and the compacted sand ensures proper drainage. With this solid foundation in place, your patio is now ready for the next step of laying the pavers and creating a beautiful outdoor space.
Read more: How Deep To Dig A Fire Pit
Leveling the Patio Base
Once you have added the necessary foundation materials to your patio, the next step is to ensure that the base is properly leveled. A level surface is essential for the proper installation and stability of the patio pavers. Here are the steps to level the patio base:
1. Start with the Edge Restraints: Begin by checking that the edge restraints are level. Use a level to verify that they are at the same height all around the perimeter of the patio. Adjust the edge restraints as needed by adding or removing sand or soil beneath them.
2. Use a Screed Board: A screed board is a long, straight board that helps distribute and level the paver sand. Lay the screed board across the edge restraints and move it back and forth while applying slight downward pressure. The board will help to evenly distribute the sand and fill in any low spots, resulting in a uniformly leveled surface.
3. Check for Levelness: Regularly use a level to check the surface of the patio base. Place the level at various spots across the area, paying attention to both the horizontal and vertical alignment. Adjust the sand as needed to achieve a level base. This step is crucial to ensure an even and visually appealing final result.
4. Fill in Low Spots: If you notice any low spots during the leveling process, add additional paver sand to fill them in. Use a trowel or a rake to distribute the sand evenly in the low areas. Level the sand with the screed board or a hand tamper to achieve a uniform height across the entire patio base.
5. Remove Excess Sand: Take care to remove any excess sand that may have accumulated on top of the edge restraints or outside the designated patio area. Use a broom or a brush to gently sweep away the excess sand, ensuring a clean and precise edge for your patio.
6. Relevel as Needed: As you proceed with the installation of the patio pavers, periodically check the levelness of the base. Adjust the sand as necessary to maintain a consistent and even surface throughout the patio area.
By properly leveling the patio base, you ensure that the pavers will sit evenly and securely, reducing the risk of tripping hazards and creating a visually pleasing outdoor space. Take the time to carefully level the patio base, and you’ll be ready to move on to the exciting part of laying the pavers and bringing your patio design to life.
Compact the Soil
After leveling the patio base, it’s important to compact the soil to create a solid foundation for your patio. Proper compaction helps to prevent settling, shifting, and unevenness in your patio surface. Here’s how to effectively compact the soil:
1. Prepare the Compactor: If you have access to a plate compactor, make sure it is in good working condition. Check the fuel or power source, and ensure that the compactor’s plate is clean and free from debris. For smaller patio areas, you can also use a hand tamper or a rubber mallet to compact the soil.
2. Begin Compacting: Starting at one corner of the patio, slowly and steadily move the compactor over the entire surface, applying even pressure. If using a hand tamper, repeatedly strike the soil with firm and evenly spaced blows. Work in small sections, overlapping each pass to ensure complete compaction.
3. Multiple Passes: Depending on the type of soil, you may need to make several passes with the compactor or tamper. This will compact the soil more effectively and create a stable base. Repeat the process until you no longer feel any compression underfoot and the soil is tightly packed.
4. Pay Attention to Edges and Corners: Be sure to give proper attention to the edges and corners of the patio. It’s important to compact these areas just as thoroughly as the rest of the surface. Use the edge of the compactor or a smaller tamper to reach tight corners and ensure even compaction.
5. Verify Soil Sturdiness: As you compact the soil, periodically walk over the surface to check for any signs of movement or sinking. If you notice any soft or uneven spots, add more soil and compact that specific area again until it feels stable and secure.
6. Moisture Content: Moisture content in the soil can affect its compaction. In general, soil should be slightly damp but not overly wet. If the soil is dry, lightly water it before compacting. Conversely, if the soil is excessively wet, allow it to dry out before compacting to prevent it from becoming too compact and hard.
7. Repeat as Needed: If you make any changes or adjustments to the patio base, such as adding more soil or adjusting the slope, be sure to re-compact those areas to maintain a consistent level of compaction throughout the patio surface.
By properly compacting the soil, you create a strong and stable foundation for your patio. This will help ensure that the patio pavers remain in place and reduce the risk of sinking or shifting over time. Take the time to compact the soil effectively, and you’ll be one step closer to enjoying your beautiful outdoor patio space.
Installing Edging or Border Materials
Installing edging or border materials is an important step in the patio construction process. These materials not only enhance the visual appeal of your patio but also help to keep the pavers in place and create clean lines. Here’s how to install edging or border materials for your patio:
1. Choose the Right Material: There are various options for edging or border materials, including plastic or metal edging, bricks, natural stone, or even treated lumber. Consider the style and overall design of your patio when selecting the appropriate material. Ensure that the chosen material is suitable for outdoor use and can withstand the anticipated traffic and weather conditions.
2. Prepare the Patio Area: Before installing the edging or border, make sure the patio base is level and compacted. Remove any debris and excess sand from the surface to ensure a clean and even installation.
3. Plan the Layout: Begin by planning the layout of your edging or border materials. Use a tape measure and stakes to mark the positioning of the edging or border materials along the perimeter of the patio. Consider the desired width and height of the edging to ensure it aligns with your design vision.
4. Excavate the Edge Trench: Cut a shallow trench along the marked edge of the patio using a shovel or a garden edger. The depth of the trench should be slightly deeper than the height of the chosen edging or border material. This trench will allow the edging to sit flush with the patio surface.
5. Install the Edging or Border: Place the edging or border material into the trench, ensuring it fits tightly against the patio base and is level throughout. Use a rubber mallet or a dead blow hammer to gently tap the edging into place. Check the levelness of the edging as you install it to maintain a consistent height all around the patio.
6. Secure the Edging: Depending on the type of edging or border material, you may need to anchor it to the ground. This can be done using metal stakes or landscape spikes. Insert them at regular intervals along the length of the edging to secure it firmly in place.
7. Backfill and Compact: If there is any space behind the edging or border material, fill it in with soil or gravel. This helps provide additional stability and prevents shifting. Compact the backfilled material with a tamper or by gently tapping it down with a rubber mallet to ensure a solid and secure installation.
8. Trim and Finish: Trim any excess edging material and make any necessary adjustments to ensure a clean and seamless look. Use a saw or a heavy-duty cutter to achieve the desired length. Once everything is in place, sweep away any debris and give the patio a final cleaning to prepare for the next step of paver installation.
By carefully installing edging or border materials, you not only add an attractive finishing touch to your patio but also provide structural support and help maintain the integrity of the patio pavers. Take your time to plan and execute this step, and your patio will be well on its way to becoming a functional and visually stunning outdoor space.
Laying the Patio Pavers
Now comes the exciting part of bringing your patio to life by laying the pavers. This step requires attention to detail and precision to ensure a professional-looking result. Follow these steps to lay the patio pavers:
1. Start from a Straight Edge: Begin laying the pavers from a straight edge, such as a wall or the border of your patio. This will provide a reference point to maintain the alignment of your pavers as you work your way across the patio.
2. Apply Paver Sand: Before placing each paver, spread a layer of paver sand on top of the compacted base material. The sand acts as a cushion and helps the pavers settle into place. Use a rake or a trowel to distribute the sand evenly, ensuring a consistent thickness of about 1 inch.
3. Lay the Pavers: Carefully place each paver onto the sand, following the desired pattern or layout. Gently press the pavers into the sand, allowing them to settle and interlock with each other. Keep a small gap, about 1/8 to 1/4 inch, between each paver to accommodate for sand and allow for expansion due to temperature changes.
4. Maintain a Straight Line: Continuously check that your pavers are laying in a straight line by using a level or a string guide. This will ensure that your patio has neat and clean lines as you progress with the installation.
5. Adjust Paver Placement: If needed, adjust the placement of the pavers by tapping them gently with a rubber mallet. This will help align them perfectly and ensure they are level with adjacent pavers. Use a level to confirm that each individual paver is flat and even.
6. Cut Pavers: In some cases, you may need to cut pavers to fit along the edges or corners of your patio. Use a wet saw or a specialized paver cutter to achieve clean and accurate cuts. Measure and mark the paver before cutting, and always wear the appropriate safety gear when using cutting tools.
7. Fill Joints with Sand: Once all the pavers are in place, spread a layer of fine paver sand over the surface. Use a broom to sweep the sand into the joints between the pavers. This will help stabilize the pavers and prevent them from shifting. Continue sweeping and adding sand until the joints are adequately filled and the surface is level.
8. Compact the Pavers: Use a plate compactor or a hand tamper to gently compact the pavers into the sand. This will help ensure that they are securely set and create a stable surface. Repeat the compaction process a few times, focusing on high-traffic areas or any uneven spots.
By following these steps and taking your time, you’ll achieve a beautifully laid patio with pavers that are securely in place. Remember to maintain a straight line, adjust paver placement as needed, and properly fill the joints with sand. Enjoy the satisfaction of seeing your patio take shape as you bring your outdoor space to life.
Read more: How To Dig In Gravel And Soil Mix
Filling the Joints
Once the patio pavers are laid and compacted, the next step is to fill the joints between the pavers. This not only enhances the overall appearance of your patio but also helps to stabilize the pavers, prevent weed growth, and improve drainage. Follow these steps to effectively fill the joints:
1. Choose the Right Jointing Material: Select a jointing material that suits your preference and needs. Common options include polymeric sand, regular sand, or a specialized jointing compound. Consider factors like color, durability, and ease of application when making your choice.
2. Clear the Surface: Before filling the joints, use a broom or brush to remove any debris or loose sand on the surface of the patio. This will ensure that the jointing material properly fills the gaps between the pavers, creating a neat and finished look.
3. Apply the Jointing Material: Start by pouring the jointing material in a straight line along the joints between the pavers. Use a small shovel or a brush to work the material into the joints, ensuring it fills the spaces completely. Apply gentle pressure to ensure the material is adequately packed without dislodging the pavers.
4. Distribute and Settle the Material: Use a broom or a brush to distribute the jointing material evenly over the surface of the patio. Make sure the material fills the joints to the desired depth. Gently sweep the material back and forth, allowing it to settle into the gaps. This will improve the stability and cohesion of the jointing material within the joints.
5. Remove Excess Material: After the jointing material has settled, use a leaf blower or a stiff brush to remove any excess material from the surface of the patio. Be careful not to displace the material from the joints. Repeat this step a few times until the patio surface appears clean and the joints are filled to the desired level.
6. Activate Polymeric Sand (if applicable): If you are using polymeric sand, it typically requires activation by gently spraying water over the surface. Follow the manufacturer’s instructions for the proper amount of water and activation process. This will help solidify the sand and create a strong bond between the pavers.
7. Allow for Proper Curing: Depending on the jointing material, follow the recommended curing time before subjecting the patio to heavy foot traffic or other activities. This will allow the jointing material to fully set and harden, ensuring long-lasting and secure joints.
By properly filling the joints between your patio pavers, you enhance the overall aesthetics of your outdoor space while also improving the stability and longevity of the patio. Take your time to carefully apply and settle the jointing material, ensuring that the joints are filled to the desired level. Once the joints are filled, you’ll be able to enjoy a beautiful and functional patio for years to come.
Adding Finishing Touches
With your patio construction nearing completion, it’s time to add the finishing touches that will elevate the overall look and functionality of your outdoor space. These final details will help create a warm and inviting atmosphere. Consider the following elements when adding the finishing touches:
1. Outdoor Furniture: Choose comfortable and stylish outdoor furniture that matches the overall design and purpose of your patio. Consider factors such as durability, weather resistance, and the number of seats or loungers needed. Arrange the furniture strategically to create different zones for dining, lounging, or conversation areas.
2. Cozy Lighting: Enhance the ambiance of your patio with well-placed lighting. Install decorative string lights, lanterns, or pathway lights to provide soft illumination in the evenings. Consider using energy-efficient options such as solar-powered lights to save on electricity.
3. Greenery and Plantings: Incorporate greenery and plants to add life and color to your patio. Use potted plants, hanging baskets, or vertical gardens to maximize the use of space. Choose plants that thrive in outdoor conditions and suit your desired level of maintenance. Don’t forget to water and care for your plants regularly.
4. Shade Solutions: If your patio is exposed to direct sunlight, consider adding shade solutions such as umbrellas, awnings, or a pergola. These options provide relief from the sun’s rays and create a comfortable outdoor environment. Opt for materials that are resistant to fading and can withstand various weather conditions.
5. Outdoor Rug or Flooring: Define different areas of your patio by incorporating an outdoor rug or using patio flooring materials. Outdoor rugs add a cozy touch and visually separate dining or seating areas. Choose rugs that are specifically designed for outdoor use, as they are durable and weather-resistant.
6. Outdoor Kitchen or Barbecue Area: If you enjoy outdoor cooking and entertaining, consider adding an outdoor kitchen or barbecue area to your patio. Install a grill, countertops, storage cabinets, and a sink for a complete outdoor cooking experience. This will make hosting gatherings and preparing meals a breeze.
7. Decorative Accents: Personalize your patio with decorative accents that reflect your style and personality. Hang wall art, add decorative pillows or cushions, and incorporate outdoor accessories such as lanterns, sculptures, or water features. Opt for weather-resistant materials to ensure these accents withstand the elements.
8. Comfort and Entertainment: Complete your patio with amenities that enhance comfort and entertainment. Add cozy cushions and pillows to your seating areas. Install an outdoor sound system or speakers to enjoy music or audio. Consider incorporating an outdoor television or a fire pit for cozy gatherings.
By incorporating these finishing touches, you transform your patio into an inviting and functional outdoor space. Take the time to consider your preferences and style when selecting furniture, lighting, greenery, and other elements. By adding these final touches, you’ll have a beautiful outdoor retreat where you can relax, entertain, and enjoy the company of friends and family.
Conclusion
Congratulations on completing the construction of your patio! By following the steps outlined in this guide, you have successfully created a beautiful and functional outdoor space. From selecting the ideal location and gathering the necessary tools and materials to digging the patio and adding the finishing touches, your efforts have paid off in the form of a stunning outdoor addition to your home.
A well-designed and properly constructed patio provides a versatile space for relaxation, dining, entertaining, and enjoying the outdoors. It adds value to your property while creating a comfortable and inviting environment for you, your family, and your guests to enjoy. Whether you’re hosting memorable gatherings or simply spending quiet moments enjoying the fresh air, your patio will be a place of joy for years to come.
Remember to maintain your patio by regularly cleaning the surface, removing debris, and inspecting for any necessary repairs. This will help preserve its beauty and functionality over time. Additionally, consider seasonal maintenance such as sealing pavers or protecting furniture during inclement weather to prolong their lifespan.
As you continue to use and enjoy your patio, don’t forget to make it your own by personalizing the space with your unique style and preferences. Add your favorite plants, decorations, and furnishings to reflect your personality and create a space that feels like an extension of your indoor living area.
Lastly, take the time to relax and appreciate your outdoor oasis. Spend quality time with loved ones, indulge in the beauty of nature, and make lasting memories in your newly constructed patio. Cherish the moments and make the most of this special space that you have created with your own hands.
Enjoy your outdoor furniture, soak in the sunshine, and create countless unforgettable experiences in your stunning patio! Cheers to many years of outdoor enjoyment and relaxation!
Frequently Asked Questions about How To Dig For A Patio
Was this page helpful?
At Storables.com, we guarantee accurate and reliable information. Our content, validated by Expert Board Contributors, is crafted following stringent Editorial Policies. We're committed to providing you with well-researched, expert-backed insights for all your informational needs.


0 thoughts on “How To Dig For A Patio”