Home>Gardening & Outdoor>Landscaping Ideas>How To Lay Pavers On Grass
Landscaping Ideas
How To Lay Pavers On Grass
Modified: October 21, 2024
Learn how to lay pavers on grass with our expert landscaping ideas. Transform your outdoor space with our step-by-step guide.
(Many of the links in this article redirect to a specific reviewed product. Your purchase of these products through affiliate links helps to generate commission for Storables.com, at no extra cost. Learn more)
Introduction
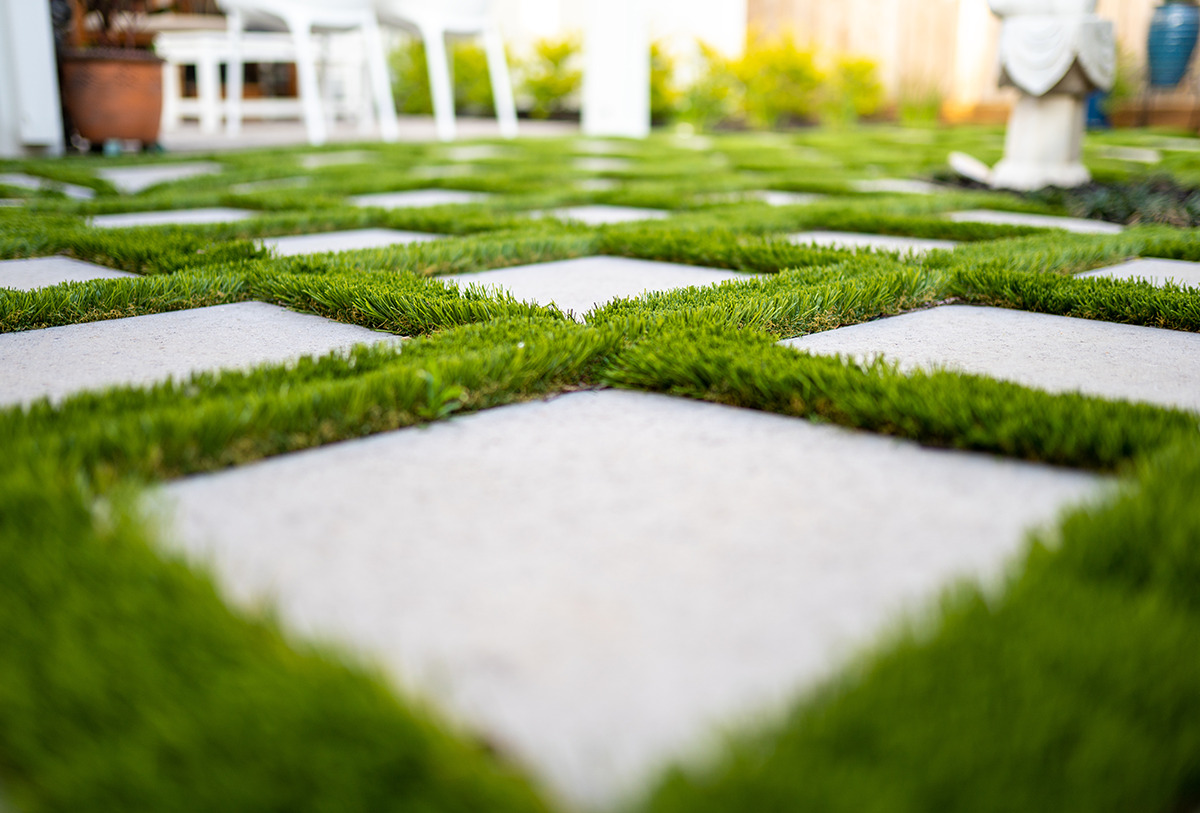
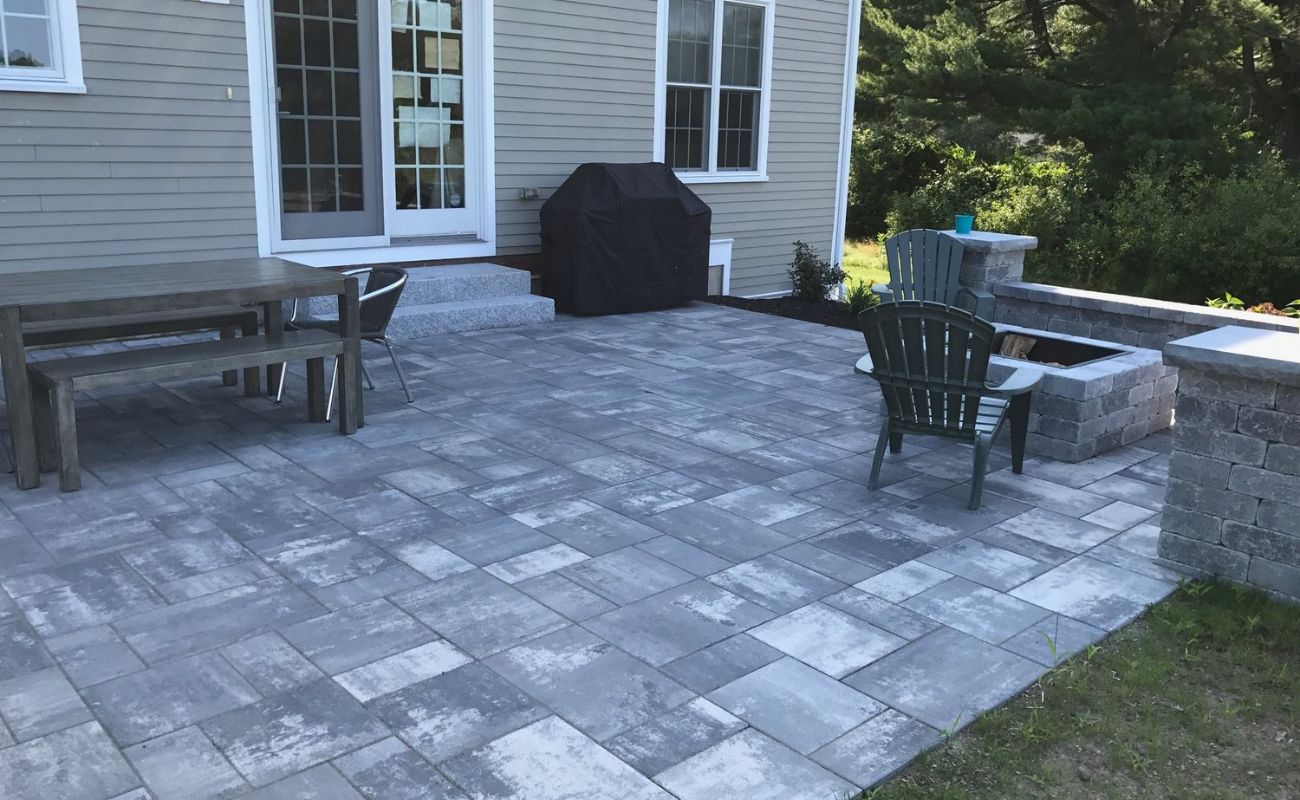
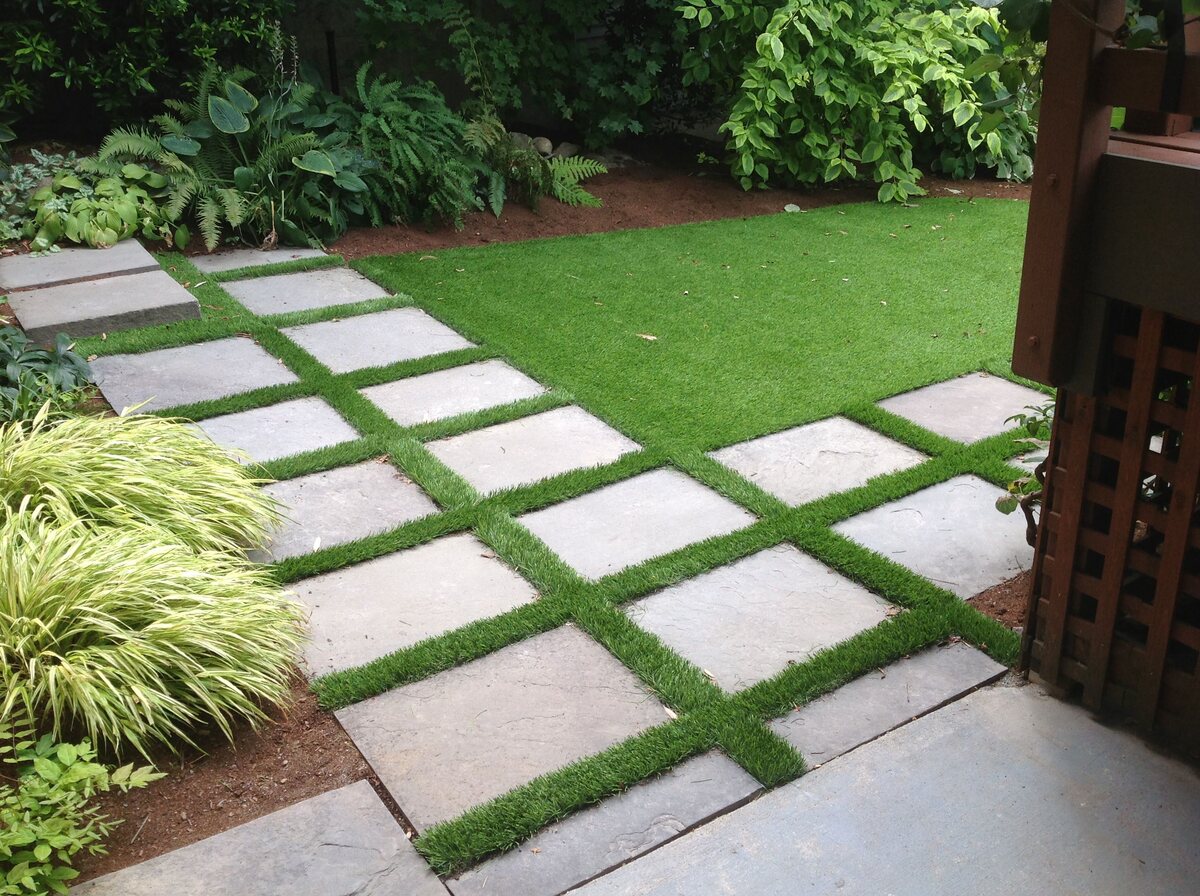
Are you looking to transform your outdoor space with a stunning new patio, walkway, or backyard seating area? Laying pavers on grass can be a fantastic way to achieve this, creating a durable and visually appealing surface that seamlessly blends with your lawn. Whether you're envisioning a cozy fire pit area for gatherings or a charming pathway through your garden, the process of laying pavers on grass can be surprisingly straightforward with the right guidance.
In this comprehensive guide, we'll walk you through each step of the process, from gathering the necessary materials and tools to adding the finishing touches. By following these steps, you can bring your landscaping vision to life and create a beautiful, functional space that enhances the overall aesthetic of your property.
So, roll up your sleeves and get ready to embark on a rewarding DIY project that will add value and charm to your outdoor environment. Let's dive into the essential steps for laying pavers on grass and unlock the potential of your outdoor living space.
Key Takeaways:
- Transform your outdoor space by laying pavers on grass, creating a durable and visually appealing surface that seamlessly blends with your lawn. Follow the comprehensive steps for a rewarding DIY project.
- Enhance the functionality and aesthetic appeal of your property by meticulously preparing, installing, and adding finishing touches to the pavers on grass. Enjoy the versatile and inviting outdoor space for various activities and experiences.
Read more: How To Lay A Paver Patio
Step 1: Gather Materials and Tools
Before diving into the paver installation process, it’s crucial to gather all the necessary materials and tools. Proper preparation in this initial stage will set the foundation for a successful and efficient project. Here’s a comprehensive list of what you’ll need:
Materials:
- Pavers: Choose the style, size, and color that best complements your outdoor space. Consider the overall aesthetic you wish to achieve, whether it's a rustic, modern, or traditional look.
- Edging Material: This can include plastic or metal landscape edging to create a clean border for the paver area.
- Gravel: Opt for a high-quality gravel that provides a stable base for the pavers and promotes proper drainage.
- Sand: You'll need coarse sand for the base and fine sand for filling the gaps between the pavers.
- Landscape Fabric: This will help prevent weed growth and maintain the integrity of the base over time.
- Optional: Landscape adhesive or jointing sand to secure the pavers in place.
Tools:
- Shovel: Essential for excavating the grass and soil to prepare the area for the base and pavers.
- Rake: Use a sturdy rake to level the excavated area and distribute the gravel and sand evenly.
- Tamper: A hand tamper or plate compactor will compact the base material, ensuring a stable foundation for the pavers.
- Measuring Tape: Precision is key in laying pavers, so a reliable measuring tape is essential for accurate dimensions and spacing.
- Rubber Mallet: This will aid in adjusting the pavers and ensuring they are level during the installation process.
- Broom: Use a stiff broom to sweep sand into the joints between the pavers and clean the surface upon completion.
- Protective Gear: Don't forget gloves, safety glasses, and any other protective equipment necessary for the job.
By ensuring you have all the required materials and tools on hand, you’ll be well-prepared to proceed with confidence to the next stages of the project. Now that you’re equipped with everything you need, let’s move on to preparing the area for the paver installation.
Step 2: Prepare the Area
Preparing the area where the pavers will be laid is a critical step that sets the stage for a durable and visually appealing end result. Follow these essential sub-steps to ensure that the area is properly prepped:
Read more: How To Lay Stone Pavers On Grass
Sub-step 1: Mark the Layout
Begin by marking the layout of the paver area using stakes and string or spray paint. This will provide a clear visual guide for excavating the grass and soil, ensuring that the area is appropriately sized and shaped for the project.
Sub-step 2: Excavate the Grass and Soil
Using a shovel, carefully remove the grass and underlying soil to a depth that accommodates the base and paver thickness. The depth will depend on the specific requirements of your project, but a general guideline is to excavate 6-8 inches to allow for the base and paver layers.
Sub-step 3: Level and Compact the Base
Once the grass and soil are removed, use a rake to level the excavated area, ensuring a uniform surface for the base materials. Next, use a tamper to compact the soil, providing a stable foundation for the subsequent layers. It’s essential to achieve a firm, level base to prevent settling and maintain the integrity of the paver surface over time.
Sub-step 4: Install Landscape Fabric and Edging
After the base is compacted, lay down landscape fabric to inhibit weed growth and promote long-term stability. Additionally, install edging material around the perimeter of the excavated area to contain the base and prevent shifting of the pavers over time. This step adds a professional touch and enhances the longevity of your paver installation.
Read more: How To Lay Patio Pavers On Grass
Sub-step 5: Add Gravel and Sand Base Layers
With the edging and fabric in place, add a layer of gravel to the excavated area, spreading it evenly to create a stable base for the pavers. Use a rake to level the gravel, and then add a layer of coarse sand on top. The sand layer should be carefully leveled to ensure a smooth, consistent surface for laying the pavers.
By meticulously following these sub-steps, you’ll establish a solid foundation for the pavers, setting the stage for the next phase of the installation process. With the area thoroughly prepared, you’re now ready to proceed with laying the base for the pavers.
Step 3: Lay the Base
With the area meticulously prepared, it’s time to lay the base that will provide crucial support for the pavers. This step involves creating a stable foundation using gravel and sand, ensuring that the pavers are set on a level surface that promotes longevity and structural integrity. Follow these essential sub-steps to effectively lay the base:
Sub-step 1: Spread and Level the Gravel
Begin by evenly spreading the gravel over the compacted soil base. The layer of gravel should be carefully distributed to achieve a consistent thickness, typically around 2-3 inches, providing ample support for the pavers. Use a rake to level the gravel, ensuring a smooth and uniform surface across the entire area.
Sub-step 2: Compact the Gravel Base
After the gravel is spread and leveled, use a tamper or plate compactor to firmly compact the gravel base. This critical step helps to enhance stability and prevent shifting or settling of the pavers over time. Ensure that the entire gravel base is thoroughly compacted, creating a solid and reliable foundation for the next layer.
Read more: How To Lay Artificial Grass Between Pavers
Sub-step 3: Add the Sand Layer
Following the compaction of the gravel base, carefully add a layer of coarse sand over the compacted gravel. The sand layer should be spread and leveled to create a smooth and even surface for the pavers. This layer of sand provides additional support and allows for minor adjustments to be made during the paver installation process.
Sub-step 4: Level and Smooth the Sand
Using a straight piece of lumber or a screed board, drag it across the sand layer to level and smooth it, ensuring that the surface is uniform and ready for the pavers to be placed. This step is crucial for achieving a professional and visually appealing end result, as it sets the stage for the precise placement of the pavers.
By diligently following these sub-steps, you’ll establish a sturdy and level base that forms the foundation for the paver installation. With the base meticulously laid, you’re now prepared to move on to the exciting phase of installing the pavers and bringing your outdoor vision to life.
Step 4: Install the Pavers
With the base meticulously prepared, it’s time to embark on the exciting phase of installing the pavers. This step involves strategically placing the pavers in the desired pattern, ensuring precise alignment and spacing to create a visually stunning and structurally sound surface. Follow these essential sub-steps to effectively install the pavers:
Sub-step 1: Begin Placing the Pavers
Start by placing the pavers in the desired pattern, beginning from one corner and working your way across the prepared area. Whether you’re creating a patio, walkway, or another outdoor feature, ensure that the pavers are positioned with precision, aligning them according to your chosen design. Take your time to achieve a layout that enhances the aesthetic appeal of your outdoor space.
Sub-step 2: Maintain Consistent Spacing
As you lay the pavers, pay close attention to maintaining consistent spacing between each unit. This can be achieved by using spacers or simply ensuring a uniform gap between the pavers, contributing to a polished and professional-looking finish. Consistent spacing also promotes structural integrity and facilitates the filling of joints with sand or other materials.
Sub-step 3: Make Necessary Cuts and Adjustments
During the installation process, you may need to make cuts or adjustments to the pavers to accommodate specific dimensions or layout requirements. Use a paver splitter, wet saw, or chisel to carefully cut the pavers as needed, ensuring precise fits and seamless integration with the overall design. Attention to detail in this phase will contribute to a cohesive and visually appealing end result.
Sub-step 4: Check for Level and Alignment
Periodically check the level and alignment of the pavers as you progress with the installation. A rubber mallet can be used to gently adjust the position of the pavers, ensuring that they are level and uniform in height. This step is crucial for creating a smooth, even surface that enhances both the visual appeal and functionality of the paved area.
By meticulously following these sub-steps, you’ll effectively install the pavers, bringing your outdoor vision to life with precision and attention to detail. With the pavers in place, you’re now ready to secure them and add the finishing touches to complete the transformation of your outdoor space.
Step 5: Secure the Pavers
Once the pavers are meticulously placed, it’s essential to secure them in position to ensure long-term stability and durability. This step involves locking the pavers in place and filling the joints to create a cohesive and resilient paved surface. Follow these essential sub-steps to effectively secure the pavers:
Read more: How To Lay Grass
Sub-step 1: Use Landscape Adhesive (Optional)
If desired, consider using landscape adhesive to secure the outer perimeter of the paver installation. This can provide added stability and prevent shifting of the outermost pavers, particularly in areas subject to heavy foot traffic or external forces. Apply the adhesive according to the manufacturer’s instructions, ensuring a secure bond with the underlying base.
Sub-step 2: Fill Joints with Sand
After securing the outer perimeter, fill the joints between the pavers with fine sand. Use a broom to sweep the sand over the surface, ensuring that it settles into the gaps and creates a uniform appearance. The sand serves to interlock the pavers, enhancing stability and preventing movement while allowing for slight flexibility to accommodate environmental factors.
Sub-step 3: Compact the Pavers
Once the joints are filled with sand, use a plate compactor or a rubber mallet to gently compact the entire paved surface. This step helps to further lock the pavers in place, ensuring that they are securely set and creating a cohesive, level surface. Proper compaction contributes to the long-term integrity of the installation, reducing the risk of settling or shifting over time.
Sub-step 4: Add Finishing Touches
After securing the pavers and compacting the surface, take the time to add any desired finishing touches to enhance the overall appearance and functionality of the paved area. This can include installing edge restraints, applying a sealant to protect the pavers, or incorporating decorative elements to personalize the space. Attention to these final details will elevate the visual appeal and longevity of the installation.
By diligently following these sub-steps, you’ll effectively secure the pavers, creating a resilient and visually striking surface that enhances your outdoor environment. With the pavers securely in place, you’re now ready to add the finishing touches and admire the transformation of your outdoor space.
Read more: How To Lay Grass Mats
Step 6: Finishing Touches
As you near the completion of your paver installation project, it’s time to add the finishing touches that will elevate the visual appeal and functionality of the paved area. This step involves addressing any remaining details, enhancing the overall aesthetic, and ensuring that the final result aligns with your vision for the outdoor space. Follow these essential sub-steps to add the perfect finishing touches:
Sub-step 1: Clean the Surface
Before finalizing the project, thoroughly clean the surface of the newly installed pavers. Use a broom or leaf blower to remove any debris, dirt, or excess sand from the surface and joints. This step will reveal the full beauty of the pavers and create a polished appearance that showcases the craftsmanship of the installation.
Sub-step 2: Apply a Sealant (Optional)
If desired, consider applying a sealant to the pavers to enhance their longevity and protect them from the elements. A quality sealant can help prevent staining, inhibit weed growth, and safeguard the pavers against wear and weathering. Follow the manufacturer’s instructions for proper application, ensuring thorough coverage and allowing adequate drying time.
Sub-step 3: Add Landscaping Elements
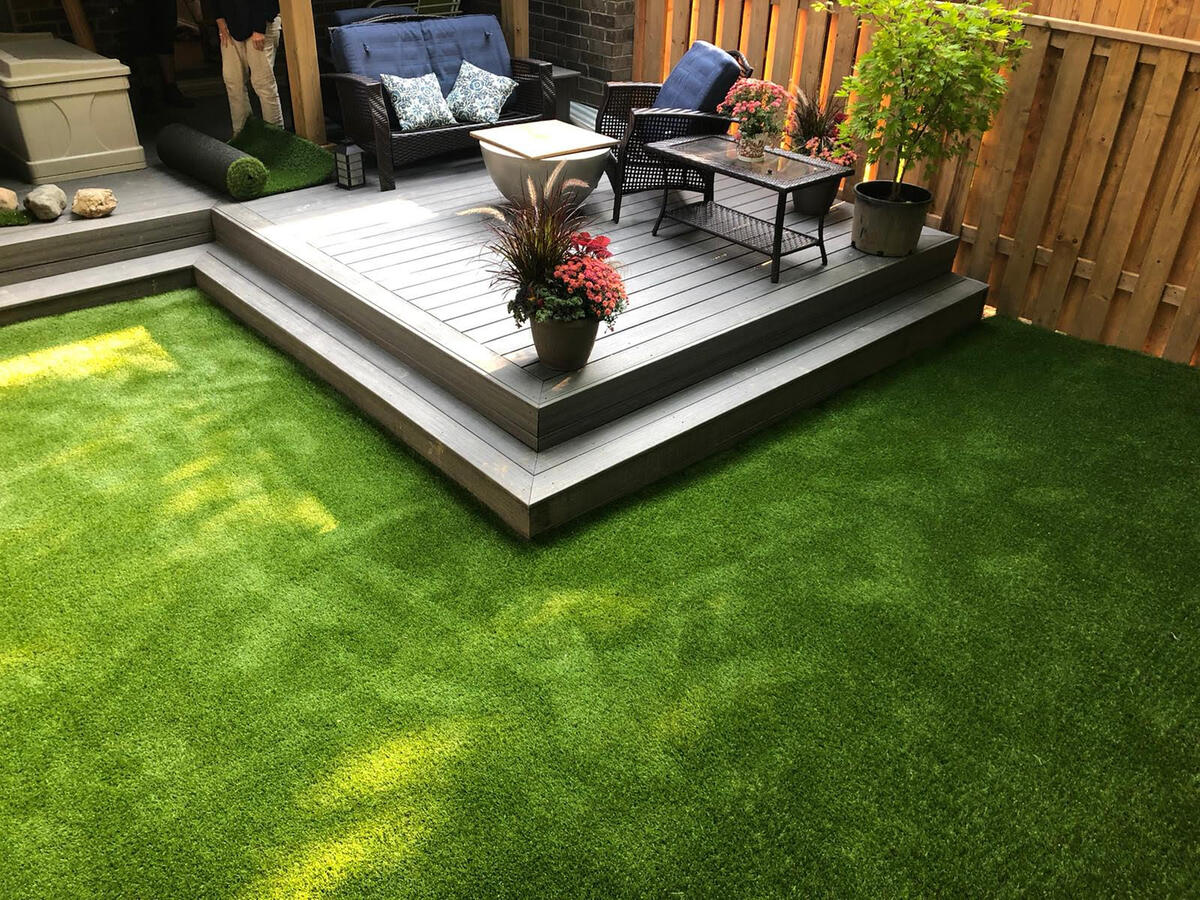
To further enhance the visual appeal of the paved area, consider incorporating landscaping elements such as plants, shrubs, or decorative features around the perimeter. This can create a seamless transition between the paver installation and the surrounding landscape, adding depth and character to the outdoor space. Choose elements that complement the overall design and contribute to the desired ambiance.
Read more: How To Remove Grass Between Pavers
Sub-step 4: Create Functional Zones
If the paver installation serves multiple purposes, such as a patio for entertaining and a relaxation area, consider delineating functional zones within the space. This can be achieved through the strategic placement of outdoor furniture, fire pits, or other amenities that define specific areas for dining, lounging, or socializing. Thoughtful organization of the space enhances its usability and appeal.
By carefully attending to these sub-steps, you’ll add the perfect finishing touches to your paver installation, creating a captivating and functional outdoor space that reflects your vision and enhances the overall appeal of your property. With the project now complete, take a moment to admire the transformation and enjoy the inviting atmosphere of your newly paved outdoor environment.
Conclusion
Congratulations on successfully completing the installation of pavers on grass, transforming your outdoor space into a captivating and functional area that enhances the overall appeal of your property. By following the comprehensive steps outlined in this guide, you’ve embarked on a rewarding DIY project that has added value and charm to your outdoor environment.
Through meticulous preparation, precise installation, and thoughtful finishing touches, you’ve created a durable and visually striking surface that seamlessly blends with your lawn. The careful selection of materials, strategic placement of pavers, and attention to detail throughout the process have culminated in a stunning outdoor feature that complements your landscape and elevates the usability of your property.
As you admire the completed project, take pride in the craftsmanship and dedication that have gone into this endeavor. The newly paved area now stands as a testament to your vision and the transformative power of outdoor design. Whether it’s a welcoming patio for gatherings, an inviting walkway through your garden, or a charming seating area, the pavers on grass have enhanced the functionality and aesthetic appeal of your outdoor living space.
As you enjoy the fruits of your labor, take the time to savor the moments spent in your revitalized outdoor environment. Whether it’s hosting gatherings, relaxing in the serene ambiance, or simply taking in the beauty of the newly paved area, your outdoor space now offers a versatile and inviting setting for various activities and experiences.
With the completion of this project, you’ve not only enhanced the visual appeal and functionality of your property but also gained valuable experience in DIY landscaping. The skills and knowledge acquired throughout this process will undoubtedly serve you well in future outdoor projects, empowering you to continue creating captivating and personalized spaces that enrich your lifestyle.
Embrace the newfound allure of your outdoor environment, and let it inspire moments of joy, relaxation, and connection with nature. The pavers on grass stand as a testament to your creativity and dedication, enriching your property and offering a space where cherished memories can unfold for years to come.
Frequently Asked Questions about How To Lay Pavers On Grass
Was this page helpful?
At Storables.com, we guarantee accurate and reliable information. Our content, validated by Expert Board Contributors, is crafted following stringent Editorial Policies. We're committed to providing you with well-researched, expert-backed insights for all your informational needs.


0 thoughts on “How To Lay Pavers On Grass”