Home>Garden Essentials>How To Lay Fake Grass On Gravel
Garden Essentials
How To Lay Fake Grass On Gravel
Modified: October 19, 2024
Learn how to easily transform your garden by laying fake grass on gravel. A step-by-step guide to achieving a beautiful lawn without the need for extensive groundwork.
(Many of the links in this article redirect to a specific reviewed product. Your purchase of these products through affiliate links helps to generate commission for Storables.com, at no extra cost. Learn more)
Introduction
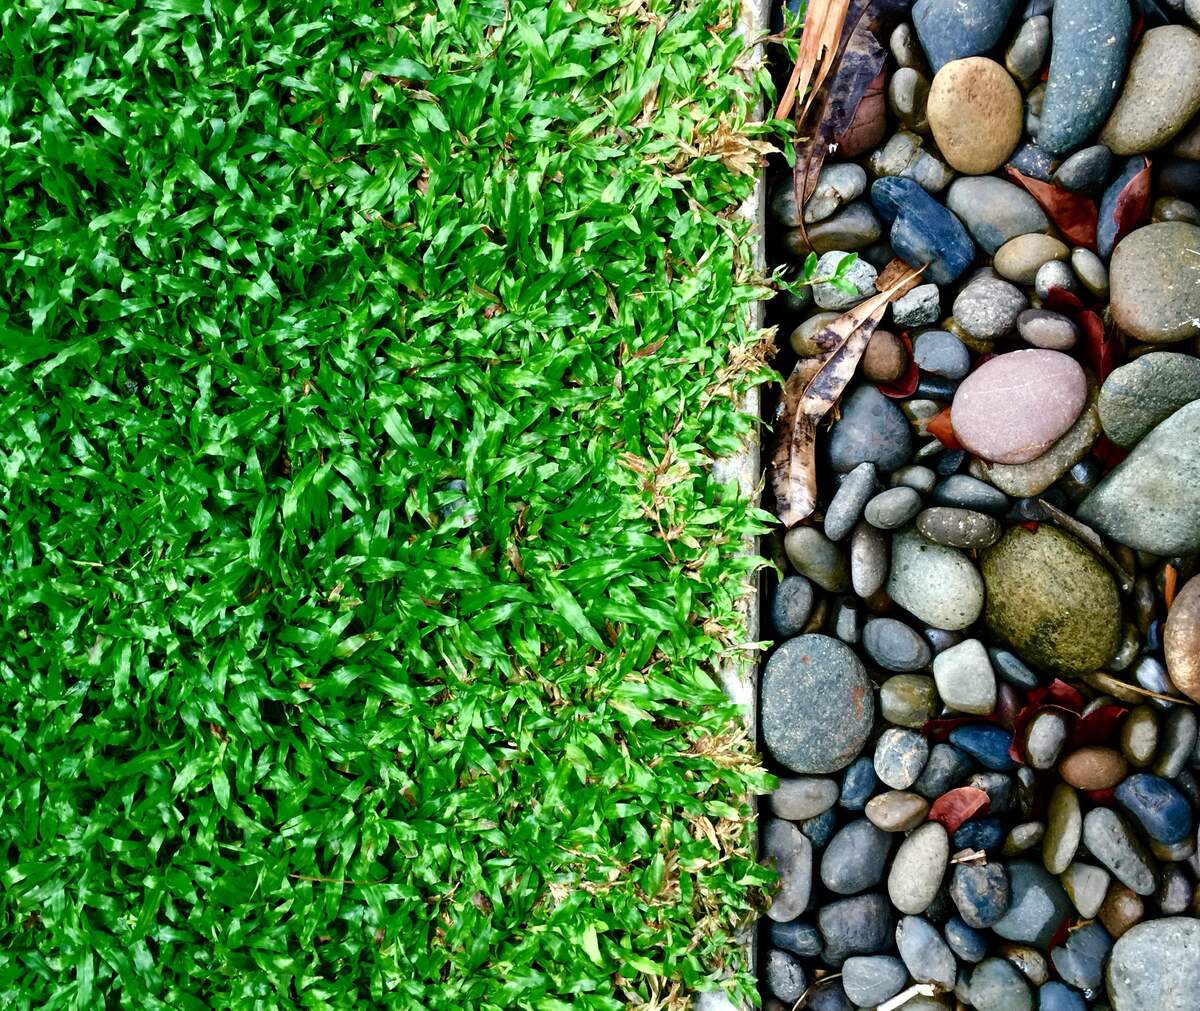
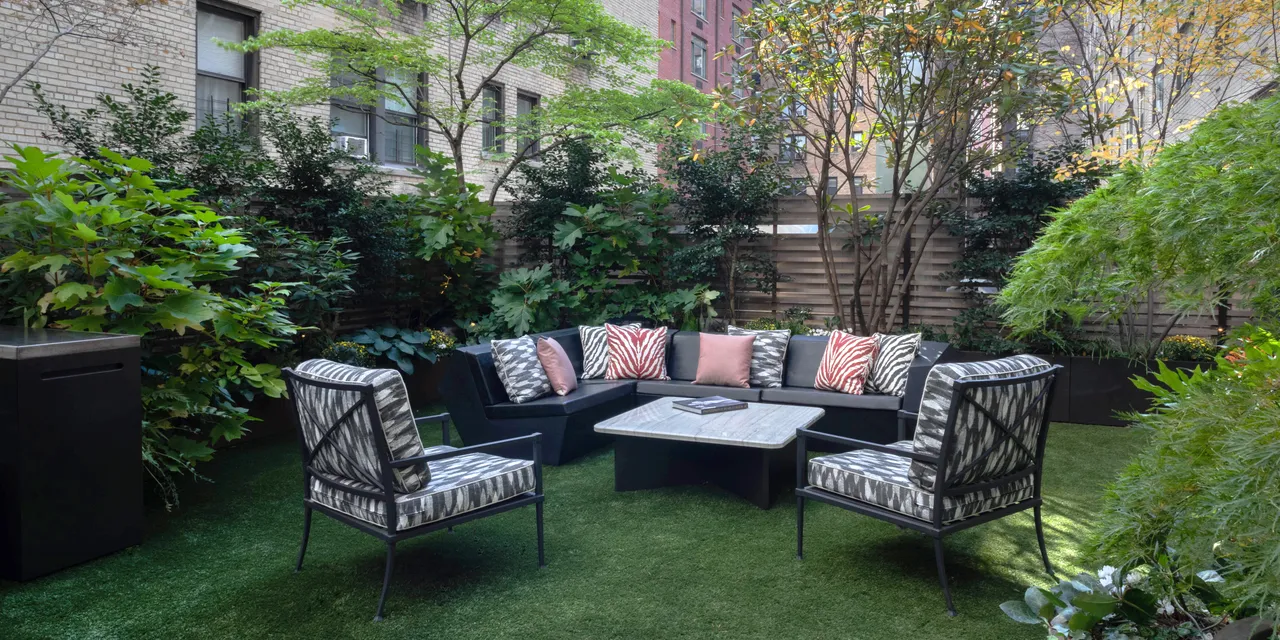
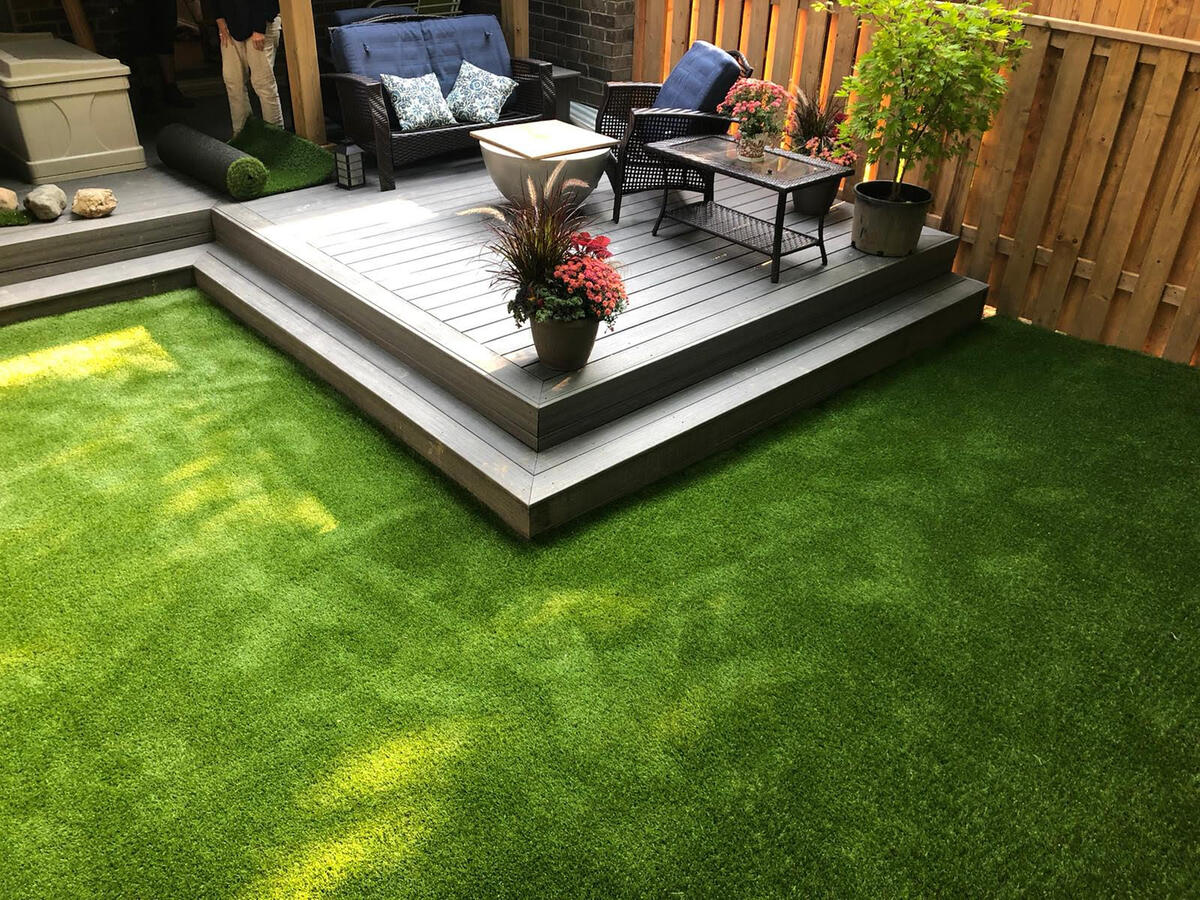
Having a lush green lawn adds beauty and functionality to any outdoor space. However, maintaining a natural grass lawn can be time-consuming and expensive. For those who want a low-maintenance alternative, fake grass, also known as artificial turf or synthetic lawn, is an excellent option.
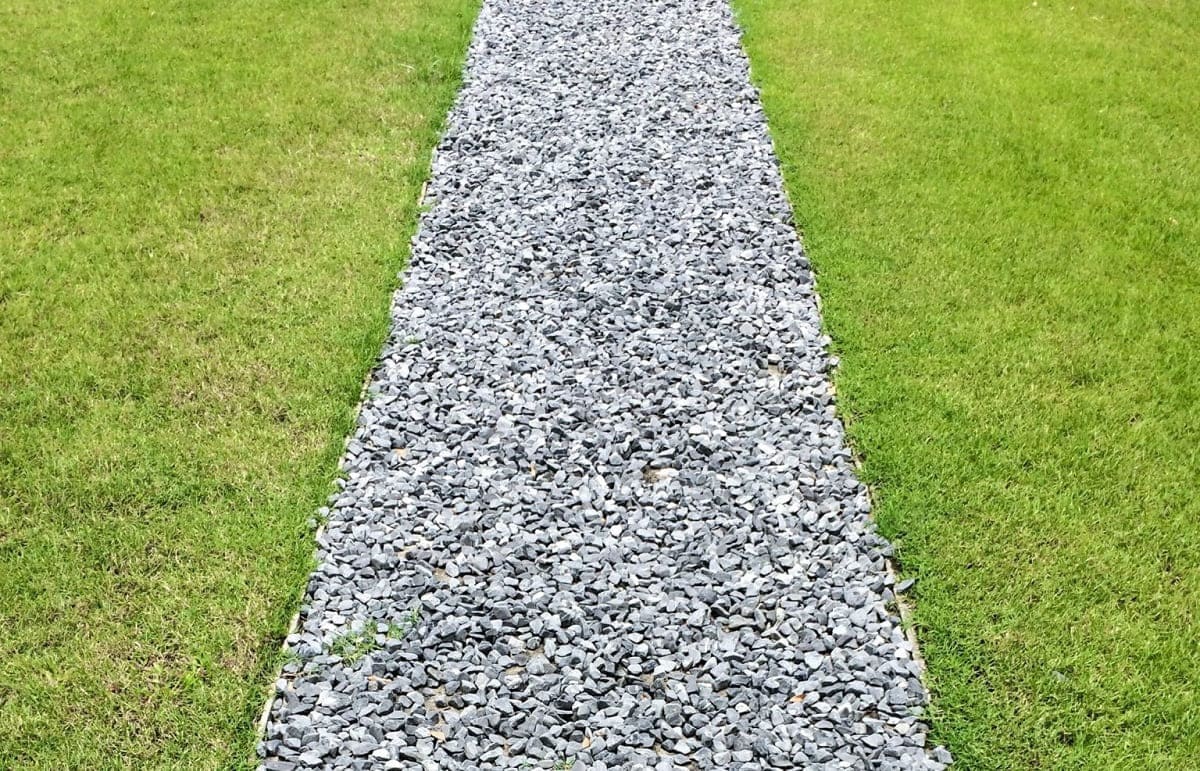
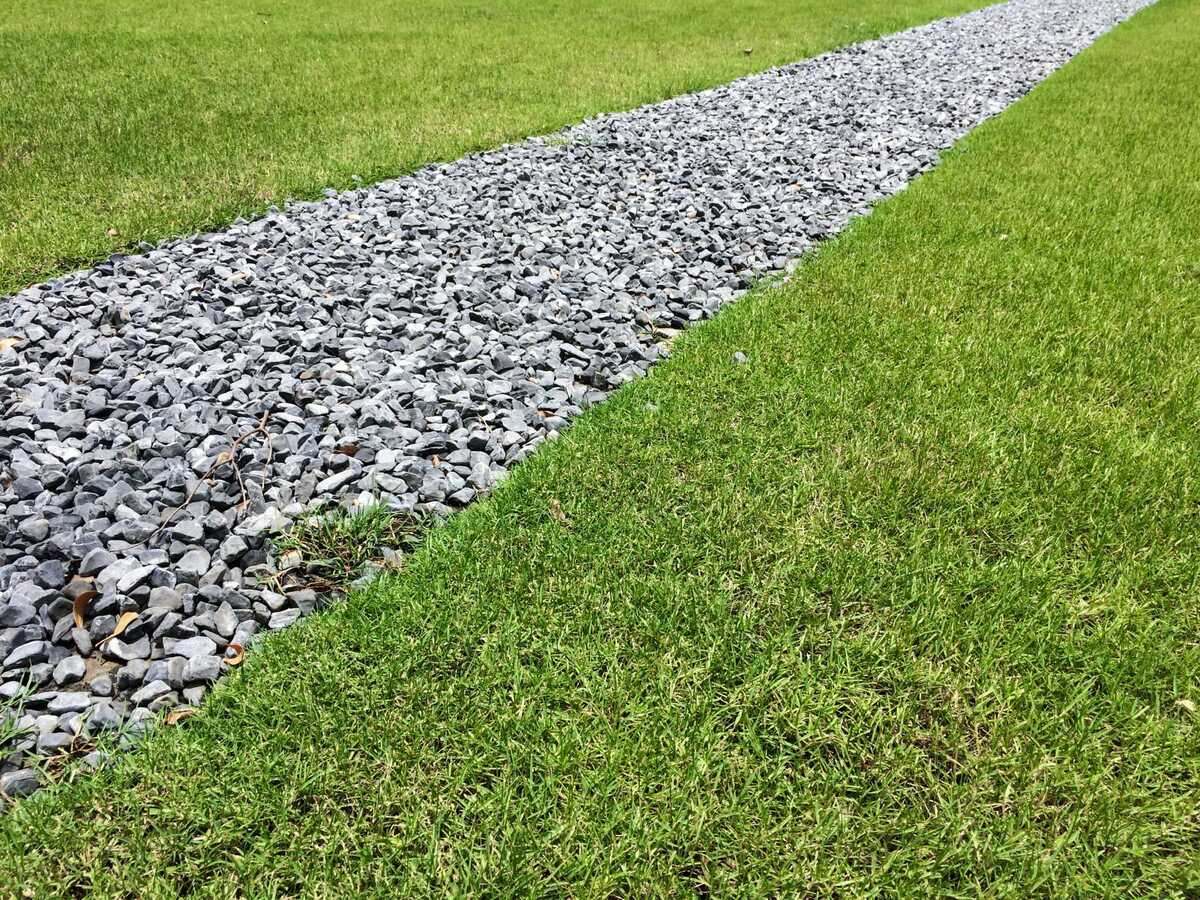
One common concern when it comes to laying fake grass is how to install it on a gravel surface. Luckily, with the right preparation and materials, it is entirely possible to lay fake grass on top of gravel, transforming your drab and dusty outdoor area into a vibrant and enjoyable space.
Whether you have a gravel backyard, a small gravel path, or a gravel area surrounding a patio, this article will guide you through the step-by-step process of laying fake grass on gravel. So, let’s get started!
Key Takeaways:
- Transforming a gravel area into a vibrant artificial lawn is achievable with the right preparation and materials. By following the step-by-step process, you can enjoy a low-maintenance and beautiful outdoor space.
- Regular cleaning and maintenance are essential for preserving the appearance and functionality of fake grass. With proper care, you can enjoy a hassle-free and long-lasting artificial lawn.
Read more: How To Lay Artificial Grass On Gravel
Step 1: Prepare the Site
The first step in laying fake grass on gravel is to prepare the site properly. This involves measuring the area, gathering the necessary tools and materials, and clearing the site of any debris.
1. Measure the Area: Start by measuring the area where you intend to lay the fake grass. This will help you determine how much fake grass and other materials you will need for the project. Make sure to take accurate measurements to avoid any unnecessary expenses or shortages.
2. Gather Tools and Materials: To successfully complete this project, you will need the following tools and materials:
- Measuring tape or ruler
- Sharp knife or scissors
- Wheelbarrow or bucket
- Rake or broom
- Compactor or tamper
- Weed membrane or landscape fabric
- Artificial grass
- Adhesive or pegs
- Infill material (optional)
Make sure to have all these items ready before you start working on the site.
3. Clear the Site: Before laying fake grass on gravel, it’s essential to clear the site of any debris, such as rocks, twigs, or weeds. Use a rake or broom to remove any loose gravel or other foreign objects from the area. This will ensure a clean and even surface for the fake grass to be installed on.
By adequately preparing the site, you will set yourself up for a successful installation process and ensure that your fake grass looks and performs its best. Once the site is prepared, you can move on to the next step – clearing the gravel.
Step 2: Clear the Gravel
Once the site is prepared, the next step in laying fake grass on gravel is to clear the gravel surface. This involves removing a layer of the gravel to create a shallow and even base for the fake grass to be installed on.
1. Determine the Depth: Start by determining how deep you need to clear the gravel. The ideal depth will depend on the type of fake grass you are using and the overall desired height of the finished surface. Typically, clearing around 2-3 inches of gravel is sufficient.
2. Use a Shovel or Rake: Use a shovel or rake to remove the desired amount of gravel from the surface. Start at one corner of the area and work your way across, gradually clearing the gravel until the desired depth is achieved. This process can be physically demanding, so take breaks as needed and enlist the help of others if necessary.
3. Check for Levelness: As you clear the gravel, periodically check for levelness using a spirit level or a long straight-edge. The surface should be even to ensure proper drainage and a smooth installation of the fake grass.
4. Dispose of the Cleared Gravel: As you clear the gravel, collect it in a wheelbarrow or bucket for disposal. You can reuse the cleared gravel in other areas of your garden or dispose of it according to your local waste management guidelines.
By clearing the gravel, you create a stable and level base for the fake grass to be laid upon. This step is crucial to ensure proper drainage and overall longevity of the artificial turf. Now that the gravel is cleared, you can move on to the next step – compacting the remaining gravel.
Step 3: Compact the Gravel
After clearing the gravel, the next step in laying fake grass on gravel is to compact the remaining gravel. This process helps to create a solid and stable base for the fake grass installation.
1. Rent or Borrow a Compactor: To effectively compact the gravel, you will need to rent or borrow a compactor or tamper. These machines apply pressure to the gravel, making it more compact and less prone to shifting or settling over time.
2. Start at One Corner: Begin compacting the gravel by starting at one corner of the area and working your way across. Run the compactor over the gravel surface in a systematic pattern, ensuring that each area receives adequate compaction.
3. Overlap Each Pass: As you make each pass with the compactor, be sure to overlap the previous pass slightly. This ensures that all areas of the gravel are evenly compacted and minimizes the risk of uneven surfaces.
4. Repeat the Compaction Process: Depending on the depth of the remaining gravel, you may need to repeat the compaction process multiple times until the gravel is properly compacted. The goal is to achieve a firm and stable base for the fake grass to be installed on.
5. Check for Levelness: As you compact the gravel, periodically check for levelness using a spirit level or a long straight-edge. The surface should be even to ensure proper drainage and a smooth installation of the fake grass.
By compacting the gravel, you create a solid foundation for the fake grass, reducing the risk of shifting and unevenness. This step is crucial for the long-term durability and performance of the artificial turf. Now that the gravel is compacted, you can move on to the next step – laying the weed membrane.
Step 4: Lay Weed Membrane
After compacting the gravel, the next step in laying fake grass on gravel is to lay a weed membrane or landscape fabric. This layer acts as a barrier, preventing weeds from growing through the fake grass and ensuring a clean and maintenance-free lawn.
1. Roll out the Membrane: Start by rolling out the weed membrane across the compacted gravel surface. Be sure to extend it to cover the entire area where the fake grass will be installed. Overlap the edges of the membrane by a few inches to ensure complete coverage.
2. Secure the Membrane: Use landscape fabric stakes or U-shaped nails to secure the weed membrane to the ground. Place the stakes or nails every few feet along the edges and in the center of the area. This will prevent the membrane from shifting or moving during the installation process.
3. Cut Openings for Drainage: If there are existing drainage holes or outlets in the gravel, carefully cut openings in the weed membrane to allow for proper drainage. This is essential to prevent water from pooling on the surface and potentially damaging the fake grass.
4. Inspect and Smooth the Membrane: Once the weed membrane is secured, inspect it for any wrinkles or folds. Smooth out any imperfections to ensure a flat and even surface for the fake grass to be laid upon. This will help to achieve a professional-looking result.
By laying a weed membrane, you create a protective barrier against weed growth, ensuring a low-maintenance and weed-free artificial lawn. This step is essential for the long-term aesthetics and performance of the fake grass. Now that the weed membrane is in place, you can move on to the next step – rolling out the fake grass.
Read more: How To Lay Fake Grass Down
Step 5: Roll Out the Fake Grass
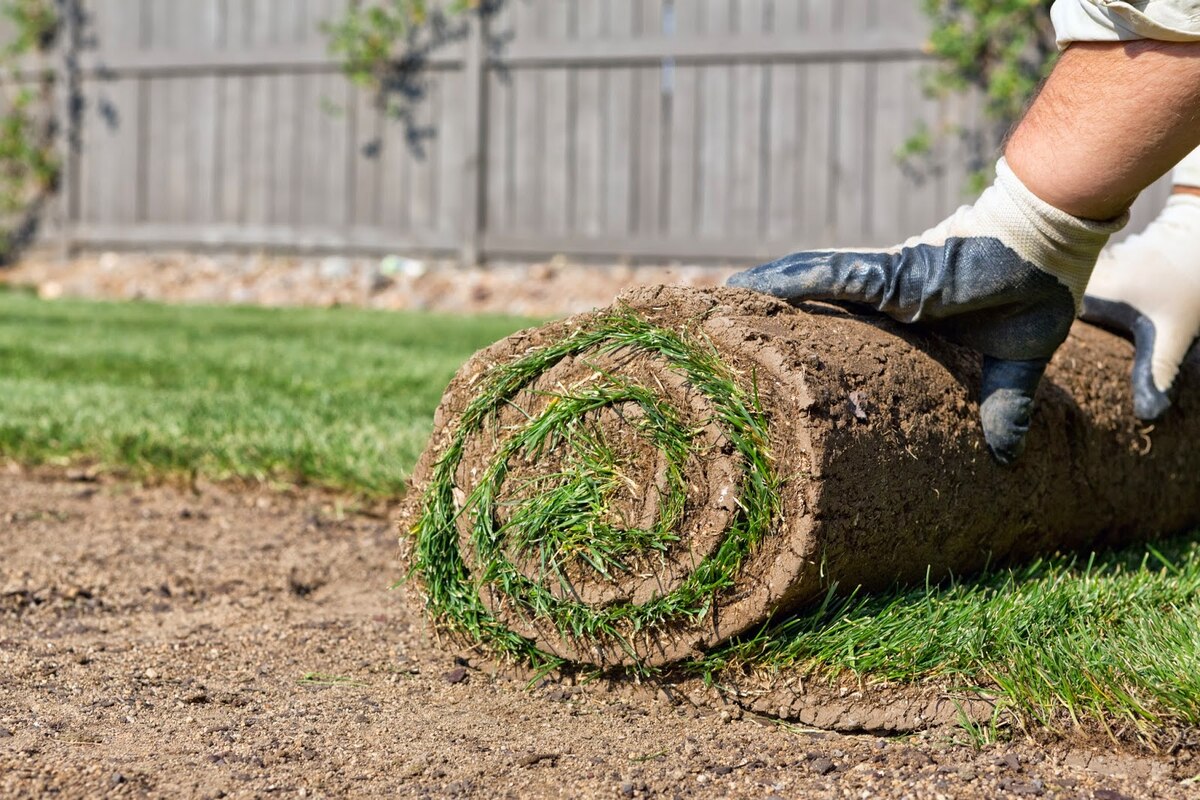
Now that the weed membrane is in place, it’s time to roll out the fake grass. This step involves carefully laying the artificial turf onto the prepared surface, ensuring a smooth and even installation.
1. Unroll the Grass: Start by unrolling the artificial grass onto the prepared site. Be mindful of the direction of the fibers, ensuring that all the grass blades are facing the same way for a consistent and natural look.
2. Position the Grass: Adjust the position of the fake grass, ensuring that it covers the entire area and overlaps any edges or borders. Take your time to align the grass properly, smoothing out any wrinkles or folds as you go along.
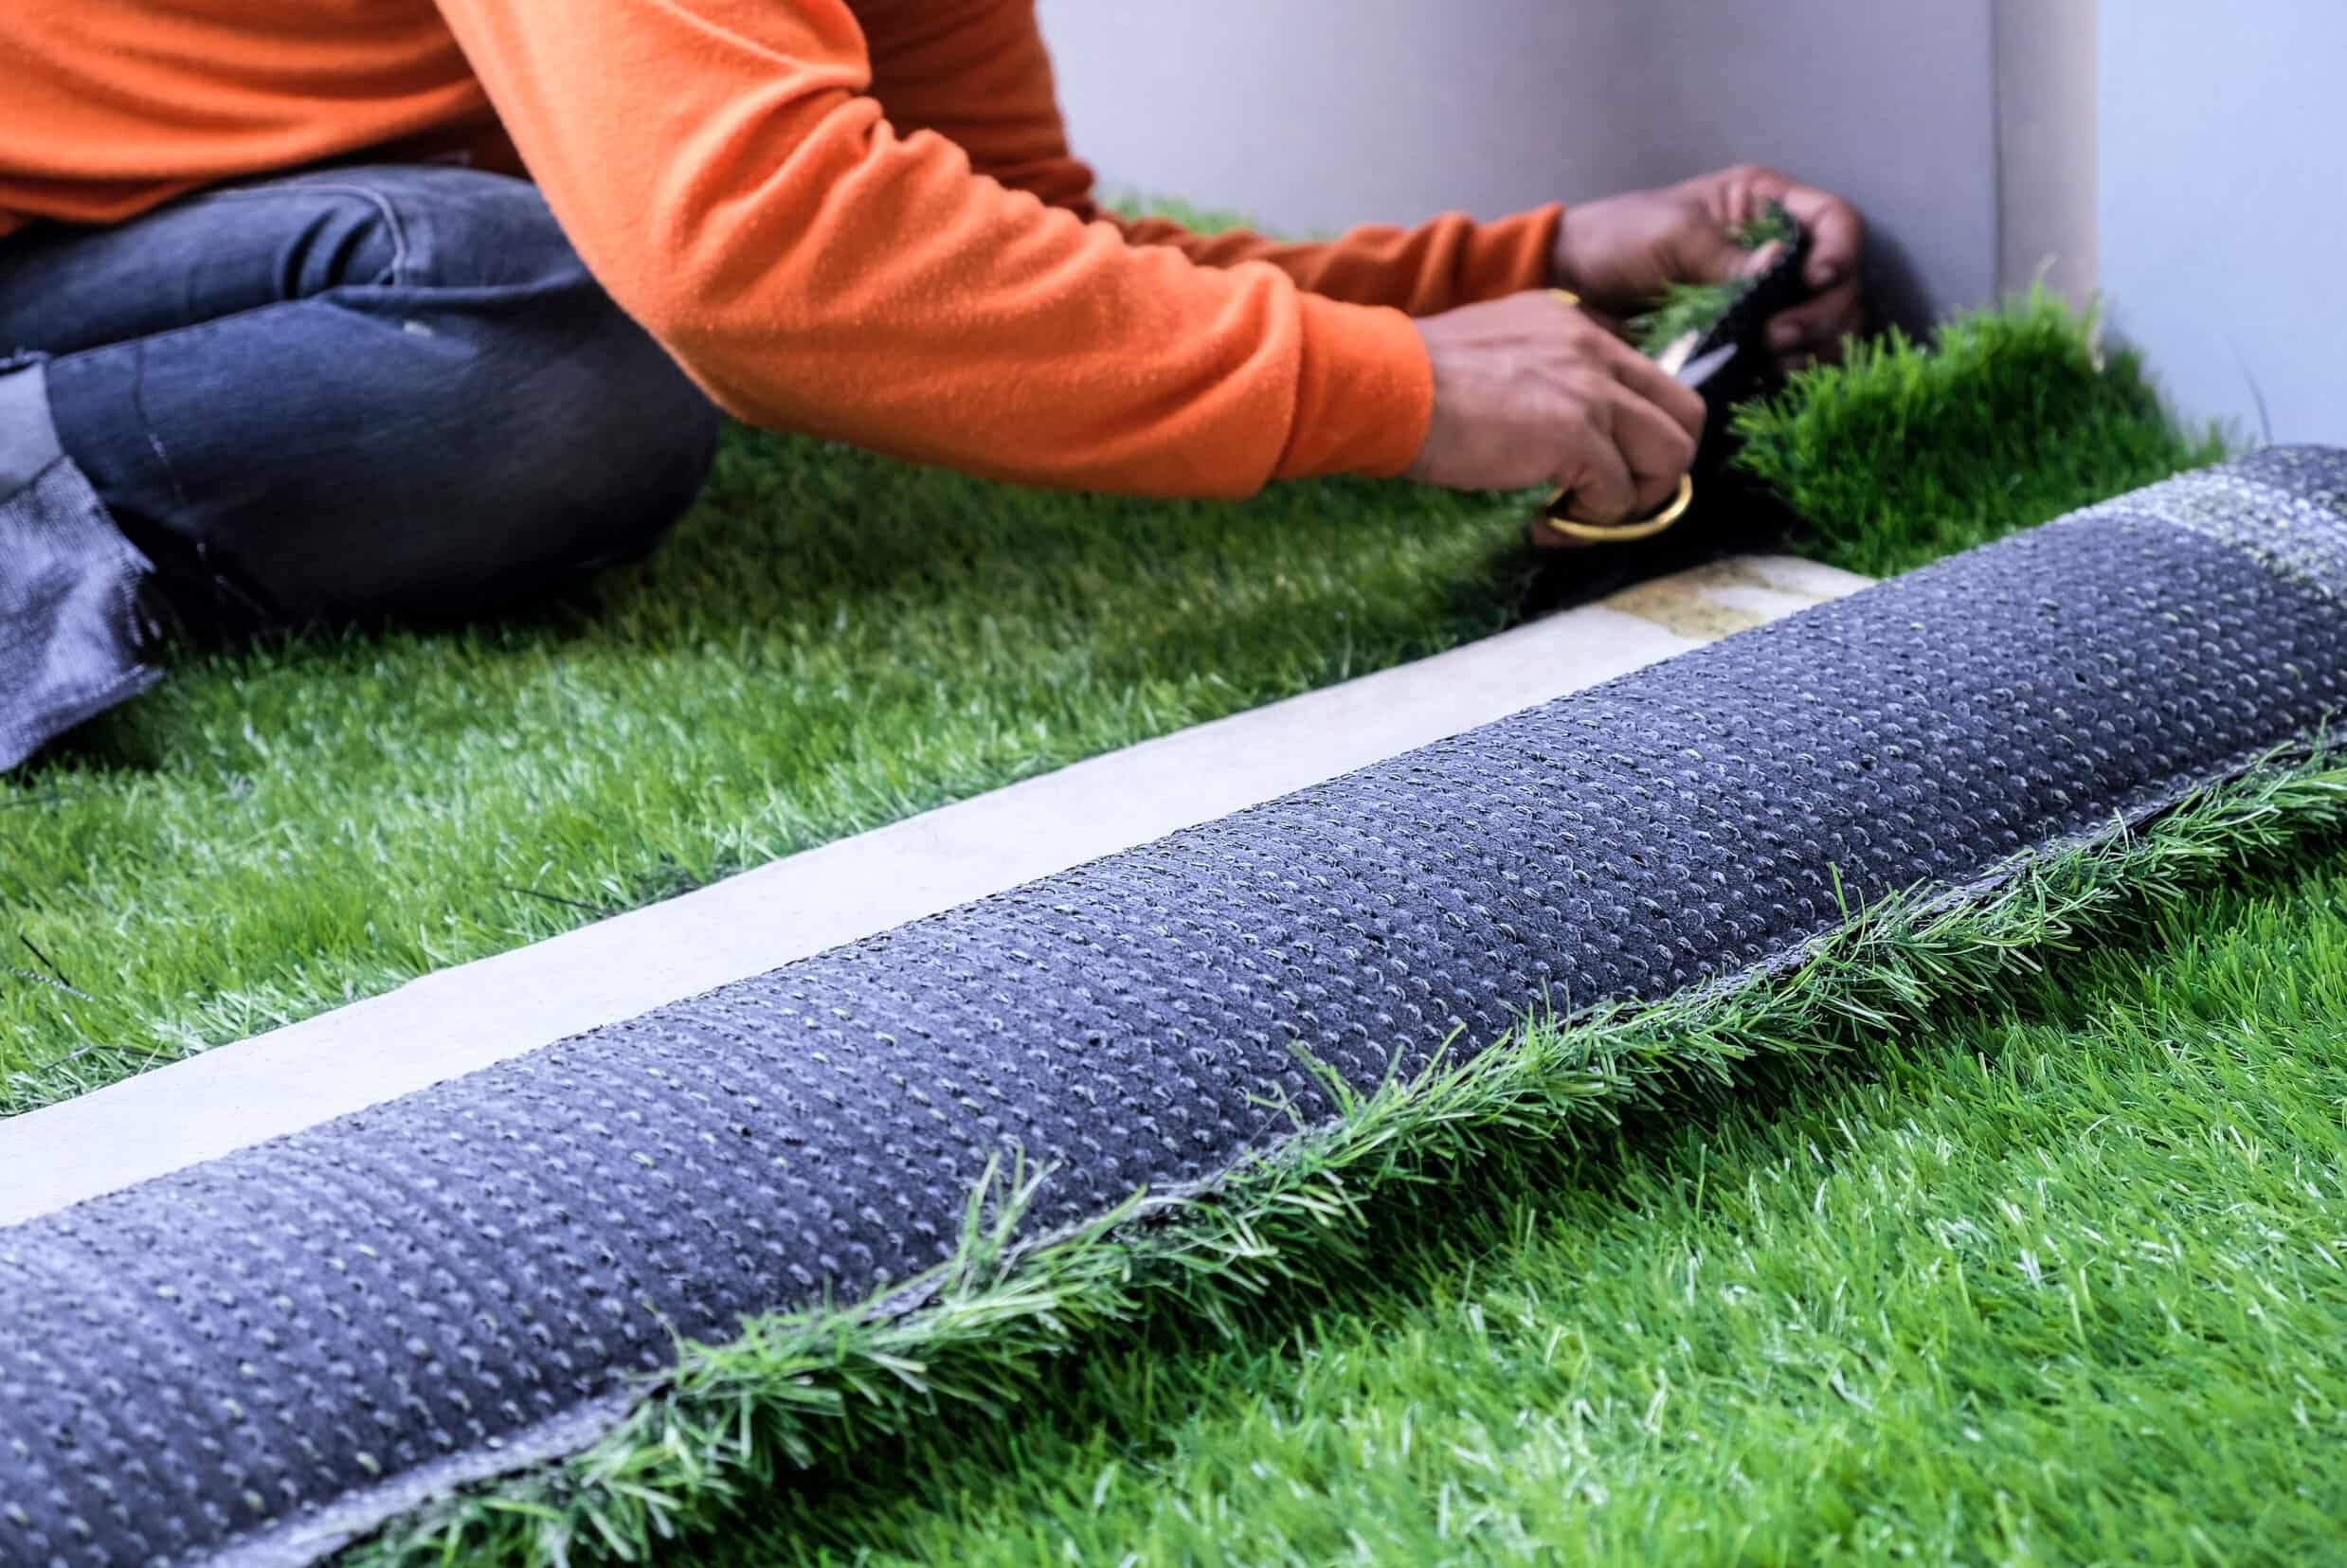
3. Trim Excess Grass: If necessary, trim any excess grass that extends beyond the desired area using a sharp knife or scissors. Make sure to cut along the backing of the grass, avoiding cutting into the grass fibers themselves.
4. Avoid Distortion: While positioning and adjusting the fake grass, be careful not to stretch or distort the turf. This can cause unevenness and affect the overall appearance and performance of the lawn.
5. Seam Multiple Rolls (if applicable): If you have multiple rolls of fake grass that need to be seamed together, carefully align the edges and use artificial grass adhesive or joining tape to secure them. Follow the manufacturer’s instructions for proper seaming techniques.
By rolling out the fake grass carefully and ensuring proper alignment, you create a visually appealing and seamless surface. This step sets the foundation for the next steps of securing and finishing the installation. Now that the fake grass is rolled out, you can move on to the next step – cutting and shaping the grass.
Before laying fake grass on gravel, make sure the surface is level and free of debris. Use a weed barrier to prevent weeds from growing through the fake grass. Then, lay the fake grass on top of the gravel and secure the edges with landscape staples.
Step 6: Cut and Shape the Grass
After rolling out the fake grass, the next step is to cut and shape it to fit the desired area. This step ensures a precise and custom fit, giving your artificial lawn a polished and professional appearance.
1. Measure and Mark: Begin by measuring the areas where you need to cut the fake grass. Use a measuring tape to determine the exact dimensions needed. Mark the measurements using chalk or another non-permanent marker directly onto the grass.
2. Cut with Precision: Using a sharp knife or scissors, carefully cut along the marked lines to trim the fake grass to the appropriate size and shape. Take your time and make precise cuts to ensure a clean and seamless finish.
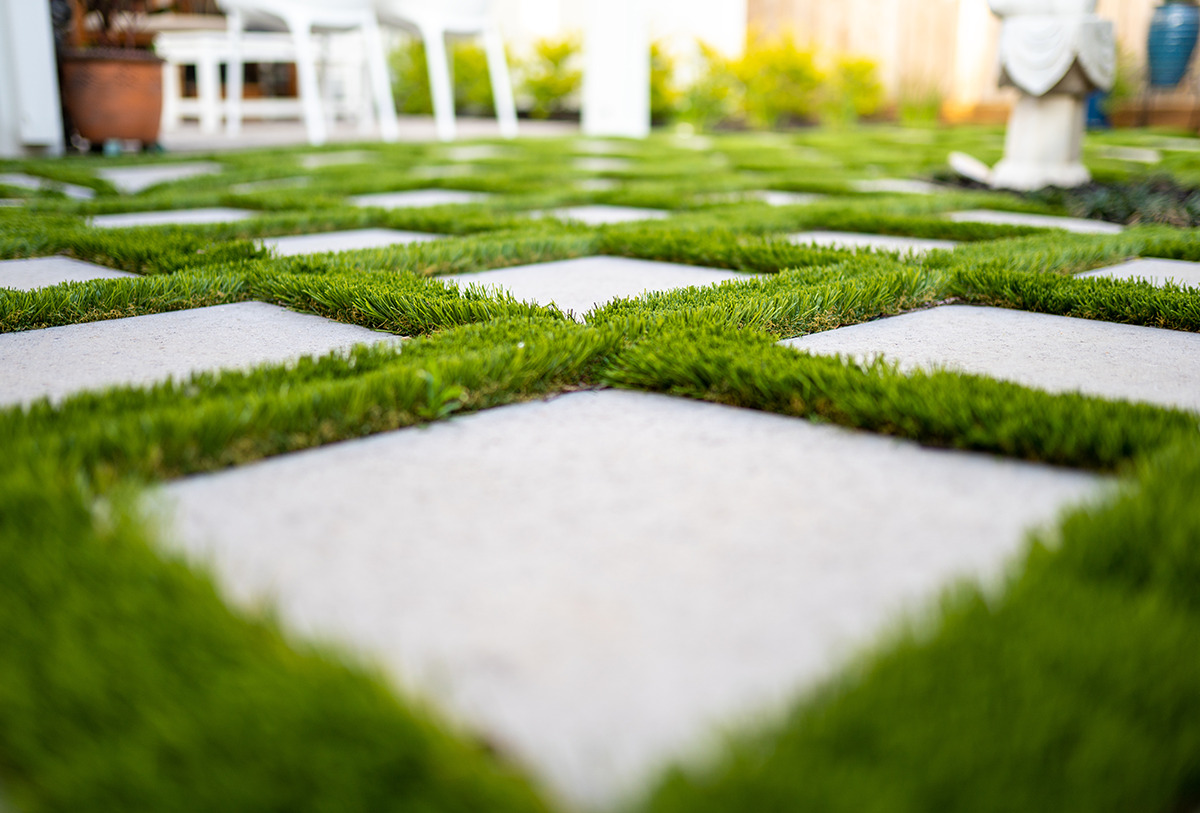
3. Create Complex Shapes (if applicable): If you have areas that require complex shapes, such as around trees, flowerbeds, or other obstacles, make small relief cuts to carefully maneuver the grass into the desired shape. Be patient and take your time to achieve accurate cuts and smooth transitions.
4. Trim Excess Fibers: Once the fake grass is cut to size, inspect it for any loose or long fibers. Use scissors to trim any excess fibers that may be sticking out, creating a neat and well-groomed appearance.
5. Save Any Unused Pieces: If you have any leftover sections of fake grass, save them for potential future repairs or replacements. Storing them properly will ensure that you have matching materials on hand if needed.
By cutting and shaping the fake grass to fit the designated areas, you create a seamless and cohesive look for your artificial lawn. This step adds a finishing touch and ensures that the grass fits perfectly into its surroundings. Now that the grass is cut and shaped, you can move on to the next step – securing the edges.
Step 7: Secure the Edges
After cutting and shaping the fake grass, it’s time to secure the edges to ensure a secure and long-lasting installation. By properly securing the edges, you prevent the grass from shifting or becoming loose over time.
1. Apply Adhesive (if applicable): If you’re installing the fake grass on a solid surface, such as concrete or wood, apply artificial grass adhesive along the perimeter of the installation area. Follow the manufacturer’s instructions on how to properly apply the adhesive.
2. Press the Edges: Once the adhesive is applied, carefully press the edges of the fake grass into the adhesive to secure them in place. Use your hands or a roller to ensure a firm bond between the grass and the surface.
3. Insert Pegs (if applicable): If you’re installing the fake grass on a softer surface, such as soil or sand, use synthetic grass pegs to anchor the edges. Insert the pegs along the perimeter, spacing them evenly to ensure even tension on the edges.
4. Nail or Screw Down (if applicable): Depending on the surface and the specific requirements of your installation, you may need to use nails or screws to secure the edges. Ensure that any fasteners you use are suitable for outdoor use and won’t damage the fake grass.
5. Smooth and Adjust: As you secure the edges, smooth out any wrinkles or folds in the grass and make any necessary adjustments to ensure a uniform appearance. Take your time to achieve a professional finish.
By properly securing the edges of the fake grass, you ensure that it remains in place and maintains its pristine appearance for years to come. This step adds stability and longevity to the installation, making it an essential part of the process. Now that the edges are secured, you can move on to the next step – brushing infill material into the grass.
Step 8: Brush Infill into the Grass
After securing the edges of the fake grass, the next step is to brush infill material into the grass fibers. Infill serves several purposes, including providing stability, enhancing the natural look, and improving the durability of the artificial lawn.
1. Choose the Right Infill Material: There are various types of infill materials available, such as silica sand, rubber granules, or a combination of both. Select the appropriate infill material based on your specific needs, climate, and preferences.
2. Spread the Infill: Begin by evenly spreading the infill material across the entire surface of the fake grass. Use a spreader or a stiff-bristle broom to distribute the infill in a consistent and uniform manner.
3. Brush in the Infill: Use a power broom or a stiff-bristle brush to brush the infill material into the fibers of the fake grass. This helps the infill to settle in and adhere to the grass, providing stability and support.
4. Work in Small Sections: Divide the area into smaller sections to ensure thorough coverage and even distribution of the infill. Focus on one section at a time, working in a systematic pattern to brush in the infill effectively.
5. Add More Infill (if needed): Depending on the recommended amount of infill for your specific fake grass product, you may need to add additional infill material to achieve the desired depth. Follow the manufacturer’s guidelines regarding the appropriate amount of infill to use.
By brushing infill material into the fake grass, you create a more realistic and natural-looking lawn. Infill also helps to weigh down the grass, minimize matting, and provide cushioning. This step contributes to the overall performance and aesthetics of the artificial turf. Now that the infill is brushed into the grass, you can move on to the final step – cleaning and maintaining the fake grass.
Read more: How To Lay Fake Grass In Arizona
Step 9: Clean and Maintain the Fake Grass
Once the fake grass is installed, it’s important to regularly clean and maintain it to keep it looking its best and ensure its longevity. Proper maintenance will help preserve the appearance and functionality of your artificial lawn.
1. Remove Debris: Regularly remove leaves, twigs, and other debris from the surface of the fake grass. Use a leaf blower, a rake, or a stiff-bristle broom to gently sweep away the debris. This will prevent the buildup of organic matter and maintain the pristine appearance of the grass.
2. Brush the Grass: To prevent matting and keep the grass looking lush, brush the fibers with a stiff-bristle brush or a power broom. This will help to regain the upright position of the grass blades and enhance its overall appearance.
3. Rinse and Clean: Periodically rinse the fake grass with water to remove dust, dirt, and any pet waste. This can be done with a garden hose or a pressure washer on a gentle setting. Avoid using harsh chemicals or cleaners that may damage the grass fibers.
4. Address Stains and Spills: Treat any stains or spills on the fake grass promptly. Use a mild detergent or a specially formulated artificial grass cleaner and gently scrub the affected area with a soft-bristle brush. Rinse thoroughly to remove any residue.
5. Prevent Weed Growth: Regularly inspect the edges of the fake grass to ensure that weeds are not growing or penetrating the surface. If you notice any weeds, remove them immediately and apply a weed killer or pre-emergent herbicide as needed.
6. Protect from Sharp Objects: Avoid placing or dragging heavy furniture or sharp objects on the fake grass, as this may cause damage to the fibers. Use protective pads or mats to prevent any potential harm.
7. Schedule Routine Maintenance: Consider scheduling routine maintenance tasks, such as brushing, rinsing, and inspecting the fake grass, to keep it in optimal condition. Set up a maintenance schedule that aligns with your needs and the specific requirements of the artificial turf.
By regularly cleaning and maintaining the fake grass, you will extend its lifespan, preserve its appearance, and ensure that it remains a beautiful and hassle-free addition to your outdoor space. Following these maintenance practices will help you enjoy the benefits of a vibrant and long-lasting artificial lawn.
With these nine steps, you now have a comprehensive guide on how to lay fake grass on gravel. By following these instructions and paying attention to detail, you can transform your gravel area into a stunning and low-maintenance artificial lawn that will enhance your outdoor space for years to come.
Conclusion
Congratulations! You have successfully learned how to lay fake grass on gravel. By following these nine steps, you can transform a dull and lifeless gravel surface into a vibrant and lush artificial lawn. The process may require some effort, but the results are well worth it.
Fake grass offers numerous advantages, including low maintenance, water conservation, and a consistently green and beautiful appearance. Whether you’re looking to create a welcoming outdoor space, a safe play area for children, or a pet-friendly environment, artificial turf provides a versatile solution.
Remember to properly prepare the site, clear the gravel, compact the remaining gravel, lay a weed membrane, roll out the fake grass, cut and shape it to fit, secure the edges, brush infill material into the grass, and lastly, clean and maintain the fake grass regularly.
To ensure a successful installation, be patient, follow the instructions carefully, and use the appropriate tools and materials. Consider seeking professional help if you are unsure or need assistance during any stage of the process.
With proper care and maintenance, your fake grass will continue to provide you with a vibrant and low-maintenance lawn for many years to come. Enjoy the beauty and convenience of your new artificial turf, and relish in the fact that you’ll no longer need to worry about mowing, watering, or using harmful pesticides.
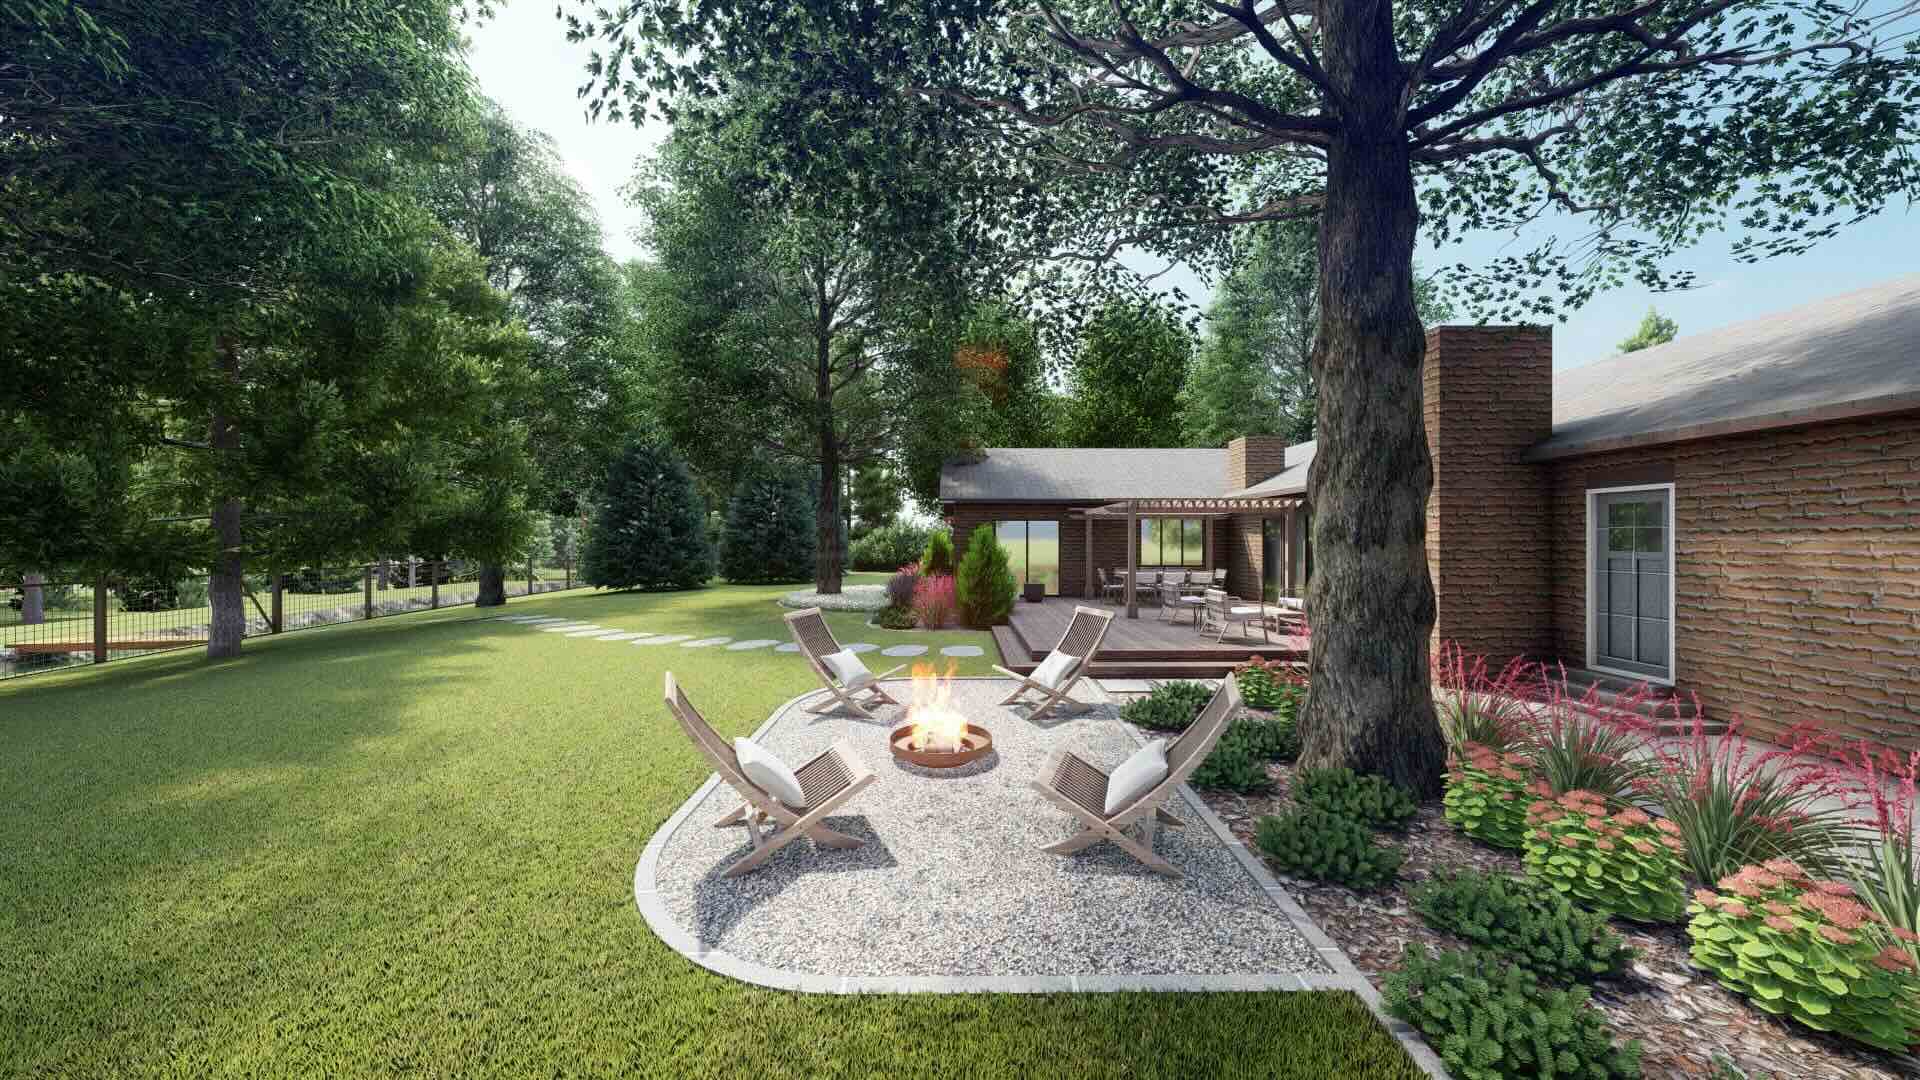
Now, go ahead and transform your gravel area into a stunning oasis with the beauty of artificial grass. Get ready to enjoy a lush and vibrant outdoor space that you can relax, entertain, and appreciate year-round.
Ready to spruce up your garden even further? After mastering the art of laying fake grass on gravel, why not tackle another exciting project? Check out our guide on top garden fence ideas. With a variety of styles, materials, and designs, you'll find the perfect boundary to complement your new lawn and enhance your landscaping vision. Whether seeking privacy, security, or just a touch of elegance, we've got the inspiration you need to bring your garden to life.
Frequently Asked Questions about How To Lay Fake Grass On Gravel
Was this page helpful?
At Storables.com, we guarantee accurate and reliable information. Our content, validated by Expert Board Contributors, is crafted following stringent Editorial Policies. We're committed to providing you with well-researched, expert-backed insights for all your informational needs.


0 thoughts on “How To Lay Fake Grass On Gravel”