Home>Gardening & Outdoor>Landscaping Ideas>How To Lay Artificial Grass On Gravel
Landscaping Ideas
How To Lay Artificial Grass On Gravel
Modified: August 18, 2024
Learn how to transform your gravel area with artificial grass. Get expert landscaping ideas and step-by-step instructions for laying artificial grass on gravel. Achieve a stunning and low-maintenance outdoor space.
(Many of the links in this article redirect to a specific reviewed product. Your purchase of these products through affiliate links helps to generate commission for Storables.com, at no extra cost. Learn more)
Introduction
Welcome to the world of artificial landscaping, where the lush green of a well-maintained lawn can be yours without the hassle of constant upkeep. If you have a gravel area that’s craving the vibrant look of grass, you’re in the right place. In this comprehensive guide, we’ll walk you through the step-by-step process of laying artificial grass on gravel, transforming your outdoor space into a low-maintenance oasis of greenery.
Artificial grass offers a host of benefits, from its evergreen appearance to its durability and minimal maintenance requirements. By following the techniques outlined in this guide, you can enjoy the aesthetic appeal of a natural lawn without the need for constant watering, mowing, or fertilizing. Whether you’re looking to create a welcoming outdoor area for entertaining or simply want to elevate the visual appeal of your property, laying artificial grass on gravel is a fantastic way to achieve stunning results with minimal effort.
Throughout this article, we’ll cover everything from gathering the necessary materials and tools to the final touches that will ensure your artificial grass looks and feels as natural as possible. By the time you’ve finished reading, you’ll have all the knowledge and confidence you need to embark on this rewarding landscaping project. So, grab your tools and let’s get started on transforming your gravel space into a vibrant, low-maintenance haven!
Key Takeaways:
- Transform your gravel area into a low-maintenance oasis of greenery by following the step-by-step guide to laying artificial grass on gravel. Enjoy the aesthetic appeal of a natural lawn without the need for constant upkeep.
- With the right materials and tools, meticulous preparation, and attention to detail, you can create a vibrant and inviting artificial grass landscape that emulates the lush appearance of natural grass.
Read more: How To Lay Fake Grass On Gravel
Step 1: Gather Materials and Tools
Before diving into the process of laying artificial grass on gravel, it’s essential to gather all the necessary materials and tools. By ensuring you have everything on hand, you’ll be well-prepared to tackle each step of the project efficiently and effectively.
Here’s a list of the materials and tools you’ll need:
- Artificial grass – Measure the area to determine the amount needed.
- Weed membrane – Helps prevent weed growth and provides a stable base for the artificial grass.
- Edging material – Options include timber, composite, or metal edging to create a neat border for the grass.
- Sharp sand – Used to create a level surface for laying the artificial grass.
- Fixing pins – These are essential for securing the artificial grass in place.
- Utility knife – For cutting the artificial grass to fit the space accurately.
- Hammer – Required for installing the edging material.
- Brush or power broom – Used for brushing and maintaining the artificial grass once it’s laid.
- Tape measure – Essential for accurately measuring the area and the artificial grass.
- Protective gloves – Ensure your hands are protected during the installation process.
- Protective goggles – To shield your eyes when cutting the artificial grass or using the fixing pins.
- Wheelbarrow and shovel – For transporting and spreading the sharp sand.
By gathering these materials and tools, you’ll be well-equipped to proceed with confidence as you embark on the journey of transforming your gravel area into a stunning, low-maintenance artificial grass landscape.
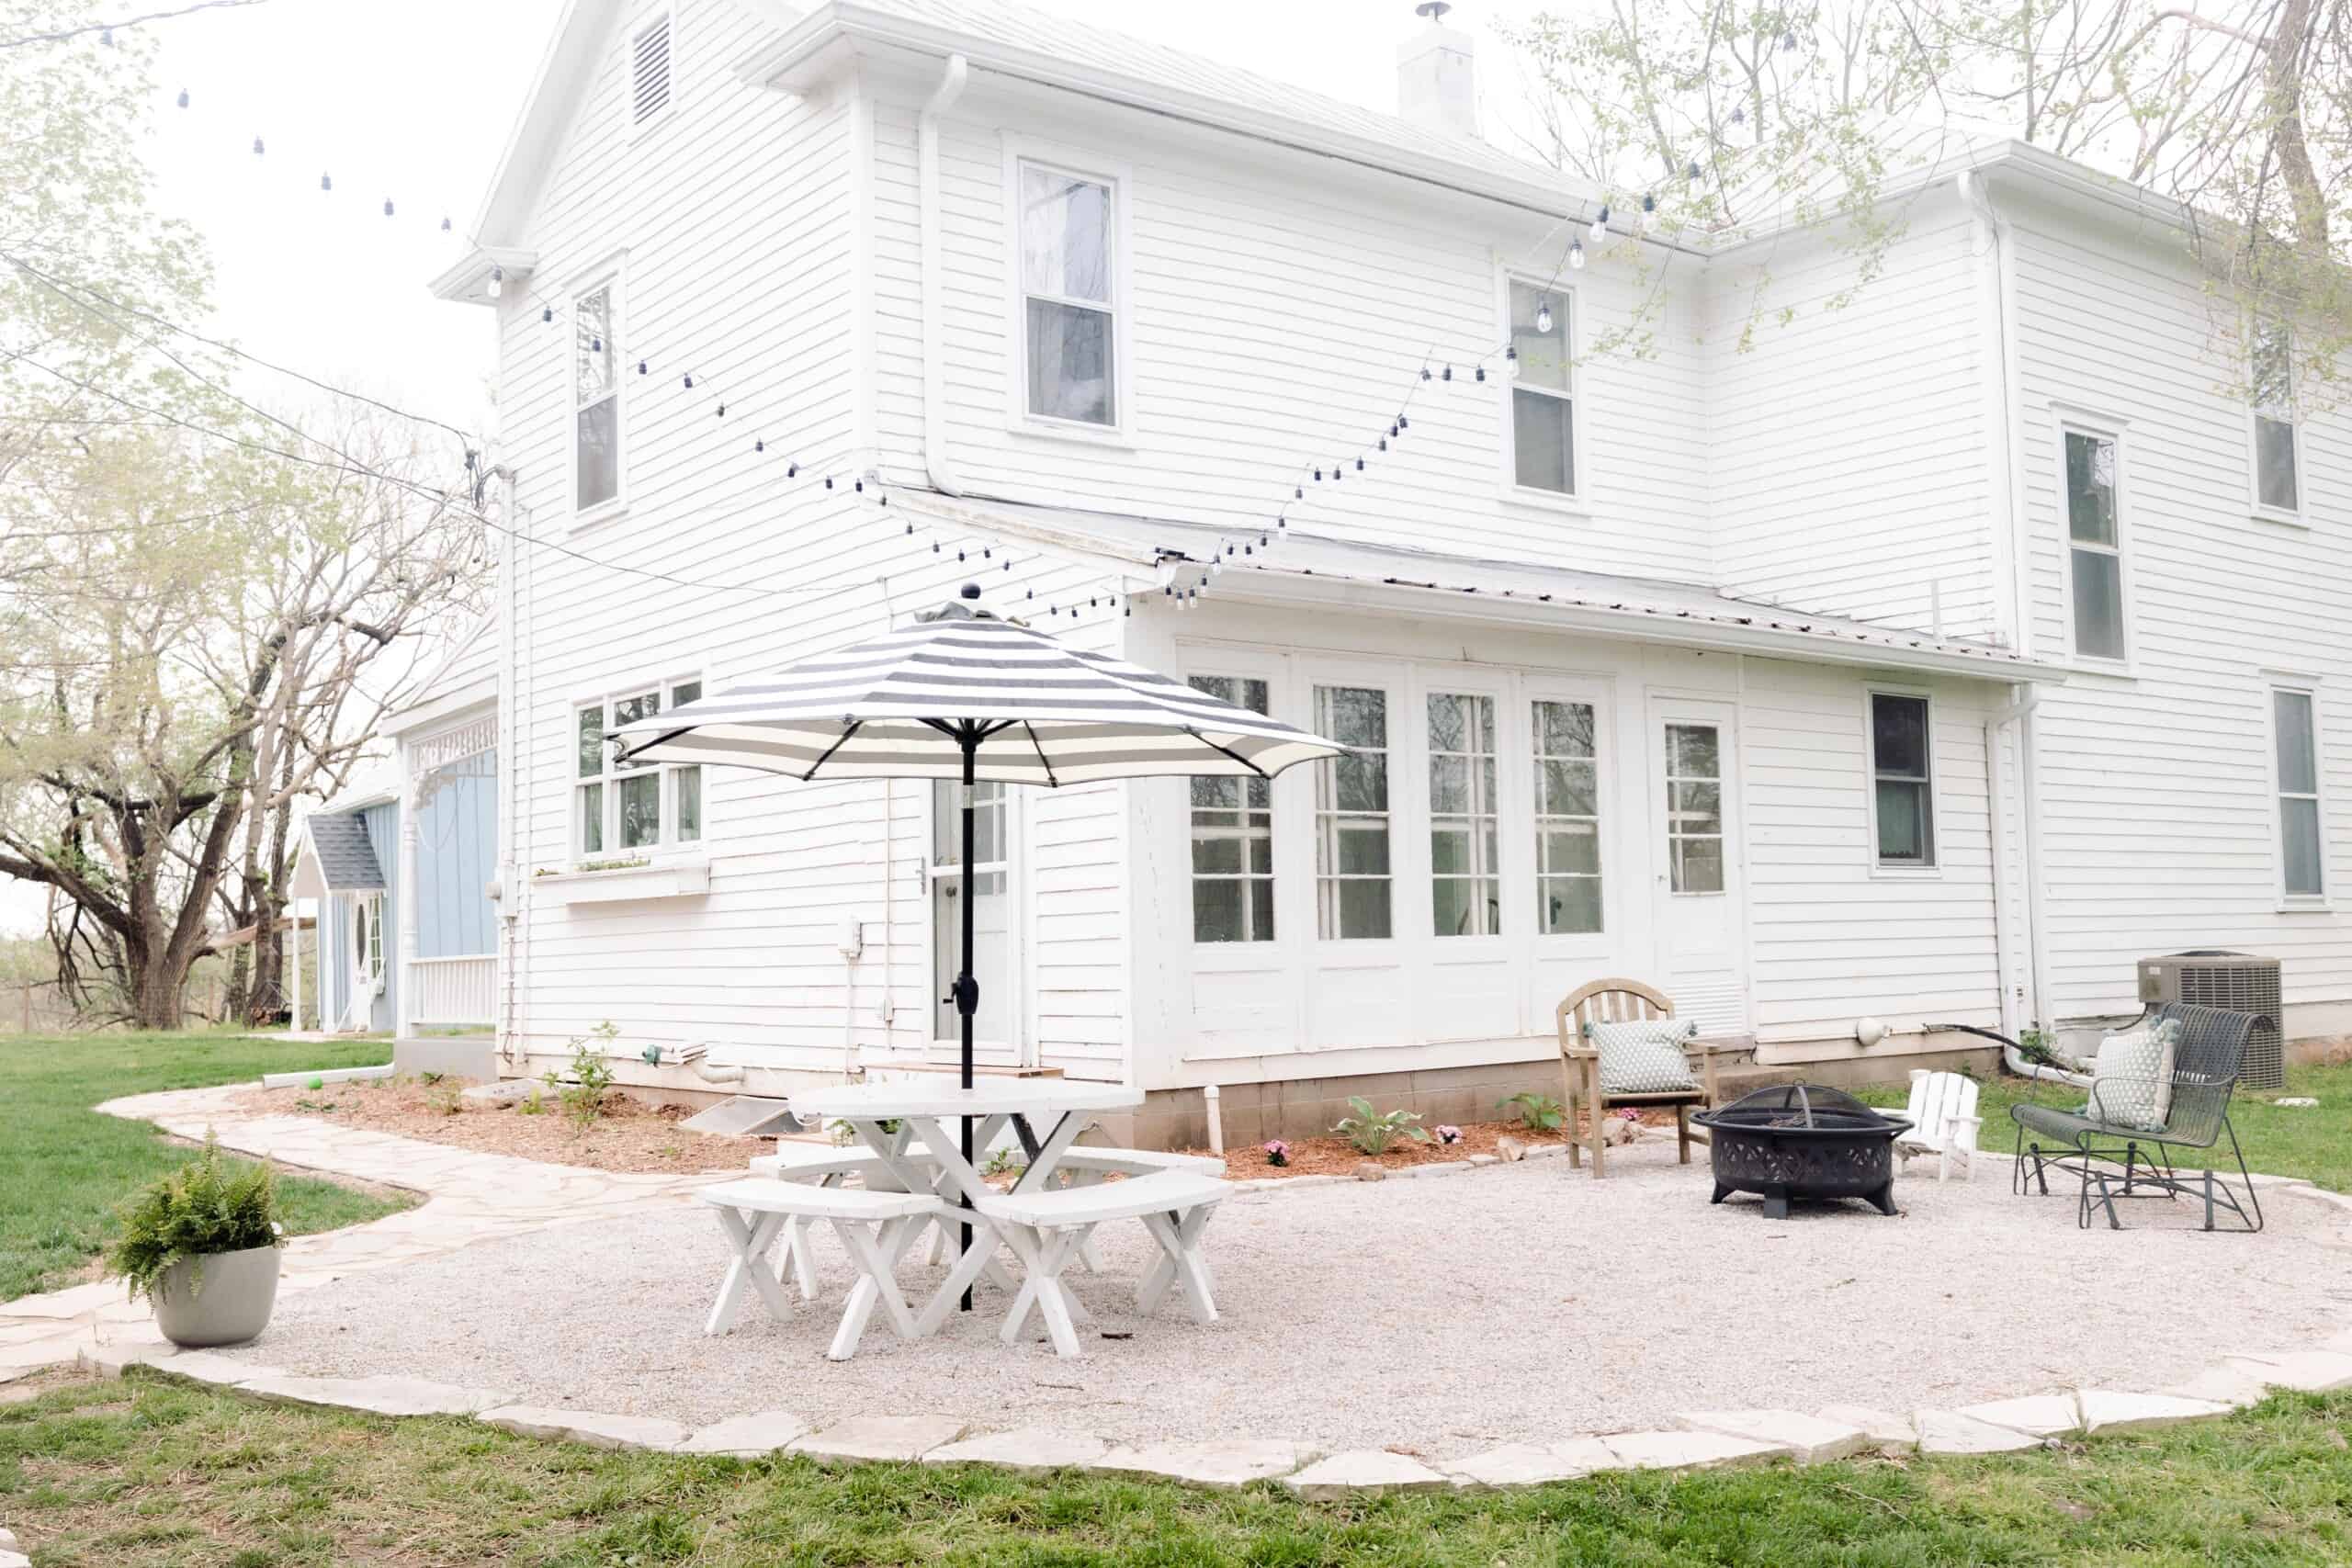
Step 2: Prepare the Area
With all the necessary materials and tools at your disposal, it’s time to prepare the gravel area for the installation of artificial grass. Proper preparation is crucial for ensuring a stable and long-lasting foundation, so let’s dive into the essential steps.
Here’s how to prepare the area:
- Clean the Surface: Begin by clearing the gravel area of any debris, such as leaves, twigs, and loose gravel. A rake or stiff brush can be helpful for this task, ensuring the surface is clean and free from any obstructions.
- Level the Ground: Use a shovel to level the gravel surface, ensuring it’s as even as possible. This step is essential for creating a smooth and uniform base for the artificial grass.
- Compact the Gravel: Using a compactor or tamper, firmly compact the gravel to create a stable foundation. This will help prevent any unevenness or shifting once the artificial grass is in place.
- Add a Layer of Sharp Sand: Spread a layer of sharp sand over the compacted gravel. The sand should be spread evenly to create a level surface, and a spirit level can be used to ensure uniformity.
- Compact the Sand: Once the sand is in place, use the compactor or tamper to firmly compact it. This step is crucial for establishing a solid and level base that will support the artificial grass.
By meticulously preparing the gravel area, you’ll lay the groundwork for a successful artificial grass installation. Taking the time to complete these preparatory steps will contribute to the overall stability and longevity of your artificial grass landscape.
Step 3: Lay the Weed Membrane
With the gravel area properly prepared, the next crucial step in the process of laying artificial grass on gravel is to install the weed membrane. This essential layer serves multiple purposes, including inhibiting weed growth and providing added stability for the artificial grass.
Here’s how to lay the weed membrane:
- Measure and Cut: Begin by measuring the dimensions of the area and cutting the weed membrane to fit. It’s important to ensure that the membrane covers the entire surface, with a slight overlap at the edges to prevent any gaps.
- Position the Membrane: Carefully lay the weed membrane over the prepared gravel area, ensuring it sits flat and taut. Smooth out any wrinkles or folds to create a uniform surface.
- Secure the Membrane: Use fixing pins to secure the weed membrane in place, ensuring it remains stable and taut. Space the fixing pins at regular intervals to prevent any shifting or movement of the membrane.
- Trim Excess Material: Trim any excess membrane along the edges, ensuring a neat and tidy fit. This step contributes to the overall professional finish of the installation.
By laying the weed membrane, you’ll create a barrier that helps prevent the emergence of weeds while providing a stable and secure foundation for the artificial grass. This crucial layer sets the stage for the next steps in the installation process, bringing you one step closer to enjoying a vibrant and low-maintenance artificial grass landscape.
Before laying artificial grass on gravel, make sure the surface is level and free of debris. Use a weed membrane to prevent weed growth and ensure good drainage. Install a shock pad under the grass for added cushioning.
Step 4: Install the Edging
Creating a defined border for your artificial grass not only enhances the aesthetic appeal of the space but also helps to secure the edges and maintain the integrity of the installation. Installing edging material is an essential step in the process of laying artificial grass on gravel, providing a clean and professional finish to the landscape.
Here’s how to install the edging:
- Choose the Right Edging Material: Select the appropriate edging material based on your preferences and the overall design of the space. Options include timber, composite, or metal edging, each offering unique aesthetic and functional benefits.
- Measure and Cut: Measure the lengths of edging required for the perimeter of the artificial grass area and cut the material to fit. Ensure the edging pieces are accurately sized to create a seamless border.
- Position the Edging: Place the edging material along the perimeter of the artificial grass area, ensuring it sits flush with the surface. Use a mallet or hammer to gently tap the edging into place, ensuring it is level and securely positioned.
- Secure the Edging: Use stakes or fixing pegs to secure the edging in place, driving them into the ground at regular intervals. This step is crucial for stabilizing the edging and preventing any movement over time.
- Ensure a Neat Finish: Once the edging is installed, inspect the perimeter to ensure a neat and uniform appearance. Make any necessary adjustments to guarantee a professional and polished finish.
By installing the edging, you’ll not only enhance the visual appeal of the artificial grass landscape but also contribute to its structural integrity. The edging serves as a boundary, keeping the artificial grass securely in place while adding a touch of refinement to the overall design.
Read more: How To Dig Up Grass And Lay Gravel
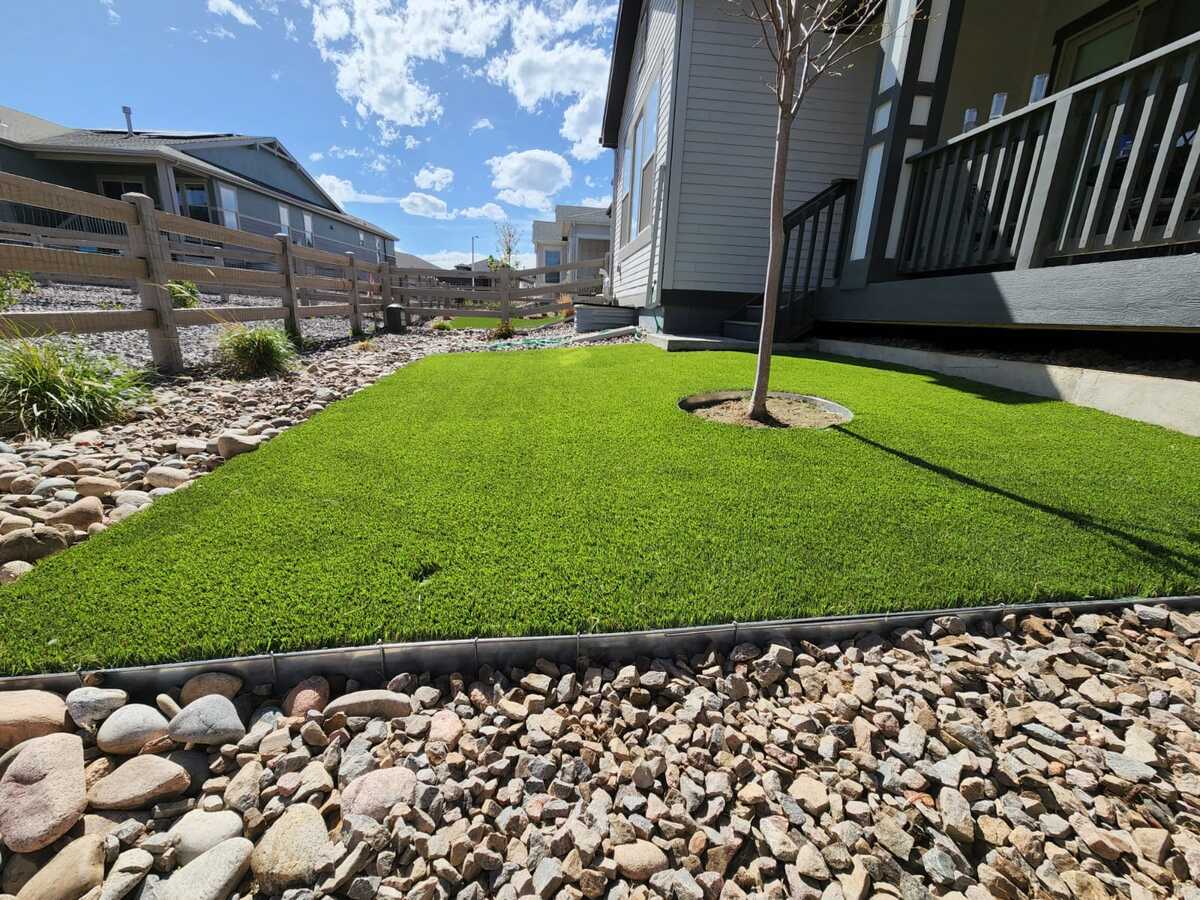
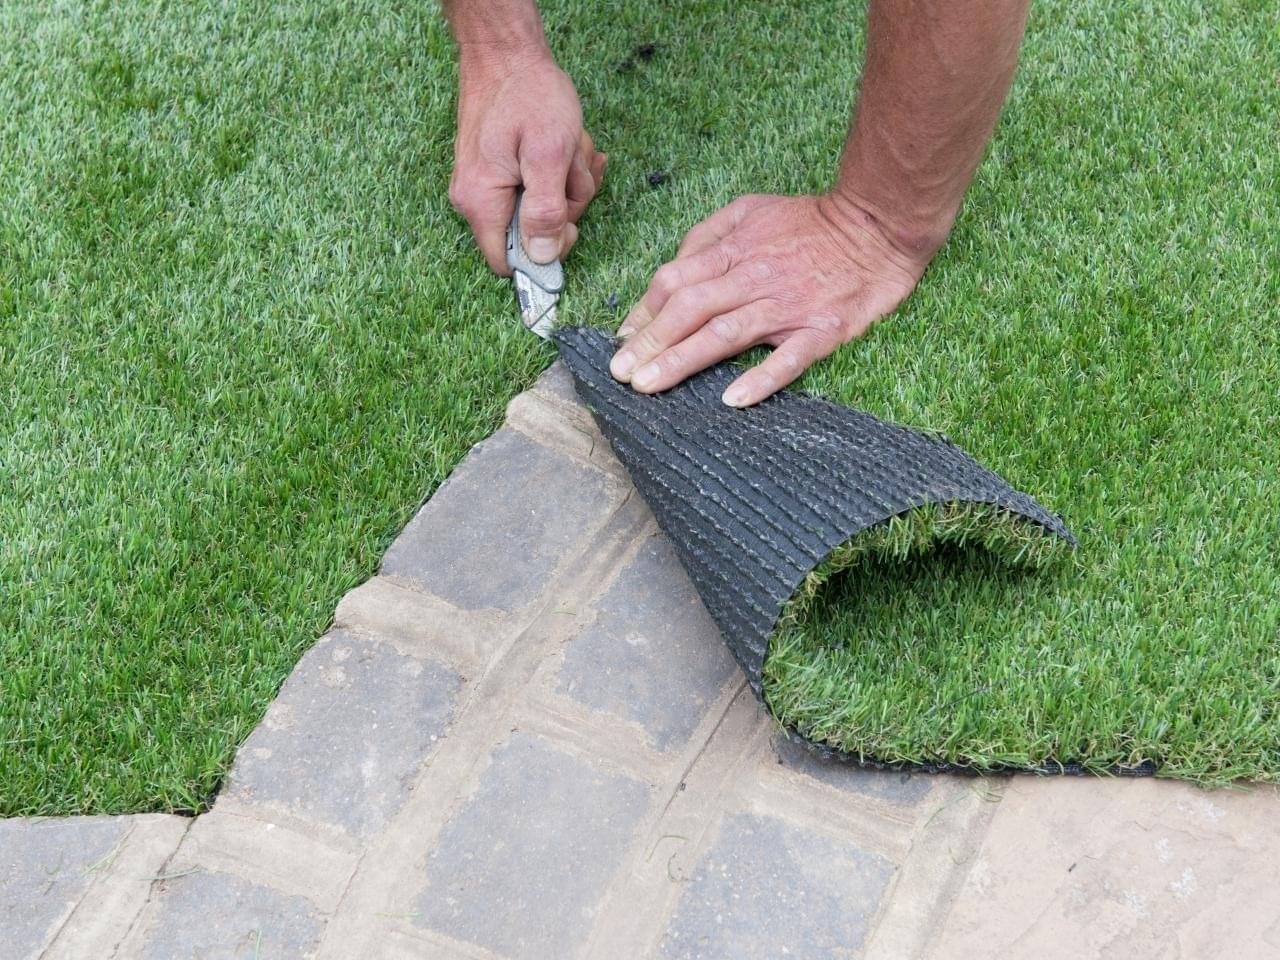
Step 5: Lay the Artificial Grass
With the groundwork meticulously prepared and the essential layers in place, it’s time to lay the star of the show – the artificial grass itself. This step marks a significant leap forward in transforming your gravel area into a vibrant and low-maintenance landscape that emulates the lush appearance of natural grass.
Here’s how to lay the artificial grass:
- Unroll and Position: Carefully unroll the artificial grass over the prepared area, ensuring it sits flat and even. Take care to position the grass so that it aligns with the edges and any features of the space, such as pathways or garden borders.
- Trim to Fit: Use a sharp utility knife to trim the artificial grass to fit the space accurately. Pay close attention to any irregular shapes or corners, ensuring the grass fits snugly and neatly against the edging and any existing features.
- Achieve Seamlessness: If you’re working with multiple rolls of artificial grass, ensure that the seams are carefully aligned and joined. This step is crucial for creating a seamless and natural appearance across the entire expanse of artificial grass.
- Inspect and Adjust: Once the artificial grass is in place, carefully inspect the entire surface to ensure it sits flat and even. Make any necessary adjustments to guarantee a uniform and professional finish.
By laying the artificial grass with precision and attention to detail, you’ll witness the transformation of your gravel area into a vibrant and inviting landscape. The lush green expanse of the artificial grass will breathe new life into the space, setting the stage for the final steps that will bring your vision to fruition.
Step 6: Secure the Grass
Once the artificial grass is in position, it’s essential to secure it firmly in place to ensure a long-lasting and professional-looking installation. This step involves anchoring the grass to the underlying surface, providing stability and preventing any shifting or movement over time.
Here’s how to secure the grass:
- Fixing Pins: Use fixing pins to secure the edges and seams of the artificial grass. Insert the pins at regular intervals along the perimeter and seams, ensuring they penetrate through the grass and into the underlying surface for a secure hold.
- Stabilize the Corners: Pay special attention to the corners and edges of the artificial grass, using additional fixing pins to stabilize these areas and prevent any lifting or curling over time.
- Apply Even Pressure: Once the fixing pins are in place, apply even pressure across the entire surface of the artificial grass. This step helps ensure that the grass is securely anchored and sits flat and smooth, with no areas of uneven tension.
By securing the artificial grass with precision and care, you’ll fortify the integrity of the installation, allowing you to enjoy a stable and visually stunning landscape for years to come. With the grass firmly in place, you’re now ready to add the finishing touches that will elevate the overall appearance and ensure your artificial grass looks and feels as natural as possible.
Step 7: Brush and Finish
As the installation of the artificial grass nears completion, the final step involves brushing and refining the surface to achieve a natural and well-groomed appearance. This crucial stage adds the finishing touches that elevate the artificial grass landscape, ensuring a lush and inviting outdoor space.
Here’s how to brush and finish the artificial grass:
- Brushing the Fibers: Use a stiff-bristled brush or power broom to gently brush the fibers of the artificial grass. This process helps to fluff up the grass and remove any flattening that may have occurred during the installation process, resulting in a fuller and more natural appearance.
- Infill Application (Optional): If your artificial grass requires infill material, carefully apply it across the surface and brush it into the fibers. Infill helps support the grass blades, enhances resilience, and contributes to a more realistic look and feel.
- Inspect for Perfection: Thoroughly inspect the entire expanse of the artificial grass, ensuring that the fibers are evenly distributed and any seams are seamlessly blended. Make any final adjustments to guarantee a flawless and professional finish.
By meticulously brushing and refining the artificial grass, you’ll bring out its full potential, creating a vibrant and natural-looking landscape that requires minimal maintenance and exudes timeless appeal. With the finishing touches complete, step back and admire the transformation of your gravel area into a stunning, low-maintenance haven of greenery.
Congratulations! You have successfully navigated the process of laying artificial grass on gravel, unlocking the potential of your outdoor space and creating a visually captivating and hassle-free landscape. Whether you’re looking to enhance your home’s curb appeal, create a welcoming outdoor area for entertaining, or simply enjoy the beauty of a lush green lawn, your artificial grass installation is sure to bring joy and satisfaction for years to come.
Frequently Asked Questions about How To Lay Artificial Grass On Gravel
Was this page helpful?
At Storables.com, we guarantee accurate and reliable information. Our content, validated by Expert Board Contributors, is crafted following stringent Editorial Policies. We're committed to providing you with well-researched, expert-backed insights for all your informational needs.


0 thoughts on “How To Lay Artificial Grass On Gravel”