Home>Garden Essentials>How To Make A Greenery Backdrop
Garden Essentials
How To Make A Greenery Backdrop
Modified: October 18, 2024
Learn how to create a stunning garden-inspired backdrop with lush greenery. Transform your space into a natural oasis with our step-by-step guide.
(Many of the links in this article redirect to a specific reviewed product. Your purchase of these products through affiliate links helps to generate commission for Storables.com, at no extra cost. Learn more)
Introduction
Creating a greenery backdrop is a fantastic way to add a touch of nature and beauty to any space. Whether you’re hosting a special event, setting up a photo backdrop, or simply looking to add some greenery to your home, this DIY project is fun, creative, and cost-effective.
A greenery backdrop serves as an eye-catching focal point, bringing the outdoors inside and providing a stunning backdrop for photos, parties, or even just everyday enjoyment. Plus, it can easily be customized to suit any style or occasion, making it a versatile and versatile addition to any space.
In this article, we will guide you through the process of creating your own greenery backdrop step by step. From gathering the materials to maintaining the finished product, we will cover everything you need to know to create a beautiful and long-lasting greenery backdrop. So, let’s get started!
Key Takeaways:
- Create a stunning greenery backdrop by gathering assorted foliage, securing it to a frame, and adding optional decorations. Maintain its beauty with regular misting and upkeep for a versatile and visually captivating addition to any space.
- Enjoy the natural beauty of a DIY greenery backdrop for photos, events, or home decor. Customize with various greenery and decorations, and maintain its freshness for long-lasting charm and elegance.
Read more: How To Make A Greenery Wall Backdrop
Materials Needed
Before diving into the DIY project, it’s important to gather all the necessary materials. Here’s a list of items you’ll need to create your greenery backdrop:
- Flexible garden wire or chicken wire
- Wire cutters or scissors
- Wooden frame or sturdy backdrop stand
- Zip ties or floral wire
- Assorted greenery, such as ivy, eucalyptus, ferns, or other foliage
- Additional decorations like flowers, fairy lights, or ribbon (optional)
- Water misting bottle
- Step stool or ladder (depending on the size of your backdrop)
These materials can be easily found at your local garden center, home improvement store, or even online. It’s important to choose sturdy and long-lasting materials to ensure the durability of your greenery backdrop.
Once you have gathered all the necessary materials, you’re ready to move on to the next step: preparing the greenery for your backdrop.
Step 1: Gathering the Greenery
The first step in creating your greenery backdrop is gathering the necessary foliage. Start by exploring your garden or local florist to find an assortment of greenery that suits your taste and the desired aesthetic of your backdrop.
Look for lush and leafy options such as ivy, eucalyptus, ferns, or any other foliage that catches your eye. Consider the color, texture, and size of the leaves to create a visually pleasing backdrop.
While natural greenery is ideal, if you’re unable to find fresh foliage, you can also opt for high-quality artificial plants. These can provide a similar effect while ensuring the longevity of your backdrop.
Ensure that you gather enough greenery to cover the entire backdrop frame. It’s better to have a surplus than to run out during the process. Take into account the dimensions of your backdrop frame and the density of the greenery you wish to achieve.
Once you’ve gathered all the greenery, inspect each stem for any damaged or discolored leaves. Remove any unwanted foliage, as this will help maintain the overall freshness and appearance of your backdrop.
It’s important to note that some greenery may be delicate and prone to wilting. To keep your foliage fresh and vibrant, mist it with water using a water misting bottle throughout the creation process and during the maintenance phase.
With the greenery gathered and prepped, you’re ready to move on to the next step: preparing the backdrop frame.
Step 2: Preparing the Backdrop Frame
Now that you have your greenery ready, it’s time to prepare the backdrop frame. The frame will provide support for the greenery and ensure the stability of your backdrop.
If you already have a sturdy wooden frame or a backdrop stand, you’re good to go. Make sure it’s in good condition and can support the weight of the greenery you’ll be attaching.
If you don’t have a frame or stand, you can easily create one using flexible garden wire or chicken wire. Measure the desired width and height of your backdrop, and cut the wire accordingly using wire cutters or scissors.
Shape the wire into a rectangular or square frame, leaving enough excess on each side to anchor it securely. Use zip ties or floral wire to connect the ends of the wire and reinforce the frame’s stability.
For added support, you can attach the frame to a solid surface, such as a wall or a wooden frame. This will ensure that your greenery backdrop stays in place during use.
Double-check the stability of your frame and make any adjustments if necessary. It’s important to have a sturdy and secure base before attaching the greenery.
With the backdrop frame prepared, it’s time to move on to the next step: attaching the greenery to the frame.
Step 3: Attaching the Greenery to the Frame
Now that you have your backdrop frame ready, it’s time to start attaching the greenery. This step requires a bit of creativity and patience, as you’ll be arranging and securing the foliage to create a lush and visually appealing backdrop.
Begin by selecting a few larger pieces of greenery to serve as the base layer. These will provide a solid foundation and cover any gaps between the wires of the frame.
Using zip ties or floral wire, secure the base layer of greenery to the frame. Be sure to fasten it tightly to prevent the foliage from slipping or falling off. Work your way around the frame, attaching the stems at regular intervals.
Once the base layer is secure, start adding the rest of the greenery. Layer different types of foliage to create depth and texture. Play around with the arrangement, alternating between larger and smaller leaves for a more visually interesting backdrop.
As you attach each stem, step back occasionally to assess the overall look. Adjust the placement of the foliage as needed, and continue to secure it firmly to the frame.
If you’re working with longer stems, trim them to the desired length using wire cutters or scissors. This will help maintain a neat and uniform appearance of your backdrop.
Continue adding greenery until the entire frame is covered to your liking. Make sure there are no bare spots or visible wires, as you want to achieve a seamless and abundant look.
During the attachment process, be mindful of the weight distribution. Ensure that the greenery is evenly spread throughout the frame to maintain balance and prevent any sagging or tilting.
With the greenery securely attached, you’re ready to move on to the next step: securing the greenery in place.
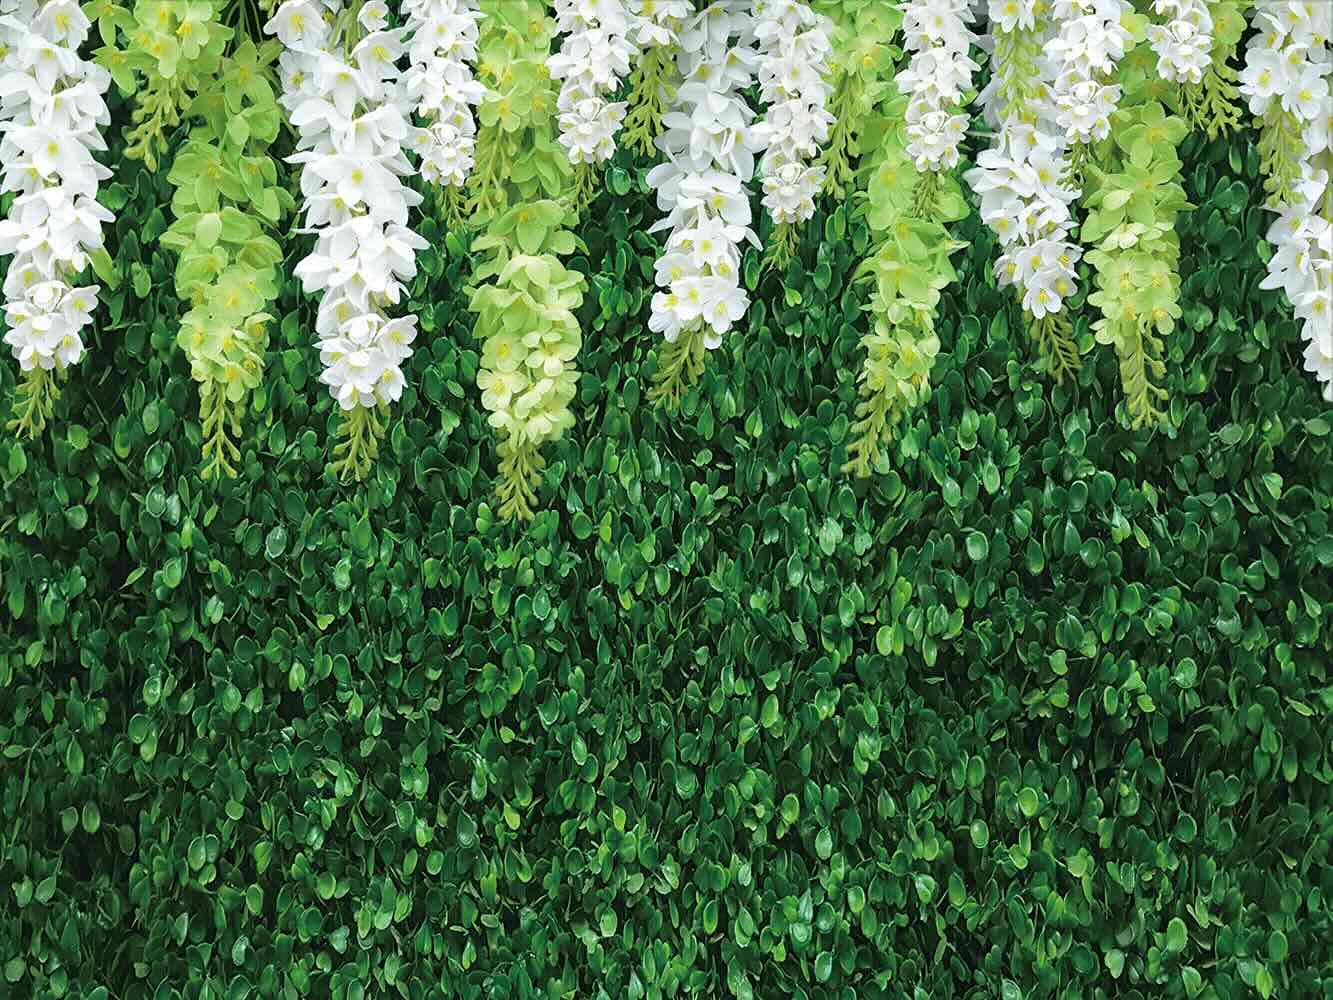
Use a variety of greenery to create depth and texture in your backdrop. Mix different types of leaves, vines, and branches to add visual interest and dimension to your design.
Read more: What To Add To A Greenery Backdrop
Step 4: Securing the Greenery in Place
Now that you have attached the greenery to the backdrop frame, it’s important to secure it in place to ensure its longevity and prevent any movement or shifting.
Start by inspecting the attachment points and adjust any loose stems or wires. Use zip ties or floral wire to further secure the stems to the frame if needed.
If you’re working with a flexible wire frame, gently twist the wire around the stems to hold them in place. Be careful not to damage the foliage while doing so.
For added stability, consider using small hooks or fasteners to connect the frame to the wall or other supporting surfaces. This will help distribute the weight of the greenery and prevent any sagging or drooping.
If you prefer a more permanent solution, you can use a hot glue gun to secure the greenery directly onto the frame or wire. However, keep in mind that this option may make it more challenging to change or update the greenery in the future.
It’s also important to consider the location and environment of your greenery backdrop. If you’re planning to use it outdoors or in a high-traffic area, take extra precautions to ensure that it is securely anchored and protected from strong winds or accidental bumps.
Take a moment to step back and observe your greenery backdrop. Make any necessary adjustments to the arrangement or attachments to achieve the desired look.
With the greenery securely in place, it’s time to move on to the next step: adding any additional decorations to enhance the backdrop.
Step 5: Adding Any Additional Decorations
With the greenery securely attached, it’s time to add the finishing touches to your backdrop by incorporating any additional decorations. These extras can enhance the visual appeal and personalize your greenery backdrop to suit your style or the occasion.
Consider adding flowers, such as roses, baby’s breath, or any other blooms that complement the greenery. Secure them to the frame or tuck them between the foliage for a pop of color and texture.
Fairy lights or string lights can create a magical and enchanting ambiance. Weave them through the greenery or attach them to the frame for a soft and warm glow.
Ribbons or fabric in complementary colors can be tied or draped around the backdrop to add a touch of elegance or whimsy. Experiment with different textures and patterns to find the perfect accent.
If you’re using the greenery backdrop for a specific event or theme, consider incorporating accessories that reflect that theme. For example, you could hang small paper lanterns for a festive celebration or vintage keys for a rustic or vintage-inspired backdrop.
Remember to maintain a balanced composition and avoid overcrowding the backdrop with too many additional decorations. The goal is to enhance the greenery, not overpower it.
Take a step back and assess the overall look. Make any necessary adjustments to ensure a cohesive and visually pleasing arrangement.
With the additional decorations in place, your greenery backdrop is nearly complete. But there’s still one more step to ensure its long-lasting beauty: maintaining the greenery.
Step 6: Maintaining the Greenery Backdrop
Now that you’ve created your stunning greenery backdrop, it’s important to take care of it to ensure its long-lasting beauty. With proper maintenance, you can continue to enjoy your greenery backdrop for weeks or even months to come.
One crucial aspect of maintaining the greenery is keeping it hydrated. Mist the foliage with water using a water misting bottle regularly. This will help to prevent the leaves from drying out and keep them looking fresh and vibrant.
Take the time to inspect the greenery occasionally for any signs of wilting or yellowing leaves. Remove any damaged or unsightly foliage promptly to maintain the overall appearance of your backdrop.
If you’re using fresh greenery, you may need to replace or refresh certain stems over time. As some foliage naturally wilts or dries out, be prepared to make substitutions to keep your backdrop looking its best.
Consider the lighting conditions in the area where your greenery backdrop is placed. Avoid placing it in direct sunlight, as this can accelerate the wilting process. Instead, choose a location with indirect or diffused light for the best results.
Depending on the type of greenery you’ve used, you may need to perform additional maintenance tasks. For example, certain plants may require regular pruning or trimming to prevent them from becoming too unruly or overgrown.
Lastly, be mindful of any potential pests that may be attracted to the greenery. Inspect the backdrop regularly for any signs of pests such as aphids or spider mites. If necessary, take appropriate measures to eliminate the pests without causing harm to the greenery.
By following these maintenance tips, you can ensure that your greenery backdrop remains a beautiful focal point in your space for an extended period. With a little care and attention, you’ll continue to enjoy its natural beauty.
With the completion of this final step, your greenery backdrop is now fully created and ready to be enjoyed! Whether you’re capturing memorable photos, hosting a special event, or simply adding a touch of nature to your home, your greenery backdrop is sure to impress.
Take a moment to admire your creative work and bask in the natural beauty that the greenery backdrop brings to your space. Let your imagination soar as you envision the countless memories and occasions that will be enhanced by this stunning backdrop!
Conclusion
Creating a greenery backdrop is a wonderful way to bring the beauty of nature into your space. It’s a DIY project that offers endless possibilities for customization and can be enjoyed for various occasions and settings.
Throughout this article, we’ve walked you through the step-by-step process of making your own greenery backdrop. From gathering the greenery to securing it in place and adding additional decorations, each step has allowed you to exercise your creativity and design a backdrop that suits your personal style.
By incorporating different types of greenery, you’ve created a lush and visually appealing backdrop that adds a touch of elegance and charm to any space. The versatility of the project allows you to adapt the backdrop to suit different events and themes, making it a versatile addition to your home or event decor.
Remember, proper maintenance is essential to ensure the longevity and beauty of your greenery backdrop. Regularly misting the foliage, inspecting for any damage, and making necessary replacements or adjustments will help preserve the freshness and vibrancy of your backdrop.
With your greenery backdrop complete and well-maintained, it’s time to enjoy the natural beauty it brings to your space. Capture stunning photos, create memorable moments, or simply relish in the calming presence of your mini oasis.
So, go ahead and get started on your greenery backdrop project. Let your creativity flourish as you bring the beauty of the outdoors inside and transform any space into a visually captivating and refreshing haven.
Embrace the greenery, embrace the beauty, and revel in the joy of your own handcrafted greenery backdrop. Happy creating!
Frequently Asked Questions about How To Make A Greenery Backdrop
Was this page helpful?
At Storables.com, we guarantee accurate and reliable information. Our content, validated by Expert Board Contributors, is crafted following stringent Editorial Policies. We're committed to providing you with well-researched, expert-backed insights for all your informational needs.


0 thoughts on “How To Make A Greenery Backdrop”