Home>Dining>Tableware>How To Make A Backdrop With Tablecloths
Tableware
How To Make A Backdrop With Tablecloths
Modified: February 24, 2024
Learn how to create a stunning backdrop with tablecloths and transform your event decor. Discover tips and tricks for using tableware to enhance the overall ambiance.
(Many of the links in this article redirect to a specific reviewed product. Your purchase of these products through affiliate links helps to generate commission for Storables.com, at no extra cost. Learn more)
Introduction
Welcome to our guide on how to make a backdrop with tablecloths. If you’re looking to create a stunning backdrop for a special event, such as a wedding, party, or photo shoot, using tablecloths can be a cost-effective and creative solution. Tablecloths come in a variety of colors, patterns, and materials, allowing you to customize the backdrop to suit your specific theme or aesthetic.
In this article, we will walk you through the step-by-step process of creating a backdrop using tablecloths. We’ll cover everything from choosing the right tablecloths and measuring them correctly to attaching them to a frame and adding those finishing touches that will take your backdrop to the next level.
Whether you’re a DIY enthusiast or professional event planner, this guide will provide you with all the information and tips you need to elevate your event decor with a beautiful backdrop made from tablecloths. So let’s dive in and get started!
Key Takeaways:
- Create a stunning backdrop for any event using tablecloths. Choose colors, patterns, and materials wisely to set the foundation for a visually appealing and personalized backdrop.
- Elevate your event decor with a tablecloth backdrop. From measuring and cutting to adding finishing touches, unleash your creativity and make your backdrop a memorable centerpiece.
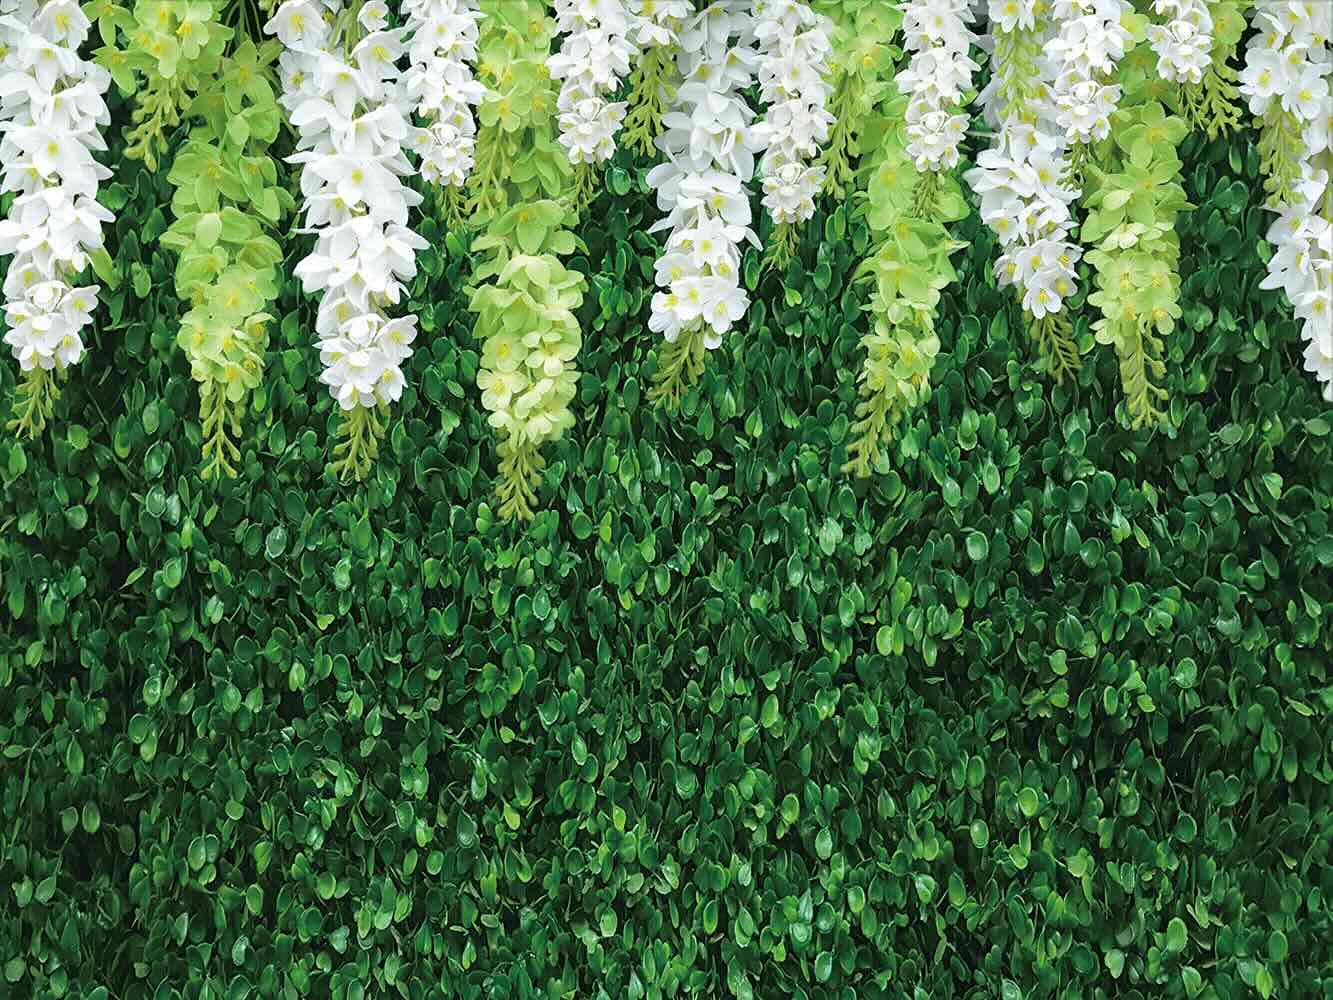
Read more: How To Make A Grass Backdrop
Materials Needed
Before we begin, let’s gather all the materials you will need to create your tablecloth backdrop. Here’s a list of what you will need:
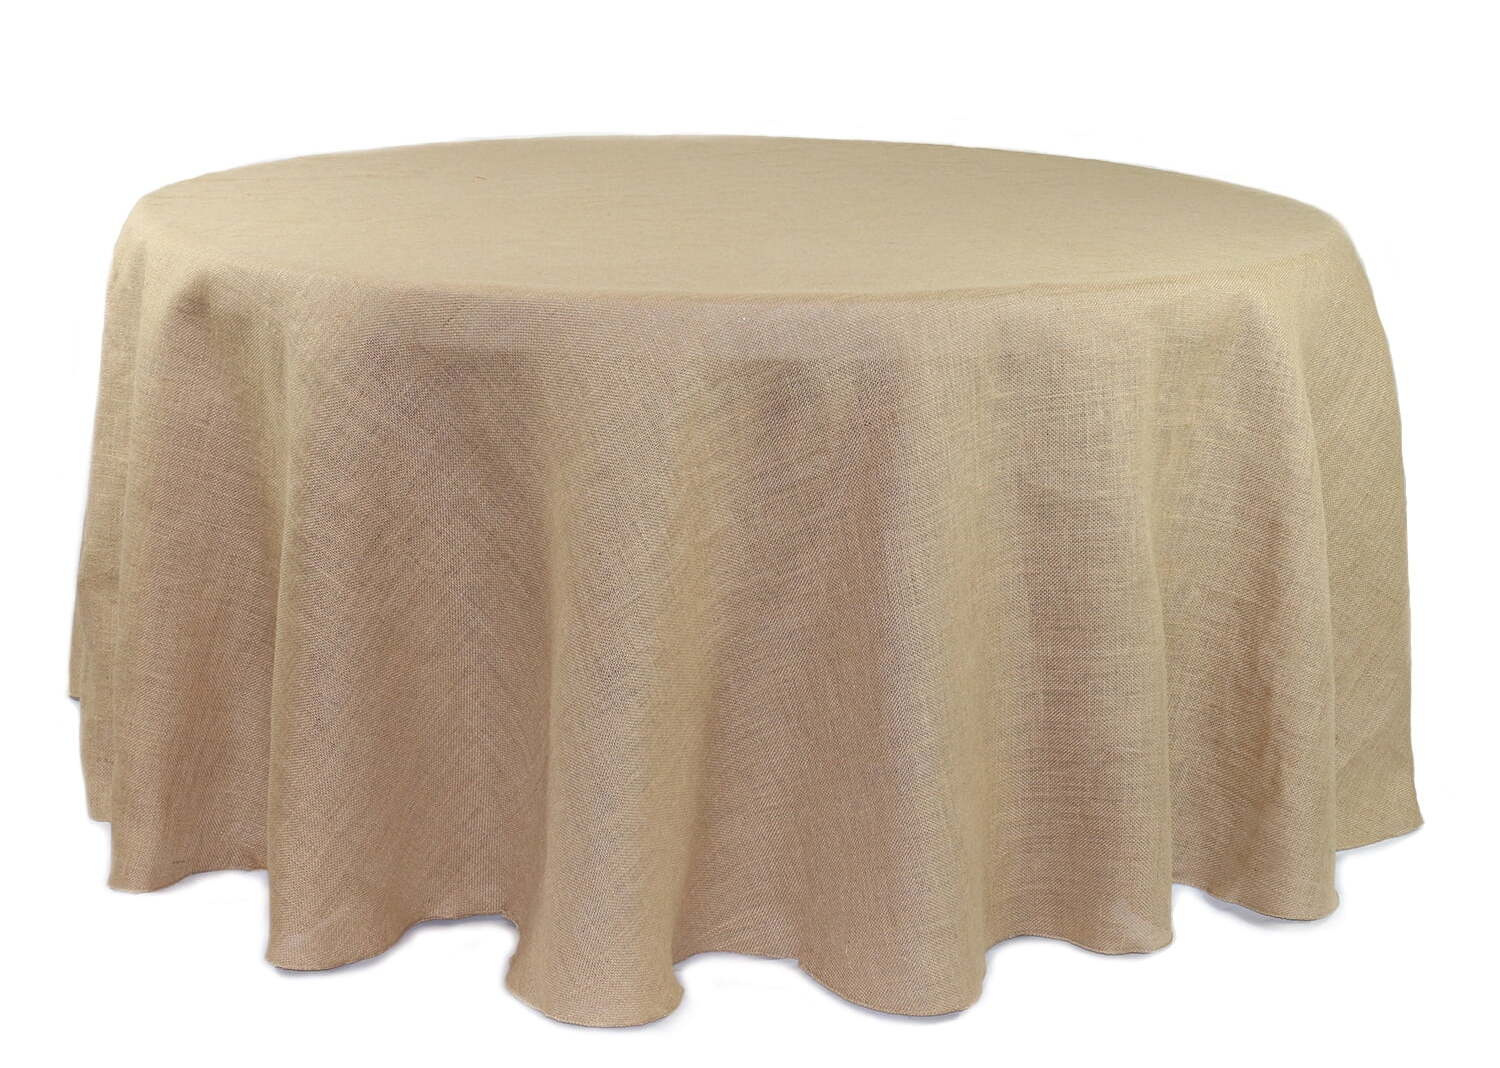
- Tablecloths: Choose tablecloths in your desired colors and patterns. The number of tablecloths you’ll need will depend on the size of your backdrop.
- Backdrop frame: You can create a frame using PVC pipes, metal rods, or any other sturdy material. Ensure that the frame is large enough to accommodate the tablecloths.
- Scissors: You’ll need a good pair of scissors to cut the tablecloths to the desired size.
- Measuring tape: This will help you accurately measure the dimensions of your backdrop and tablecloths.
- Clips or clothespins: These will be used to attach the tablecloths to the backdrop frame securely.
- Decorative elements: Optional additions such as flowers, string lights, ribbons, or other embellishments to enhance the overall look of your backdrop.
Make sure to gather all these materials before you start creating your backdrop. Having everything prepared and within reach will make the process much smoother and more enjoyable.
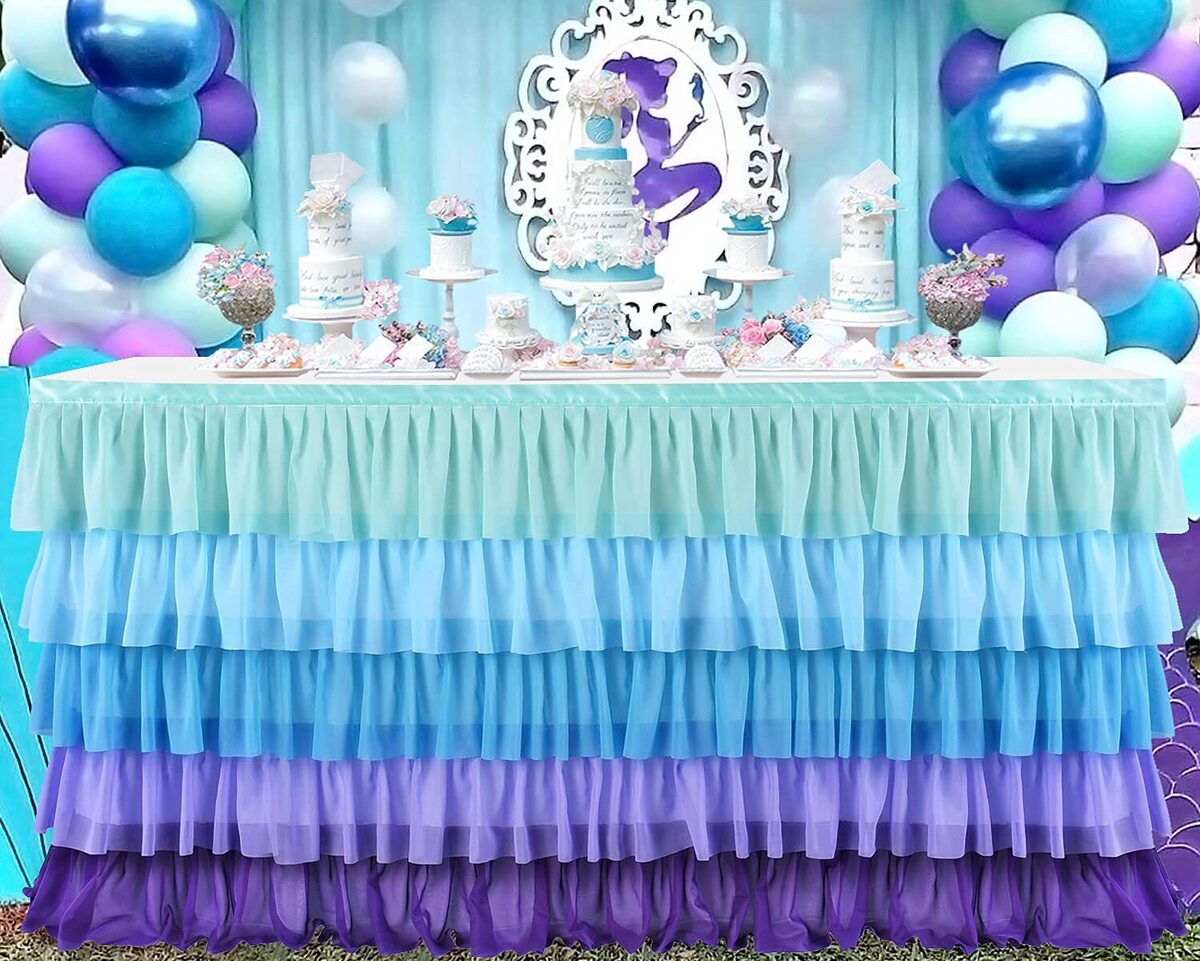
Step 1: Choosing the Tablecloths
The first step in creating your tablecloth backdrop is to choose the right tablecloths for your desired look and theme. Here are a few things to consider when making your selection:
- Color: Think about the overall color scheme you want to achieve. Choose tablecloths that complement or contrast with the other elements of your event, such as the venue decor, flowers, or party theme.
- Pattern: Consider whether you want solid-colored tablecloths or ones with patterns. Patterns can add visual interest and texture to your backdrop, so choose wisely based on your event’s style.
- Material: Tablecloths come in various materials, such as cotton, satin, polyester, or linen. Consider the look and feel you want for your backdrop. Satin and silk-like materials can create an elegant and luxurious ambiance, while cotton or linen adds a more natural and rustic touch.
- Quantity: Determine the number of tablecloths you’ll need based on the size of your backdrop. Measure the dimensions of your frame and calculate how many tablecloths it will take to cover it adequately. Keep in mind that you may want to create layers or folds, which may require additional tablecloths.
Once you have chosen your tablecloths, it’s a good idea to order or purchase them in advance to ensure you have all the necessary materials ready for the next steps.
Remember, the tablecloths you select will set the foundation for the overall look and feel of your backdrop, so take your time and choose wisely. With the right tablecloths, you’ll be well on your way to creating a stunning backdrop for your event.
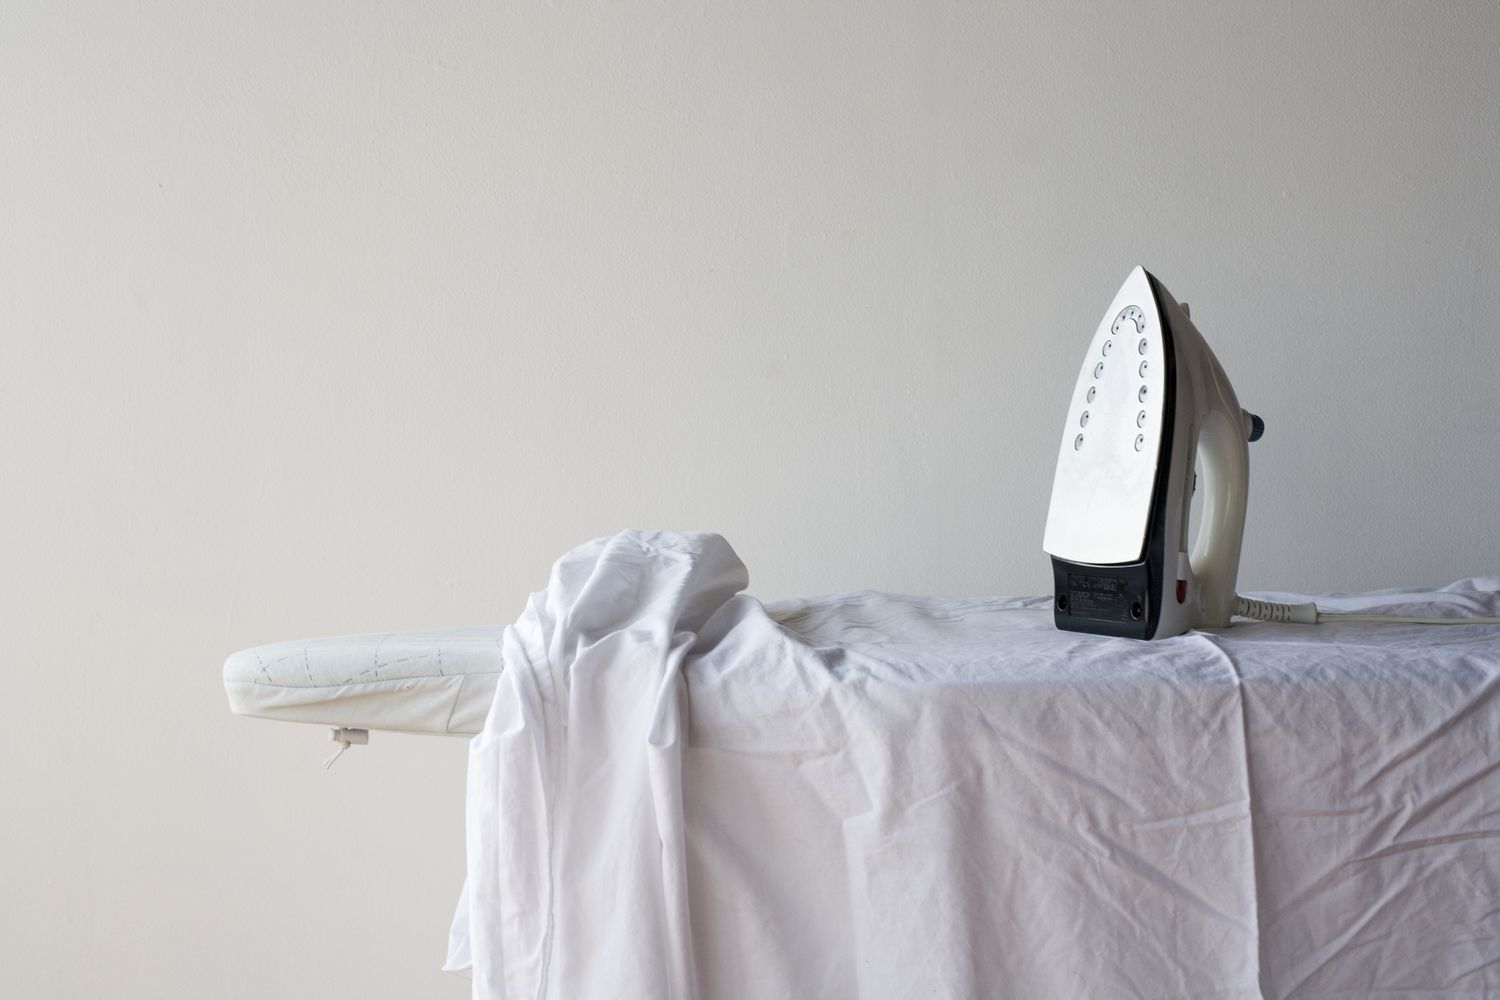
Step 2: Measuring and Cutting
Once you have your tablecloths ready, it’s time to move on to the next step: measuring and cutting them to fit your backdrop frame. Follow these steps:
- Measure the frame: Start by measuring the dimensions of your backdrop frame. Use a measuring tape to carefully measure the length and width. Make a note of these measurements as you’ll need them to cut the tablecloths.
- Calculate the size: Determine how much excess fabric you want for draping or folding purposes. Take into account the desired style and aesthetics for your backdrop. For a more minimalist look, you may want the tablecloths to fit exactly to the frame. However, if you prefer a more flowing and draped appearance, add some extra length and width to the measurements.
- Cut the tablecloths: Using a pair of sharp scissors, carefully cut the tablecloths according to the measurements you calculated. Use a ruler or straight edge to ensure clean and straight cuts. Take your time and cut slowly to avoid any mistakes or uneven edges.
Remember to work in a well-lit and spacious area where you can lay out the tablecloths comfortably. Take your time when measuring and cutting to ensure accuracy and precision. It’s always better to start with slightly larger dimensions and trim them down later if needed.
By completing this step, you’ll have the tablecloths ready to be attached to the backdrop frame in the next step. With precise measurements and clean cuts, your backdrop will look polished and professional.
When making a backdrop with tablecloths, consider using a sturdy frame or backdrop stand to support the weight of the fabric and prevent it from sagging or wrinkling. This will help create a professional and polished look for your backdrop.
Step 3: Preparing the Backdrop Frame
With your freshly cut tablecloths in hand, it’s time to prepare the backdrop frame. Follow these steps to ensure your frame is sturdy and ready to support your beautiful tablecloth backdrop:
- Choose the frame material: Select a material for your backdrop frame that is strong and durable. PVC pipes, metal rods, or wooden dowels are commonly used materials for DIY backdrops. Choose a material that suits your budget and the size of your backdrop.
- Measure and cut the frame: Using a saw or cutting tool, measure and cut the frame pieces according to the desired dimensions of your backdrop. Ensure that the frame is proportionate to the size of your tablecloth cutouts.
- Assemble the frame: Assemble the frame pieces by connecting them securely. If using PVC pipes, use connectors and adhesive to join the pipes. If using metal rods or dowels, you can use screws or brackets to connect them at the corners.
- Stabilize the frame: Depending on the size and weight of your frame, you may need additional support to prevent it from tipping or wobbling. Consider adding weight bags or sandbags to the base of the frame or securing it to a stable surface or backdrop stand.
Ensure that your backdrop frame is stable and balanced before moving on to the next step. A sturdy frame will provide a solid foundation for your tablecloth backdrop, allowing it to hang and drape beautifully without any sagging or collapsing.
Once you have successfully prepared your backdrop frame, you’re ready to move on to the exciting part – attaching the tablecloths and transforming your frame into a stunning backdrop. So let’s keep the momentum going!
Read more: How To Make A Greenery Wall Backdrop
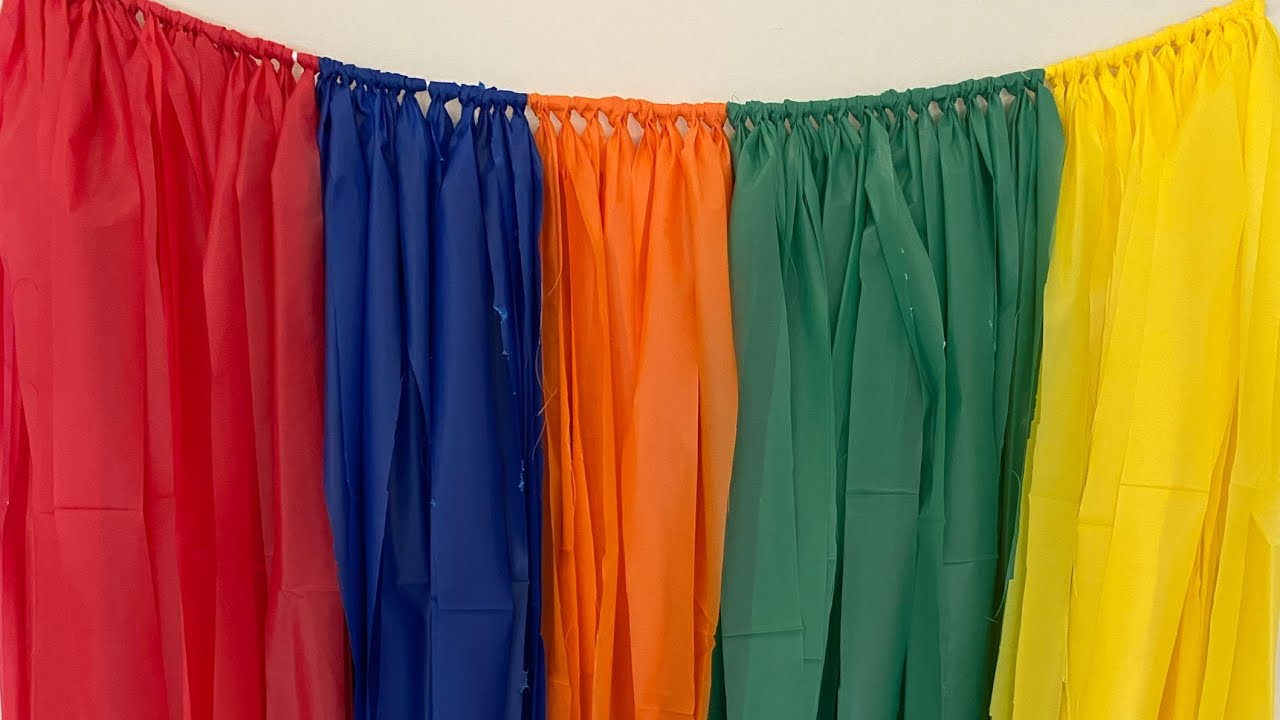
Step 4: Attaching the Tablecloths to the Frame
Now that you have your backdrop frame ready, it’s time to attach the tablecloths and bring your vision to life. Follow these steps to securely attach the tablecloths to your frame:
- Lay out the tablecloths: Spread out the tablecloths on a clean and flat surface. Ensure that they are free from wrinkles and any other obstructions that may affect the final look of your backdrop.
- Start from the top: Begin attaching the tablecloths to your frame from the top. This will ensure that the fabric hangs smoothly and creates an even draping effect.
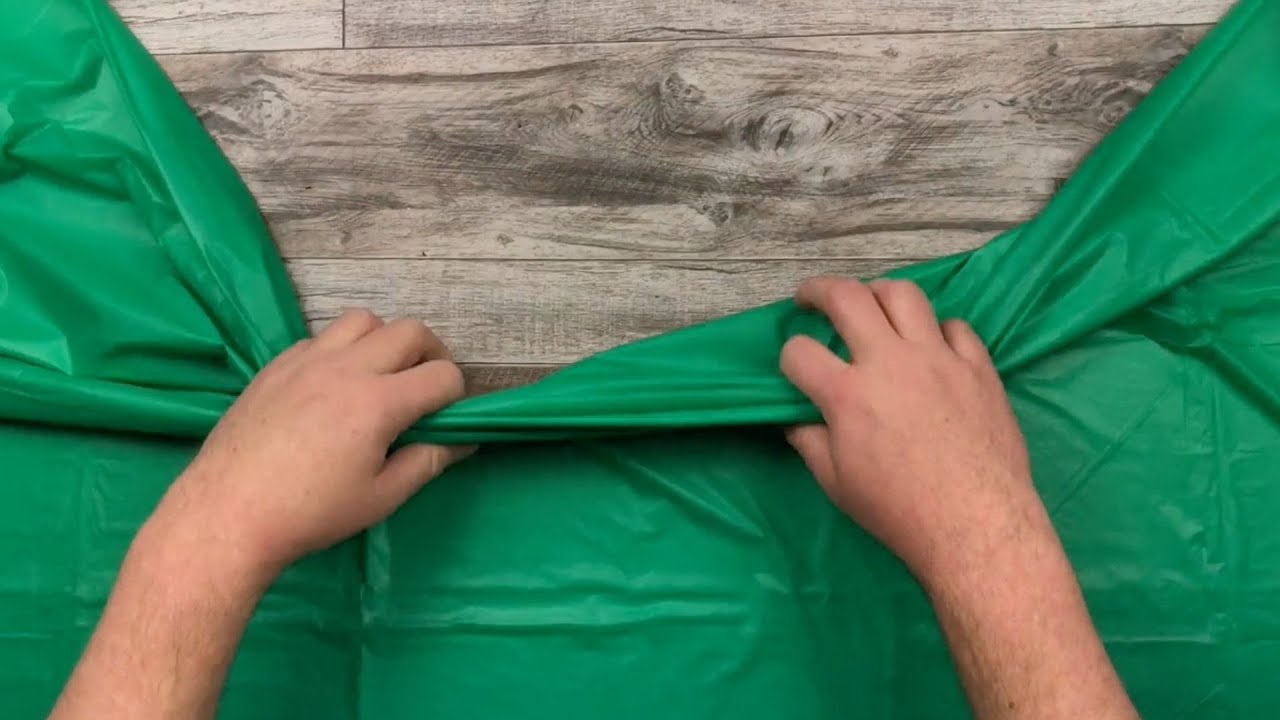
- Use clips or clothespins: Secure the tablecloths to the frame using clips or clothespins. Start at one corner and work your way across, evenly distributing the fabric along the frame. Make sure the fabric is taut to prevent any loose or sagging areas.
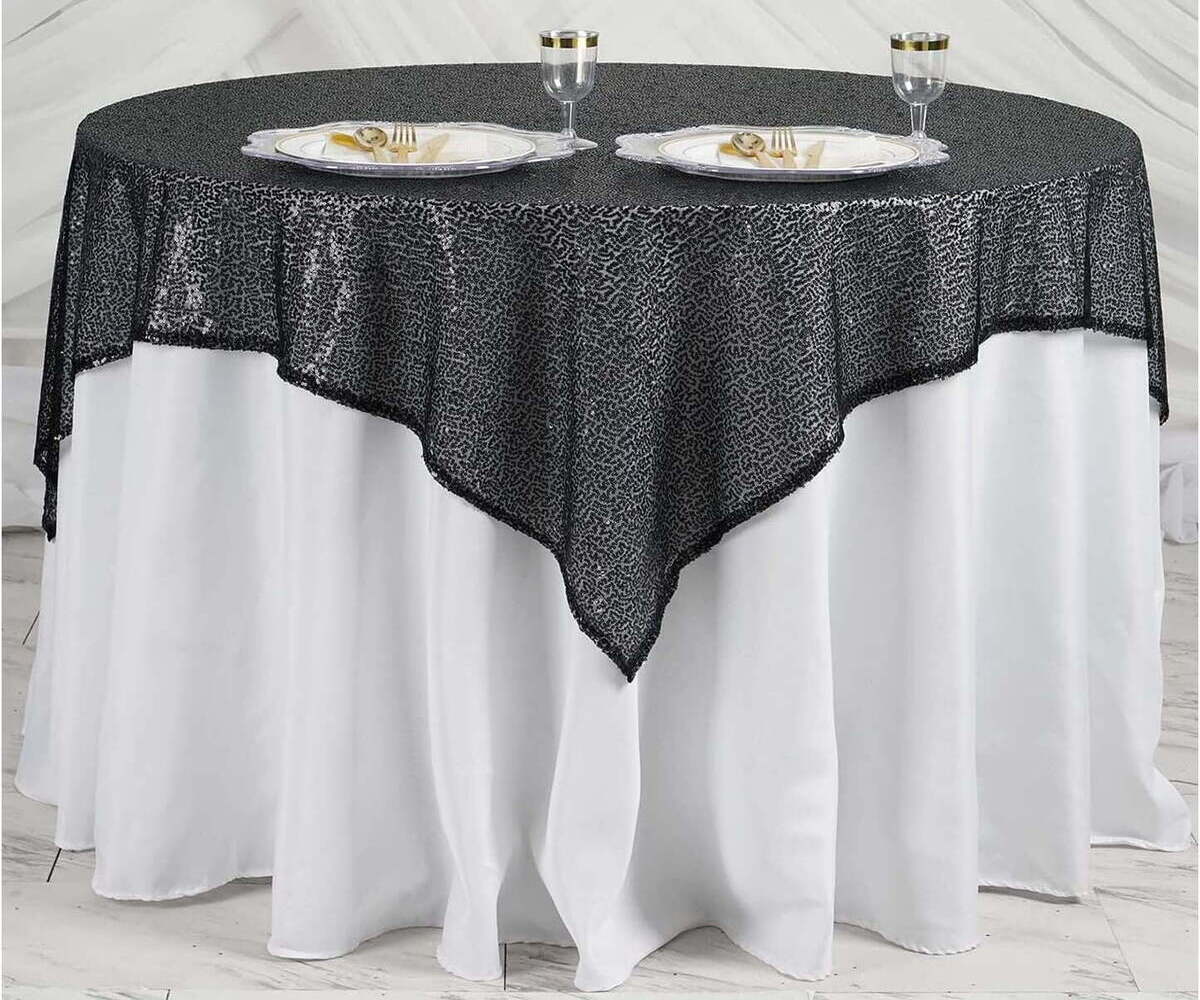
- Continue layering: If you want to create a layered or textured look, repeat the process by attaching additional tablecloths in alternating colors or patterns. Layer them in a way that allows some parts of each tablecloth to show through.
- Arrange folds and drapes: Experiment with folds, pleats, and drapes to achieve the desired look for your backdrop. Play with the fabric to create interesting textures and visual interest.
- Trim any excess: If you have any excess fabric hanging below the frame, trim it to ensure a clean and polished finish. Be careful not to cut too much, as you may need the fabric for adjustments later.
Take your time during this step to ensure that the tablecloths are attached securely and evenly. Step back from time to time to assess the overall appearance and make any necessary adjustments.
By the end of this step, your tablecloth backdrop will start to take shape, transforming your frame into a stunning and eye-catching element of your event decor.
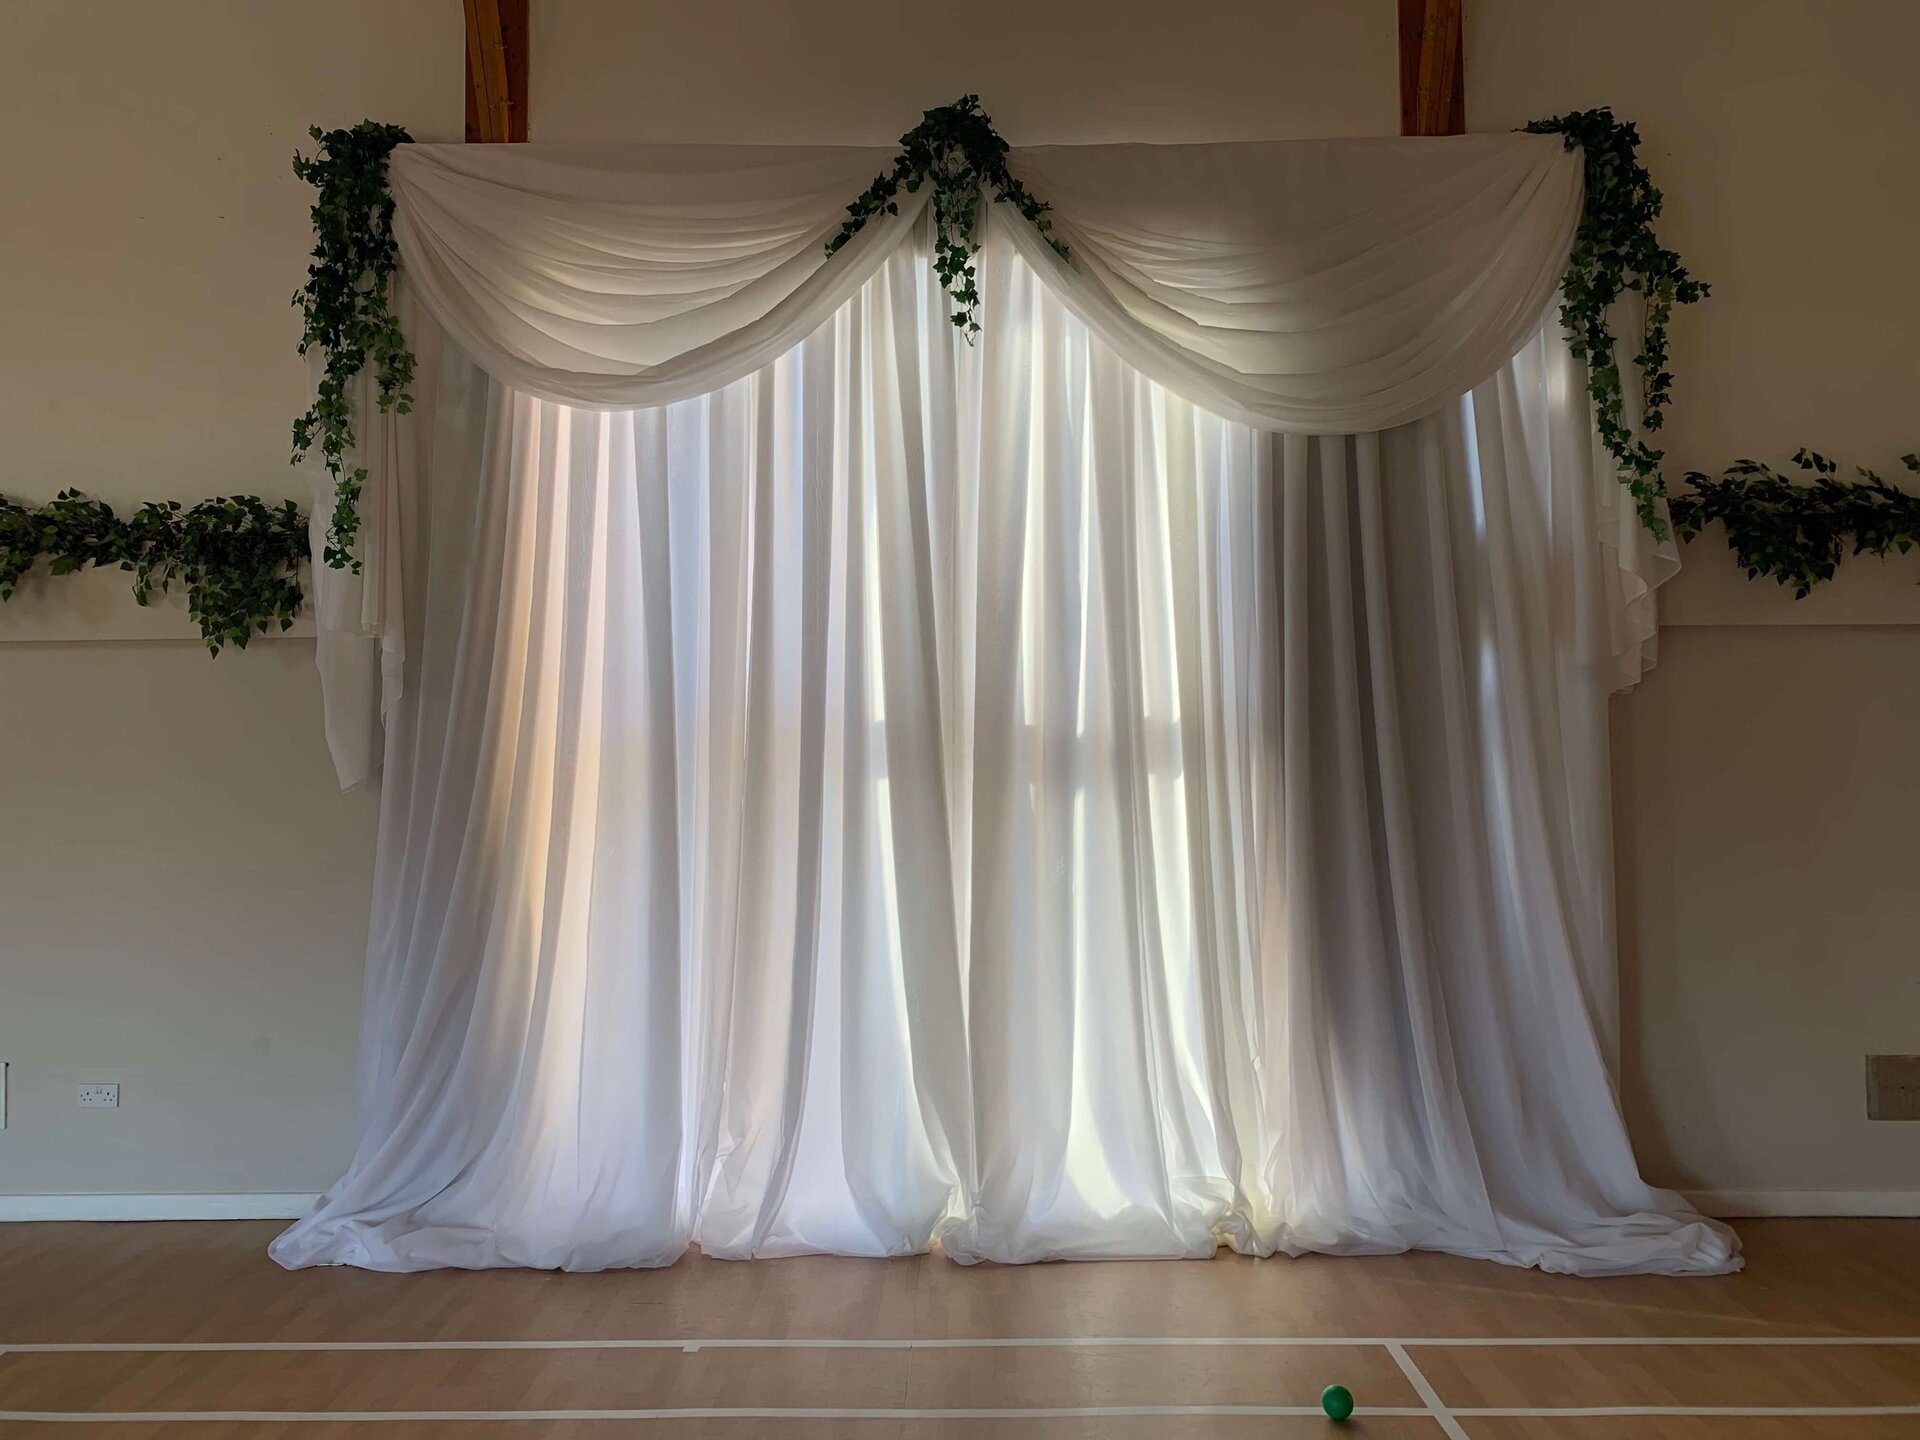
Step 5: Adding Finishing Touches
Now that the tablecloths are securely attached to the frame, it’s time to add those final touches that will elevate the look of your backdrop. Consider these ideas to enhance the visual impact:
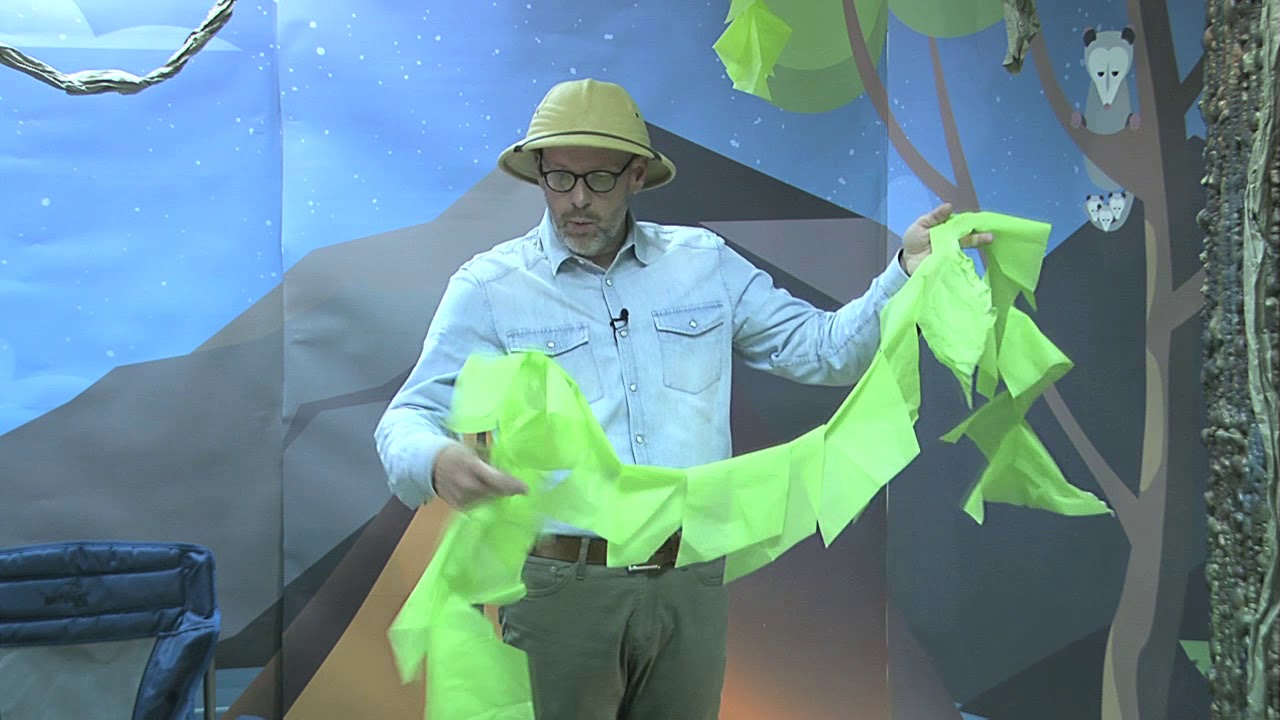
- Embellishments: Add decorative elements such as flowers, ribbons, garlands, or string lights to enhance the overall aesthetic. These additional accents can bring color, texture, and a touch of whimsy to your backdrop.
- Backdrop signage: If you’re using the backdrop for a special event like a wedding or a photo booth, consider adding signage or a personalized banner to make it even more memorable. This can include the names of the couple, event hashtags, or any other creative messaging.
- Backdrop accessories: Consider incorporating additional accessories like sequins, beads, or fabric swags to add depth and visual interest to your backdrop. These can be attached directly to the tablecloths or draped around the frame.
- Lighting: Experiment with different lighting options to highlight your backdrop. Use spotlights, fairy lights, or LED strips to create a warm and inviting ambiance that enhances the overall look of the tablecloth backdrop.
- Photography considerations: If your backdrop will be used for photography, ensure that it is well-lit and positioned in an area with adequate space. Consider the angles and perspectives from which the photos will be taken to maximize the visual impact of your backdrop.
Be creative and let your imagination guide you as you add those final touches to your tablecloth backdrop. Don’t be afraid to experiment and make it uniquely yours.
Remember, the finishing touches will bring your backdrop to life and make it a focal point of your event. Take your time to carefully arrange and adjust each element until you are satisfied with the final result.
With these final embellishments, your tablecloth backdrop will be a stunning centerpiece that adds a touch of elegance and charm to any event.
Conclusion
Congratulations! You have successfully learned how to make a backdrop with tablecloths. By following the step-by-step process outlined in this guide, you can create a stunning backdrop that adds a touch of elegance and style to any event.
From choosing the perfect tablecloths and measuring them correctly to preparing the backdrop frame and attaching the tablecloths, each step plays a crucial role in creating a visually appealing backdrop. The finishing touches, such as adding embellishments and lighting, allow you to personalize the backdrop and make it unique to your event.
Whether it’s a wedding, birthday party, photo shoot, or any other special occasion, a tablecloth backdrop can elevate the overall ambiance and create a memorable setting. The versatility of tablecloths in various colors, patterns, and materials allows you to unleash your creativity and tailor the backdrop to your specific theme and aesthetic.
Remember to gather all the necessary materials beforehand, take your time in measuring and cutting the tablecloths, and ensure that your backdrop frame is sturdy and stable. Take advantage of the wide range of decorative elements available and add those final touches that will truly make your backdrop stand out.
Now that you have the knowledge and skills to create a backdrop with tablecloths, it’s time to unleash your creativity and bring your vision to life. Get ready to impress your guests and capture stunning photos against your beautifully crafted tablecloth backdrop.
We hope you found this guide helpful and inspiring. Enjoy the process of creating your own tablecloth backdrop and have a fantastic event!
Frequently Asked Questions about How To Make A Backdrop With Tablecloths
Was this page helpful?
At Storables.com, we guarantee accurate and reliable information. Our content, validated by Expert Board Contributors, is crafted following stringent Editorial Policies. We're committed to providing you with well-researched, expert-backed insights for all your informational needs.

0 thoughts on “How To Make A Backdrop With Tablecloths”