Home>Gardening & Outdoor>Landscaping Ideas>How To Prepare Ground For Artificial Grass
Landscaping Ideas
How To Prepare Ground For Artificial Grass
Modified: March 28, 2024
Learn how to prepare the ground for artificial grass with our expert landscaping ideas. Create a perfect base for your synthetic lawn installation.
(Many of the links in this article redirect to a specific reviewed product. Your purchase of these products through affiliate links helps to generate commission for Storables.com, at no extra cost. Learn more)
Introduction
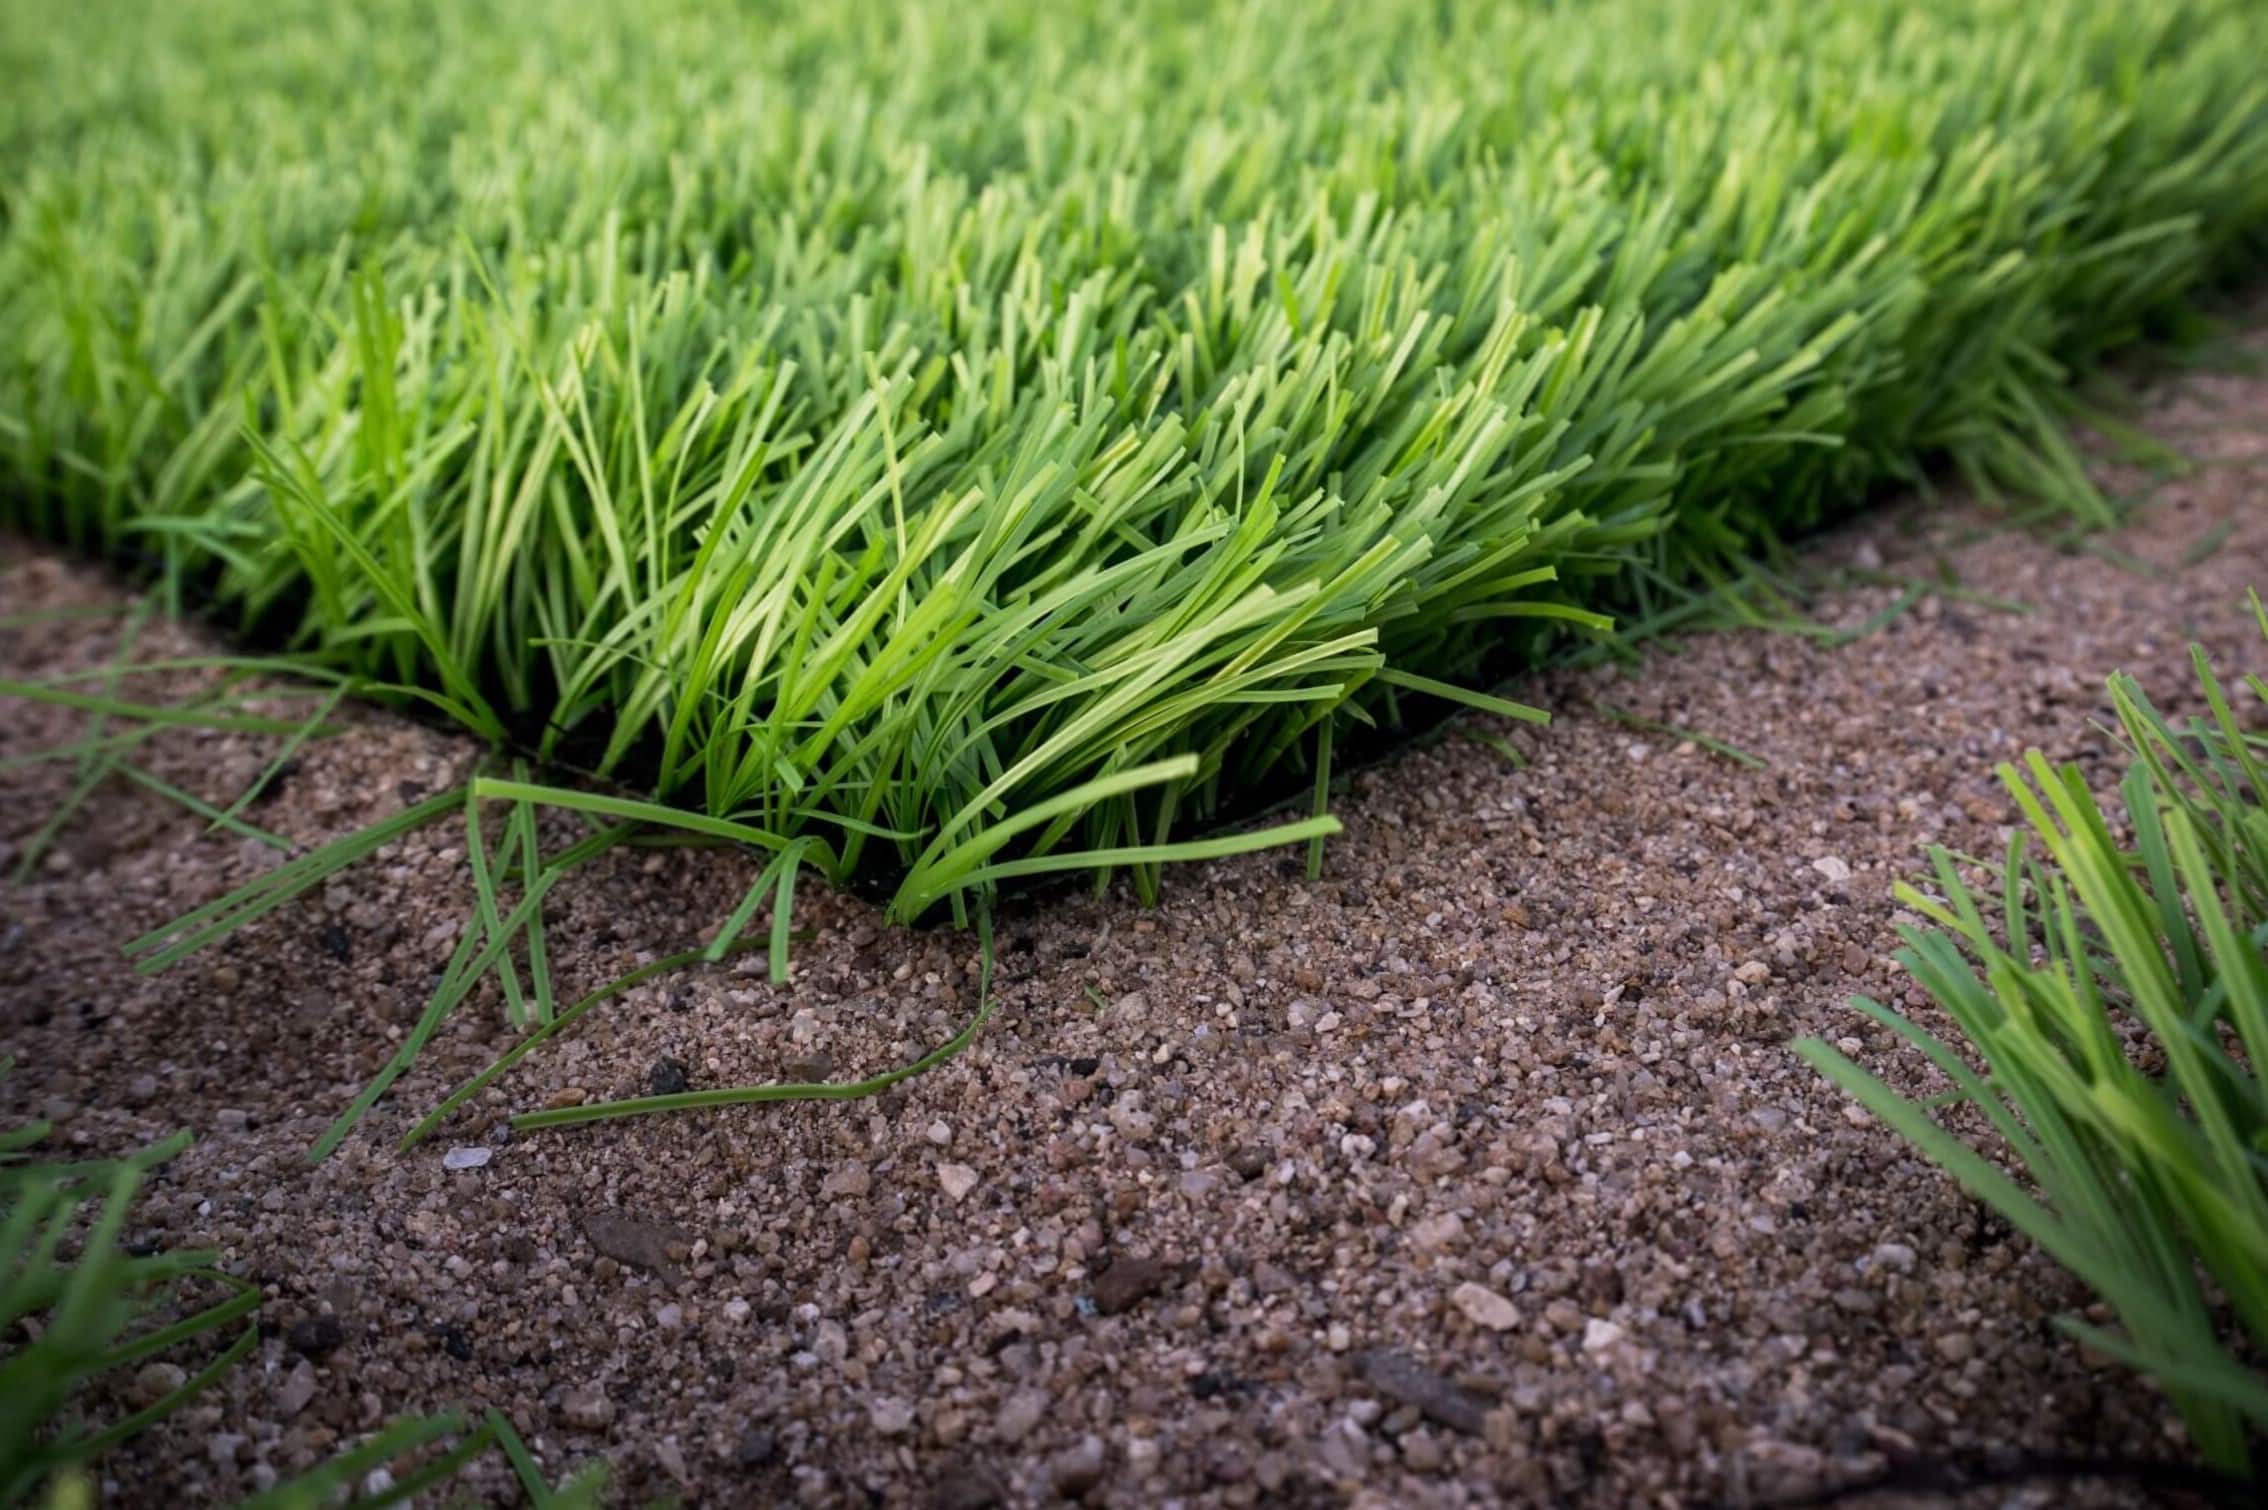
Artificial grass has become a popular choice for many homeowners and businesses seeking a low-maintenance and visually appealing alternative to natural grass. Whether you’re looking to transform your backyard into a vibrant outdoor living space or create an inviting landscape for your commercial property, preparing the ground for artificial grass is a crucial step in ensuring a successful and long-lasting installation.
Proper ground preparation not only lays the foundation for a flawless artificial grass surface but also helps in preventing issues such as unevenness, drainage problems, and weed growth. By following a few essential steps, you can create an ideal environment for your artificial grass, ensuring that it looks and performs its best for years to come.
In this comprehensive guide, we will walk you through the essential steps to prepare the ground for artificial grass, from assessing the area and clearing the space to adding a base material and compacting the ground. By the end of this article, you’ll have a clear understanding of the necessary groundwork required to achieve a professional and durable artificial grass installation.
Key Takeaways:
- Proper ground preparation is essential for successful artificial grass installation, preventing issues like unevenness, drainage problems, and weed growth. Assess the area, clear obstacles, level the ground, and add a base material for a durable and visually appealing result.
- Installing a weed barrier is crucial to prevent weed growth and maintain the pristine appearance of artificial grass. Clear the area, level the ground, and compact it thoroughly to create a stable and resilient foundation for long-lasting synthetic turf.
Read more: How To Prepare The Ground For Fake Grass
Assessing the Area
Before diving into the ground preparation process, it’s crucial to assess the area where you plan to install the artificial grass. Start by evaluating the current state of the ground to identify any existing issues that may need to be addressed. Here are the key factors to consider during the assessment:
- Drainage: Check the drainage patterns in the area to ensure that water does not accumulate on the surface. Proper drainage is essential for preventing waterlogging, which can affect the longevity and performance of the artificial grass.
- Surface Condition: Examine the existing surface for any irregularities, such as bumps, depressions, or rough patches. Identifying these imperfections will guide you in the leveling and preparation process.
- Weed and Debris: Take note of any existing vegetation, weeds, or debris present on the ground. Clearing these elements is vital to prevent them from surfacing through the artificial grass later on.
- Slope and Grade: Determine the slope and grade of the area, as this will impact the drainage and overall stability of the artificial grass. Addressing any significant slopes or uneven gradients is essential for a uniform and visually appealing installation.
- Usage: Consider the intended use of the space. Whether it’s a residential lawn, a pet area, or a high-traffic commercial space, understanding the intended usage will help in selecting the appropriate base materials and addressing specific requirements.
By thoroughly assessing the area, you’ll gain valuable insights that will inform the subsequent steps in the ground preparation process. Understanding the unique characteristics of the site will enable you to tailor the preparation process to suit the specific needs of the installation, ultimately leading to a more successful and enduring artificial grass surface.
Clearing the Area
Once you’ve assessed the area and identified the necessary groundwork, the next crucial step in preparing the ground for artificial grass is clearing the space of any existing vegetation, debris, and obstacles. Clearing the area sets the stage for a clean and smooth surface, laying the groundwork for a seamless artificial grass installation. Here’s how to effectively clear the area:
- Remove Existing Vegetation: Begin by eliminating any existing grass, weeds, or plants from the area where the artificial grass will be installed. Use a combination of tools such as a shovel, turf cutter, or herbicide, depending on the size and nature of the vegetation. It’s important to remove the roots and ensure that the ground is free of any living vegetation.
- Clear Debris and Obstacles: Rid the area of rocks, branches, and any other debris that could interfere with the artificial grass installation. Clearing the space of these obstacles will prevent unevenness and potential damage to the synthetic turf during and after the installation process.
- Address Drainage Issues: During the clearing process, take the opportunity to address any drainage issues by ensuring that the ground is free of debris that may impede proper water flow. This step is crucial for maintaining optimal drainage and preventing water accumulation on the surface.
- Inspect for Underground Utilities: Before proceeding with any excavation or ground preparation, it’s essential to identify and mark the locations of underground utilities such as cables, pipes, and irrigation lines. This precautionary measure helps prevent accidental damage and ensures a safe and smooth clearing process.
By meticulously clearing the area of vegetation, debris, and potential obstacles, you’ll create a clean canvas for the subsequent steps in the ground preparation process. This thorough clearing process sets the stage for a professional and long-lasting artificial grass installation, minimizing the risk of underlying issues that could compromise the performance and aesthetics of the synthetic turf.
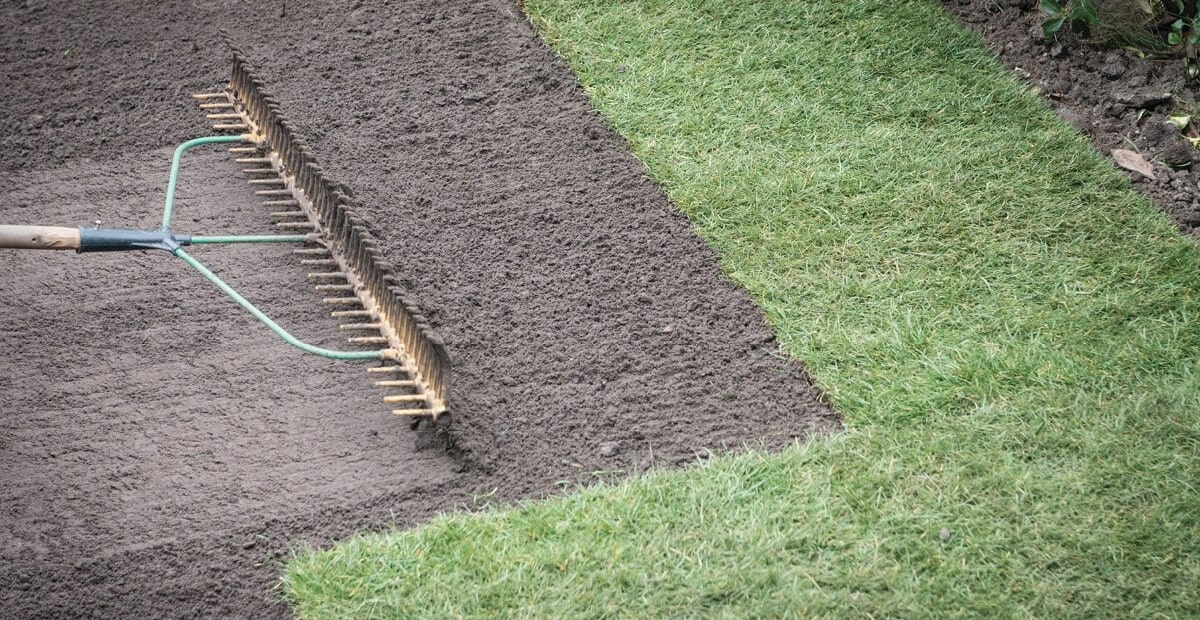
Leveling the Ground
Once the area has been thoroughly cleared, the next critical step in preparing the ground for artificial grass is to ensure that the surface is level and free of any irregularities. Achieving a smooth and even ground is essential for the proper installation and performance of the synthetic turf. Here’s a comprehensive guide to leveling the ground effectively:
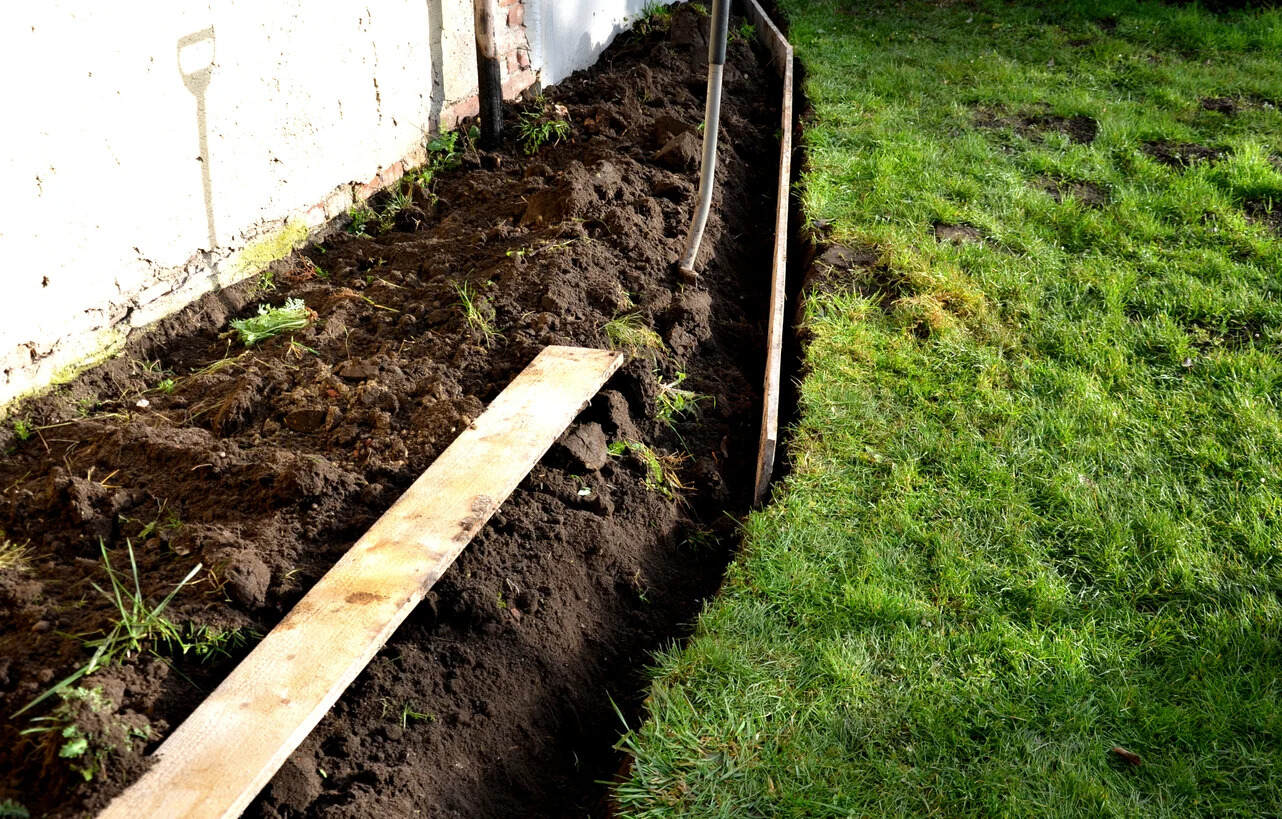
- Identify High and Low Points: Begin by identifying any high or low points on the ground. This can be done using a long, straight board or a laser level to gauge the existing contours of the surface. Marking these areas will guide you in the leveling process.
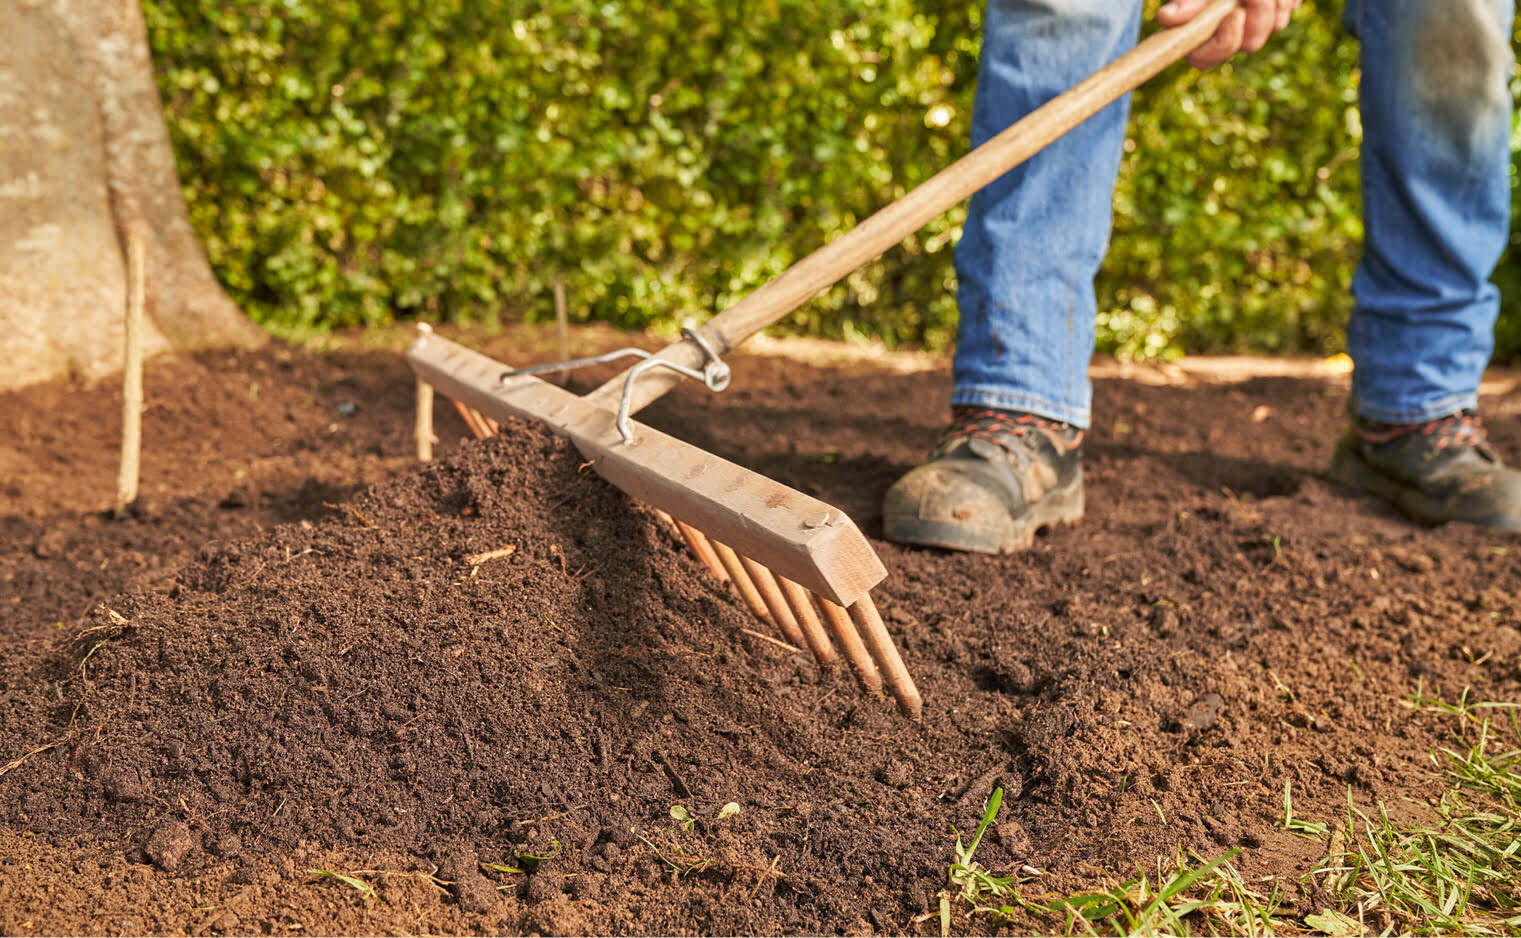
- Remove Excess Soil: In areas with high points, remove excess soil to bring them to the desired level. Conversely, fill in low points with additional soil to achieve a uniform surface. Use a shovel and rake to adjust the soil as needed, ensuring that the ground is consistently level throughout the installation area.
- Compact the Soil: Once the ground has been leveled, use a hand tamper or plate compactor to compact the soil. This step helps to stabilize the ground and reduce the risk of settling over time. Ensure that the compacted soil is firm and provides a solid base for the artificial grass.
- Check for Evenness: After compacting the soil, double-check the entire area for evenness. Use a level to assess the surface and make any final adjustments as needed to eliminate any remaining bumps or depressions.
By meticulously leveling the ground, you’ll create a stable and uniform foundation for the artificial grass, promoting proper drainage and minimizing the risk of surface irregularities. This crucial step sets the stage for a professional and visually appealing installation, ensuring that the synthetic turf performs optimally and maintains its aesthetic appeal over time.
Before laying artificial grass, make sure to remove any existing grass, weeds, and debris from the area. Level the ground and compact it to create a smooth and stable base for the artificial grass.
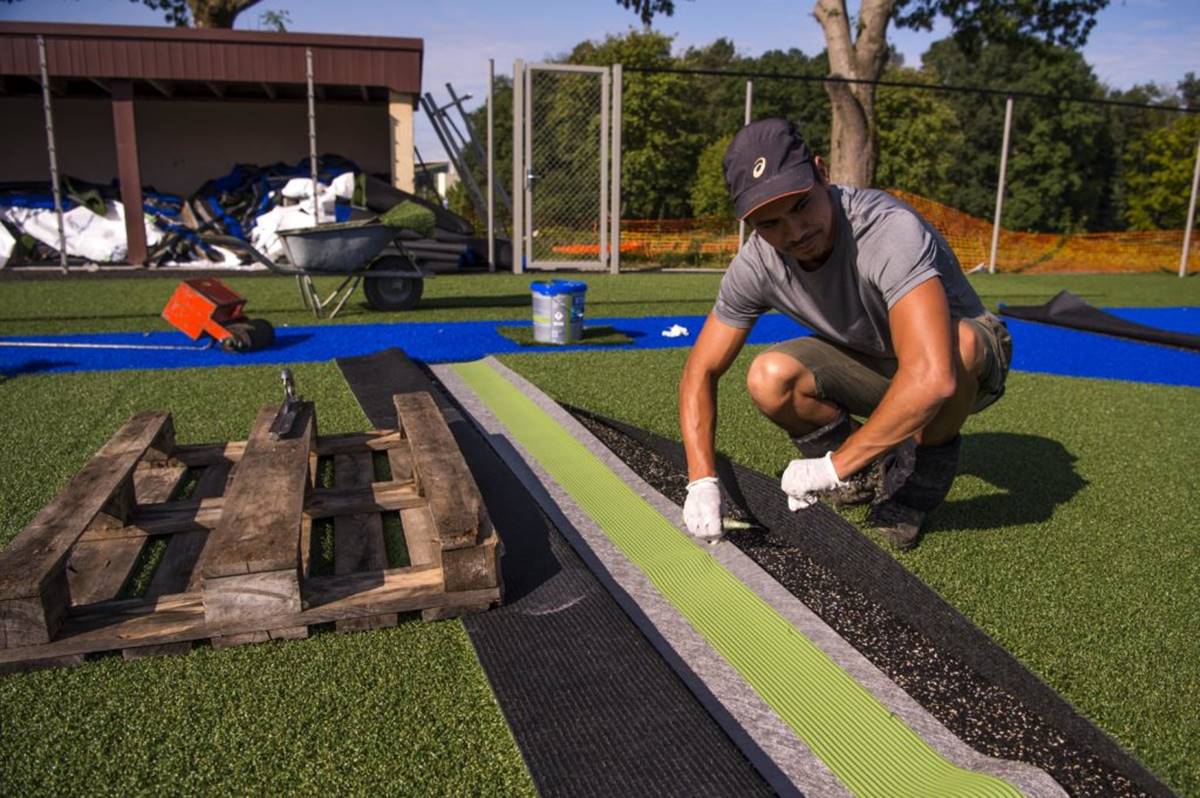
Installing a Weed Barrier
As part of the ground preparation process for artificial grass installation, installing a weed barrier is a vital step in preventing weed growth and maintaining the pristine appearance of the synthetic turf. A weed barrier, also known as a geotextile fabric, acts as a protective layer that inhibits the growth of weeds while allowing for proper drainage. Here’s a detailed guide to installing a weed barrier effectively:
- Select the Right Barrier Material: Choose a high-quality weed barrier fabric that is specifically designed for use in landscaping and artificial grass installations. The material should be permeable to water and air while effectively blocking the growth of weeds and other unwanted vegetation.
- Measure and Cut the Fabric: Unroll the weed barrier fabric over the leveled ground, ensuring that it completely covers the installation area. Use scissors or a utility knife to cut the fabric to the appropriate size, allowing for a slight overlap at the seams to ensure comprehensive coverage.
- Secure the Edges: Secure the edges of the weed barrier fabric using landscape staples or galvanized nails. This prevents the fabric from shifting during the installation of the artificial grass and provides a secure foundation for the synthetic turf.
- Overlap Seams: If multiple pieces of fabric are required to cover the entire area, overlap the seams by several inches and secure them tightly to prevent any gaps that could allow weed growth. Ensuring a seamless barrier is crucial for its effectiveness in weed control.
- Trim Excess Material: Trim any excess fabric along the edges to create a neat and tidy appearance. This step also ensures that the weed barrier remains securely in place without any loose or exposed edges.
By installing a weed barrier, you’ll create a protective shield that prevents weeds from infiltrating the artificial grass, preserving its flawless appearance and minimizing maintenance requirements. The weed barrier also contributes to the longevity and stability of the synthetic turf, ensuring that it remains an attractive and hassle-free landscaping solution for years to come.
Read more: How To Prepare Ground For Garden
Adding a Base Material
Adding a suitable base material is a crucial step in the ground preparation process for artificial grass installation. The base material serves as a foundation that enhances drainage, provides stability, and supports the synthetic turf, ensuring a durable and long-lasting installation. Here’s a comprehensive guide to adding a base material effectively:
- Select the Right Base Material: Choose a high-quality aggregate base material, such as crushed rock or decomposed granite, that is well-suited for artificial grass installations. The selected material should provide excellent drainage, compaction, and load-bearing capabilities to support the synthetic turf.
- Distribute the Base Material: Spread the base material evenly over the weed barrier, ensuring consistent coverage across the entire installation area. Use a rake or shovel to distribute the material to the desired depth, taking care to achieve a uniform layer that provides adequate support for the artificial grass.
- Adjust the Thickness: Determine the appropriate thickness of the base material based on the specific requirements of the artificial grass and the intended use of the space. In general, a depth of 2-3 inches of base material is recommended for residential lawns, while high-traffic areas may require a thicker base layer for added support.
- Compact the Base Material: Use a plate compactor to compact the base material thoroughly. This step is essential for achieving a stable and solid foundation that minimizes the risk of settling and ensures optimal support for the artificial grass. Compact the material in multiple directions to achieve uniform density.
- Check for Evenness and Compaction: After compacting the base material, inspect the surface for evenness and proper compaction. Address any uneven areas or low spots by adding additional base material and compacting it to achieve a consistent and stable base for the synthetic turf.
By adding a high-quality base material, you’ll create a supportive and well-drained foundation for the artificial grass, promoting optimal performance and longevity. The carefully prepared base layer plays a crucial role in ensuring that the synthetic turf maintains its structural integrity and aesthetic appeal, providing a resilient and visually stunning landscape for years to come.
Compacting the Ground
Compacting the ground is a pivotal step in the preparation process for installing artificial grass. Proper compaction ensures a stable and uniform surface, enhances drainage, and minimizes the risk of settling, ultimately contributing to the longevity and performance of the synthetic turf. Here’s a comprehensive guide to compacting the ground effectively:
- Use the Right Equipment: Select a plate compactor or a vibrating compaction machine suitable for the size of the installation area. These tools are designed to exert the necessary force to compact the ground evenly and efficiently.
- Begin Compaction: Start compacting the ground from one end of the installation area, working your way methodically across the entire space. Overlap each pass slightly to ensure comprehensive compaction and uniform density throughout the surface.
- Apply Even Pressure: When operating the compactor, apply even pressure to achieve consistent compaction. Pay close attention to areas along the edges and seams to ensure that the entire surface is compacted to the desired level of density.
- Multiple Passes: Make multiple passes with the compactor in different directions to achieve thorough and uniform compaction. This approach helps to eliminate air gaps, stabilize the ground, and create a solid foundation for the artificial grass.
- Check for Proper Compaction: After completing the compaction process, inspect the ground to ensure that it has been compacted to the appropriate density. Address any areas that may require additional compaction to achieve a consistent and stable surface.
By meticulously compacting the ground, you’ll create a solid and well-drained foundation for the artificial grass, ensuring optimal performance and durability. The compacted ground provides the necessary stability and support for the synthetic turf, contributing to a professional and long-lasting installation that enhances the aesthetics and functionality of the outdoor space.
Conclusion
Preparing the ground for artificial grass installation is a fundamental process that sets the stage for a successful, visually appealing, and long-lasting landscape transformation. By following the essential steps outlined in this guide, you can ensure that the groundwork is meticulously prepared to support the synthetic turf, creating an outdoor space that is both functional and aesthetically pleasing.
From the initial assessment of the area to the thorough clearing, leveling, and installation of essential components such as the weed barrier and base material, each step plays a crucial role in creating a stable and resilient foundation for the artificial grass. By paying attention to the details and adhering to best practices, you can achieve a professional installation that enhances the beauty and functionality of the outdoor environment.
Proper drainage, effective weed control, and a well-compact ground are key elements that contribute to the overall performance and longevity of the artificial grass. By investing time and effort in the ground preparation process, you can enjoy the benefits of a low-maintenance, vibrant landscape that remains green and lush throughout the year, enhancing the appeal of your residential or commercial property.
Whether you’re creating a lush lawn, a pet-friendly play area, or an inviting outdoor setting, the meticulous preparation of the ground sets the stage for a seamless and enduring artificial grass installation. By following the guidelines outlined in this comprehensive guide, you can embark on your artificial grass project with confidence, knowing that the groundwork has been expertly laid for a stunning and resilient landscape that will be enjoyed for years to come.
Frequently Asked Questions about How To Prepare Ground For Artificial Grass
Was this page helpful?
At Storables.com, we guarantee accurate and reliable information. Our content, validated by Expert Board Contributors, is crafted following stringent Editorial Policies. We're committed to providing you with well-researched, expert-backed insights for all your informational needs.


0 thoughts on “How To Prepare Ground For Artificial Grass”