Home>Gardening & Outdoor>Outdoor Entertaining>How To Make A Metal Fire Pit Ring

Outdoor Entertaining
How To Make A Metal Fire Pit Ring
Modified: February 18, 2024
Learn how to create a durable and stylish outdoor entertaining space with a metal fire pit ring. Discover step-by-step instructions for building your own fire pit. Ideal for gatherings and relaxation in your backyard.
(Many of the links in this article redirect to a specific reviewed product. Your purchase of these products through affiliate links helps to generate commission for Storables.com, at no extra cost. Learn more)
Introduction
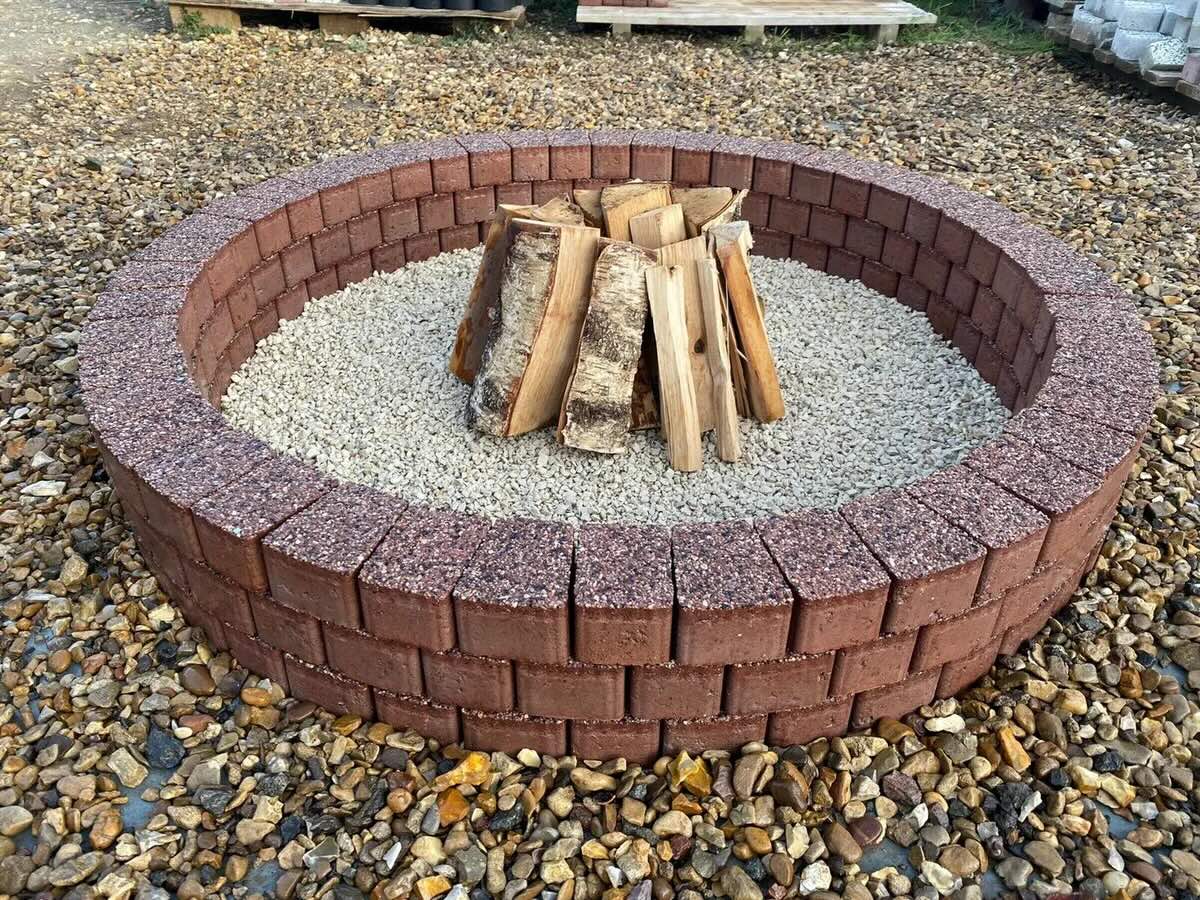
Creating a warm and inviting atmosphere in your outdoor space is made easy with a metal fire pit ring. Whether you're looking to gather around a crackling fire with friends, toast marshmallows with the family, or simply bask in the mesmerizing glow of the flames, a fire pit ring is a fantastic addition to any backyard. Not only does it provide a focal point for gatherings, but it also adds a touch of rustic charm to your outdoor entertaining area.
In this comprehensive guide, we'll walk through the step-by-step process of constructing your own metal fire pit ring. From gathering the necessary materials and tools to the final placement of the ring, you'll gain the knowledge and confidence to undertake this rewarding DIY project. So, roll up your sleeves, gather your supplies, and let's dive into the exciting world of creating a cozy and inviting outdoor fire pit!
Key Takeaways:
- Building a metal fire pit ring is a fun DIY project that adds warmth and charm to your outdoor space. With the right materials and tools, you can create a cozy gathering spot for friends and family.
- Carefully measuring, digging, assembling, and filling the base are essential steps in creating a safe and visually appealing fire pit. Once completed, enjoy the mesmerizing glow and warmth with loved ones.
Read more: How To Make A Portable Fire Pit
Materials Needed
Before embarking on the journey of building your metal fire pit ring, it’s essential to gather all the necessary materials. Here’s a list of what you’ll need:
- Steel fire pit ring
- Gravel or sand
- High-heat spray paint (optional for decorative purposes)
- Fire bricks or heat-resistant pavers (optional for lining the pit)
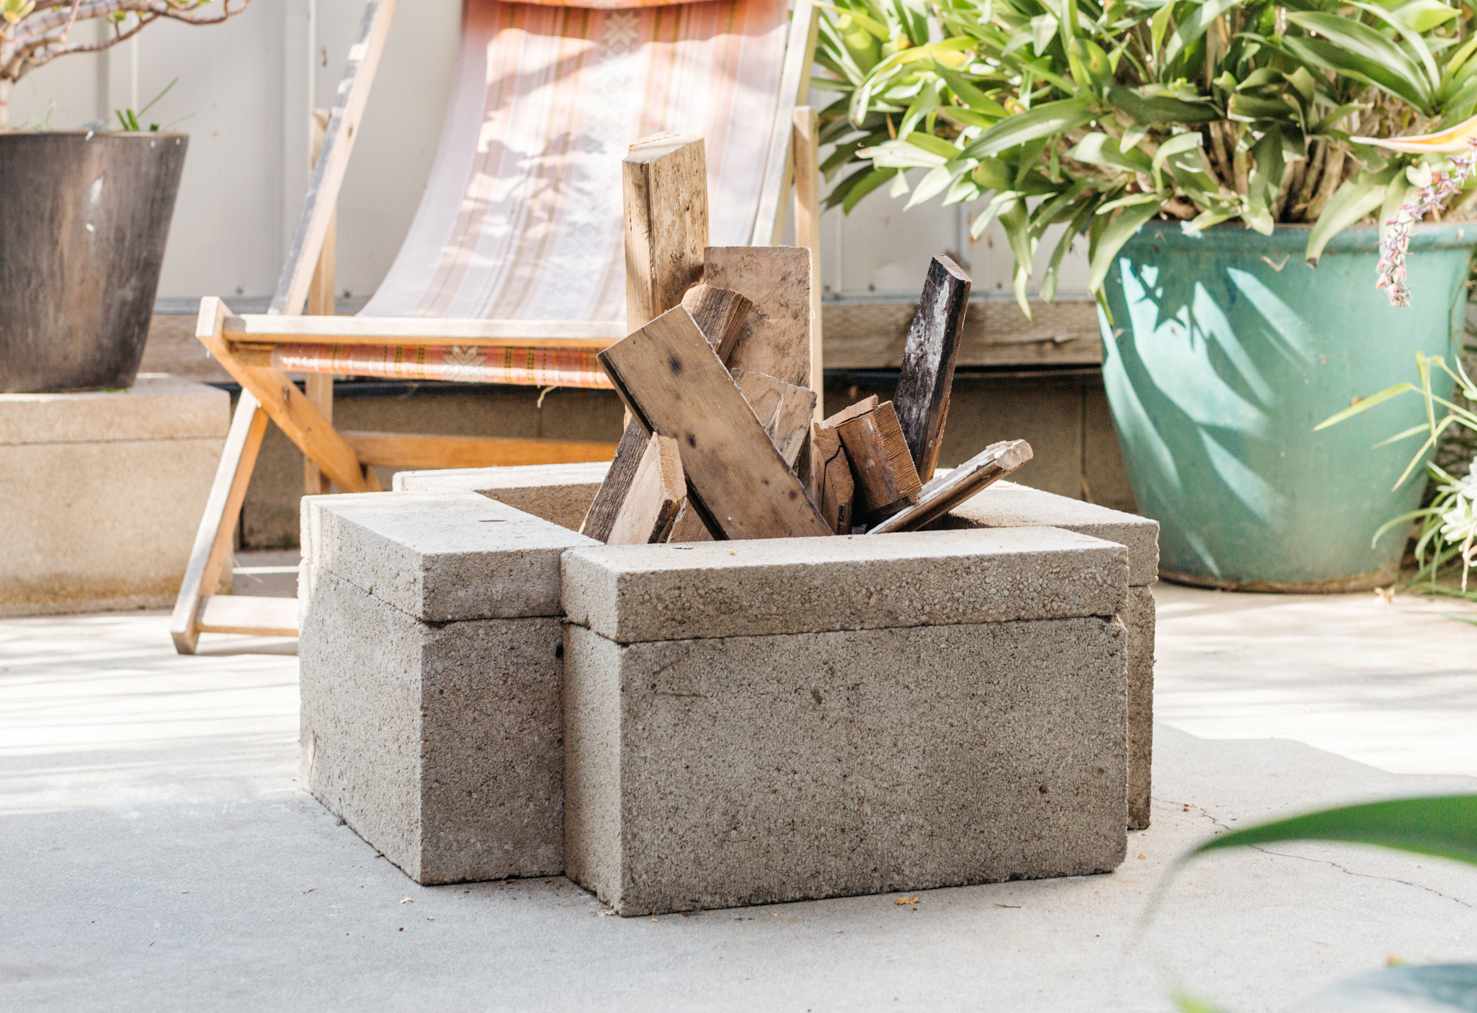
- Firewood or propane/gas burner (depending on your preference)
These materials will form the foundation of your fire pit, ensuring its durability and functionality. The steel fire pit ring serves as the centerpiece, while the gravel or sand provides a stable base for the pit. The high-heat spray paint can be used to add a personal touch to the ring, complementing your outdoor decor.
Additionally, fire bricks or heat-resistant pavers can be utilized to line the interior of the pit, offering added protection and insulation. Lastly, whether you opt for traditional firewood or a convenient propane/gas burner, your choice of fuel will contribute to the overall ambiance and convenience of your fire pit.
With these materials in hand, you’re well-equipped to commence the construction of your metal fire pit ring, transforming your outdoor space into a cozy haven for relaxation and socializing.
Tools Needed
Equipping yourself with the right tools is crucial for efficiently constructing a metal fire pit ring. Here’s a list of essential tools you’ll need for this project:
- Shovel
- Tape measure
- Level
- Rubber mallet
- Wheelbarrow (for transporting gravel or sand)
- Work gloves
- Safety goggles
- High-heat resistant gloves (if working with fire)
The shovel will be your primary tool for excavating the pit, while the tape measure and level are essential for ensuring accurate dimensions and a stable, level base. A rubber mallet will aid in assembling the fire pit ring, ensuring a snug and secure fit of the components. Additionally, a wheelbarrow will come in handy for transporting gravel or sand to the construction site.
When working with materials and tools, it’s important to prioritize safety. Wearing work gloves and safety goggles will protect your hands and eyes from potential hazards, such as sharp edges and flying debris. If you plan to handle firewood or work with an open flame, high-heat resistant gloves are essential for safeguarding your hands from heat and flames.
By having these tools at your disposal, you’ll be well-prepared to tackle the construction of your metal fire pit ring with confidence and precision. Now that you’re equipped with the necessary materials and tools, it’s time to dive into the step-by-step process of bringing your fire pit to life.
Step 1: Measure and Mark the Location
Before delving into the physical construction of the fire pit, it’s crucial to carefully select and prepare the location where it will be situated. Consider the following steps to ensure a well-planned and visually appealing placement:
- Choose the Spot: Select a level area in your outdoor space that’s clear of overhanging branches, structures, and other potential fire hazards. Ideally, the location should be a safe distance from your home and any flammable materials.
- Measure and Mark: Use a tape measure to determine the desired diameter of your fire pit. Mark the perimeter by driving a stake into the ground at the center point and attaching a string or rope to it, measuring half the diameter of the pit. With the string taut, trace a circle in the soil to outline the pit’s location.
- Assess the Surroundings: Take a moment to visualize how the fire pit will integrate into your outdoor setting. Consider factors such as seating arrangements, landscaping, and the overall flow of your outdoor space. This step will help ensure that your fire pit becomes a harmonious focal point in your backyard.
By meticulously measuring and marking the location of your fire pit, you’ll lay the groundwork for a well-positioned and aesthetically pleasing addition to your outdoor environment. With the site chosen and outlined, you’re ready to proceed to the next step in the construction process.
Step 2: Dig the Pit
With the location marked and prepared, it’s time to roll up your sleeves and start digging the pit. Follow these steps to ensure a well-executed excavation process:
- Excavate the Area: Using a shovel, begin digging within the marked perimeter, gradually removing the topsoil and digging down to the desired depth for your fire pit. Typically, a depth of around 6 to 12 inches is suitable, but you can adjust this based on your preference and the recommendations for your specific fire pit ring.
- Check for Levelness: As you dig, periodically use a level to ensure that the base of the pit remains even and level. This step is crucial for the stability and aesthetics of the finished fire pit.
- Clear Debris: Remove any rocks, roots, or other debris from the excavated area to create a clean and uniform base for the fire pit. This will facilitate the next steps of assembling the ring and filling the base.
As you dig the pit, maintain a steady pace and periodically assess the depth and levelness of the excavation. This meticulous approach will contribute to the successful construction of your fire pit and ensure that it becomes a well-integrated and visually appealing feature in your outdoor space.
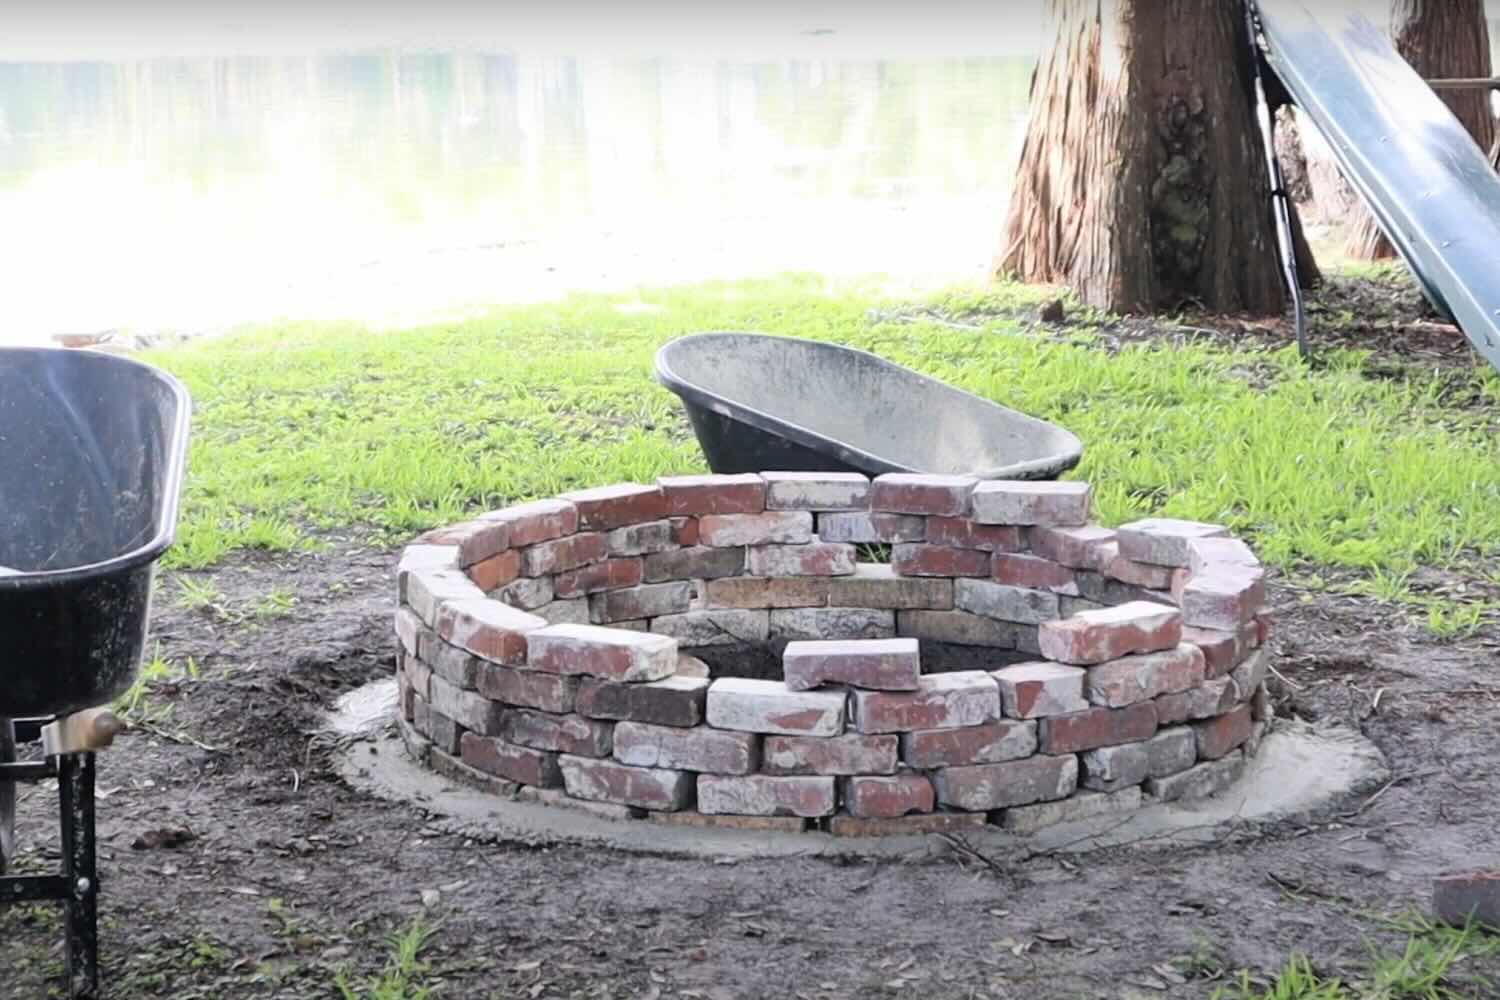
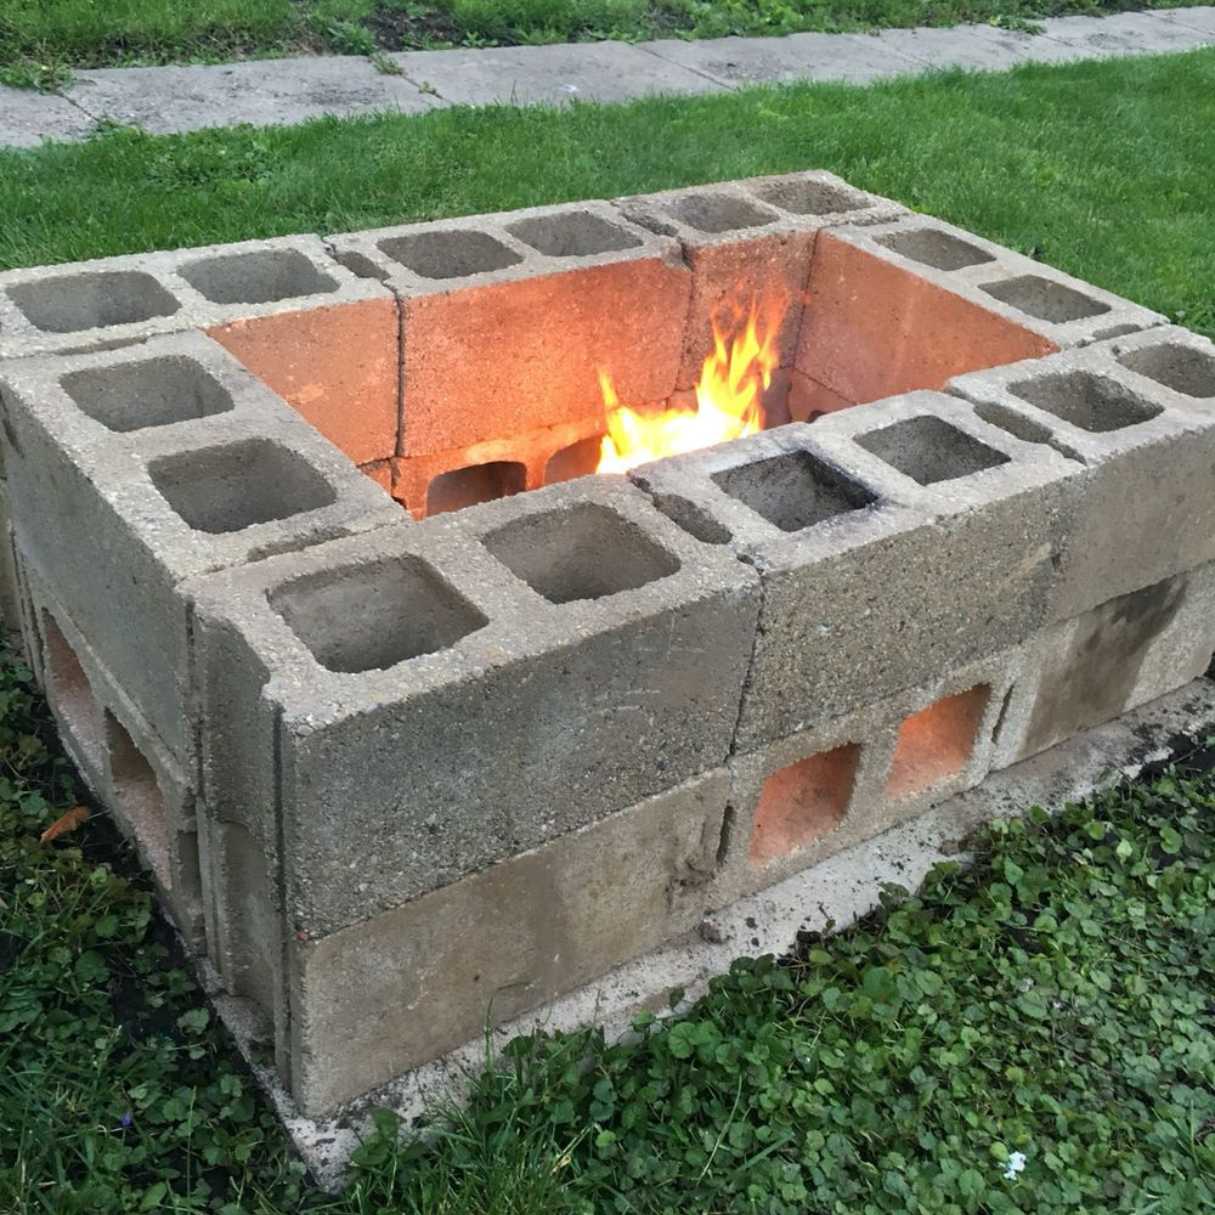
When making a metal fire pit ring, use a sturdy and heat-resistant metal such as steel or cast iron. Ensure the ring is wide enough to contain the fire and tall enough to prevent sparks from escaping.
Read more: How To Make A Fire Pit Screen
Step 3: Assemble the Ring
Assembling the metal fire pit ring is a pivotal stage in the construction process, requiring precision and attention to detail. Follow these steps to effectively assemble the ring:
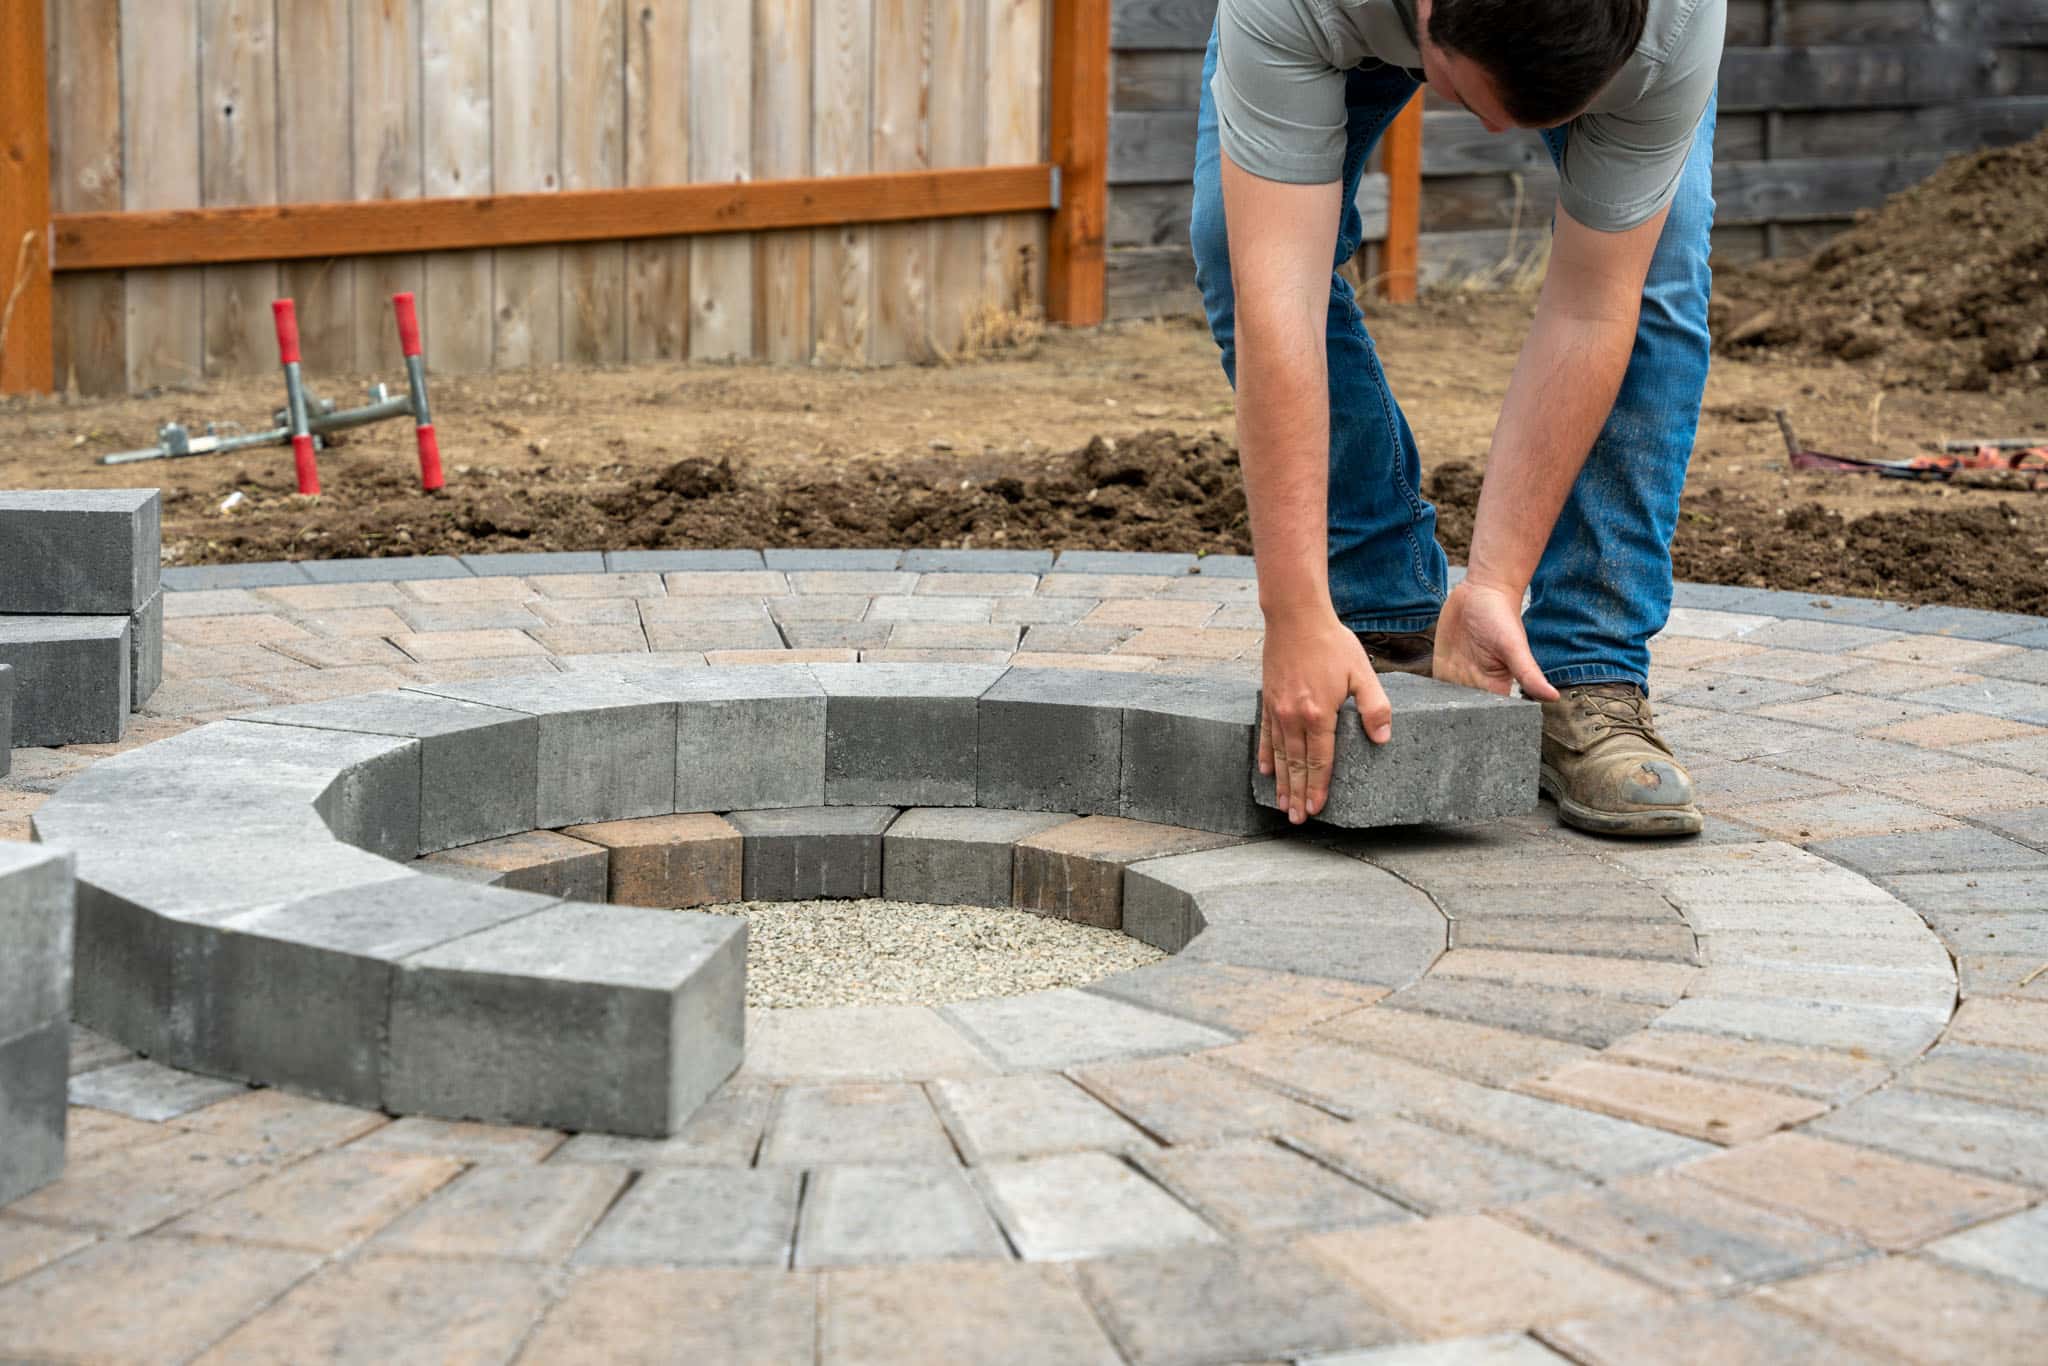
- Position the Ring: Place the steel fire pit ring at the edge of the excavated pit, ensuring that it rests securely on the level base. Take a moment to confirm that the ring is centered within the marked perimeter and adjust its position if necessary.
- Secure the Sections: If the ring consists of multiple sections, carefully align them and interlock the pieces according to the manufacturer’s instructions. Use a rubber mallet to gently tap the sections together, ensuring a snug and secure fit. This step is crucial for the stability and structural integrity of the ring.
- Inspect the Alignment: After assembling the ring, visually inspect its alignment and stability. Ensure that the sections are securely connected and that the ring sits evenly on the base of the pit. Making any necessary adjustments at this stage will contribute to the overall functionality and aesthetics of the fire pit.
By methodically assembling the metal fire pit ring, you’re one step closer to bringing this captivating outdoor feature to fruition. The careful positioning and secure assembly of the ring will set the stage for the final steps of placing the ring in the pit and filling the base, marking significant progress in the construction process.
Step 4: Place the Ring in the Pit
With the metal fire pit ring assembled, it’s time to carefully position it within the excavated pit, setting the stage for the final stages of construction. Follow these steps to ensure a seamless placement of the ring:
- Lift and Lower: With the assistance of a friend or family member, carefully lift the assembled fire pit ring and lower it into the excavated pit. Take care to maintain the alignment and stability of the ring as it is positioned within the designated area.
- Confirm Fit: Once the ring is in place, ensure that it fits snugly and securely within the pit. Check that the ring rests evenly on the base and that its position aligns with the marked perimeter, creating a visually appealing and structurally sound foundation for the fire pit.
- Adjust if Necessary: If any adjustments are needed to ensure the proper fit and alignment of the ring, take the time to make these refinements. This may involve slight repositioning or leveling to achieve an optimal result.
By delicately placing the assembled metal fire pit ring within the excavated pit, you’re approaching the final stages of completing this captivating outdoor feature. The careful positioning and confirmation of the ring’s fit within the pit pave the way for the subsequent step of filling the base, bringing you closer to enjoying the warmth and ambiance of your newly constructed fire pit.
Step 5: Fill the Base
With the metal fire pit ring securely positioned within the excavated pit, the next crucial step is to fill the base, creating a stable foundation for your fire pit. Follow these steps to effectively fill the base:
- Add Gravel or Sand: Begin by adding a layer of gravel or sand to the base of the pit, ensuring even coverage and a level surface. This material will provide stability and drainage for your fire pit, contributing to its long-term durability.
- Distribute Evenly: Use a shovel or rake to distribute the gravel or sand evenly across the base, smoothing out any lumps or uneven areas. This step is essential for creating a uniform and stable foundation for the fire pit ring.
- Check for Levelness: Once the base is filled, use a level to confirm that the surface is even and level. Making any necessary adjustments at this stage will ensure that the fire pit ring sits securely and uniformly on the base.
By meticulously filling the base with gravel or sand and ensuring its levelness, you’re setting the stage for the final step in the construction process. The stable and well-prepared base will provide a solid foundation for your fire pit, ensuring its longevity and functionality as a centerpiece for outdoor gatherings and relaxation.
Step 6: Enjoy Your Fire Pit
Congratulations on successfully completing the construction of your metal fire pit ring! With the final touches in place, it’s time to bask in the warmth and ambiance of your newly created outdoor haven. Follow these steps to fully enjoy your fire pit:
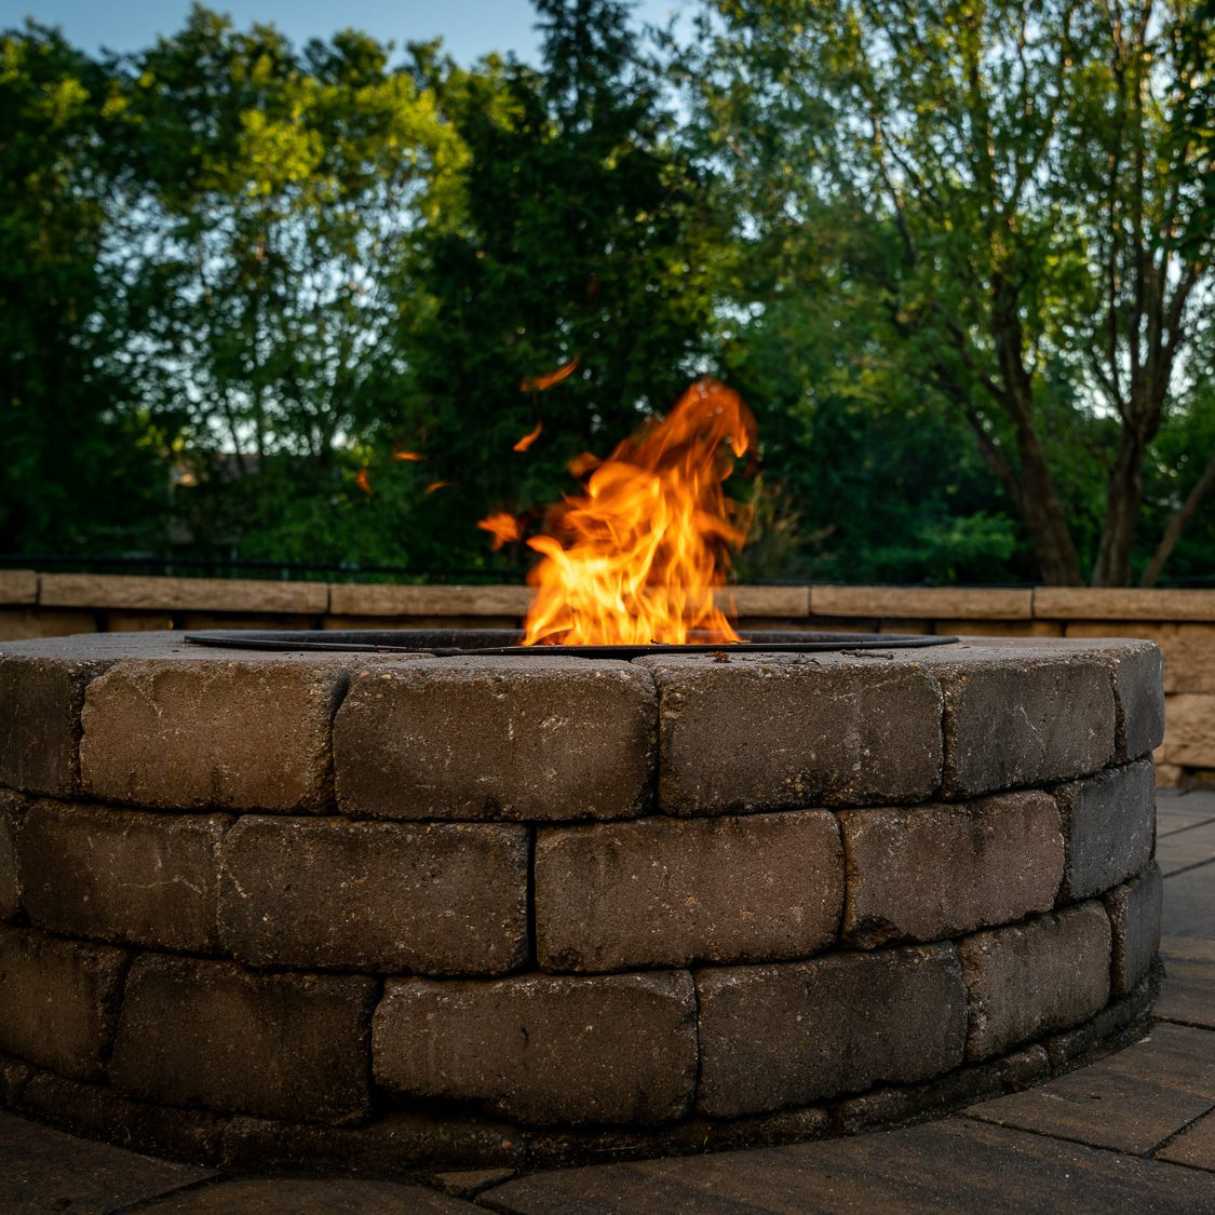
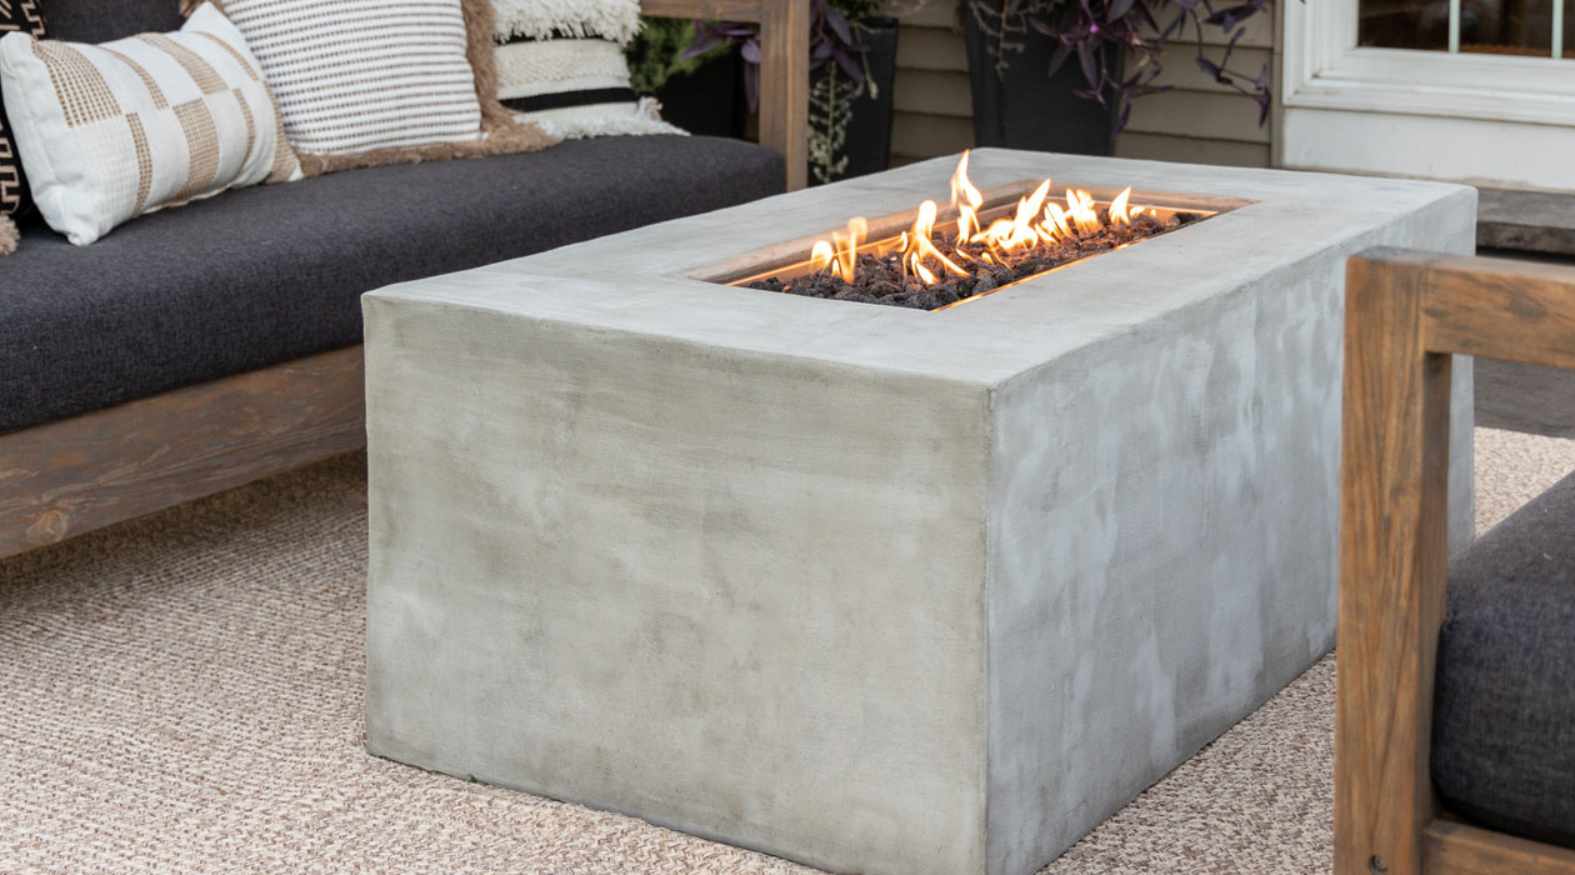
- Add Firewood or Ignite the Burner: If you’ve opted for a traditional wood-burning fire pit, carefully arrange firewood within the ring, ensuring proper ventilation for the flames. Alternatively, if you’ve chosen a propane or gas burner, follow the manufacturer’s instructions to safely ignite the burner and adjust the flame to your desired intensity.
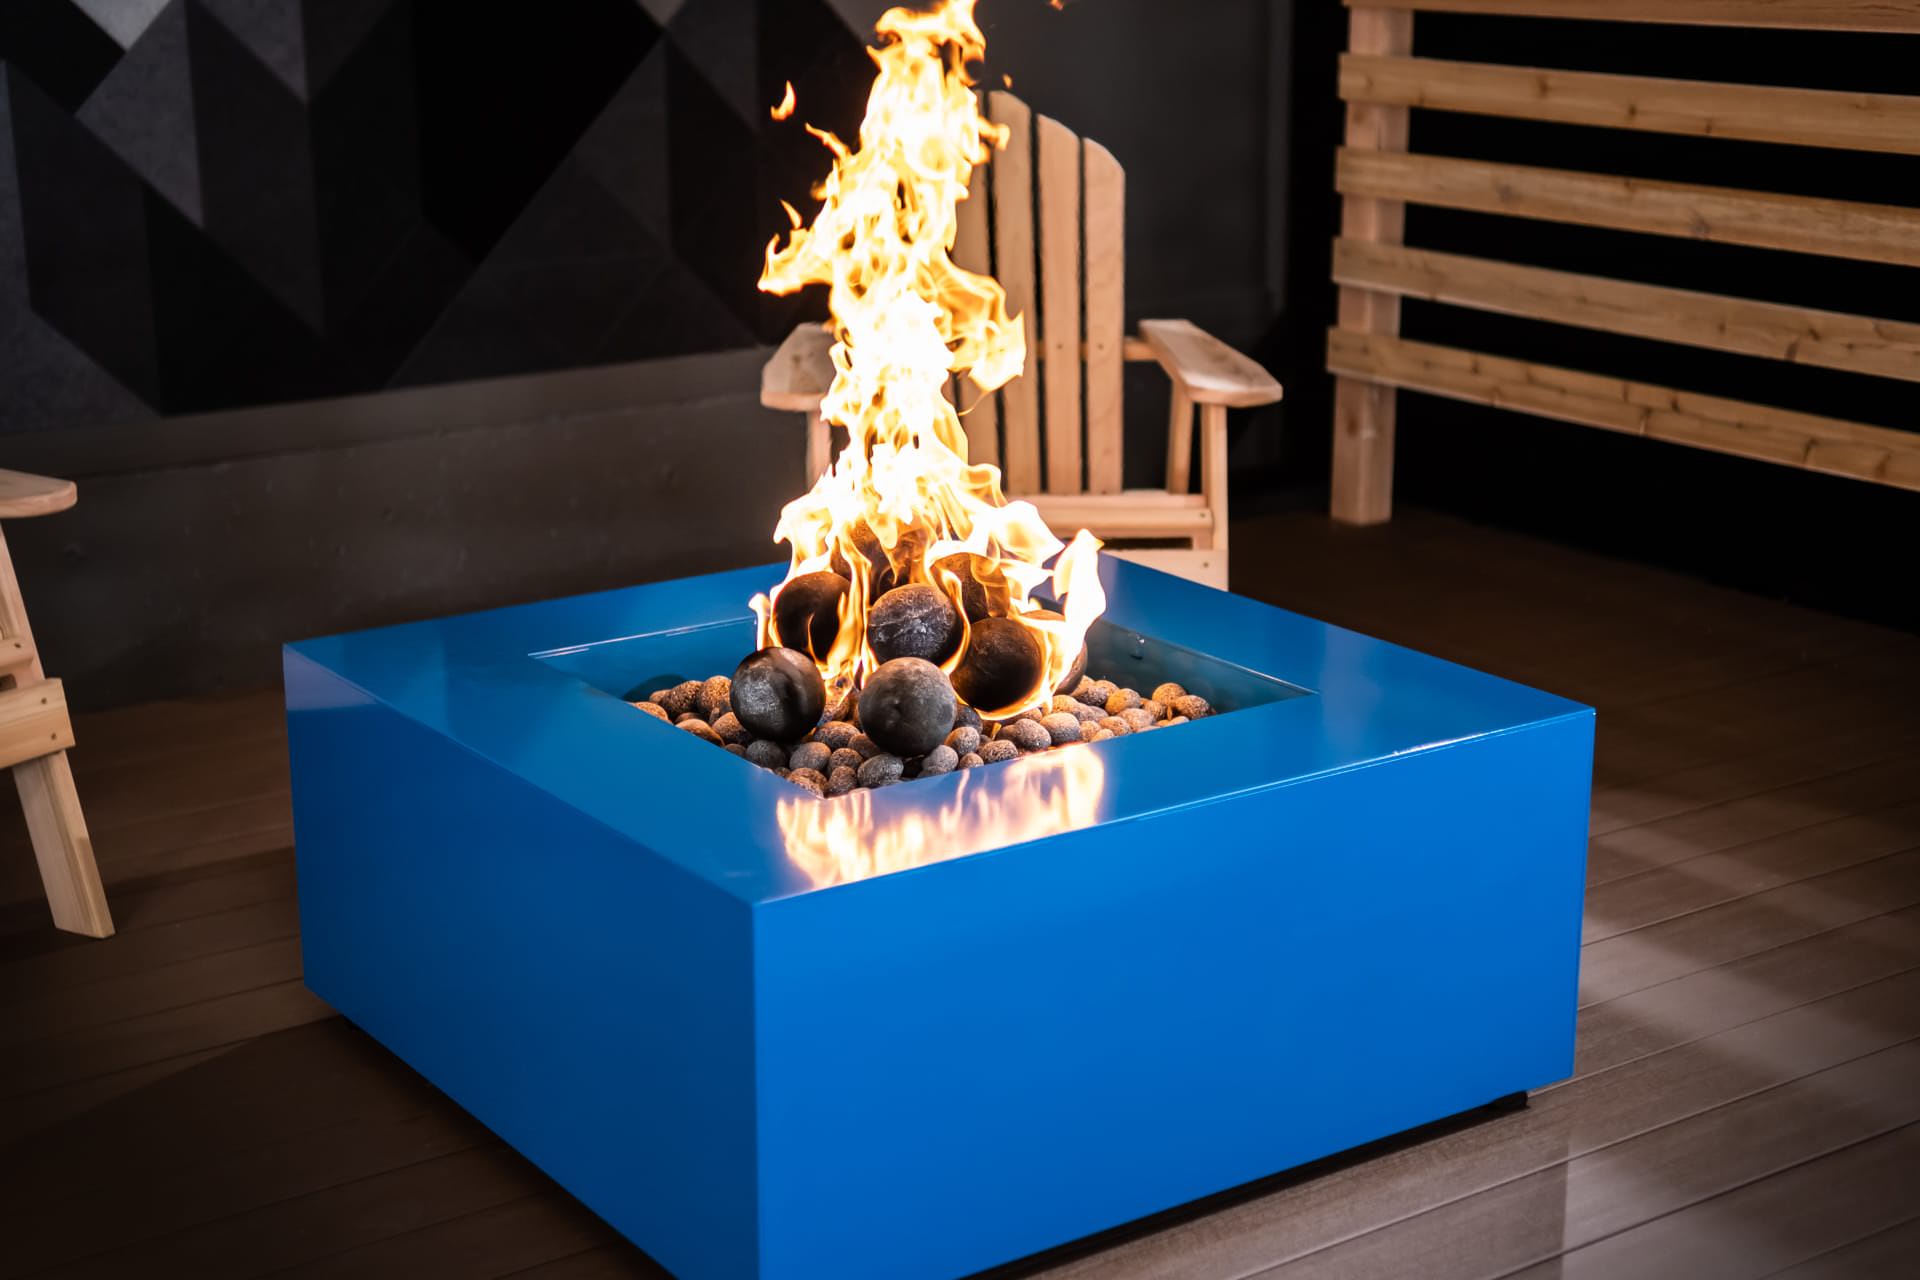
- Embrace the Atmosphere: Gather around the fire pit with family and friends, relishing the mesmerizing glow of the flames and the comforting warmth it provides. Engage in lively conversations, roast marshmallows, or simply unwind as you immerse yourself in the soothing ambiance of the fire pit.
- Exercise Caution: While enjoying your fire pit, prioritize safety by adhering to fire pit guidelines and exercising caution around open flames. Keep a safe distance from the fire, especially if children or pets are present, and be mindful of any flammable materials nearby.
By embracing the inviting atmosphere of your fire pit and fostering memorable experiences around its glowing embers, you’ve transformed your outdoor space into a captivating and welcoming retreat. Whether it’s a tranquil evening under the stars or a lively gathering with loved ones, your fire pit is sure to become a cherished focal point for relaxation and socializing.
With these steps, you’ve not only constructed a captivating metal fire pit ring but also created a gathering place that will foster cherished memories and moments of connection for years to come. So, gather your loved ones, savor the crackling warmth of the fire, and revel in the enchanting allure of your newly constructed fire pit.
Frequently Asked Questions about How To Make A Metal Fire Pit Ring
Was this page helpful?
At Storables.com, we guarantee accurate and reliable information. Our content, validated by Expert Board Contributors, is crafted following stringent Editorial Policies. We're committed to providing you with well-researched, expert-backed insights for all your informational needs.


0 thoughts on “How To Make A Metal Fire Pit Ring”