Home>Gardening & Outdoor>Outdoor Entertaining>How To Melt Glass In A Fire Pit

Outdoor Entertaining
How To Melt Glass In A Fire Pit
Modified: October 18, 2024
Learn how to safely melt glass in your outdoor fire pit for a unique and mesmerizing outdoor entertaining experience. Discover the steps and precautions to create a stunning glass melting display.
(Many of the links in this article redirect to a specific reviewed product. Your purchase of these products through affiliate links helps to generate commission for Storables.com, at no extra cost. Learn more)
Introduction
So, you're looking to add a touch of creativity and uniqueness to your outdoor entertaining space. What better way to do so than by learning how to melt glass in a fire pit? This fascinating art form allows you to transform ordinary glass into stunning decorative pieces, such as colorful tiles, mosaic designs, or even custom glass sculptures. Whether you're a seasoned glass artist or a curious DIY enthusiast, melting glass in a fire pit can be an exciting and rewarding endeavor.
In this comprehensive guide, we'll delve into the mesmerizing world of glass melting, exploring the fundamental techniques, safety precautions, and creative possibilities. By understanding the basics and following the step-by-step instructions, you'll be well-equipped to embark on your glass-melting journey with confidence and enthusiasm.
Are you ready to unleash your inner artist and elevate your outdoor entertaining experience? Let's dive into the captivating process of melting glass in a fire pit, where science meets artistry in a mesmerizing dance of transformation and creativity.
Key Takeaways:
- Unleash Your Creativity: Melting glass in a fire pit offers a mesmerizing journey of transformation and artistry, allowing you to shape vibrant hues and captivating forms with boundless creativity.
- Safety First: Prioritize safety measures when melting glass in a fire pit, from wearing protective gear to ensuring proper ventilation, creating a secure and nurturing environment for a captivating glass-melting experience.
Read more: How To Use Fire Glass In A Fire Pit
Understanding the Basics of Glass Melting
Before diving into the hands-on process of melting glass in a fire pit, it's essential to grasp the fundamental principles of glass melting. Glass, in its raw form, is a solid material composed of various minerals, such as silica, soda ash, and limestone. When exposed to high temperatures, it undergoes a fascinating transformation from a solid to a molten state, allowing for endless creative possibilities.
One of the key factors in glass melting is the concept of thermal expansion. As the temperature rises, the glass molecules become increasingly agitated, causing them to move more freely and eventually transition into a fluid, or viscous, state. This transition temperature, known as the glass's softening point, varies depending on the specific composition of the glass.
When melting glass in a fire pit, it's crucial to consider the type of glass being used. Not all glass is created equal, and different types exhibit unique melting characteristics. For instance, soda-lime glass, commonly found in bottles and jars, melts at a lower temperature compared to borosilicate glass, which is known for its durability and resistance to thermal shock.
Furthermore, understanding the behavior of molten glass is essential for achieving the desired results. Molten glass has a high viscosity, meaning it is thick and resistant to flow. This viscosity can be manipulated by adjusting the temperature, allowing for controlled shaping and manipulation of the molten glass.
As you venture into the art of glass melting, keep in mind that creativity knows no bounds. Experiment with different types of glass, explore various colorants and additives, and embrace the unpredictable nature of glass as it undergoes its mesmerizing transformation. With a solid understanding of the basics, you'll be well-prepared to embark on your glass-melting journey with confidence and curiosity.
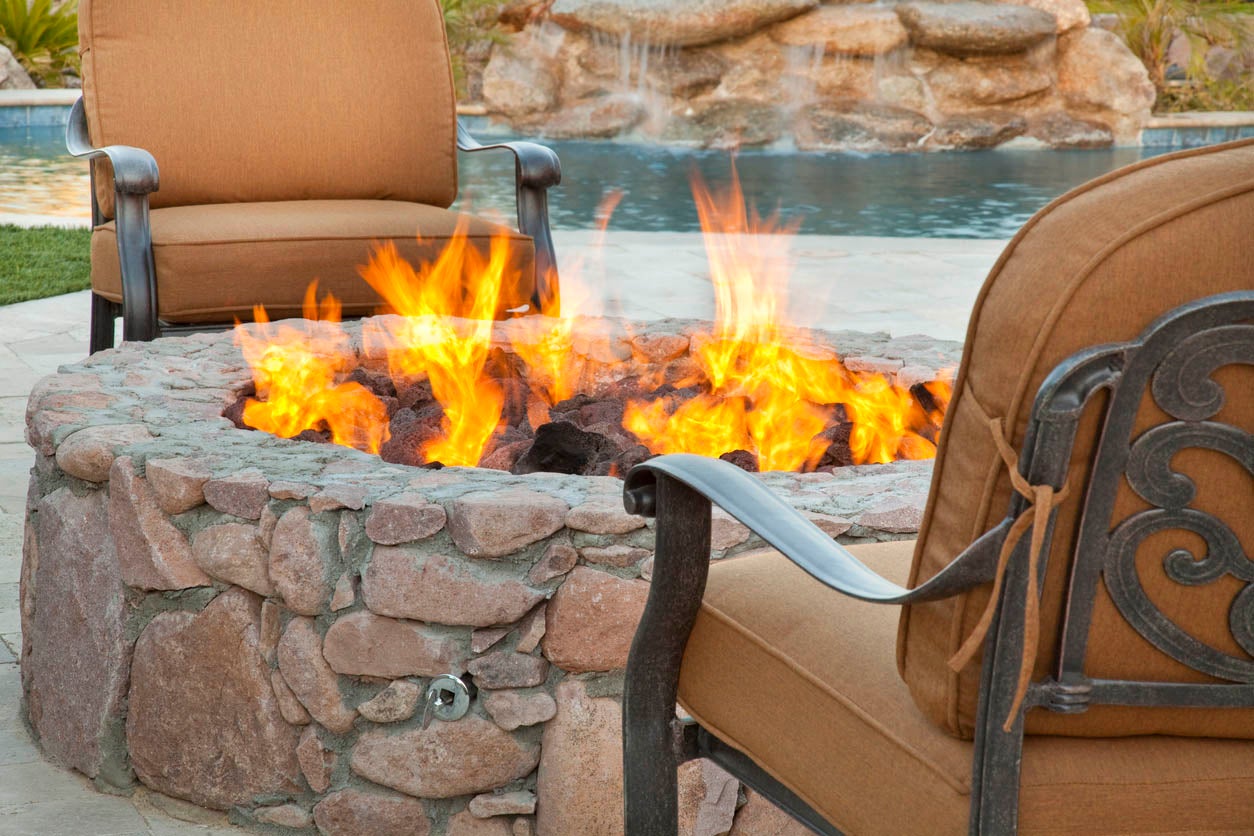
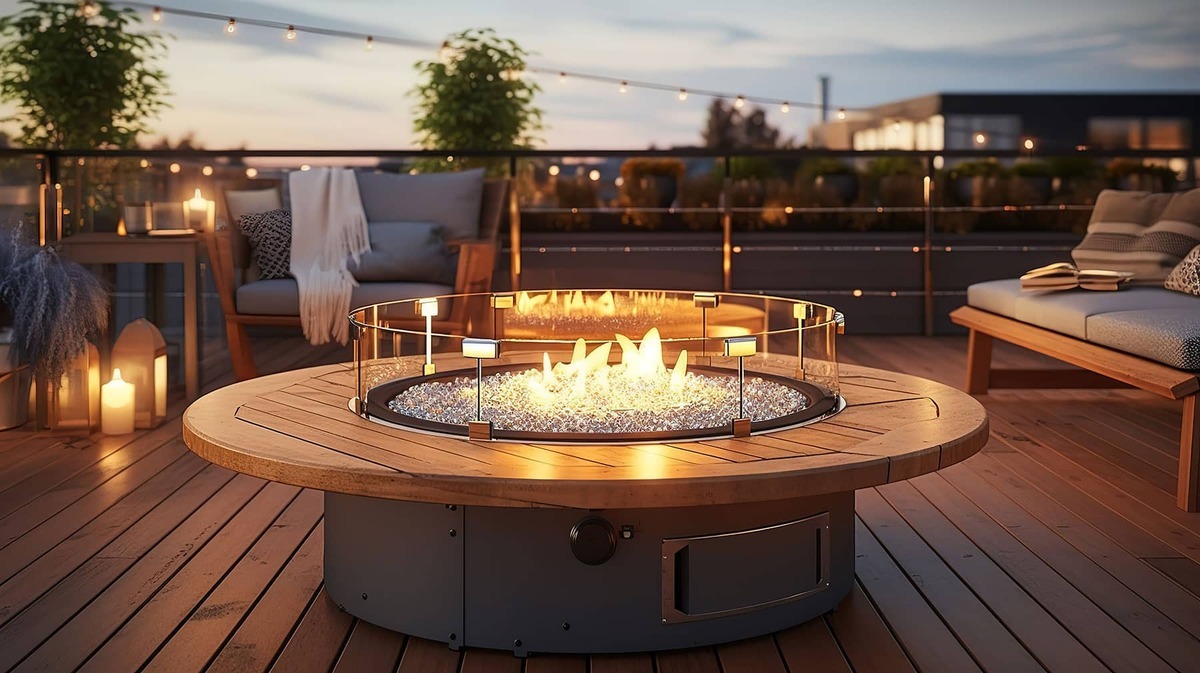
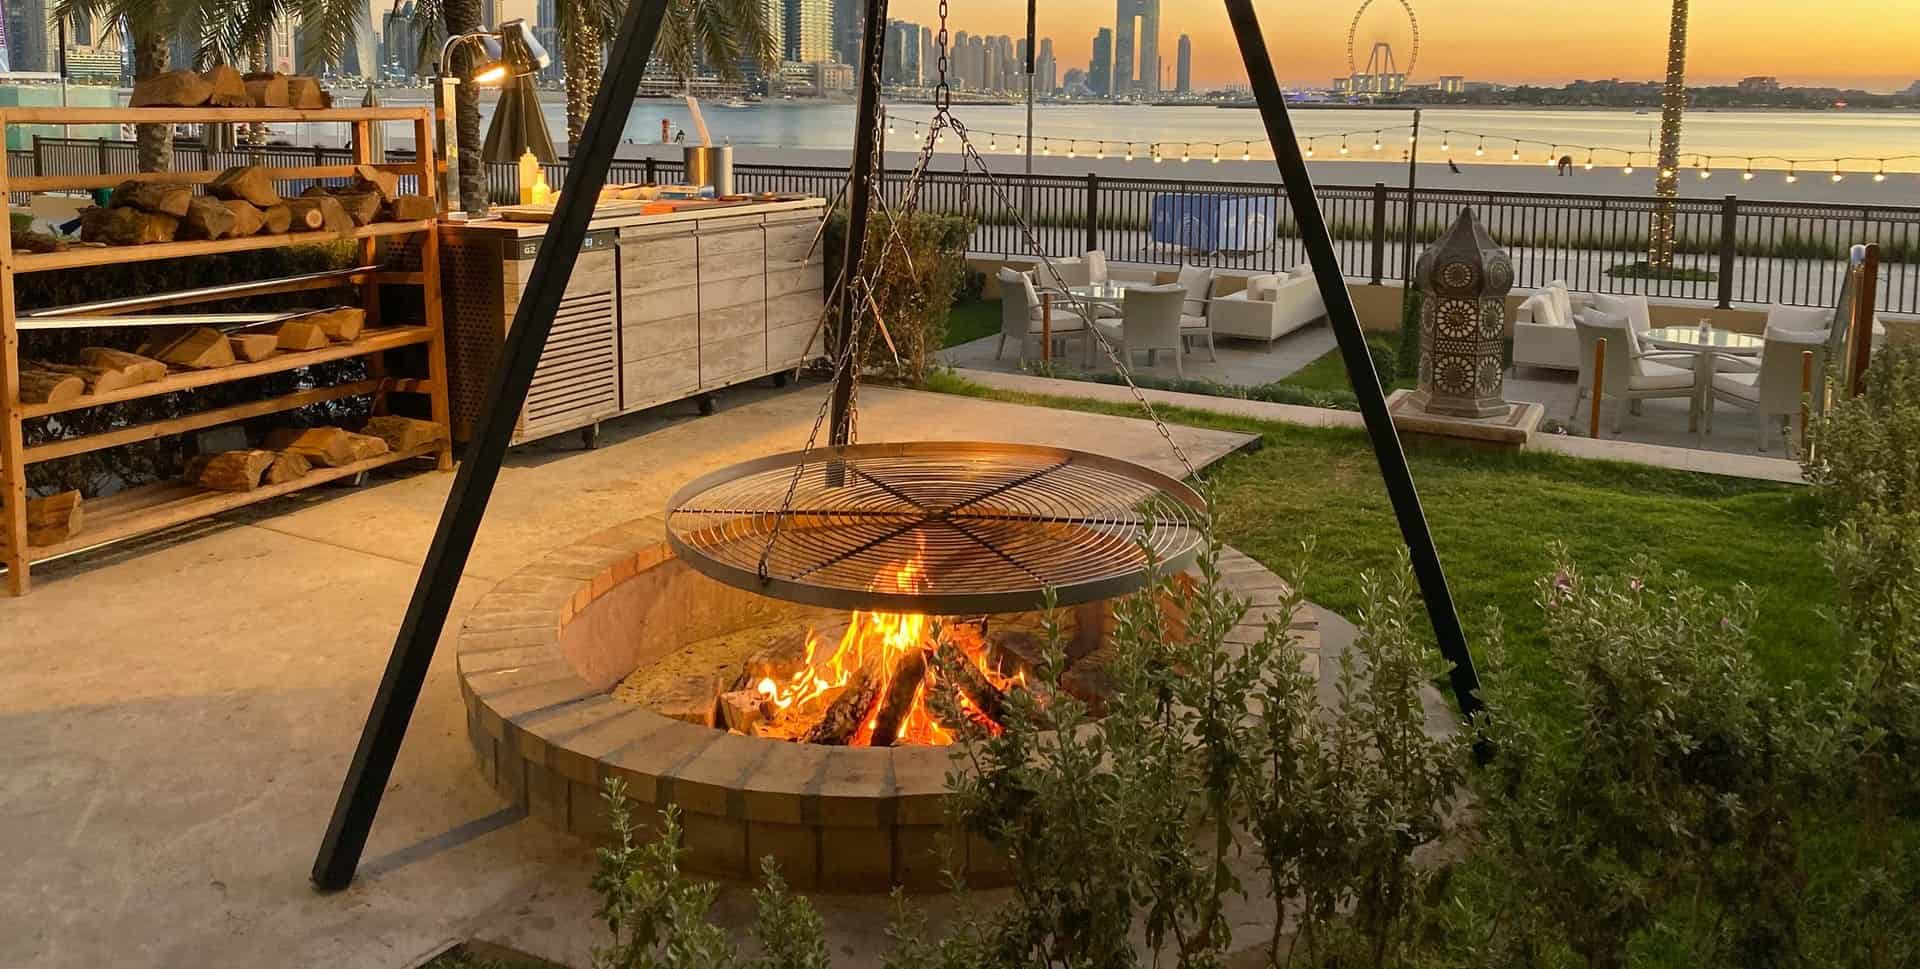
Choosing the Right Fire Pit
When it comes to melting glass outdoors, selecting the appropriate fire pit is crucial for ensuring a safe and efficient glass-melting experience. The ideal fire pit for glass melting should prioritize heat retention, stability, and accessibility. Here are some key considerations to keep in mind when choosing the right fire pit:
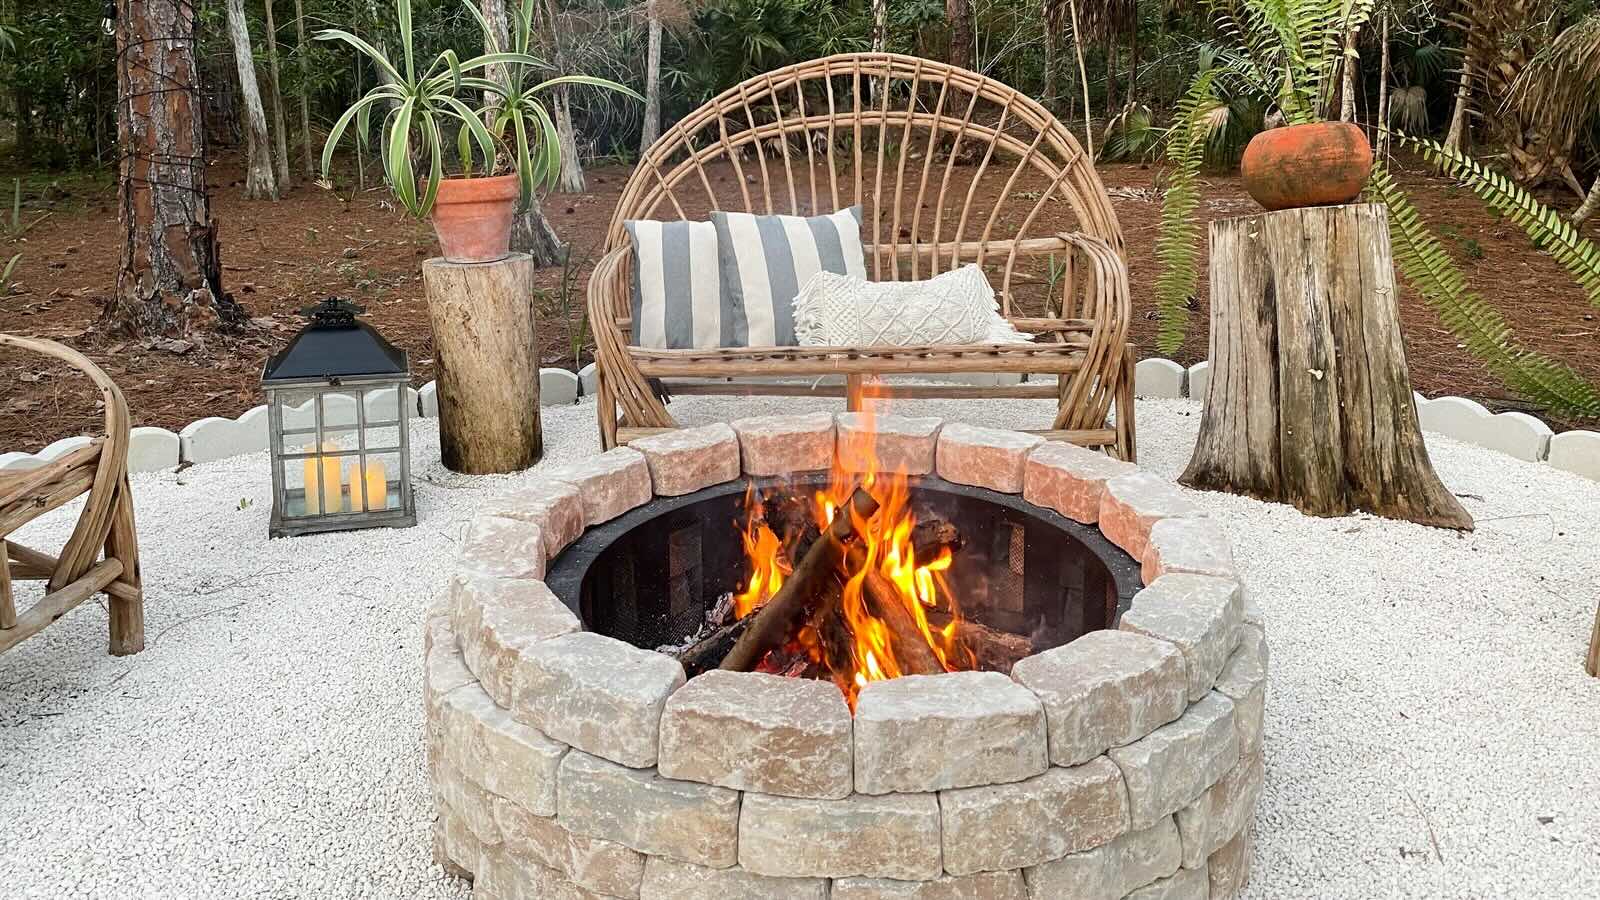
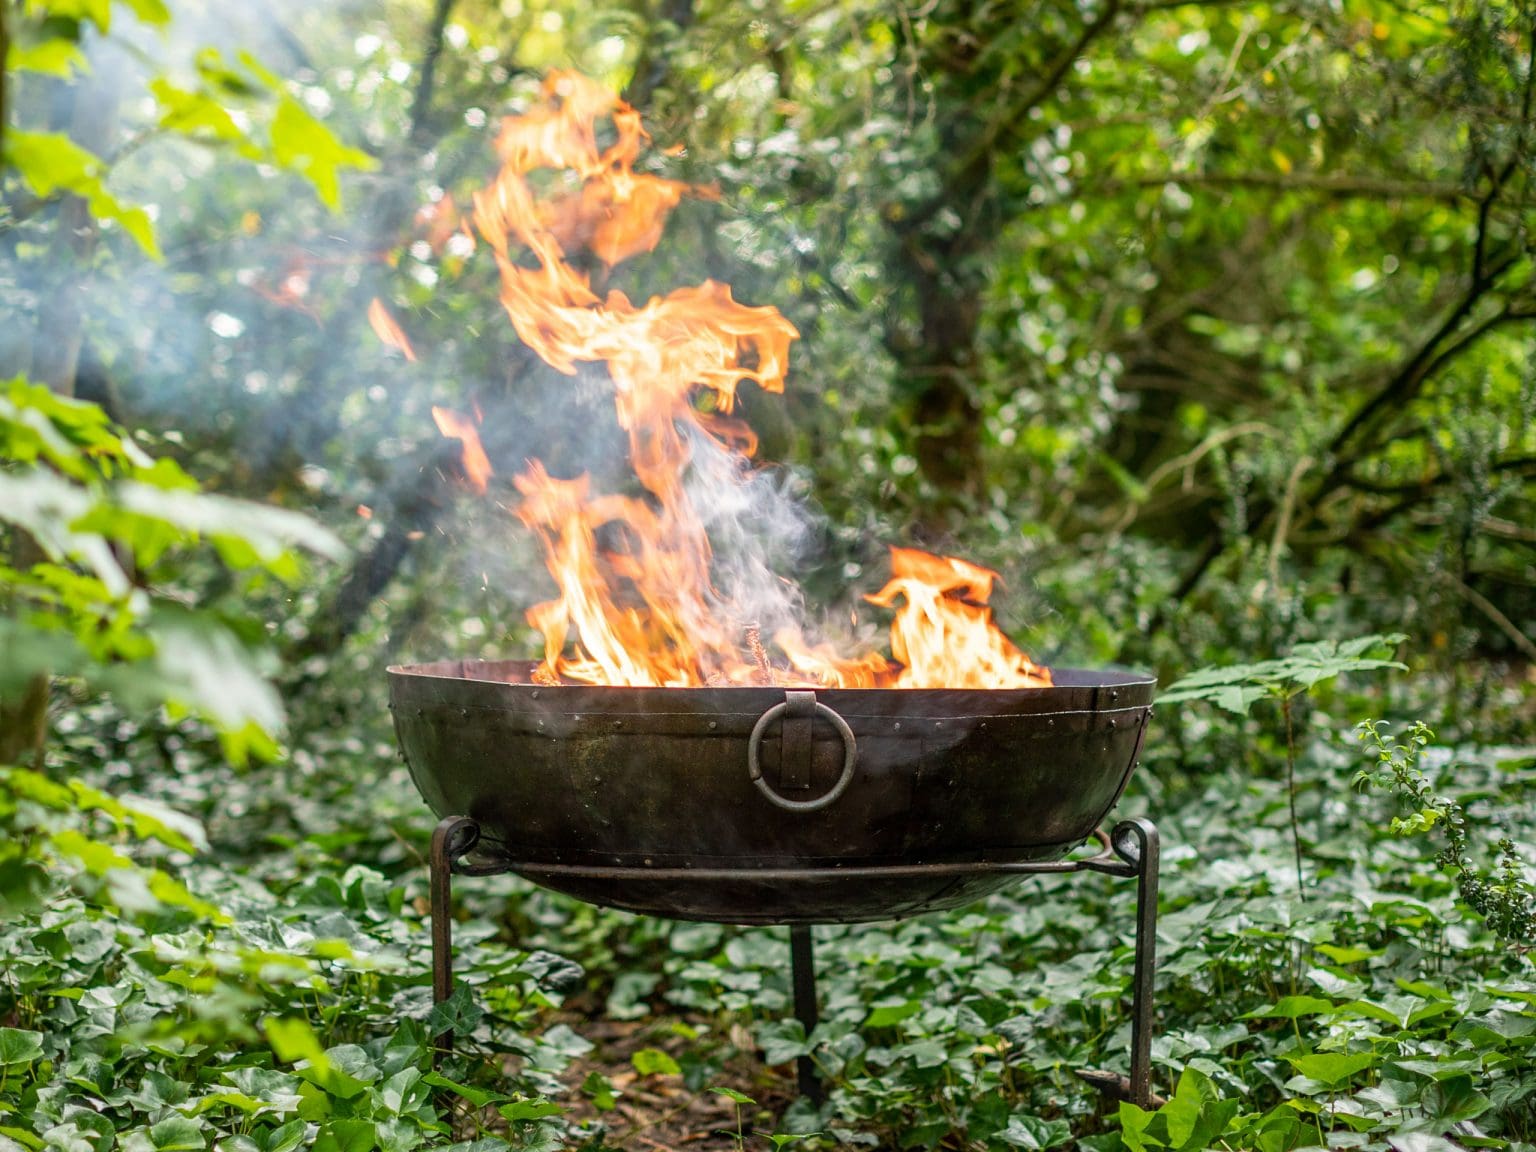
- Material: Opt for a fire pit made from durable, heat-resistant materials such as cast iron, steel, or fire-rated bricks. These materials can withstand high temperatures and provide the necessary insulation for efficient glass melting.
- Size and Depth: The size and depth of the fire pit are important factors to consider. A larger fire pit allows for a more generous workspace and accommodates a greater volume of glass. Additionally, a deeper fire pit provides better heat retention and minimizes the risk of glass spillage during the melting process.
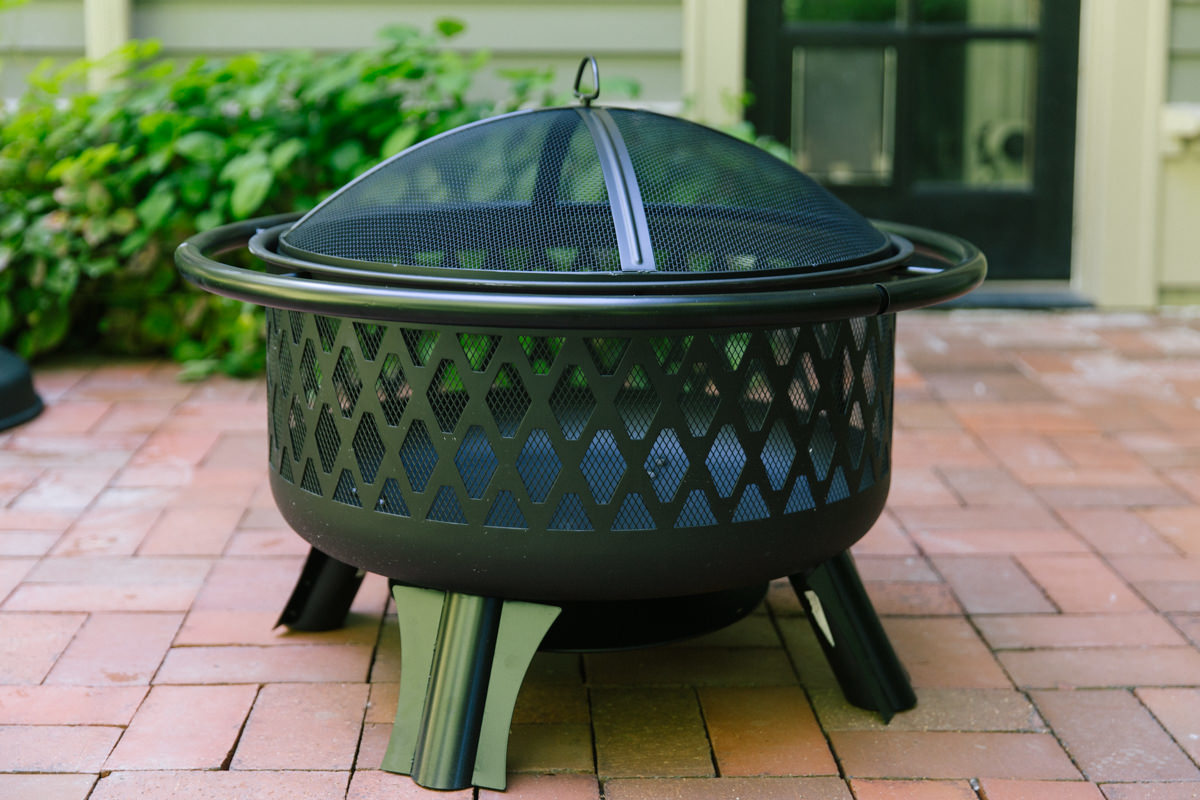
- Stability: Stability is paramount when working with molten glass. Ensure that the chosen fire pit is sturdy and level to prevent any accidental tipping or shifting during the glass-melting process.
- Airflow and Ventilation: Adequate airflow is essential for maintaining a consistent and controlled heat source. Look for fire pits with built-in ventilation or consider the placement of the fire pit in relation to natural airflow to optimize the melting process.
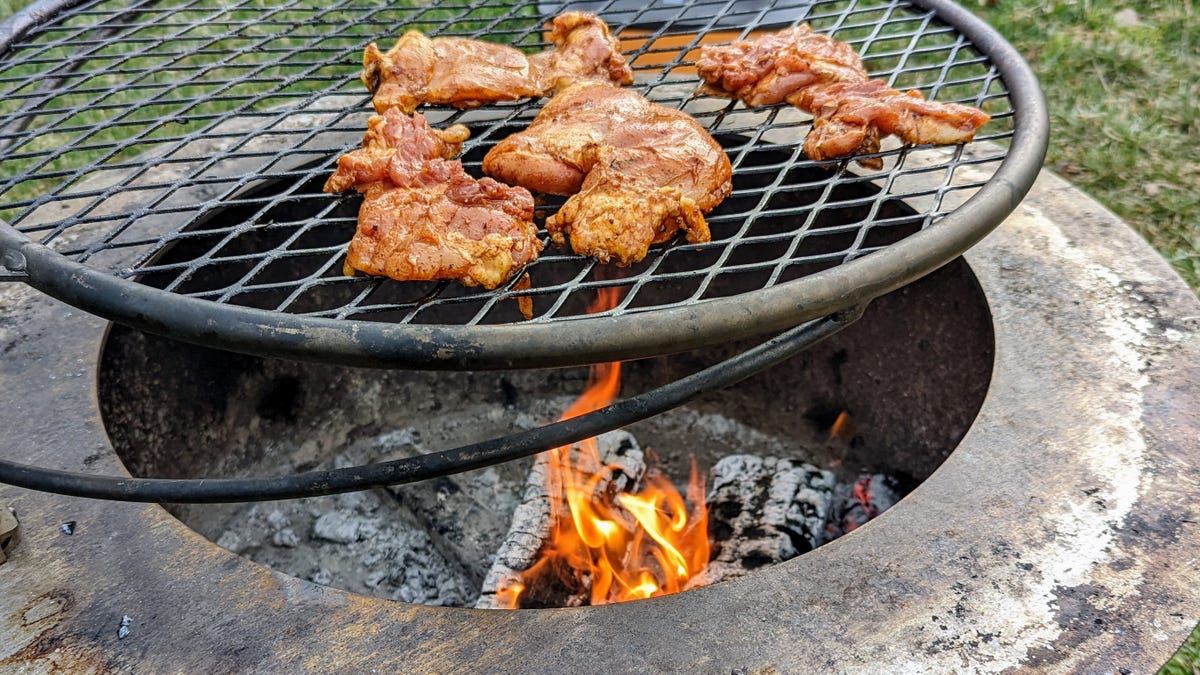
- Accessibility: Accessibility to the fire pit is key for managing the glass-melting process effectively. Choose a fire pit that allows for easy access to the molten glass, enabling you to manipulate and shape the glass as desired.
Additionally, consider the location and surroundings of the fire pit. Ensure that the chosen location is well-ventilated and away from any flammable materials or structures. Safety should always be a top priority when selecting a fire pit for glass melting.
By carefully considering these factors and selecting a fire pit that aligns with your specific glass-melting needs, you can create an optimal environment for exploring the art of glass melting while ensuring a safe and enjoyable experience.
Gathering Necessary Materials
Embarking on a glass-melting project requires careful preparation and the acquisition of essential materials to facilitate a smooth and successful process. From safety gear to specialized tools, assembling the necessary materials ensures that you can focus on the creative aspects of glass melting without any logistical hindrances. Here’s a comprehensive list of the materials you’ll need to gather before commencing your glass-melting endeavor:
- Safety Gear: Prioritize safety by equipping yourself with heat-resistant gloves, safety goggles, and a protective apron to shield against potential splatters and heat exposure.
- Fire Pit: As discussed earlier, select a suitable fire pit constructed from durable, heat-resistant materials, ensuring stability and optimal heat retention.
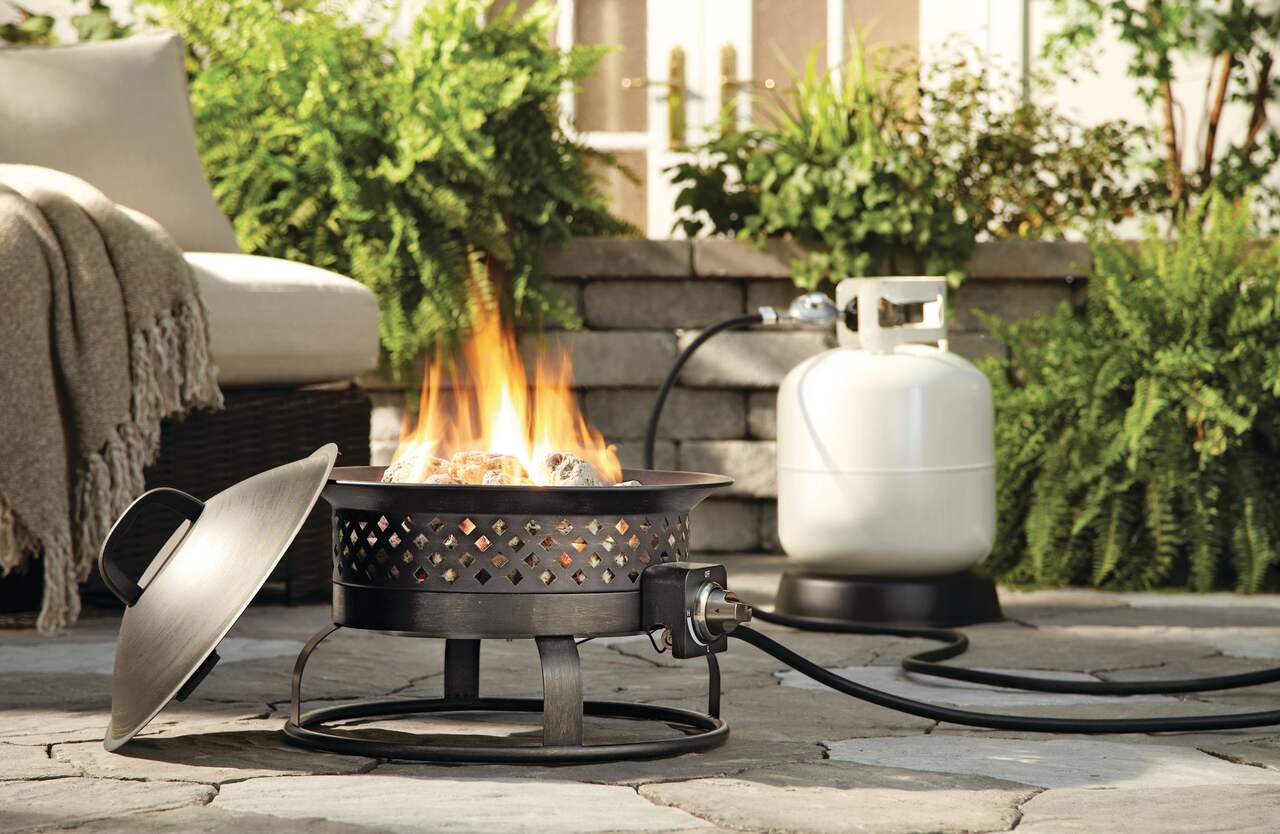
- Heat Source: Depending on the scale of your glass-melting project, consider the appropriate heat source, such as propane burners, natural gas burners, or charcoal, to generate the required high temperatures for melting glass.
- Glass: Choose the type of glass you intend to melt, whether it’s recycled glass, stained glass, or specific glass cullet designed for melting and shaping purposes.
- Molds and Tools: Prepare molds, shaping tools, and metal rods for manipulating the molten glass. This includes ladles, tweezers, graphite paddles, and any specialized tools for shaping and sculpting the glass.
- Colorants and Additives: If you desire to introduce color or specific characteristics to your melted glass, gather compatible colorants, frits, and other additives designed for use in glass melting.
- Crucible or Pot: Depending on the scale of your project, acquire a suitable crucible or pot capable of withstanding high temperatures and containing the molten glass within the fire pit.
- Work Surface: Prepare a heat-resistant work surface or table near the fire pit to facilitate the manipulation and shaping of the molten glass.
- Water and Fire Extinguisher: Have a water source and a fire extinguisher nearby for immediate access in case of emergencies or to facilitate the cooling of tools and equipment.
By gathering these essential materials in advance, you can streamline the glass-melting process and focus on the artistic and creative aspects of transforming solid glass into captivating, molten masterpieces.
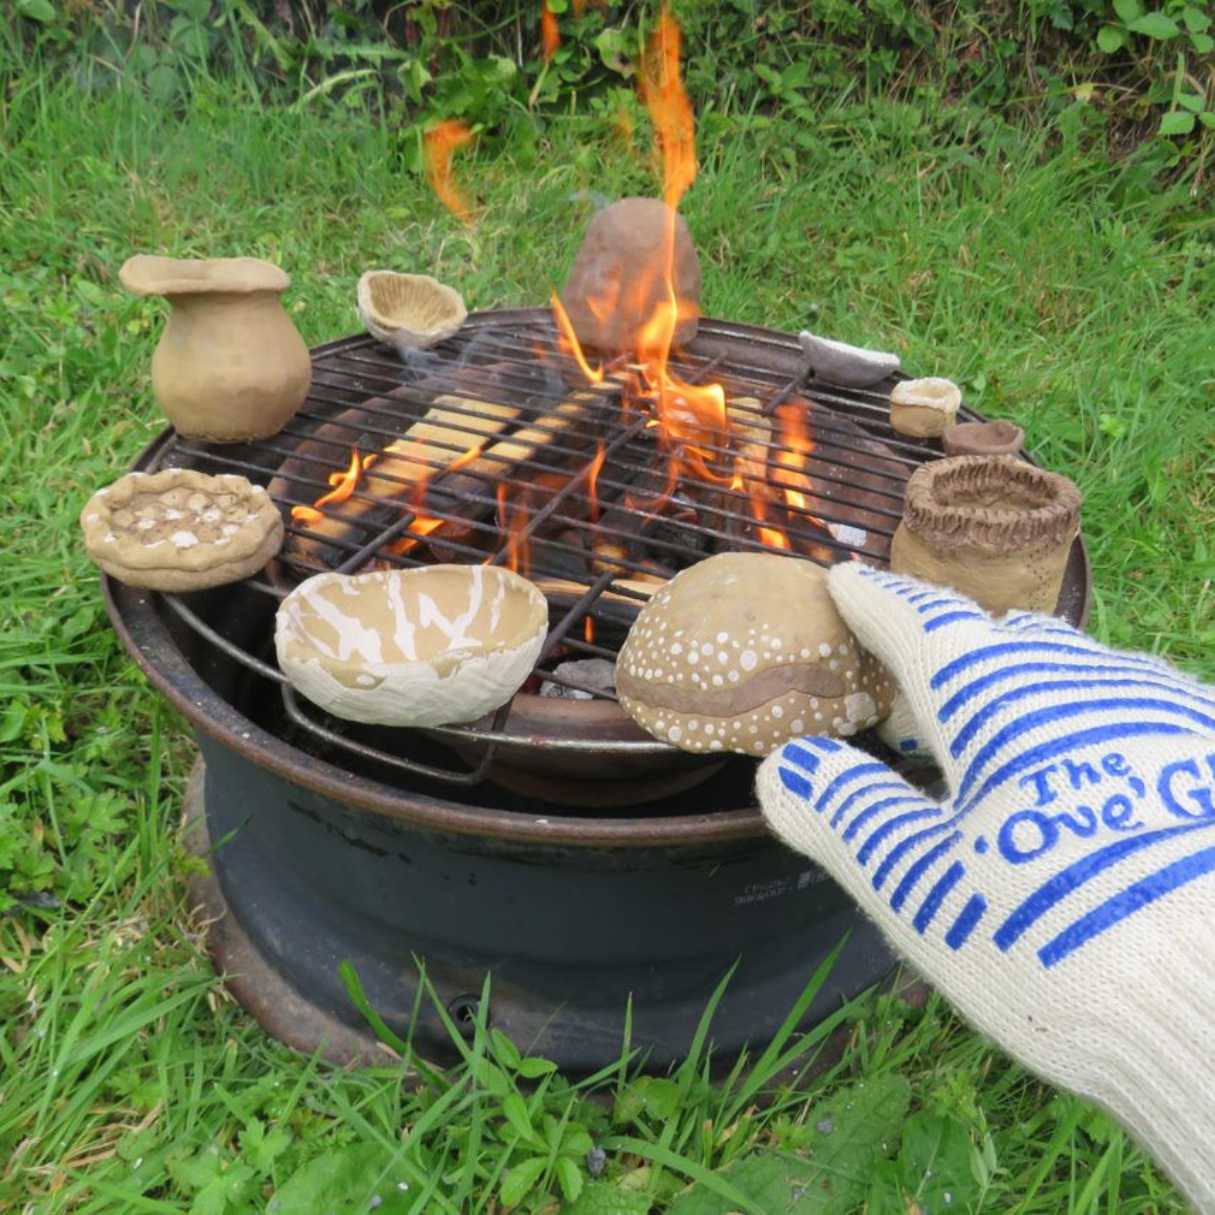
Always wear protective gear when working with fire and molten glass. Use a high-temperature resistant container to hold the glass while it melts in the fire pit. Keep a safe distance from the fire and never leave it unattended.
Preparing the Fire Pit
Before initiating the mesmerizing process of melting glass in a fire pit, it’s essential to prepare the fire pit meticulously to create an optimal environment for glass melting. Proper preparation not only ensures safety but also contributes to the efficient and controlled melting of the glass. Here are the essential steps to prepare the fire pit for the glass-melting process:
- Clean the Fire Pit: Start by thoroughly cleaning the fire pit to remove any debris, ash, or residual materials from previous use. A clean fire pit provides a pristine workspace and minimizes the risk of contamination during the glass-melting process.
- Positioning the Crucible: If using a crucible or pot to contain the glass, position it securely within the fire pit, ensuring stability and accessibility for adding the glass and manipulating the molten material.
- Layering the Fire Pit: Create a suitable layering system within the fire pit to optimize heat distribution and retention. Place a layer of refractory material or fire bricks at the base of the fire pit to provide insulation and support for the crucible.
- Arranging the Heat Source: Depending on the chosen heat source, arrange the burners or charcoal in a manner that ensures uniform heating of the crucible and surrounding area. Proper heat distribution is essential for achieving consistent and controlled glass melting.
- Establishing a Safe Zone: Define a safe zone around the fire pit, ensuring that the area is clear of any flammable materials, and establish a designated workspace for handling the glass and conducting the melting process.
- Testing the Setup: Before introducing the glass into the fire pit, perform a test run of the setup to assess the heat distribution, stability of the crucible, and overall functionality of the prepared environment.
Throughout the preparation process, prioritize safety measures by wearing appropriate safety gear, such as heat-resistant gloves and safety goggles, and ensuring the availability of a fire extinguisher and a water source for emergency use. By meticulously preparing the fire pit, you set the stage for a captivating and rewarding glass-melting experience, where creativity and craftsmanship converge in a mesmerizing display of transformation and artistry.
Read more: How To Place Glass Rocks In Propane Fire Pit
Melting the Glass
With the fire pit prepared and the necessary materials at hand, it’s time to embark on the captivating process of melting glass. This transformative stage requires a delicate balance of temperature control, creative expression, and precise manipulation. Follow these essential steps to melt glass in a fire pit:
- Preheating the Fire Pit: Ignite the heat source and allow the fire pit to preheat gradually. Achieving an optimal temperature is crucial for ensuring the efficient and uniform melting of the glass.
- Introducing the Glass: Carefully add the selected glass into the crucible or pot within the fire pit. Exercise caution to prevent any sudden temperature differentials that may cause thermal shock to the glass.
- Observing the Melting Process: As the glass begins to heat up, observe the gradual transformation from solid to molten state. The glass will exhibit a radiant glow and flow like honey as it reaches its softening point.
- Controlling the Temperature: Maintain a consistent heat source and monitor the temperature to ensure that the glass remains in a molten state. Adjust the heat source as needed to sustain the desired viscosity for shaping and manipulation.
- Shaping and Manipulating the Glass: Once the glass reaches the desired molten state, use specialized tools such as ladles, tweezers, and graphite paddles to shape and manipulate the glass according to your creative vision. Embrace the fluidity of the molten glass as you sculpt and refine its form.
- Cooling and Annealing: After completing the shaping and manipulation, carefully remove the glass from the heat source and allow it to cool gradually. Proper annealing, or controlled cooling, is essential for relieving internal stresses and enhancing the structural integrity of the glass.
Throughout the glass-melting process, maintain a keen focus on safety by wearing heat-resistant gloves, safety goggles, and a protective apron. Be mindful of the intense heat and the fluid nature of the molten glass, and handle the materials and tools with care and precision.
As you immerse yourself in the art of melting glass, embrace the dynamic interplay of heat, creativity, and craftsmanship. Each moment of the melting process offers an opportunity to witness the captivating transformation of solid glass into a fluid, molten medium, ready to be shaped into unique and expressive forms.
Safety Precautions
When engaging in the captivating art of melting glass in a fire pit, prioritizing safety measures is paramount to ensure a secure and enjoyable glass-melting experience. The intense heat, molten glass, and the dynamic nature of the process necessitate careful attention to safety protocols. Here are vital safety precautions to observe throughout the glass-melting endeavor:
- Protective Gear: Wear heat-resistant gloves, safety goggles, and a durable apron to shield against heat, splatters, and potential contact with molten glass. Proper attire is essential for safeguarding against burns and injuries.
- Fire Safety: Position the fire pit in a well-ventilated area away from flammable materials and structures. Have a fire extinguisher nearby and familiarize yourself with its operation in case of emergencies.
- Heat Management: Exercise caution when working with the heat source and the fire pit. Avoid sudden movements that may disturb the heat source or cause accidental contact with hot surfaces.
- Handling Molten Glass: Approach the molten glass with care and attentiveness. Be mindful of its high temperature and fluid nature, and use specialized tools for shaping and manipulation to minimize the risk of burns or splatters.
- Proper Ventilation: Ensure adequate airflow around the fire pit to prevent the accumulation of fumes and to maintain a comfortable working environment. Proper ventilation contributes to a safer and more controlled glass-melting process.
- First Aid Preparedness: Have a first aid kit readily available in the vicinity of the fire pit. Familiarize yourself with basic first aid procedures and be prepared to address minor injuries or burns promptly.
- Cooling and Annealing: After shaping the molten glass, allow it to cool gradually in a designated annealing area. Avoid sudden temperature differentials that may compromise the structural integrity of the glass.
By adhering to these safety precautions and maintaining a vigilant focus on safety throughout the glass-melting process, you can cultivate a secure and nurturing environment for exploring the artistry of glass melting. Embrace the transformative power of the process while prioritizing the well-being and safety of all individuals involved.
Conclusion
As we conclude this exploration into the captivating art of melting glass in a fire pit, we’ve embarked on a journey that intertwines science, creativity, and craftsmanship in a mesmerizing display of transformation. From understanding the fundamental principles of glass melting to preparing the fire pit, gathering materials, and embracing safety precautions, we’ve delved into the multifaceted world of glass melting with a spirit of curiosity and reverence.
Through the deliberate fusion of heat and artistry, the process of melting glass in a fire pit offers a gateway to boundless creativity and expression. Each moment of the melting process unfolds as a symphony of fluidity and form, where solid glass surrenders to the dance of heat, yielding to the touch of skilled hands and the vision of inspired minds.
As you venture into the realm of glass melting, whether as a seasoned artisan or an intrepid explorer, remember that the journey is as enriching as the destination. Embrace the unpredictability of the molten medium, and allow its fluid nature to guide your hands and kindle your imagination. The art of glass melting beckons you to weave your narrative into the molten canvas, shaping vibrant hues and captivating forms that bear the essence of your creativity.
With a steadfast commitment to safety, a reverence for the transformative power of heat, and an unwavering spirit of exploration, you are poised to unlock the potential of glass melting as a source of inspiration, innovation, and sheer delight. Let the fire pit become your crucible of creation, where the alchemy of heat and glass yields treasures of unparalleled beauty and allure.
As you embark on your glass-melting odyssey, may the dance of heat and glass ignite your passion, and may the resulting creations reflect the depth of your vision and the fervor of your spirit. Embrace the art of melting glass in a fire pit as a celebration of ingenuity and a testament to the enduring allure of artistic expression.
Frequently Asked Questions about How To Melt Glass In A Fire Pit
Was this page helpful?
At Storables.com, we guarantee accurate and reliable information. Our content, validated by Expert Board Contributors, is crafted following stringent Editorial Policies. We're committed to providing you with well-researched, expert-backed insights for all your informational needs.

0 thoughts on “How To Melt Glass In A Fire Pit”