Home>Construction & Tools>Building Materials>How To Install Fire Brick In A Wood Stove
Building Materials
How To Install Fire Brick In A Wood Stove
Modified: August 28, 2024
Learn how to properly install fire brick in your wood stove with the right building materials. Ensure a safe and efficient heating experience.
(Many of the links in this article redirect to a specific reviewed product. Your purchase of these products through affiliate links helps to generate commission for Storables.com, at no extra cost. Learn more)
Introduction
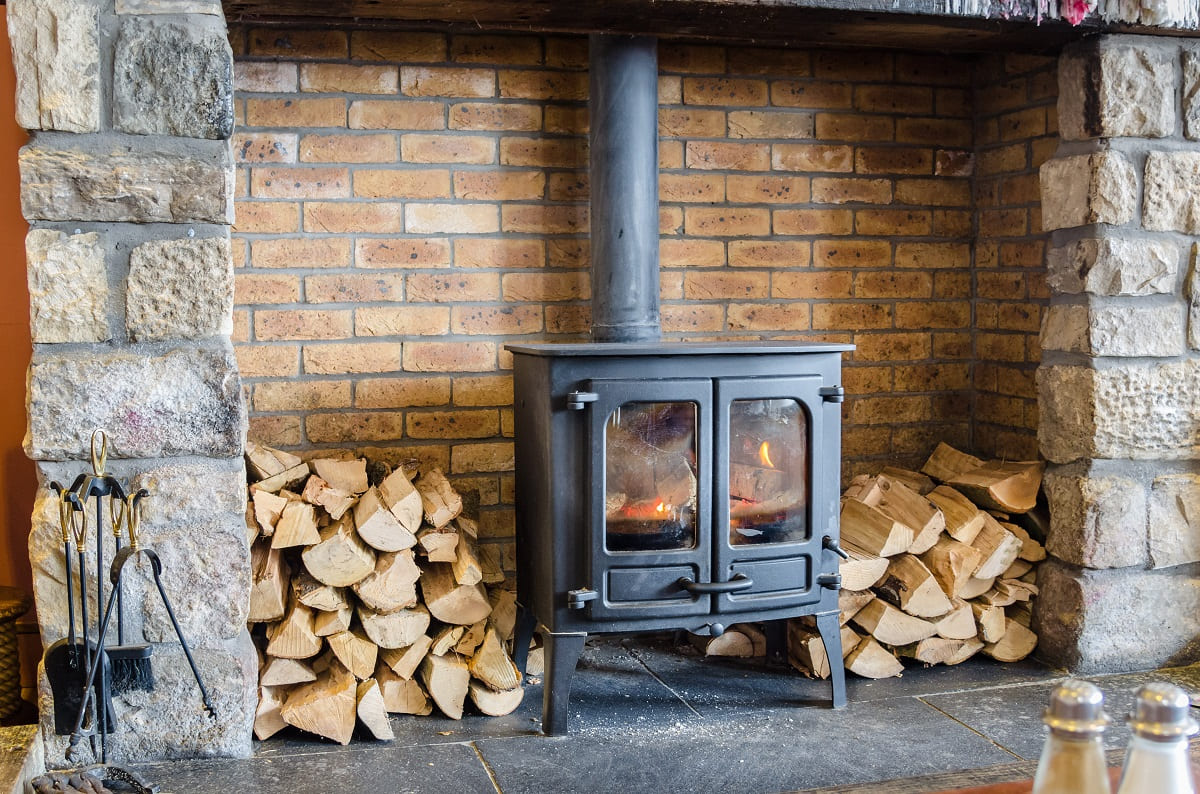
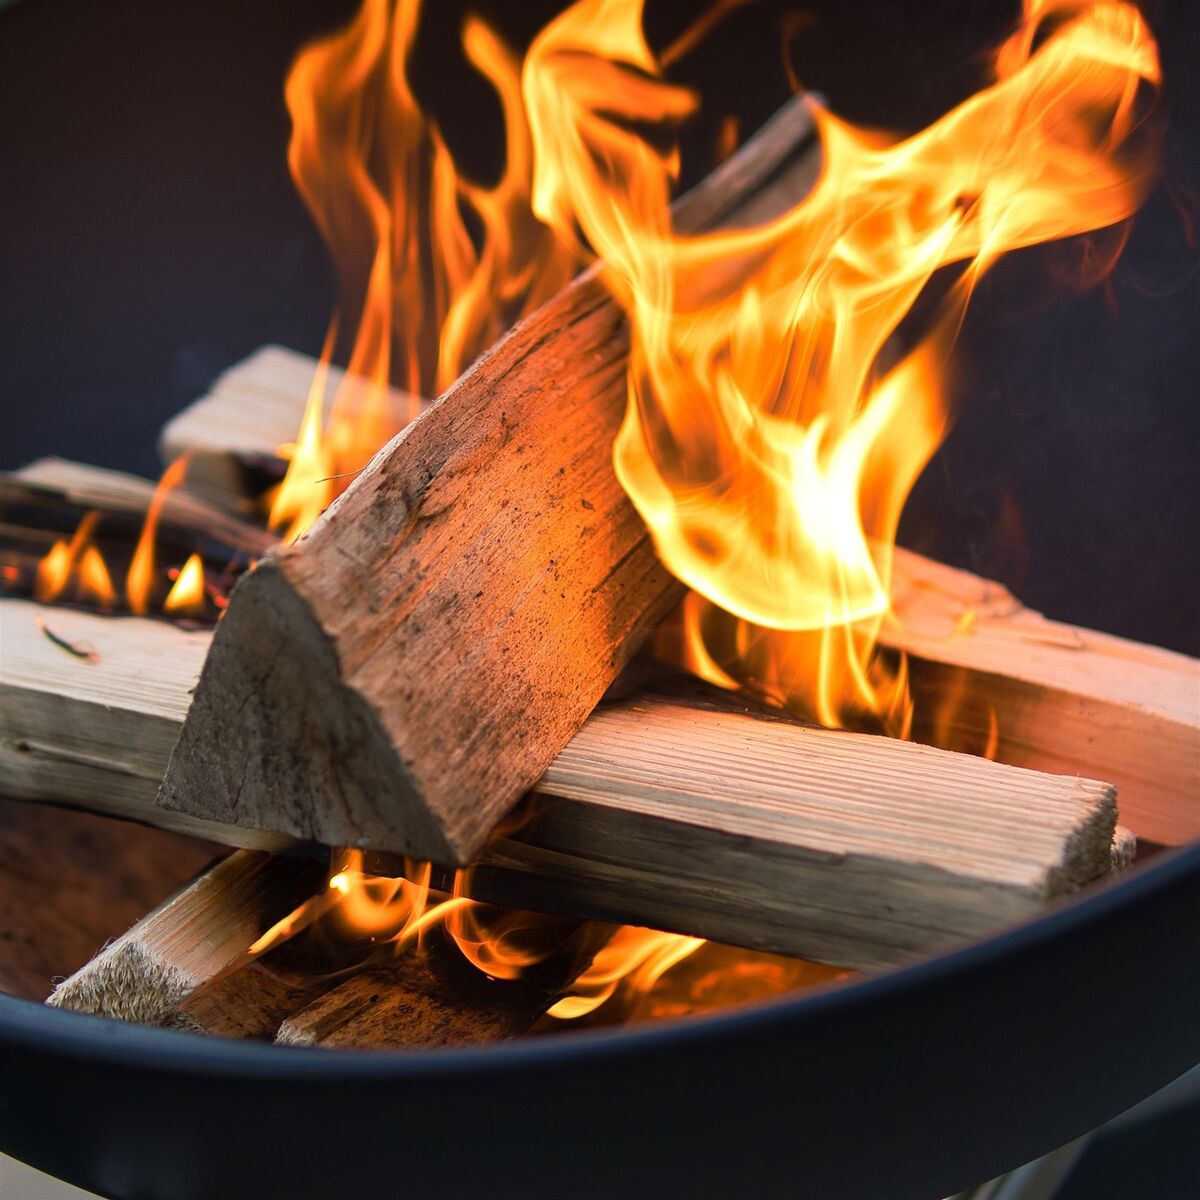
When it comes to heating your home with a wood stove, ensuring its efficiency and safety is paramount. One essential component of a wood stove is the fire bricks, also known as refractory bricks, which line the inside of the stove to protect the metal from extreme heat and improve the stove's overall performance. Installing fire bricks in a wood stove is a practical and rewarding DIY project that can enhance the stove's longevity and heat-retention capabilities.
In this comprehensive guide, we will walk you through the process of installing fire bricks in your wood stove, providing step-by-step instructions and valuable insights to help you complete the task with confidence. Whether you are a seasoned DIY enthusiast or a novice looking to embark on your first wood stove project, this article will equip you with the knowledge and skills needed to execute the installation effectively.
So, grab your tools and let's dive into the world of fire bricks and wood stove maintenance!
Key Takeaways:
- Protect your wood stove and improve its performance by installing fire bricks. With the right tools and careful placement, you can enhance heat retention and ensure a cozy home.
- After installing fire bricks, add high-temperature sealant for extra protection. Regular maintenance will keep your wood stove efficient and reliable for years to come.
Tools and Materials Needed
Before you begin the installation process, it’s crucial to gather all the necessary tools and materials. Here’s a list of items you’ll need to ensure a smooth and efficient installation:
Tools:
- Measuring tape
- Angle grinder with masonry-cutting blade
- Wire brush
- Masonry trowel
- Level
- Protective gloves and goggles
Materials:
- Fire bricks (make sure to measure the dimensions of your stove to determine the quantity needed)
- Refractory mortar
- High-temperature silicone sealant
- Clean rags
Having these tools and materials on hand will streamline the installation process and ensure that you are well-prepared for each step. Safety should always be a priority, so don’t forget to use protective gear when handling the tools and materials.
Preparing the Wood Stove
Before diving into the installation of fire bricks, it’s essential to prepare the wood stove to ensure a clean and stable working environment. Follow these steps to get your wood stove ready for the installation process:
- Clean the Interior: Start by thoroughly cleaning the interior of the wood stove. Remove any ash, soot, or debris that may have accumulated. Use a wire brush to scrub away stubborn build-up, ensuring that the surface is clean and free from any obstructions.
- Inspect the Existing Bricks: If your wood stove already has fire bricks in place, inspect them for any signs of damage or wear. Cracks or deterioration in the existing bricks may require replacement before proceeding with the new installation.
- Measure and Plan: Take precise measurements of the interior dimensions of the wood stove. This will help you determine the exact quantity of fire bricks needed and plan the layout for the installation. Accuracy in measurement is crucial for a seamless fit.
- Prepare the Mortar: If you are using dry refractory mortar, follow the manufacturer’s instructions to prepare the mortar mixture. Ensure that the consistency is suitable for easy application and provides a strong bond with the fire bricks.
By diligently preparing the wood stove and taking the time to assess the existing condition, you set the stage for a successful fire brick installation. A clean and well-measured workspace will contribute to a professional and durable outcome.
Read more: How To Mount Wood To Brick
Installing the Fire Bricks
Now that the wood stove is prepped and ready, it’s time to embark on the installation of the fire bricks. Follow these step-by-step guidelines to ensure a precise and secure placement of the bricks:
- Begin with the Base: Place a thin layer of refractory mortar on the bottom of the wood stove. This will serve as the base for the fire bricks, providing a stable foundation for the installation.
- Position the First Brick: Carefully lay the first fire brick onto the mortar, pressing it firmly into place. Use a level to ensure that the brick is perfectly aligned and sits flat against the stove’s interior surface.
- Continue Layering: Apply a thin coat of mortar on the sides of the brick and position the next brick snugly beside it. Repeat this process, ensuring that each brick is tightly fitted and the joints are filled with mortar to create a solid, interlocking structure.
- Cut Bricks as Needed: Use an angle grinder with a masonry-cutting blade to trim the fire bricks to fit around any curves or irregularities within the wood stove. Precision in cutting will contribute to a seamless and professional finish.
- Check for Alignment: Periodically use a level to check the alignment and ensure that the bricks are uniformly positioned. Making adjustments as you progress will result in a visually appealing and structurally sound installation.
- Secure the Corners: Pay special attention to the corners and edges, applying mortar to reinforce these critical areas. Properly securing the corners will enhance the overall integrity of the fire brick lining.
As you proceed through each step, take your time to guarantee the accuracy and stability of the fire brick arrangement. The meticulous placement of the bricks and the use of high-quality refractory mortar are essential for creating a durable and efficient wood stove interior.
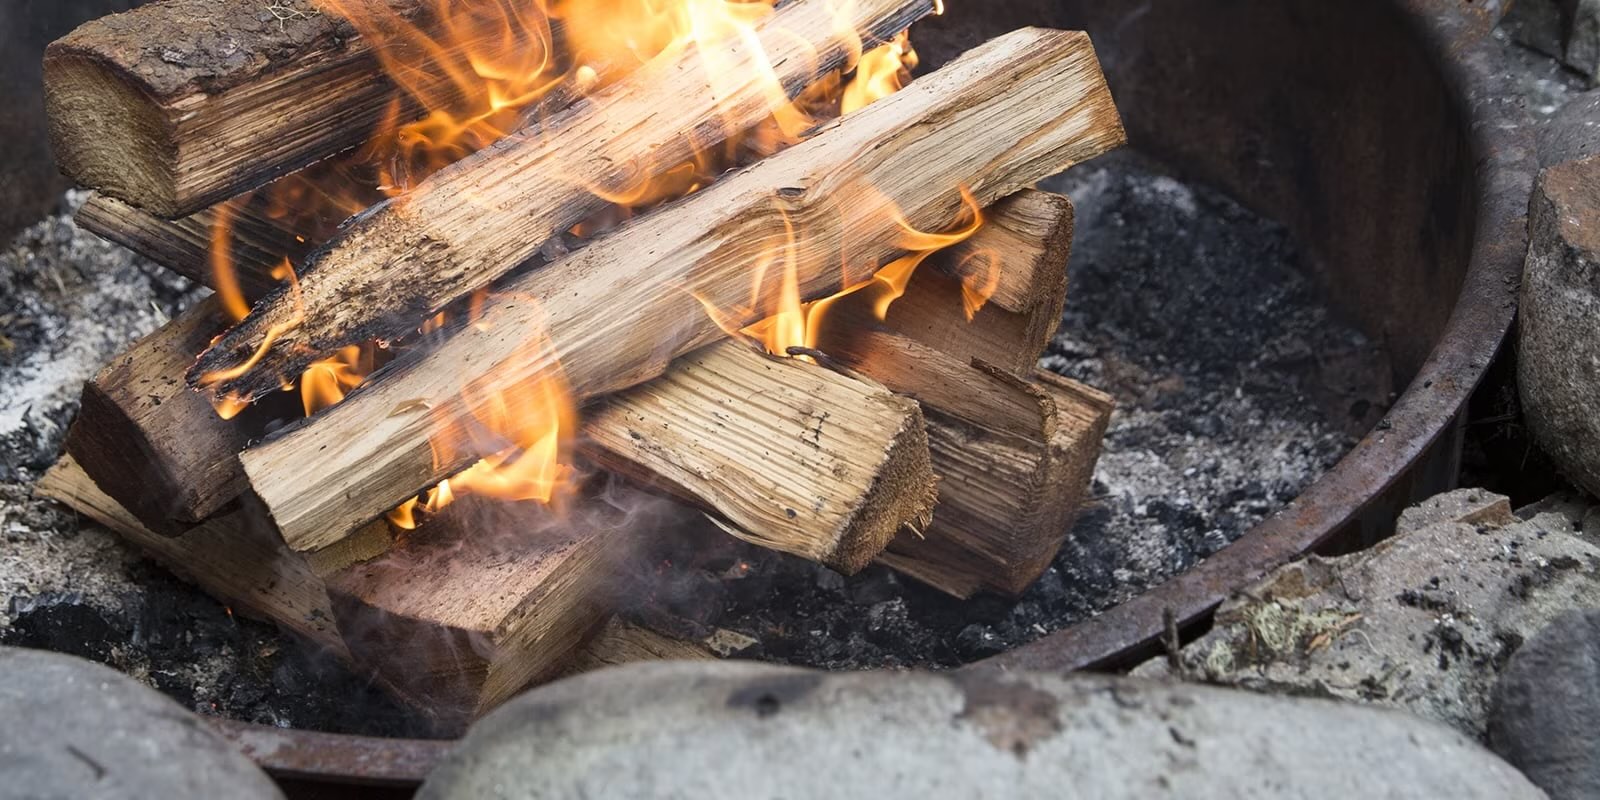
When installing fire brick in a wood stove, make sure to use high-temperature mortar to hold the bricks in place. Lay the bricks tightly together to create a solid, heat-resistant barrier.
Finishing Touches
With the fire bricks securely installed, it’s time to add the finishing touches to complete the wood stove renovation. Paying attention to the details will not only enhance the aesthetic appeal but also contribute to the overall functionality and longevity of the stove. Here are the essential steps for the finishing touches:
- Inspect and Clean: Thoroughly inspect the installed fire bricks, ensuring that all joints are filled with refractory mortar and the bricks are securely in place. Use a clean rag to wipe away any excess mortar or debris that may have accumulated during the installation process.
- Apply High-Temperature Sealant: To further reinforce the fire brick lining and prevent potential heat escape, apply high-temperature silicone sealant to the joints between the bricks. This additional layer of protection will help create a more airtight and efficient wood stove.
- Cure the Installation: Allow the refractory mortar and sealant to cure according to the manufacturer’s recommendations. This curing process is crucial for ensuring the strength and durability of the fire brick installation.
- Reassemble the Wood Stove: Once the mortar and sealant have properly cured, reassemble any components of the wood stove that were removed during the installation process. Ensure that everything is securely in place and ready for use.
- Test the Stove: Before putting the wood stove back into regular operation, perform a test burn to ensure that the fire brick lining functions as intended. Monitor the stove for any signs of heat escape or unusual behavior, making adjustments if necessary.
By attending to these finishing touches, you not only complete the installation process but also contribute to the overall safety and efficiency of your wood stove. A well-maintained and properly lined stove will provide reliable heat and comfort for years to come.
Conclusion
Installing fire bricks in a wood stove is a rewarding endeavor that enhances both the performance and longevity of the appliance. By following the step-by-step instructions outlined in this guide, you have acquired the knowledge and skills needed to execute this essential maintenance task with confidence.
From preparing the wood stove and meticulously placing the fire bricks to adding the finishing touches, each stage of the installation process contributes to the overall safety and efficiency of the stove. The careful selection of tools and materials, combined with precise measurements and attention to detail, ensures a professional and durable outcome.
As you bask in the warmth of your newly renovated wood stove, take pride in knowing that you have contributed to the preservation of a vital source of heat and comfort in your home. The fire bricks, now snugly in place, will protect the stove’s interior and optimize its heating capabilities, allowing you to enjoy cozy moments with peace of mind.
Remember, regular maintenance and inspection of the fire bricks are essential to uphold the stove’s performance. By staying proactive in caring for your wood stove, you can relish its warmth and reliability for years to come.
So, as you savor the radiant heat emanating from your freshly lined wood stove, take a moment to appreciate the craftsmanship and dedication that went into this DIY project. Your home is now adorned with a sturdy and efficient wood stove, ready to provide comfort during chilly days and nights.
With the knowledge gained from this guide, you are well-equipped to tackle future wood stove maintenance tasks and ensure that your heating source remains a steadfast companion throughout the seasons.
Now that you've mastered installing fire brick in your wood stove, keeping your environment safe and efficient doesn't end here. Proper care extends to all heat sources in your home, including gas fireplaces. Our next guide offers essential fireplace maintenance tips to ensure your gas fireplace operates safely and smoothly. Don't miss out on these critical insights to maintain your cozy hearth for years to come.
Frequently Asked Questions about How To Install Fire Brick In A Wood Stove
Was this page helpful?
At Storables.com, we guarantee accurate and reliable information. Our content, validated by Expert Board Contributors, is crafted following stringent Editorial Policies. We're committed to providing you with well-researched, expert-backed insights for all your informational needs.


0 thoughts on “How To Install Fire Brick In A Wood Stove”