Articles
How To Install A No Dig Fence
Modified: October 22, 2024
Learn how to install a no dig fence with our informative articles. Step-by-step instructions and expert tips to make your fence installation a breeze.
(Many of the links in this article redirect to a specific reviewed product. Your purchase of these products through affiliate links helps to generate commission for Storables.com, at no extra cost. Learn more)
Introduction
Installing a no dig fence can be a great way to add privacy and security to your property without the hassle of digging post holes and pouring concrete. This innovative fencing solution allows you to create a sturdy and attractive fence by simply driving fence posts into the ground with a post driver and attaching fence panels.
Whether you’re a seasoned DIY enthusiast or a beginner, this guide will walk you through the step-by-step process of installing a no dig fence. By following these instructions and using the right tools and materials, you can have a beautiful fence up in no time.
Before we dive into the installation process, let’s take a moment to understand what a no dig fence is and why it might be the right choice for your property.
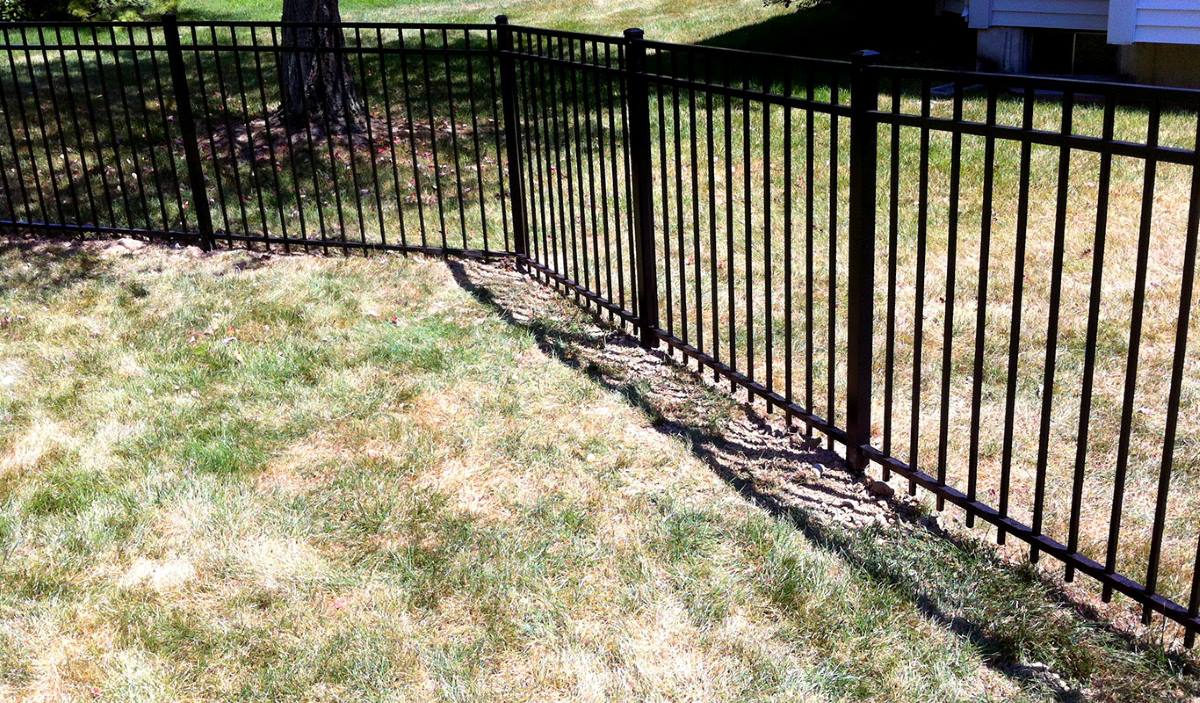
A no dig fence, also known as a no post hole fence or a ground anchor fence, is a type of fencing system that eliminates the need for traditional digging and concrete work. Instead of digging post holes and setting the fence posts in concrete, the fence panels are attached to metal posts that are driven into the ground with the help of a post driver. This makes the installation process quicker, easier, and less labor-intensive compared to traditional fence installation methods.
There are several benefits to installing a no dig fence. First and foremost, it saves you time and effort. With no digging or concrete work required, you can have your fence up in a fraction of the time it would take to install a traditional fence. Additionally, a no dig fence is more flexible and portable. The metal posts can be easily removed and repositioned if needed, making it a great option if you’re looking for a temporary or movable fencing solution. Lastly, a no dig fence offers a clean and professional look with no visible hardware or unsightly concrete.
Now that you have a better understanding of what a no dig fence is and the benefits it offers, let’s get started with the step-by-step installation process.
Key Takeaways:
- No dig fences offer a time-saving, flexible, and professional-looking alternative to traditional fencing. With easy installation and no concrete work required, they provide privacy and security with minimal effort.
- Proper planning, accurate marking, and attention to detail are essential for a successful no dig fence installation. From gathering materials to adding finishing touches, each step contributes to a sturdy and visually appealing fence.
Read more: How Deep To Dig For Fence Post
Step 1: Gather Necessary Materials
Before you begin the installation process, it’s important to gather all the necessary materials and tools. Having everything on hand will ensure a smooth and efficient installation process. Here are the materials and tools you’ll need:
- Measurements and layout plan: Start by measuring the area where you want to install the fence. This will help you determine the number of fence panels and posts you’ll need. Create a layout plan to map out the fence line and mark the exact locations for the fence posts.
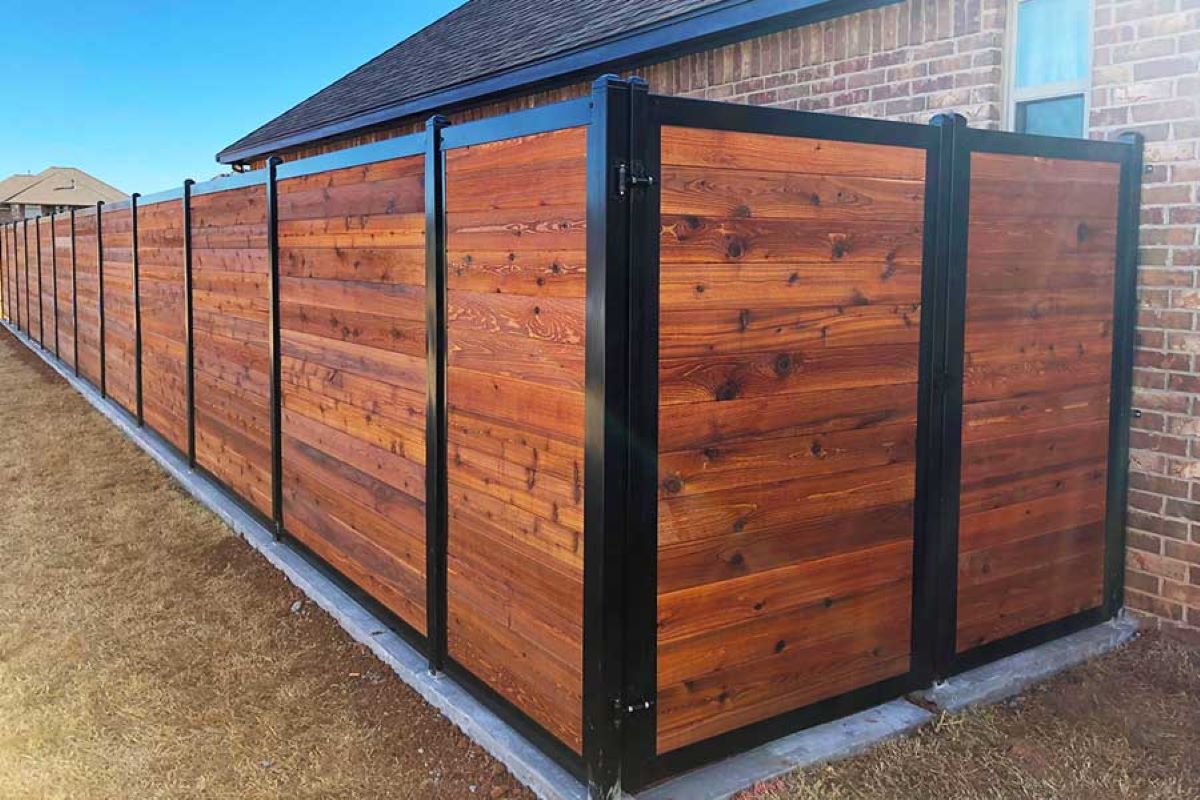
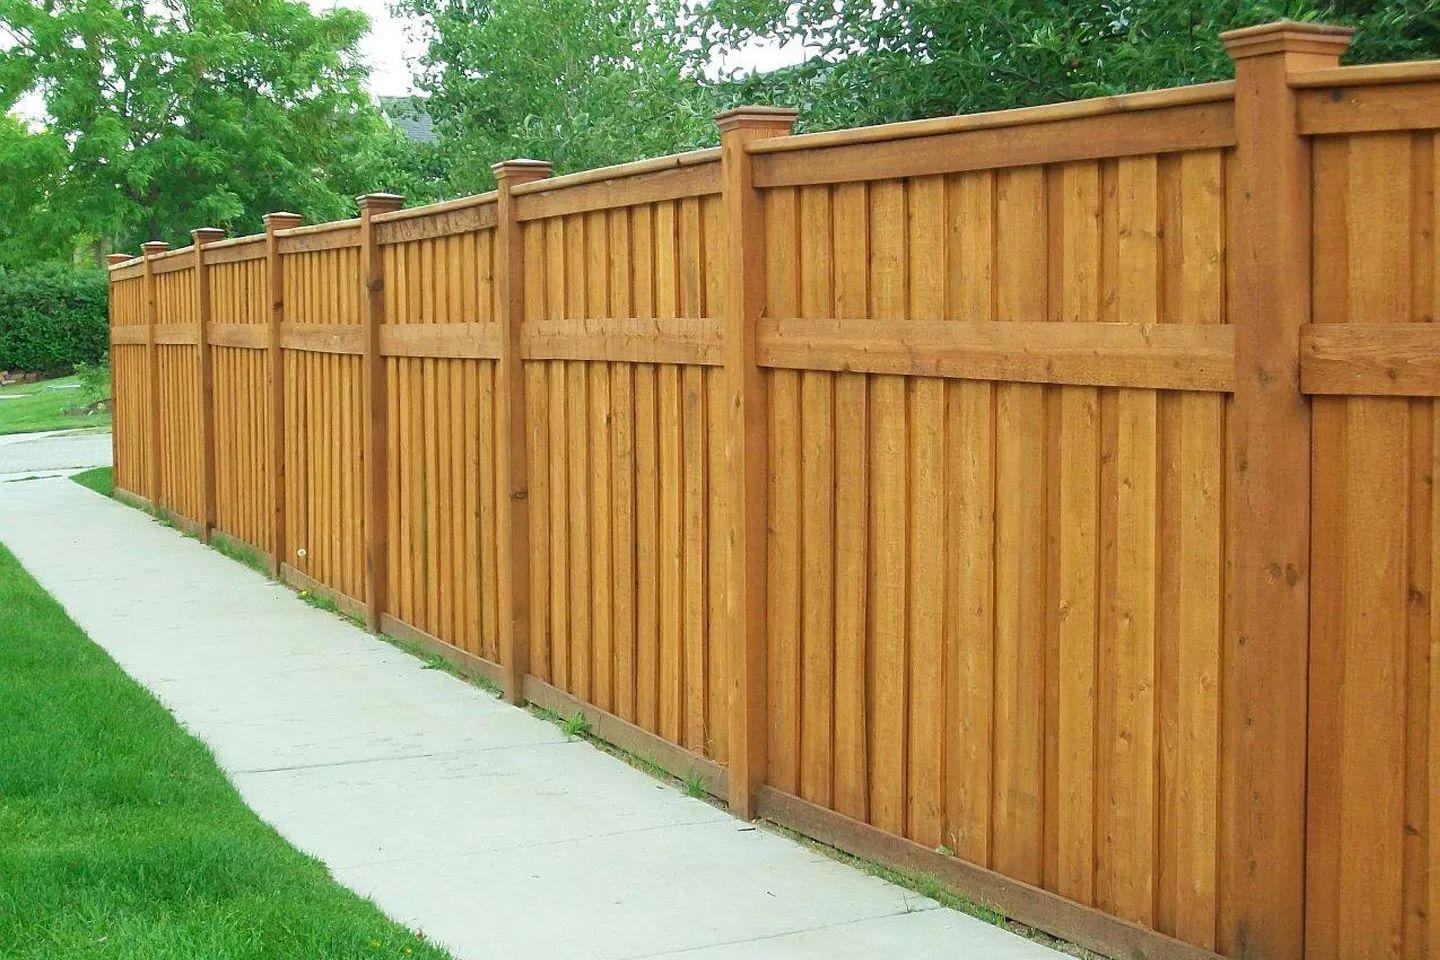
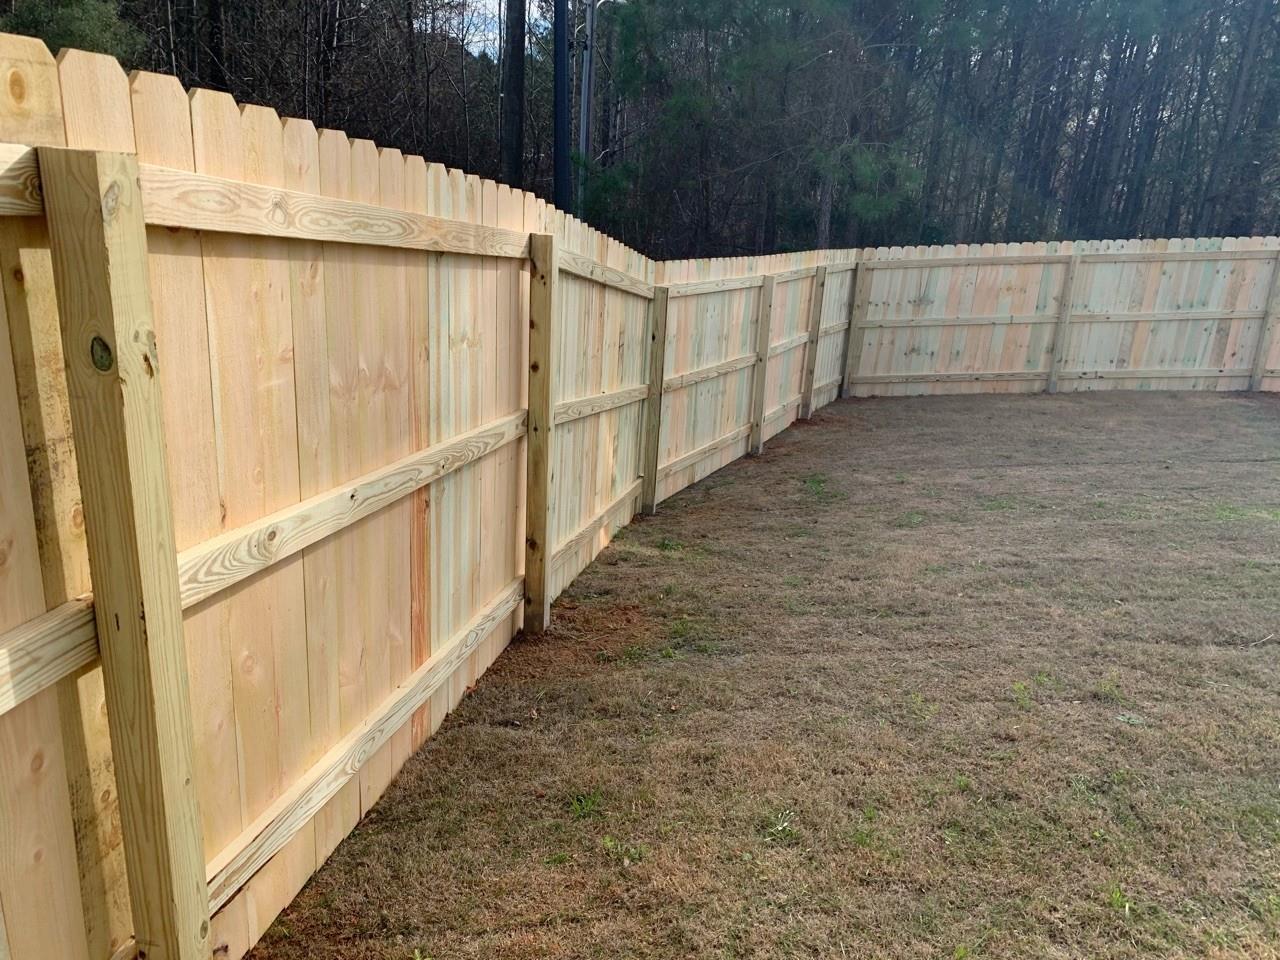
- No dig fence panels: Purchase enough no dig fence panels to cover the desired length of the fence line. These panels typically come in various styles and heights, so choose one that fits your aesthetic preferences and meets your privacy needs.
- No dig fence posts: You’ll need metal fence posts that are specifically designed for no dig fence installations. These posts typically have a spike or anchor at the bottom that allows them to be driven into the ground easily. Make sure to choose posts that are the appropriate length for your desired fence height.
- Post driver: A post driver is a tool used to drive the fence posts into the ground. It provides the necessary force to securely anchor the posts. You can rent or purchase a post driver from your local hardware store.
- Fence brackets: Fence brackets are used to attach the fence panels to the fence posts. Make sure to choose brackets that are compatible with your specific fence panel and post type.
- Level and measuring tape: These tools are essential for ensuring that your fence is straight and level. Use a measuring tape to accurately position the fence posts and a level to check the vertical and horizontal alignment of the fence panels.
- Fasteners and screws: You’ll need fasteners and screws to secure the fence brackets to the posts and attach the fence panels to the brackets. Choose rust-resistant screws that are appropriate for outdoor use.
- Safety gear: It’s important to prioritize safety during the installation process. Wear heavy-duty gloves, safety glasses, and closed-toe shoes to protect yourself from potential injuries.
- Additional tools: Depending on the specific requirements of your installation, you may also need a post hole digger, a shovel, landscaping stakes, a rubber mallet, and a string line to assist with marking the fence line and positioning the posts.
Once you have gathered all the necessary materials and tools, you’re ready to move on to the next step: marking the fence line.
Step 2: Mark the Fence Line
Now that you have all the materials and tools assembled, it’s time to mark the fence line. Properly marking the area where your fence will be installed is crucial for ensuring accuracy and a straight fence. Follow these steps to mark the fence line:
- Use your layout plan and measuring tape to determine the exact location of the fence line. Start by marking the starting and ending points of the fence line.
- Stretch a string line between the two points to create a straight and level guide for positioning the fence posts. Make sure the string is taut and free from any sagging.
- Use landscaping stakes or wooden stakes to anchor the string line at the starting and ending points of the fence line. Ensure that the stakes are firmly secured in the ground.
- Now, use a measuring tape and mark the precise locations for each fence post along the string line. The spacing between posts will depend on the size and design of your fence panels. Typically, posts are placed 6 to 8 feet apart.
- Double-check the accuracy of your measurements and adjust the position of the stakes if necessary. It’s important to maintain consistent spacing between posts for a uniform look.
- Once you have marked the positions for all the fence posts, take a moment to review and visualize the fence line. Make any necessary adjustments to ensure that it aligns with your desired layout and meets your needs.
With the fence line accurately marked, you’re now ready to move on to the next step: digging post holes.
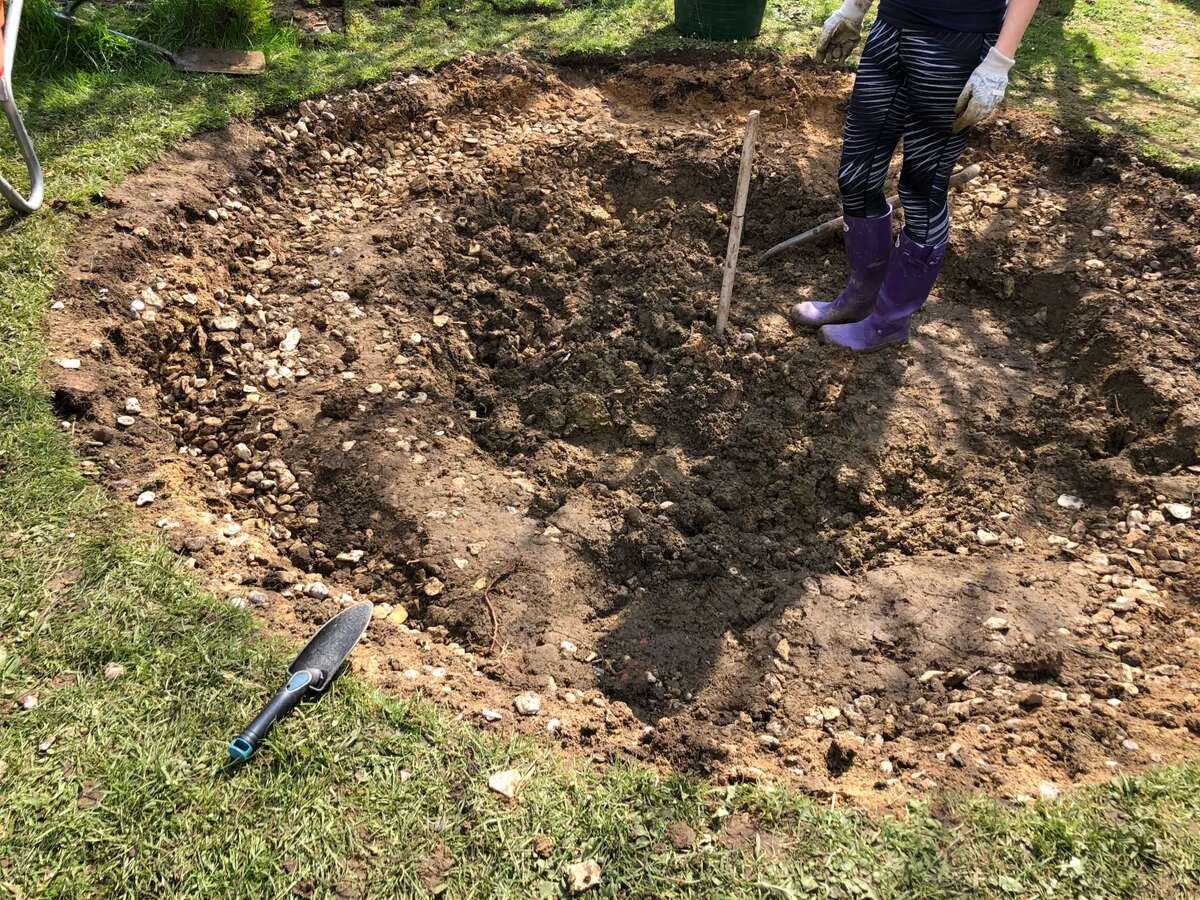
Step 3: Dig Post Holes
With the fence line marked, it’s time to dig post holes to securely anchor the fence posts. While no dig fences eliminate the need for extensive digging, you may still need to dig shallow holes to ensure stability. Follow these steps to dig post holes for your no dig fence:
- Starting at the first marked position along the fence line, use a post hole digger or a shovel to dig a hole. The depth of the hole should be slightly deeper than the length of the metal fence post. Typically, a depth of around 12 to 18 inches should be sufficient.
- Ensure that the sides of the hole are vertical and the bottom is flat. This will provide a solid foundation for the fence post.
- Once the hole is dug, place the metal fence post into the hole, ensuring it is centered and level. Use a level tool to check the vertical alignment of the post.
- Tap the top of the fence post gently with a rubber mallet to drive it further into the ground. Take caution not to damage the post or bend it during this process.
- Continue this process for each marked position along the fence line, digging a hole and inserting the fence post. Remember to check the vertical alignment of each post with a level tool.
- If you encounter any rocks or obstructions while digging, use a pointed shovel or a pry bar to remove them from the hole. Clearing the hole of any obstacles will ensure a proper and secure placement of the fence post.
- Once all the fence posts are securely placed in their respective holes and aligned properly, you’re ready to move on to the next step: inserting fence panels.
Keep in mind that the depth and number of post holes may vary depending on the specific requirements of your fence and the soil conditions in your area. It’s important to follow any manufacturer’s instructions provided with your no dig fence system.
With the post holes dug, the next step is to insert the fence posts and begin attaching the fence panels. Stay tuned for the next step in our comprehensive guide to installing a no dig fence.
Step 4: Insert Fence Posts
Now that you have your post holes dug, it’s time to insert the fence posts into the ground. The fence posts will serve as the anchors for your no dig fence panels. Follow these steps to properly insert the fence posts:
- Start at the first post hole and align the bottom of the metal fence post with the bottom of the hole. Make sure the post is centered and level.
- While holding the fence post firmly in place, use a post driver to drive the post into the ground. Apply firm and consistent pressure to evenly drive the post into the soil.
- Continue driving the post until the base of the post is slightly above ground level. This helps to prevent the post from sinking into the ground over time.
- Repeat this process for each post hole, ensuring that each post is consistently driven to the desired depth and alignment.
- As you drive each post, periodically check the vertical alignment with a level tool to ensure that the posts are straight.
- If you encounter any resistance or the post is not going in smoothly, you may need to loosen the soil around the hole to allow for easier insertion. A pry bar or shovel can be helpful in breaking up any compacted soil.
- Once all the fence posts are inserted and aligned, visually inspect the entire fence line to ensure that the posts are at a consistent height and properly positioned.
- It’s important to note that the number of fence posts required will depend on the length of your fence panels and the spacing you have determined. Make sure to follow the manufacturer’s guidelines or any recommendations provided with your no dig fence system.
With the fence posts securely inserted, your no dig fence is starting to take shape. The next step will involve attaching the fence panels to the posts to complete the installation. Stay tuned for Step 5 of our comprehensive guide to installing a no dig fence.
Before installing a no dig fence, make sure to call 811 to have underground utility lines marked to avoid any accidents while digging.
Read more: How To Dig A Hole For Fence Post
Step 5: Secure Fence Panels
With the fence posts in place, it’s time to secure the fence panels onto the posts to complete the installation of your no dig fence. Follow these steps to properly attach the fence panels:
- Start at one end of the fence line and position the first fence panel against the first two posts.
- Align the top and bottom of the panel with the top and bottom of the fence posts, ensuring that the panel is level both vertically and horizontally.
- Once aligned, attach the fence panel to the post by inserting the fence bracket hooks into the pre-drilled holes or slots on the fence panel.
- Use screws or fasteners to secure the brackets to the posts. Make sure to use rust-resistant screws that are suitable for outdoor use. Tighten the screws securely, but be careful not to overtighten and damage the panel or bracket.
- Continue this process for each fence panel, aligning them with the fence posts and securing them using the provided brackets and screws.
- Check the levelness of each fence panel as you progress along the fence line. Adjust as necessary to ensure a straight and visually appealing fence.
- Ensure that each panel is securely attached to the posts and that there are no gaps or loose sections.
- Once all the fence panels are attached, step back and visually inspect the entire fence line to ensure consistency in height, alignment, and appearance.
- If your no dig fence system includes gate panels, follow the manufacturer’s instructions to attach the gate panel(s) in the desired location.
Properly securing the fence panels will ensure the stability and longevity of your no dig fence. Take your time to ensure each panel is level and securely attached to the fence posts.
With the fence panels securely in place, your no dig fence is almost complete. The next step will involve attaching the gate to provide access to your fenced area. Stay tuned for Step 6 of our comprehensive guide to installing a no dig fence.
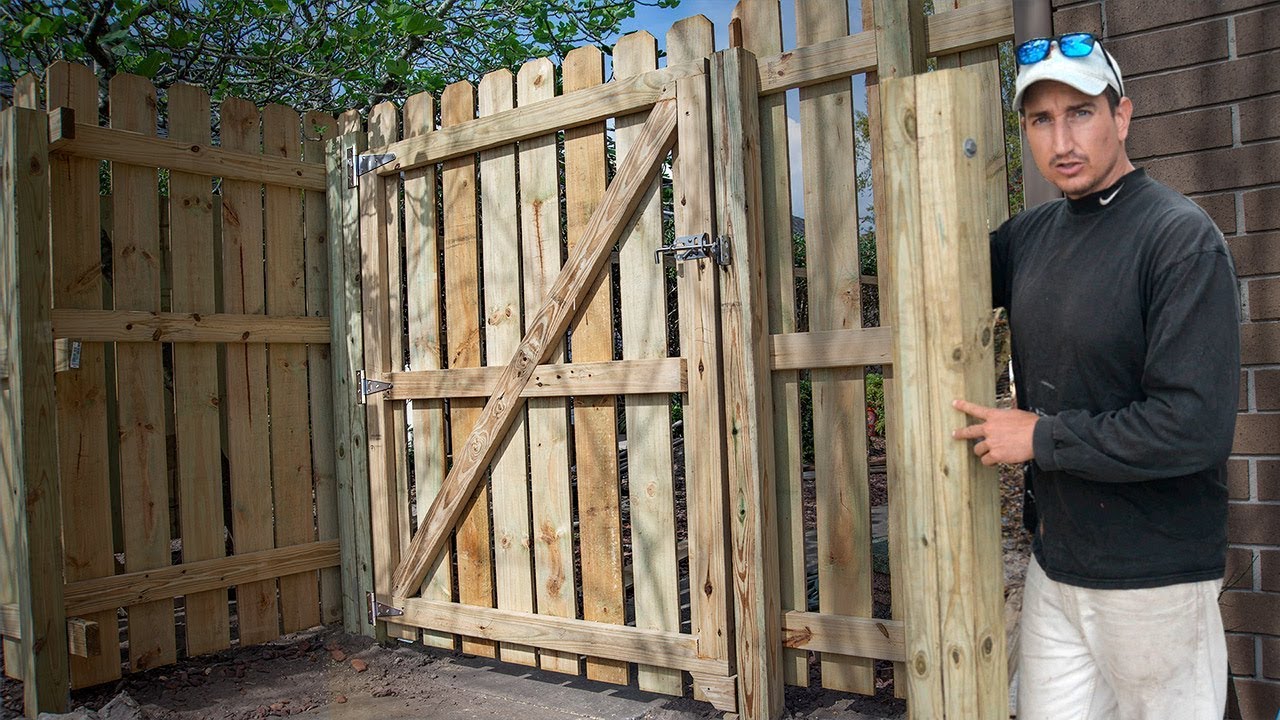
Step 6: Attach Gate
A gate serves as an entry point to your fenced area, providing convenience and security. In this step, we will guide you on how to attach the gate to your no dig fence. Follow these steps to properly install and secure the gate:
- Start by selecting a gate that is compatible with your no dig fence system. Ensure that the gate dimensions match the opening where you want to install it.
- Position the gate in the desired location, keeping in mind any landscape features, clearance requirements, and access needs. It’s a good idea to have someone assist you in holding the gate in place during installation.
- Secure the gate hinges to the gate post using the provided hardware and screws. Make sure the hinges are securely attached and that the gate swings smoothly and evenly.
- Next, align the gate latch or lock with the gate and post. Ensure that the latch mechanism functions properly and securely fasten it to the gate and post using the provided hardware.
- Test the gate by opening and closing it to ensure that it swings freely and latches securely. Make any necessary adjustments to the hinges or latch to achieve proper operation.
- Inspect the gate’s alignment and appearance to ensure it is level and visually pleasing.
- If your gate features a self-closing mechanism, follow the manufacturer’s instructions to properly install and adjust the mechanism. This will help ensure that the gate automatically closes and latches behind you.
- Double-check the gate’s functionality and make any final adjustments before considering the installation complete.
Attaching the gate properly is essential for the functionality and security of your no dig fence. Take your time to ensure that the hinges, latch, and overall installation are sturdy and secure.
With the gate attached, your no dig fence installation is almost finished. Stay tuned for the final step, where we will cover some finishing touches to give your fence a polished look.
Step 7: Finishing Touches
Now that you’ve successfully installed your no dig fence and attached the gate, it’s time to add some finishing touches to enhance the overall aesthetic and functionality of your fence. Follow these steps to complete the installation:
- Trim any excess or protruding portions of the fence panels to ensure a clean and seamless appearance. Use a saw or appropriate cutting tool to carefully trim any excess material.
- Inspect the fence line for any gaps or areas where the panels may not be flush against the ground. If necessary, use additional landscaping stakes or anchors to secure the panels and keep them in place.
- If desired, apply a weather-resistant sealant or paint to the fence panels and posts to protect them from the elements and enhance their longevity. Make sure to choose a product that is suitable for outdoor use and follow the manufacturer’s instructions.
- Consider adding decorative elements such as post caps or finials to the top of the fence posts. These can add a touch of style and provide additional protection to the posts.
- Take time to walk around your fence and inspect it from different angles to ensure that it meets your expectations and looks visually appealing.
- Remove any excess dirt or debris from the installation area and tidy up the surrounding landscape to give your newly installed fence a polished appearance.
- Consider adding landscaping features such as plants, flowers, or mulch along the perimeter of your fence to further enhance its attractiveness and blend it into the surrounding environment.
- Lastly, take a moment to appreciate the fruits of your labor and enjoy your newly installed no dig fence. It not only provides privacy and security but also adds value and curb appeal to your property.
With these finishing touches, your no dig fence installation is complete. Admire your hard work and take pride in the functional and stylish addition to your outdoor space.
Congratulations on successfully installing your no dig fence! Remember to periodically inspect and maintain your fence to ensure its longevity and optimal performance. Enjoy the benefits of your new fence and the sense of accomplishment that comes with a DIY project.
Conclusion
Installing a no dig fence is a practical and efficient way to add privacy, security, and aesthetic appeal to your property. By following the step-by-step guide outlined in this article, you can successfully install a no dig fence with ease. From gathering the necessary materials to securing the fence panels and attaching the gate, each step plays a crucial role in creating a sturdy and visually appealing fence.
No dig fences offer numerous advantages over traditional fence installation methods. Their ease of installation, flexibility, and clean finish make them a popular choice for homeowners and DIY enthusiasts. With no post hole digging or concrete pouring required, you can save time, effort, and cost while still achieving a professional-looking result.
To ensure a successful installation, make sure to gather all necessary materials and follow the manufacturer’s instructions. Take the time to accurately mark the fence line, dig post holes, insert fence posts, secure fence panels, and attach the gate. Remember to pay attention to details, such as leveling the fence panels, aligning the gate hinges, and adding finishing touches to enhance the overall appearance of your no dig fence.
By installing a no dig fence, you not only gain privacy and security, but you also enhance the overall value and curb appeal of your property. Keep in mind that regular maintenance, such as inspecting for loose screws, cleaning, and touch-ups, will help ensure the longevity and durability of your no dig fence.
Thank you for following this comprehensive guide to installing a no dig fence. We hope this article has provided you with the knowledge and confidence to embark on your own DIY project. Enjoy the beauty and functionality of your newly installed fence!
Frequently Asked Questions about How To Install A No Dig Fence
Was this page helpful?
At Storables.com, we guarantee accurate and reliable information. Our content, validated by Expert Board Contributors, is crafted following stringent Editorial Policies. We're committed to providing you with well-researched, expert-backed insights for all your informational needs.


0 thoughts on “How To Install A No Dig Fence”