Home>Articles>How To Dig Trench For Electrical Conduit
Articles
How To Dig Trench For Electrical Conduit
Modified: August 28, 2024
Share:
Written by: Emma Thompson
Learn how to dig a trench for electrical conduit with these informative articles. Find step-by-step guides, tips, and safety precautions to ensure a successful installation.
(Many of the links in this article redirect to a specific reviewed product. Your purchase of these products through affiliate links helps to generate commission for Storables.com, at no extra cost. Learn more)
Introduction
Installing electrical conduit is an essential part of any electrical project, whether it’s for residential, commercial, or industrial purposes. Electrical conduits protect and secure electrical wires, ensuring their safety and longevity. In order to properly install the conduit, it is necessary to dig a trench to accommodate the conduit and its associated wiring. While digging a trench may seem like a daunting task, with the right tools and techniques, it can be completed efficiently and effectively.
This article will guide you through the process of digging a trench for electrical conduit, providing step-by-step instructions and important tips along the way. By following these guidelines, you will be able to create a safe and reliable pathway for your electrical wiring.
Key Takeaways:
Proper preparation and marking of the trench route are crucial for a successful electrical conduit installation. Take your time to gather materials, mark the route accurately, and prepare the trench area for efficient digging.
After backfilling the trench and testing the electrical conduit, don’t forget the finishing touches and clean-up. Trim excess conduit, install fittings, and ensure a tidy work area for a professional and safe installation.
Before starting the trenching process, it is important to gather all the necessary materials and tools. This will ensure that you have everything you need to complete the job efficiently. Here’s a list of items you will need:
Measuring tape or a string
Stakes or flags
Shovel or trenching tool
Wheelbarrow or bucket for soil removal
Level or a string level
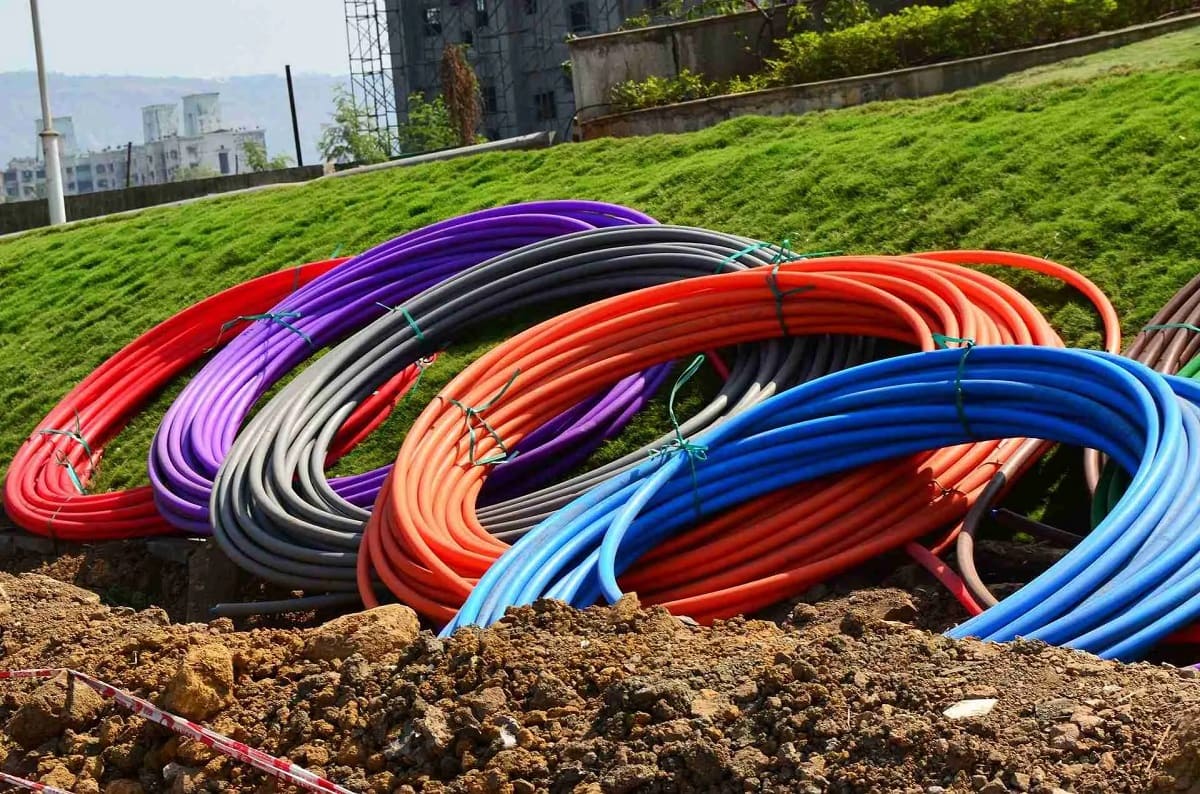
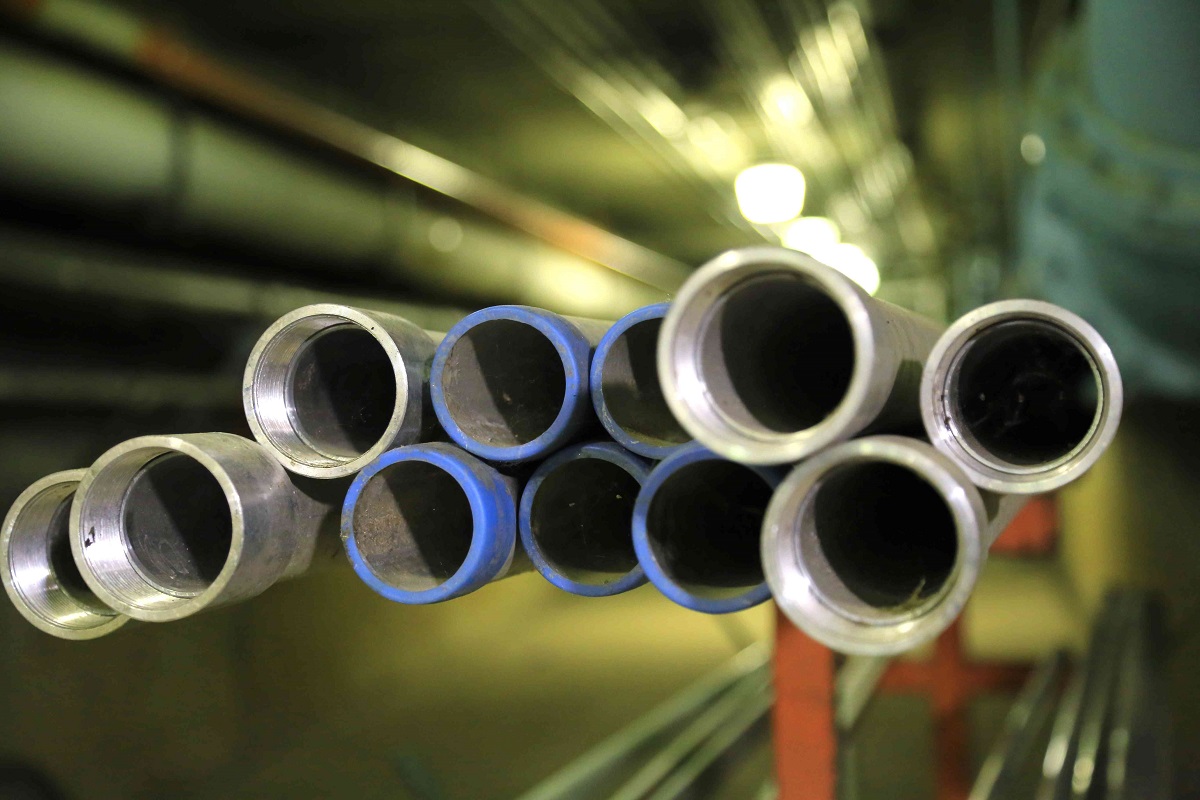
Electrical conduit and connectors
Marker or spray paint
Safety gear such as gloves and safety glasses
Once you have gathered all the necessary materials, you will be well-prepared to start the trenching process. Remember to always prioritize safety and wear the appropriate protective gear throughout the project.
Step 2: Mark the Trench Route
Before you begin digging the trench, it is important to mark the route where the conduit will be installed. This will help ensure that the trench is dug in the correct location and alignment. Here’s how to mark the trench route:
Start by determining the desired pathway for the electrical conduit. Consider factors such as proximity to buildings, obstructions, utility lines, and any local building codes or regulations.
Use a measuring tape or a string to measure and mark the desired length and width of the trench. Ensure that the trench is wide enough to accommodate the electrical conduit and allow for any required spacing or clearance.
Place stakes or flags along the marked route to clearly indicate the path of the trench. This will make it easier to follow the designated route while digging.
Double-check the alignment and measurements of the marked trench route using a level or a string level. This will help ensure that the conduit will be installed in a straight and level manner.
Taking the time to accurately mark the trench route will save you from potential errors or deviations during the digging process. It will also ensure that the conduit is installed in the desired location, meeting all necessary requirements and standards.
Step 3: Prepare the Trench Area
Once the trench route has been marked, it’s time to prepare the area where the trench will be dug. Proper preparation will make the digging process easier and more efficient. Follow these steps to prepare the trench area:
Clear the area from any obstacles or debris that may hinder the digging process. This includes removing rocks, roots, vegetation, and any other objects that may be in the way.
Determine the depth of the trench based on the size and type of conduit you will be installing. Refer to local building codes and regulations for specific depth requirements.
Use a shovel or a trenching tool to break up the soil along the marked trench route. Start at one end and work your way towards the other end, creating a narrow trench that follows the marked path.
As you dig, place the excavated soil in a wheelbarrow or a bucket for easy removal. This will help keep the work area tidy and prevent tripping hazards.
Take breaks when needed and stay hydrated. Digging a trench can be physically demanding, so it’s important to pace yourself and avoid overexertion.
By properly preparing the trench area, you will ensure a smooth and efficient digging process. This will make it easier to install the electrical conduit and minimize any potential issues along the way.
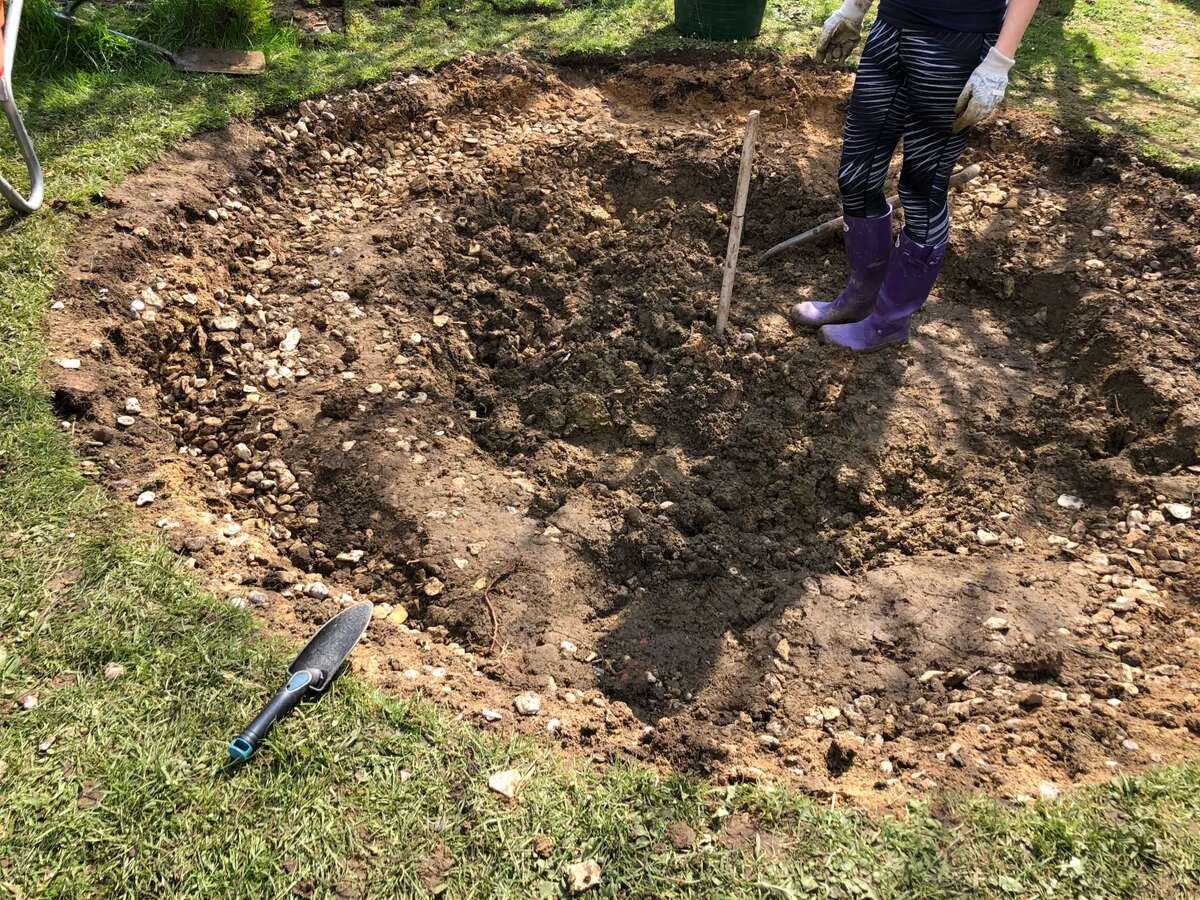
Step 4: Start Digging the Trench
Now that the trench area is prepared, it’s time to start digging. The goal is to create a trench that is wide enough and deep enough to accommodate the electrical conduit. Follow these steps to dig the trench:
Begin digging at one end of the marked trench route. Use a shovel or a trenching tool to remove the soil and create a narrow trench.
As you dig, periodically check the depth and width of the trench using a measuring tape or a level. This will ensure that the trench meets the required specifications.
Be mindful of any underground utilities or utility lines in the area. If you encounter any, dig carefully around them to avoid damaging them. If necessary, contact your local utility company to mark the location of underground lines before digging.
Continue digging the trench along the marked route, maintaining a consistent width and depth. Remove any excess soil from the trench and place it in the wheelbarrow or bucket for disposal.
Take breaks as needed and pace yourself. Digging a trench can be physically demanding work, so it’s important to listen to your body and avoid overexertion.
By following these steps, you will be able to dig a trench that is suitable for installing the electrical conduit. Keep in mind that the dimensions of the trench may vary depending on the size and type of conduit you are using, as well as any local building codes or regulations.
Before digging a trench for electrical conduit, always call 811 to have underground utilities marked. Use a trenching shovel or trencher for a straight and even trench. Keep the trench at least 18 inches deep to protect the conduit.
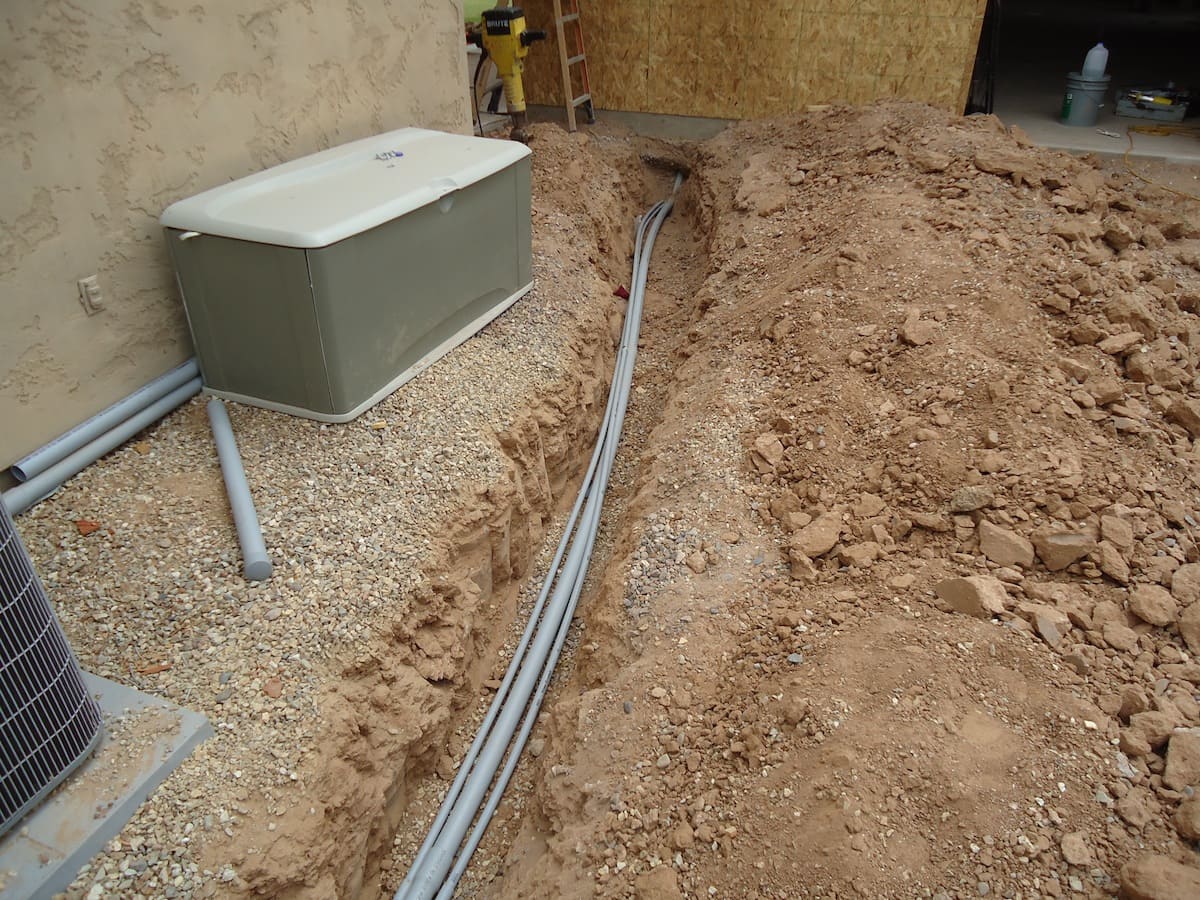
After successfully digging the trench, it’s time to install the electrical conduit. The conduit will serve as the protective housing for the electrical wires. Follow these steps to properly place and secure the conduit:
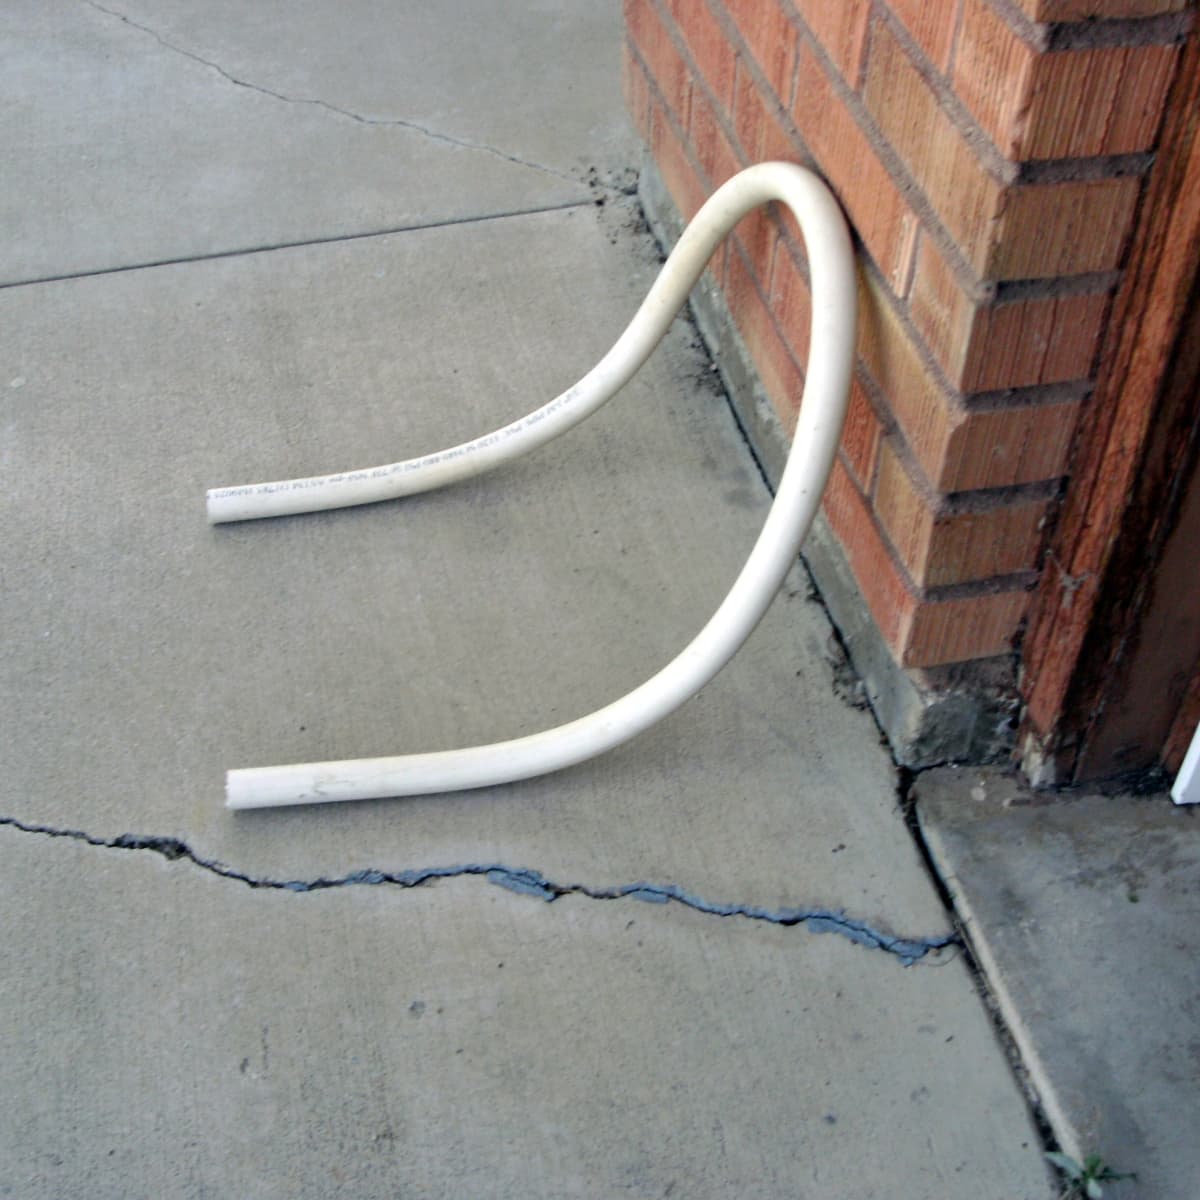
Measure and cut the electrical conduit to the desired length using a hacksaw or a conduit cutter. Make sure the cuts are clean and straight for a proper fit.
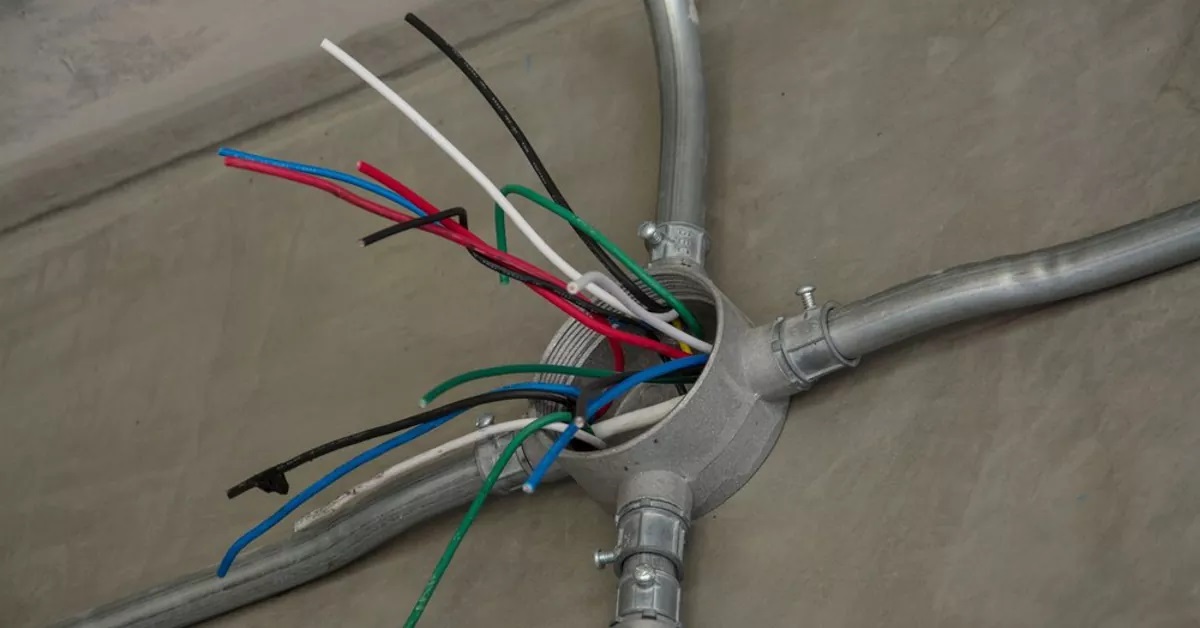
Thread the electrical wires through the conduit, ensuring that they are properly connected and secured.
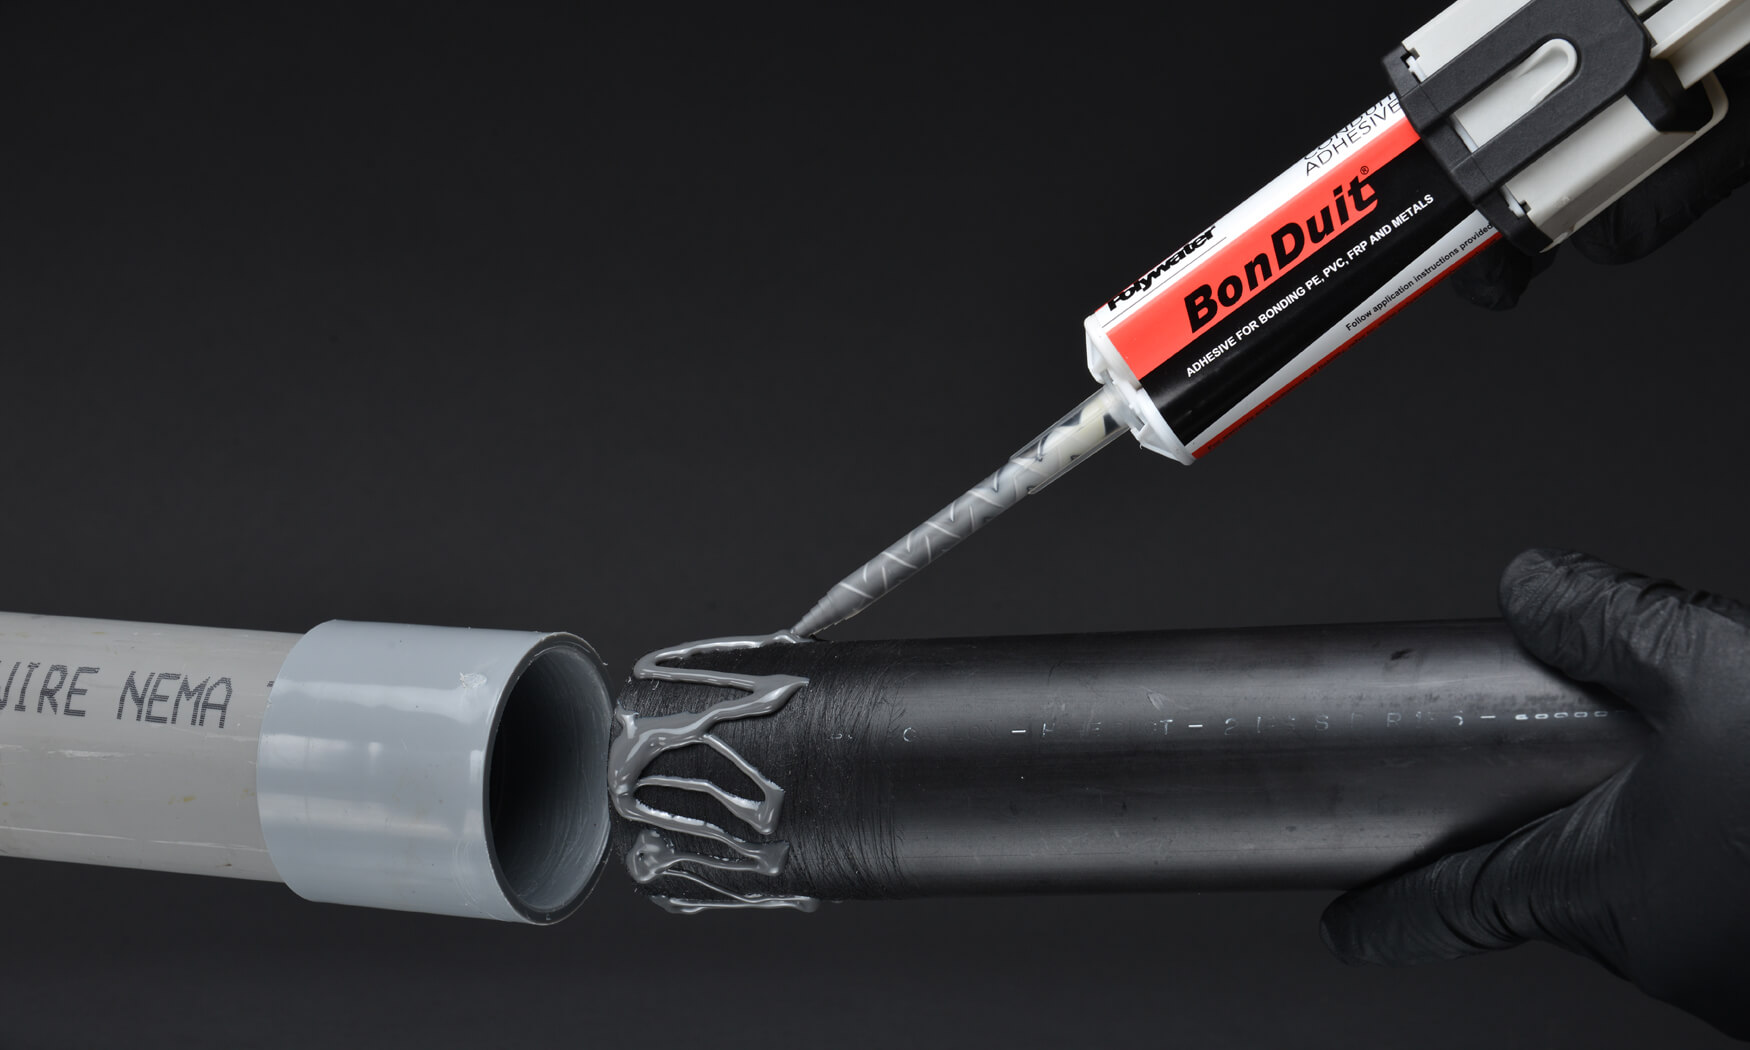
Insert the conduit into the trench, making sure that it fits snugly and aligns with the marked route. If necessary, use connectors or couplings to join multiple sections of conduit together.
Use straps, clamps, or hangers to secure the conduit to a stable surface such as a wall or a post. This will prevent the conduit from moving or shifting over time.
Check the alignment of the conduit using a level or a string level to ensure that it is straight and level throughout its length.
Properly placing and securing the electrical conduit is crucial for the overall safety and functionality of the electrical system. Take your time and ensure that the conduit is installed accurately and securely.
Step 6: Backfill the Trench
Once the electrical conduit is securely in place, it’s time to backfill the trench. Backfilling involves filling the trench with soil, compacting it, and restoring the ground to its original level. Follow these steps to properly backfill the trench:
Use the soil that was originally excavated from the trench to begin backfilling. Start by placing a layer of soil along the bottom of the trench, ensuring that it is evenly distributed.
Pack the soil firmly around the conduit using a shovel or a trenching tool. This will help provide stability and support to the conduit.
Continue backfilling the trench, adding layers of soil and compacting them as you go. Ensure that the soil is well-packed to minimize the risk of settling or shifting in the future.
Periodically check the alignment of the conduit using a level or a string level as you backfill. Make any necessary adjustments to ensure that the conduit remains straight and level.
Once the trench is completely backfilled, use a tamper or the backside of a shovel to further compact the soil. This will help eliminate any air pockets and further stabilize the ground.
Proper backfilling of the trench is essential for maintaining the integrity of the electrical conduit. Take your time and ensure that the soil is properly compacted to provide a solid foundation for the conduit.
Step 7: Test the Electrical Conduit
After completing the backfilling process, it’s important to test the electrical conduit to ensure proper functionality and safety. Follow these steps to test the conduit:
Ensure that all electrical wires are properly connected and secured within the conduit.
Use a multimeter or a voltage tester to check for continuity and proper voltage throughout the conduit. This will help identify any wiring issues or potential shorts.
Perform a brief visual inspection of the conduit, looking for any signs of damage or loose connections. If any issues are detected, make the necessary repairs or adjustments.
Turn on the power to the electrical circuit and verify that the electrical devices connected to the conduit are functioning properly.
Testing the electrical conduit is an important step in ensuring the safety and functionality of the electrical system. By conducting thorough tests, you can identify and resolve any potential issues before fully relying on the conduit for electrical power.
Step 8: Finishing Touches and Clean-Up
With the electrical conduit successfully tested, it’s time to put the finishing touches on the project. Follow these steps to complete the installation and ensure a clean and organized work area:
Trim any excess conduit that extends beyond the desired length using a hacksaw or a conduit cutter. Ensure that the cuts are clean and smooth.
Install any necessary fittings or end caps to protect the ends of the conduit and provide a professional finish.
Clean up the work area by removing any debris, tools, or materials that were used during the installation process. Dispose of any soil or waste materials properly.
Inspect the area surrounding the trench for any signs of damage, such as disrupted landscaping or disturbed structures. If any damage is found, take the necessary steps to repair or restore the affected areas.
Test the electrical system once again to ensure that everything is functioning correctly and there are no issues or abnormalities.
Taking the time to complete the finishing touches and clean up the work area will not only enhance the overall aesthetic appeal but also ensure a safe and organized environment. By following these steps, you can wrap up the project with confidence and enjoy the benefits of a properly installed electrical conduit.
Installing an electrical conduit may seem like a complex task, but with these step-by-step instructions, you can successfully dig a trench and install the conduit for your electrical project. By following proper guidelines and taking the necessary precautions, you can ensure the safety and functionality of your electrical system.
Throughout the process, it is important to gather all the necessary materials and tools, mark the trench route accurately, prepare the trench area properly, and dig the trench with care. Placing and securing the electrical conduit is crucial, along with backfilling the trench and testing the conduit for proper functionality.
Remember to pay attention to local building codes and regulations, and always prioritize safety when working with electrical systems. If you are unsure about any step of the process, it is advisable to consult with a professional electrician for guidance and assistance.
By following these steps and ensuring the proper installation of the electrical conduit, you can have peace of mind knowing that your electrical system is reliable, efficient, and safe. So roll up your sleeves, gather your tools, and get ready to dig that trench for your electrical conduit!
Now that you're savvy with trench digging for electrical conduits, why stop there? Dive deeper into safe and efficient underground projects by checking out our detailed guide on selecting the right electrical wiring for subterranean usage. Ensuring you use suitable materials is key to maximizing durability and safety. Don't miss out on this essential read!
Frequently Asked Questions about How To Dig Trench For Electrical Conduit
What are the necessary tools for digging a trench for electrical conduit?
The necessary tools for digging a trench for electrical conduit include a trenching shovel, a pickaxe, a mattock, a wheelbarrow, a tape measure, and safety gear such as gloves and goggles.
What is the recommended depth for digging a trench for electrical conduit?
The recommended depth for digging a trench for electrical conduit is typically 18 inches to 24 inches deep. However, this may vary depending on local building codes and the specific requirements of the electrical installation.
How can I ensure the trench is dug straight and level for the electrical conduit?
To ensure the trench is dug straight and level for the electrical conduit, you can use a string line or a chalk line as a guide. Additionally, using a level and regularly checking the depth as you dig can help maintain the straightness and levelness of the trench.
Are there any safety precautions I should take when digging a trench for electrical conduit?
Yes, there are several safety precautions to take when digging a trench for electrical conduit. These include wearing appropriate safety gear such as gloves and goggles, being aware of the location of any underground utilities, and using caution when using tools such as pickaxes and mattocks.
What should I do after the trench is dug for the electrical conduit?
After the trench is dug for the electrical conduit, you should carefully lower the conduit into the trench, ensuring it is at the proper depth and alignment. Then, backfill the trench with soil, compacting it as you go to ensure the conduit is securely in place.
Was this page helpful?
At Storables.com, we guarantee accurate and reliable information. Our content, validated by Expert Board Contributors, is crafted following stringent Editorial Policies. We're committed to providing you with well-researched, expert-backed insights for all your informational needs.
Comments
0 thoughts on “How To Dig Trench For Electrical Conduit”
This website uses cookies so that we can provide you with the best user experience possible. Cookie information is stored in your browser and performs functions such as recognising you when you return to our website and helping our team to understand which sections of the website you find most interesting and useful.
Strictly Necessary Cookies
Strictly Necessary Cookie should be enabled at all times so that we can save your preferences for cookie settings.
If you disable this cookie, we will not be able to save your preferences. This means that every time you visit this website you will need to enable or disable cookies again.


0 thoughts on “How To Dig Trench For Electrical Conduit”